
Bryant House // Kitchen and Dining Room Airbnb Makeover
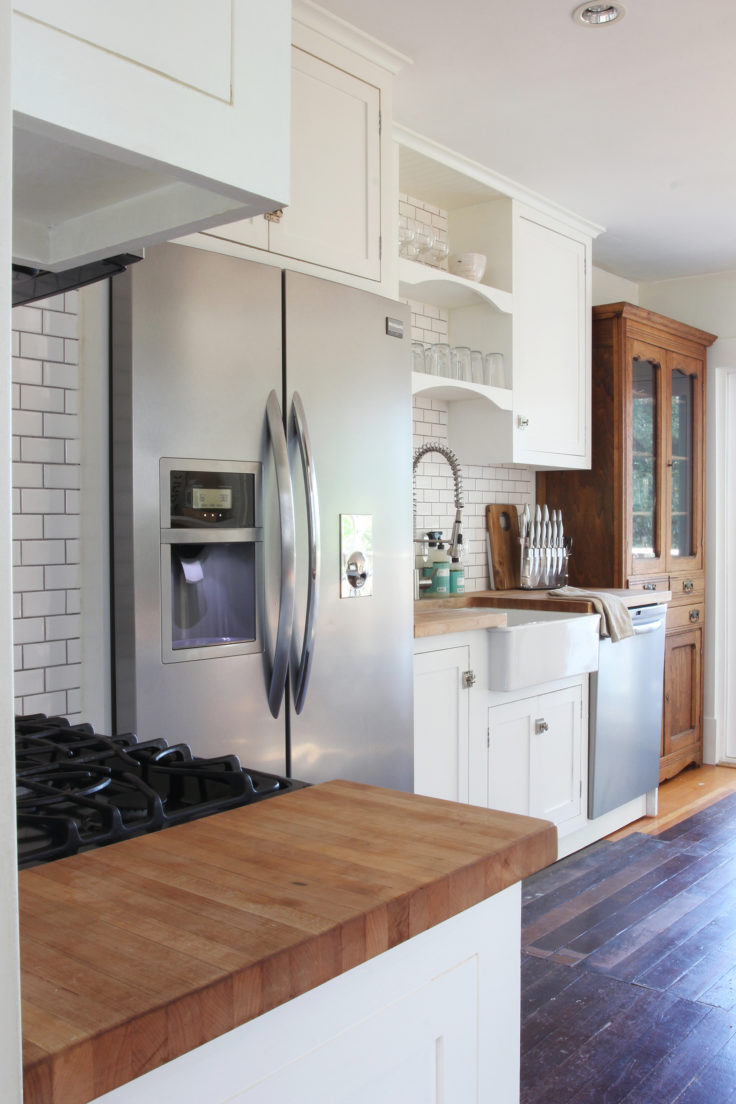
Our Bryant House kitchen // all sources here
The Bryant House kitchen and attached dining room is one of my favorite renovations to date. We tackled this space in 2013, and although there are things I'd change today (like those miss-colored floor boards), I still love the design, simplicity, and functionality of this room. But I must admit, the reason that this is one of my favorites has little to do with all that...it's because this room gets the best natural light. There are windows facing east, south, and west, which we enhanced by removing an interior wall and adding 2 sliding glass doors to the backyard.
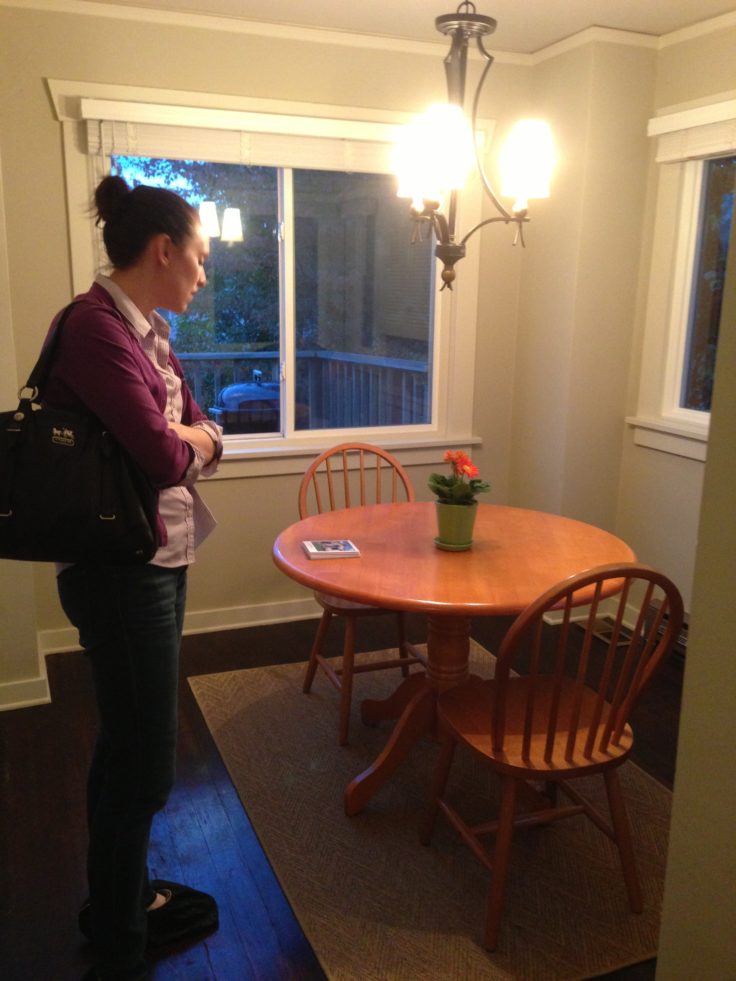
I also love the built-in banquette in the dining nook, and in fact, my fondest memories of living in this house are from right there. Wilder was born at the Bryant House shortly after we completed this kitchen remodel, and we spent so many late nights and early mornings sitting at the table, playing games with friends and getting to know our baby boy. Needless to say, it was fun to be back here in August, this time with our 3rd baby, converting the house to an Airbnb/month-to-month rental over 3 days.
Before I show you more of what this room looks like now, I wanted take you back 5 years ago to what it looked like pre-renovation. In parts 2 and 3 of this series, I showed you the Bryant House as it looked when we arrived to do the 3 day makeover, but since this kitchen didn't need furnishing (the hutch and table are both permanent fixtures at the house), I thought pre-renovation photos would be a whole lot more fun. So let's take a walk down memory lane and look back to what this room was like when we bought the house. These 'before' pictures are straight off of my phone, taken at night and completely unedited, so excuse the quality.
This first 'before' photo is from the same vantage point as the above photo.

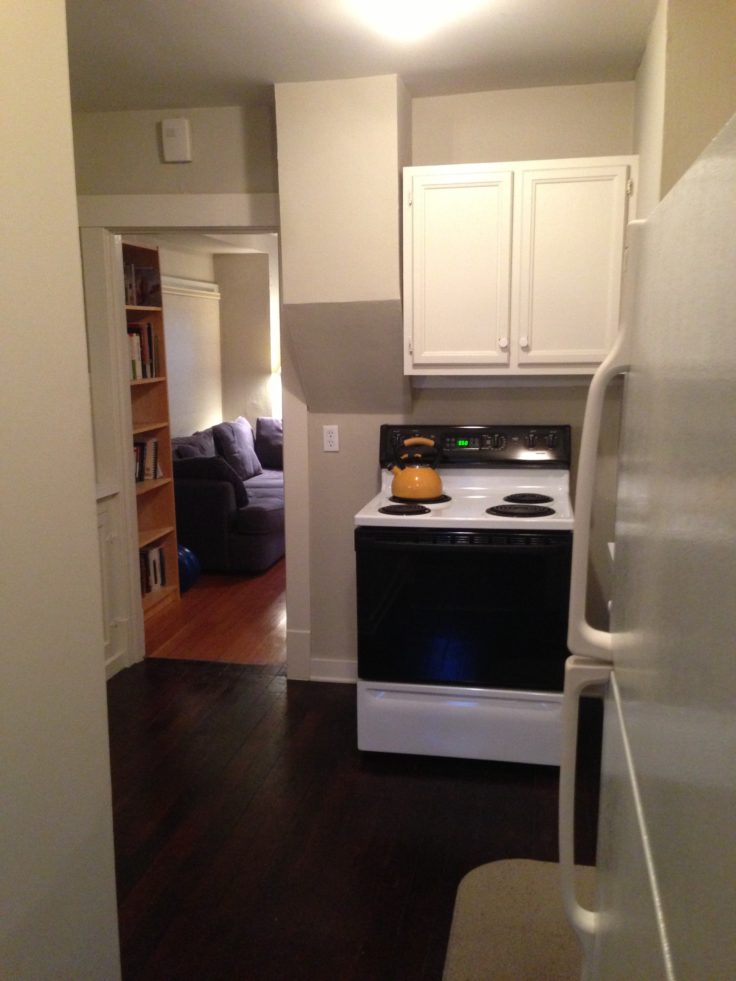
Ugh soffit. And don't get me started on those cheap cabinets. Any why why is such a small space shrunk even further with a wall running down the center of the room?! Speaking of that wall, it separated the tiny dining space from the kitchen. Here is what the dining space looked like back in 2012 (I'm barely pregnant with Wilder in this next shot and look oh so thrilled ;):
As you can see, the dining space was originally small, dark, and completely closed off from everything. Honestly, I'm not sure anyone ever used this space. I'd like to think that by removing the wall, adding a sliding door to the backyard, and building in banquette seating, we increased the usability of this room by 1000%. Yes, 1000%! Here's that same view today:

Ah...much better! We didn't have to do much in the ding room during the reno (the windows, floor, walls are all original) but we did add that sliding door, build the banquette, replace the light, and add shelving to the nook. I'll share more of this dining space in a second, but first, let's do one more before and after, because they are just so fun.
Before:
After:

Gosh that makes me happy. The big change here was removing the old chimney, which terminated into the wall (that big lump in the wall by the doorway in the before photo). We never could quite figure out whey it didn't extend into the basement like 99% of all chimneys I've ever seen, but there you have it. This chimney stopped mid-wall. There was no fireplace, gas stove, or HVAC attached to the chimney, so it made removing it easy - we just had to patch the roof.
Let's get back to the Airbnb makeover part of this post. While we didn't have to buy any furniture for this room, we did buy a ton of supplies. I won't provide a complete list here because it would be a mile long, but think about everything you use in your kitchen on a daily basis and we pretty much bought it. Dishes, silverware, coffee pot, baking pans, drinking glasses, knives, oven mitts, yada, yada, yada. Two suggestions I have for anyone setting up an Airbnb - get a teapot (you'd be surprised how often it's requested) and buy a simple coffee pot that is easy to operate.
Airbnb host tip // provide guests with a teapot and the simplest coffee pot you can find (that even coffee-deprived, jet-lagged people can operate first thing in the morning)

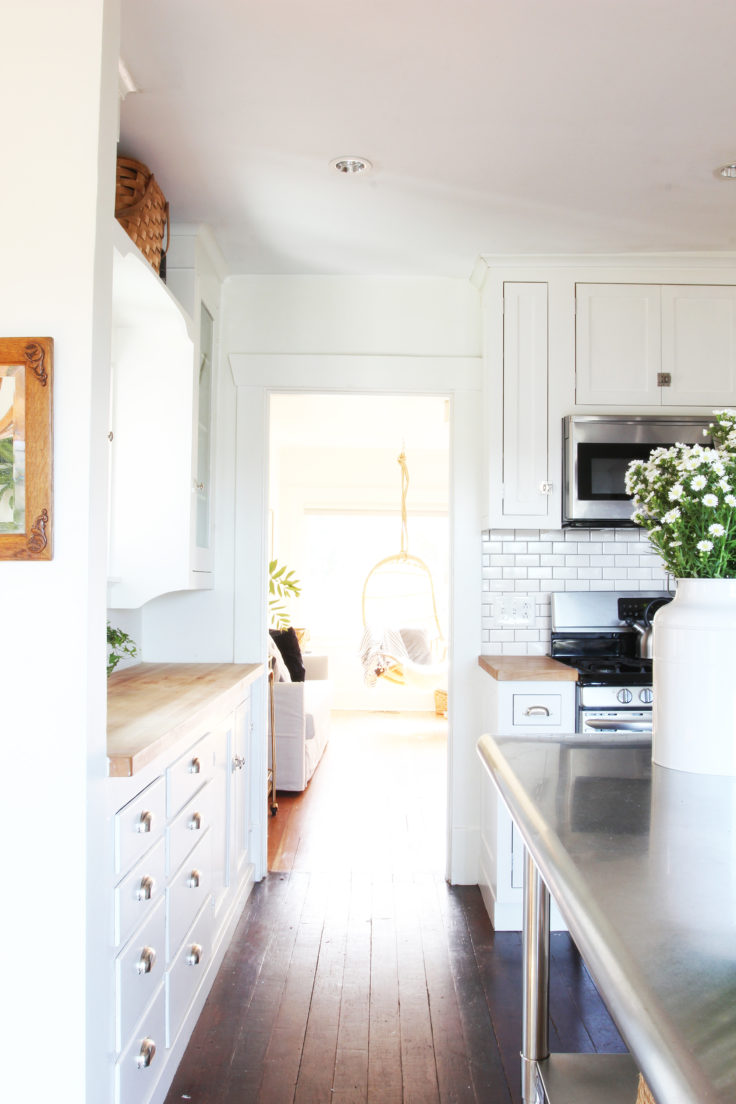
To give you an idea of how this space connects to the rest of the house, the living room window in the previous photo is at the front of the house. And here's the reverse view from the living room looking into the kitchen and dining space.

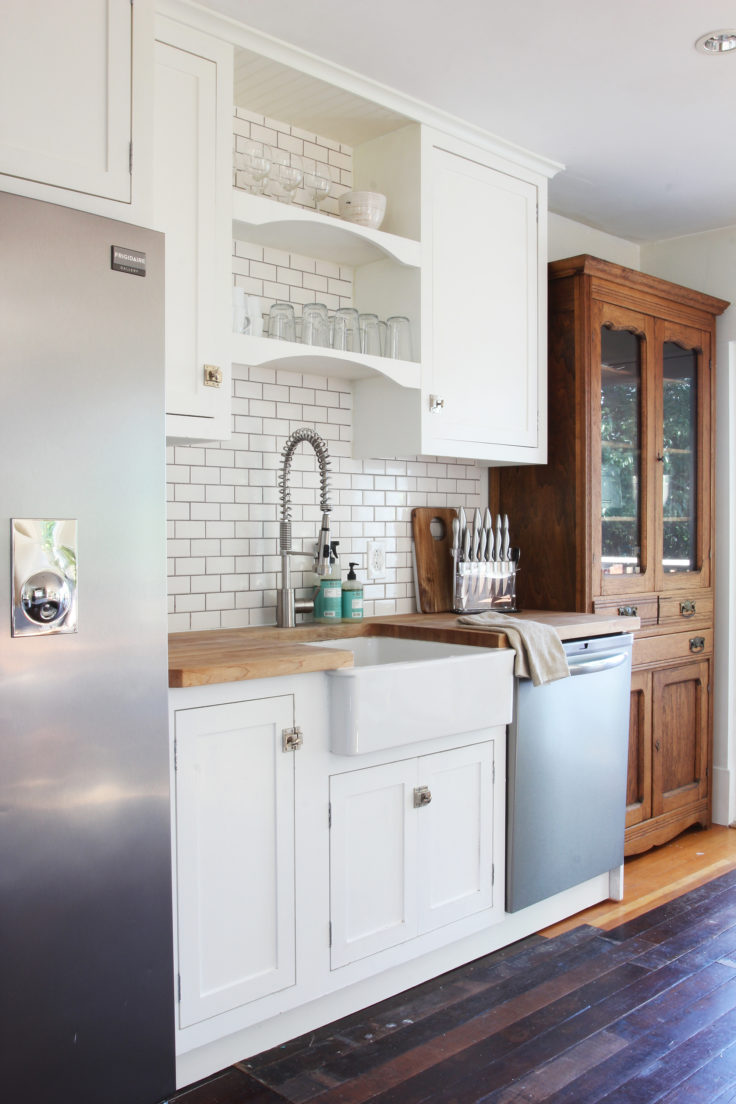
This kitchen is narrow and long, and doesn't have a ton of countertop space, so we brought in a rolling metal cart to function as an island. The rolling cart works great in here because it provides a ton of countertop space (it's 2'x4') but doesn't take a lot of visual space, plus it can be moved around to where it's needed. If you have a similar issue in your own kitchen, I highly recommend a similar cart! BTW, all the sources are listed at the bottom of this post.
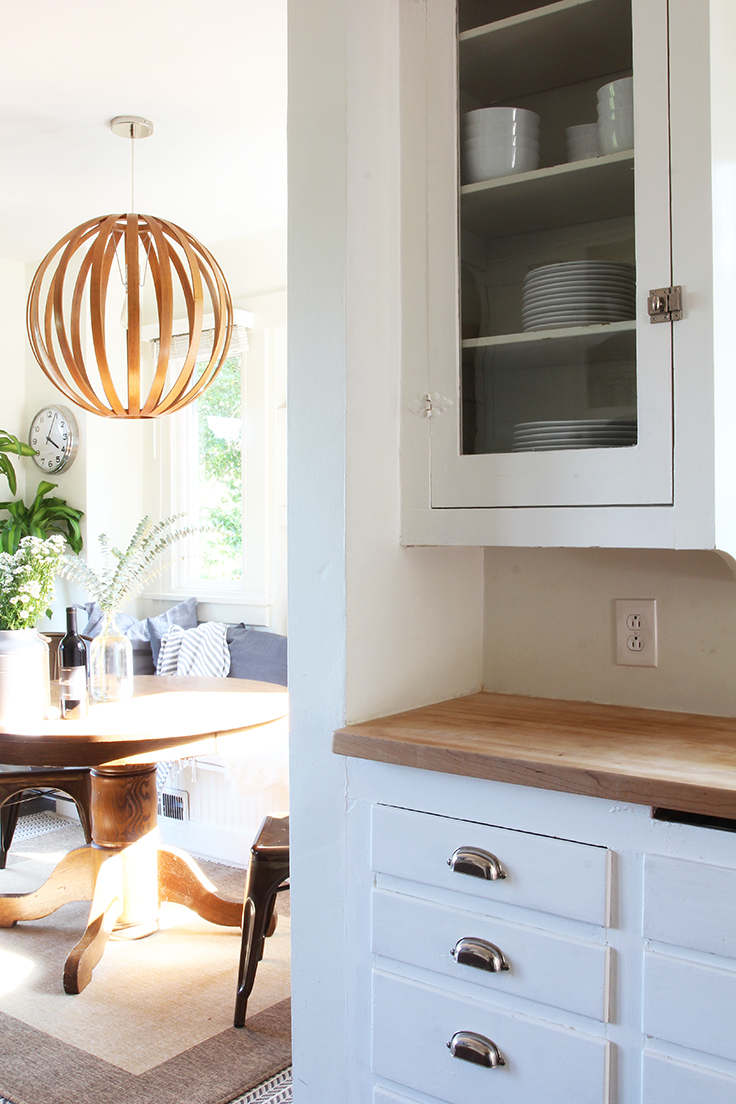
The hutch by the sliding door is another awkward-space solution. That area isn't deep enough for standard-depth cabinets and countertops, and a custom cabinet for this spot would have been pretty pricey, so I found this hutch on Craigslist. It provides a ton of storage but was one-fifth the price of cabinets. I like that it adds a little interest at the end of the kitchen too.

One of my favorite parts of the design of this room is those original cabinets. You guys probably know by now that I'm always trying to save original cabinets in our old houses, and I was thrilled it actually worked out in here. To integrate them with the new cabinets on the other side of the kitchen, we gave these oldies a coat of paint (the same color as the new cabinets) and some fresh hardware. The countertop isn't very deep (maybe 18"), so it functions great as a butlers pantry/storage space.
Another favorite in this space is the dining nook. I LOVE built-in dining spaces as a general rule and this one fits perfectly into this bump-out space. This dining space is sure to get a ton of use from guests and can fit a surprisingly large number of folks for such a small table (it's 42" diameter).
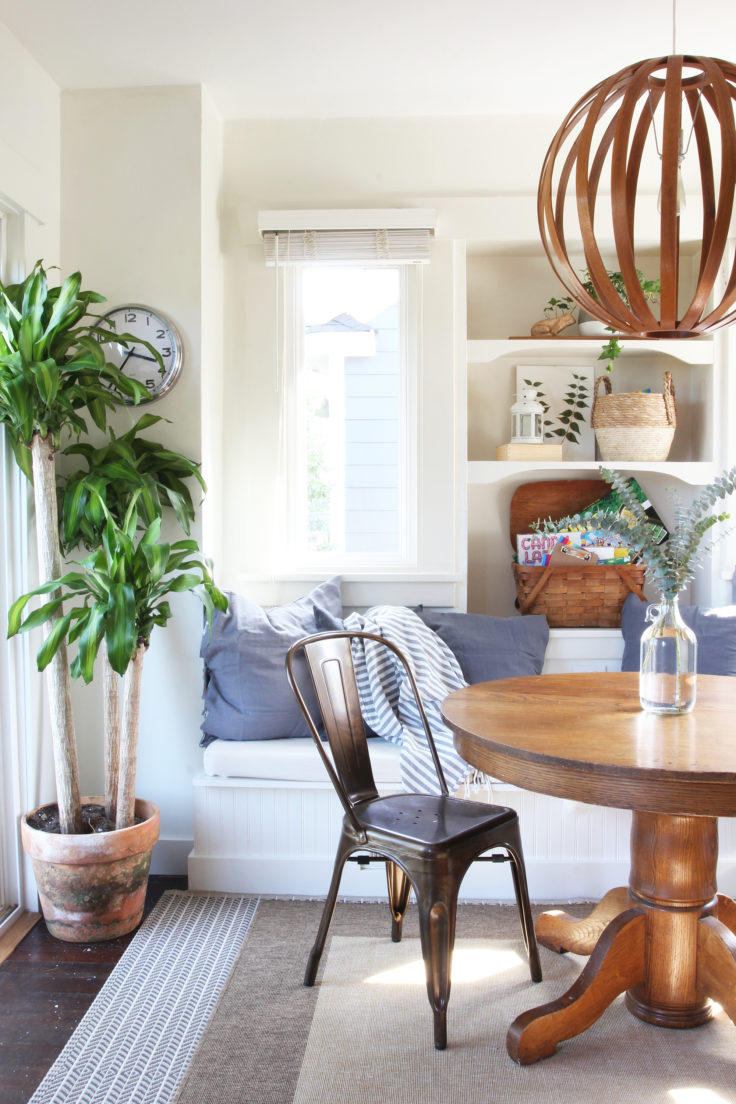
As part of the decor, I included a basket with kids books and filled an old picnic basket (yes, another picnic basket ;) with some of our favorite games for guests to enjoy. I love finding games to play when we stay at other people's homes, so I wanted to have that here too.
Airbnb host tip // provide a few games for guests of all ages to entertain themselves with.
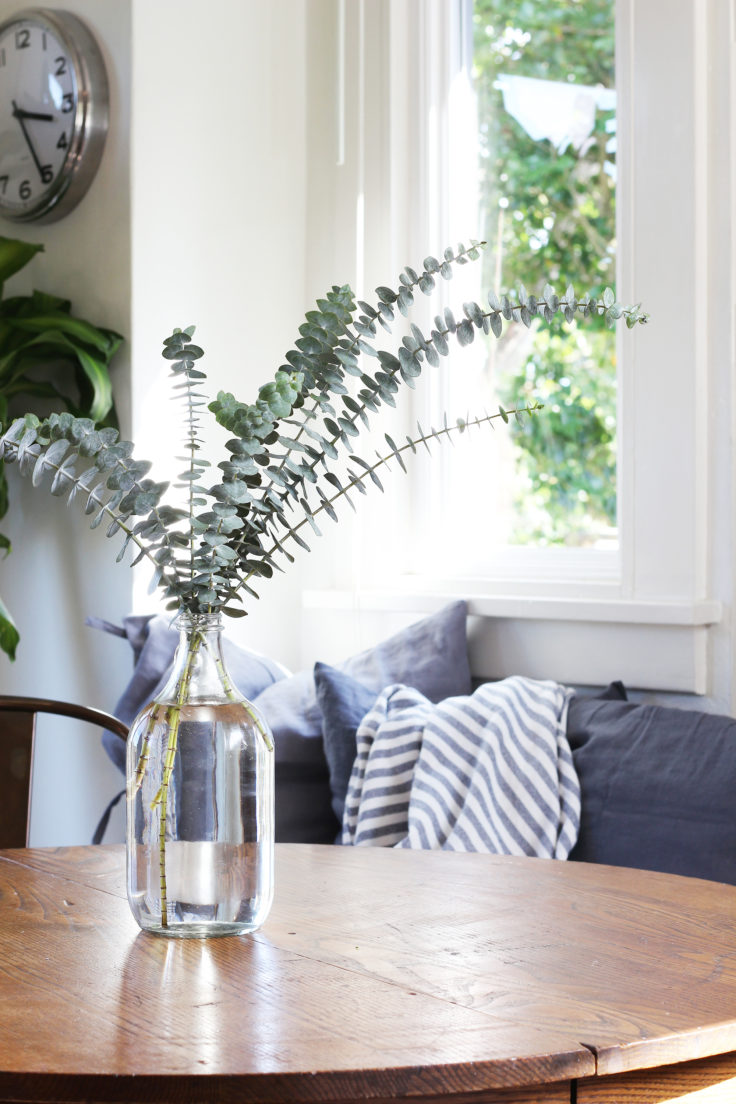
Other than the games, I kept the decor light, bright, and organic like the rest of the house. Hopefully guests find it as welcoming and enjoyable as we did!

Sources: rolling cart // countertops // backsplash (similar) // faucet (similar) // sink (we under-mounted it) // drawer pulls // cabinet latches // knife set // soap set // utensil crock // hanging light // pillows // stripe throw // dining chairs // cement pot (similar) // eucalyptus vase // wood frog // rugs
Gosh I miss this sweet space :) And in case you're wondering, this is how this kitchen and dining space was styled when we lived here. I like it way better now, but of course, it helps that you don't need as much stuff when you don't live in a house full time. I'd love to hear what you guys think of this space!

There we are, at the end of the 3-day makeover, tired and yet completely energized. Next up, I'm going to show you the bathroom and second bedroom of the Bryant House and share all the drama about the bunk beds turned office. Plus I've got an extra post coming at you this week, so look for that on Thursday!
xoxo
-Cathy