
The Farmhouse // Refinishing our 104-year-old Hardwood Floors Ourselves
THE FARMHOUSE
If you followed along on the One Room Challenge, you already know that we refinished our 100 plus year-old hardwood floors ourselves. And oh what a difference it made! We went from paint-splattered hardwoods hidden under stained, rust-colored carpets...

to these lovely hardwood floors...


You might be surprised to hear that despite being hardcore DIYers, Garrett and I rarely refinish our own hardwood floors. The first time that we tackled refinishing floors ourselves, we found it to be timely, labor intensive, and super disruptive to our lives since we were living in the house. Plus the finish didn't seem to hold up nearly as well as a professional finish. After that experience, we hung up our belt sanders and called in the pros to finish our hardwood floors (like at Ravenna and Dexter) and they turned out beautifully!
For some reason we decided to try our hand at refinishing the upstairs farmhouse floors ourselves this time, which totaled about 600sf. It came down to a matter of schedule (it had to be right away so I could finish the One Room Challenge on time), money (we didn't have thousands to spend on a professional refinish), and the fact that we just moved to town and don't know any floor refinishers here. Plus refinishers usually require a minimum hardwood area, and I'm not sure our 600SF would have been enough for a professional refinisher to bother with. For all these reasons, we got busy and did the job ourselves.
In the end it was a biiiig job, but totally doable. It was just as disruptive and labor-intensive as we remembered, but I think we ended up with a much more durable finish this time. And because we were dealing with time and money constraints, doing a DIY refinish on the floors was absolutely the right choice for this project. Here's what we used:
Refinishing 100 (plus) year-old hardwood floors
Time: 1 week
Level: advanced
Format: blog post
Materials & tools
Drum sander (rental)
Orbital finishing sander (rental)
Palm sander
Belt sander
Wood filler
Polyurethane, satin finish
Putty Knife
Dry rags and Vacuum
Safety equipment: ear plugs, glasses, respirator mask
Step 1 // prep
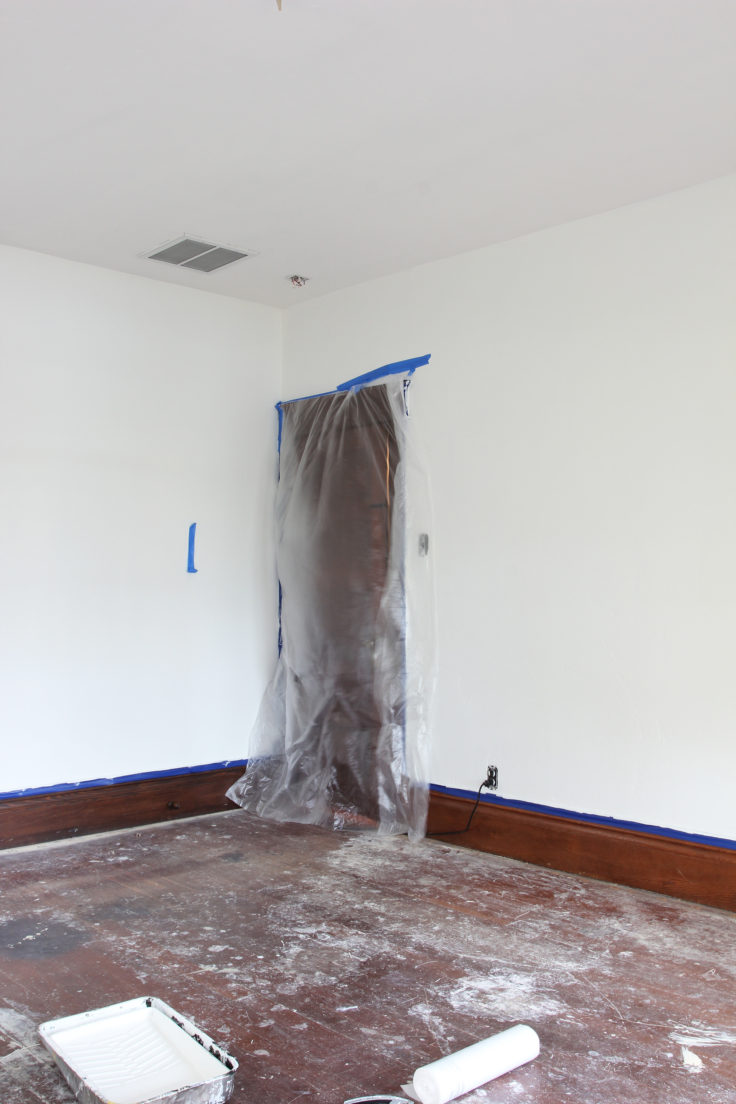
Empty the room and prepare for dust onslaught. Because there will be So. Much. Dust! I recommend removing everything from the room and then hanging two layers of painters plastic on the doorways. Dust will still leak out, but these precautions will keep most of it contained. (Tip: it's best to paint walls/ceilings before refinishing floors so you don't get paint splatters on your brand new floor!)
Step 2 // drum sander
We started sanding with a drum sander because our floors had a lot of layers to remove. Our 104-year-old floors are covered with layers of paint splattered on top of a thick coat of finish. Drum sanders can take some serious wood off your floors, so I'd only recommend using one if you have a similar situation, otherwise skip to step 4. We used our palm sander and belt sander to get the edges and corners of the floor where the drum sander couldn't reach. We used 36, 60, 80, 100 grit paper for this step. In all, this step took us about 18 hours for 3 bedrooms.

Step 3 // clean the dust
We cleaned all the dust off of the floors using a vacuum and then dry rags. Make sure rags are bone dry (make sure the rags are bone dry or you'll raise the grain on your hardwood floors and have to sand again).
Step 4 // fill
Once the floors were free of dust, we filled cracks with wood putty and let it dry overnight. We filled the seams between boards that had seperated a little and any large gouges or cracks. Again our floors are 104-years-old so there were quite a few of these spots!

Step 5 // orbital sanders
Using an orbital finishing sander, we sanded the floors using 100 grit. This machine is square and was able to get right up to the edges, so no need to pull out the palm and belt sanders to sand the corners.
Step 6 // clean
We cleaned up the floors again using dry rags and a vacuum (see Step 3). At this point, it's important to make sure every last spec of dust is up, otherwise it'll be permanently captured in the finish. If we weren't 100% sure, we vacummed twice.
Step 7 // stain (optional)
If you want to darken your floors, this is where you would add stain, but we skipped this in favor of a natural floor.
Step 8 // first poly coat
Now that the floors were sanded and clean, we applied a thin coat of polyurethane using a pad applicator. We poured a little of the polyurethane on the floor and then pushed it around, following the direction of the grain, with the pad. We followed our products drying instructions, which was 2+ hours.
Step 9 // light stand
Once the floors were dry, we gave them a light sand using 100 grit sandpaper on the orbital finishing sander. You don't want to scuff up the floors or remove much finish, so keep a light sand. This step is just to get rid of any imperfections.
Step 10 // clean
We cleaned again...urgh, I hate dust! (see step 3)
Step 11 // more poly coats
Next we added 3 more thin coats of polyurethane (for a total of 4), letting each coat dry completely before adding the next.

Step 12 // Clean…again!
The last step was to clean...again! This time we vacummed the floors, walls, and ceiling to get rid of all lingering dust. Honestly, you'll probably find dust everywhere, even outside the room! We also gave the floors a quick mop with water before moving furniture back in.
All-in-all the process took us about a week of work, drying time, and supply runs. With kids in the mix, moving out of the upstairs for that long was definitely inconvenient, but on the plus side, we saved a bundle. I'll tallly up the cost and share that on Thursday.
I'd love to hear from you guys. Have you ever refinished your own floors? Any tips or different methods you used?


