Dexter House Kitchen // It's (finally) 100% Done!
THE DEXTER HOUSE
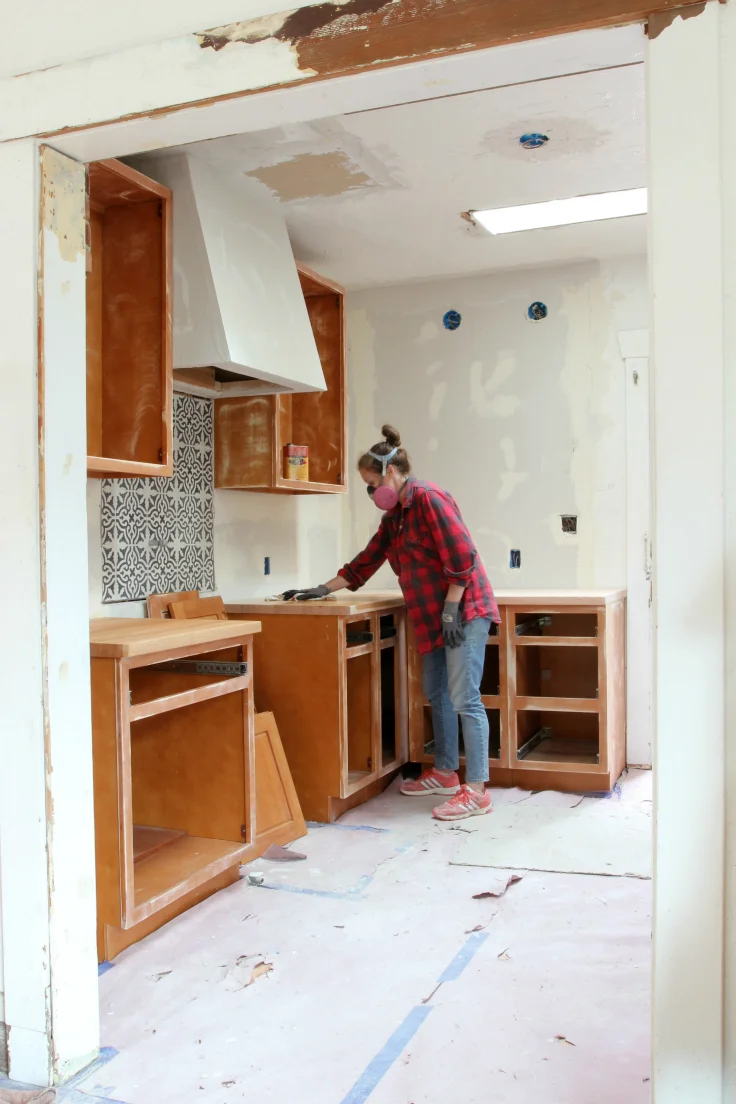
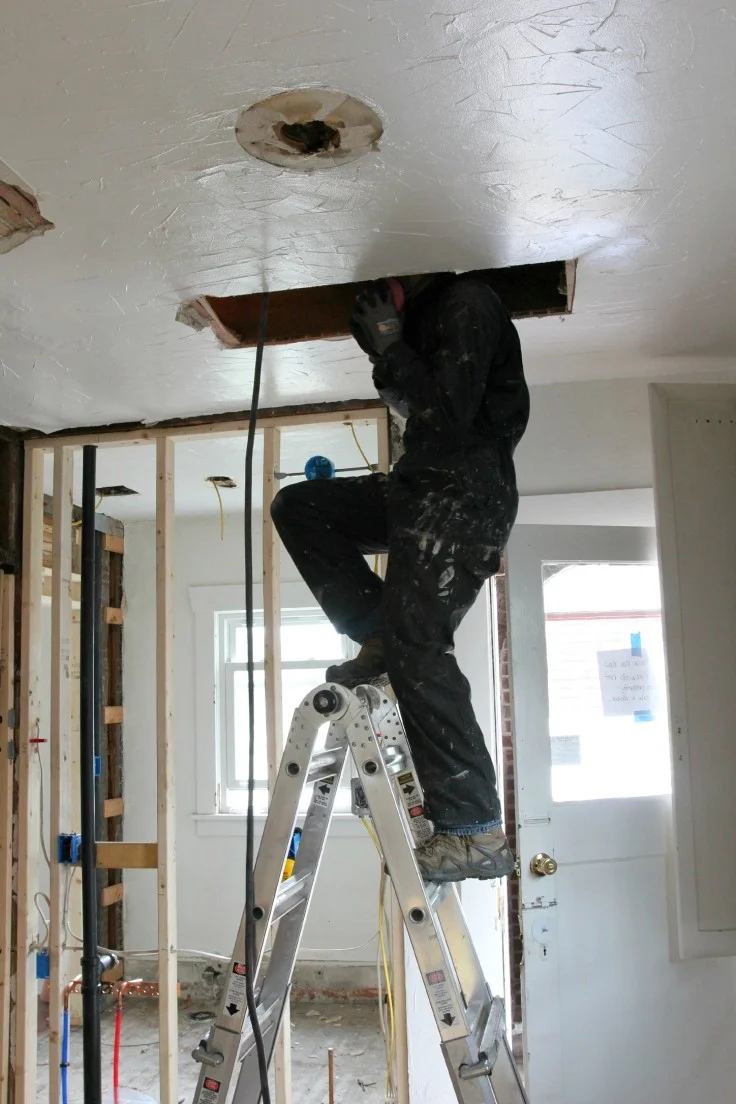
We renovated the Dexter House kitchen over 3 years ago, but left it at 95% done. Sure we planned to finish the last 5%. But then life got in the way. There was a new baby and a move and then another house to renovate and another baby and…well you get the idea. The Dexter kitchen was ‘good enough’, so it just kinda slipped from our radar.
Fast forward to now. The Dexter House has been an Airbnb for 2.5 years and seen hundreds of guests. And unfortunately it was starting to look like it. The cabinet paint was chipping, the countertops needed refinished, and the lingering 5% was still lingering. So, with 3 days open in January, Garrett and I decided to finally take this kitchen to 100%.


Last week I shared a list of all the projects we had left to do at the Dexter House kitchen, including maintenance (you can read it here) and the remaining 5%. And with 3 days open, Garrett and I were able to get everything done. I thought I’d walk through the projects in the same order as last week. First up, cabinet paint…
touching up the cabinet paint
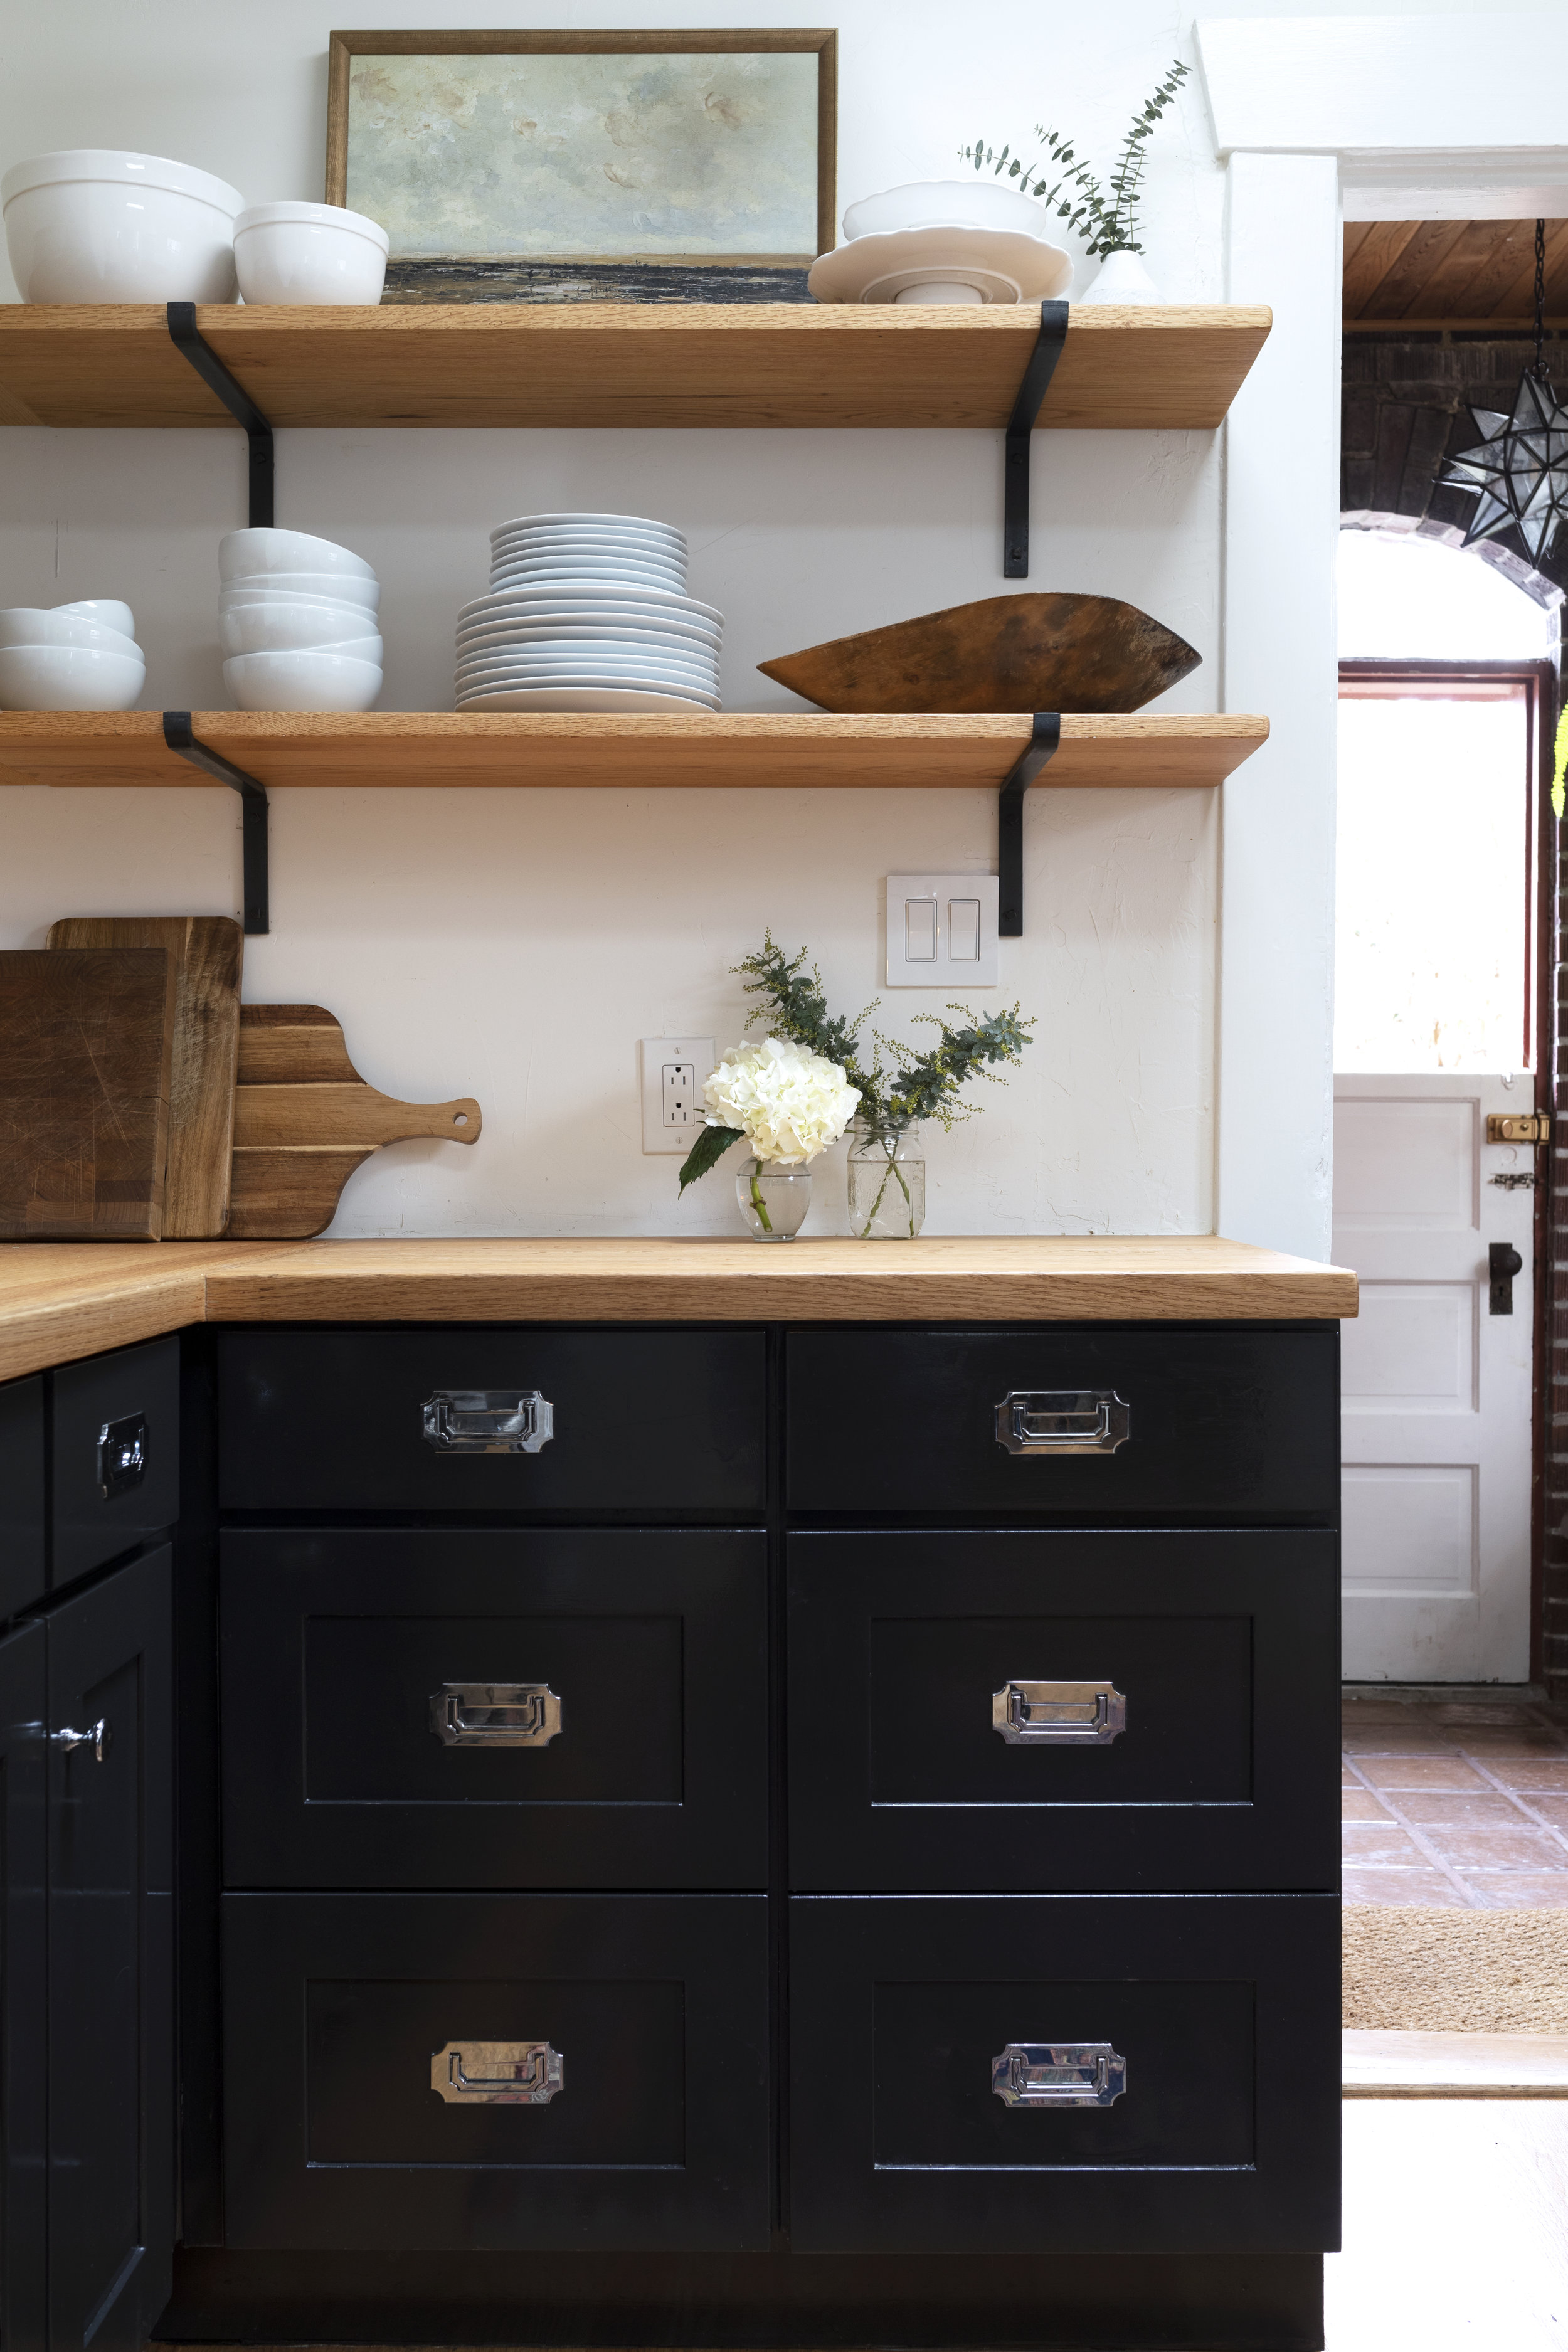
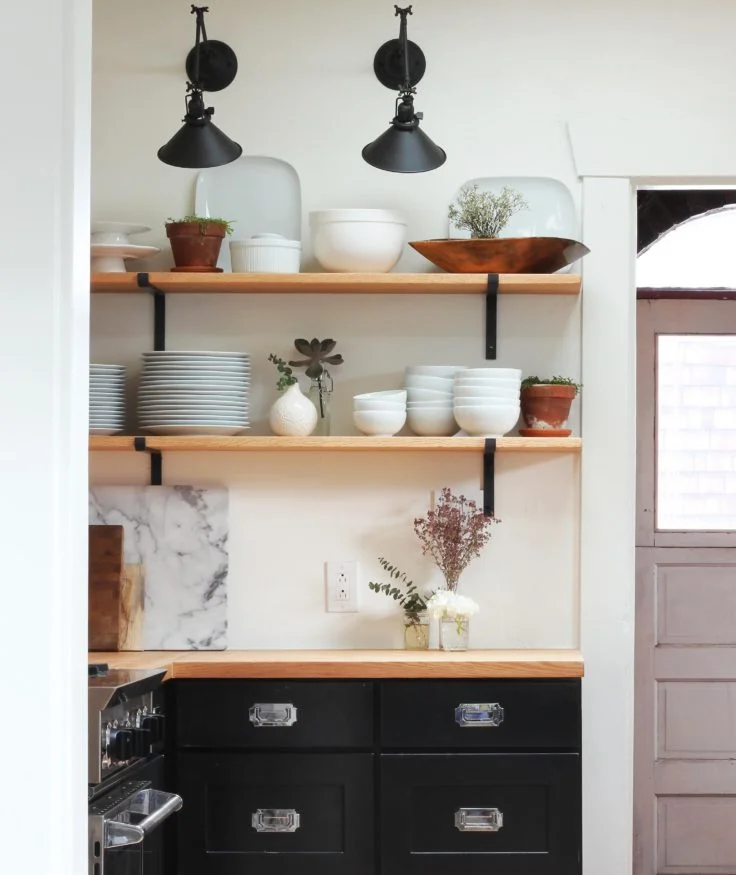
During the original renovation we sprayed these basic cherry cabinets with a semi-gloss on the uppers and a high-gloss on the bottoms. For the record, I don’t think I’ll ever use high-gloss again because they’re too shiny and show every smudgy fingerprint. You live and learn, ya know?!
After 3 years, these cabinets were showing a little wear, especially on the most frequently used cabinets. So we touched them up using the same paint as we used originally and a brush. A few people asked about touching up with a brush after having had sprayed the cabinets, and it was just fine. They’re not perfect, but they’re better than before. Just make sure you’re using a high-quality paint, which will make brush marks less noticeable.


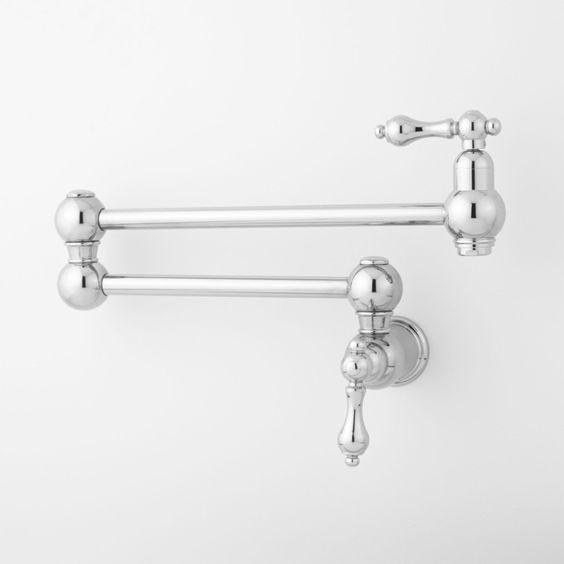
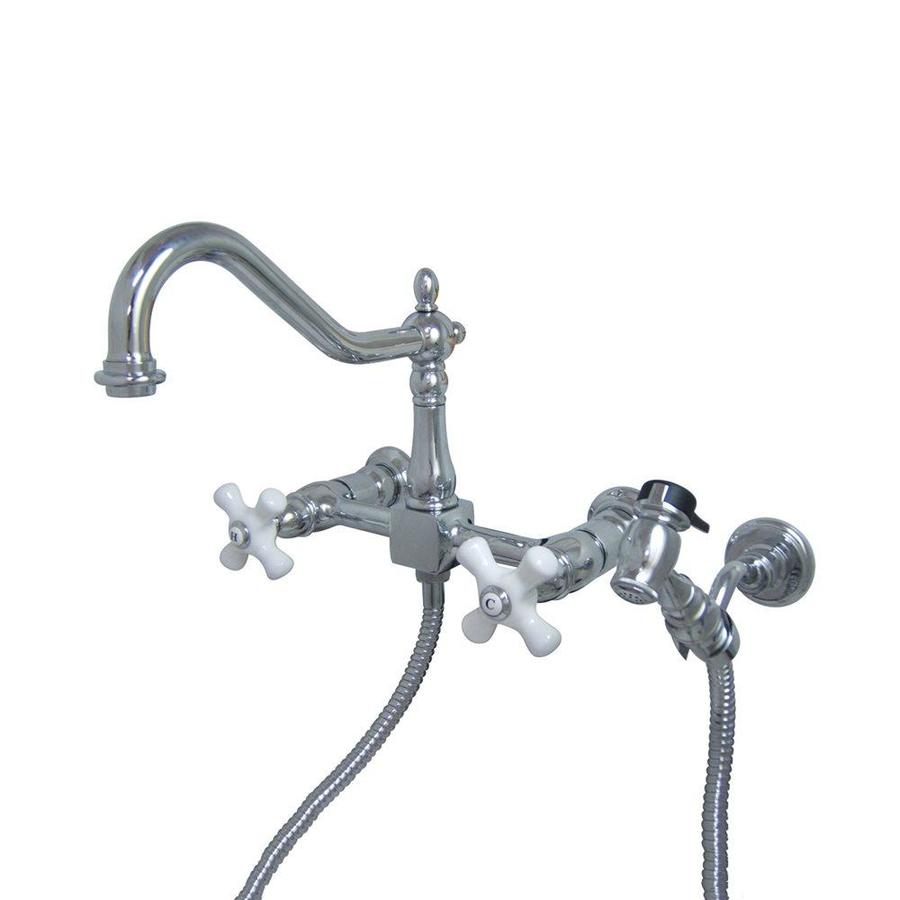
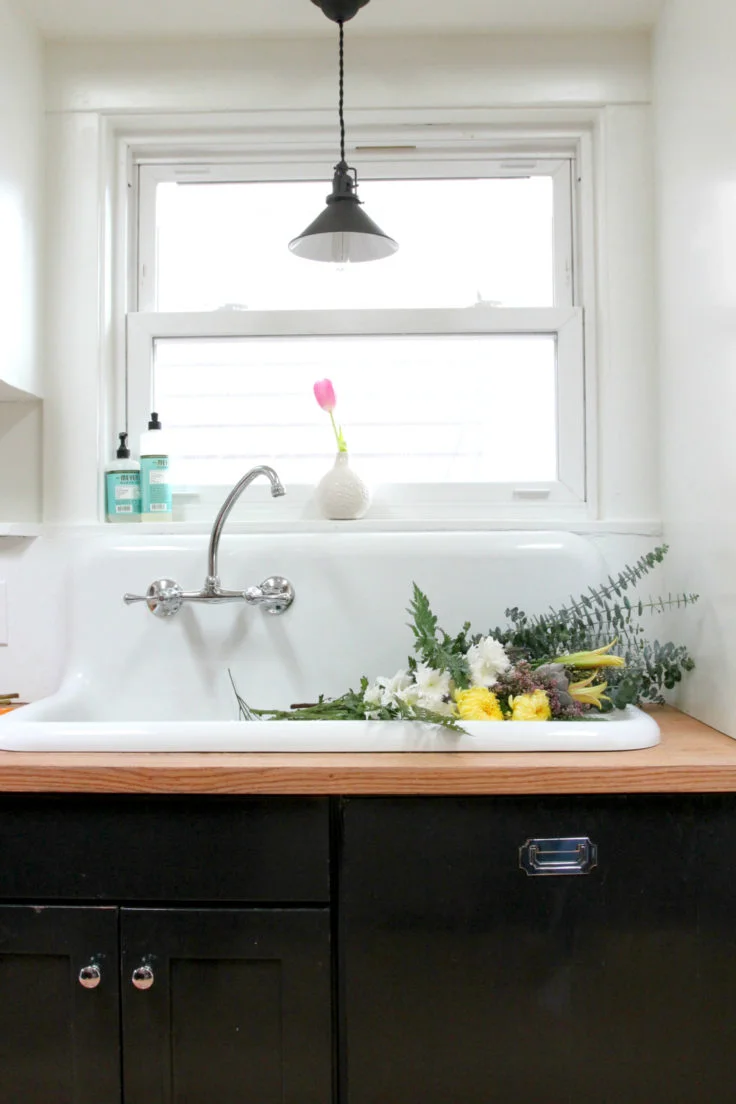
replacing the faucet
Replacing the faucet was super easy and kinda life changing. Ha! I’m only partly kidding 😉 But I will say, I’ll never wait so long to do replace a faucet again. That easy. We shared more about this project here, including a video showing exactly how to pick out and replace a faucet.
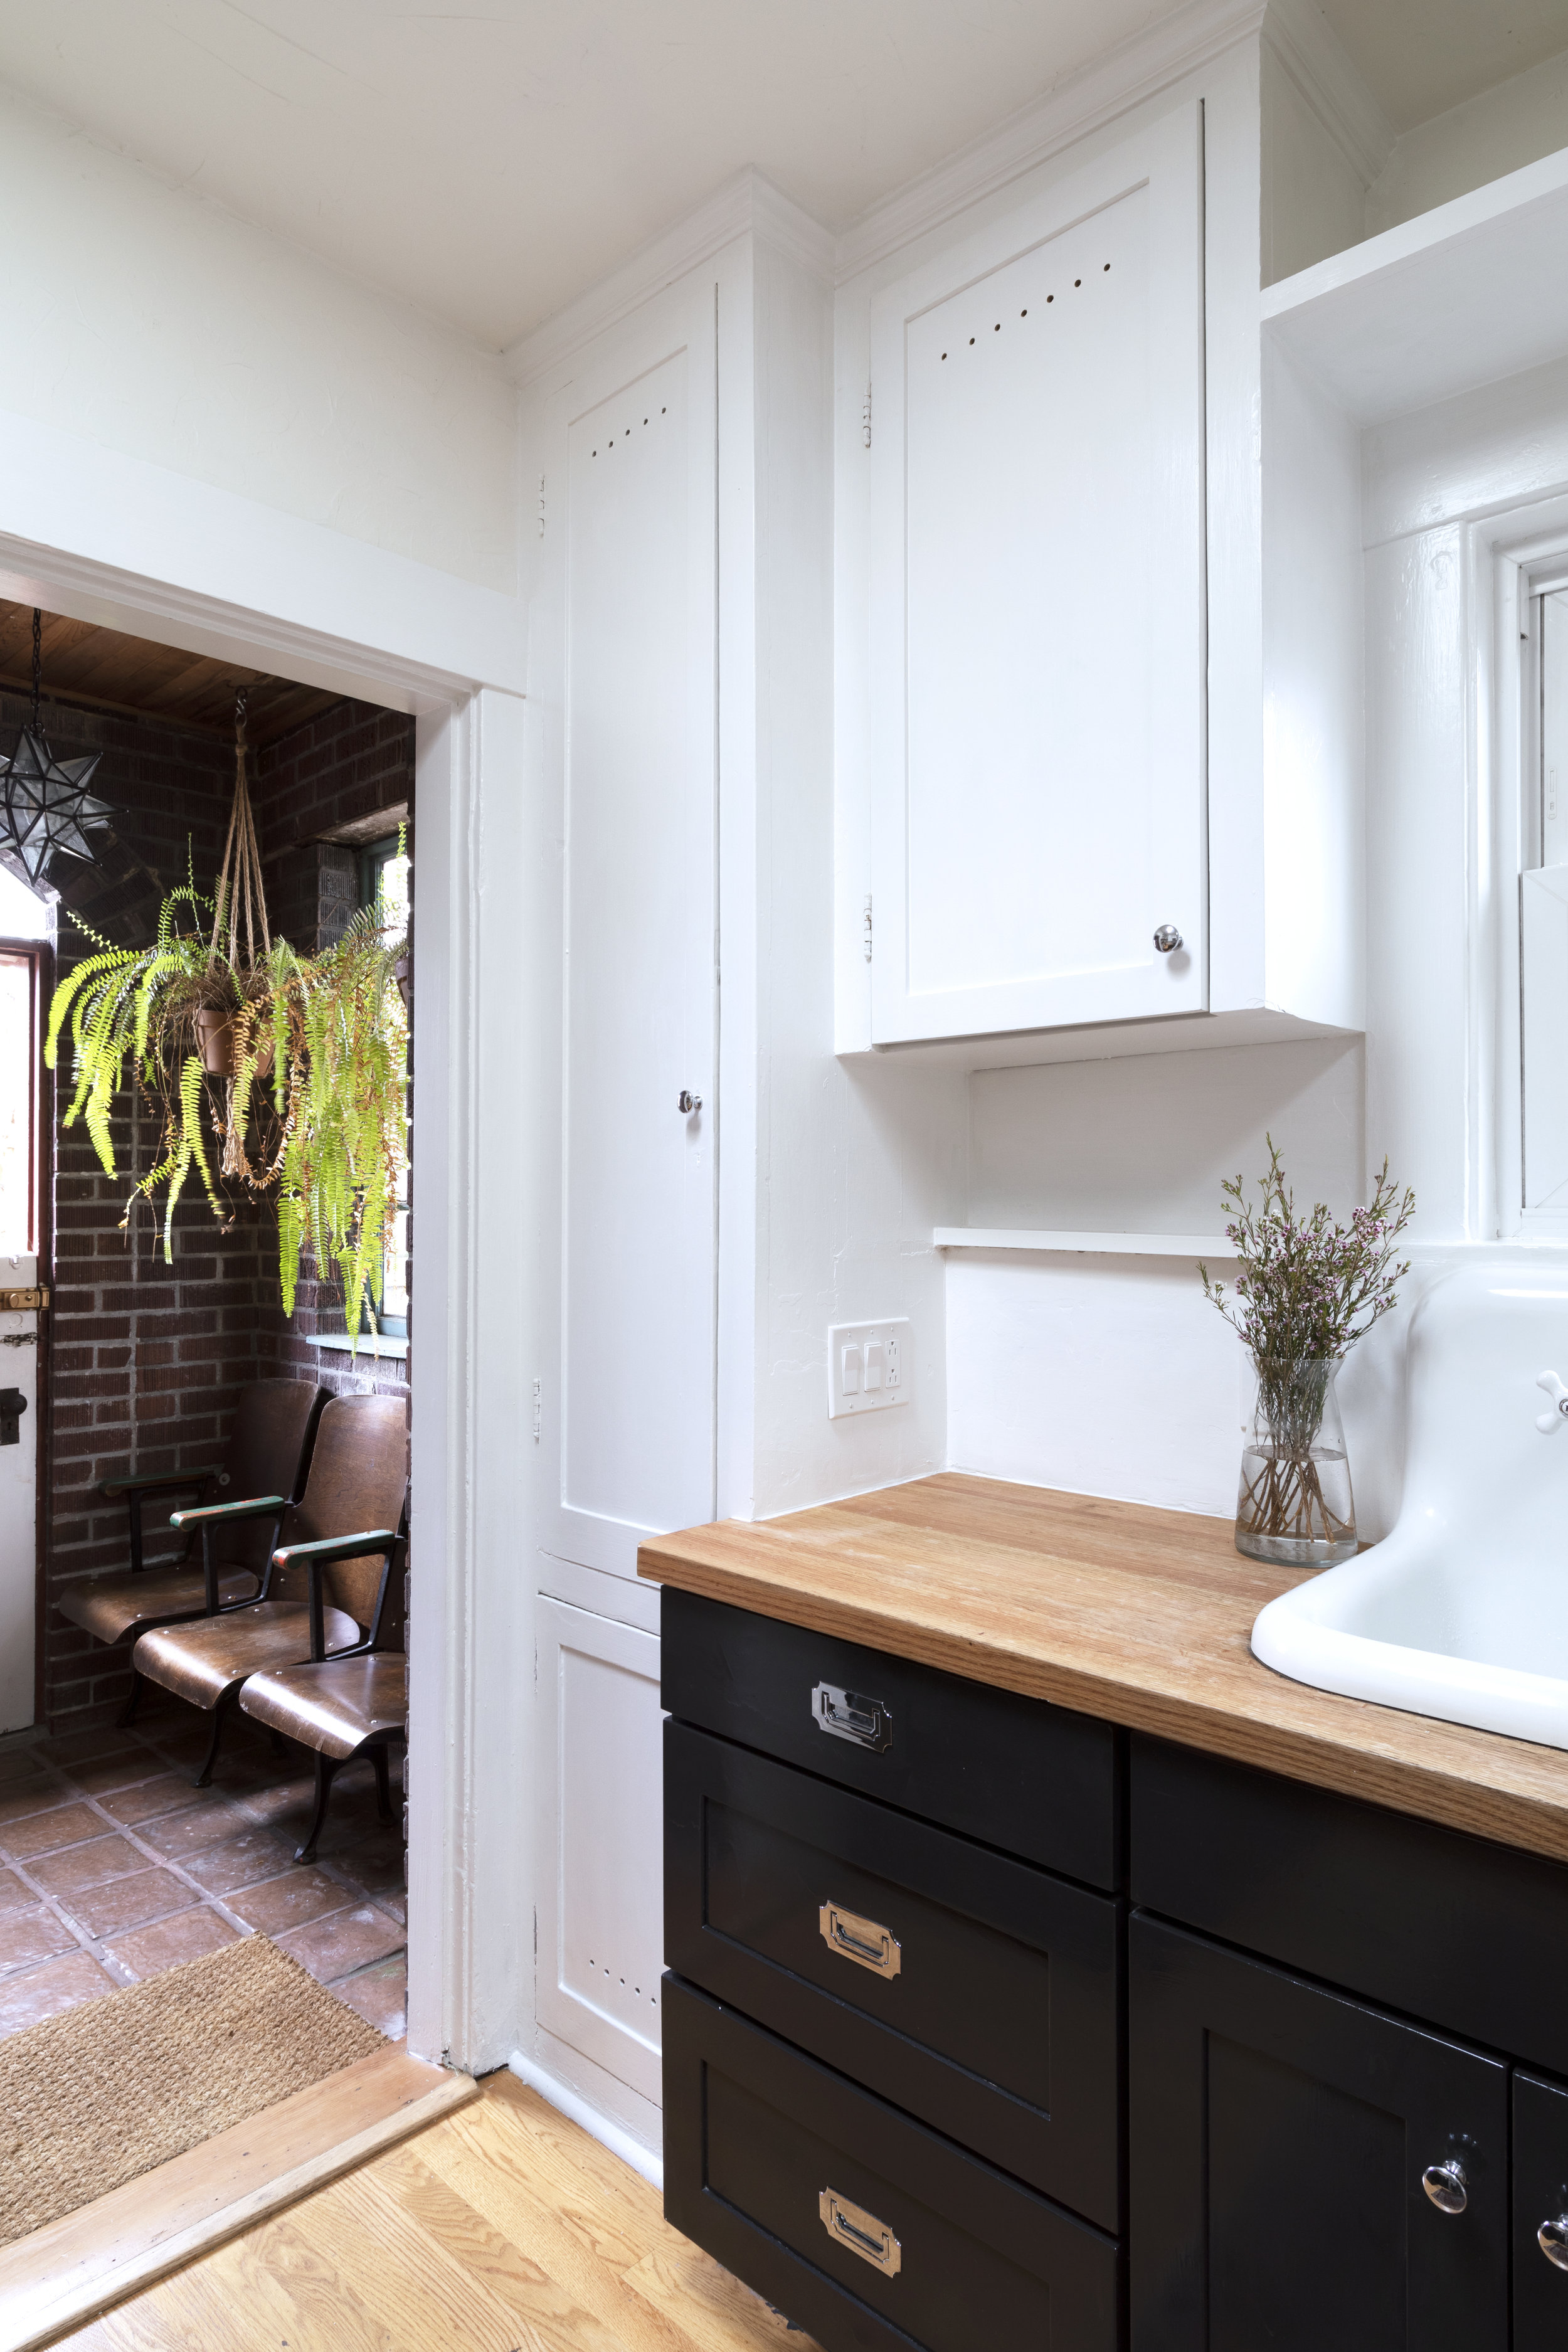
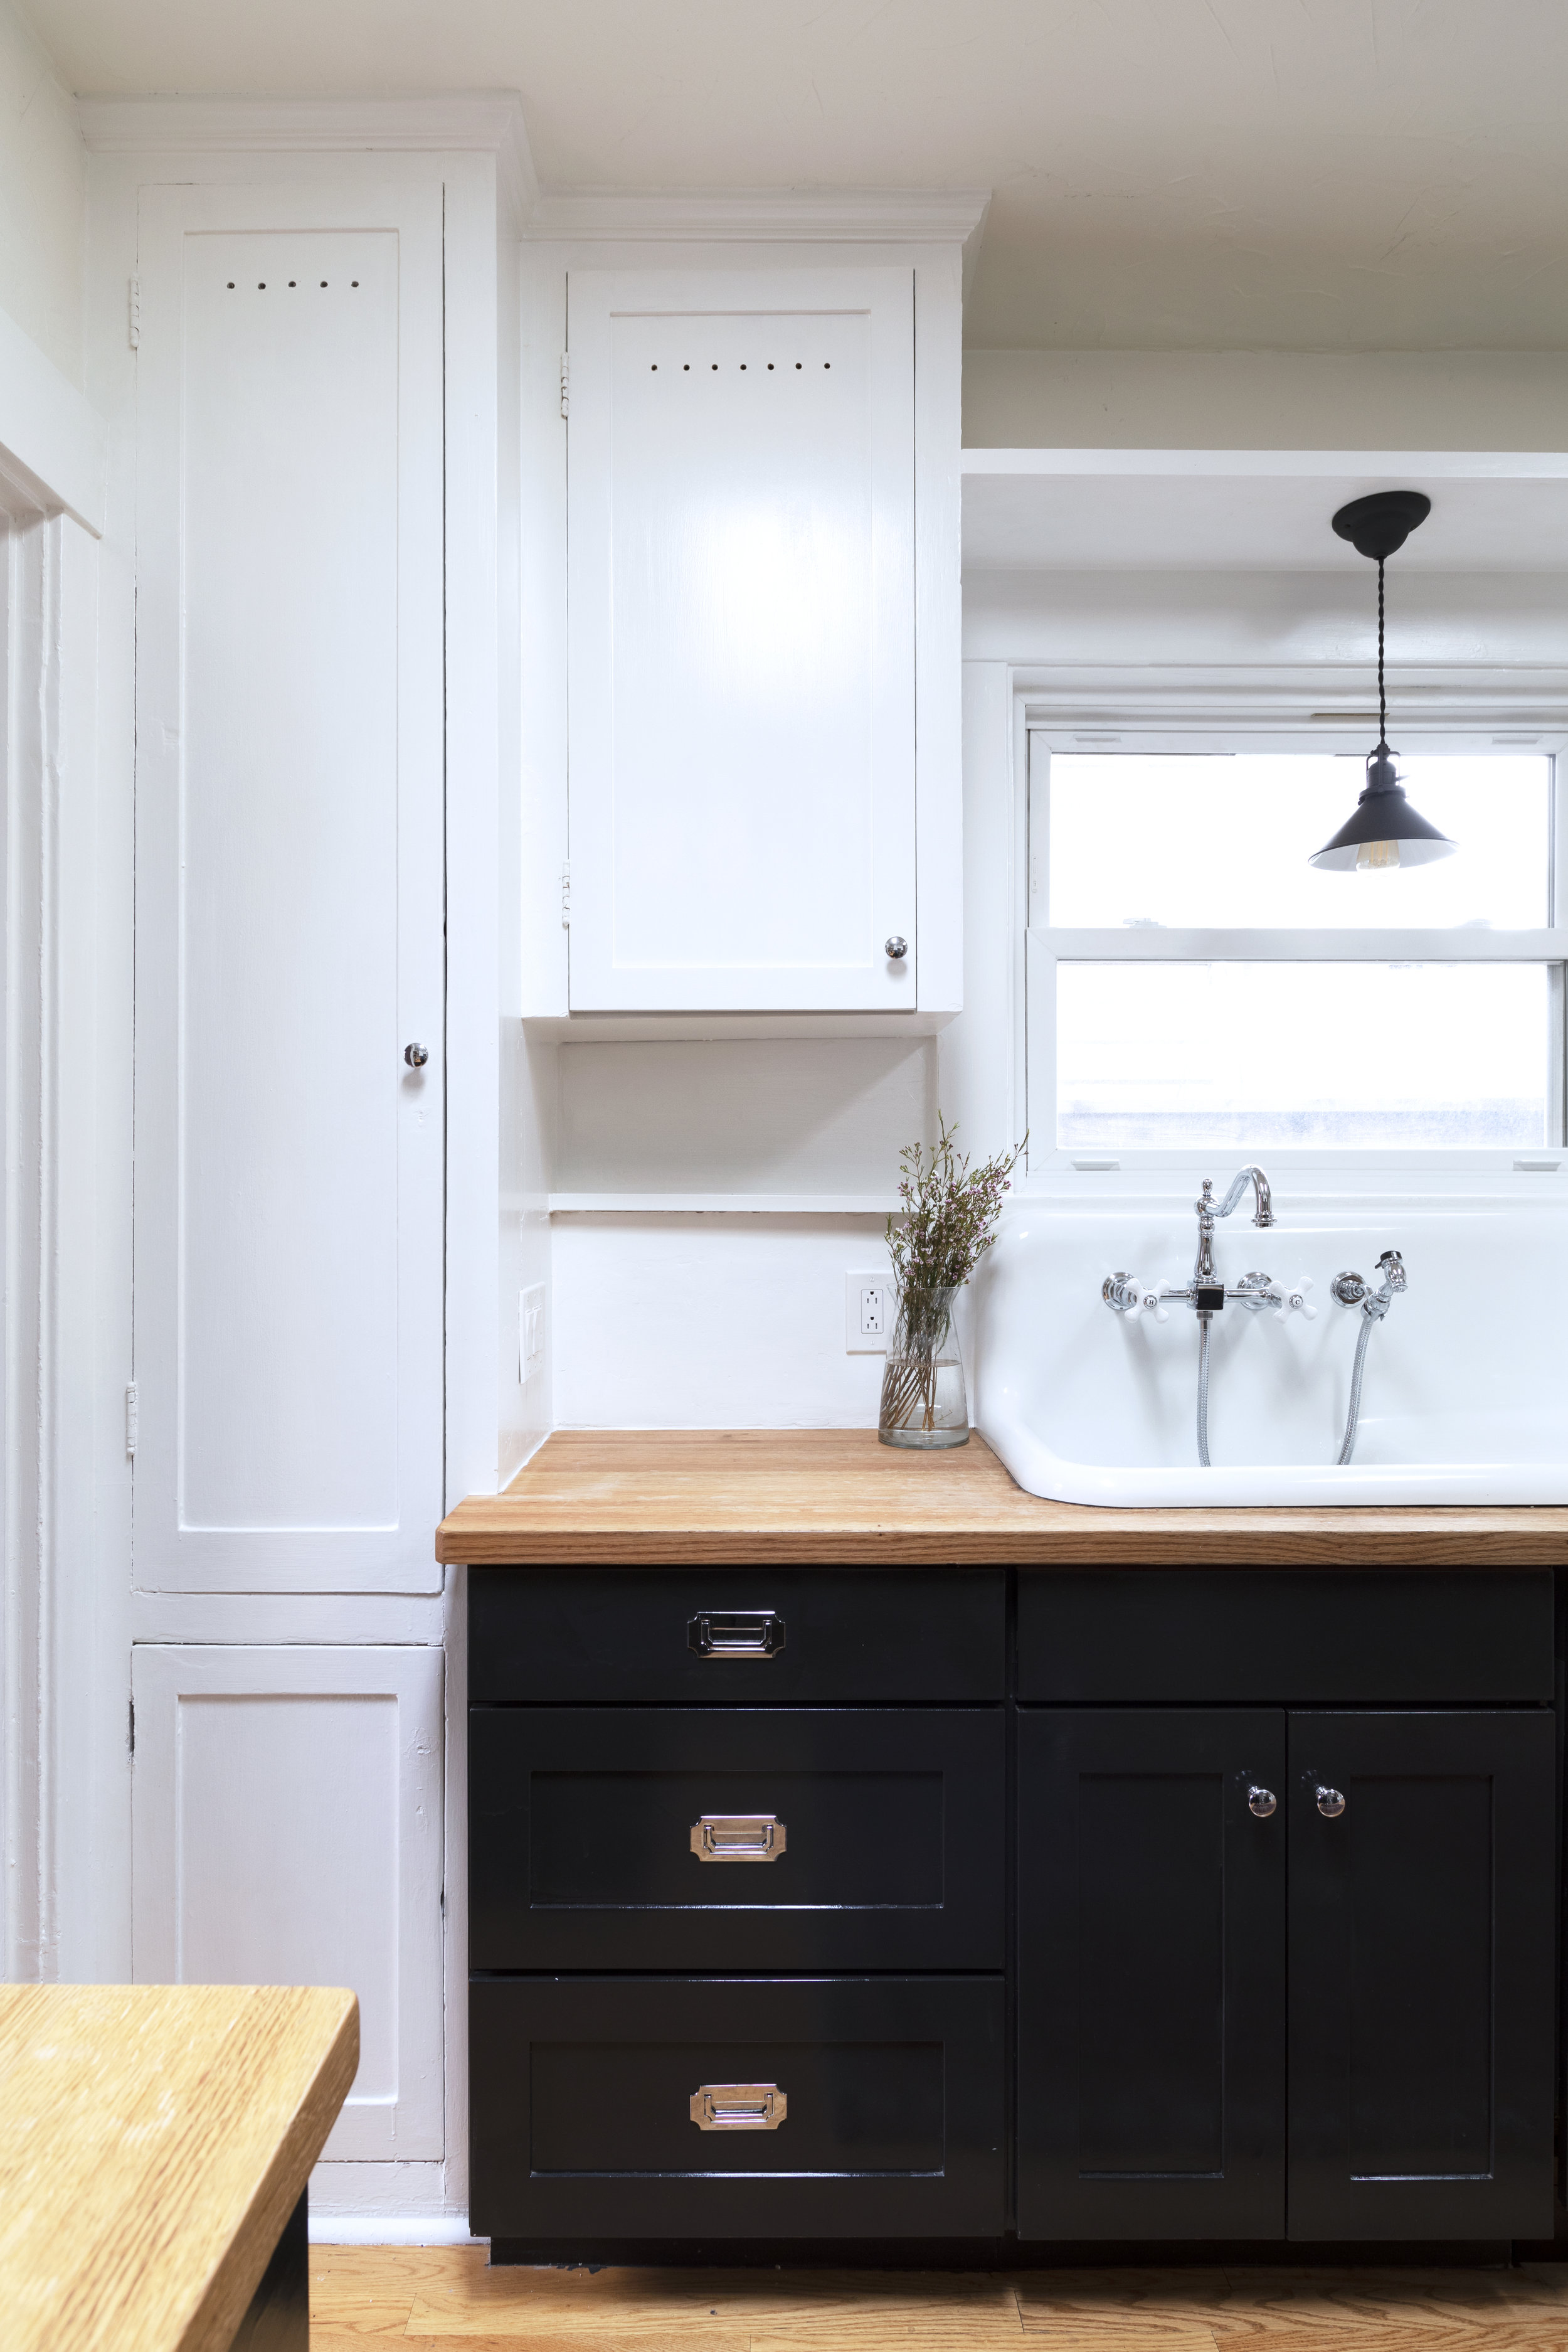
adding a new door to an old cabinet box
This was another easy project, and I’m planning to share a DIY post because I got a ton of questions about it. Basically we ordered a custom cabinet door online (matching the cabinet dimensions from the adjacent door), painted it, drilled the “pie-safe style” holes, and then installed it. So. Much. Better!

adding a soffit to the upper cabinets
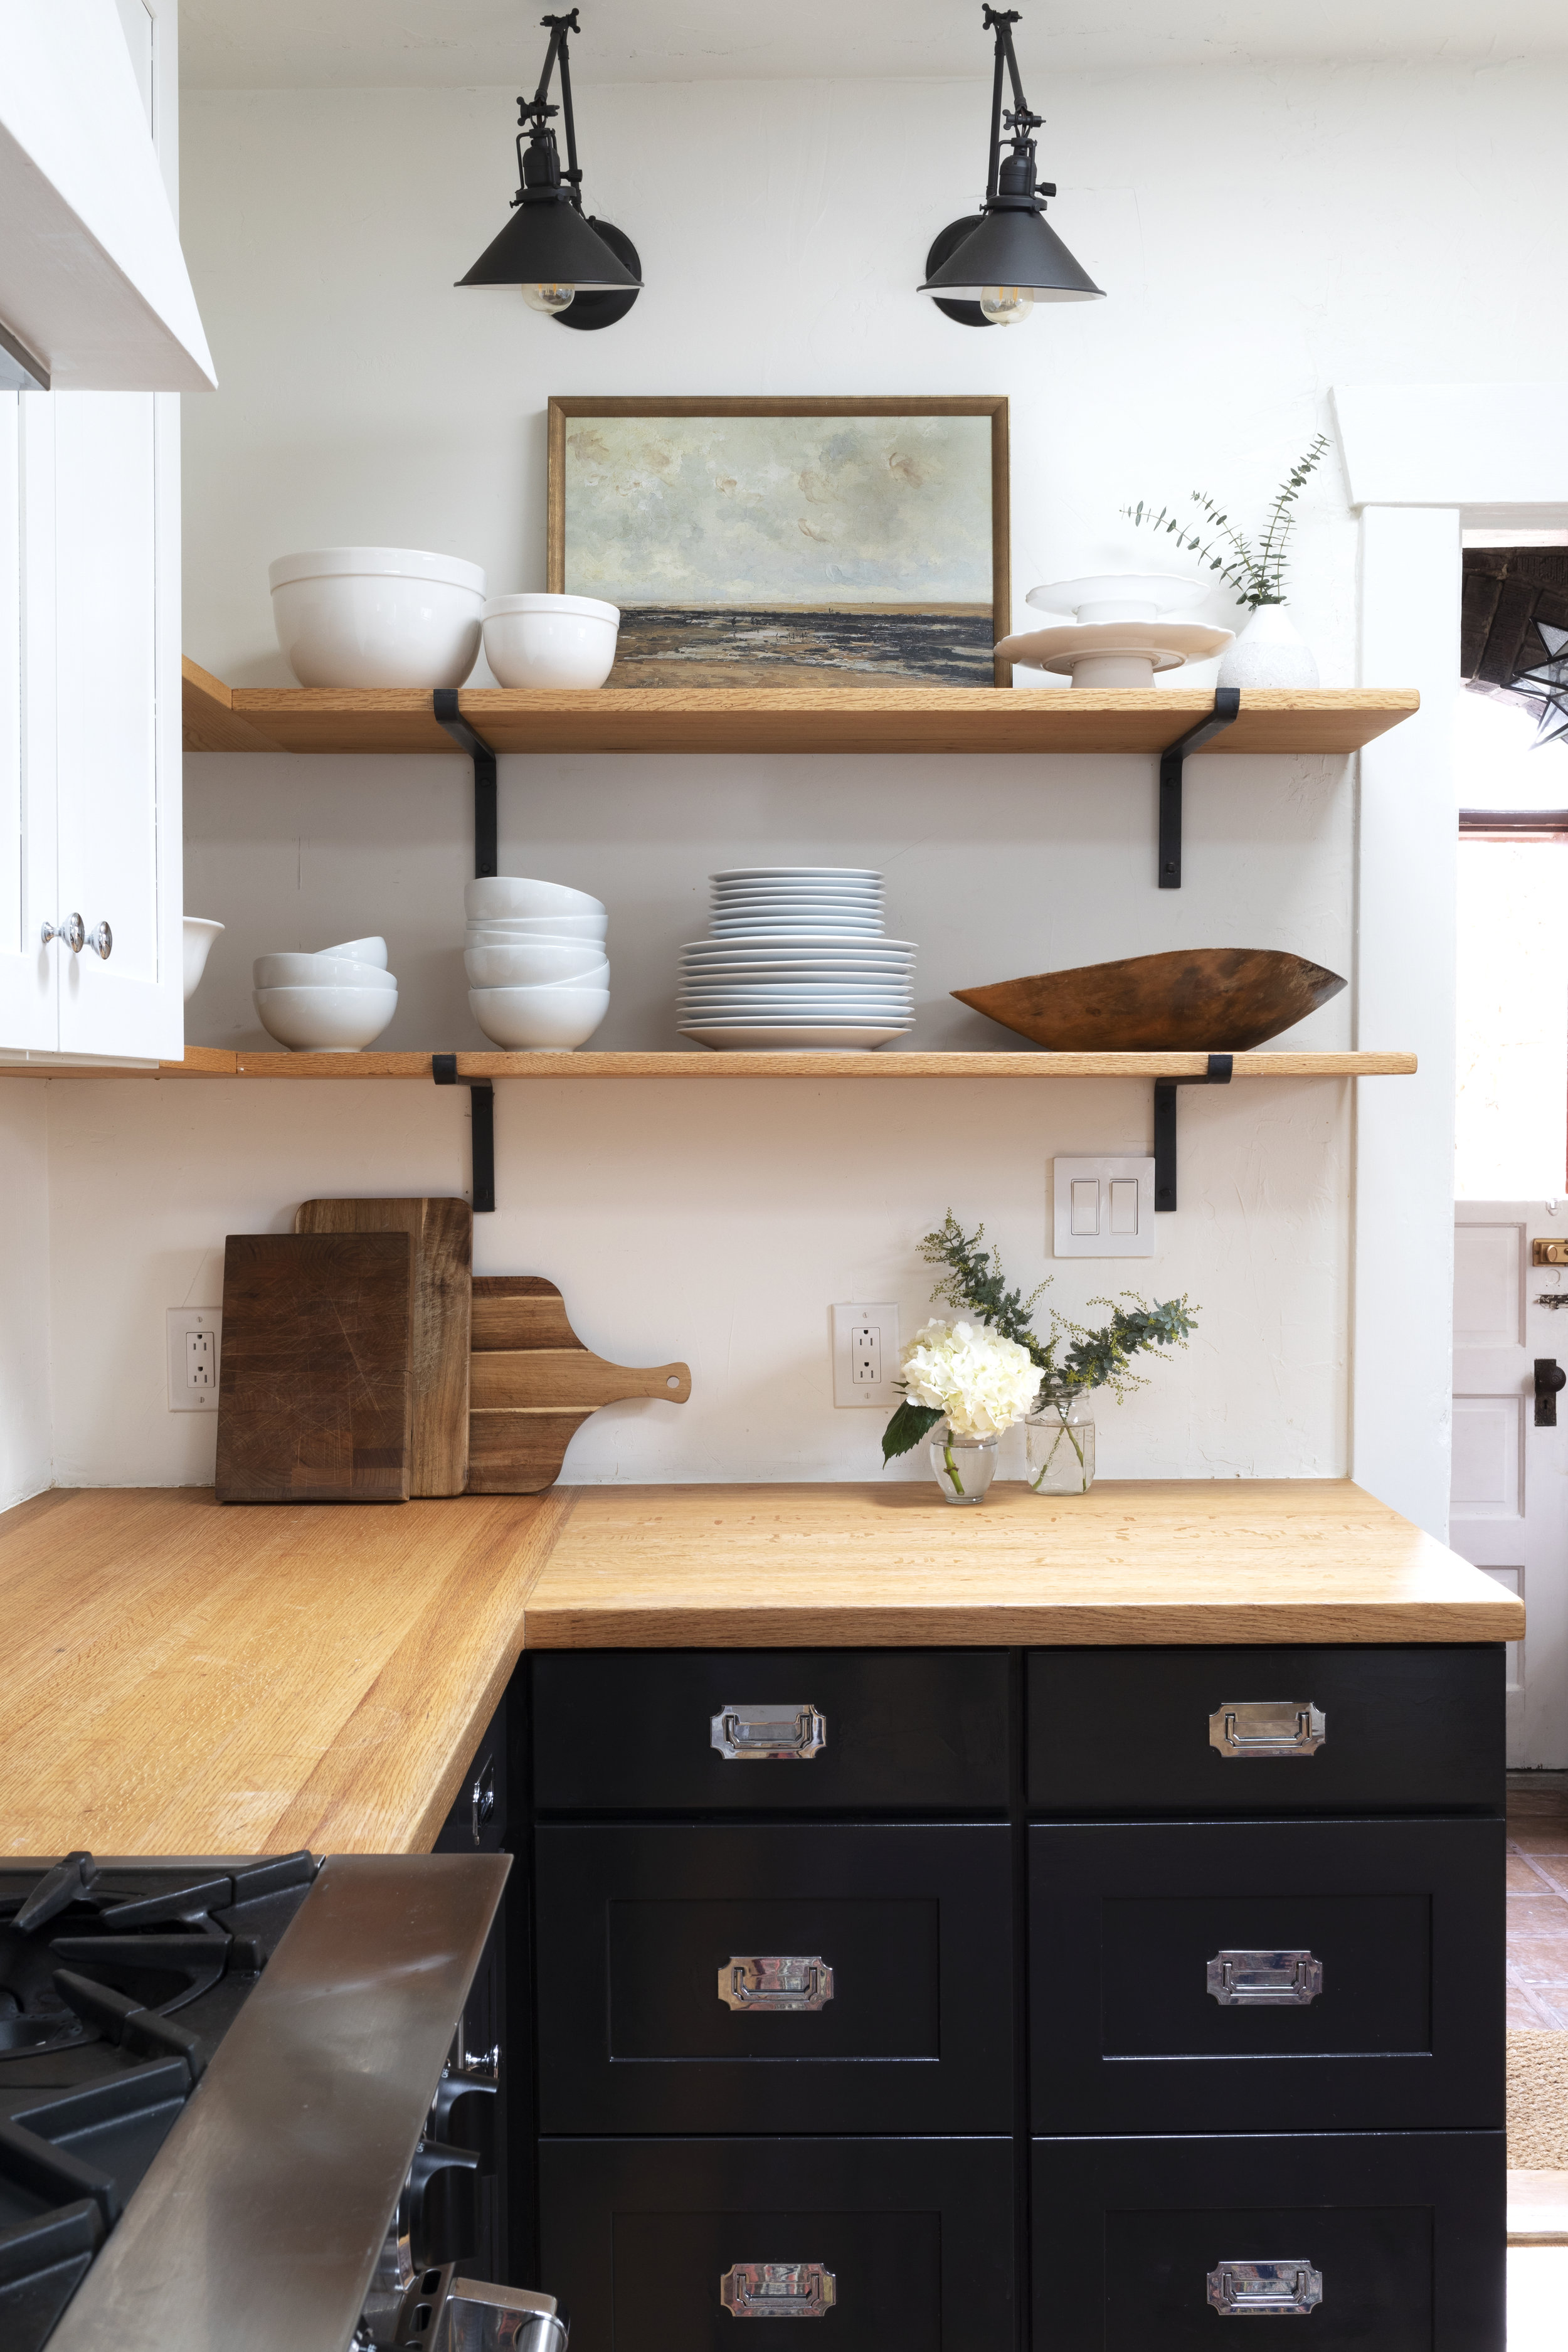
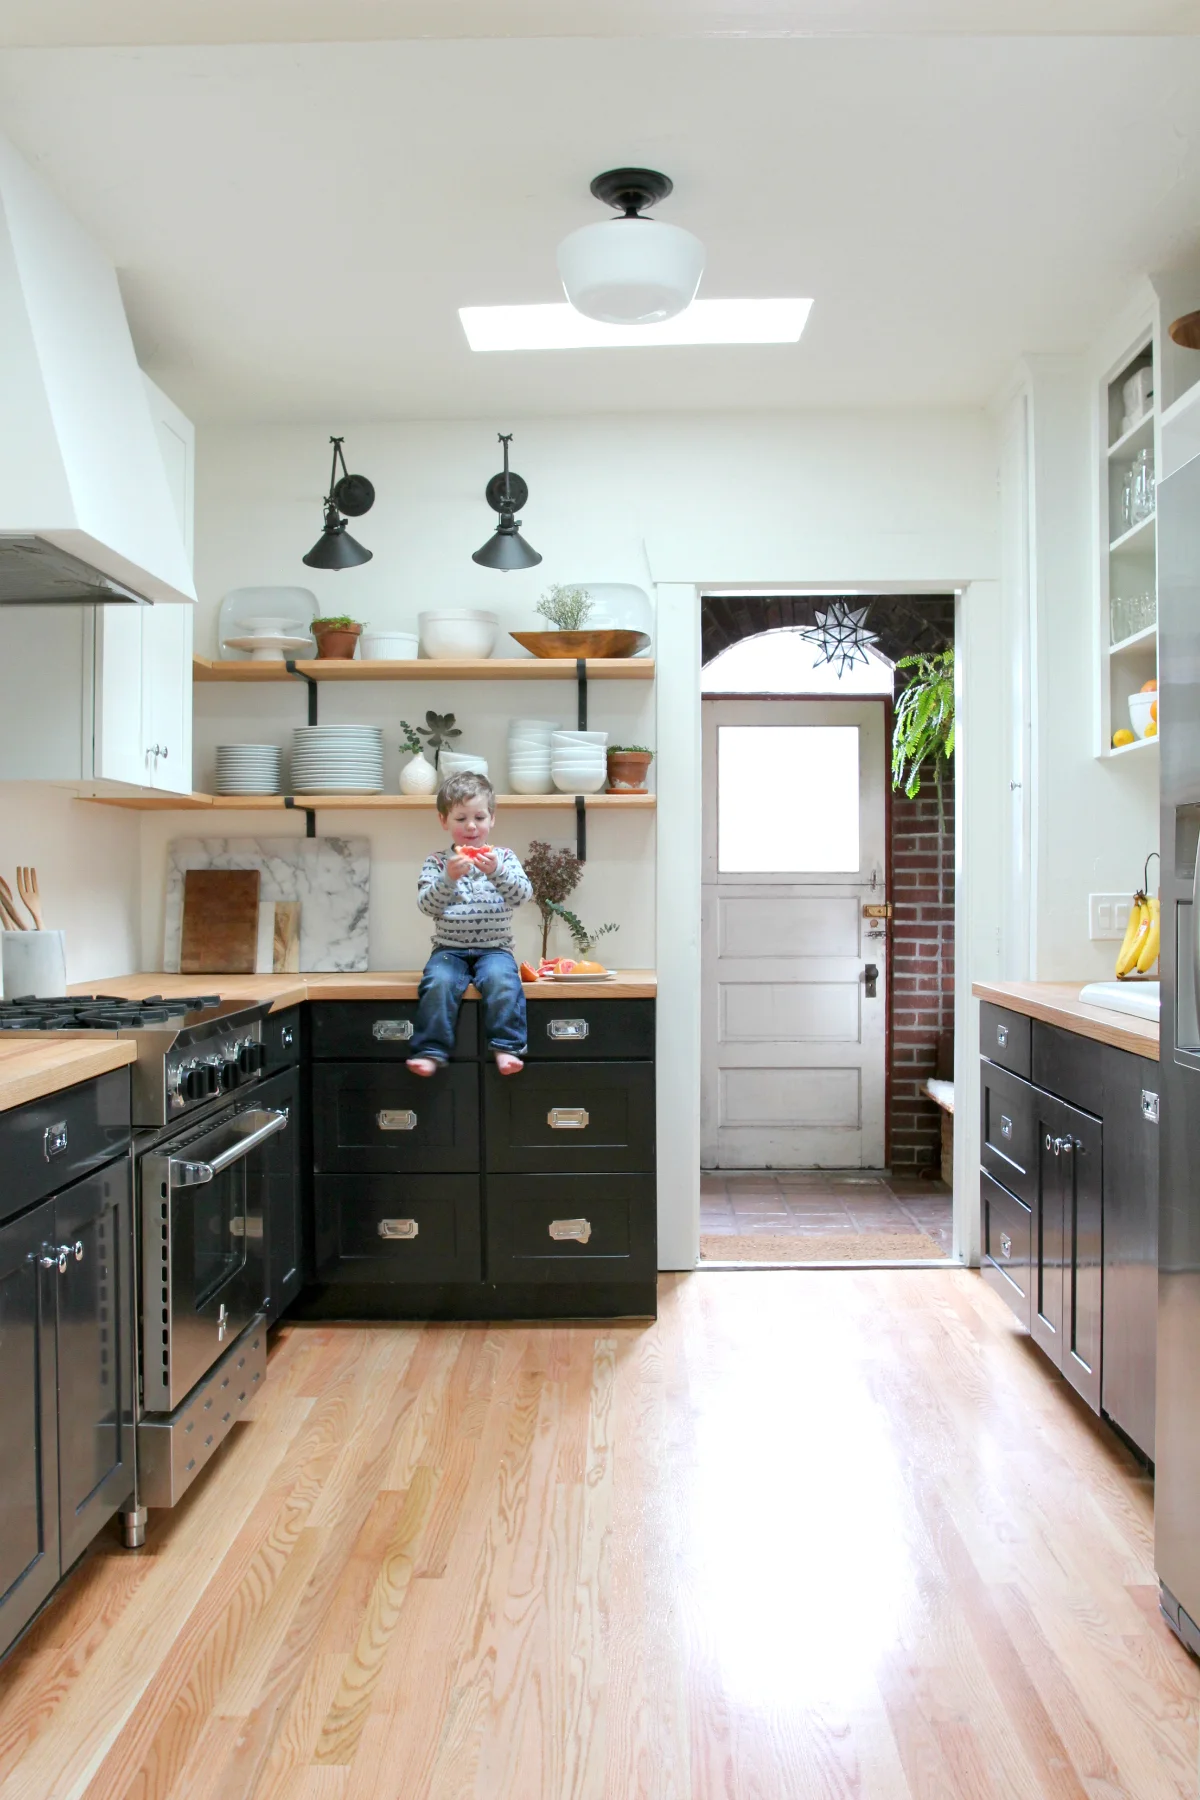
The gap between these new white cabinets and the ceiling was the single thing that bothered me most about this kitchen. So Garrett built a soffit to fill-in the gap. We even added some crown moulding to match the original cabinets on the other side of the kitchen. Nothing groundbreaking, but I think this area feels more integral and built-in now.

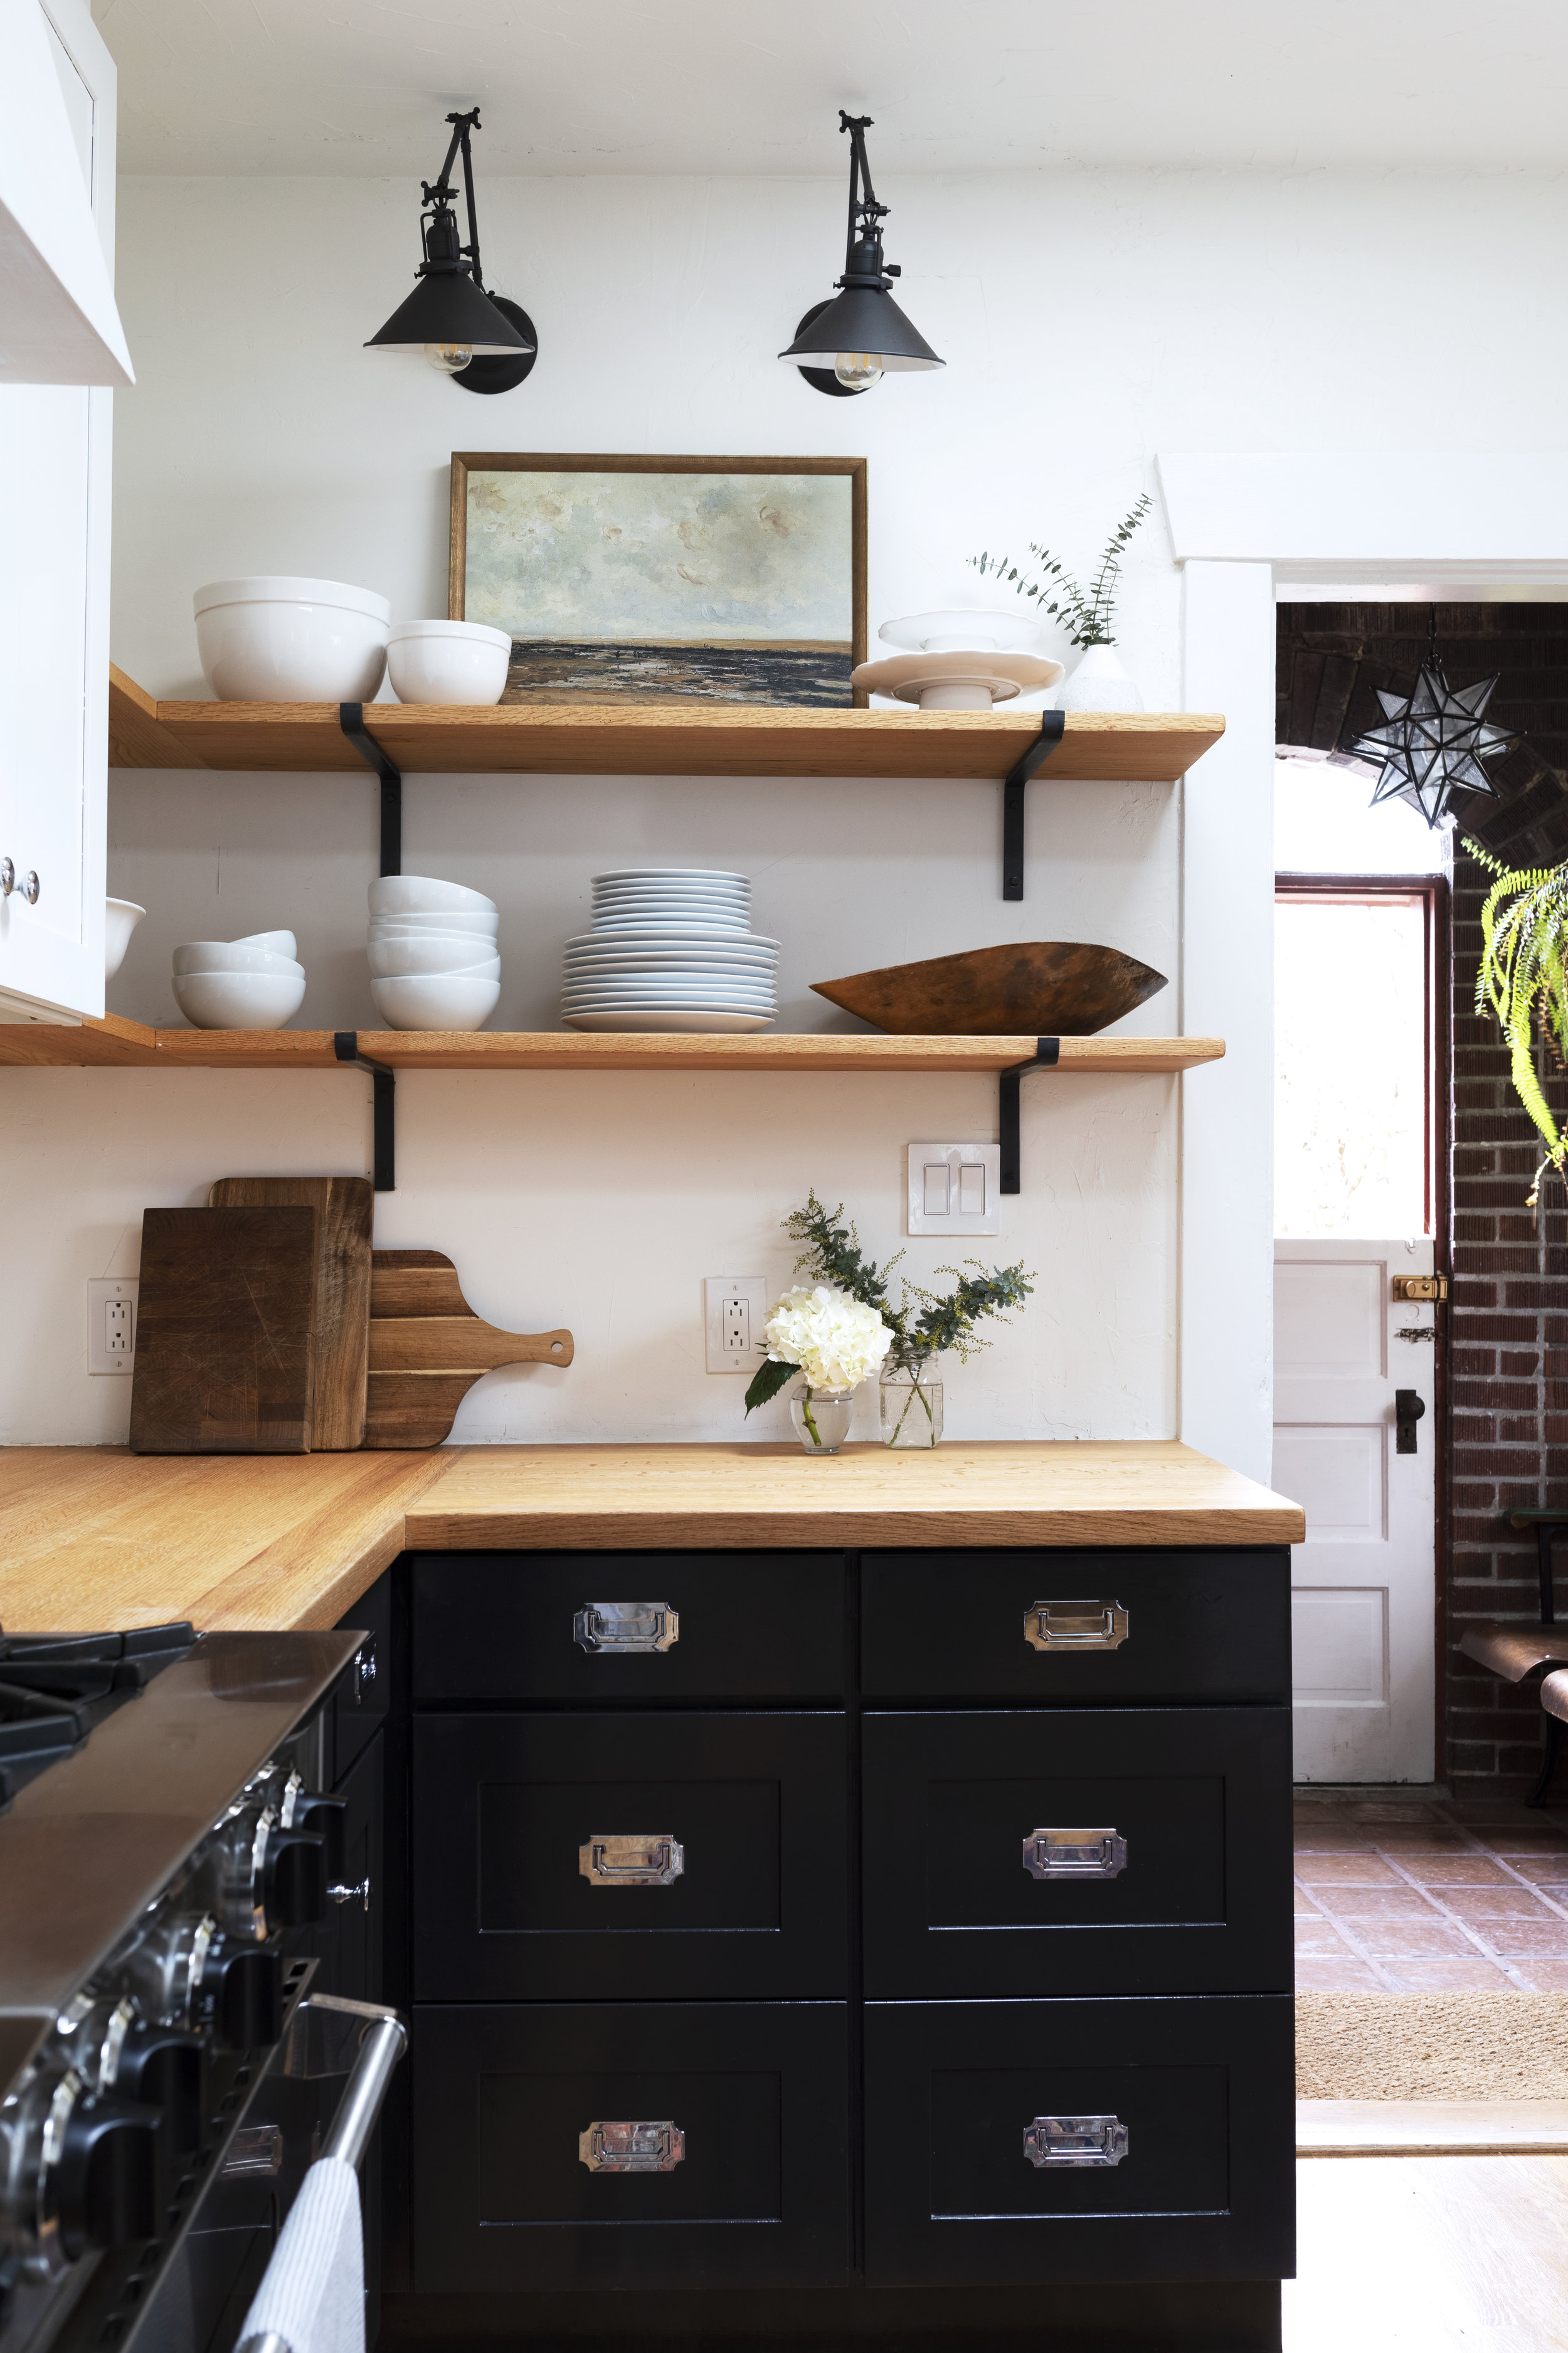
refinishing the butcher block countertops
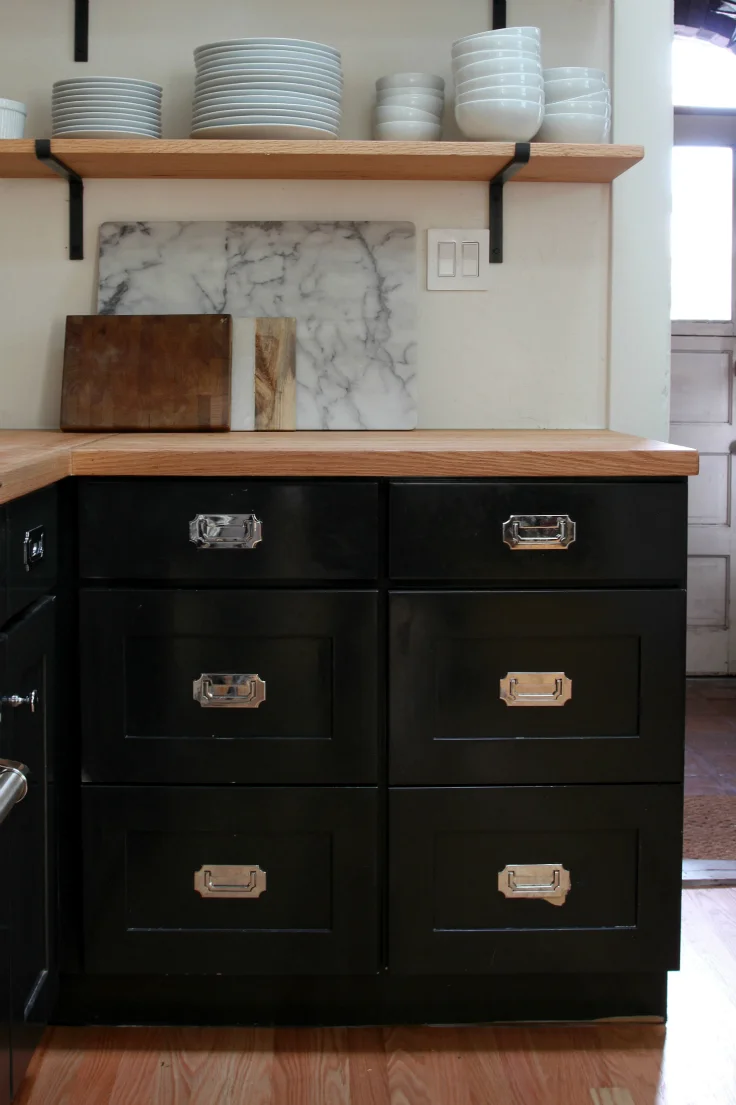
After 3 years of little maintenance, these beautiful red oak countertops (from Hardwood Industries) were looking a little dry and dull. We also unfortunately found one spot where a guest had used them as a cutting board and left knife marks…eek! But all in all, they were in good shape and just needed a new finish. So we sanded them down and applied two coats of this finish. And because the wood around the sink always ends up extra dry, I left the half-full bottle of finish at the Dexter House and will periodically add another coat there.


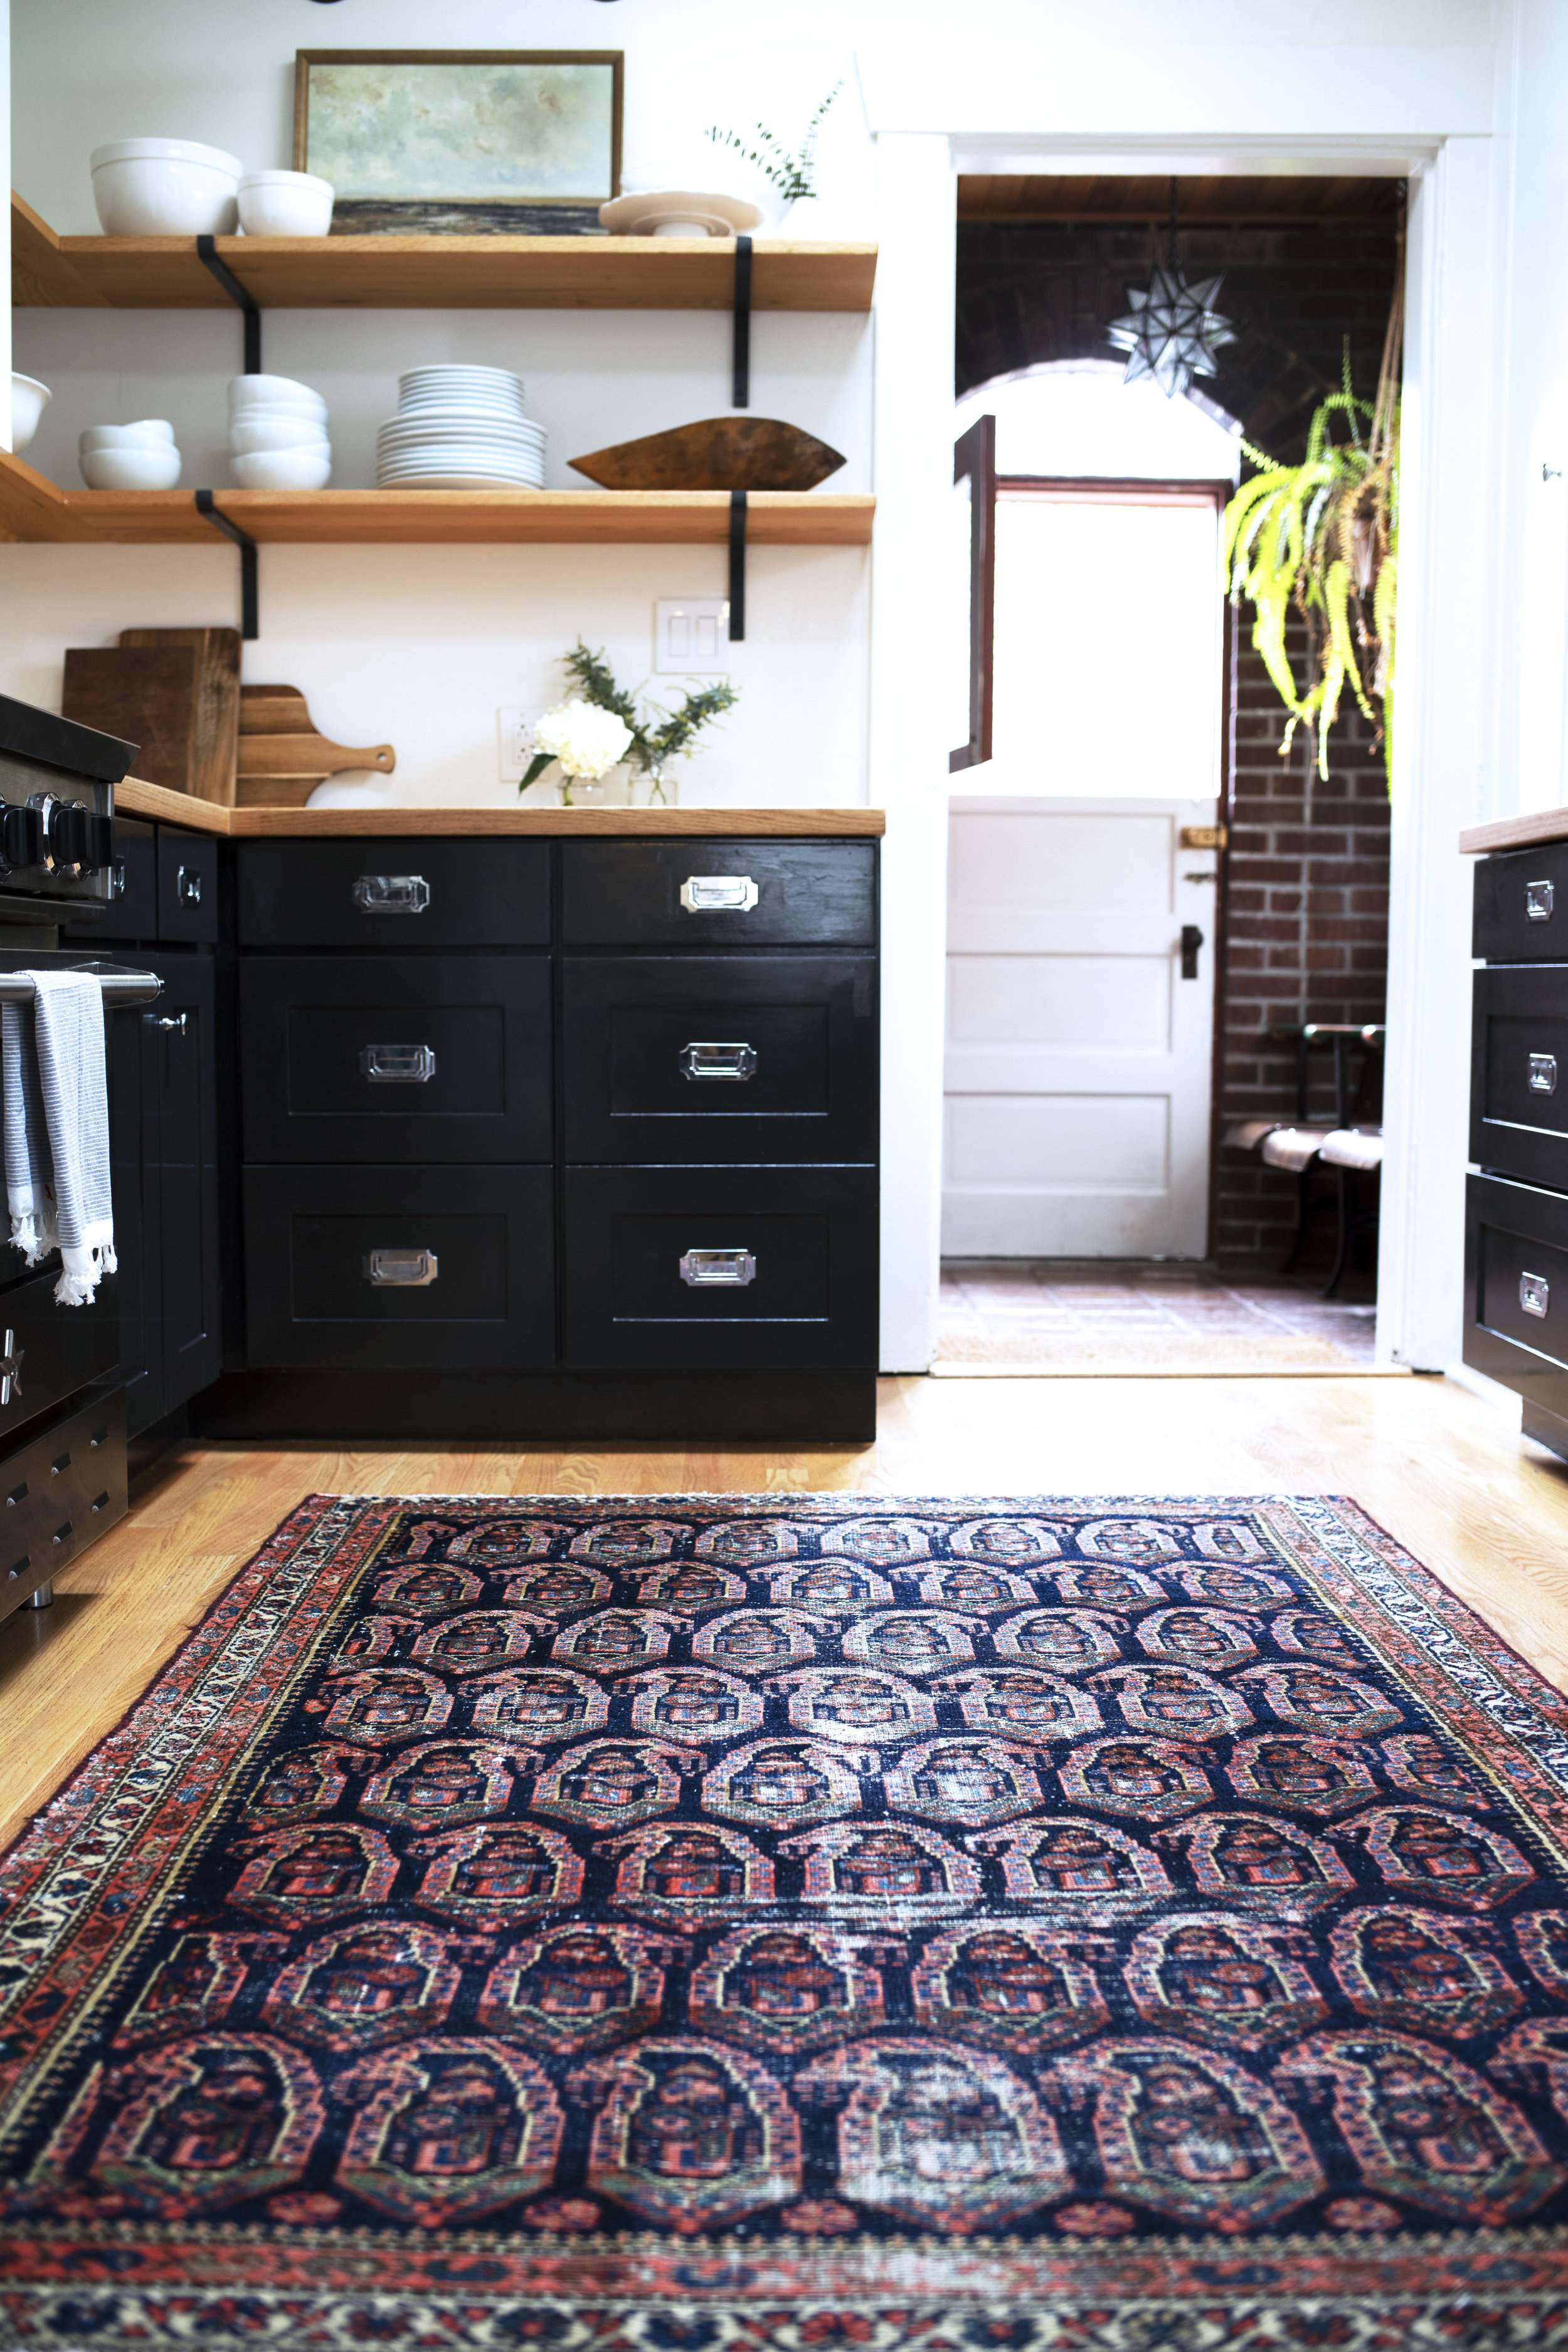
freshening up the styling
I wanted to freshen up this kitchen a bit through styling. Nothing too fancy, just some nostalgic landscape art and a vintage rug. I have to say, this rug (which came from Olio Collective) is gorgeous! It’s wool, dark, low pile, and so interesting to look at. And yes, I realize it’s a risk putting a rug in the kitchen, but I figure I can always move it if there are issues.
Well that’s what the Dexter House kitchen looks like 100% finished (!!!). We’d love to hear what you think about the space, either the recent updates or the kitchen as a whole. Leave us a comment below!
And for anyone who wants to know more about this space, I’ve included a few posts from the original renovation at the bottom of this post in the ‘more from the Dexter kitchen’ section. I’ll also leave you with a few sources from this kitchen.
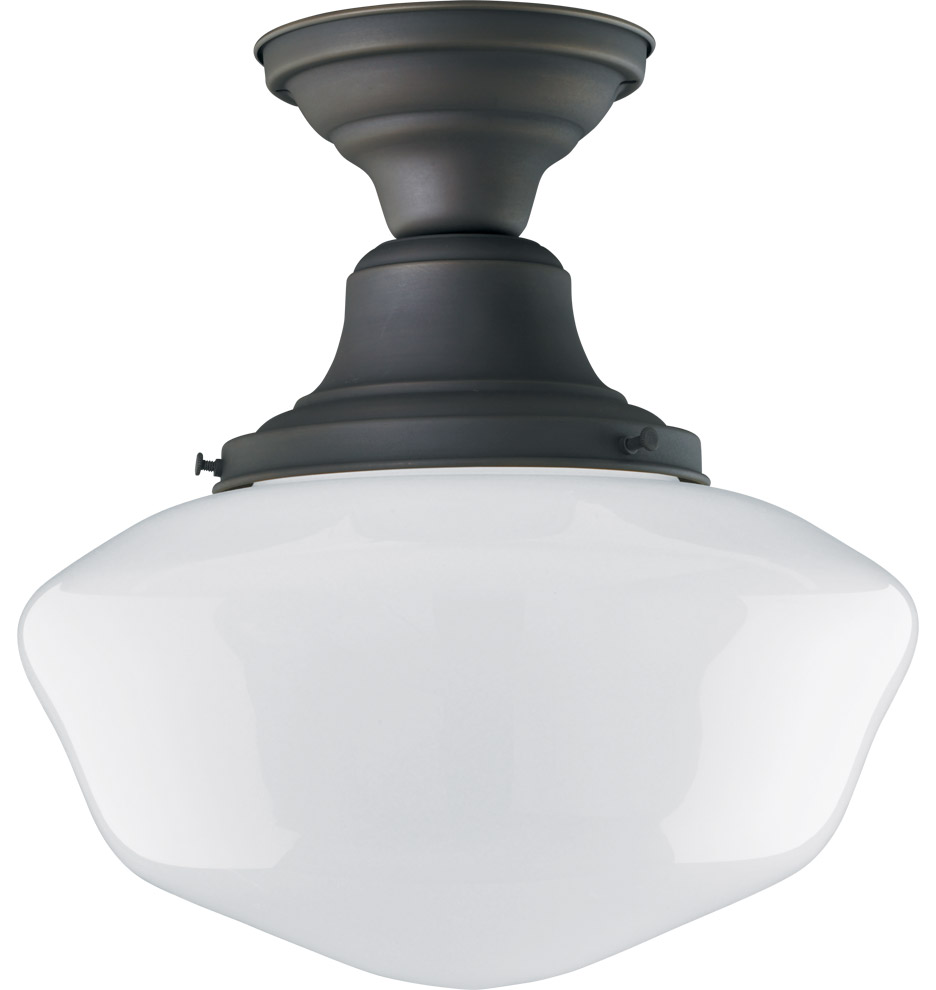
Sources
All sources are below and listed on the Dexter House shop page here