
A Classic Chalkboard Freezer DIY
THE RAVENNA HOUSE It feels like Fall, doesn't it?! We've got 80-degree weather here in Seattle and it still feels like Fall. Something about Labor Day and school buses and all those sales. Personally I love Summer, but Fall, well it's in a different league entirely. Changing leaves, crisp mornings, our anniversary, pumpkin beers...Fall, you're my favorite!
And speaking of Labor Day, we spent this past weekend at a family wedding in eastern Washington. It was Wilder's first wedding and he couldn't get enough of the live band and readily-available appetizers. I couldn't get enough of the little guy running around like he owned the place in a bow-tie and cowboy boots! Have you ever seen cowboy boots on a 14-month-old? They are amazing! Seriously! Anyway, it was an amazing time had by all! But with 5 days out of town, we were not super productive on the renovation front. So this week I thought it would be a good time to catch you guys up on a quick but fabulous DIY we did last month.
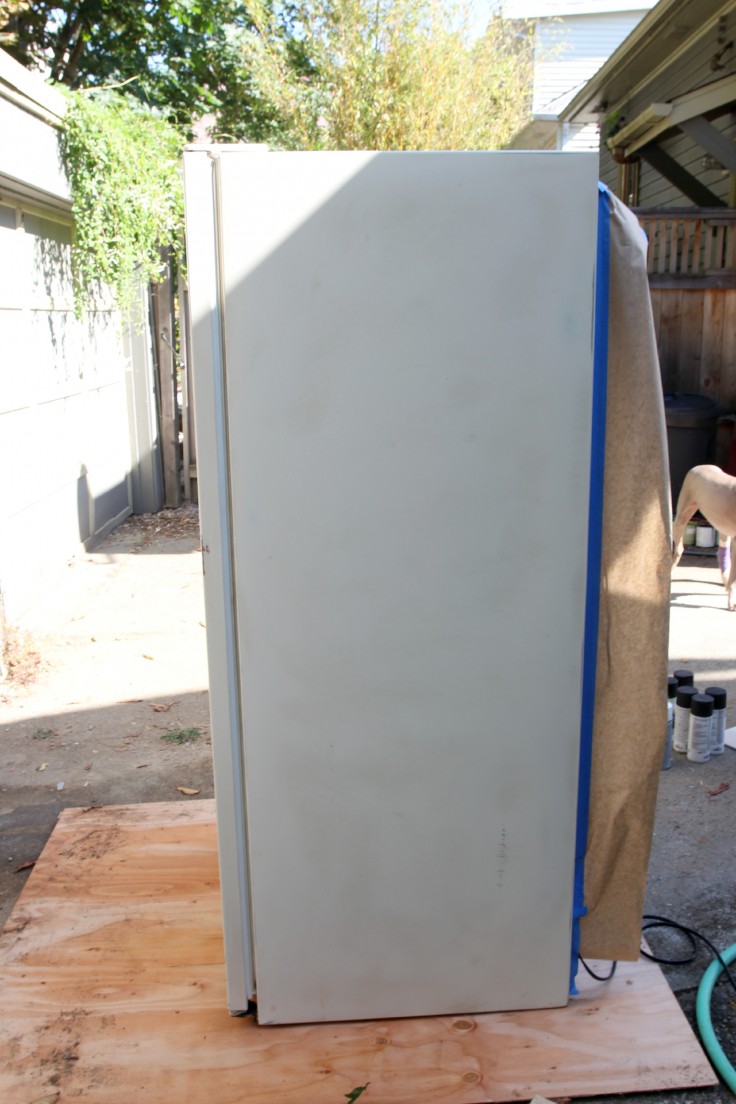
When we moved into the Ravenna House, the only appliance worth saving was an upright freezer. Why anyone would have an upright freezer in a house without a dishwasher or heating source, is beyond me. But I'm sure they had their reasons. Right?!
We've kept this lovely freezer in the garage (RIP) ever since we started renovations back in November. It's always been earmarked for our basement because (vegetarians cover your eyes), every summer we buy a pig from the Future Farmers of America at the Kittitas County Fair and this freezer would be the perfect spot to put it. So last month we pulled it out of the garage to air it out (ummm hmmmm), clean it up, and paint it with chalkboard paint. I know this is a DIY that's been repeated like a bazillion times on the internet (here, here, here), but it's one I really like, especially for a secondary appliance going in a well-used part of the basement. I mean what's better in a family room, a hazy white freezer with suspicious stains or a giant chalkboard?
Exactly.
Here's what we did.
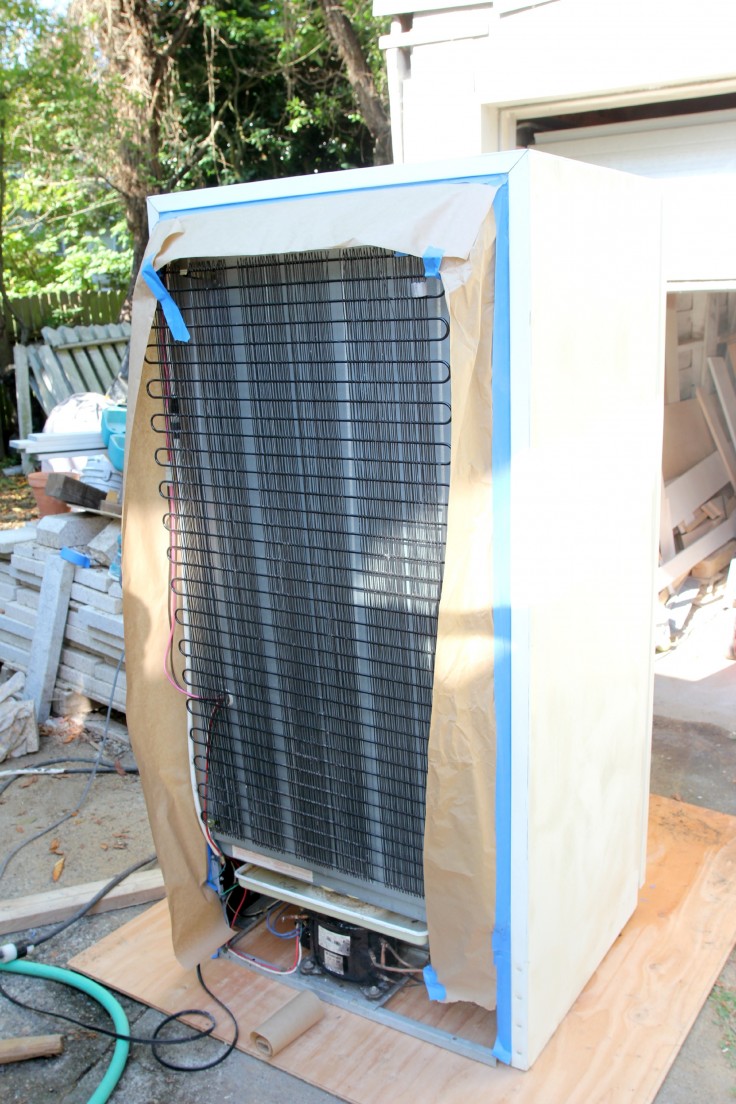
Step 1: clean and lightly sand the freezer. Garrett did this part (as he does all the icky and/or unpleasant tasks) so I'm not sure what grit sandpaper he used, but I know he used our palm sander. He then taped off anything we didn't want painted, like the coils in the back (is that what they're called...?).

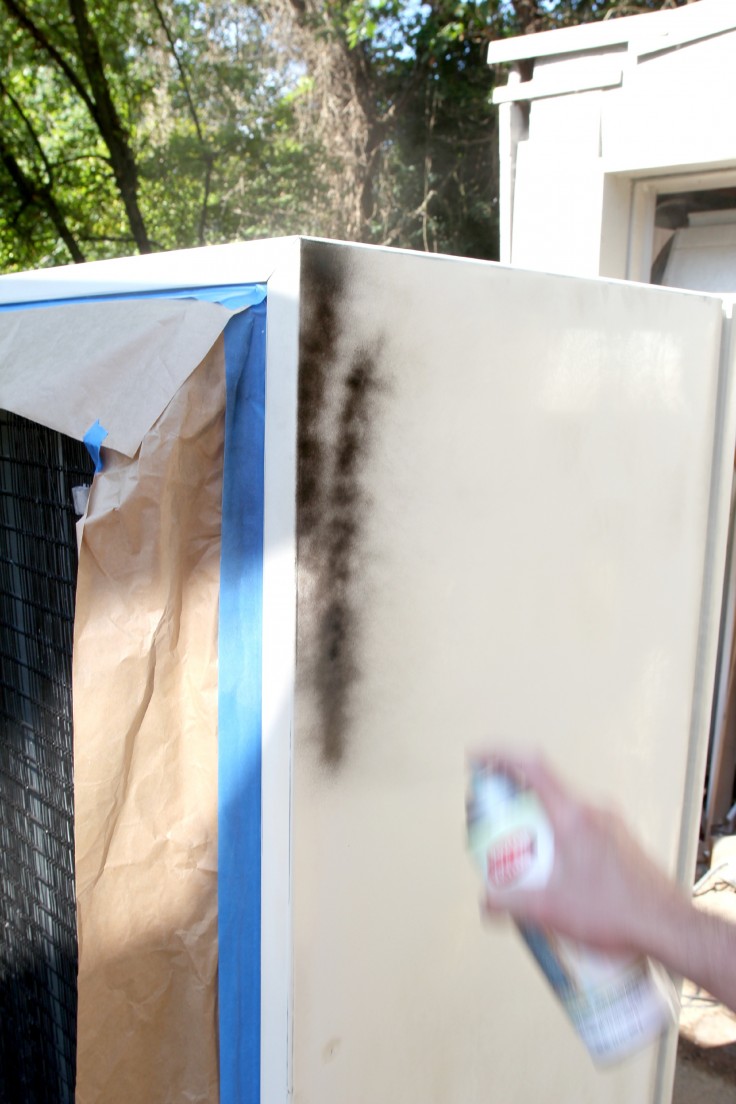
Step 2: Paint the begeezes out of the thing. We applied light coats of a chalkboard spray paint (similar to this one). After one coat dried, we'd put on another. Up until we had the coverage we wanted. About three coats.

Step 3: Move the thing into the basement. This was a task with Garrett and Papa's name written all over it.

Yes, that's a kegerator in our basement. Garrett's life does not suck. Not to mention, how do you think we bribe Papa to do things like carry a freezer to the basement?!
Step 4: Buy chalk and put it into action.
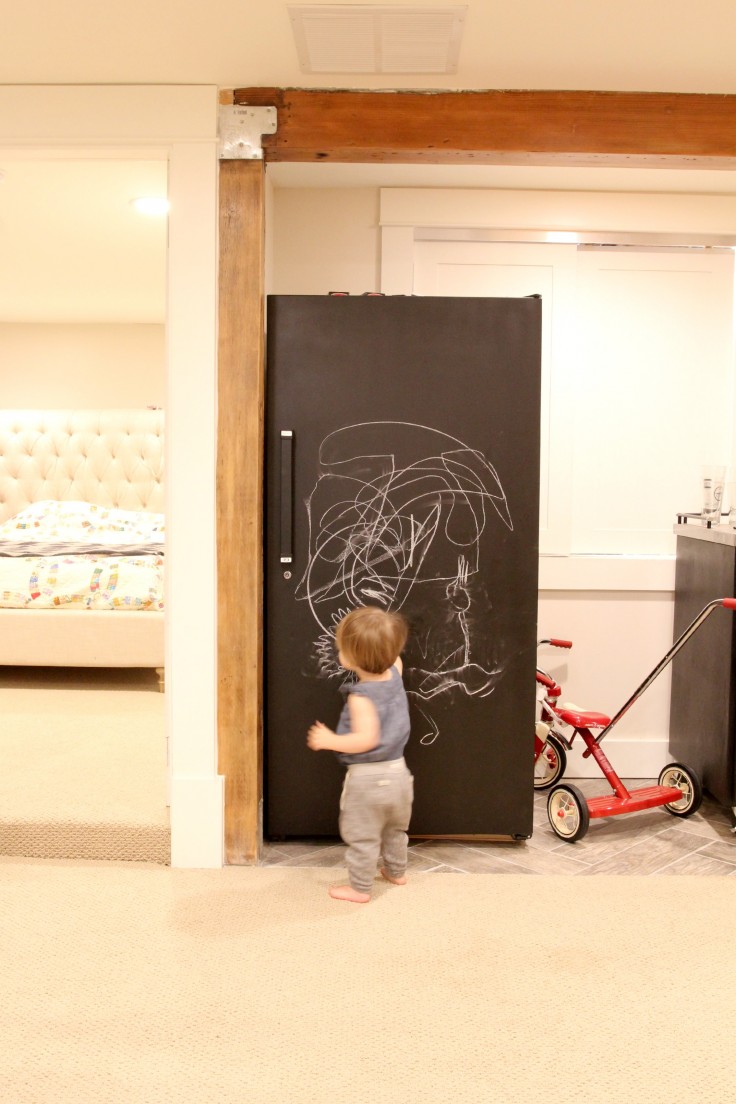
That's my niece, Winnie. Remember her? She doesn't stand still much longer than Wilder, but I caught her...
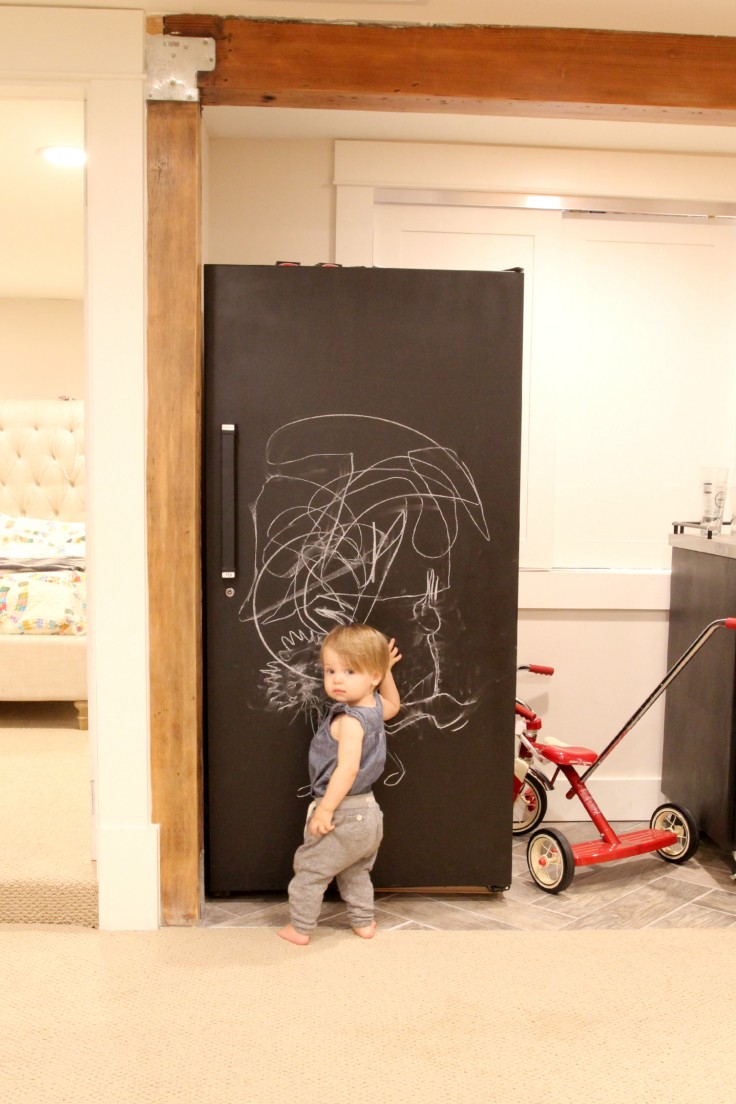
Cutie, isn't she?!
Not to mention the freezer looks a whole lot better, right?! This was a huge upgrade for our basement family room, and took only a couple hours to complete. A DIY worth doing, in my book.
xoxo
p.s. I am obsessed with this geometric wood flooring! Beyond obsessed. I will have to find a spot to try this one out!
p.p.s. What a FUN space to work in! Nice job on the reno A Beautiful Mess!
p.p.p.s. Have you guys been following along on Liz's house flips?! I am loving number 8!