
DIY Hanging Brass Light
Hanging lightbulb fixtures are nothing new. Scroll through Pinterest (or take a look at Wilder's bedroom for that matter) and you're bound to see a ton of examples. But when I started shopping for a simple hanging brass light fixture for the guest bedroom redo, I couldn't find one. At least not in my price range. So I decided to make one myself!
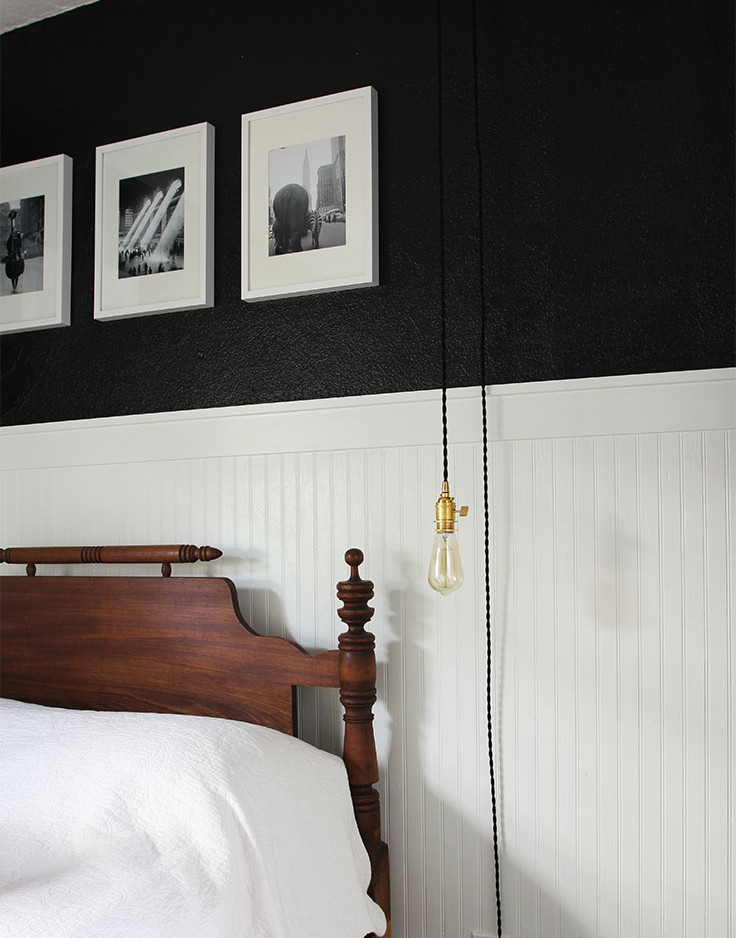
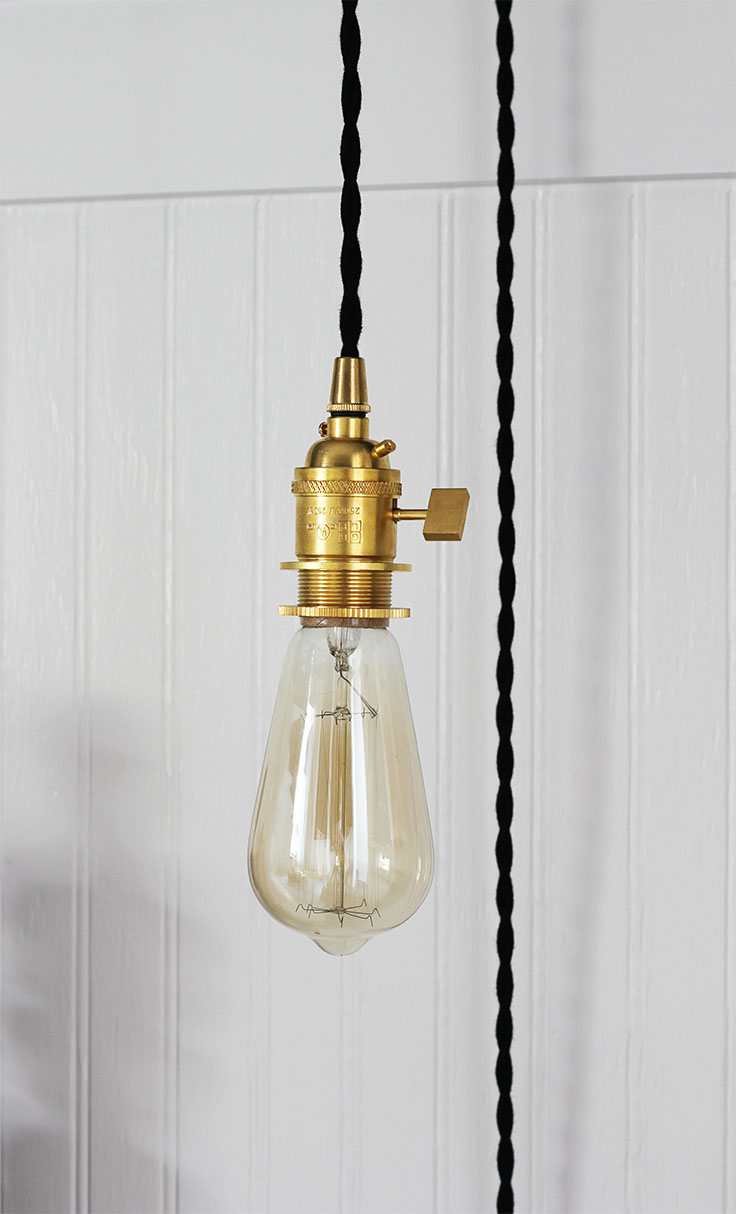
Luckily, I had just completed this DIY for coco+kelley so had a pretty good idea where to find the parts for this light. I went with twisted cotton wire because I love the look and picked out a brass socket because it feels really current.
Truth time: I haven't done a lot of wiring before - that's what Papa's for, after all ;) - but even for a novice electriction like me, this DIY was easy. It took a couple of hours at max. And best of all, the materials can be ordered online (I used this retailer) and cost less than $30.

Tools
- Scissors
- Needle Nose Pliers
- Wire Cutters
- Small screwdriver
Materials
- Socket
- Strain Relief
- Wire
- Plug
- Wall/ceiling hook

Step 1. Remove the cotton off of 1/2" of the end of your wire using sharp scissors. Strip the black and white wire cover away from the copper with wire cutters. Disassemble the socket so that the cap and threaded washer are separate from the main part of the socket. Slip on the strain relief, socket cap, and threaded washer onto the wire and slide them out of the way.
Step 2. Wire the socket by wrapping the copper from the black wire around the gold screw and the copper from the white wire around the silver screw. Make sure the wires are secured tightly around the screws and then tighten the screws down. Reassemble all parts of your socket, including the cap and threaded washer that are already on your wire.
Step 3. Pull the strain relief to the socket, thread it onto the socket, and then tighten down all screws. The socket should now be securely attached to the wire.

Step 4. To wire the plug, start by disassembling the plug from it's cover. Slip the cover onto the other end of your wire and push it out of the way. Strip the cotton from 1/2" of the end of the wire. Strip the black and white plastic from the copper wire. Wrap the copper from the black wire around the gold screw on the plug and then wrap the copper from the white wire around the silver screw. Once the wire is wrapped tightly, tighten down both screws. Attach the cap back onto the plug.
Step 5. Screw the light bulb into the socket. Before installing the light, I recommend testing it. Plug it into an outlet and flip the switch. If you've wired everything correctly the light should go on. Wiring a light isn't complex, but if you have any questions (any at all!), make sure to discuss it with an electrician. Faulty wiring is dangerous.

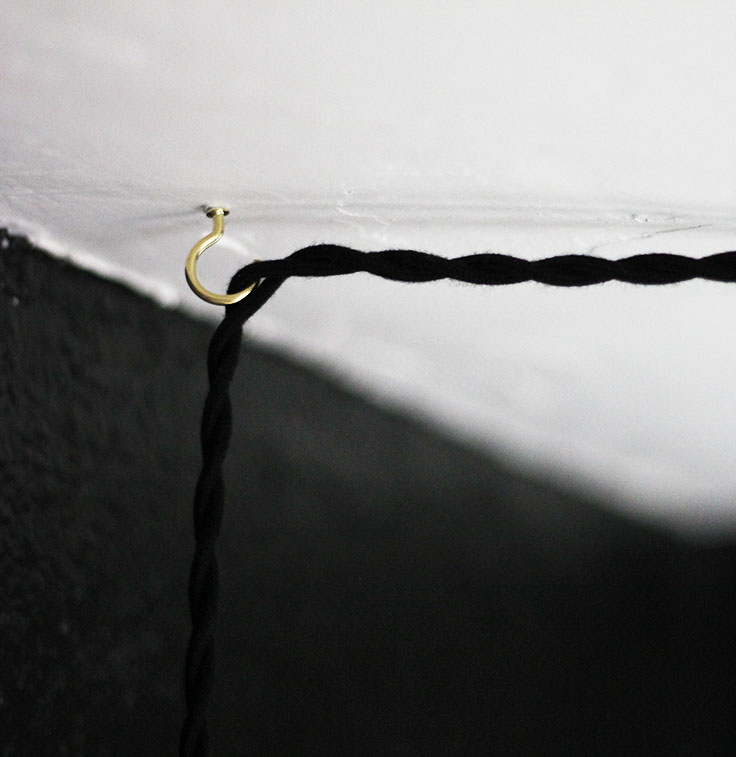
Step 6. To mount the light, place a hook in your ceiling about 10" out from the wall (or however far away you want it to hang). Place a second hook next to the wall. Drape the wire over both hooks. I slid the braided cord onto the hooks (so one strand was on either side of the hook) to hold it in place, but you could also use a clamp.
So there you have it. An inexpensive, easy light fixture. If you're like me, and have monkeys for kids and a rowdy dog, you may want to consider throwing on a shade or one of these cool guards onto your light. I'm thinking we'll probably end up with a guard on our light!

Now that I have a little wiring experience under my belt, I'd definitely like to try to make more lights. Like maybe these wall scones!
xoxo
-Cathy
p.s. here's a guest space I love! And here's to wishing that some day we have a bigger space for family and friends!
p.p.s. Guys, it's all about black this season. At least that's what Apartment Therapy says about kitchens. Love hearing that we made the right choice with our kitchen cabinets!
p.p.p.s. I love hearing about how people who are downsizing/paying off their mortgage/or figuring out other ways to retire young. Here's the House Tweaking story.