
DIY // How to Paint a Vintage Cast Iron Tub
THE FARMHOUSE
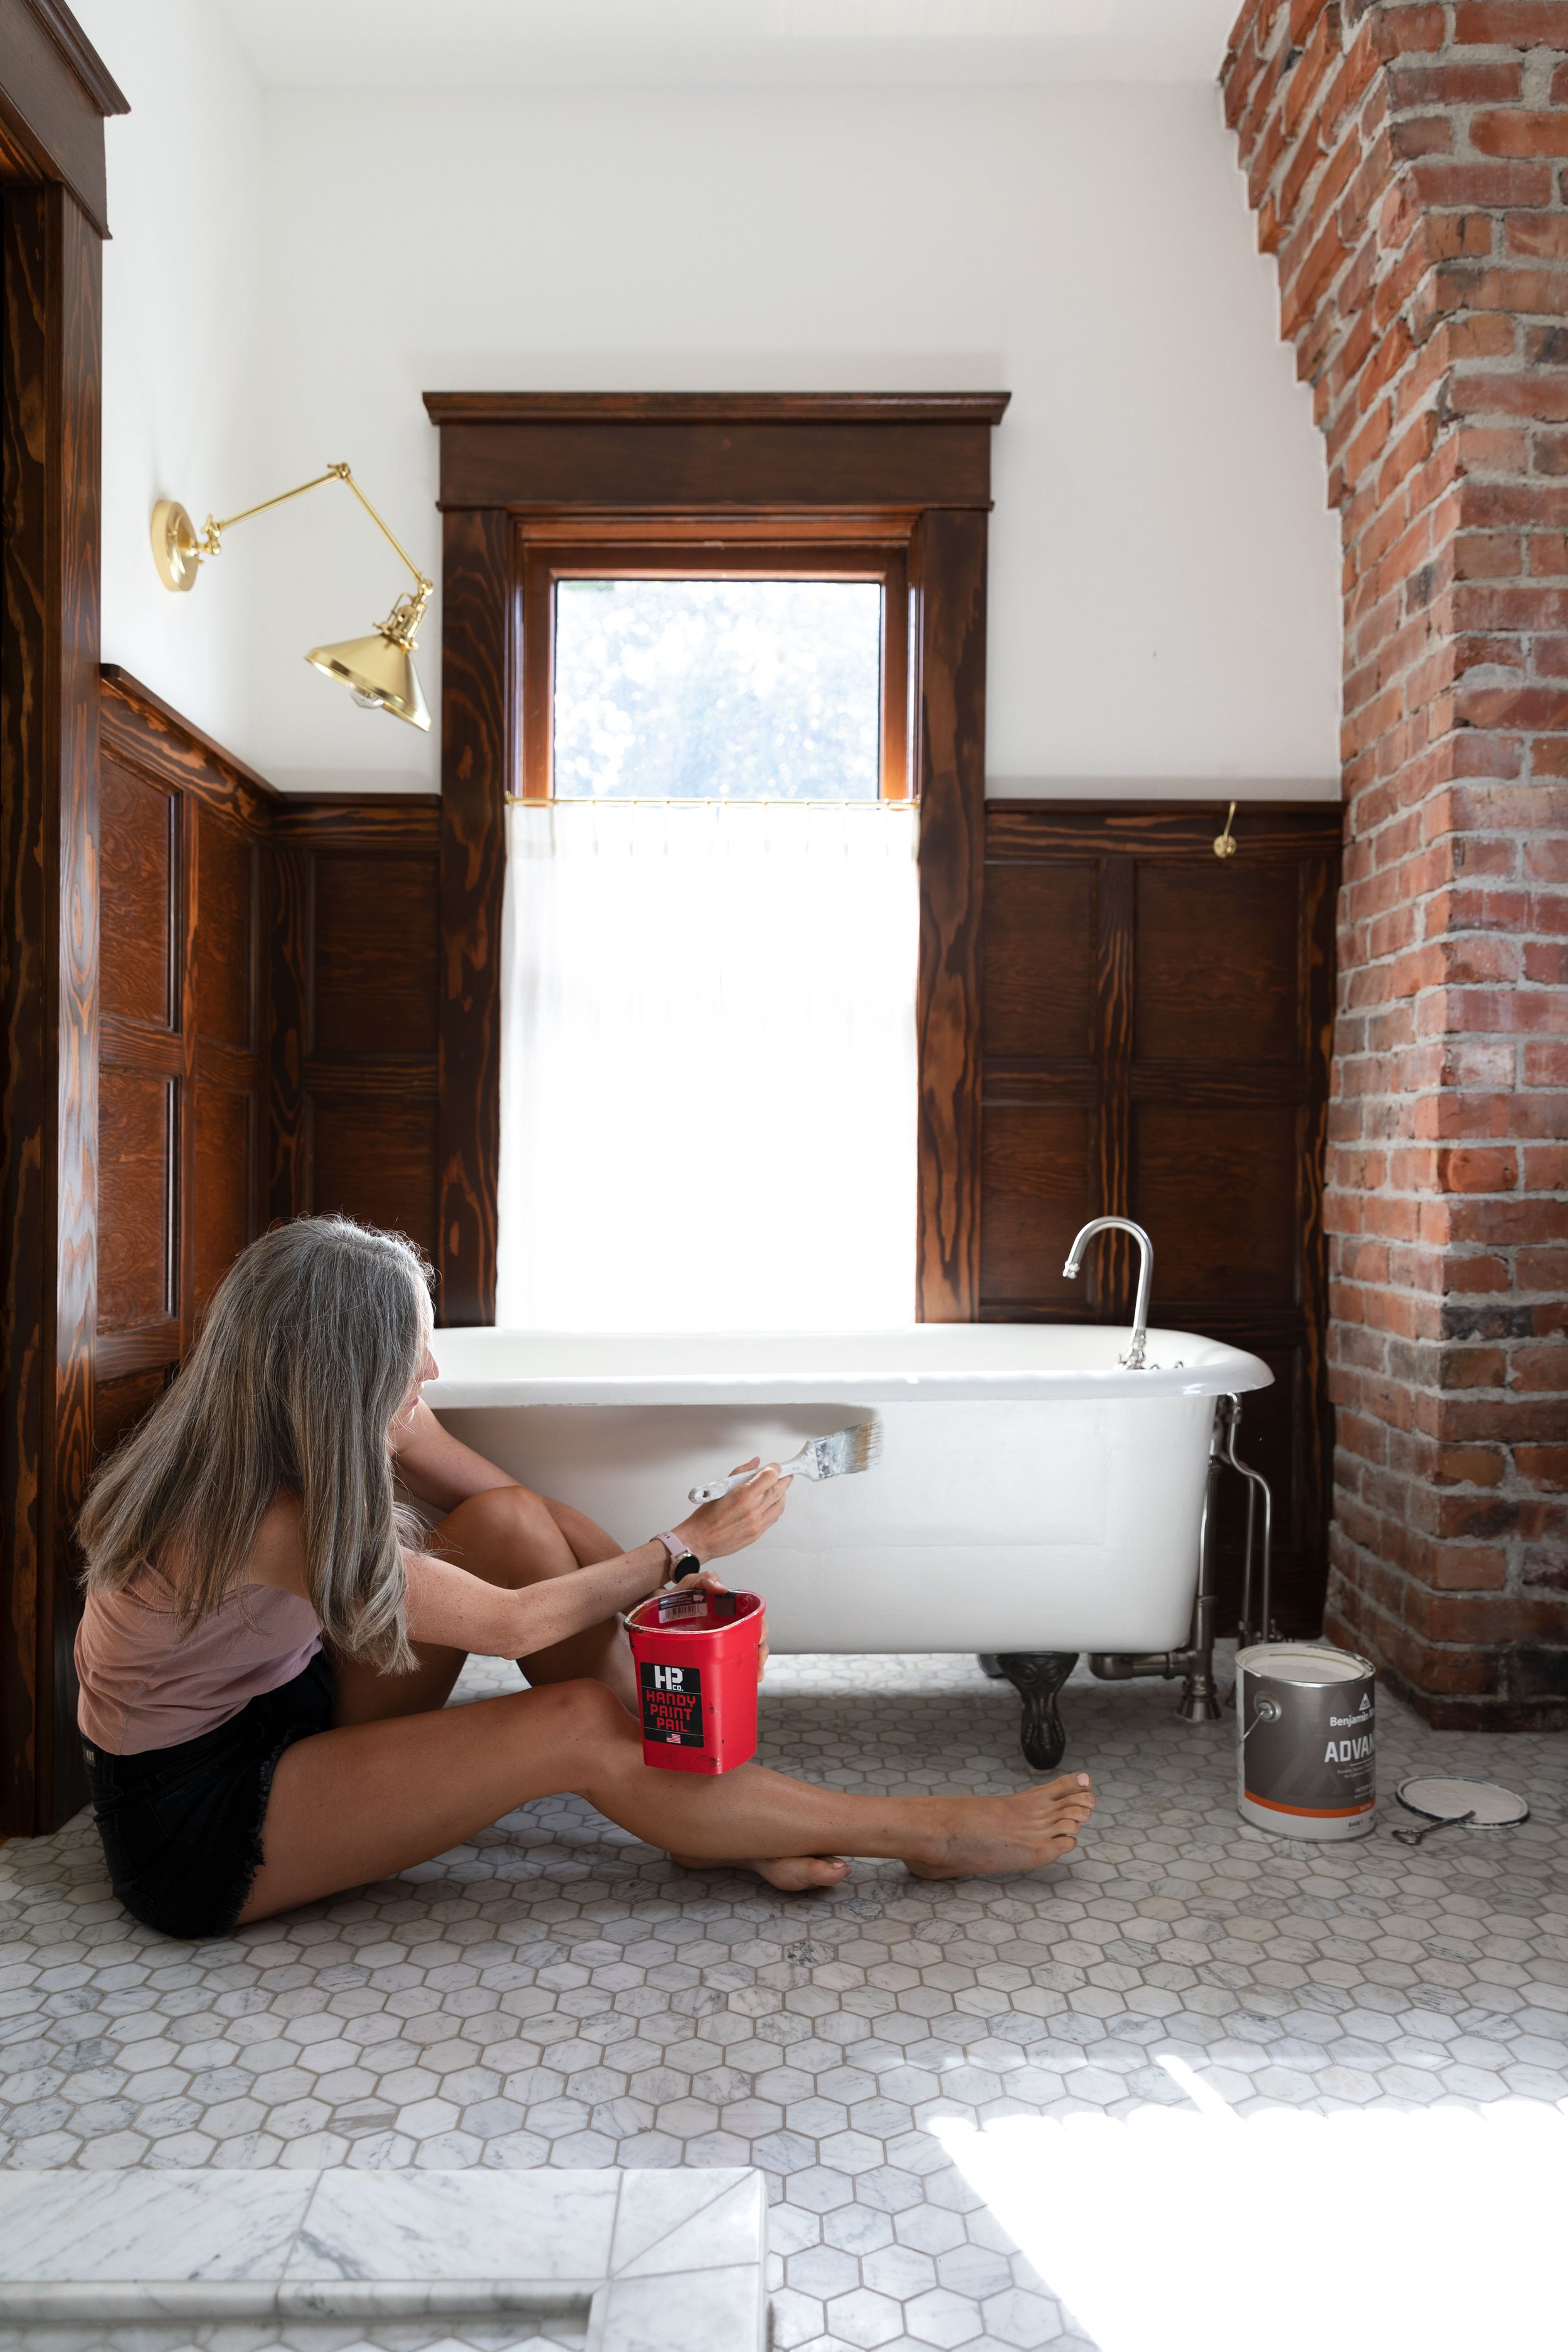
I wanted to backup and detail how we brought our 90-year-old clawfoot tub back to life. It took some serious elbow grease and a little paint, but it’s beautiful now and the process is totally do-able. So let me walk you through our DIY process…
psst: you can find the full bathroom reveal and sources here.
*this post is sponsored by Handy Products
I’m a sucker for a cast iron tub. The new acrylic ones just don’t have the same feel IMO, plus I don’t think we’ll be reusing those in 100 years. Cast iron clawfoot tubs are sturdy and beautiful and quite possibly, indestructible!

Our tub was originally cast on May 21st 1930 according to the date stamped on the bottom of the tub.

We paid $400 for our tub at a salvage shop in Seattle, with the original feet attached. Worth every penny! But the condition left a little to be desired. These tubs are often stored outdoors at salvage yards and the exterior had a lot of rust and pealing paint and the interior was pretty dirty. We’re giving all the details on how we restored the tub below in case you happen to be considering a salvaged cast iron claw foot for your own bathroom project.
DIY // How to Clean Up and Paint a Vintage Cast Iron Tub
Materials
Angle grinder (optional, if you want to remove paint from the feet)
Metal wire brush (optional, if your tub’s exterior requires it)
Paint (we used this)
*one note, cast-iron tubs are often old and old stuff may have paint containing lead. If you remove paint containing lead it can be released in the immediate vicinity and may require mitigation measures and protective equipment. You can buy lead paint test kits at most hardware and lumber stores.
Here are the steps we took to clean and paint the exterior of our tub. Depending on the condition of your tub, you can adjust these steps as needed.
Clean Up the Exterior
The goal of this step it to have a sound and relatively smooth exterior of your tub to be able to prime and paint. If it already looks good, skip this step.
Ideally the tub will be outside for this step. If you’re not able to move your tub from your bathroom you’ll probably want to skip the pressure wash and wire brush and just roll on a high adhesion primer and then top coat with your favorite paint color!
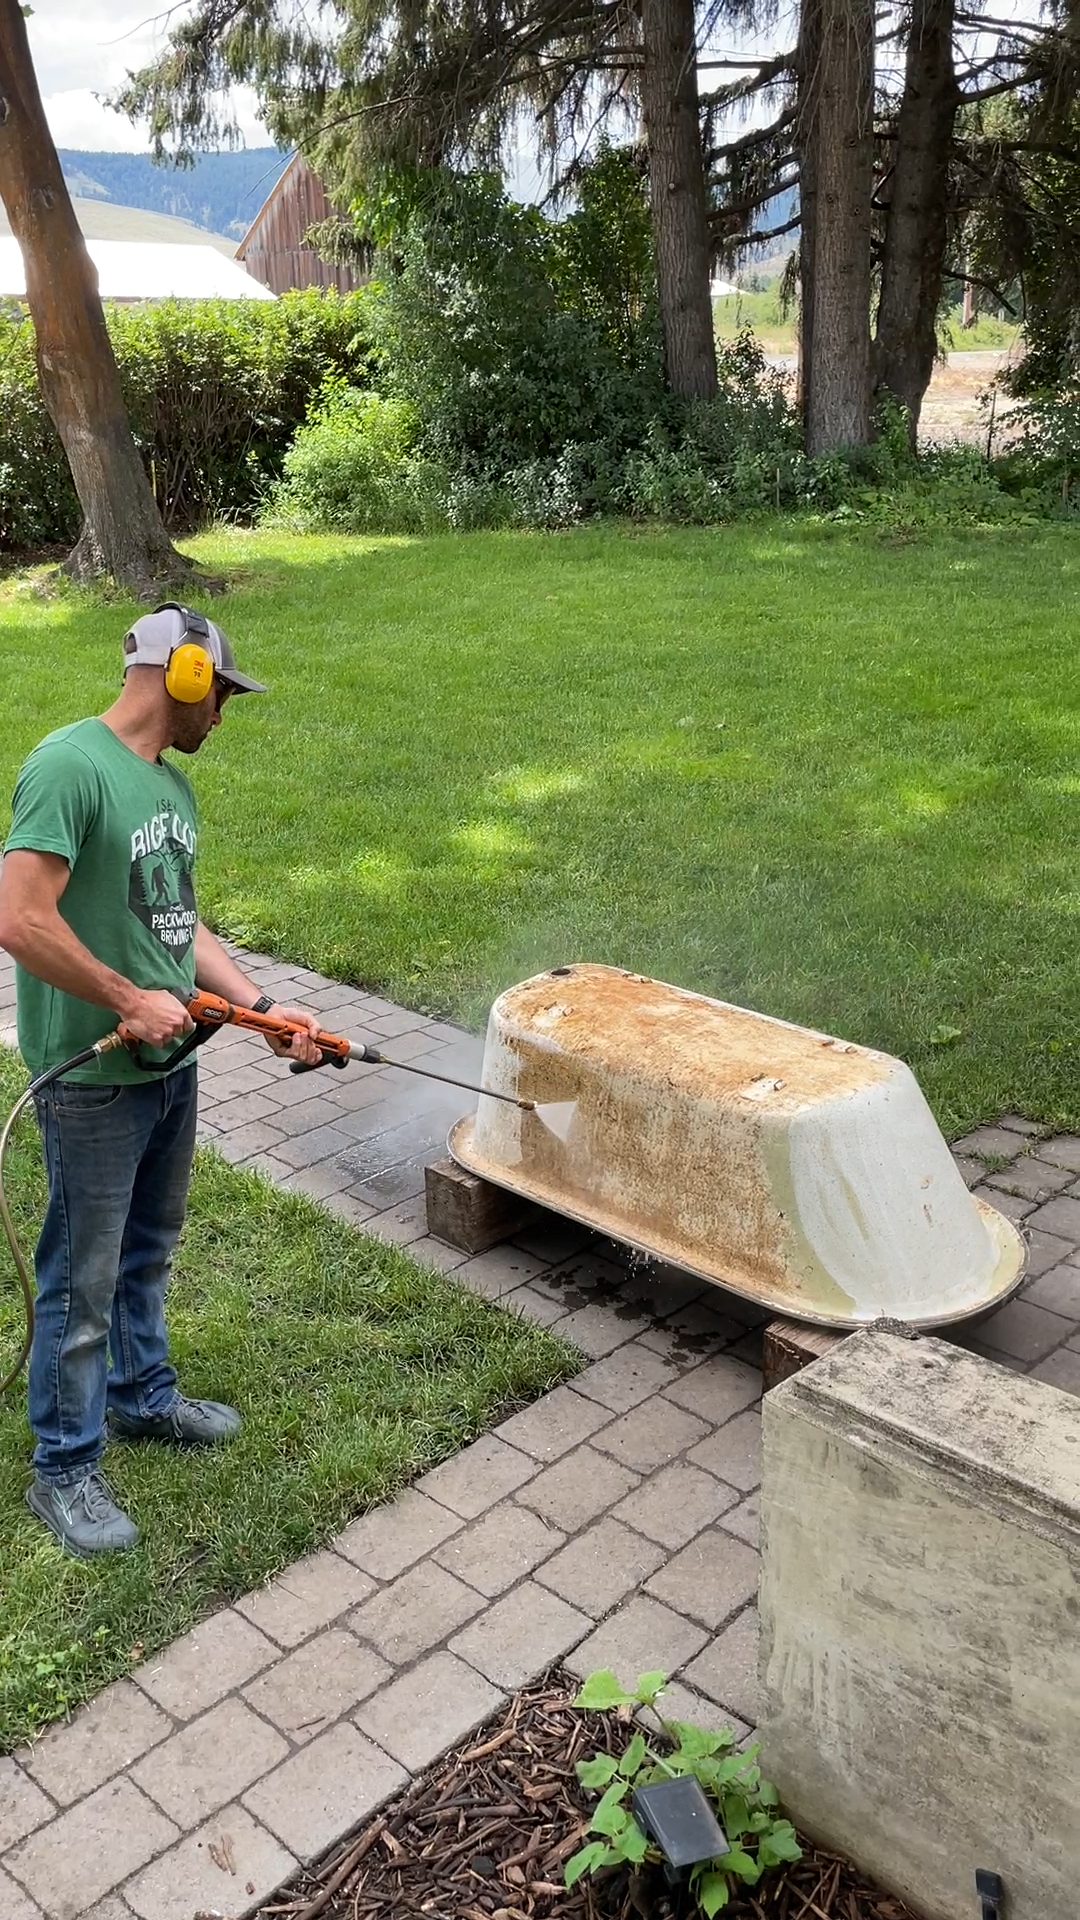

Start by setting the tub upside down so you can work on the exterior. We started with a pressure wash to remove a lot of peeling paint or other unevenness on the outside of the tub. This is a quick way to remove anything that’s really loose.

Our tub had a lot of rust dimpling so we opted to go over it with a wire cup wheel. This process is more aggressive than pressure washing and can remove all the paint to leave bare metal as we did on the feet. But on the tub we just made sure it was pretty smooth and that any loose rust was off. A good portion of the previous paint layers were still well adhered so we left those in tact.

Prime and Paint
While the tub is still upside down, apply a metal primer over the entire exterior surface of the tub (don’t paint the enamel coating on the inside!). We used a metal-specific primer and our Handy Pro Paint Pail for this step. Whenever we want to use a small roller (which is every project between painting walls and fine touch-up!) we use the Handy Pro Pail since it’s the perfect size for a 4” or 6” roller.

The primer dries to touch really quickly so I went for a 2nd coat before moving on to paint.
For paint used Benjamin Moore’s Advance in Simply White. This product is durable and good for trim so we thought it would be a good one for the tub. The Handy Pail Liners make it easy to switch between colors without washing out the tub so we swapped in a fresh liner and rolled on two coats of Advance.

Once the paint dries, move the tub back inside and do any touch up you need once it’s in place.


Tub moving hack: if you have smooth wood floors, place a couple old blankets or towels under the tub and drag/slide the tub into place. We found this easier than trying to carry or cart the tub.
How to clean the interior of the tub
If, like us, you bought a tub that had been sitting outside in a yard for who knows how long, you may have some stubborn grime and/or rust spots on the interior of your tub. You have a few options with the interior of a cast iron tub, including having it refinished. I’m cool with a “patina” and don’t need the glazing in top condition so I make do with we have and leave refinishing as the last resort.

To clean up the interior we gave it a good scrub with Simple Green and a bristle brush, then same with Bon Ami (a powder similar to Bar Keeper’s Friend). There was a bit of pain in there and that came up by scraping with a flexible putty knife. and in the last step we used some Goof Off, a powerful solvent-based solution that can remove many different types of scuffs and marks. This combination of approaches took our tub from really rough shape to presentable and bathable in ~30 min. There are still some rust spots in the bottom near the drain but they’re small and don’t stand out. Most everything else came up nicely.
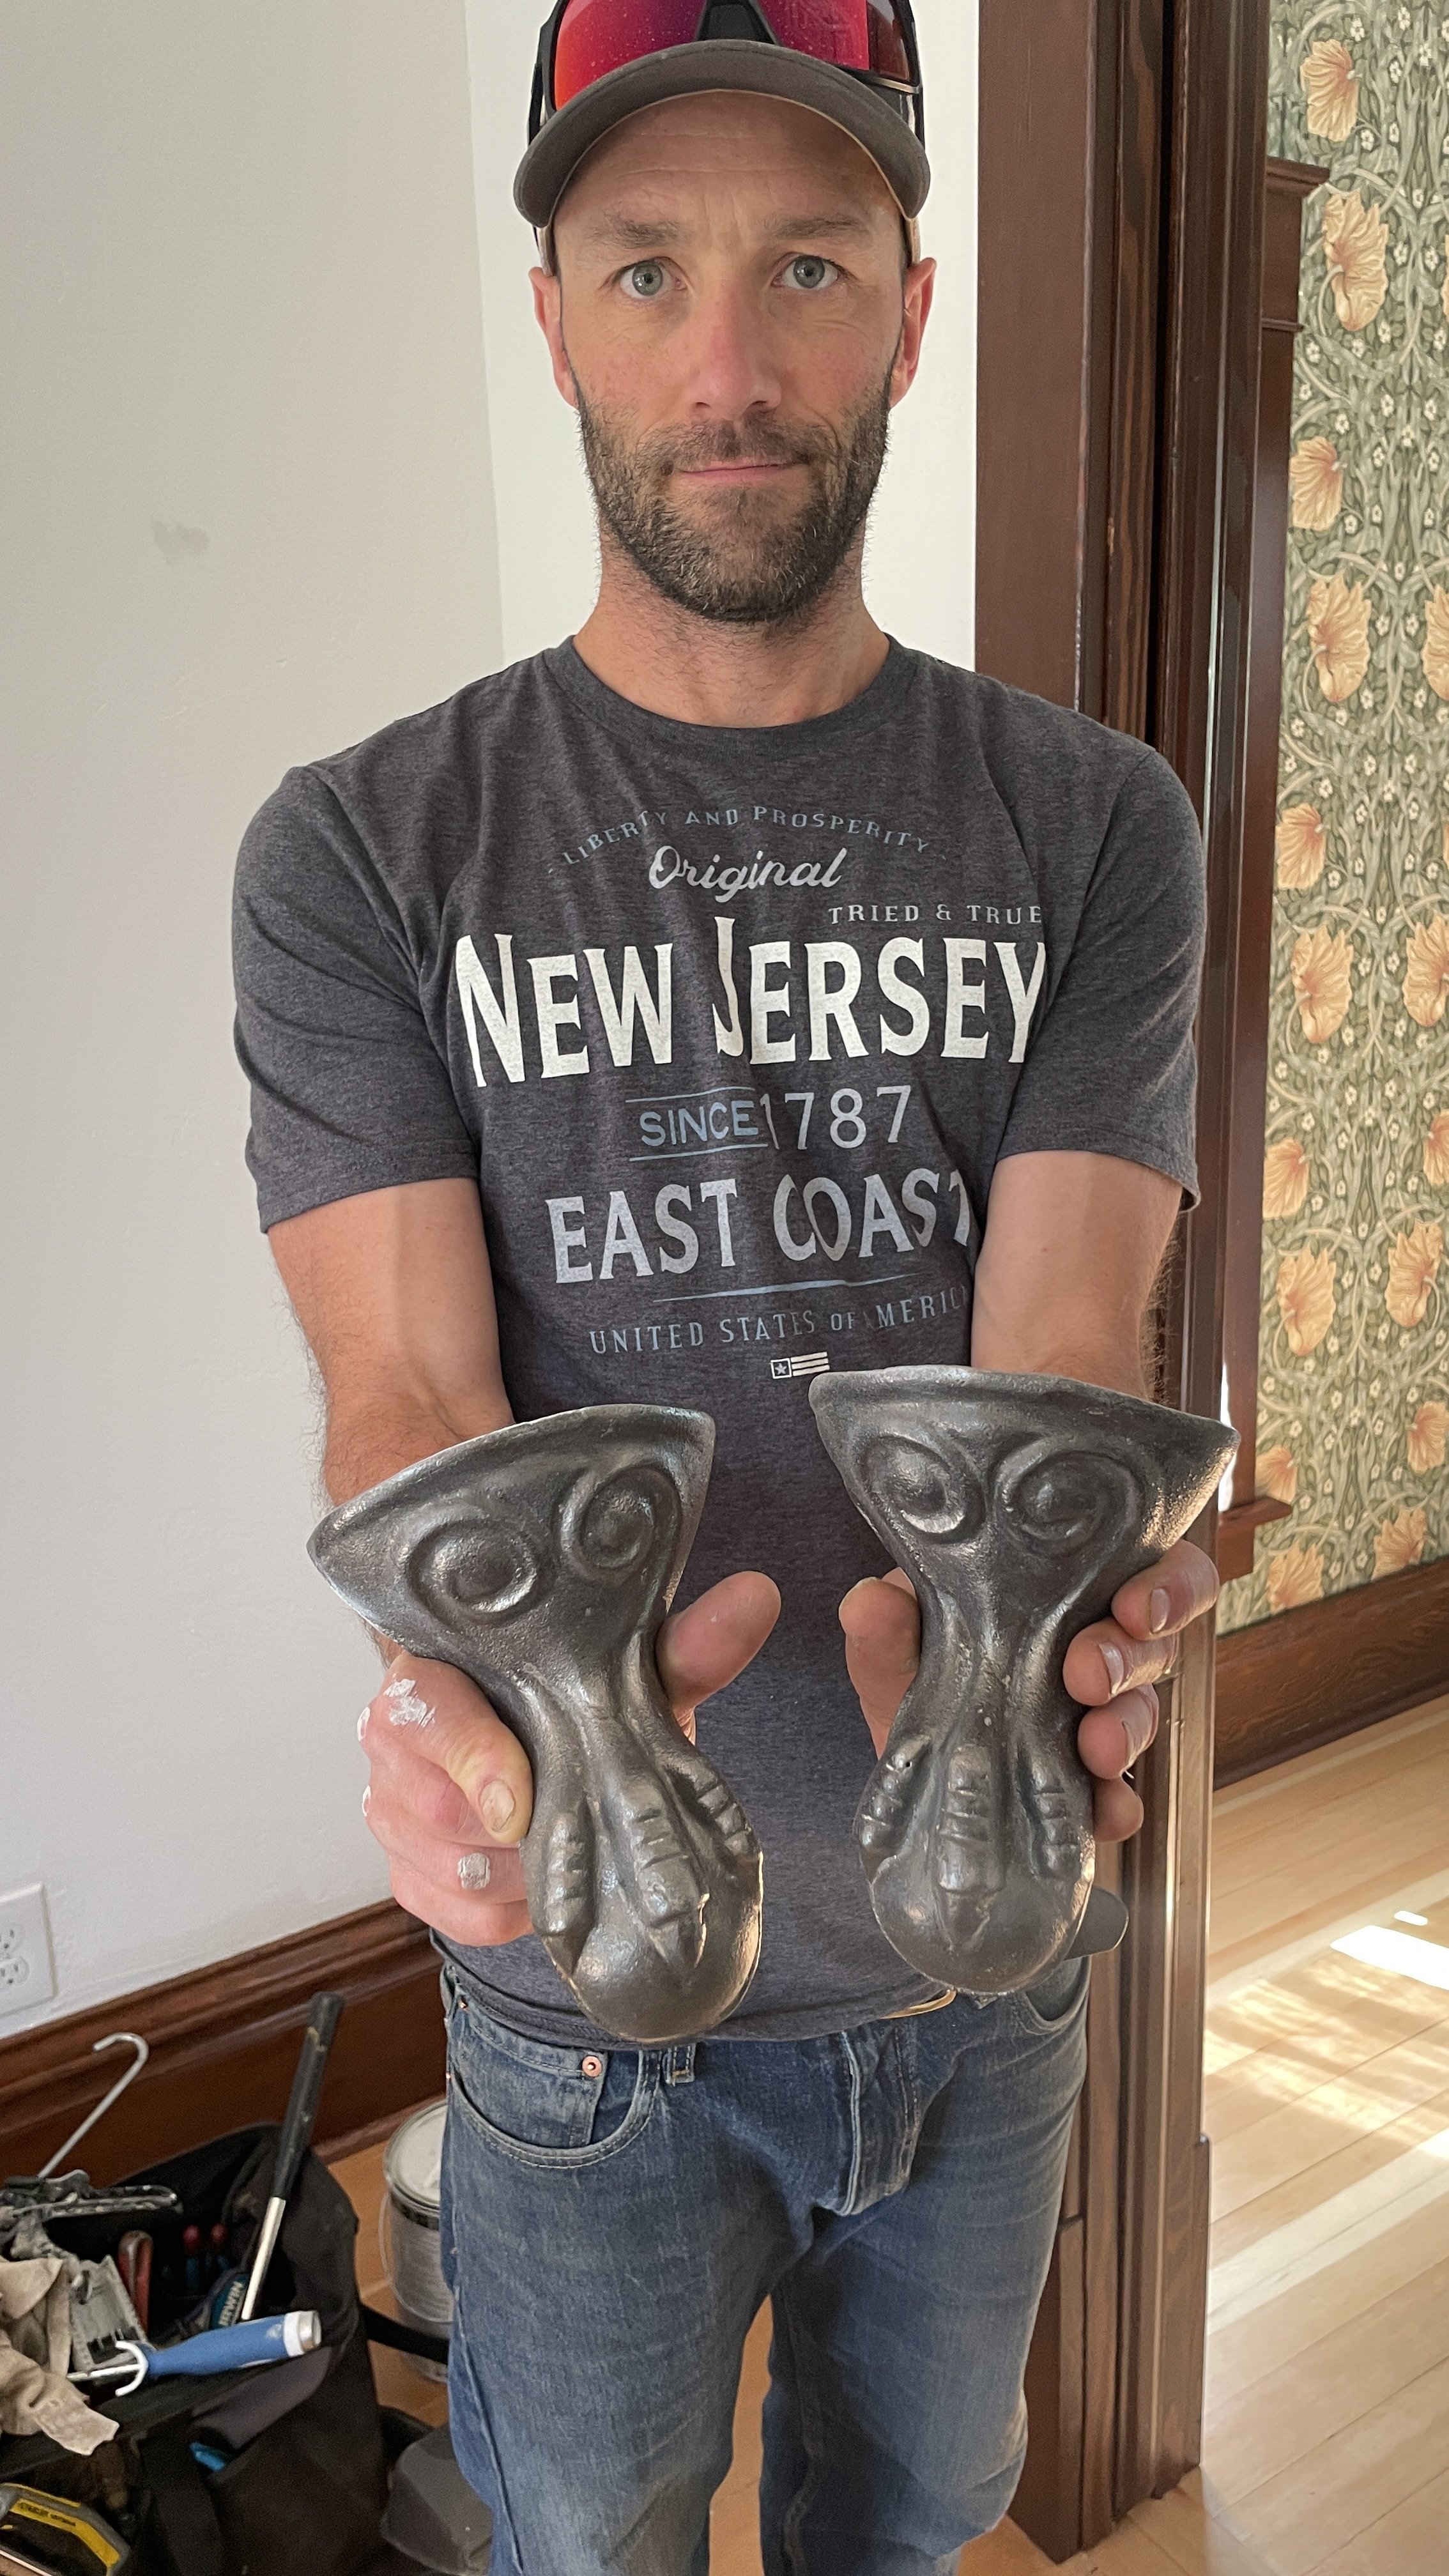
For the Feet

The feet were in pretty rough shape as you can see. One actually had it’s anchor bolt broken off inside the bolt hole so we had to drill-out a new one and tap it for a 3/8” bolt. But otherwise, these things are sturdy and can look as good as they did on day 1 with a little love…


We used a similar process to clean the feet up—pressure wash and wire brush. But this time I took off all the paint down to bare metal. And they have a wonderful brushed steel finish. BTW, though we haven’t yet, we’ll add a finish on the feet soon so they don’t rust.

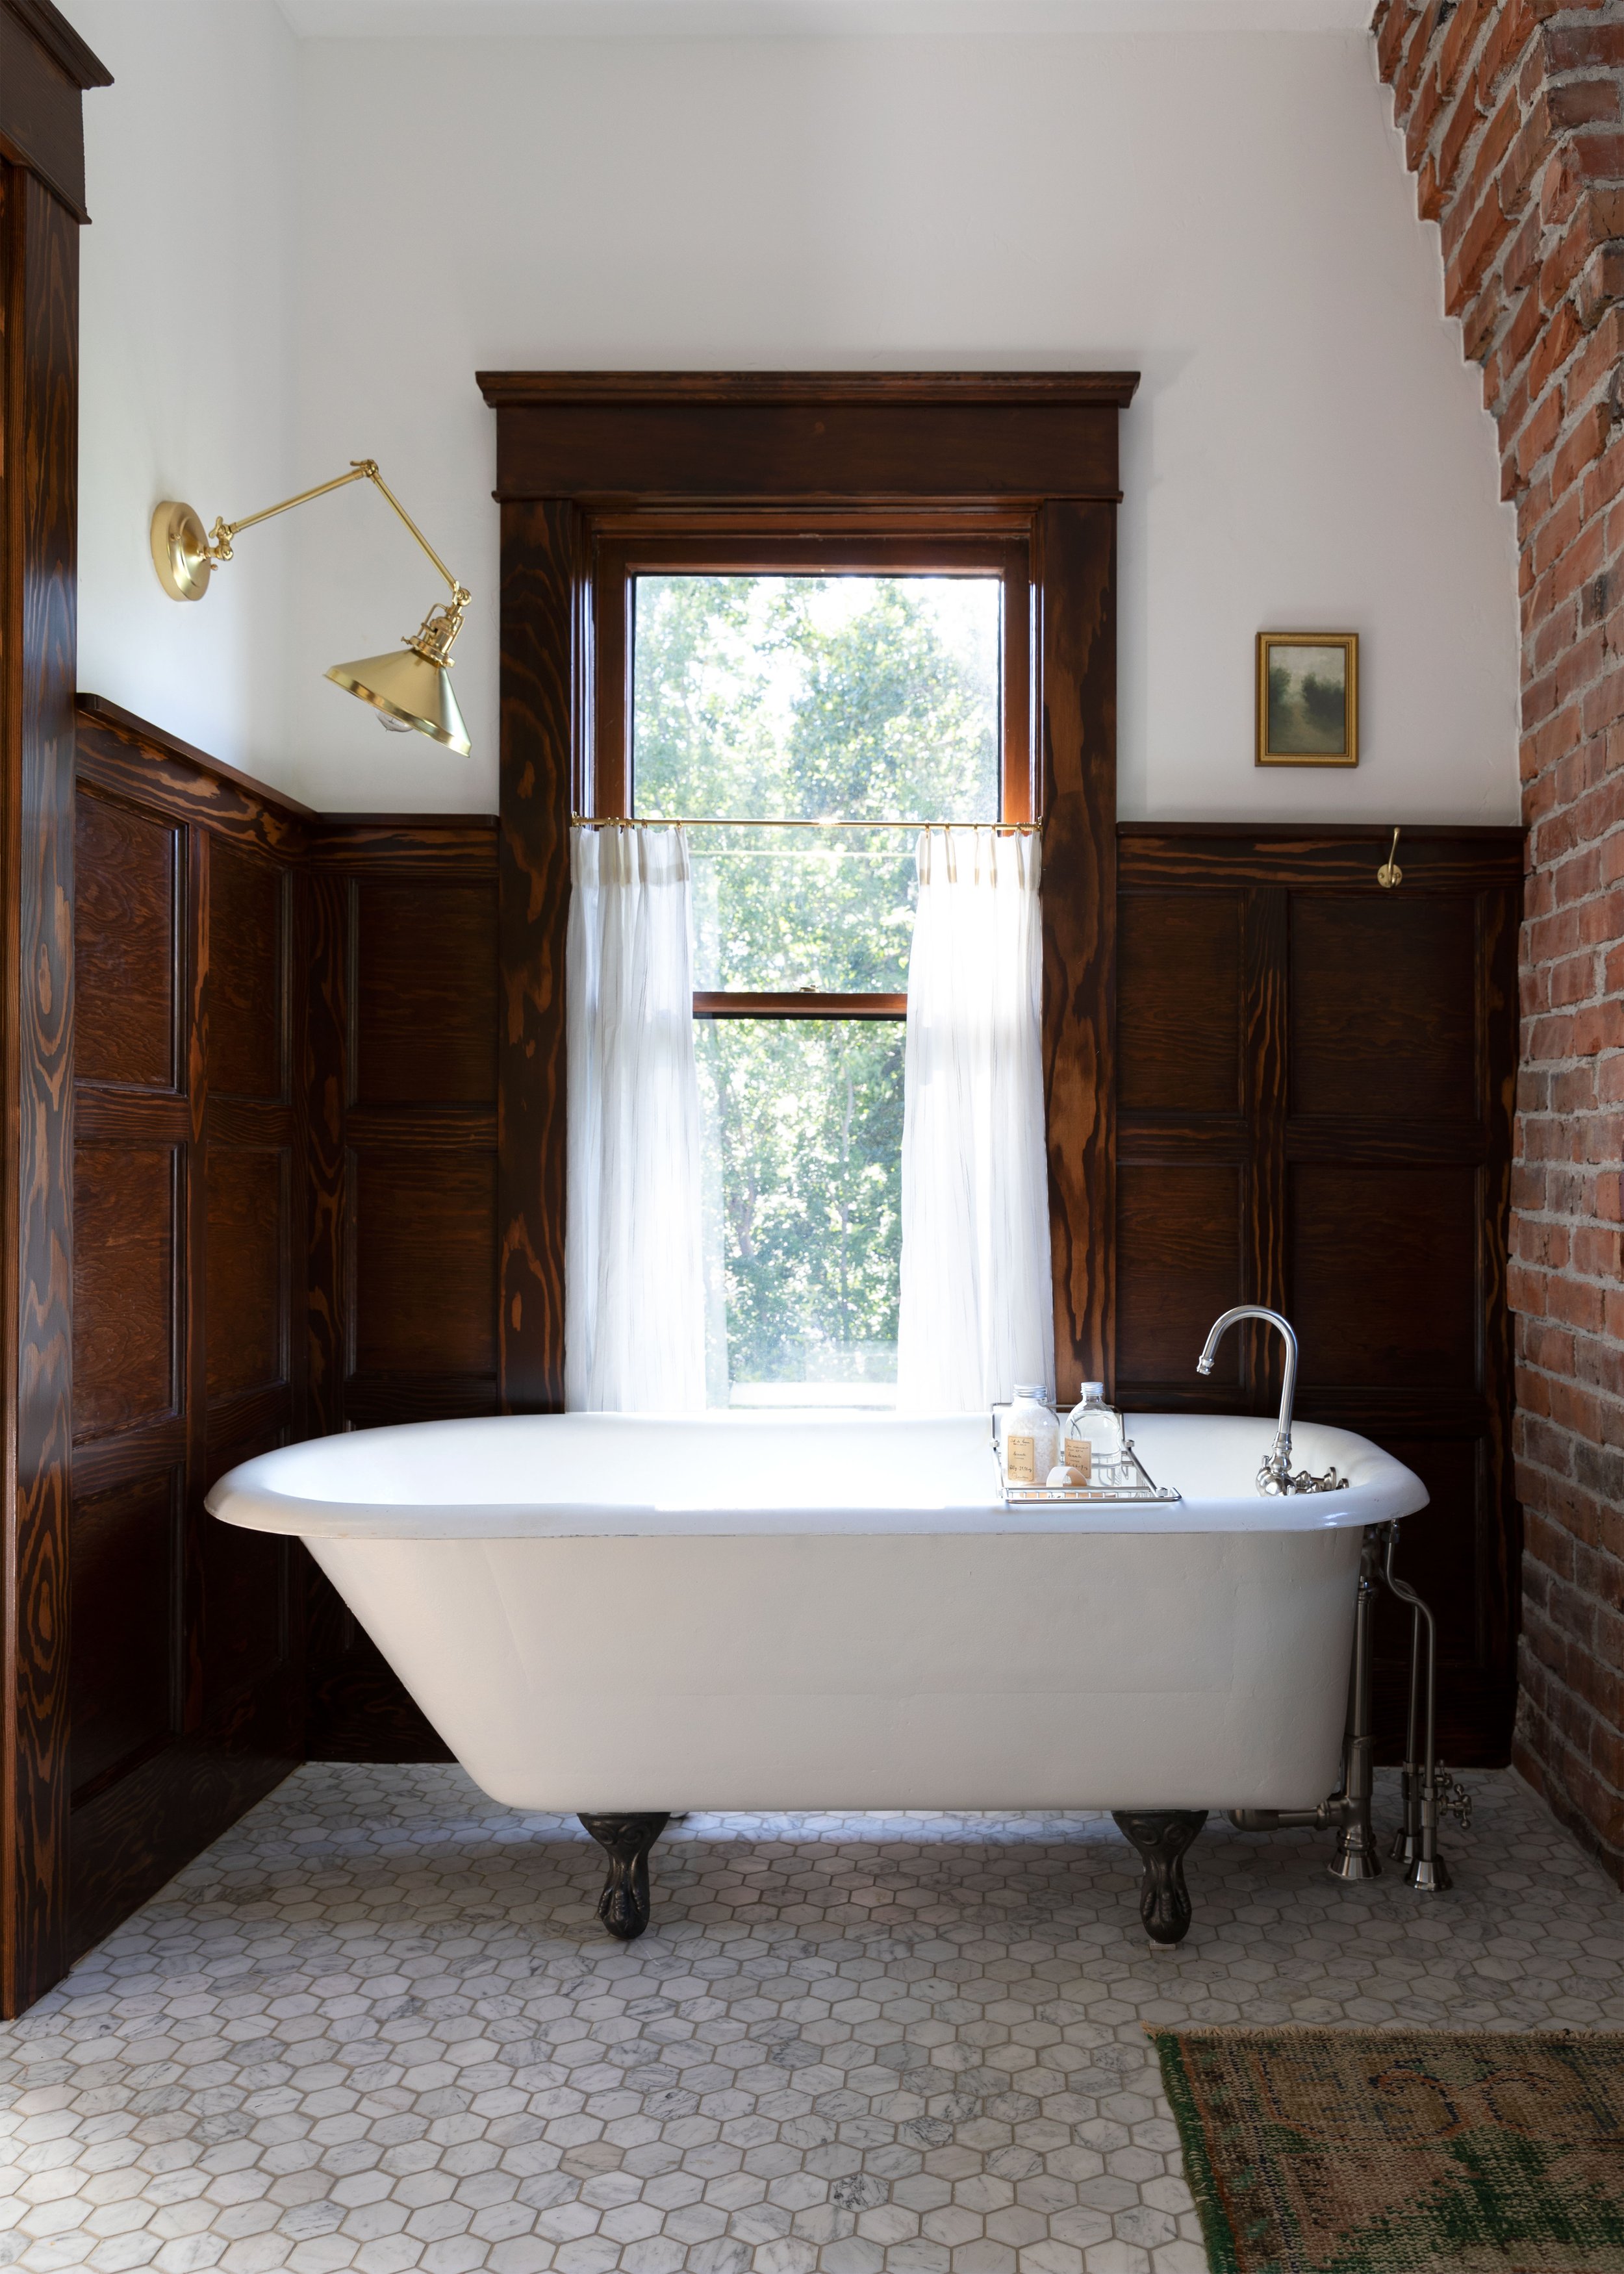
Aren’t the feet pretty? Next we righted the tub and connected the drain and supply lines and installed the faucet (plumbing these old tubs is a project in itself). And after all that work, our tub looks like this…


psst: you can find the full bathroom reveal and sources here.
That’s it! A beautiful 90-year-old tub that’ll probably last another 90 years!


