Nana makes THE BEST Compost and it's Surprisingly Easy! Here's her process...
Garrett’s mom is sharing her 20-years-in-the-making backyard compost operation.
The other day I got a special delivery from Nana (Garrett’s mom) - 4 giant bags of her amazing homemade compost! This stuff is pure gold in the garden. It’s nutrient-rich and full of worms and does the most amazing things to plants! Lots lot of folks asked if Nana would share her process and thankfully she agreed!
So today we’re sharing her composting method, including what she adds to her compost, how long it takes from start to finish, her simple setup, and what equipment she uses. You’ve never met anyone more exited about compost than Nana, and that’s probably obvious in the video tour below! She’s been at this for 20 years now (!!!) and sees grass clippings, kitchen scraps, and dried leaves as an incredibly valuable resource, turning them into pure gardening gold! So if you’ve ever thought about composting, this post is for you!

Farmhouse garden sources
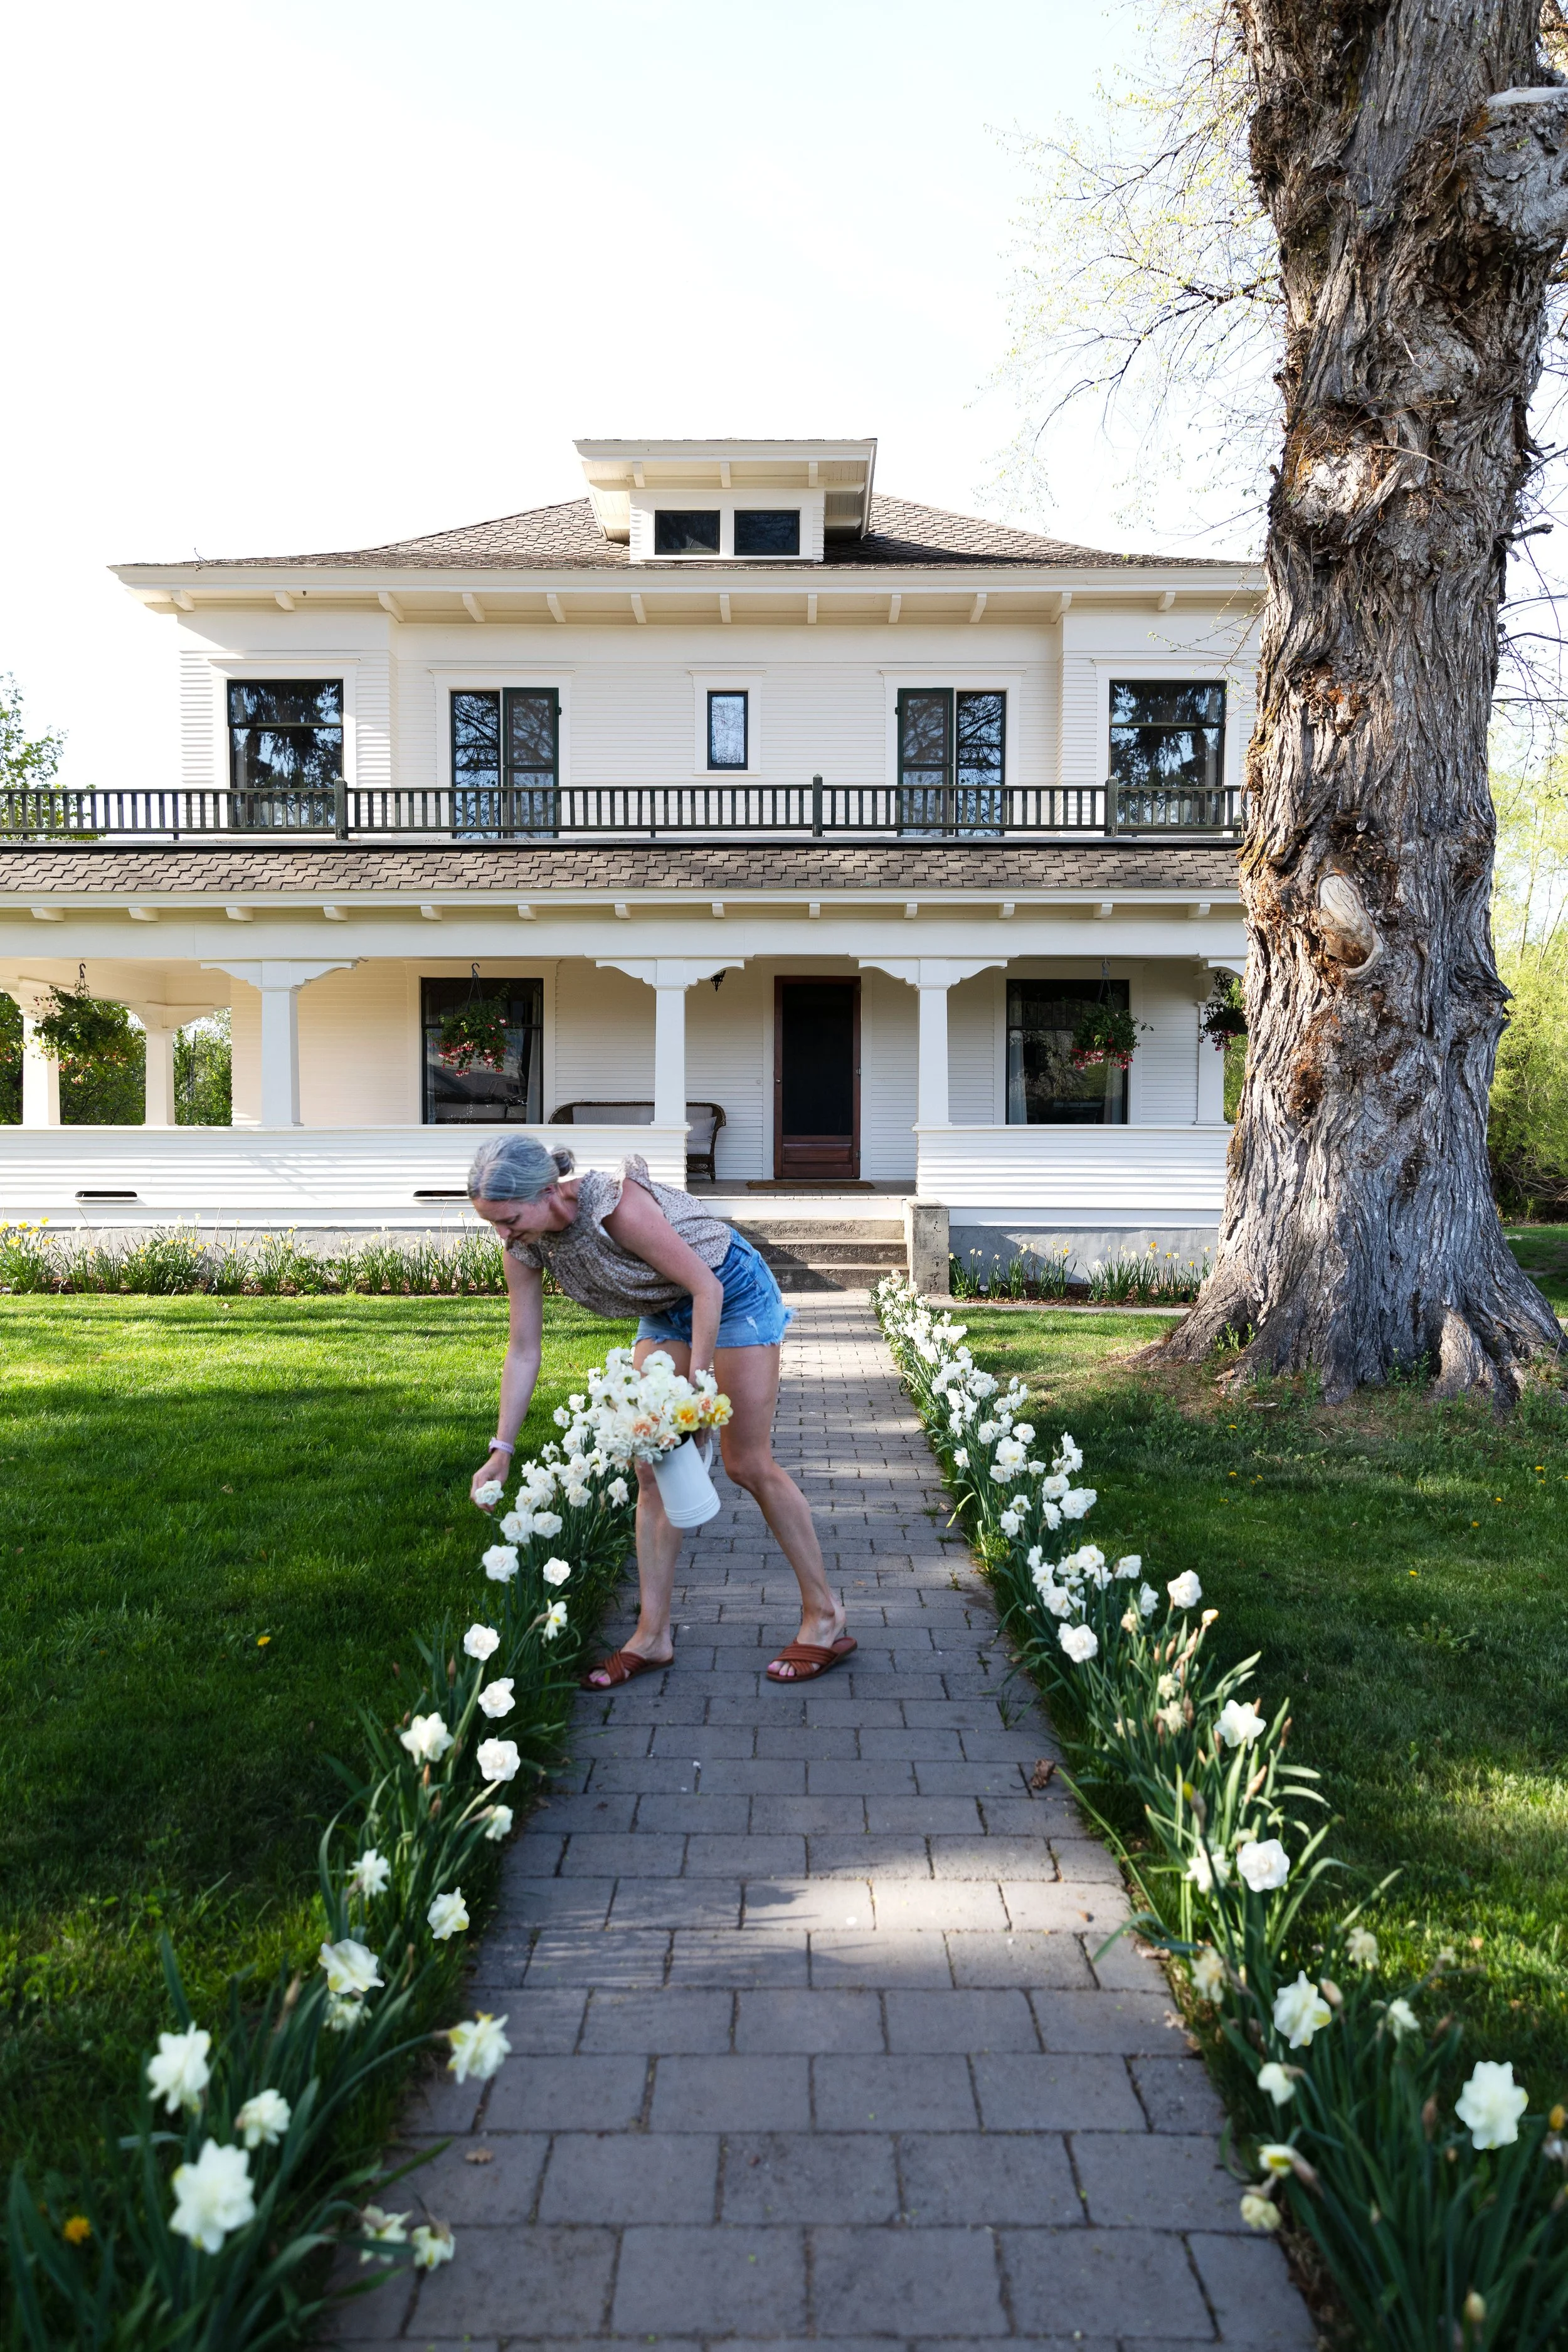
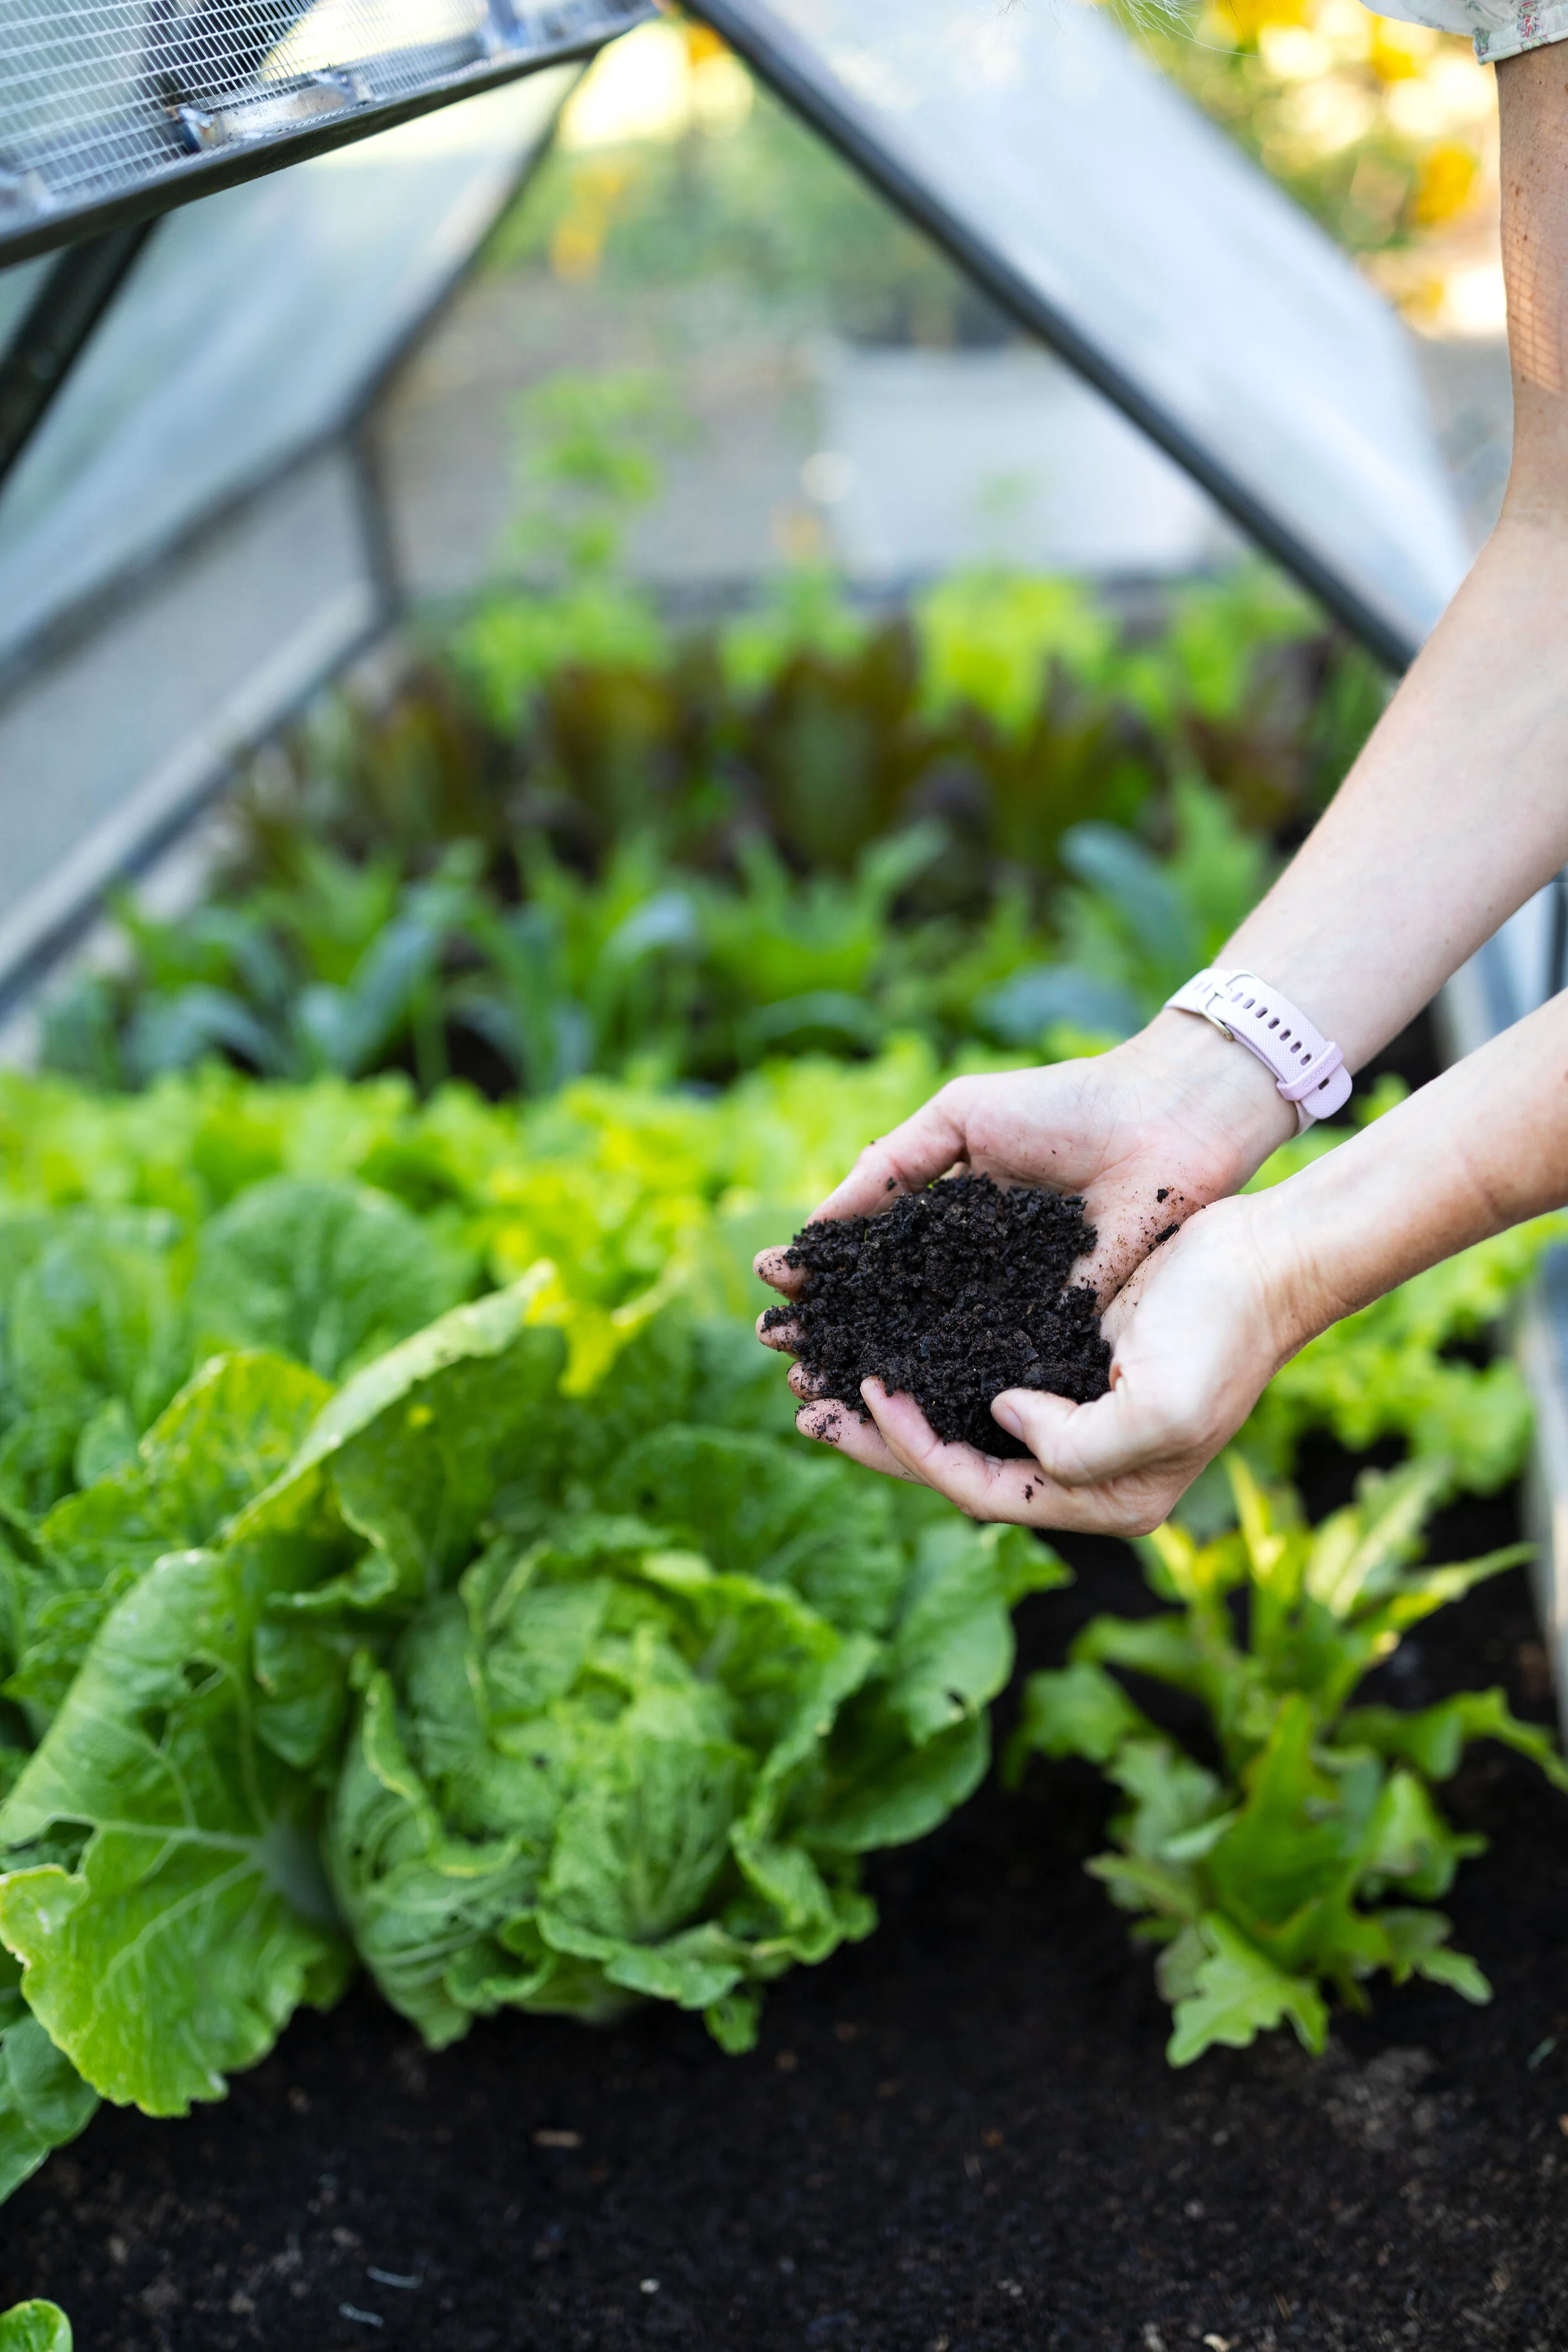
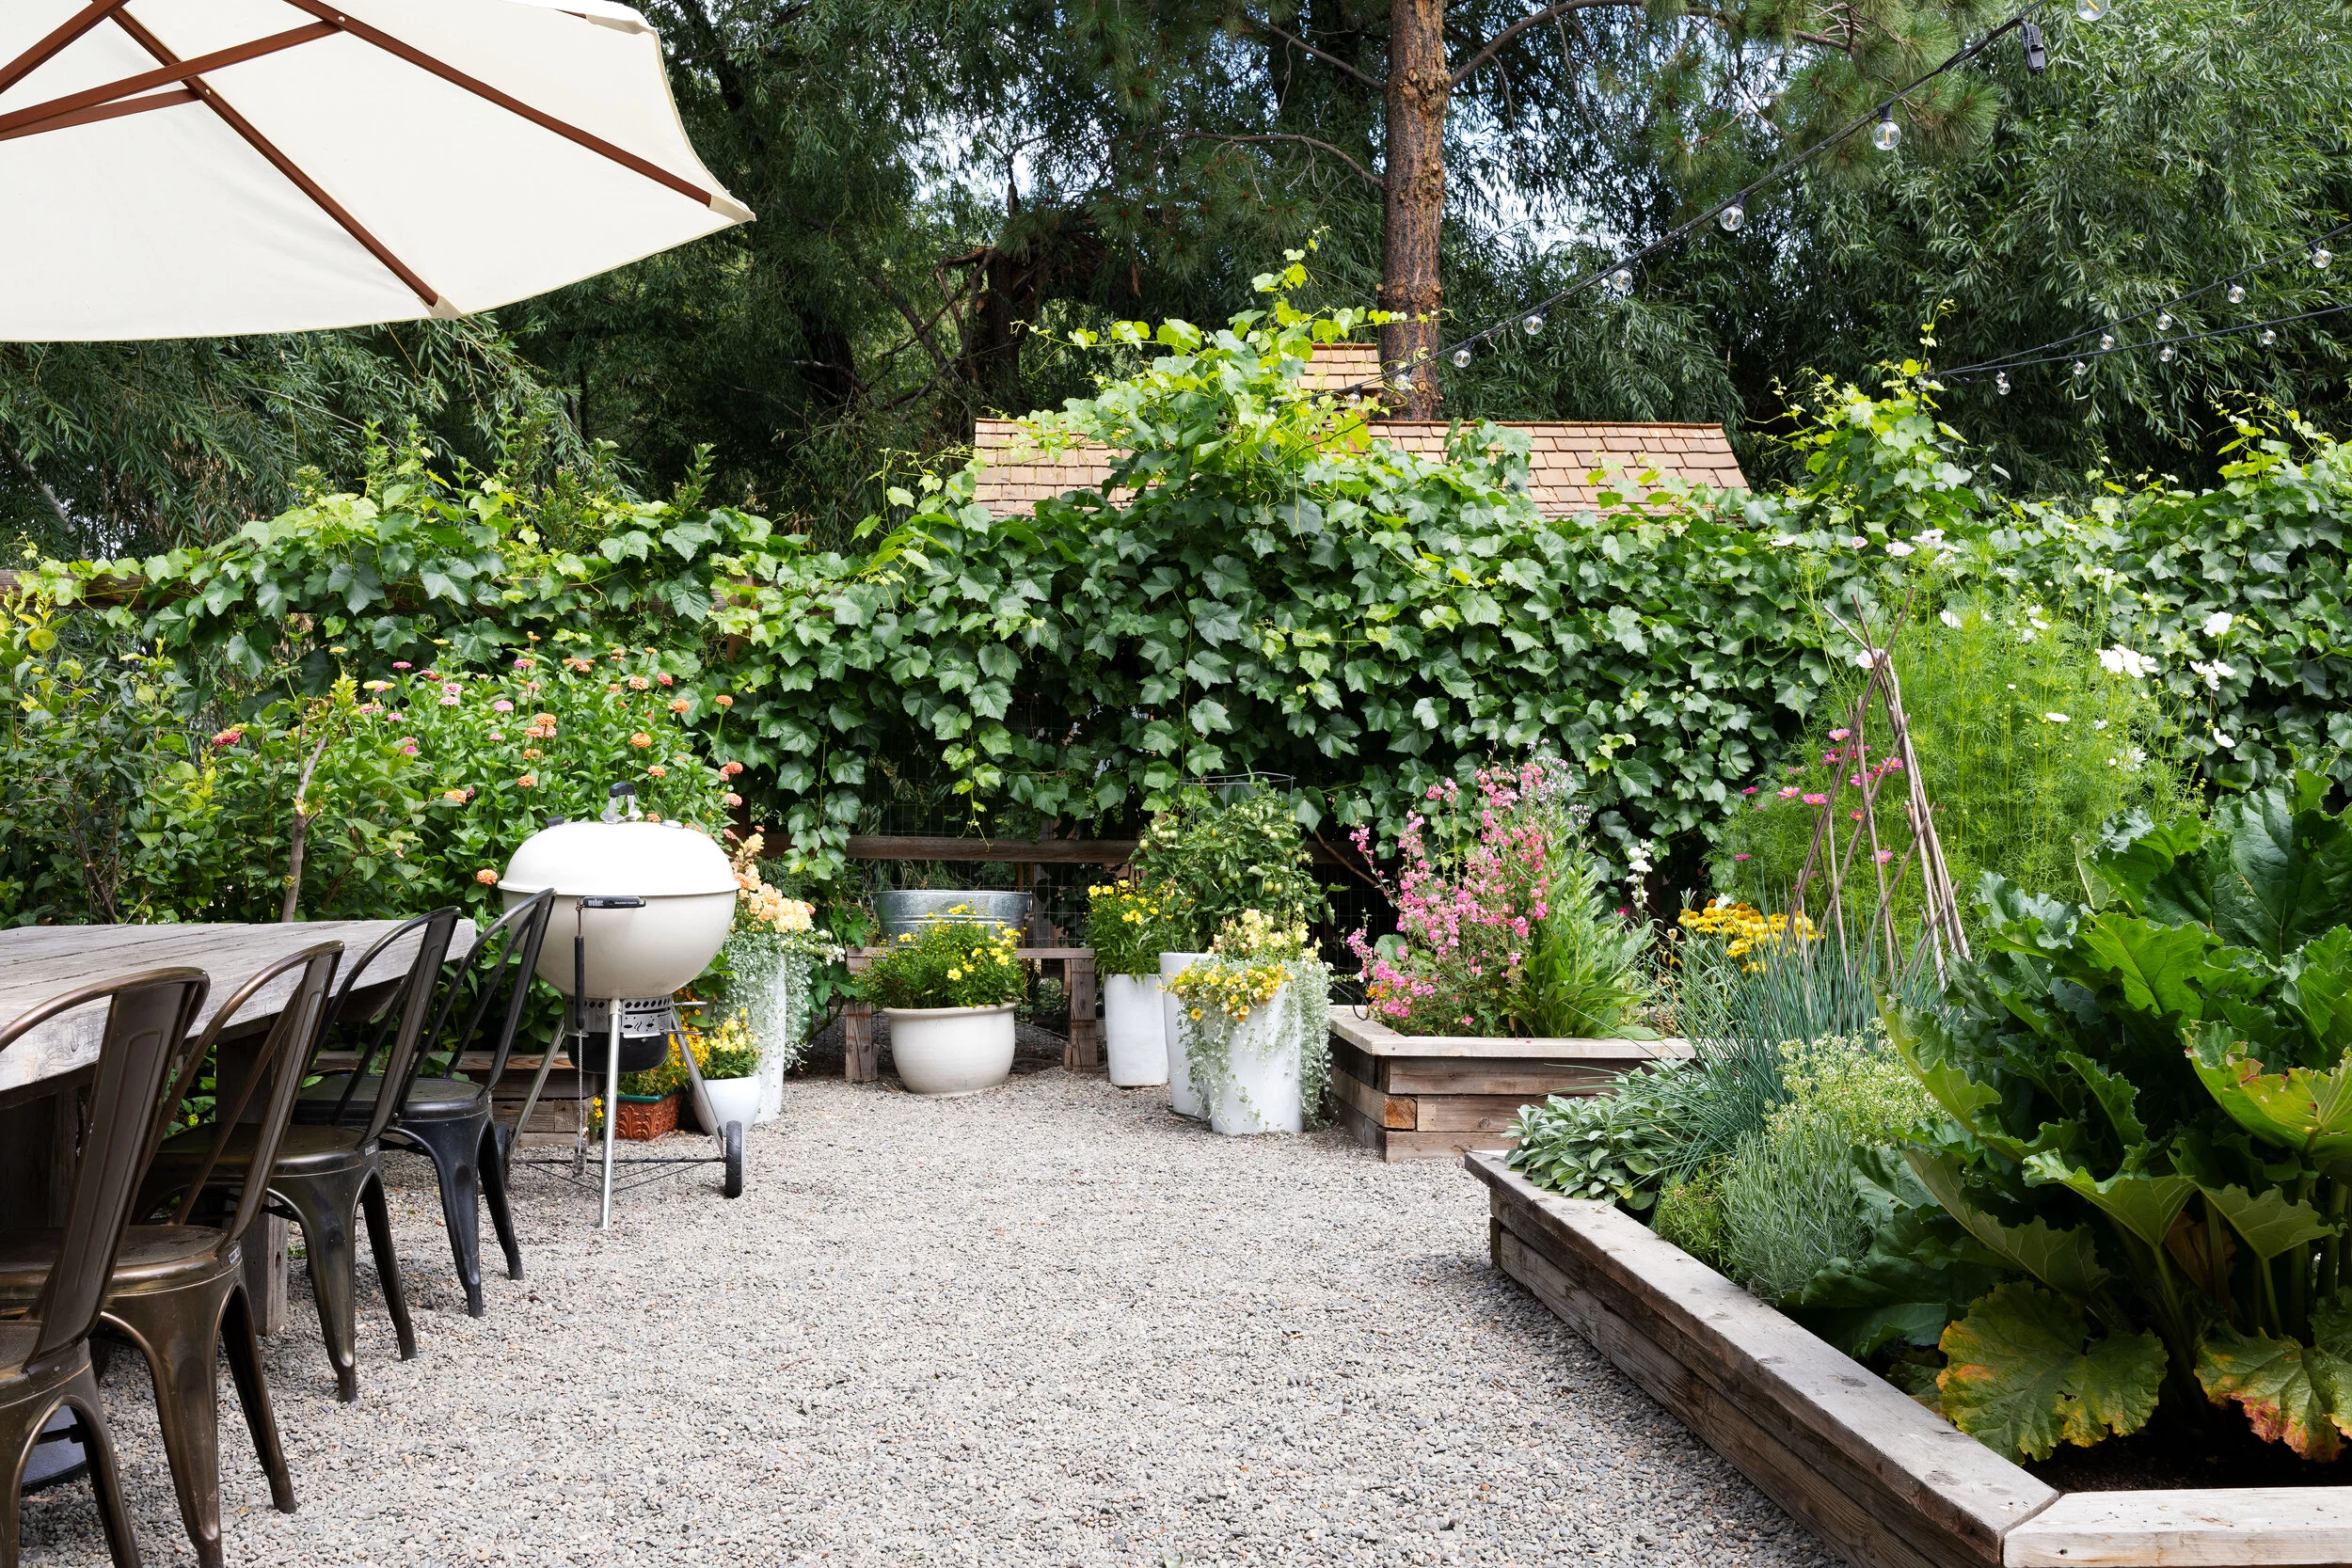
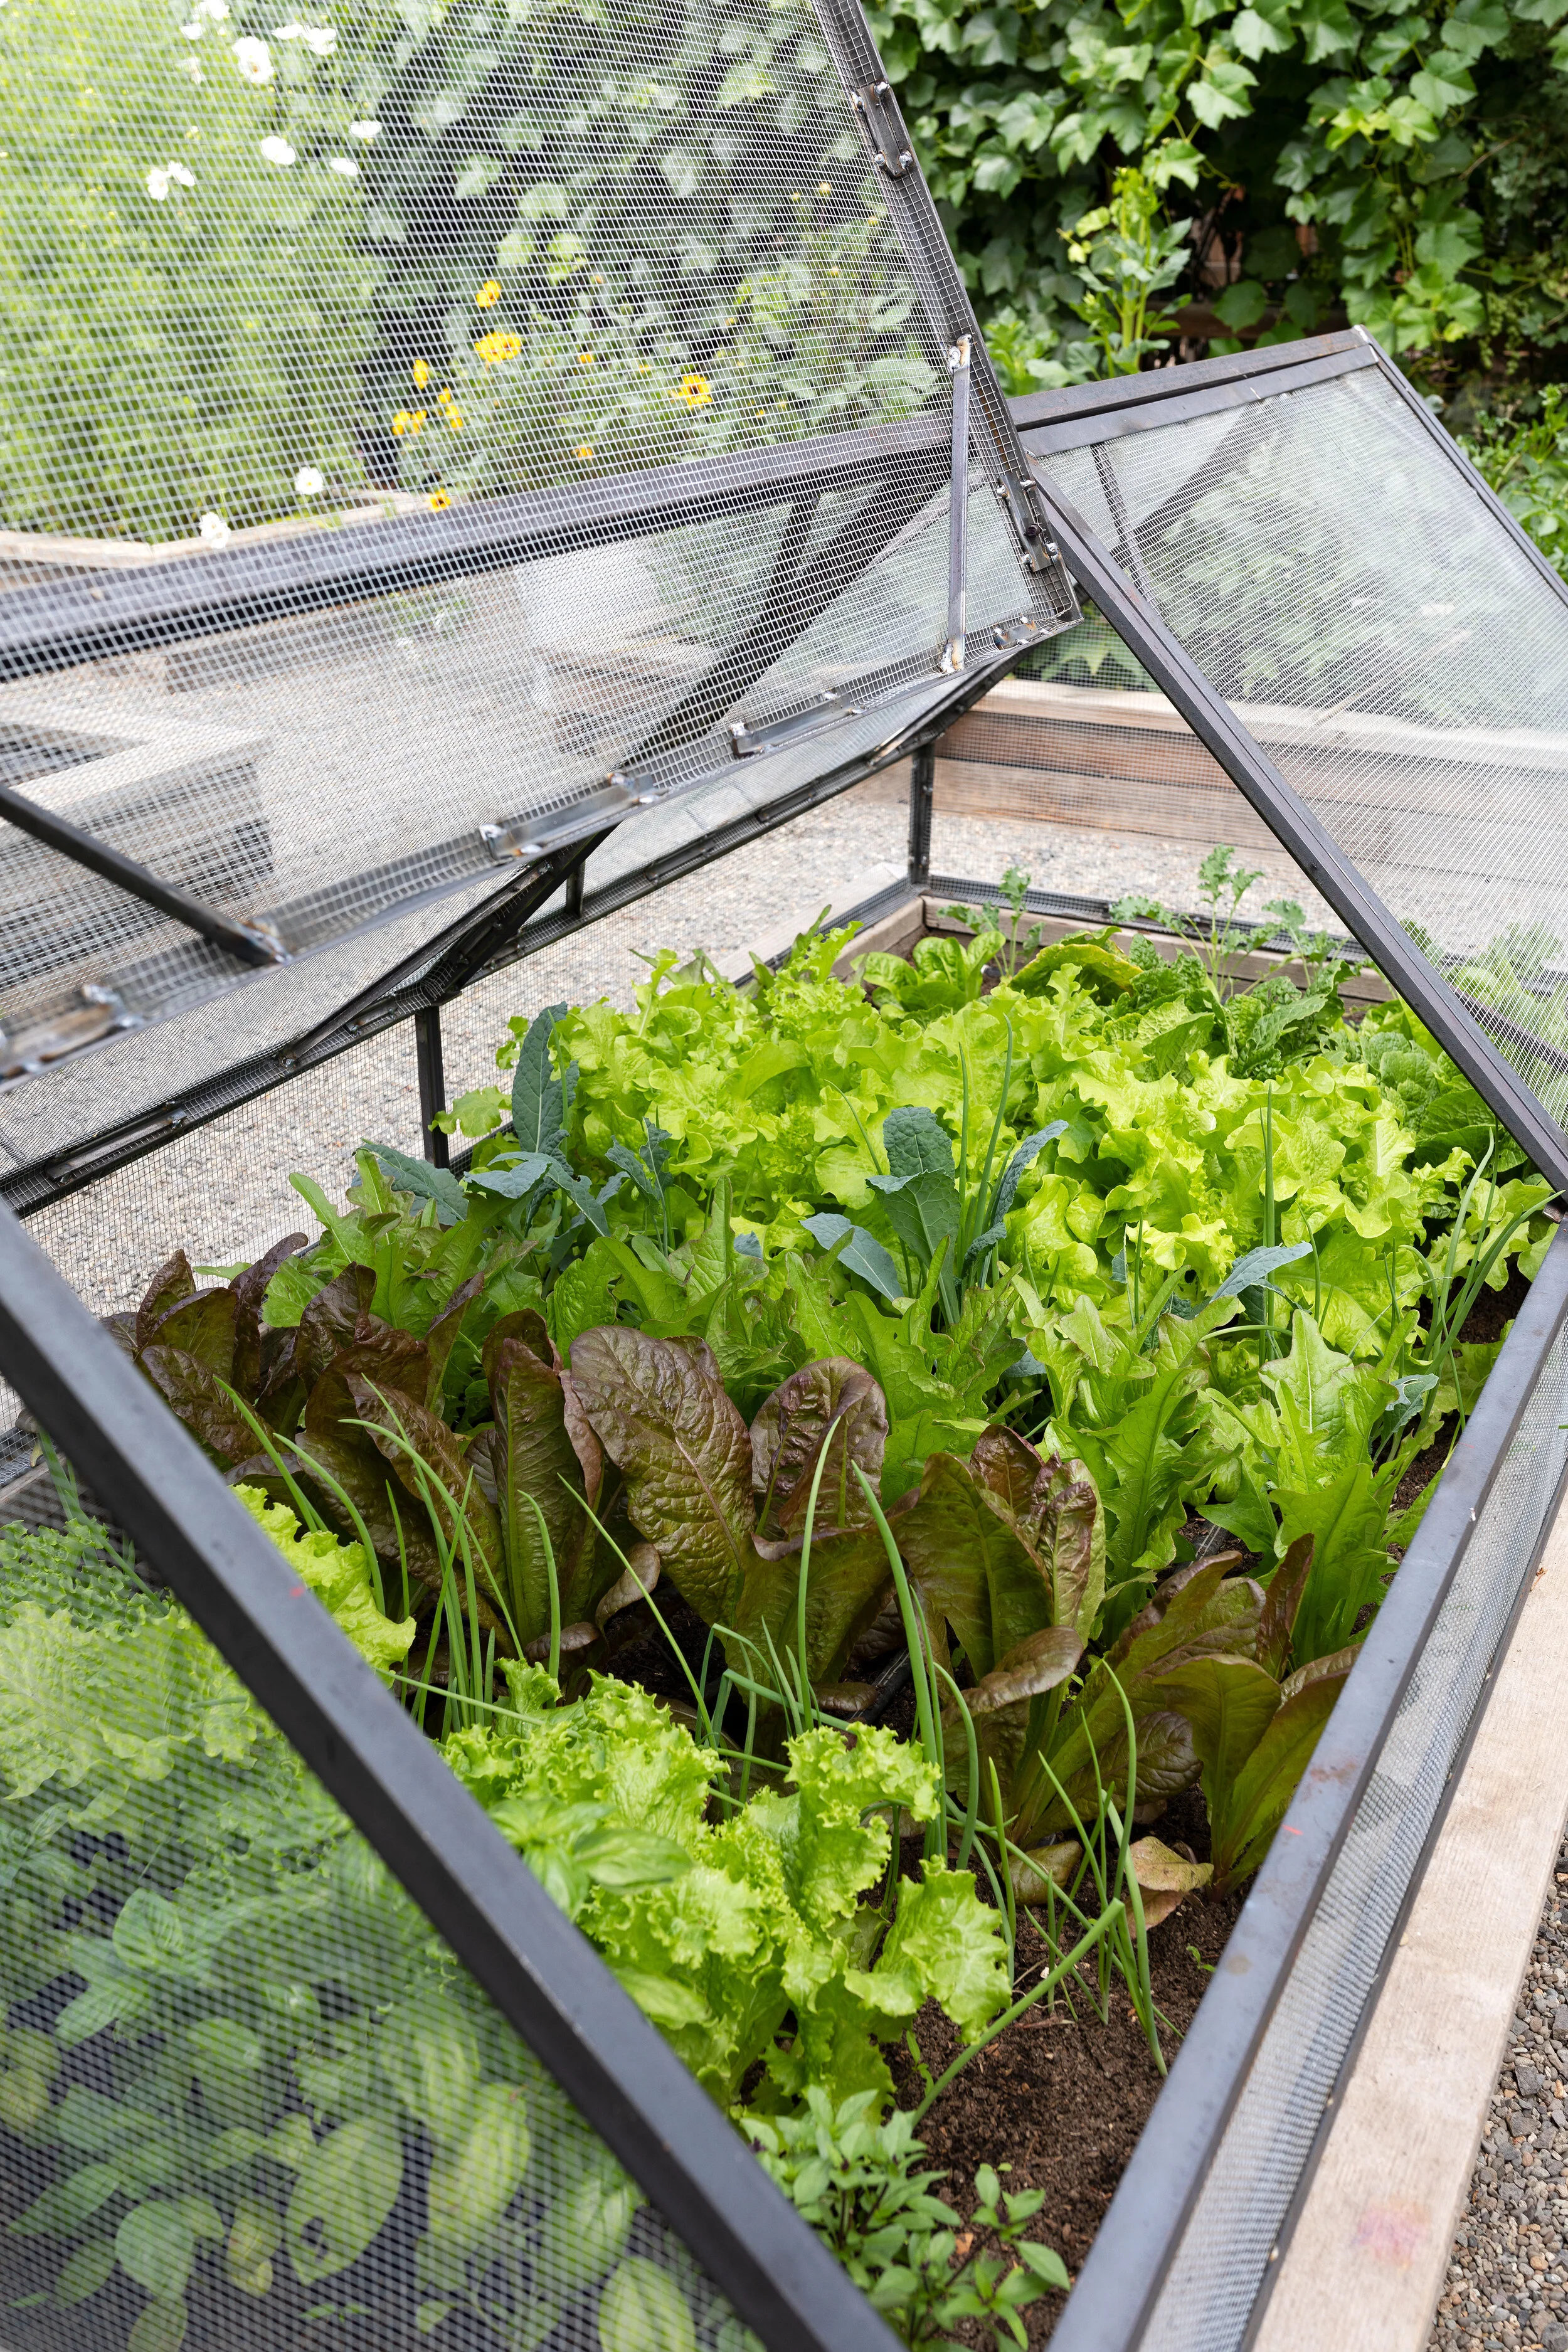
So obviously these are photos of our Farmhouse garden (here’s a full blog tour and a video tour), but you can see how green and healthy things look with compost. We’ve gotten loads of Nana’s compost every year since we first planted this garden and over time it’s making for really healthy soil. Nana’s garden is twice as green and overflowing with bounty as mine, but we’ll save a tour of that space for another day.
Before we get to Nana’s backyard compost set up, let’s walk through a couple of things…
First of all, there is no one way to compost. People have been doing this for forever and there’s a lot of varying methods out there. This is Nana’s method and it works really, really well for her (and for me 😉). It’s relatively low energy and makes enough compost for her garden beds and occasionally mine too.
Nana recently took me for a tour of her simple backyard compost setup and we talked all about her process, setup, and tips. You can watch the video below. Can’t you just feel her excitement for compost?! I love it! And read on for more pictures and explanation of her setup, what she does (and doesn’t) add to the compost, and answers to the questions you guys asked on Instagram!
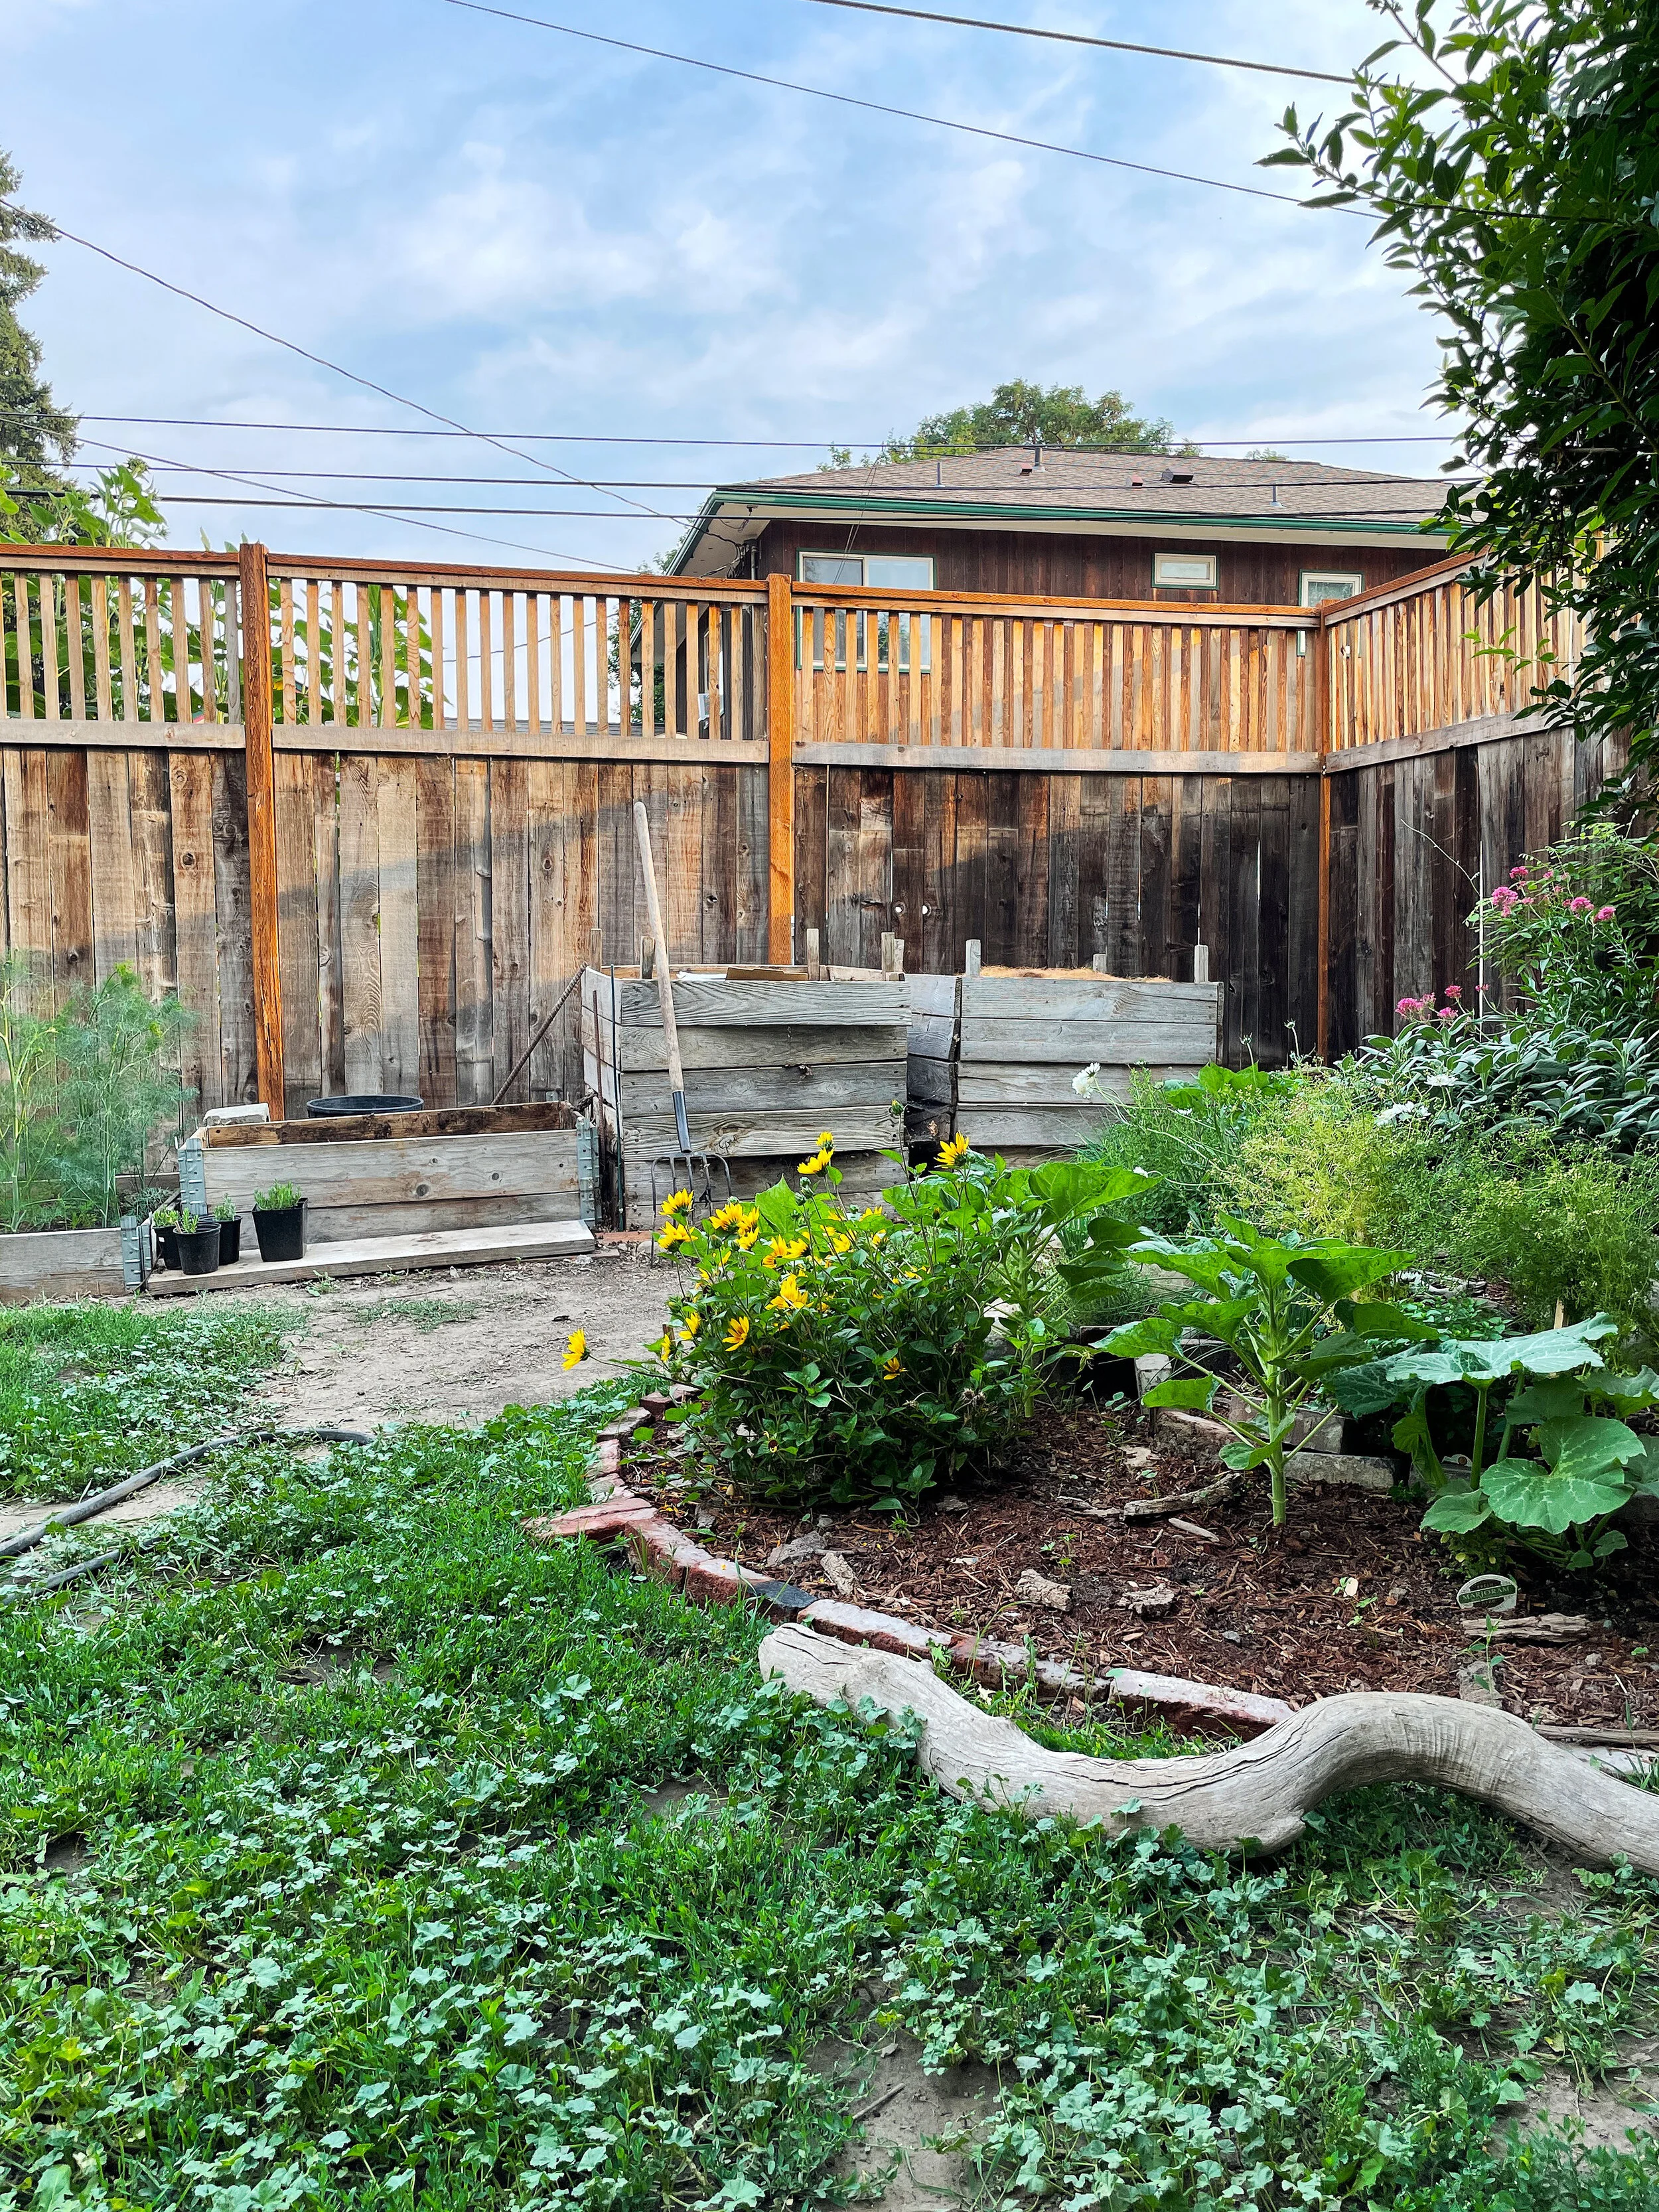
Nana’s backyard compost setup
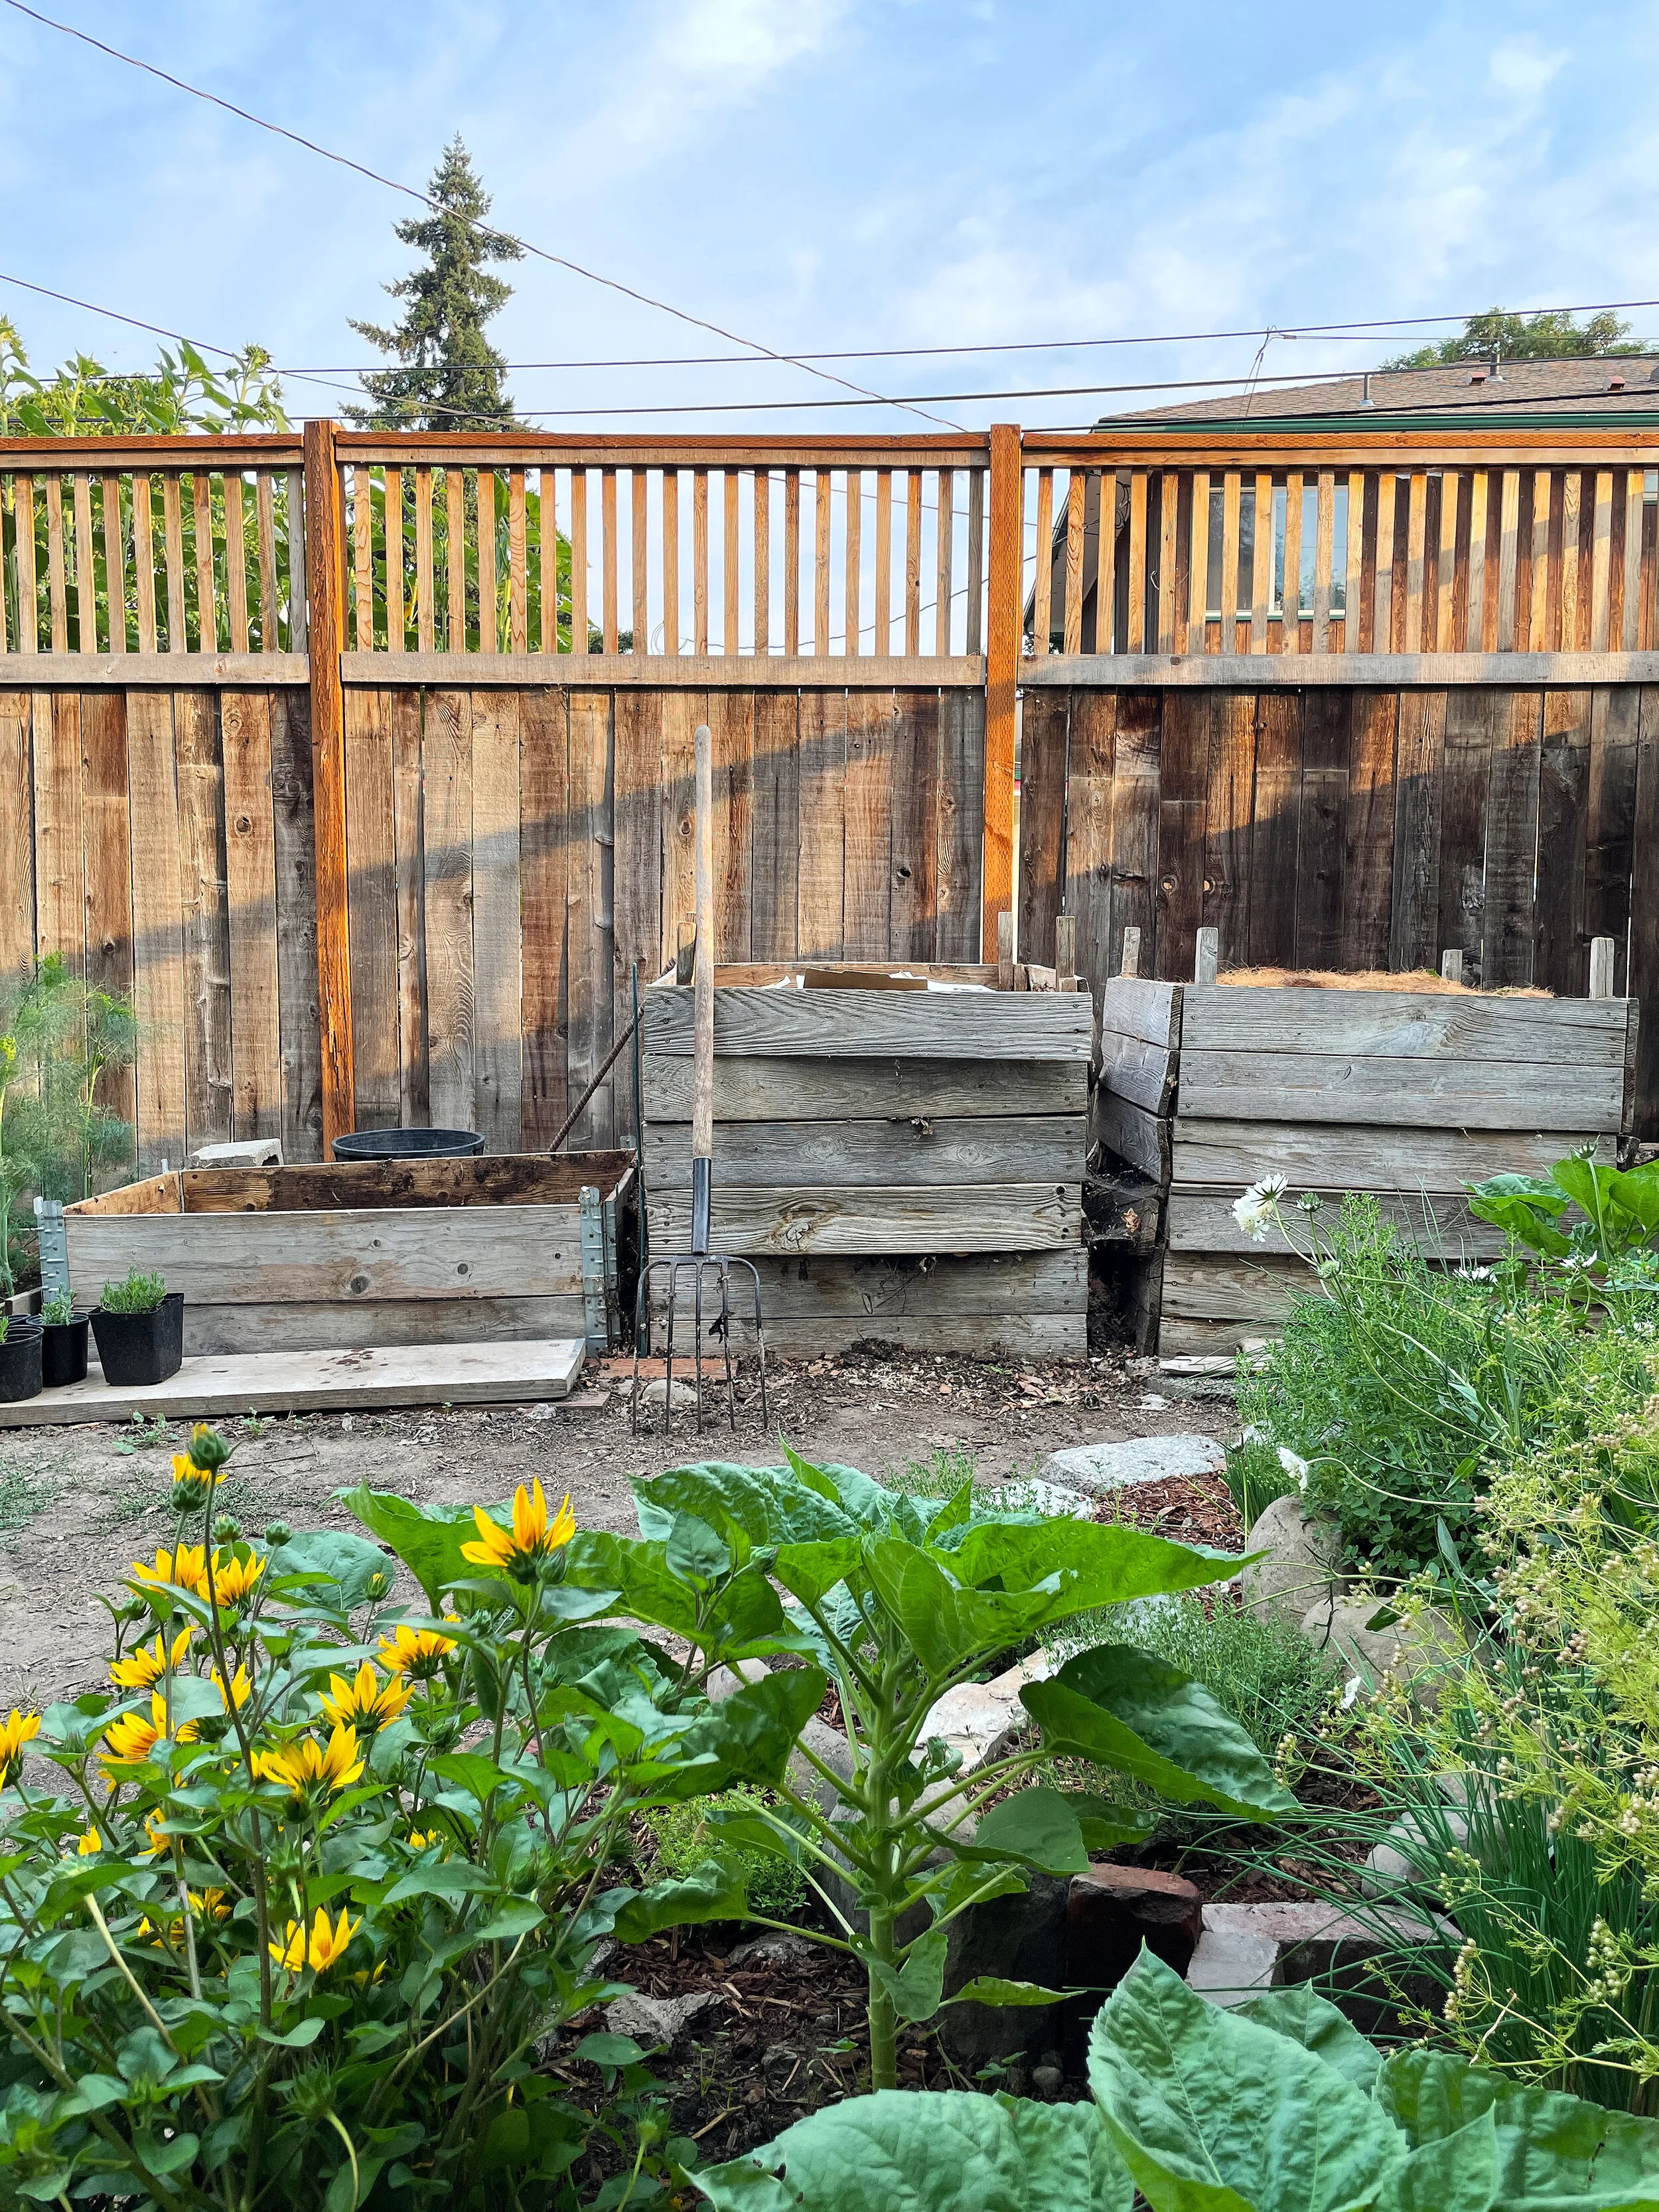
Nana’s compost is at the back of their backyard at the Porch House (which Garrett and I renovated in 2017). To give you an idea of her space, her lot is relatively average for our town at 7500sf. Her compost is in three 3’x3’ boxes. There’s a fourth box/pile on the end where she stores leaves to let them dry out and other ‘brown’ ingredients. More on that in a minute…
Somewhere along Nana’s 20-year composting journey she heard that a compost pile of 3’x3’x4’ is the right size to actually decompose and generate enough heat. She also opts for what she calls “beehive boxes”, which are actually a series of stacking layers. This makes building and turning the layers a lot easier. (She noted that her boxes are getting pretty old and will need rebuilt/replaced eventually, but I think it’s cool to see how simple and DIY your compost setup can be!)
Process
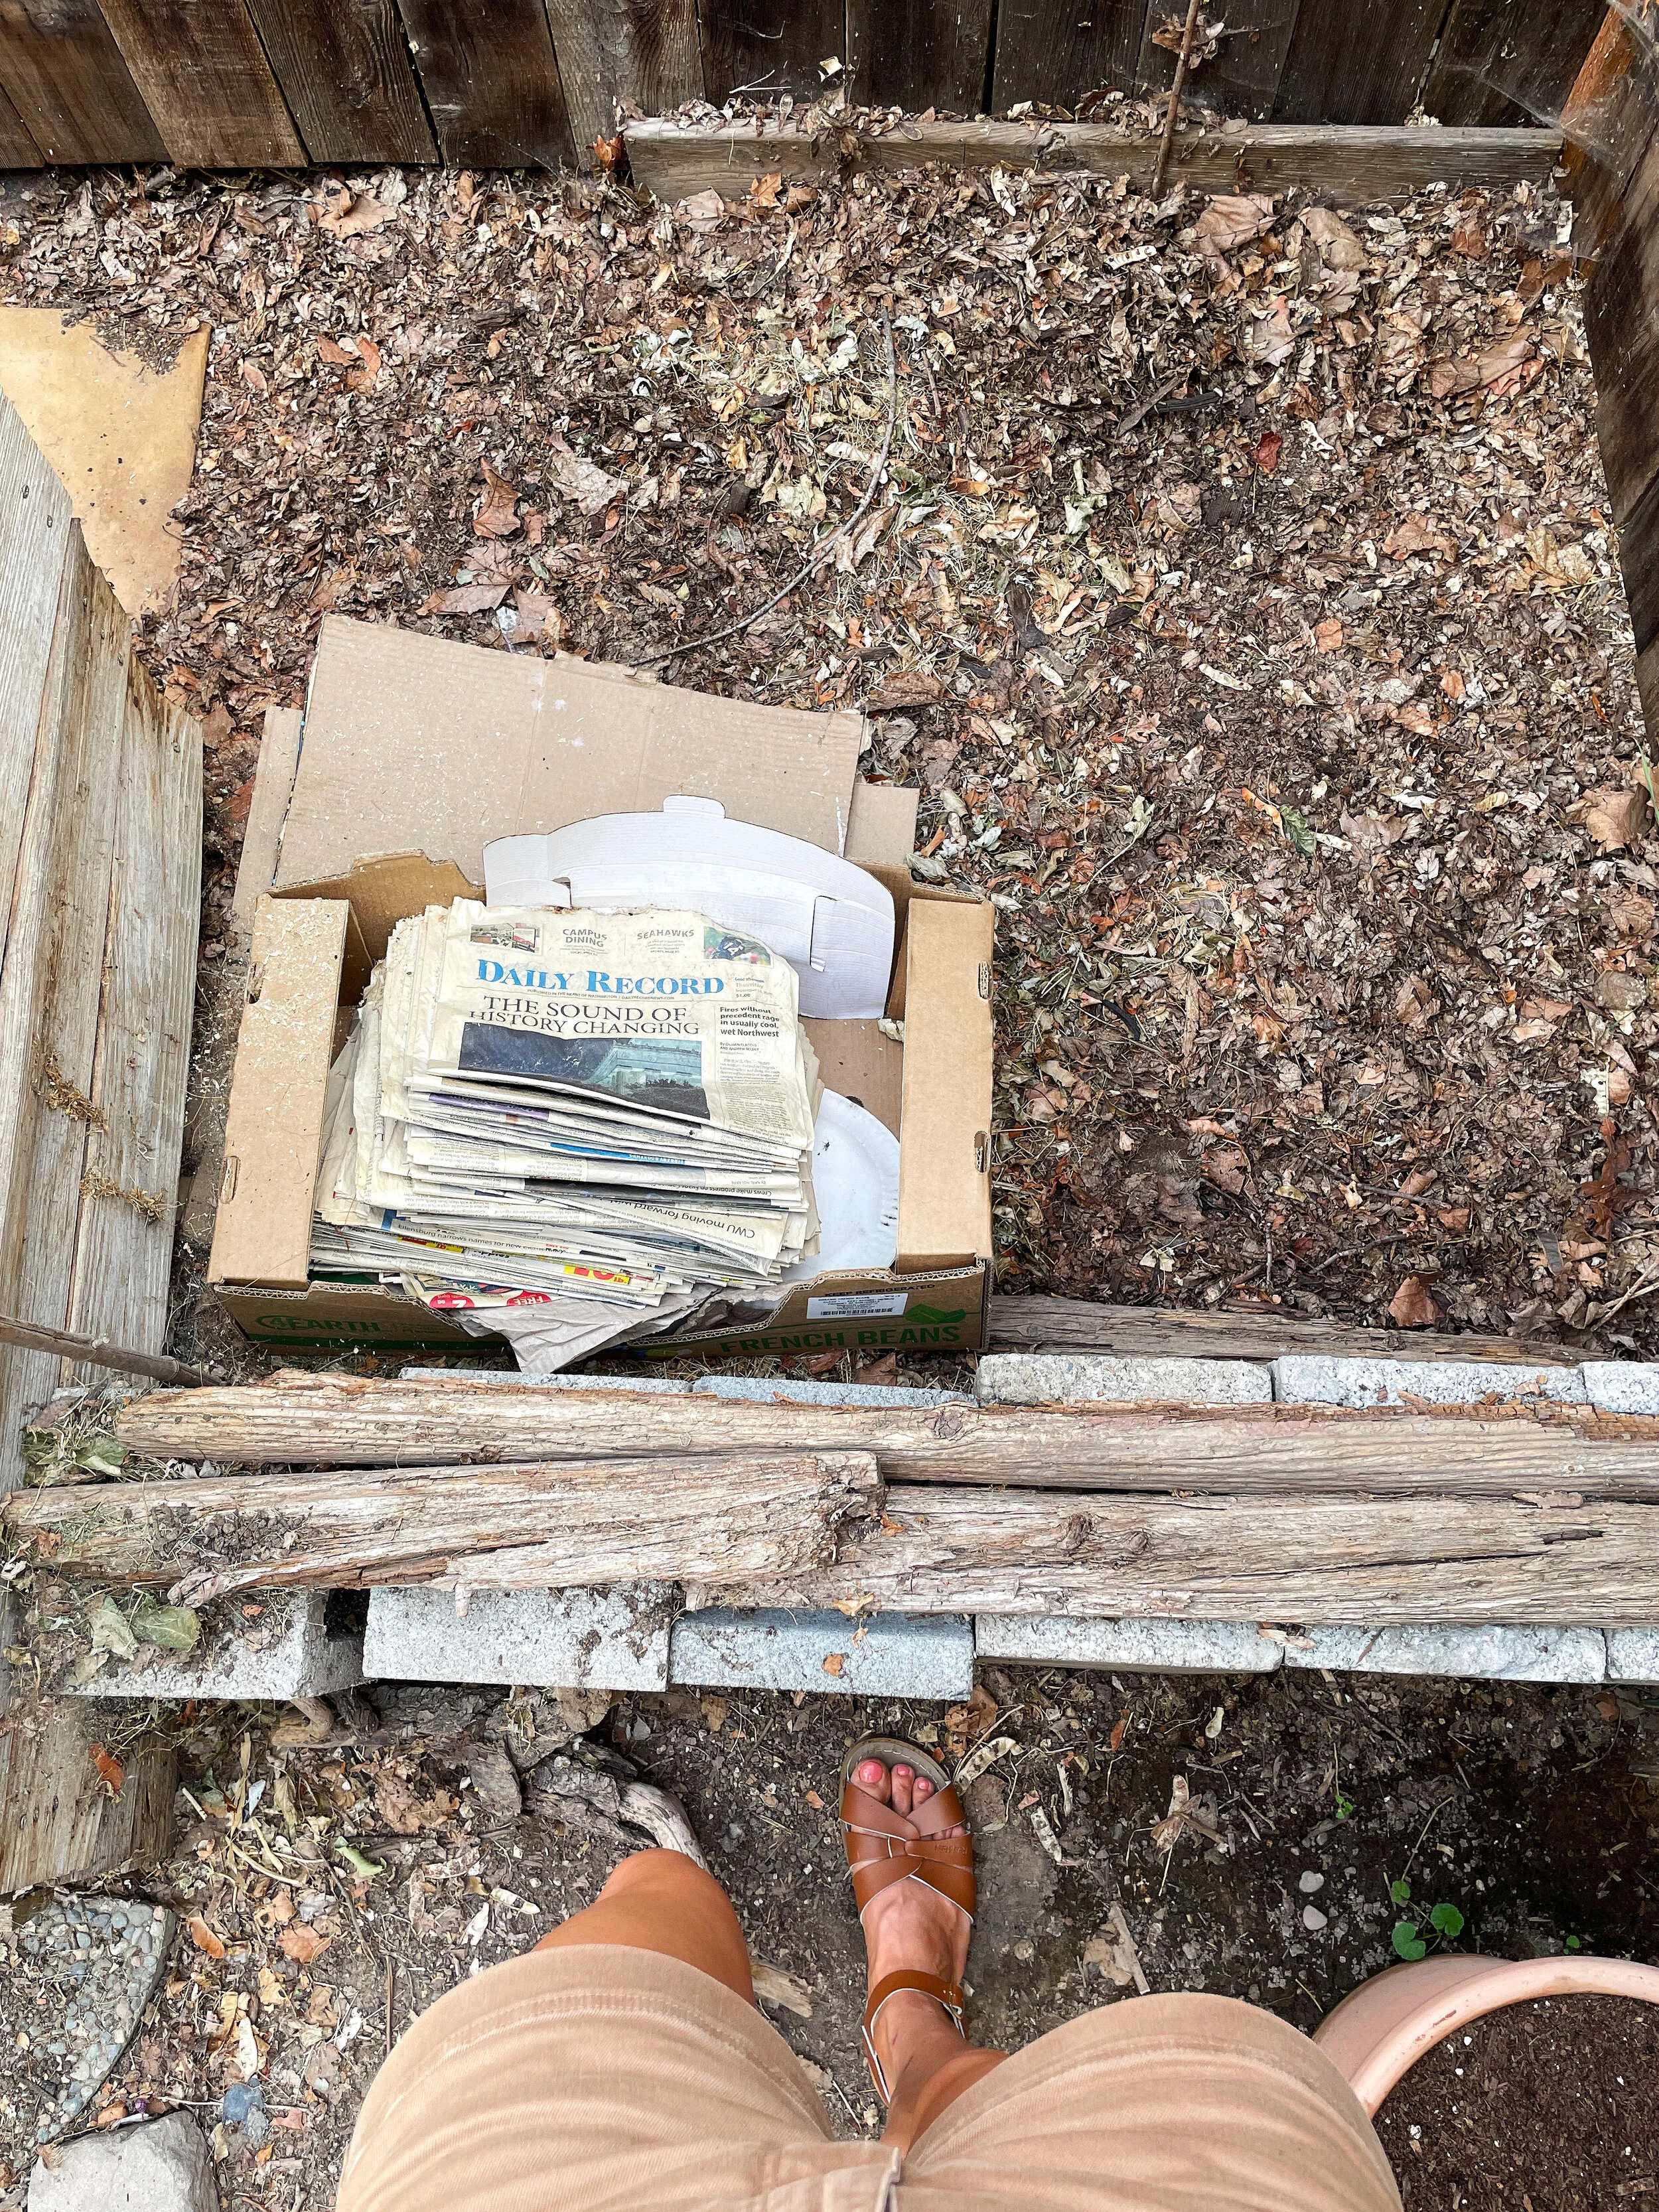
Nana’s three compost boxes makes up her entire operation. The first box is where she builds the compost, layering greens and browns as we’ll talk about in a second.
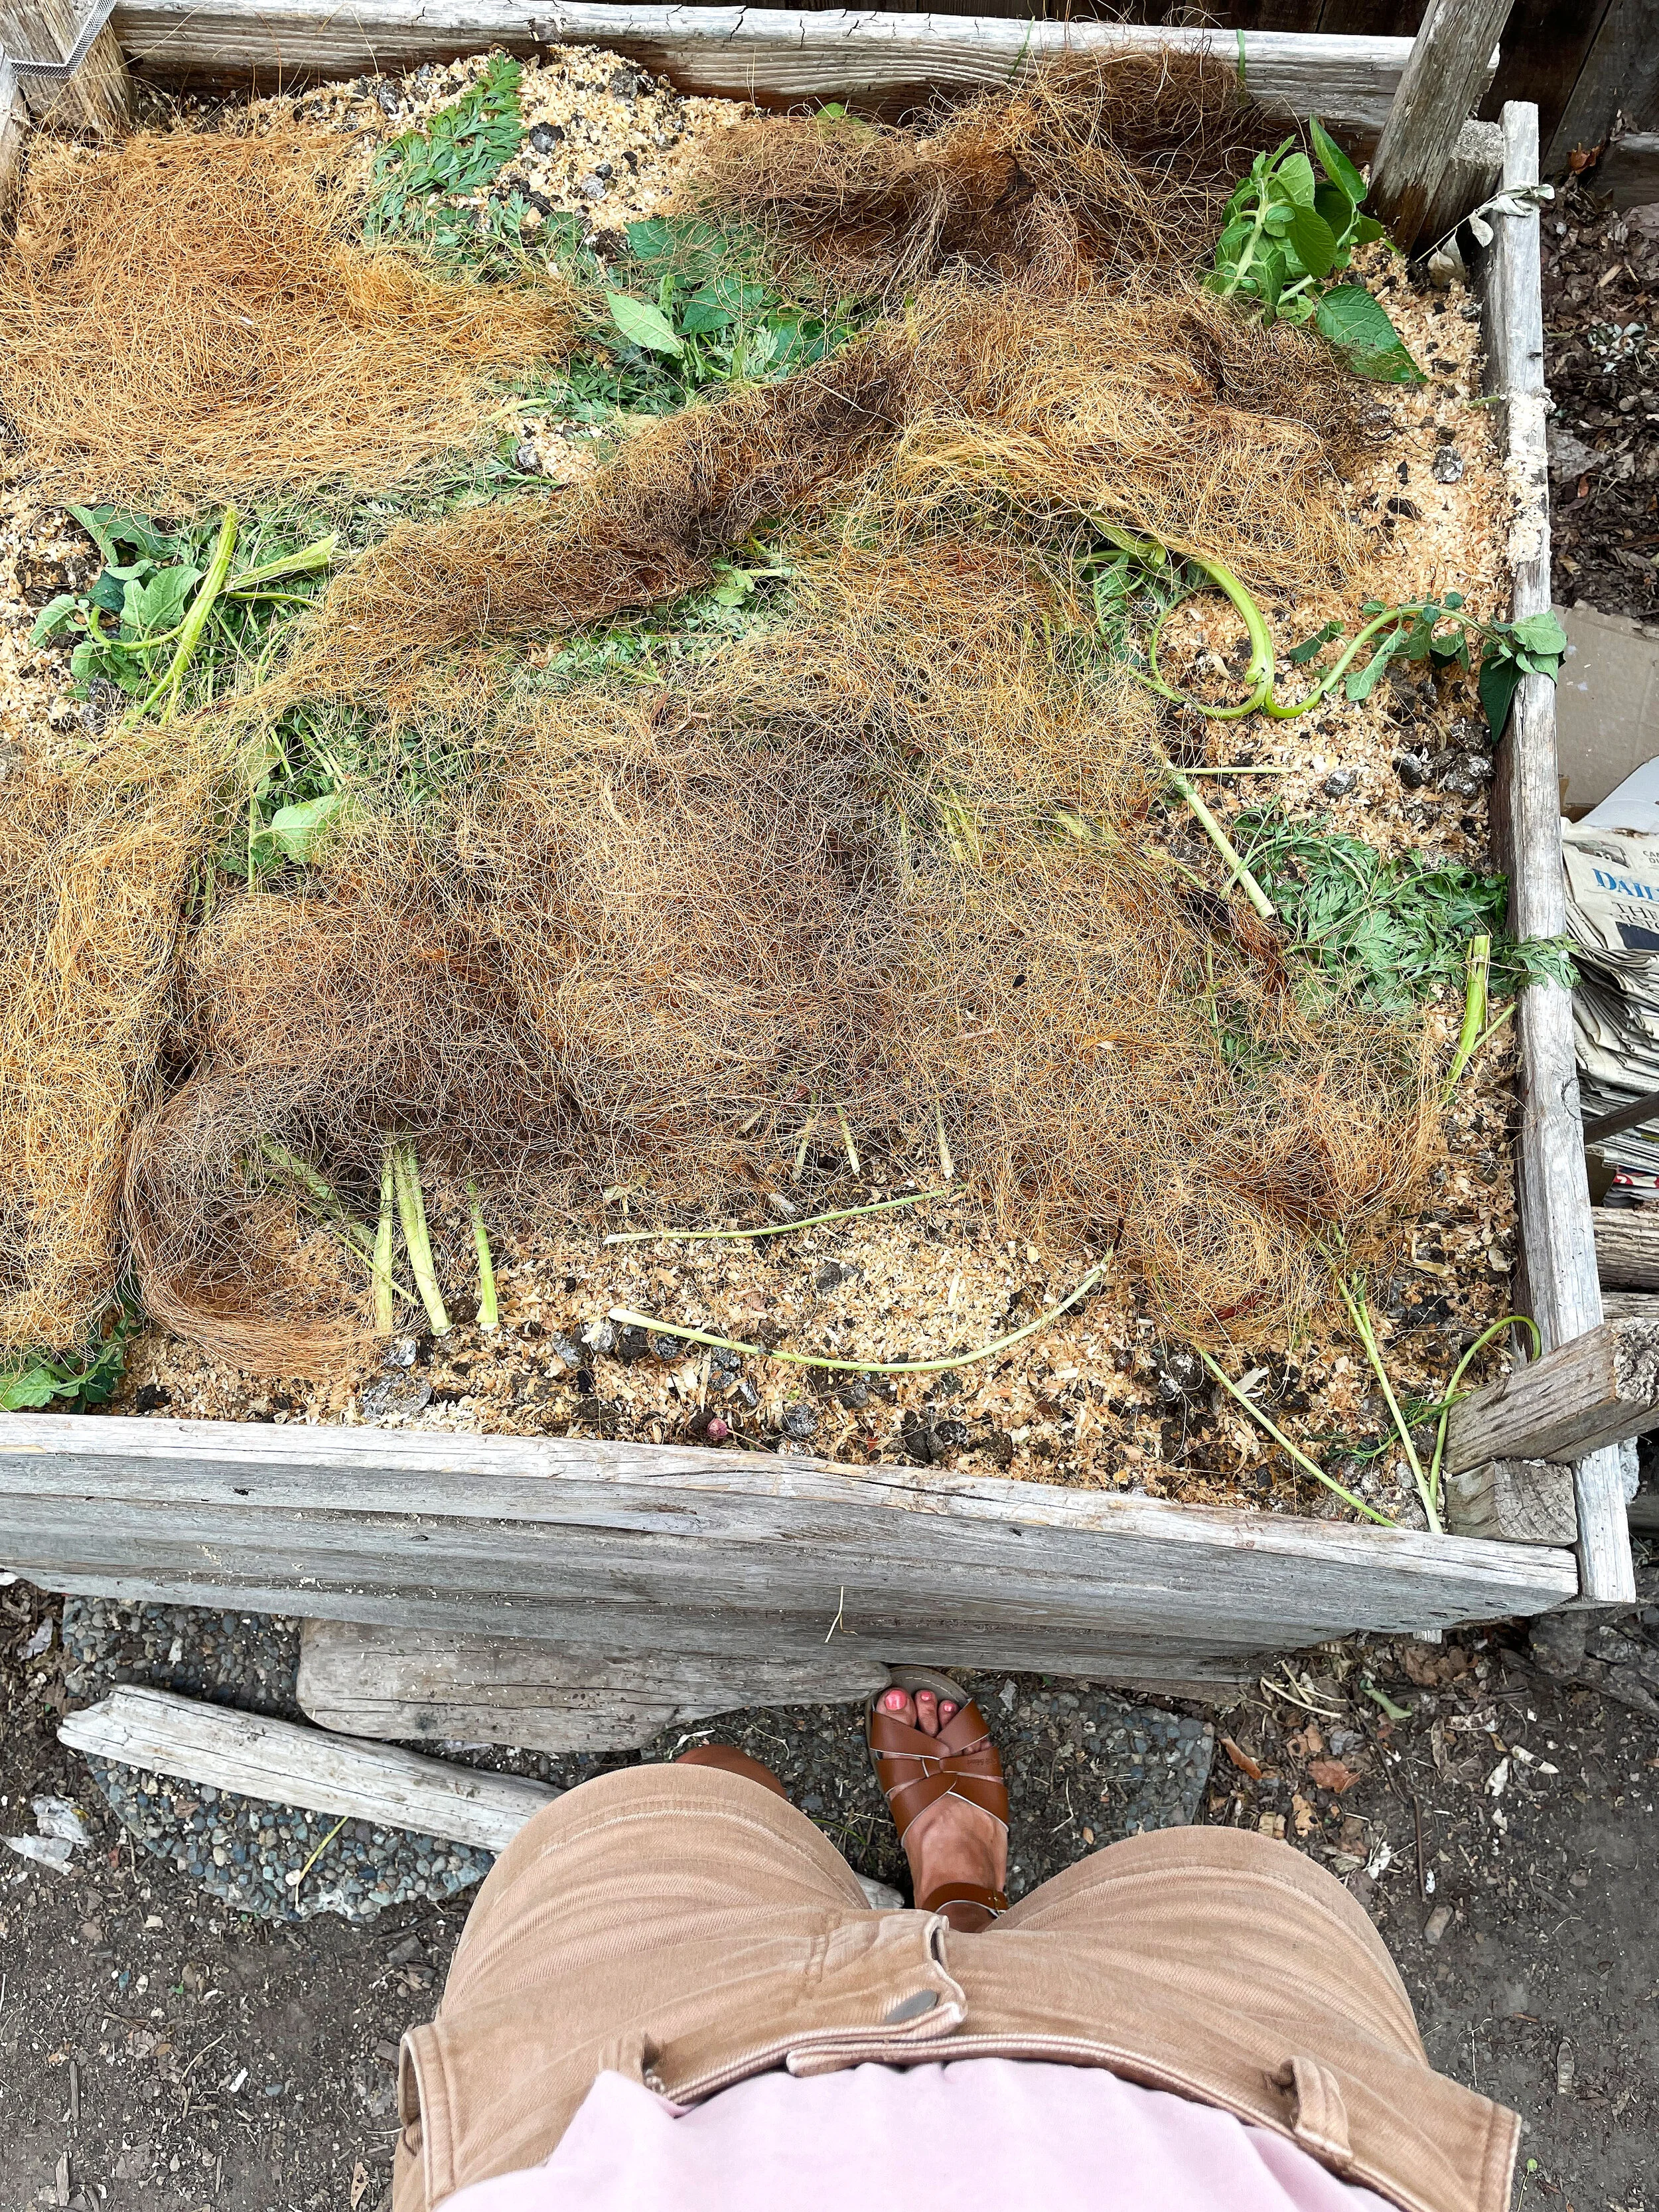

Green Layer
kitchen scraps*
garden and yard clippings
fresh grass clippings
Brown Layer
dry leaves and yard clippings
cardboard and packaging paper
animal bedding + manure
newspaper
And here’s what Nana never adds to her compost pile…
What NOT to add to compost
dairy
meat
noxious weeds
roots of any plants that spread (like mint or grass, although the clippings are fine)
plant clippings with pest infestation or powdery mildew or anything you wouldn’t want in your garden
*to collect kitchen scraps, it’s really helpful to keep a compost pail on your countertop (something like this one). We empty our’s into a 5 gal bucket we store in our kitchen closet and when that fills up we take it over to Nana’s and she adds it to her green layer of compost. If you don’t have a lot of kitchen scraps but want to compost, enlist your friends and neighbors to contribute!

When creating the layers in the first compost box, you really want to have an equal thickness of brown and green layers. So if you have 6” of green you layer on 6” of brown. She always leaves a brown layer on top, that way your compost won’t smell or attract animals.
To make sure there’s always browns at the ready, Nana keeps a pile of aging leaves and grass clippings next to her compost pile. These will dry out for up to a year before she uses them.
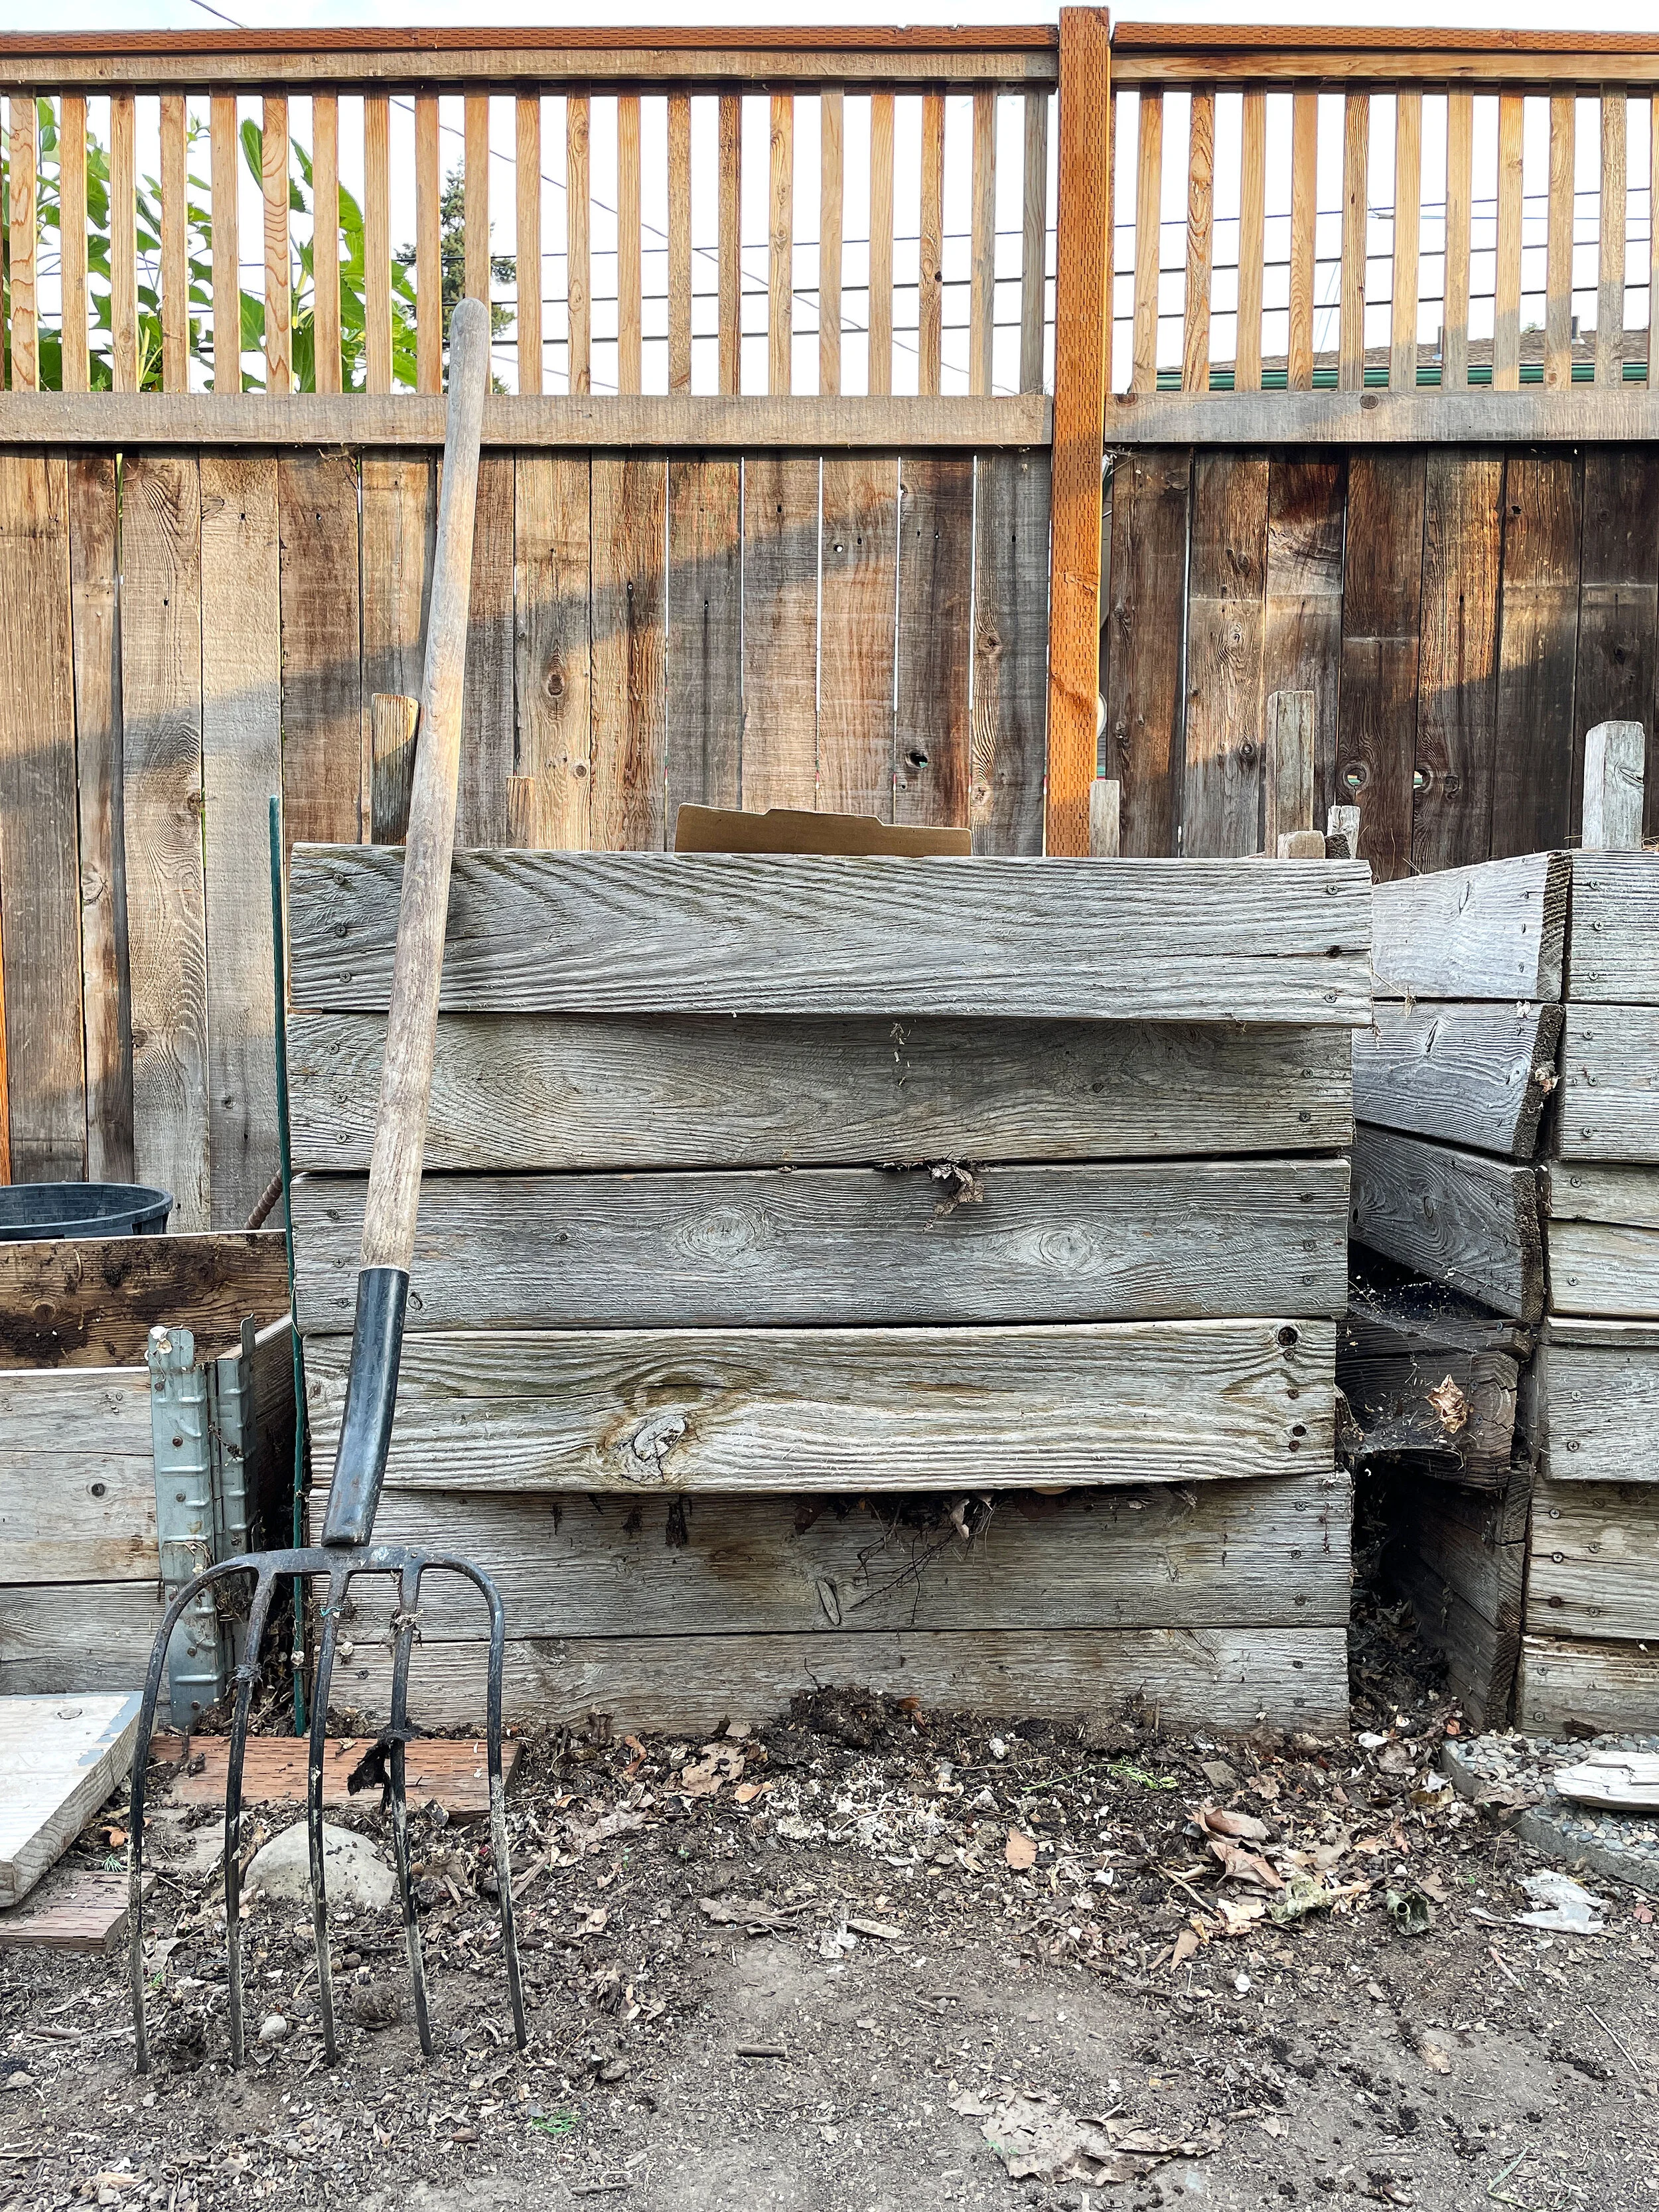
Turning
Once the first compost pile is about 4’ tall, Nana lets it sit for about a month (depending on weather and what scraps you have and other factors) and then it’s time to ‘turn’ it. That means taking a pitchfork and shoveling the compost from the first bin into the second. Essentially you’ll turn the pile upside down, adding plenty of air into the mix. Make sure not to compact anything.
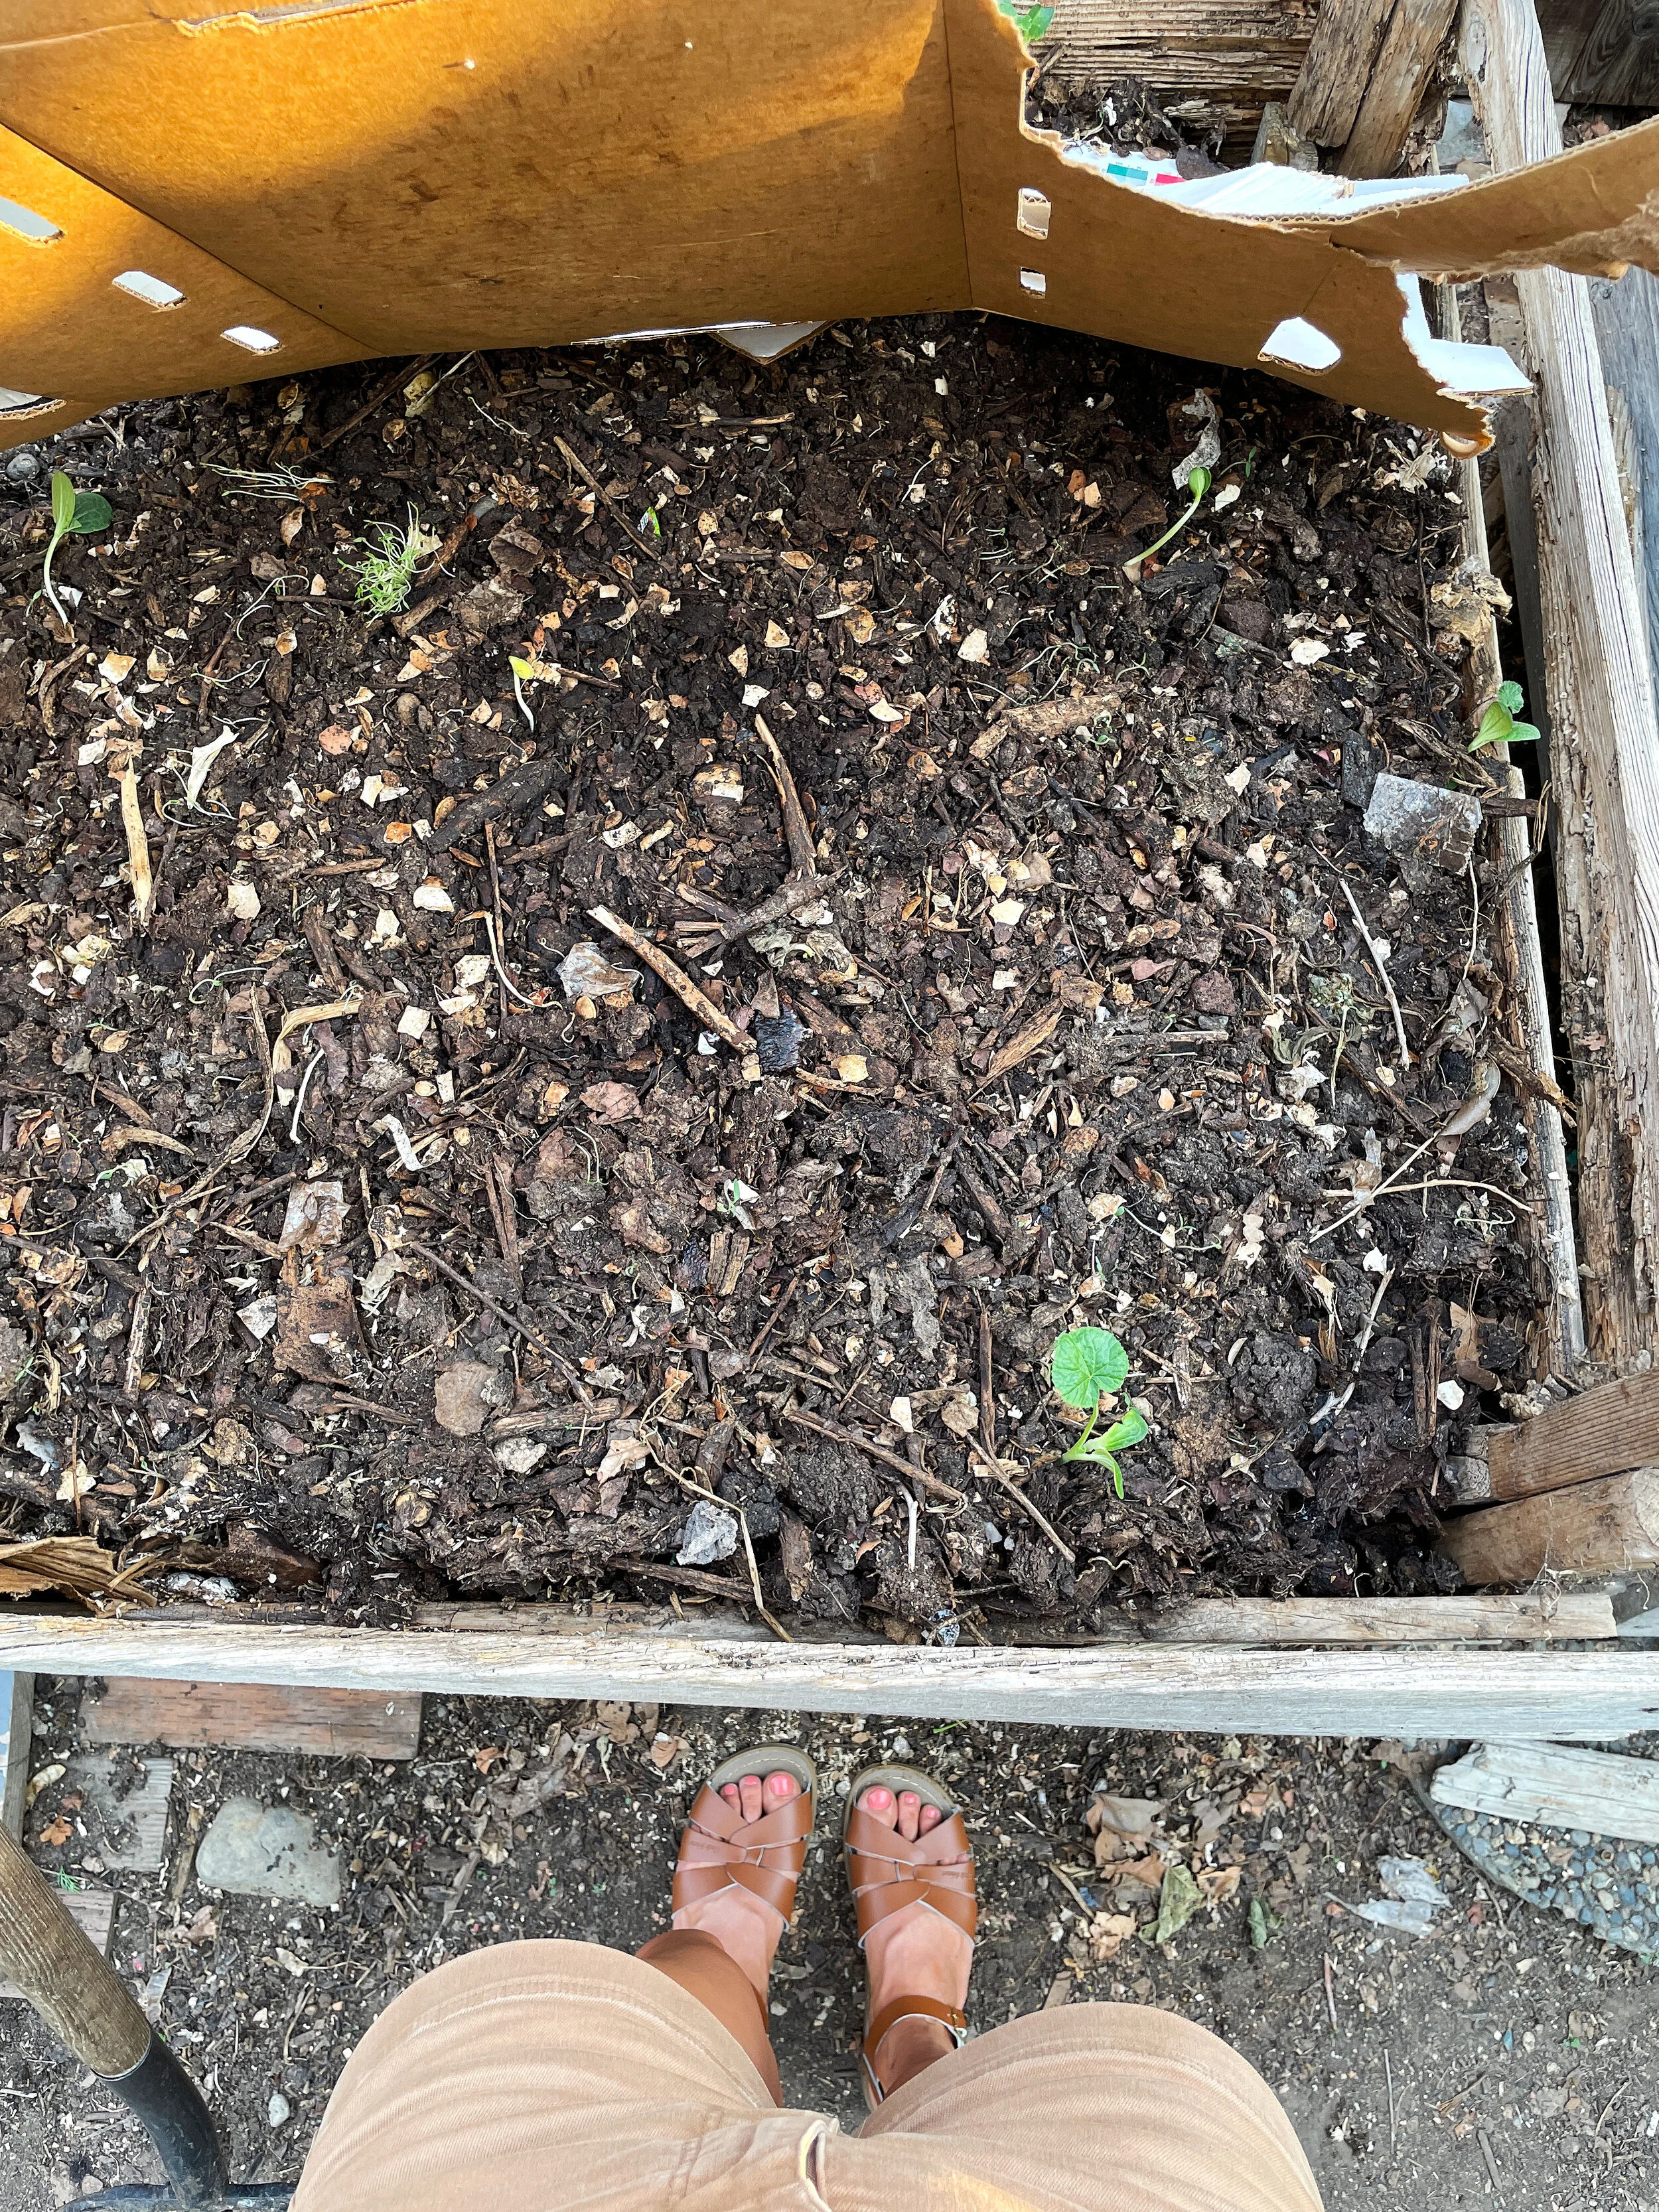
After the compost has sat in the second box for a month or so (again the timeline is dependent on weather and other factors) it’s time to turn the compost a second time. This time you’ll turn it from the second bin into the third. It’ll sit in this final bin for a few weeks or so (yup, dependent on weather and other factors) and it should start to look like compost, but possibly with some bigger chunks in it.
Screening
Nana always screens her compost using DIY screens that Papa made her. The first screen is 1/2” and the second is 1/4”. She places the screen on a wheelbarrow and send all of the compost through it. The larger pieces remaining on the top of the screen go back into the first compost bin to start the process all over again. Check out the video for more on screening!
How long does the entire process take?
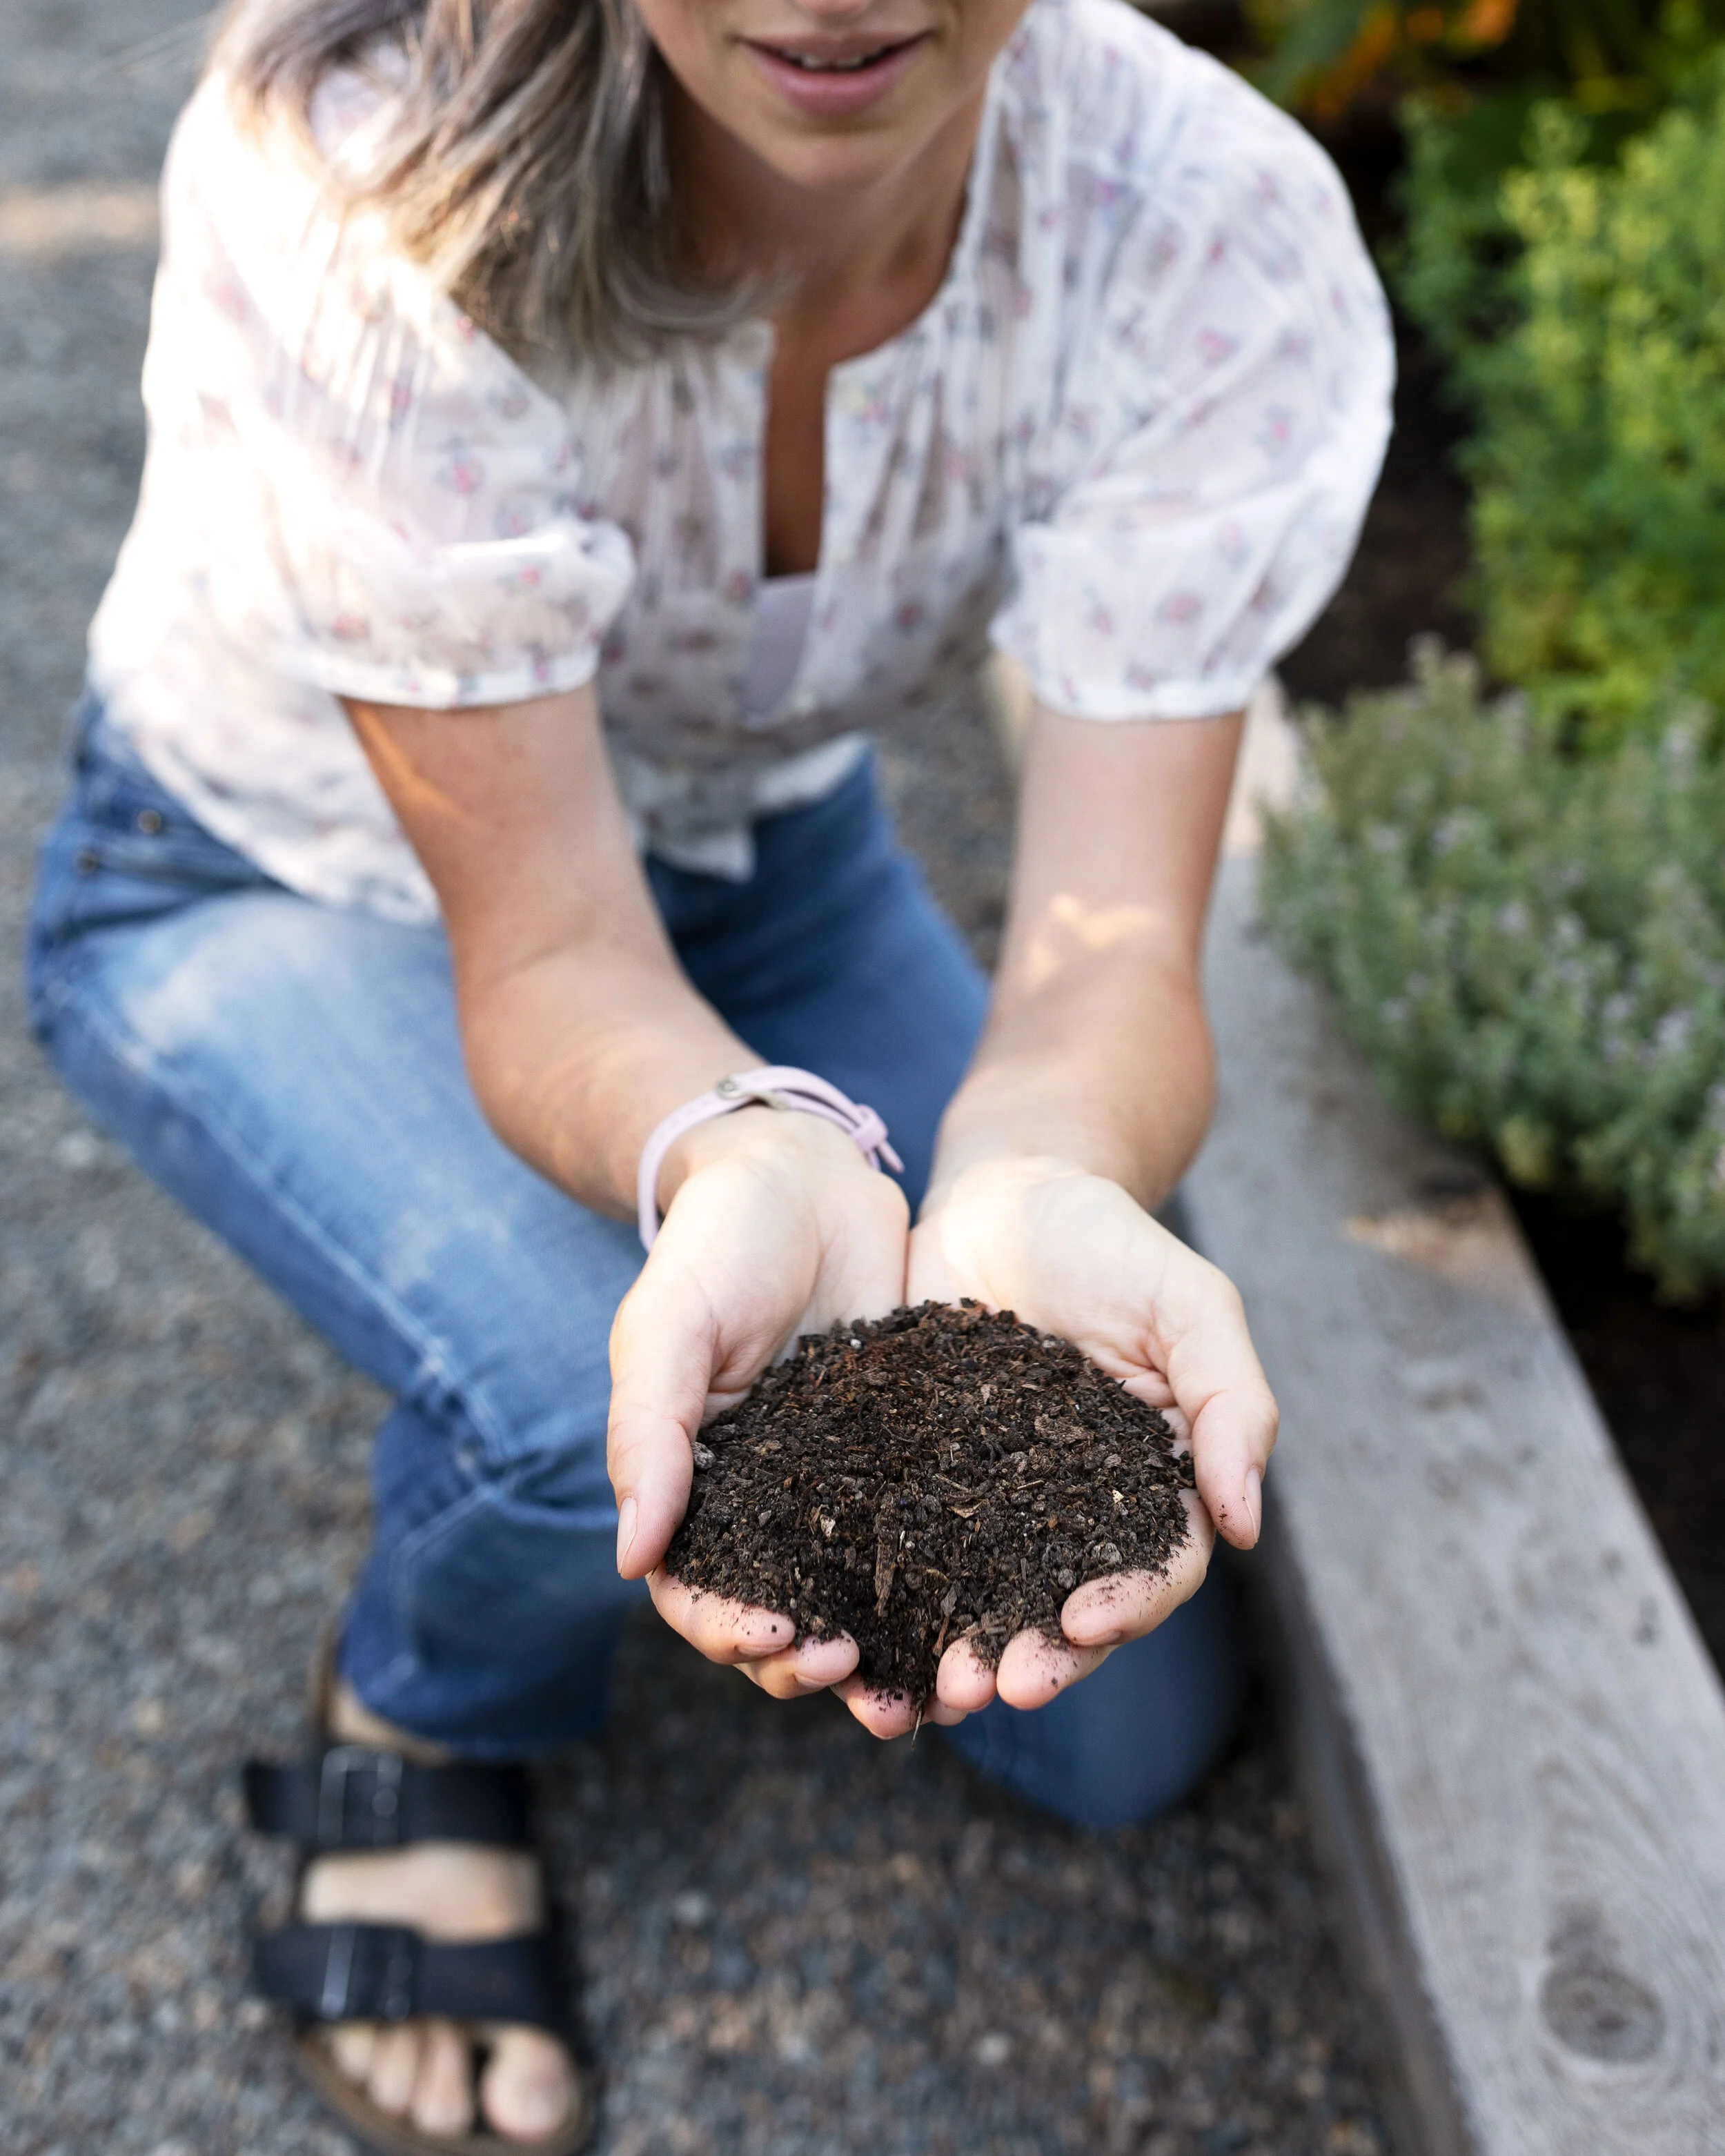
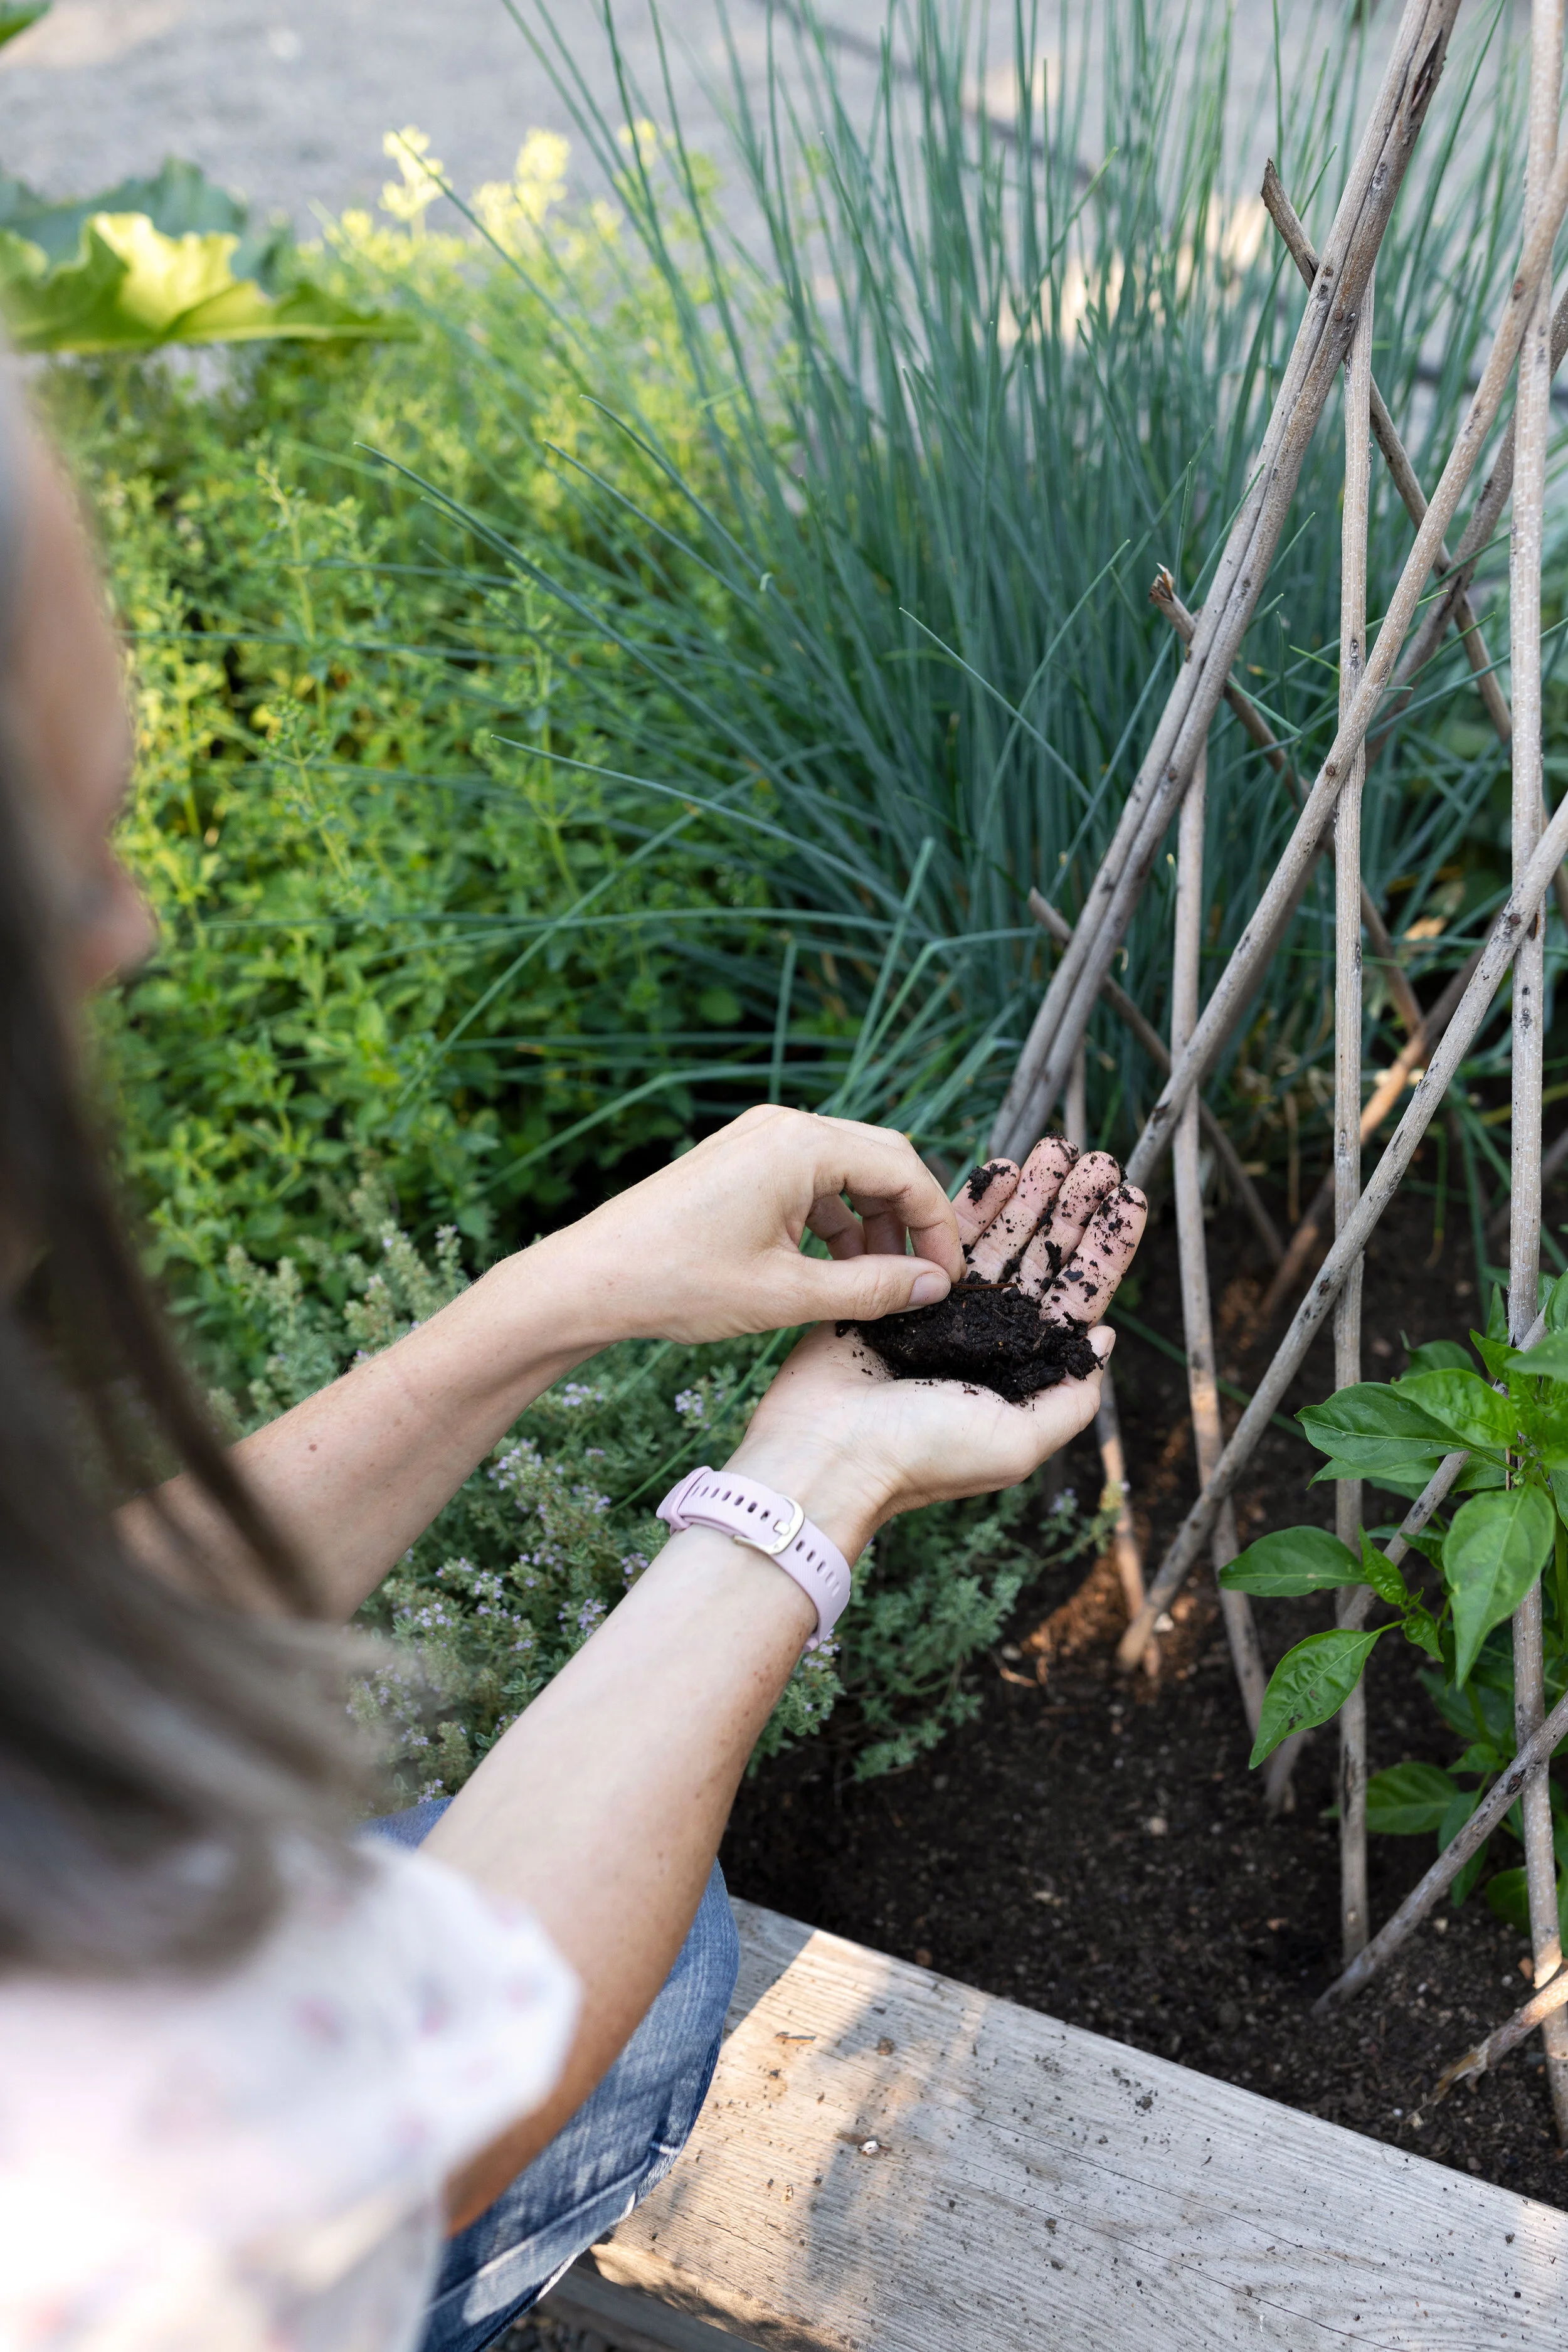
That depends on what exactly is in your compost, the weather, etc, but usually around 3 months from start to finish. The compost will look and feel like dirt, minus some bigger chunks before screening, and be moist but not wet. And after screening, it should loosely clomp when you curl it into a ball (shown below).
Commonly Asked Questions
Is it stinky?
Nope. Nana always leaves a brown layer on top of her compost to make sure there’s no smell.
Does it attract animals?
For the most part, no! As long as you don’t put meat or dairy in your compost and you keep a brown layer on top so the compost doesn’t smell, you shouldn’t see too may animals.
Do you use a cover?
Nana will cover her compost lightly in the heat of the summer and in the cold part of the winter.
Do you water the compost?
Nana will also sprinkle her compost with water if and when it feels dry in the summer.
Do you add worms?
Nope. The compost boxes are open on the bottom so plenty of worms find their way into the compost naturally.
Big thanks to Nana for sharing her expertise with us today! And if you have any questions, comments, suggestions or praise for Nana (cause goodness she deserves it after 20 years! 😉) we’d love to hear it in the comments!