
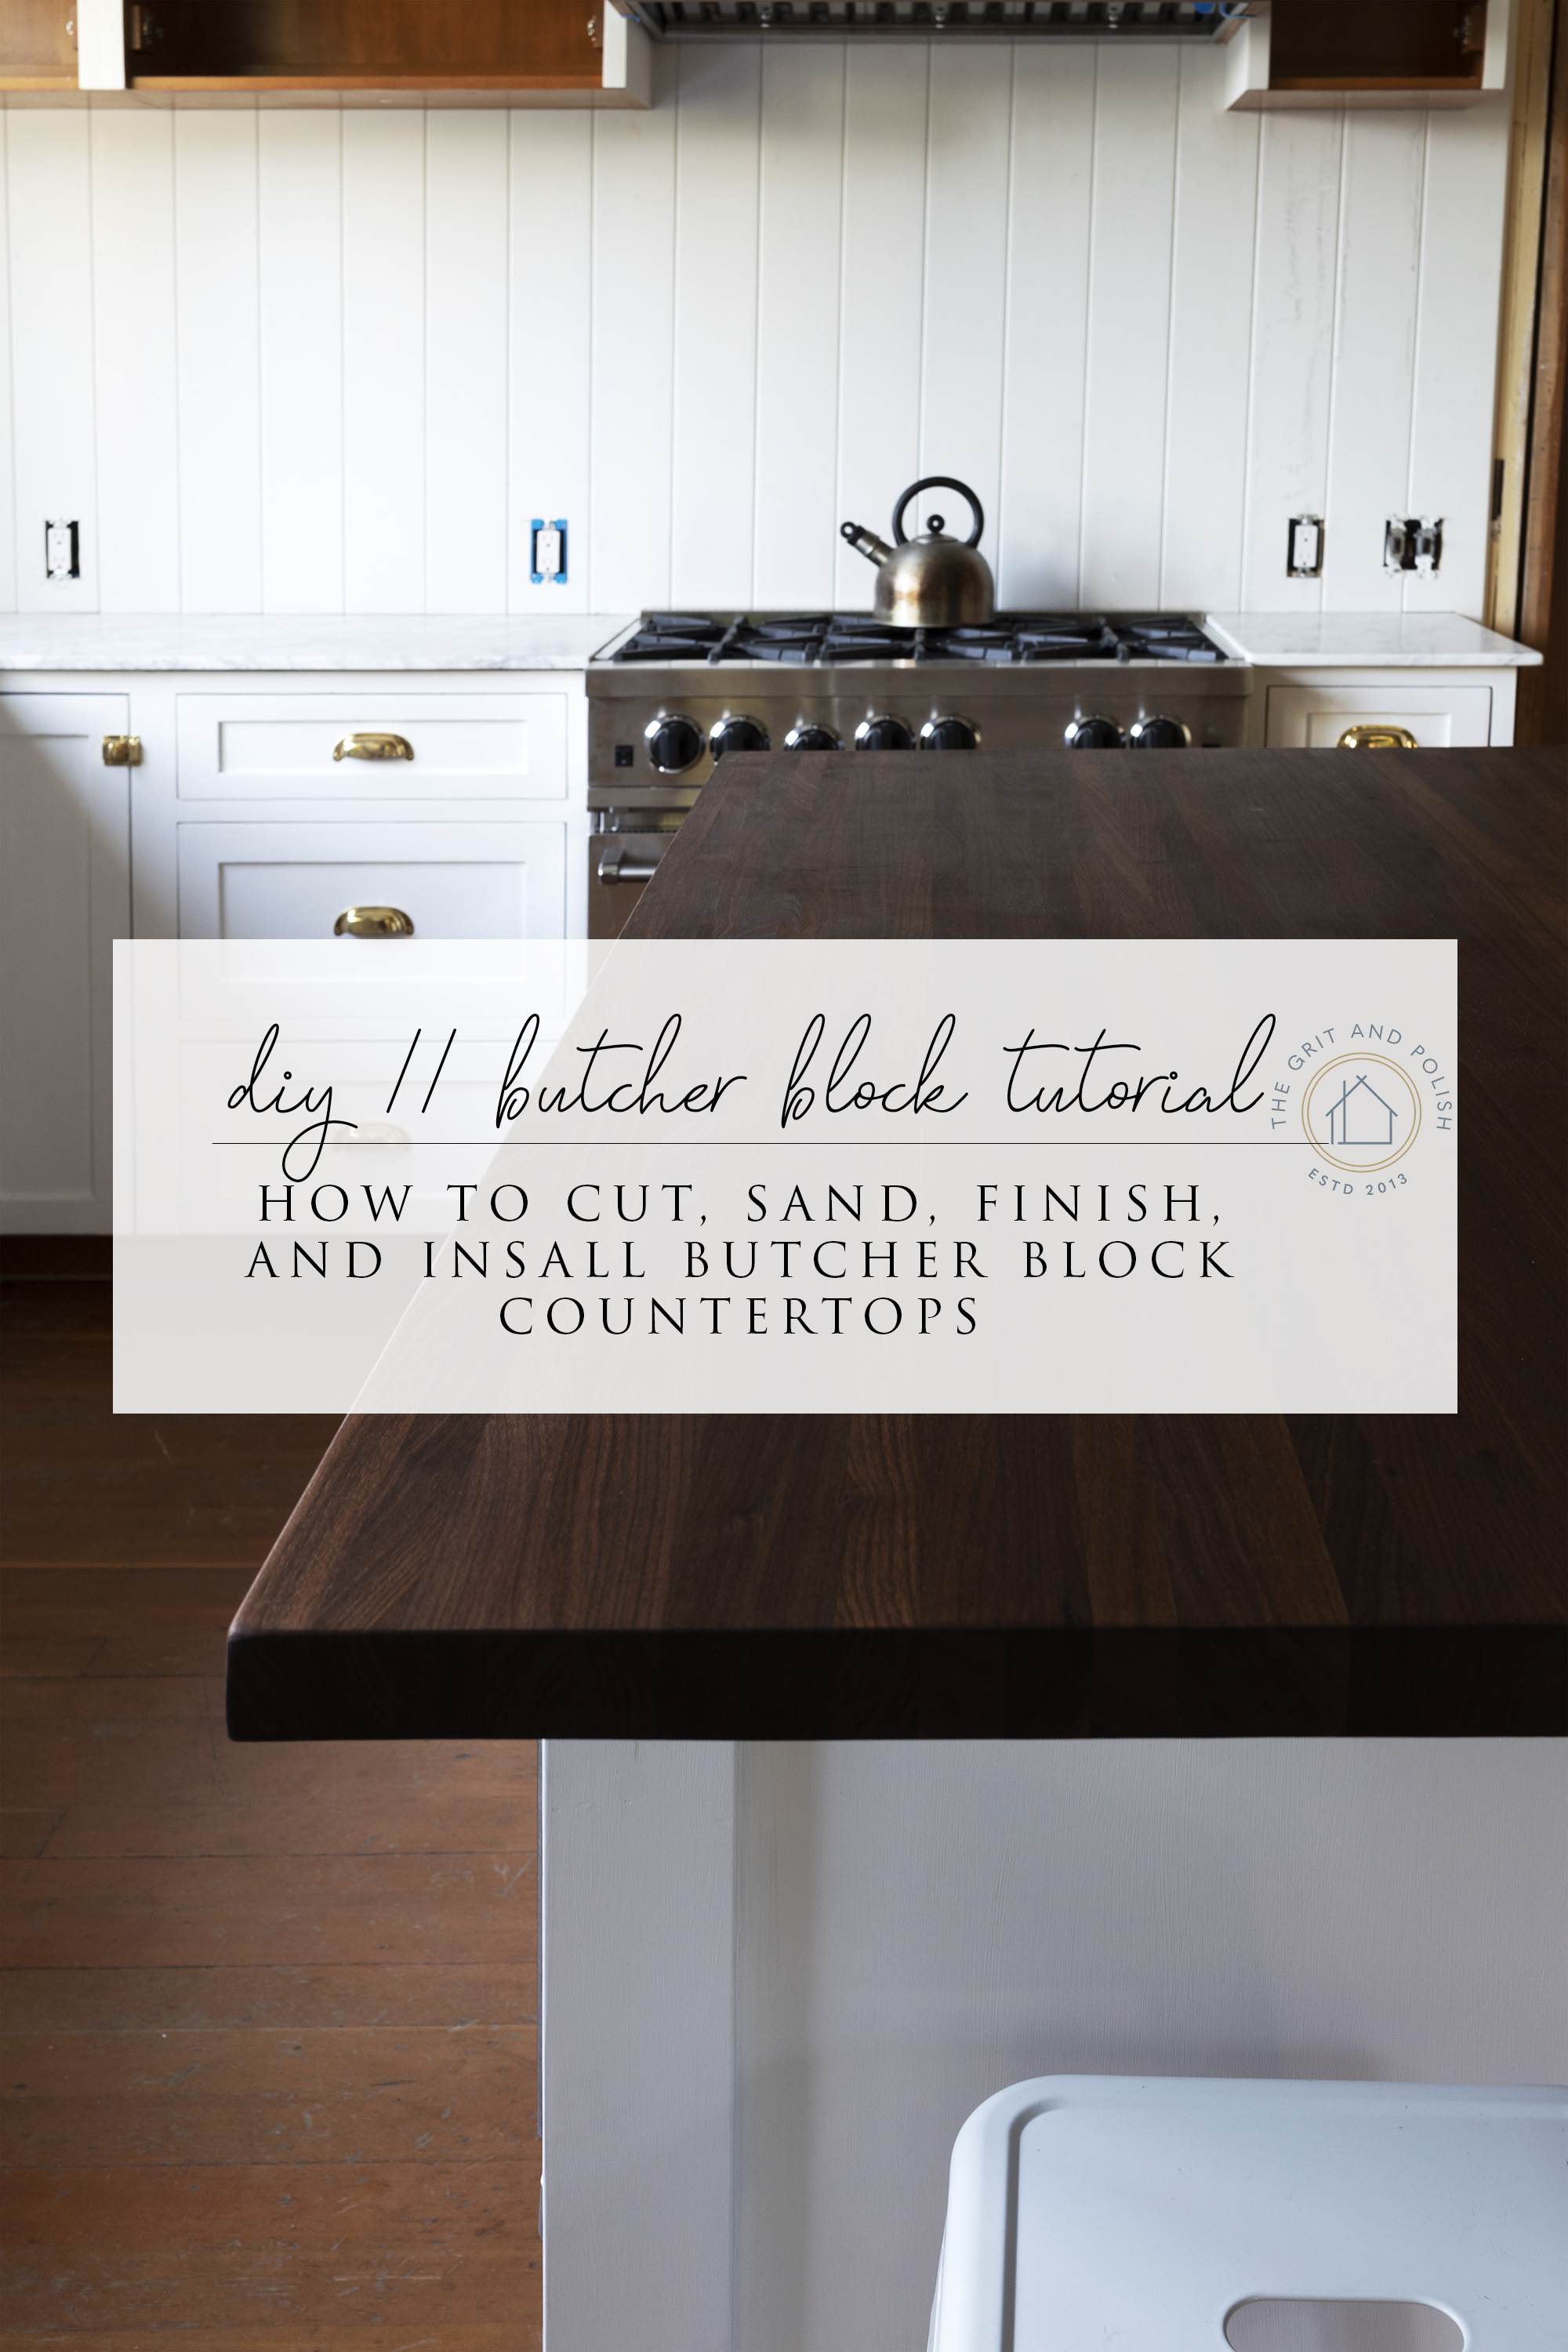
DIY // How to Cut, Sand, Install, and Finish a Butcher Block Countertop
THE FARMHOUSE
Butcher block has long been a favorite material of DIYers like ourselves! They are easy to work with - you can cut, drill, sand and shape them yourself - and require minimal tools. And from a design perspective, wood countertops lend a natural warmth to a space and with proper care, can last a lifetime. This past week we installed our seventh butcher block countertop - this one atop the island in our Farmhouse kitchen remodel. So today I wanted a tutorial on how we cut, sand, finish, and install butcher block countertops. Read on for the DIY plus a bit about the butcher block we selected.
Sources: walnut butcher block, sconce, drawer pull, cabinet latch,
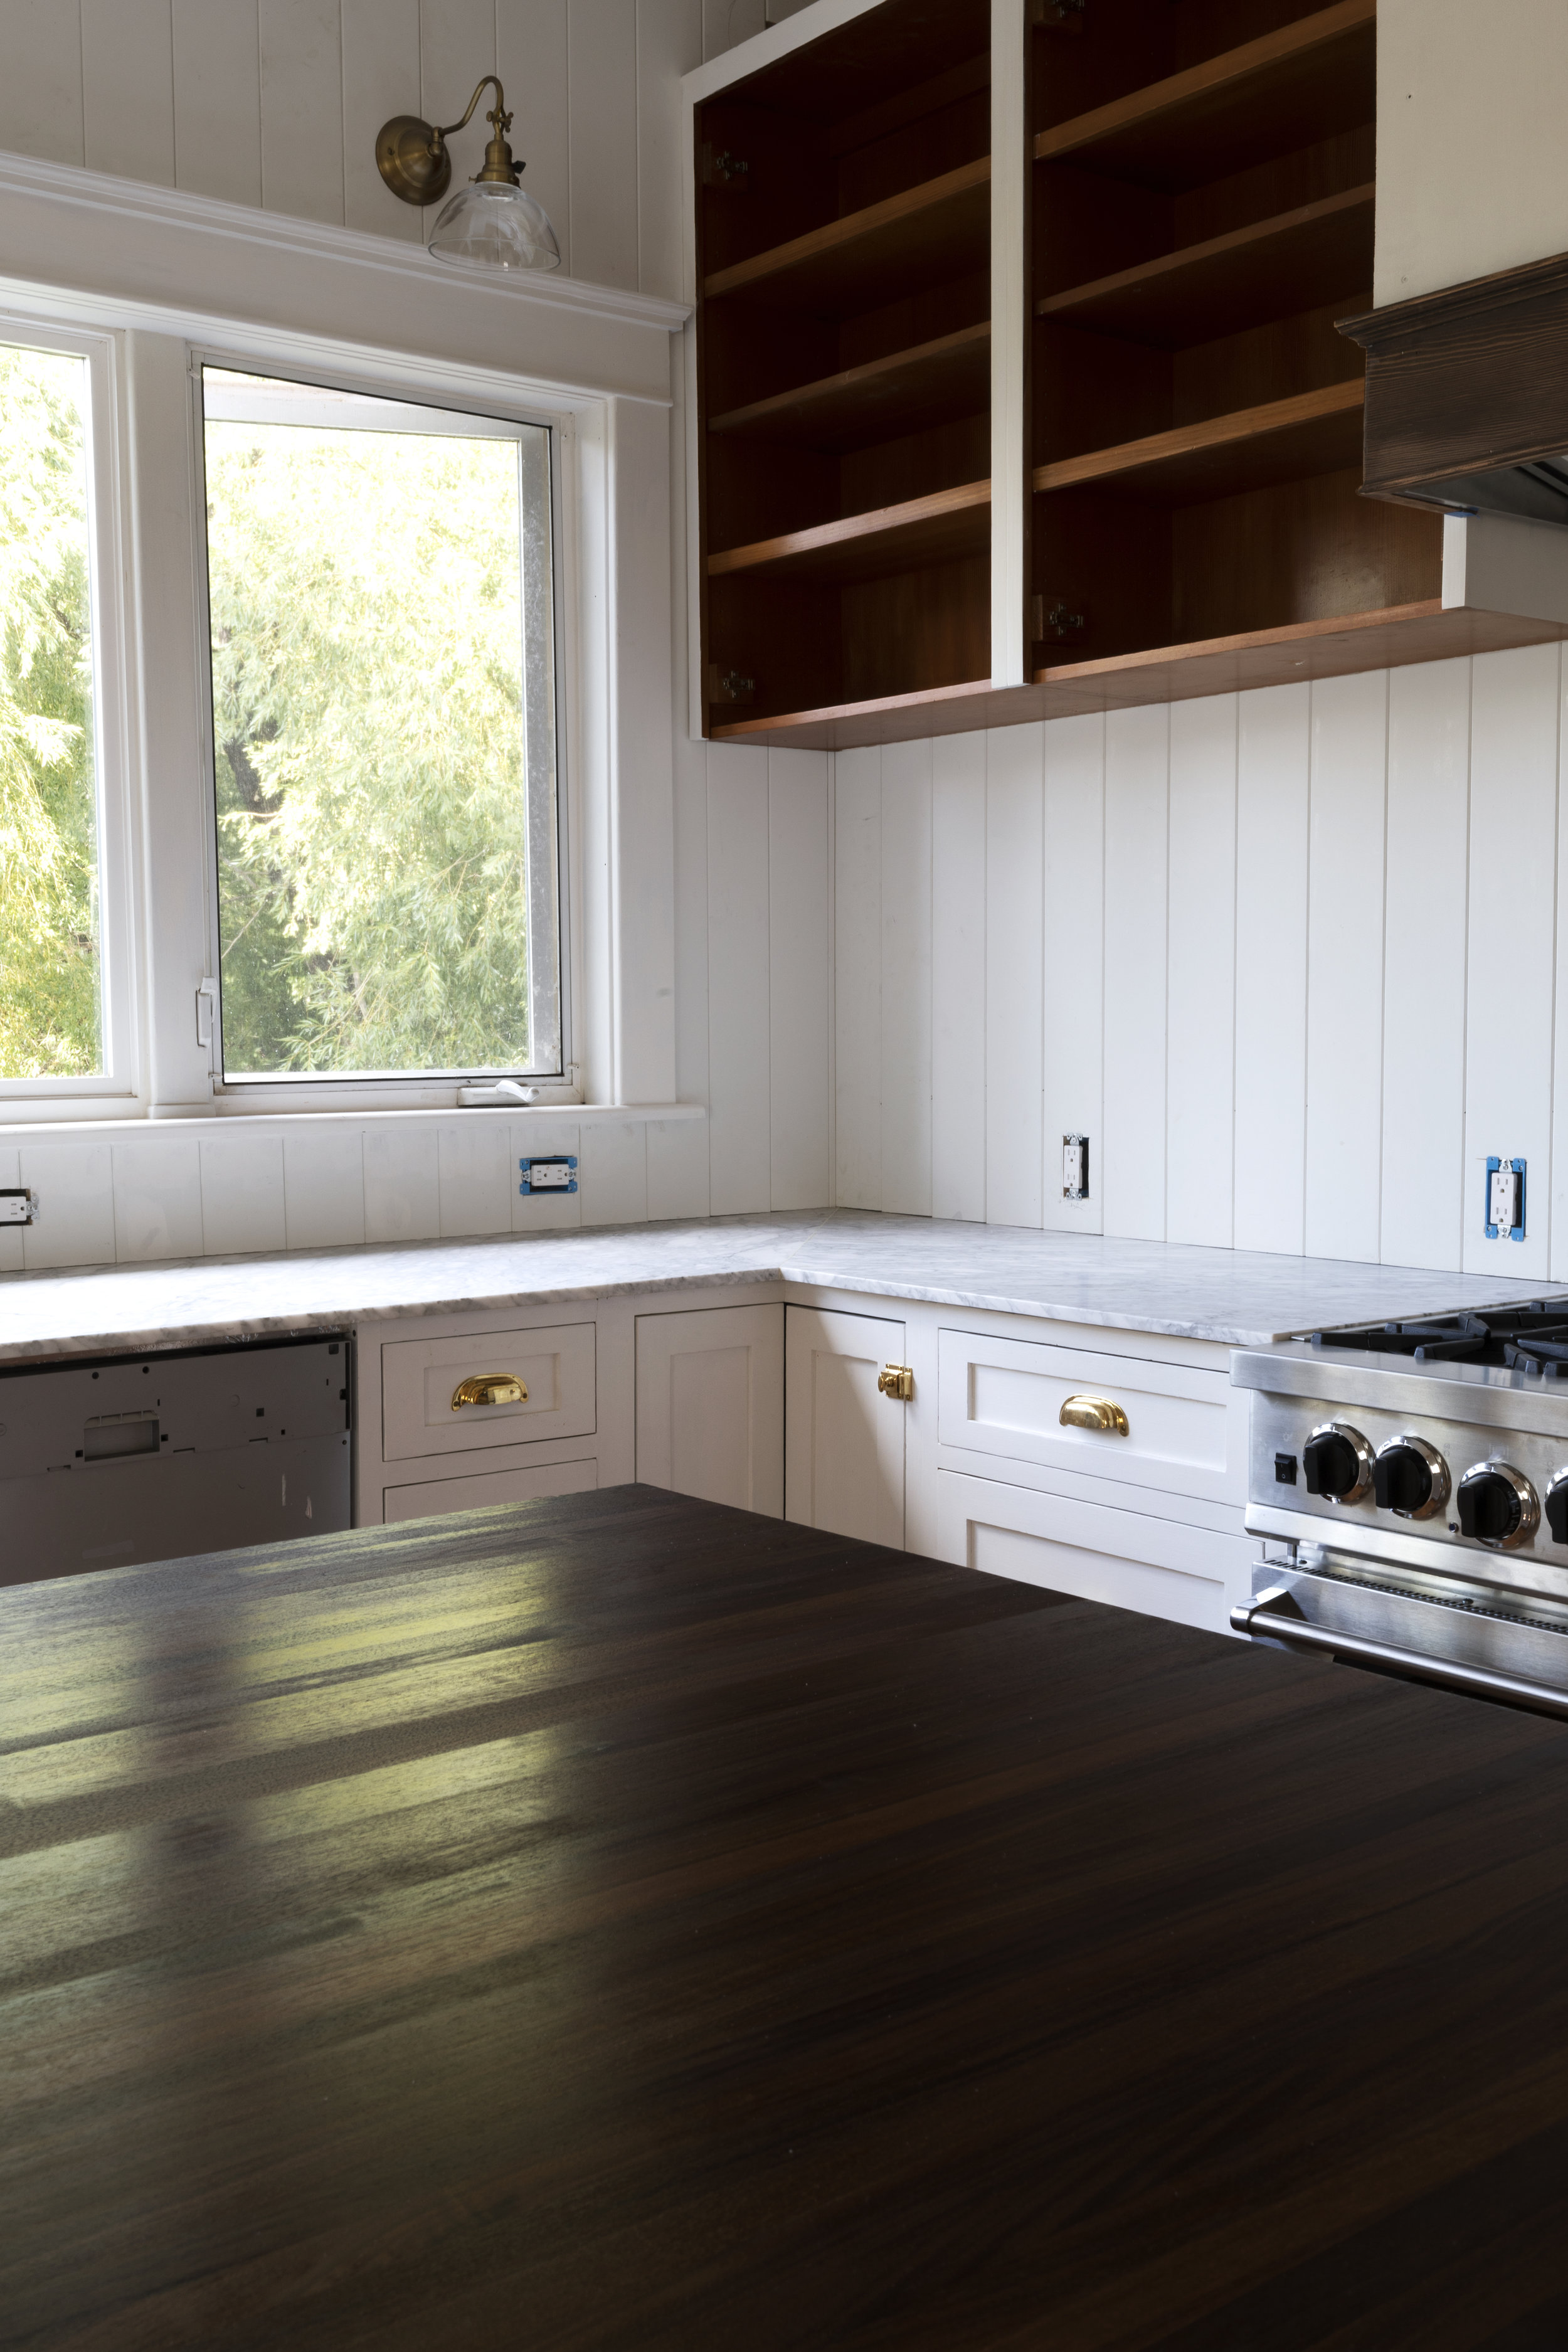
Sure the kitchen remodel isn’t done, but who even notices the missing cabinet doors and dishwasher panel with that walnut beauty in the picture? We bought this custom butcher block from Hardwood Industries, my brother-in-law’s family company in Oregon, who mostly sells to contractors and woodworkers. They’ve supplied us with many butcher blocks over the years (and hardwood flooring, too), but this was our first time selecting walnut.
design considerations
Let’s get this out of the way: walnut is EXPENSIVE. Of all the butcher blocks we’ve bought, it’s the most expensive. Uncle Dougie gave us a family discount but even so, this block cost over $70/sf. In comparison, the popular and lighter-in-color maple and beech butcher blocks (both of which we love) are 1/3 of that or less. But ultimately we opted for walnut heart-wood because that is the look we wanted. (BTW heart-wood is the interior of the tree and has more consistent coloring, while calico uses the whole tree and includes both dark and light wood…calico would have been less expensive.) Our Farmhouse is full of dark wood trim, except in the kitchen where it was removed decades ago, and we wanted to bring some dark-rich-wood back into this space. The consistent wood tones throughout the house should help make our 1912 Farmhouse feel more cohesive.
One note…this is a countertop and NOT a cutting board. We will never cut directly on this wood (if you do, make sure to use a good-safe finish like the one I linked below!). But even so, the walnut will eventually dent/scratch and show other signs of ware, which I personally think is part of it’s beauty. We use a finish that’s easy to reapply whenever the board looks dry (I keep a bottle of it under our sink). But if you want to return the wood to it’s original state, you can sand it down and finish it again.


Before I get into the DIY tutorial, I wanted to point out a few other posts we’ve written on butcher blocks that you may find helpful:

MORE ABOUT BUTCHER BLOCKS:
where we like to use them (and where we don’t!)

READER QUESTIONS:
how to pick out a butcher block, according to a wood expert
Now about that DIY…
DIY: how-to cut, sand, install, and finish butcher block countertops
Time: 2+ hours
Level: beginner
Format: blog post with videos
Tools and Materials
Butcher block!
Pencil
Tape measure
Clamps - we have this set
Cutting guide - straight, long piece of wood
Circular saw
Sander
Sanding paper - we used 80 and 120 grit
3 or more clean cloths
Wood finish - we used this wood polish (alternatively this food-safe conditioner is great if you plan to cut on your block)
Screws
Drill
Impact driver (option, but helpful)
Safety Equipment - gloves, glasses, ear plugs, mask, etc
A friend to help carry those heavy countertops!
Step 1 // cut to size
It’s ideal to cut butcher block outside. To set the guide, first mark your cut with a pencil, set the saw with the blade on the mark (while still unplugged), and then set your guide up on the outside of the saw (NOTE: you want to cut with the guide on the good side of the butcher block, that way if you veer off coarse with your cut, you don’t cut into the scrap and not your countertop). Clamp it to the butcher block. Do the same thing on the other side of your cut. You should now have a straight line ready to cut. Make sure your circular saw has a sharp blade and then plug the saw in and cut along the guide. Make sure the cutoff doesn’t fall since it could splinter the wood - a second person could hold the cutoff positioned well behind the saw.
Repeat for each cut.
Here’s a quick clip of cutting our Farmhouse kitchen butcher block.

step 2 // sand
While still outside, sand the butcher block on all sides. For the bottom, we used our orbital sander with 80 grit paper. On the top and sides of the butcher block, we sanded with 80 and 120 grit. I slightly beveled the edges to eliminate sharp edges as well. The grit you use will depend on the wood species and how smooth you want your butcher block. Give the block a feel with an ungloved hand. Once you’re happy with the smoothness, wipe the surfaces down with a dry cloth.
step 3 // Finish
Bring the butcher block inside and set it upside down. Use a generous amount of finishing product on the underside. I didn’t bother wiping off the excess since unfinished block will soak up a lot. NOTE: Applying product to the bottom of the butcher block will help ward off warping and cracking. Turn the butcher block over and finish the top and sides of the block. Depending how dry your butcher block is, you may want to repeat this step. Excess product can be wiped off in 20 minutes. And you’ll want to repeat this step a few times until the finish doesn’t soak in super quick. I keep a bottle of the food-safe wood conditioner (linked above) under our sink and will apply that going forward (when it appears dry).
Here’s a quick clip of me conditioning this butcher block.

Step 4 // Install
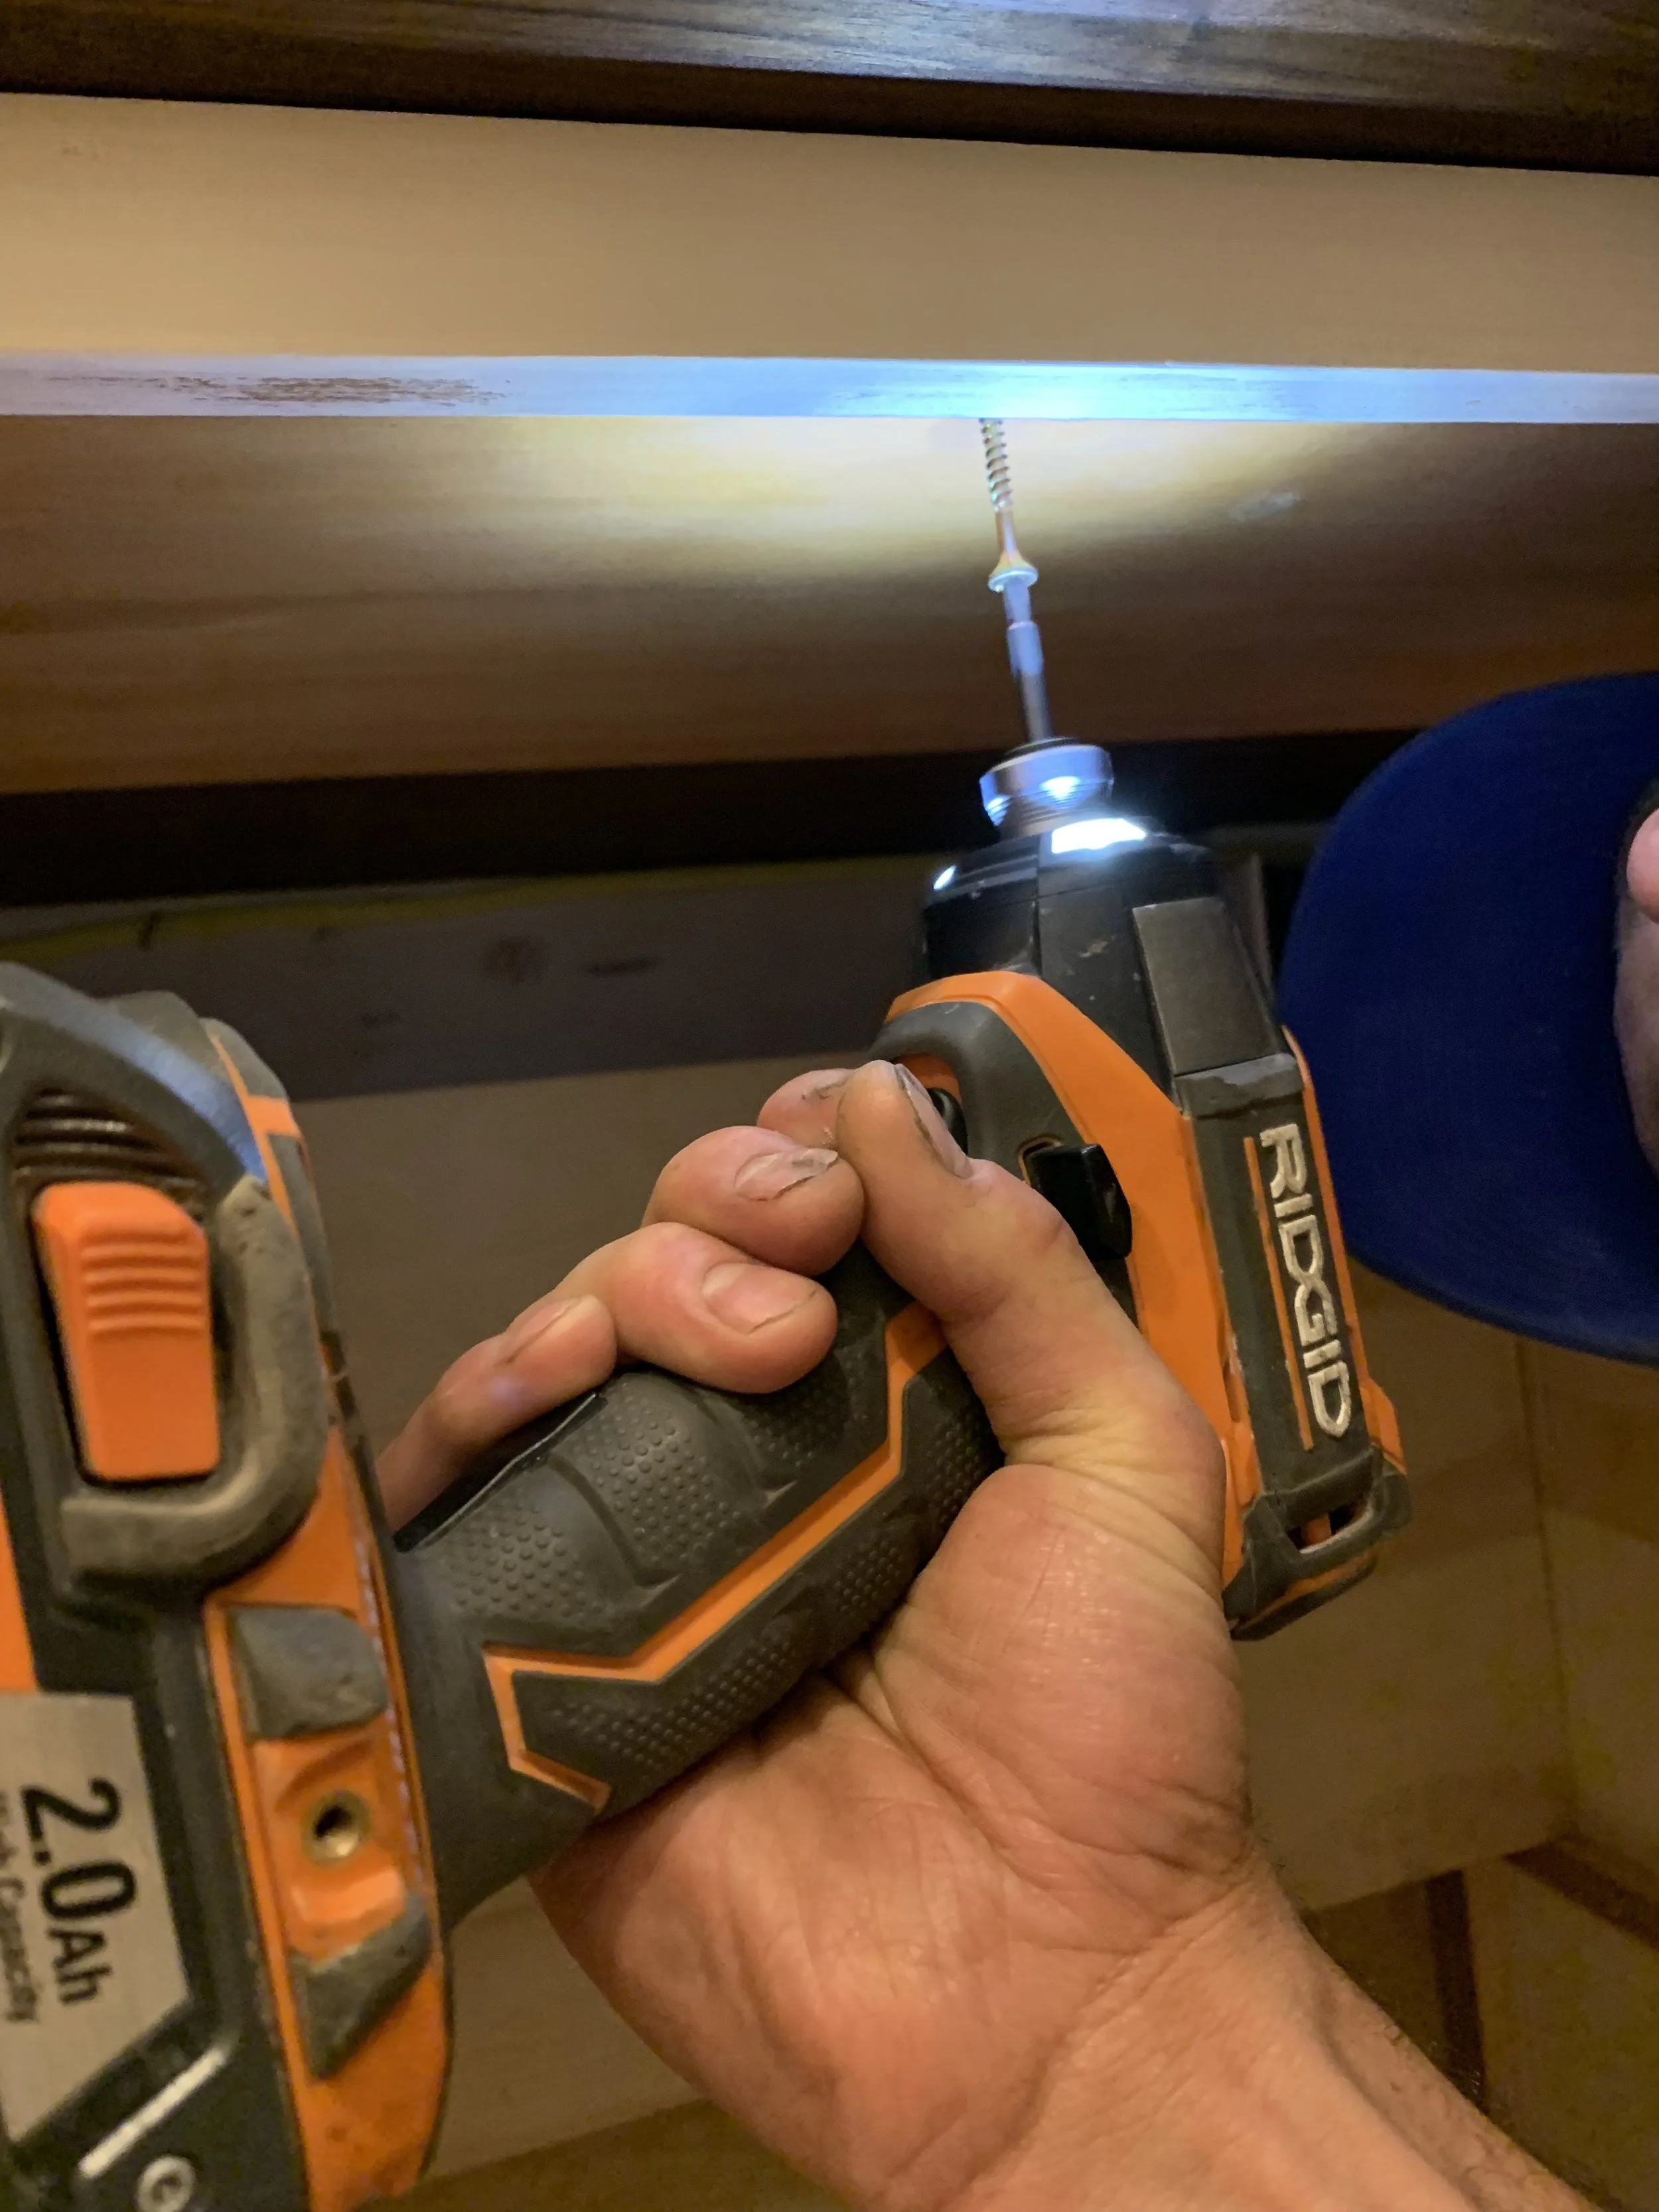
We attached the butcher block to our island cabinets using screws from the under side of the block. The key here is that you screw through something secure in the cabinet and that your screw isn’t long enough to puncture the top of the butcher block. You’ll also want to pre-drill so as not to crack the wood (but be careful not to puncture the top of the butcher block!). Another option is a bracket, which could be screwed into the side wall of the cabinet and the top of the butcher block.
Here’s a short clip of Garrett attaching our Farmhouse butcher block to the island cabinets.
And that’s it! This butcher block is 72”x44” and a real show stopper!

Let me know if you have any questions about butcher blocks! And if you use this DIY, tag us on Instagram so we can see!


