
Screen doors!
THE FARMHOUSE
It may have taken 5 years, but we finally have screen doors on the Farmhouse! And with "kid and dog proof" screens and custom dimensions to fit our odd-sized door jambs, they’re perfect for us. Today we’re walking through where these beauties came from, how we took them from unfinished raw wood to stained and weatherproofed, and the hardware we picked (to get that perfect front-porch-lemonade country slam 😊).
*this post is sponsored by Handy Products


Ever since we moved into our Farmhouse I’ve wanted screen doors on the front and back door. We really needed some fresh air and a cooling breeze in these areas plus screens to keep flies out! And I absolutely love the look of screen doors – they’re so nostalgic and utterly country. We’ve been slowly working on the exterior of our Farmhouse - dreaming about painting it white, working on the grass and landscaping, and replacing the front walk – and these screen doors fit right into the overall aesthetic!
The doors came unfinished, which we opted for since we wanted to match the wood stain to our existing front door. But let’s back up and start at the beginning. I want to run through everything it took to get these beautiful doors ready to hang…


Materials and tools
wood screen doors (we picked models 3610 and 3670)
half-surface spring hinge (3 per door)
handle: French handle edge latch
penetrating stain (we used mission oak and dark walnut)
Ordering custom screen doors
Finding screen doors to fit the odd-sized door jambs in an old house can be a little tricky. You can’t always go to a big box home improvement store and pick something up. Luckily I found this shop in California that makes custom screen doors and we got to select the style, dimensions, wood species, width, and screen material.
We opted for 1 1/8” thickness to make sure they were beefy enough to last a long time and selected Douglas Fir since that’s what our doors are made out of. I was encouraged by customer service to pick ‘Tuff screens’ since they hold up well with kids and pets (!!!). Overall the screen doors took about 3 weeks in production and showed up well-made, well-packaged, and ready to finish!
Picking hardware
Okay let’s talk about the hardware. I love a good country slam on a screen door, so we opted for half surface spring hinges. We also picked out latching handles, which should keep the screen doors shut when our famous Ellensburg wind blows. The handles also lock from inside, which is a nice bonus…at least until our kids discover this feature 😉


Finish
Picking a stain color was definitely the hardest part. Color matching stains to existing wood is tricky business. Not only do you have to find the right combo of colors that someone else used but you’re also dealing with how the wood absorbed the stain and how the original wood has lightened or darkened over time. No pressure 😆
To match the front door’s stain we pulled out 4 stains we found in our garage, thinking that some combination of these was probably what our existing doors were stained with. Garrett sampled the colors on a small piece of VG fir and then held it up to the front door…


Mission oak seemed like the ticket! But before we stained the doors we wanted to start with a coat of wood conditioner to make sure the stain would penetrate evenly.

We used our trusty Handy Paint Pail with a liner for each layer we put on the door. The handle on the pail makes projects like this so much easier and the brush magnet is brilliant. Unfortunately when you’re using a foam brush (which we like to for less streaks and easy cleanup) there is no metal to attach to the magnet…but Garrett has an easy work around for that!
Just grab a metal binder clip, clip it onto the foam brush handle, pinch the chrome handles off and voilà! A foam brush on a Handy Paint Pail magnet!


Back to the wood conditioner. This pre-stain is especially helpful on softwoods like fir. It goes on quickly and is ready for stain after ~10 minutes.

The conditioner penetrates so no need to wipe it off.
Next we went with penetrating oil stains. That’s the type we had on hand and thankfully we find it easier to get an even look with the stand-alone stain rather than with the combo poly-stains. Garrett applied the first coat of stain (in Mission Oak) and let the stain sit for a couple minutes and then wiped off the extra with a dry, clean cloth. Any excess stain left on the surface forms a tacky film so don’t let it sit too long and give it a good buff off.


This is when I looked at the stain and realized it was too red. Dang it! But the nice thing about this type of stain is that a second round of penetrating stain can be added to bring the color home. In our case we wanted a bit more brown, a little less red. So after a few hours of drying, we applied a round of dark walnut. For the second go, the wood doesn’t absorb as much since it’s already been stained, but that worked perfectly for us. We weren’t going for a huge shift, just a shift in shades and a darker overall look. For this second coat we repeated the same process of apply and wipe.


At this point we felt really good about the color. It was a bit darker and richer so we let that round dry before putting on the protective top coat. One tip for you…check the underside of the door as you go to make sure the stain isn’t gathering in drips. If you do end up with a little drop of excess stain, you can use mineral spirits to remove it, then reapply a little stain as needed to blend it back into the rest of the wood.

Once the second round of stain was set, we top-coated with an oil-based exterior urethane product. The only tricky part of the urethane application was to get the coat really even because brush marks can dry into the surface and you don’t wipe this stuff off. What you see is what you get. We used a foam brush again and a satin finish which is probably a little more forgiving than a glossier finish. We sanded very lightly with 220 grit paper between our two coats.

Install
Once we were happy with the stain and poly it was time for install. I should back up for a second and mention that before we started on the finish of the doors, we test fitted them, so we could be sure they’d fit once all the finish was on. Our old house isn’t exactly level or square so we did have to sand a bit here and table saw a bit there to make sure they fit perfectly. Highly recommend this step before you have all the finish on!
The hinges and handles we selected installed pretty easily. Since the hinges are surface mount, there’s no need to mortise, which was a big time saver! and the handles only required a 5/8” drill bit to put in.
Then we hung the doors and…


Country perfection, right?! And here’s a look at the back door screen, right off the kitchen…


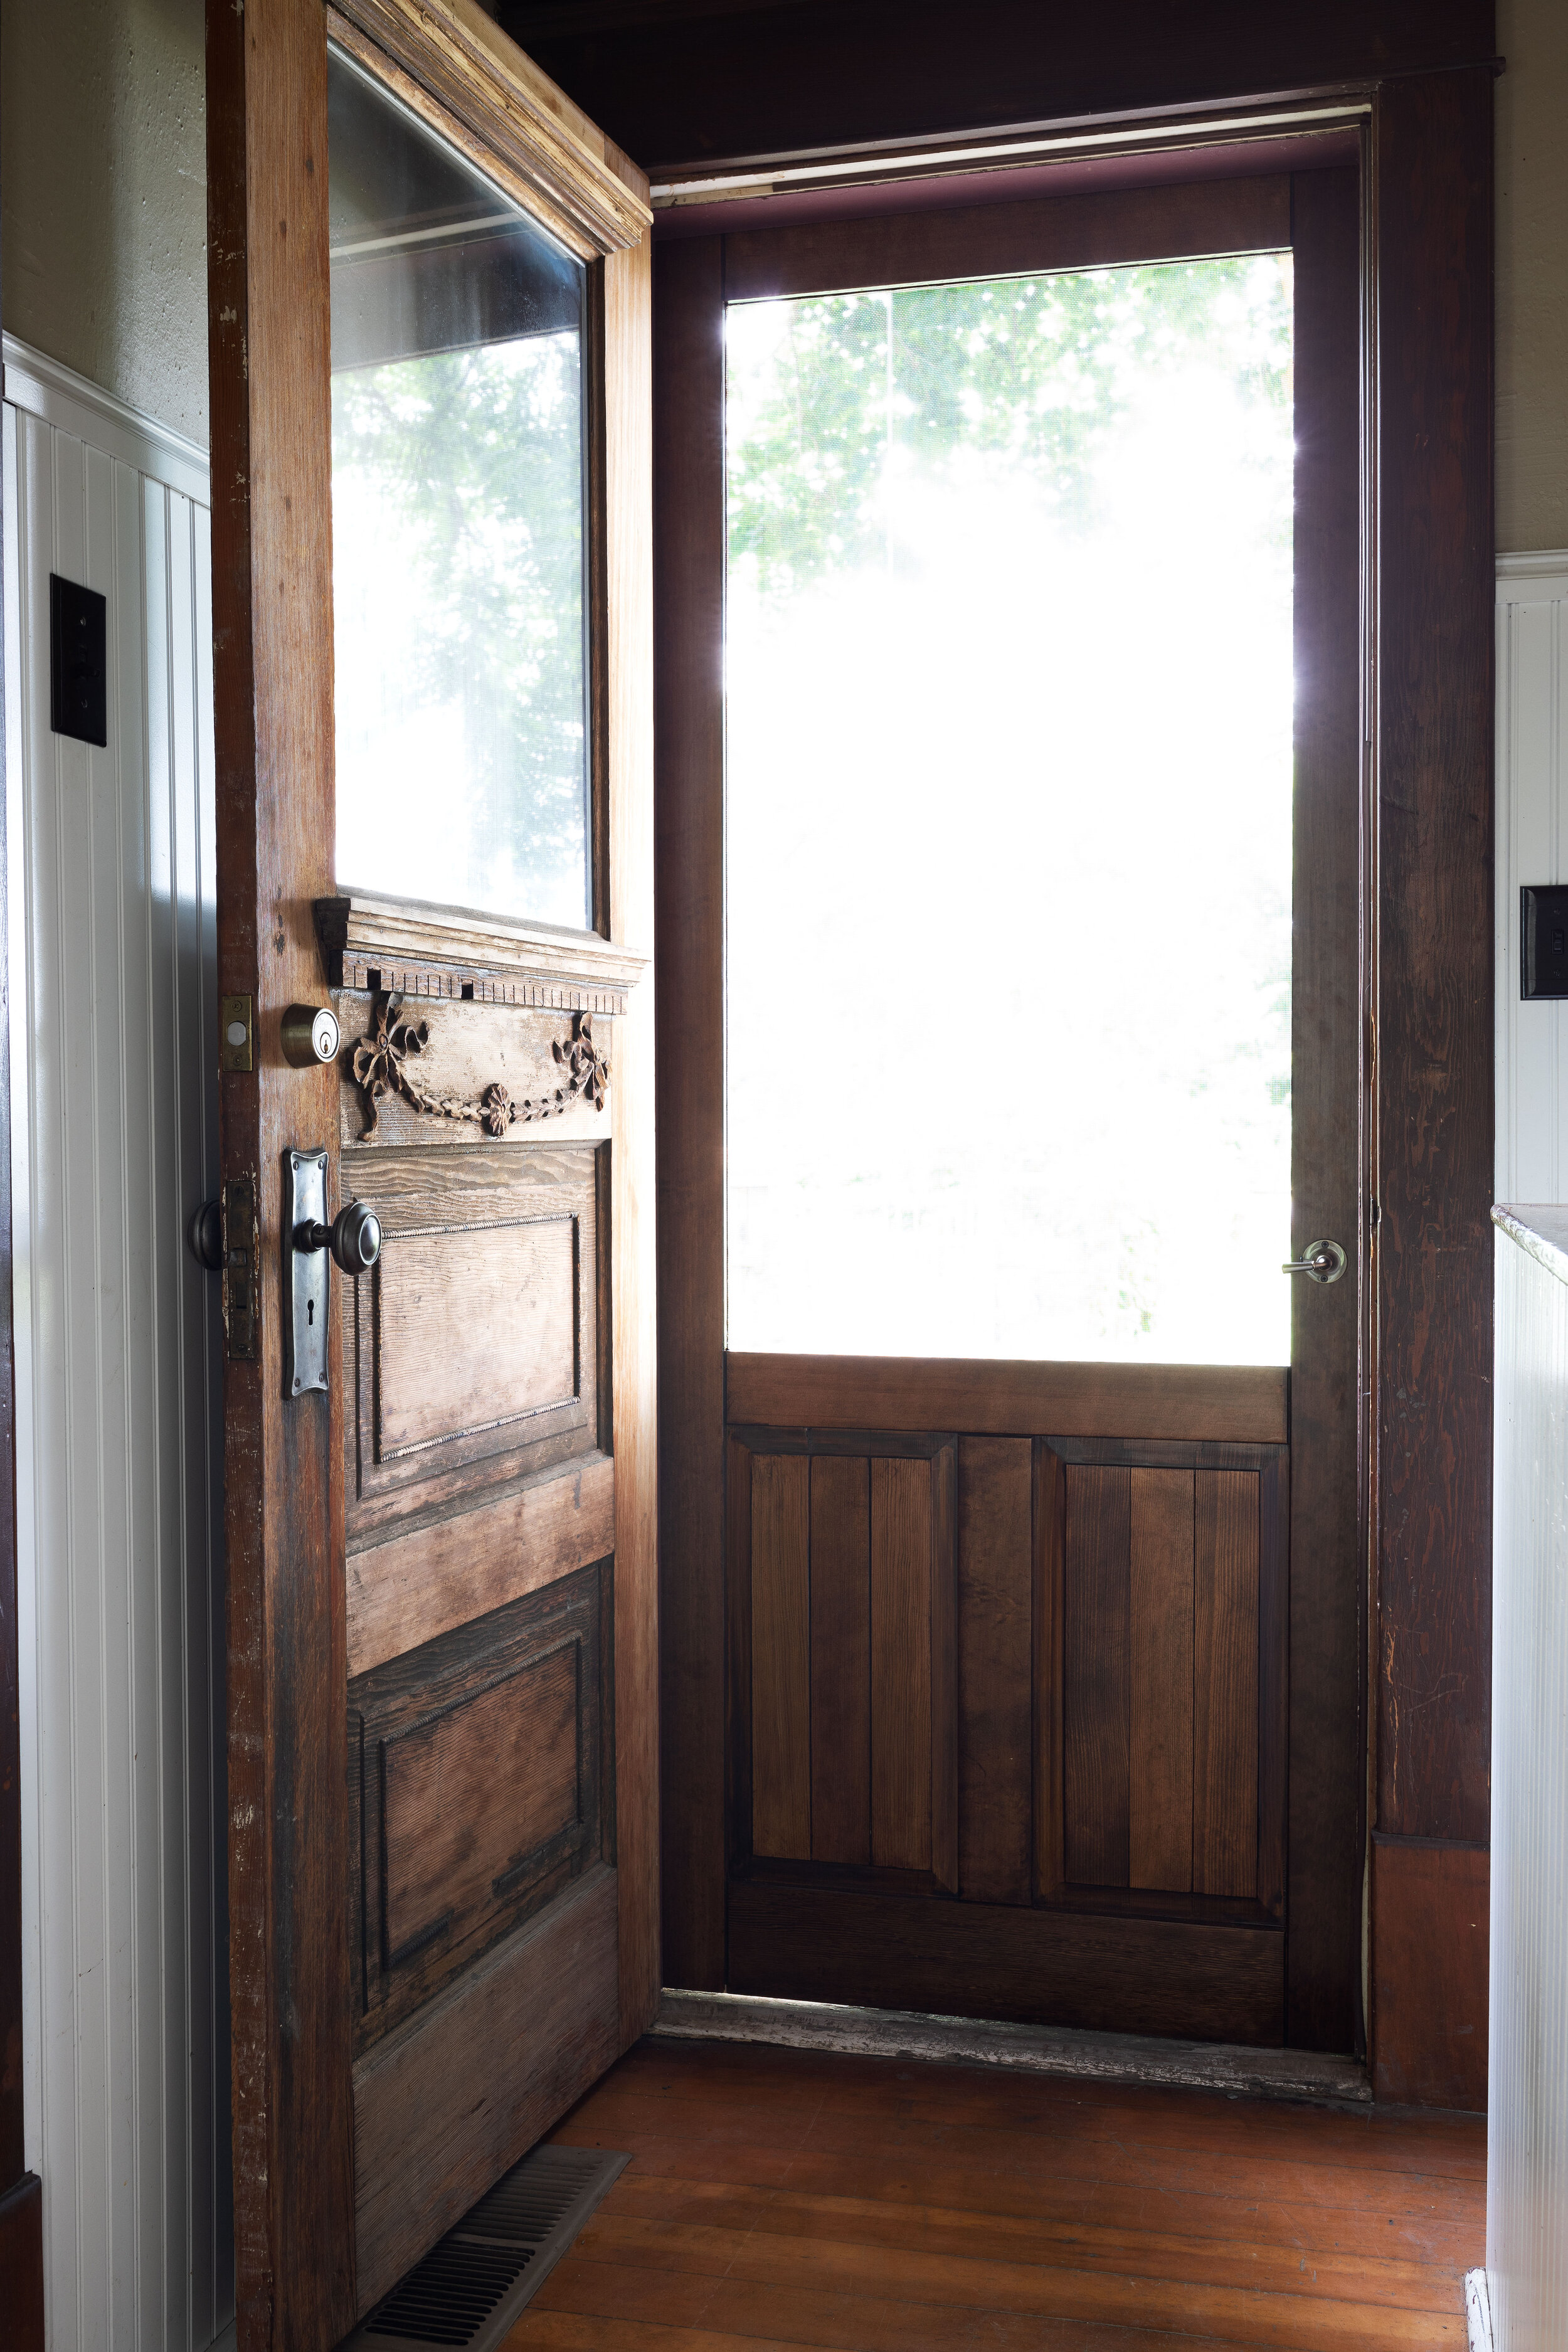

I can’t tell you what a joy these have been on our Farmhouse!
Thanks to Handy Products for sponsoring this post and supporting our work!