How to Make a Dried Orange Garland
THE FARMHOUSE
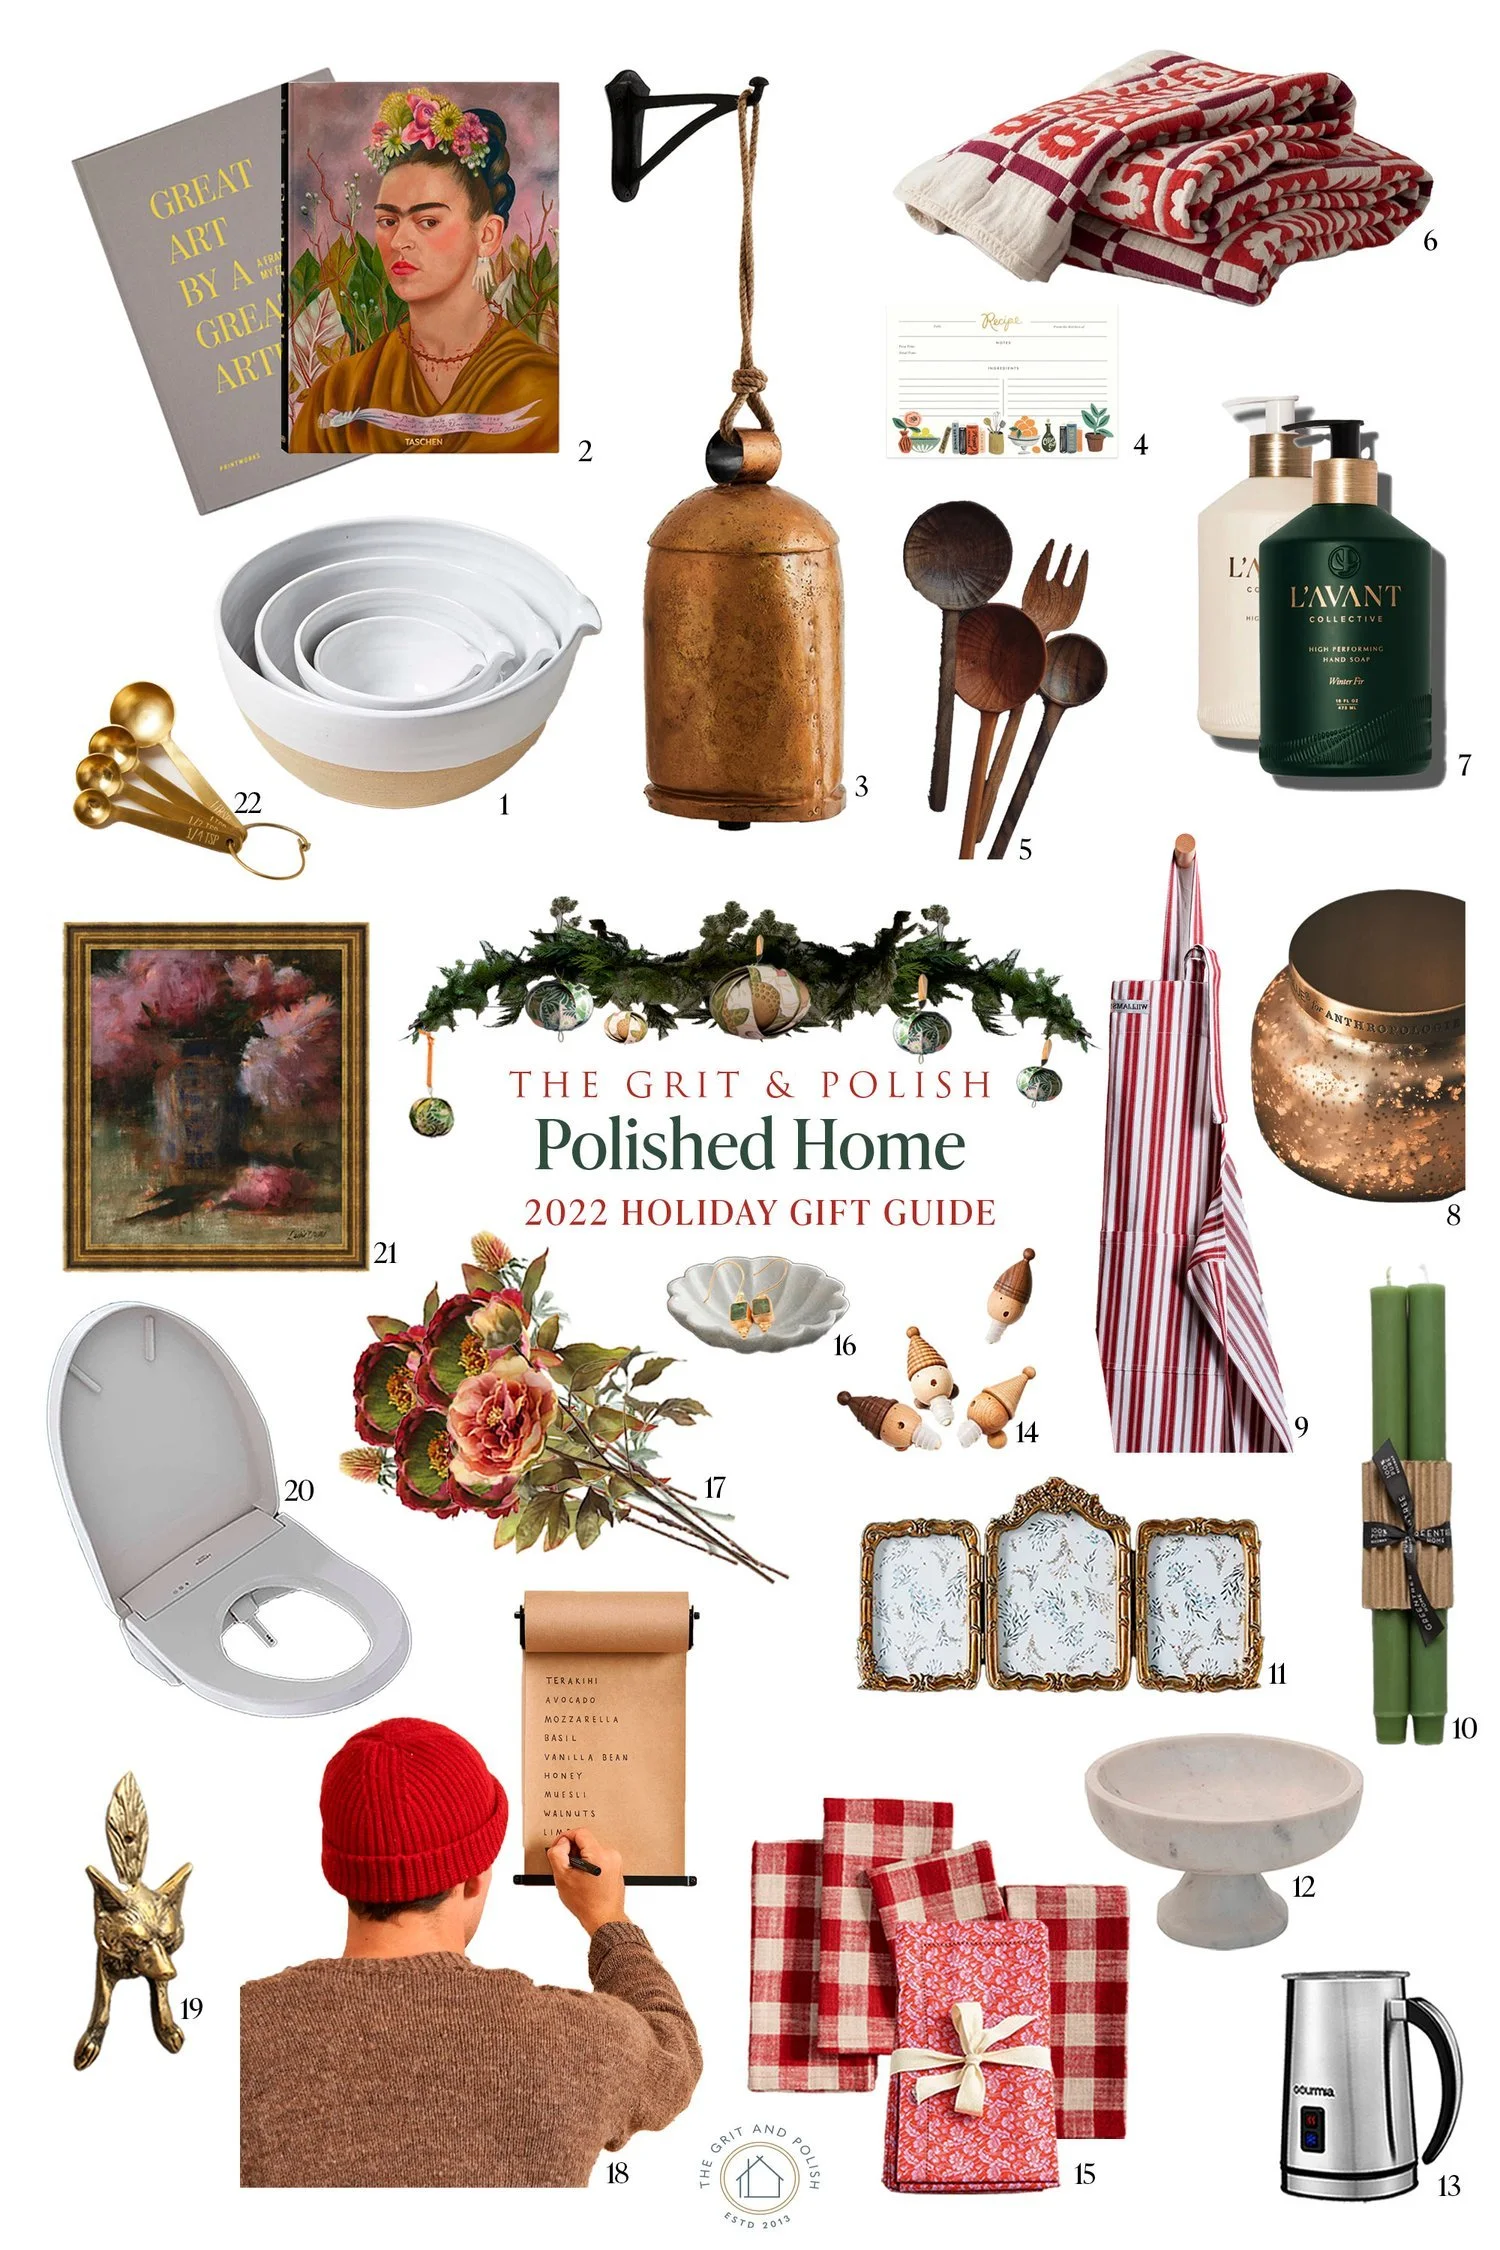
I love decorating with fresh garlands during the holidays (especially the $16, 25ft-long ones from Costco), but they tend to be a little messy. So this year we mixed it up with a festive (and no-mess 🙃) dried orange garland and brass bell garland. They’re easy, quick to make (all the supplies are available at the grocery store or Amazon Prime), and will last longer than a month. Today I’m sharing the easy DIY.
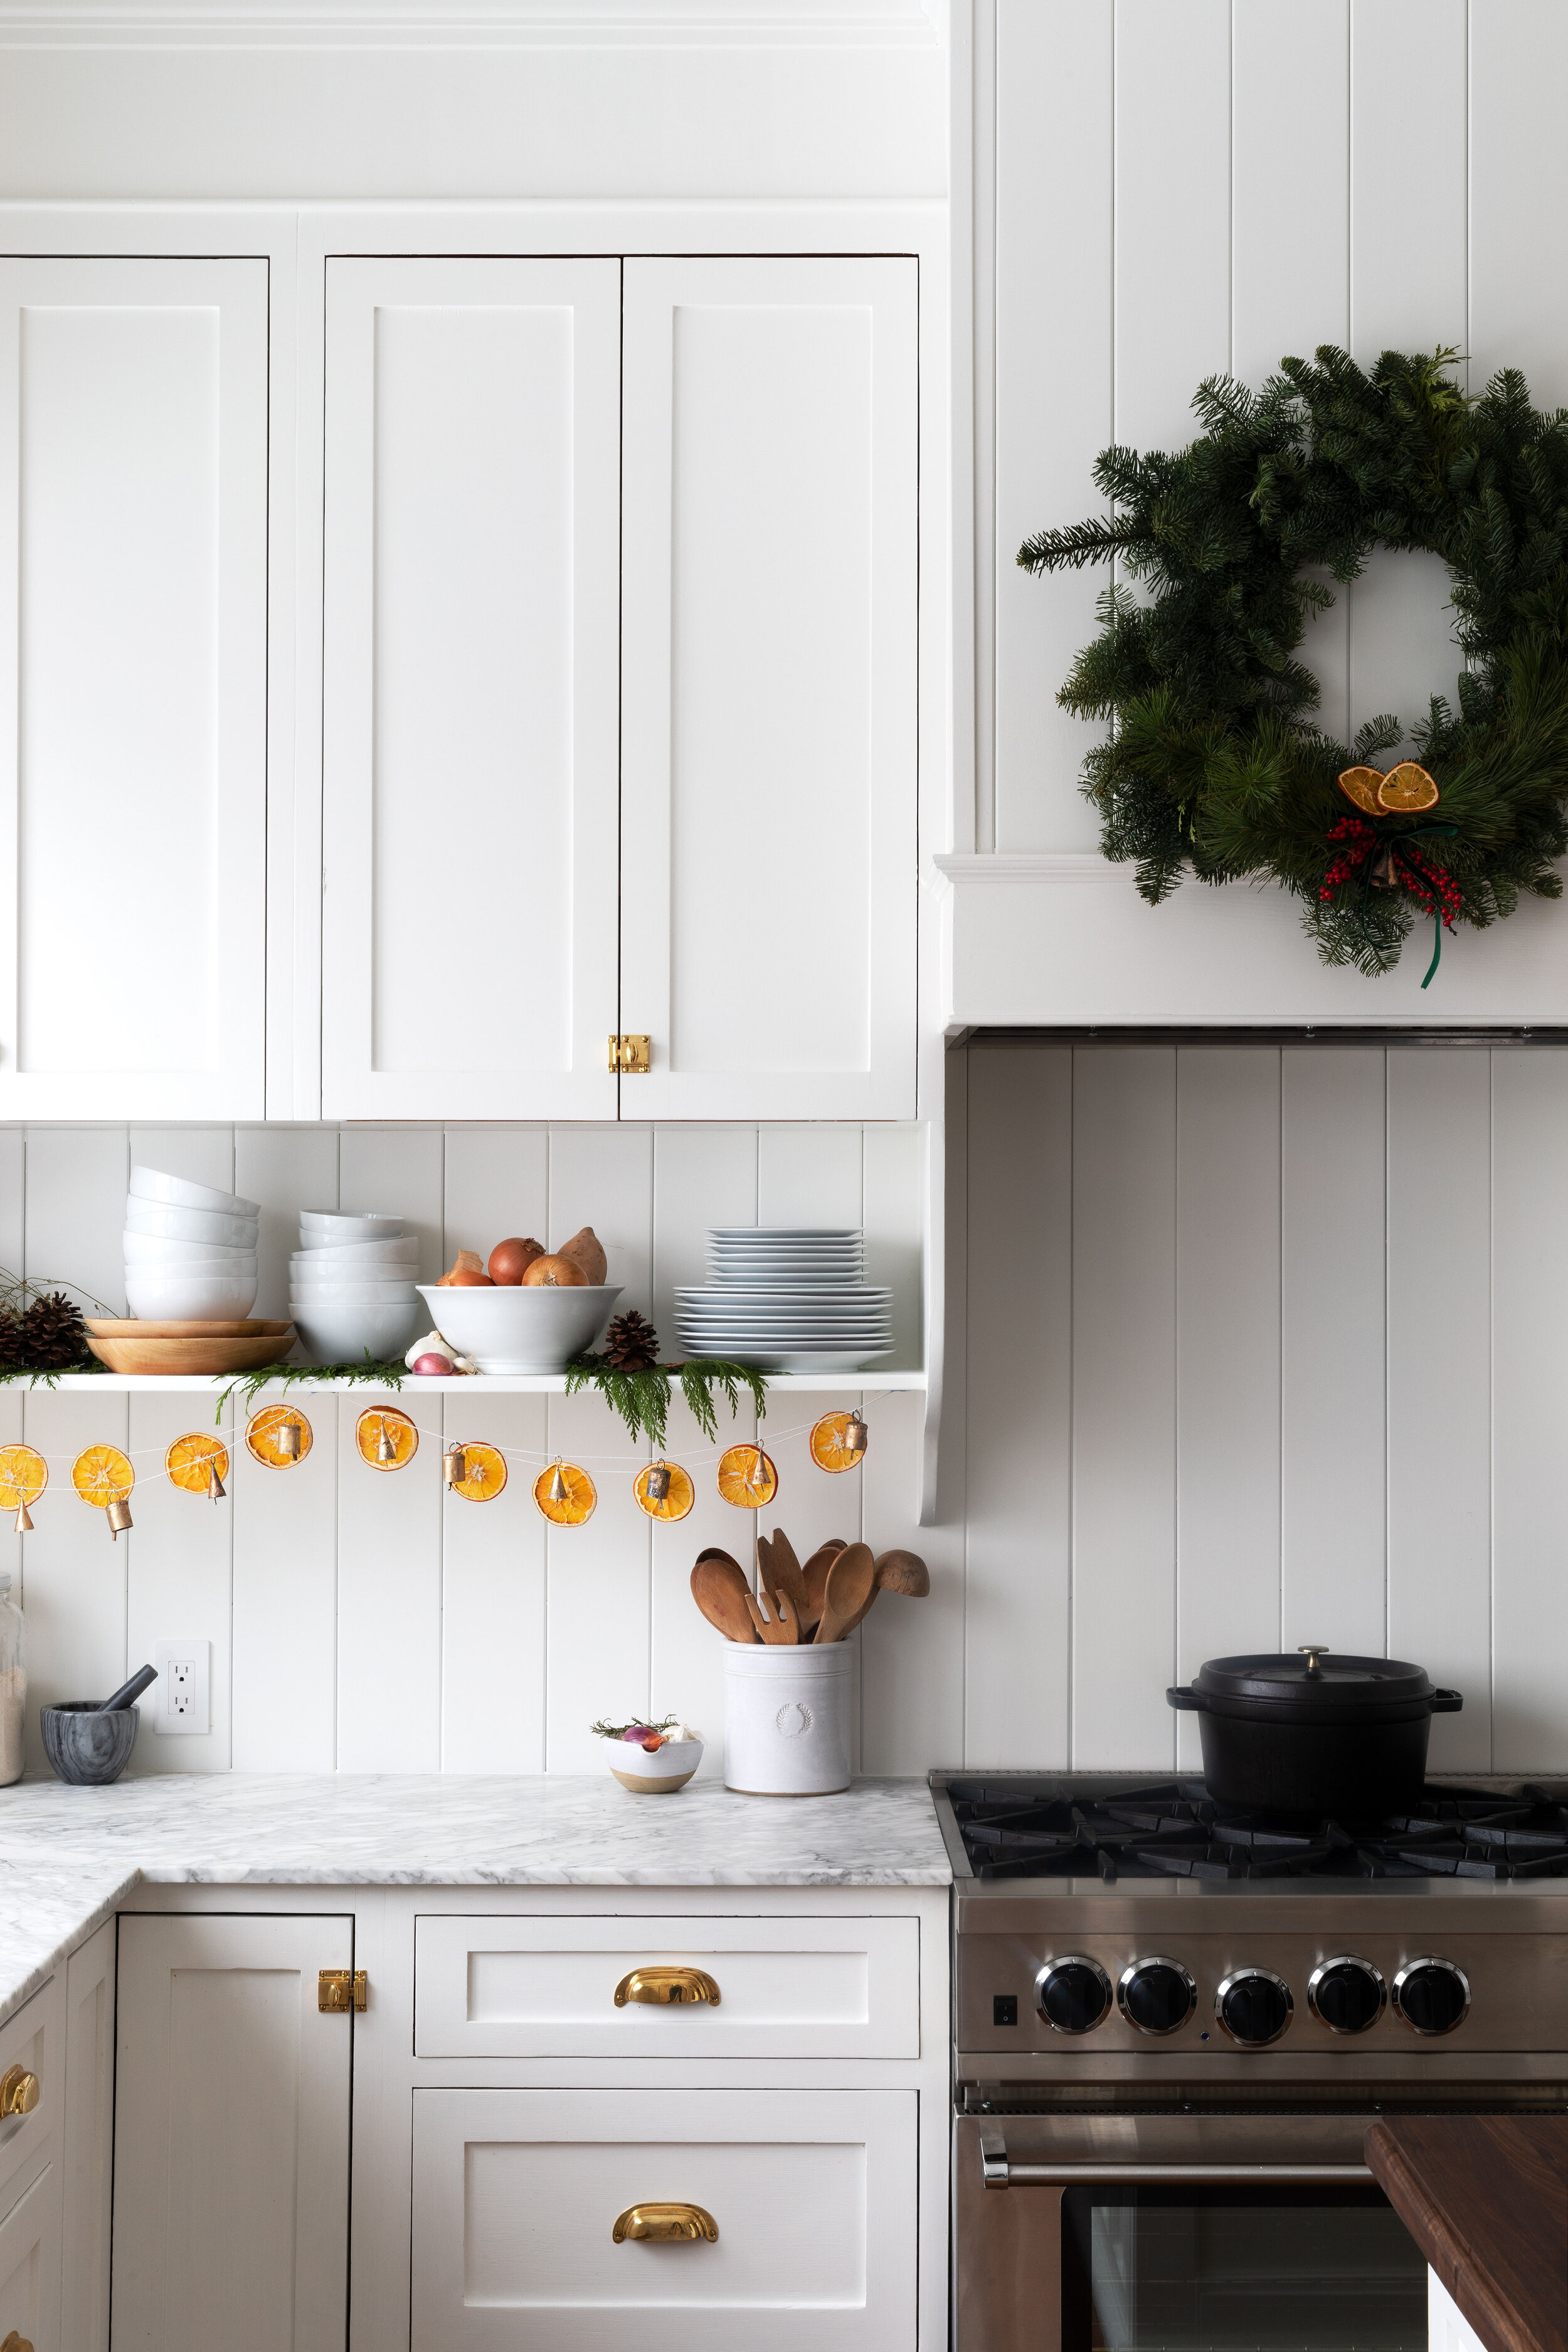
Farmhouse kitchen | all sources here
With our kitchen remodel done (!!!) I was eager to decorate this space. And there’s something really fun about decorating the kitchen with food, don’t you think?!
DIY // Dried Orange Garland + Brass Bell Garland
TIME: 30 Minutes + 3 Hours Prep
Materials & tools
Oranges (I used Naval but blood oranges are beautiful too!)
Knife
Scissors
Large needle with eye large enough for your twine
Paper towels
Parchment paper
Brass Bells (psst: they’re on Prime 2-day shipping!)
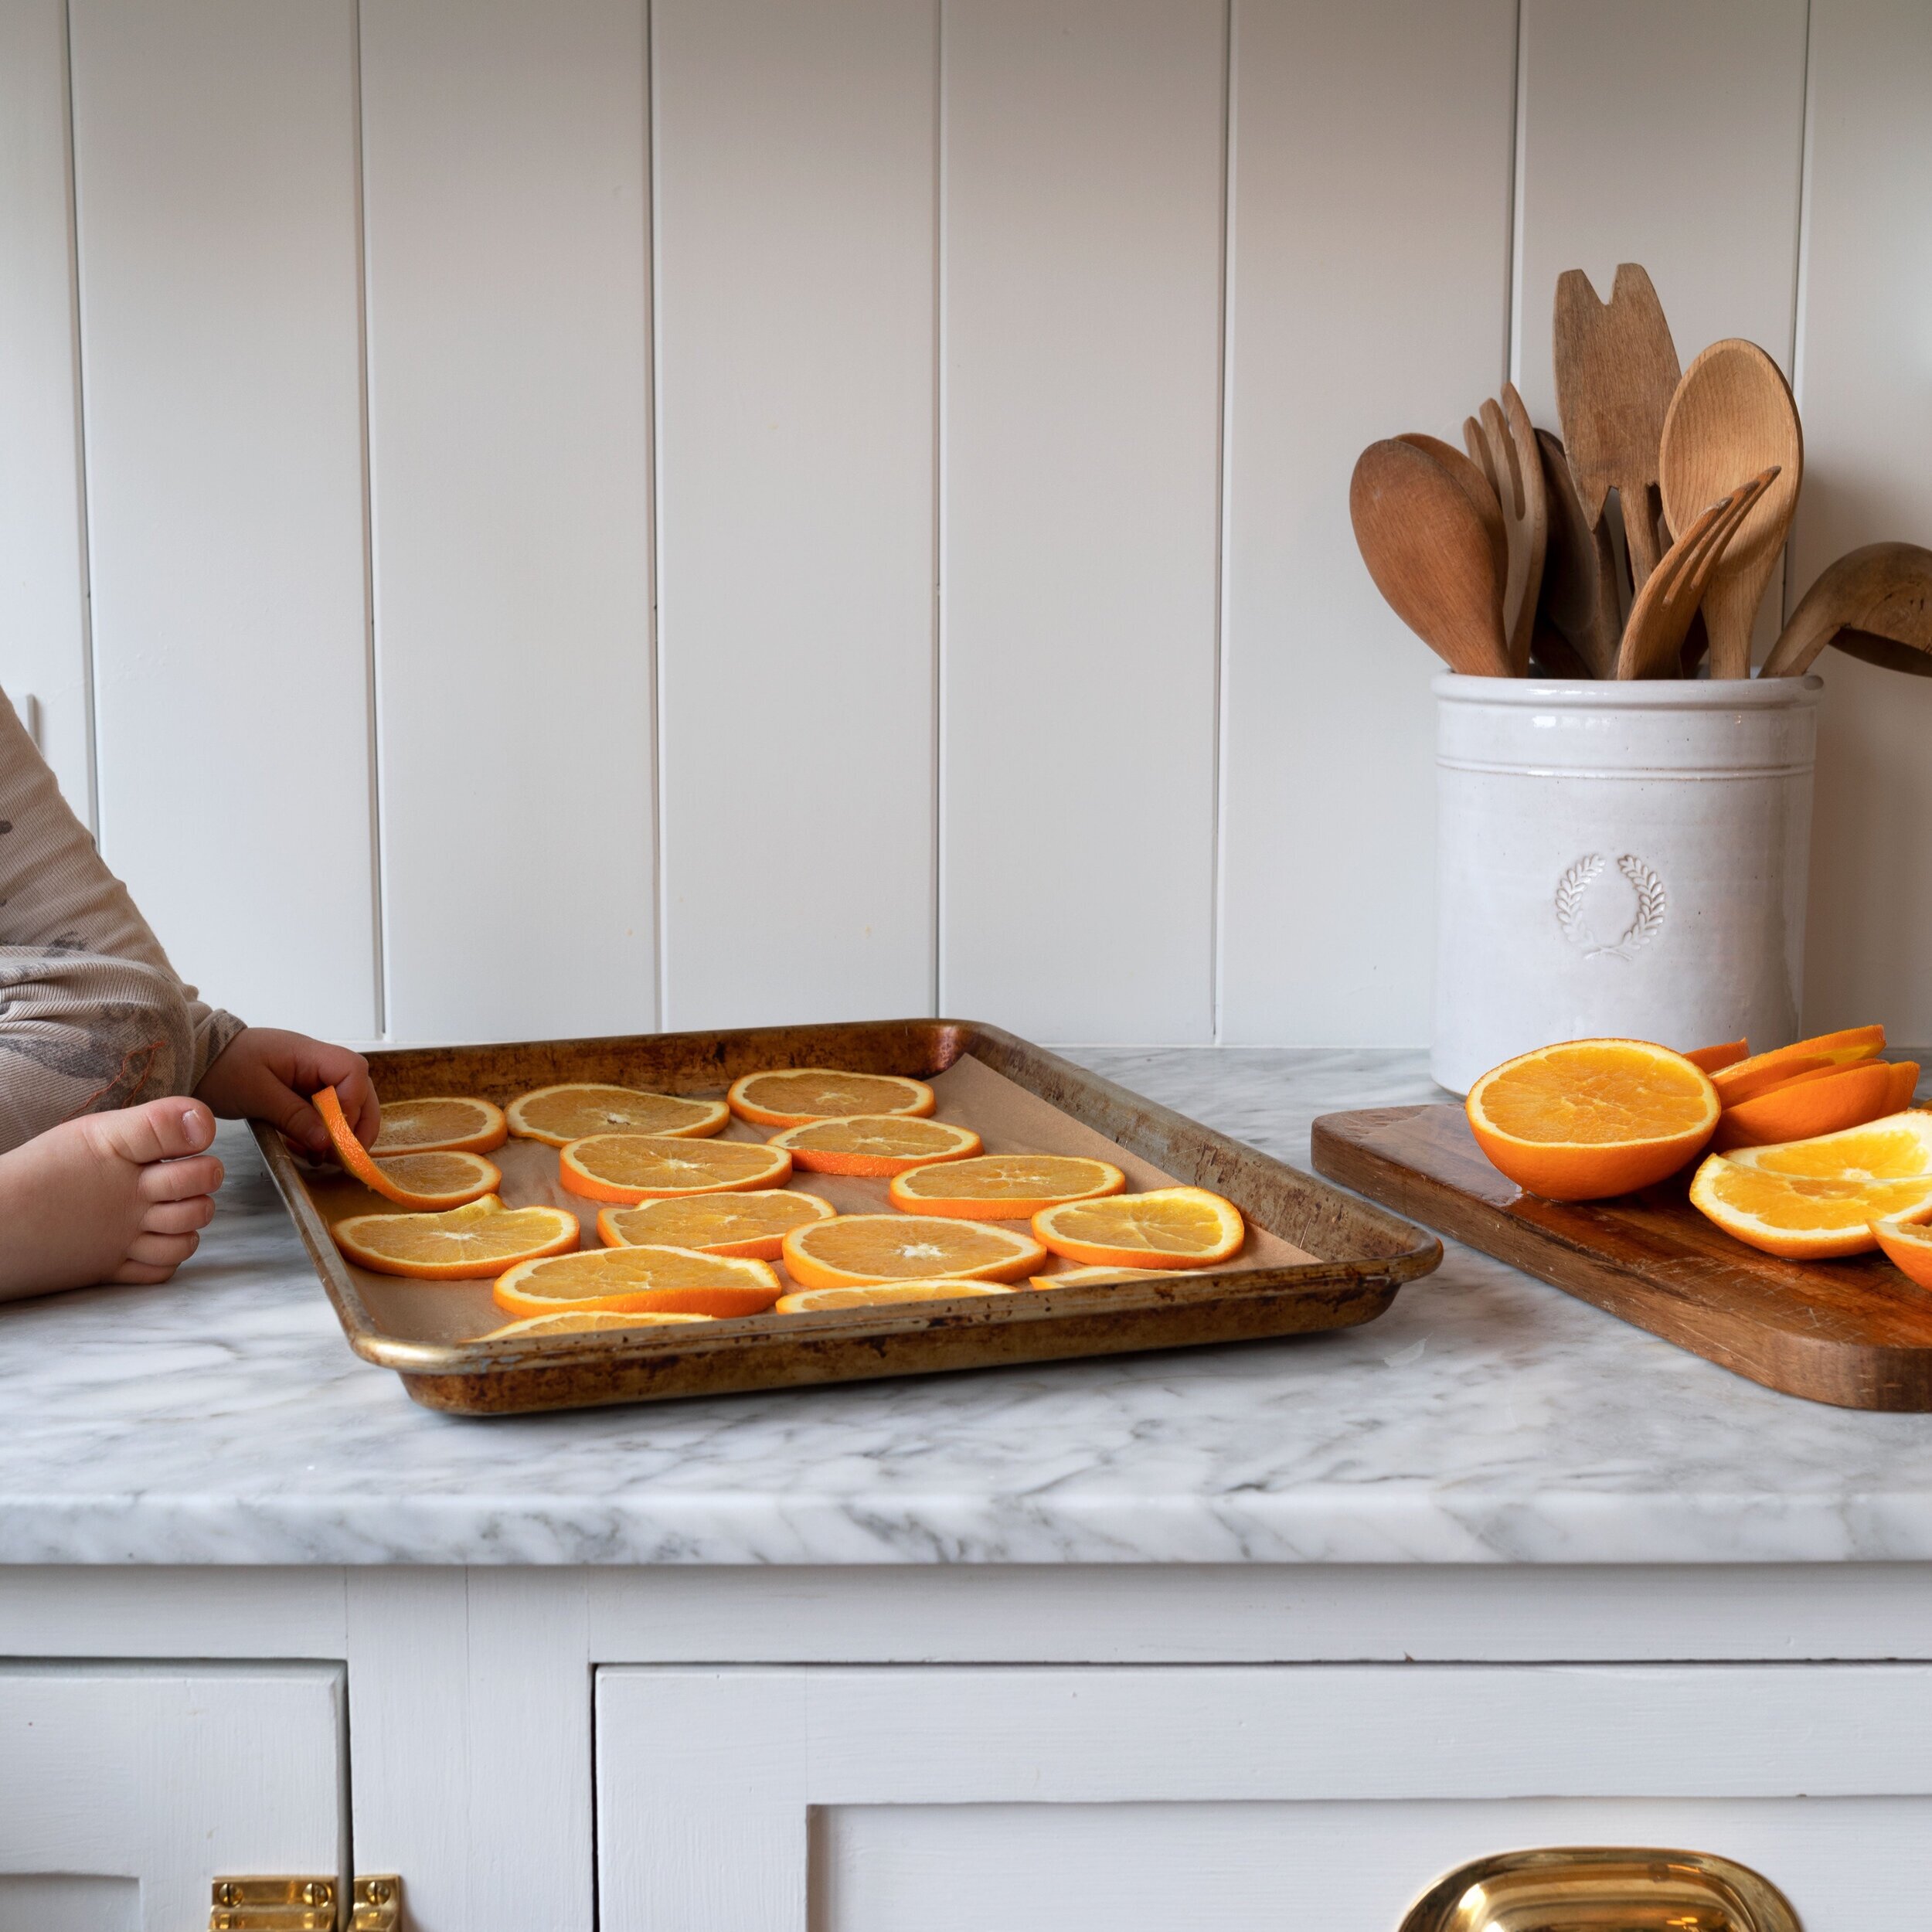
Step 1 // prep the oranges
Preheat over to 225-degrees (convection if you have it).
Cut naval oranges into about 1/8”-thick slices. If your cuts aren’t perfectly even don’t sweat it. My slices ranged from 1/4” to 1/8” and they still worked out great.
Pat orange slices with a paper towel to remove some of the moisture.
Line a cookie sheet with parchment paper and lay the oranges out in a single layer.
step 2 // dehydrate
Cook for 1 hour in your 225-degree oven. Flip the oranges over. Cook for another 30 minutes. None of mine were done at this point, but it’s better to check early than risk burning some. Keep cooking oranges until they’re all done, checking every 10 minutes and removing any ones that are dry or starting to brown. Oranges should by mostly dry to the touch, but I removed some of the uneven ones just as the thinnest part started to brown.

Cool oranges on a drying rack. I let them rest overnight, which helped them dry out a bit more and become harder.

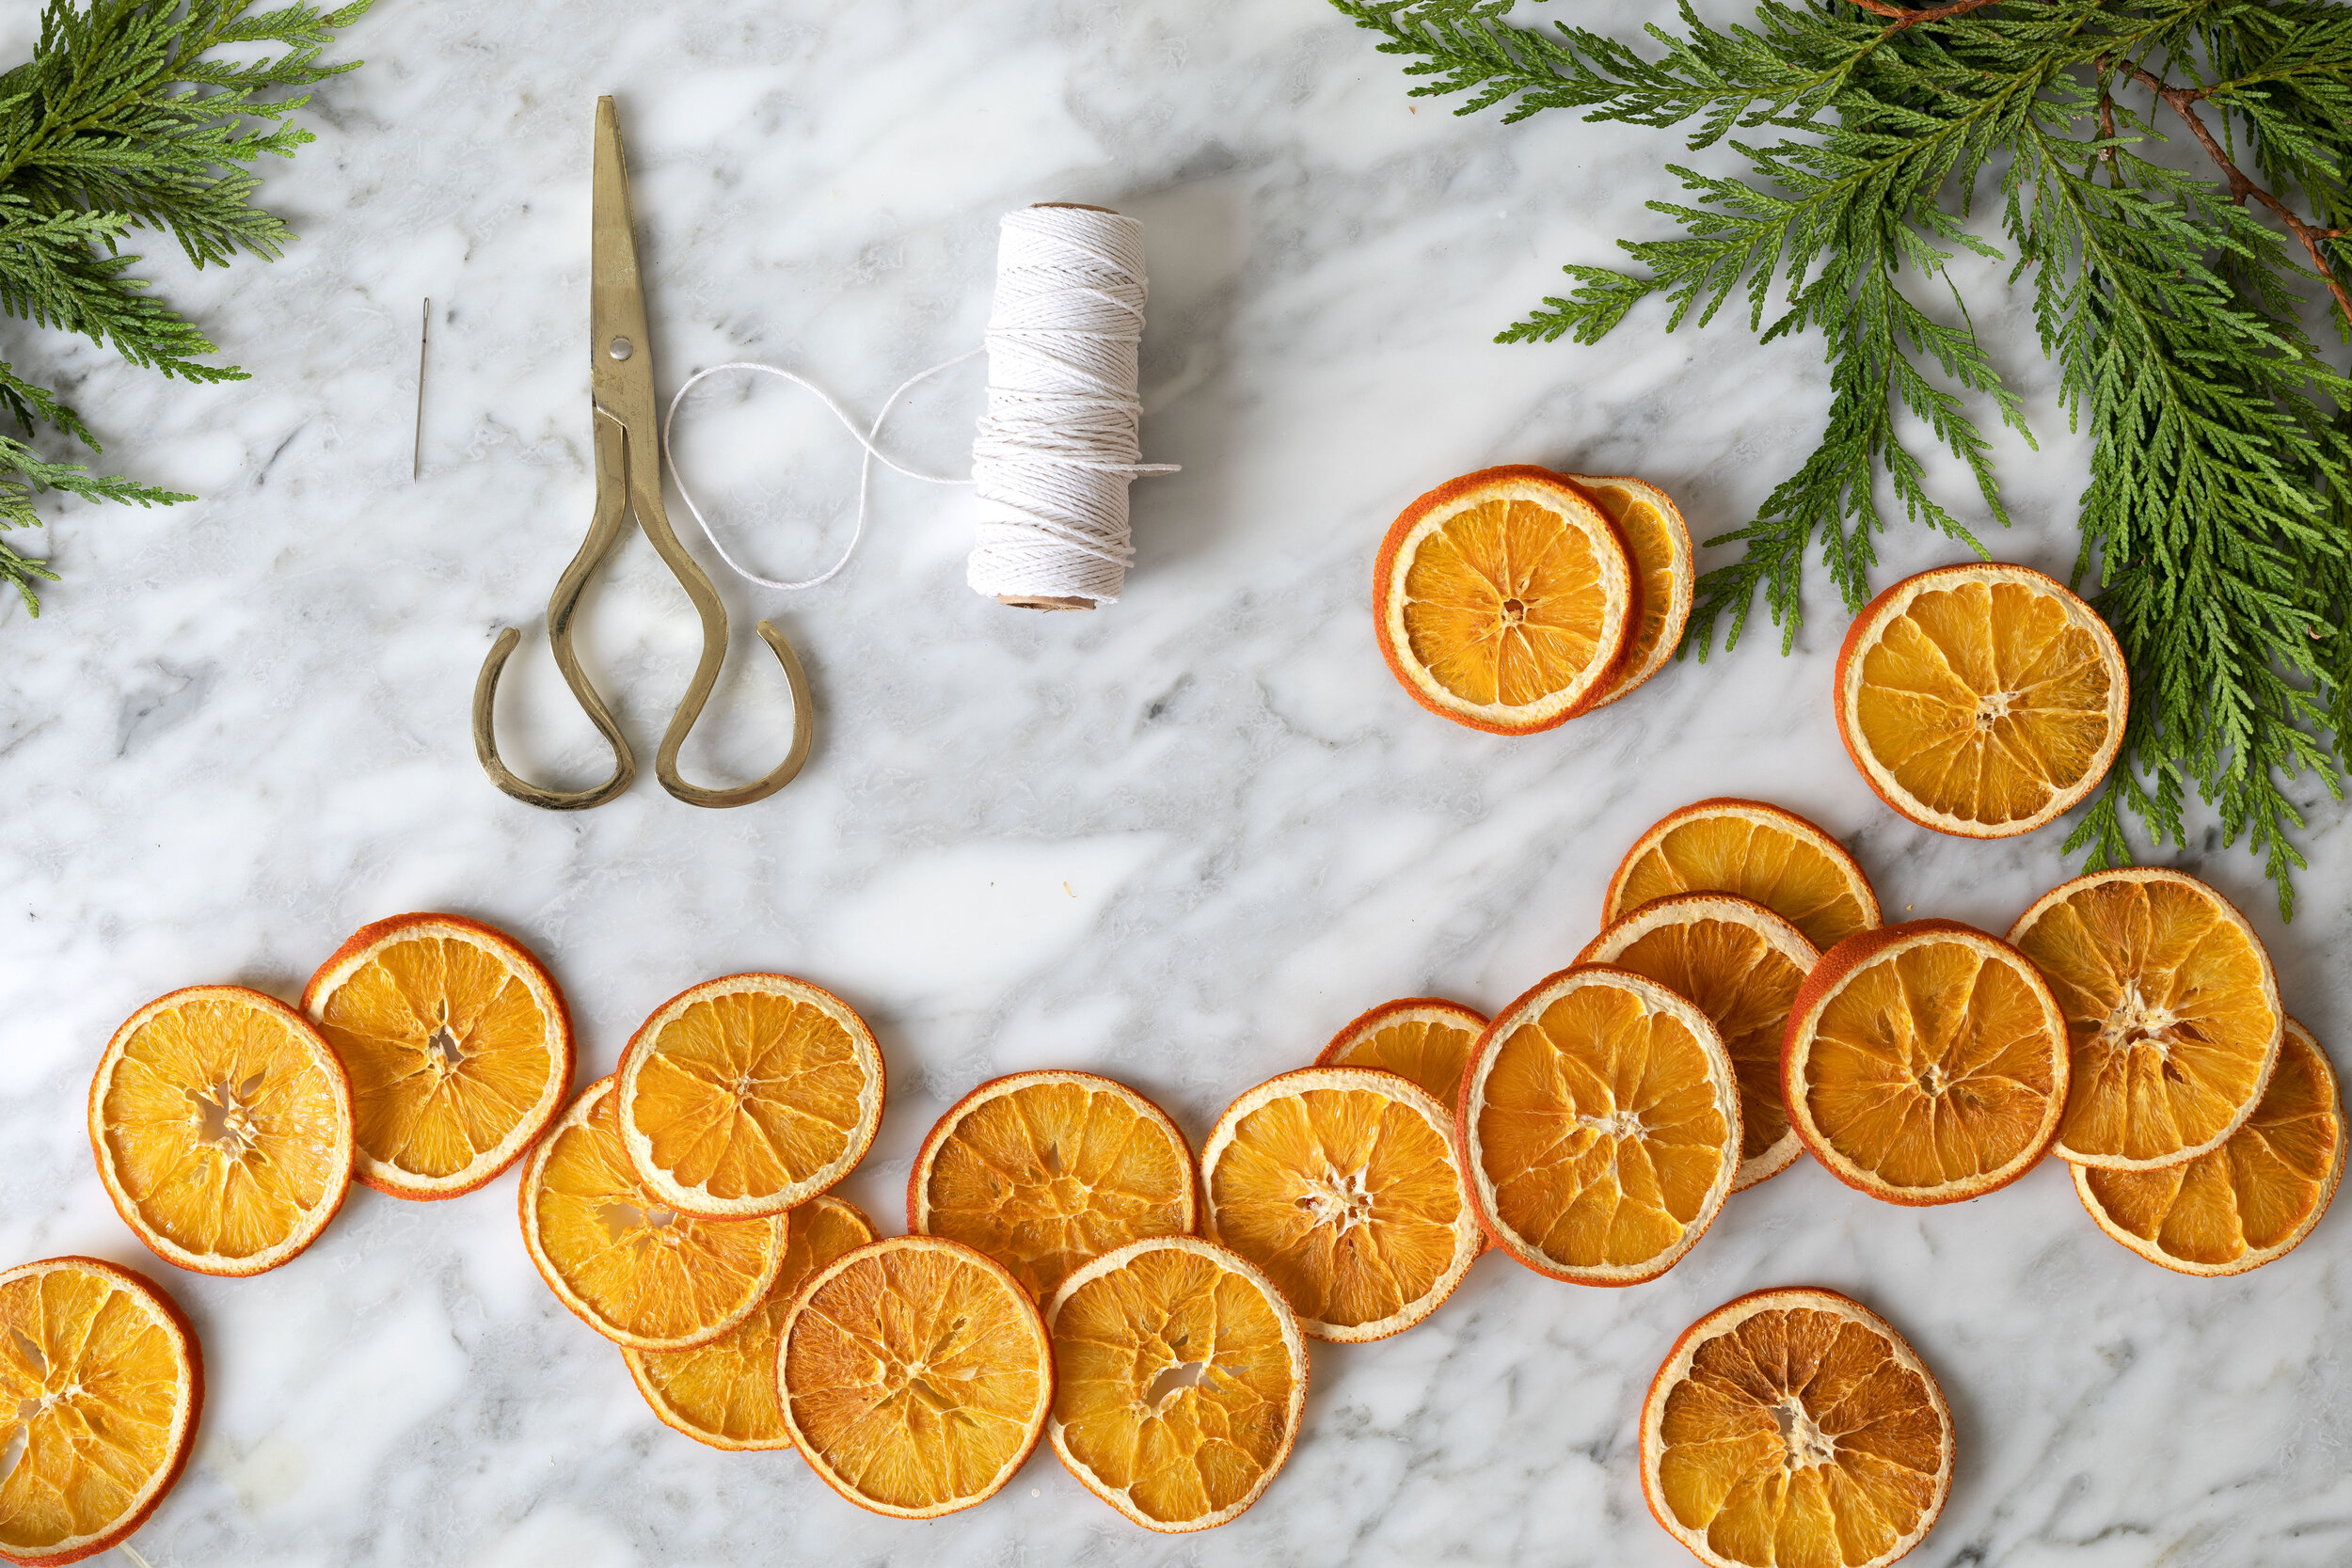
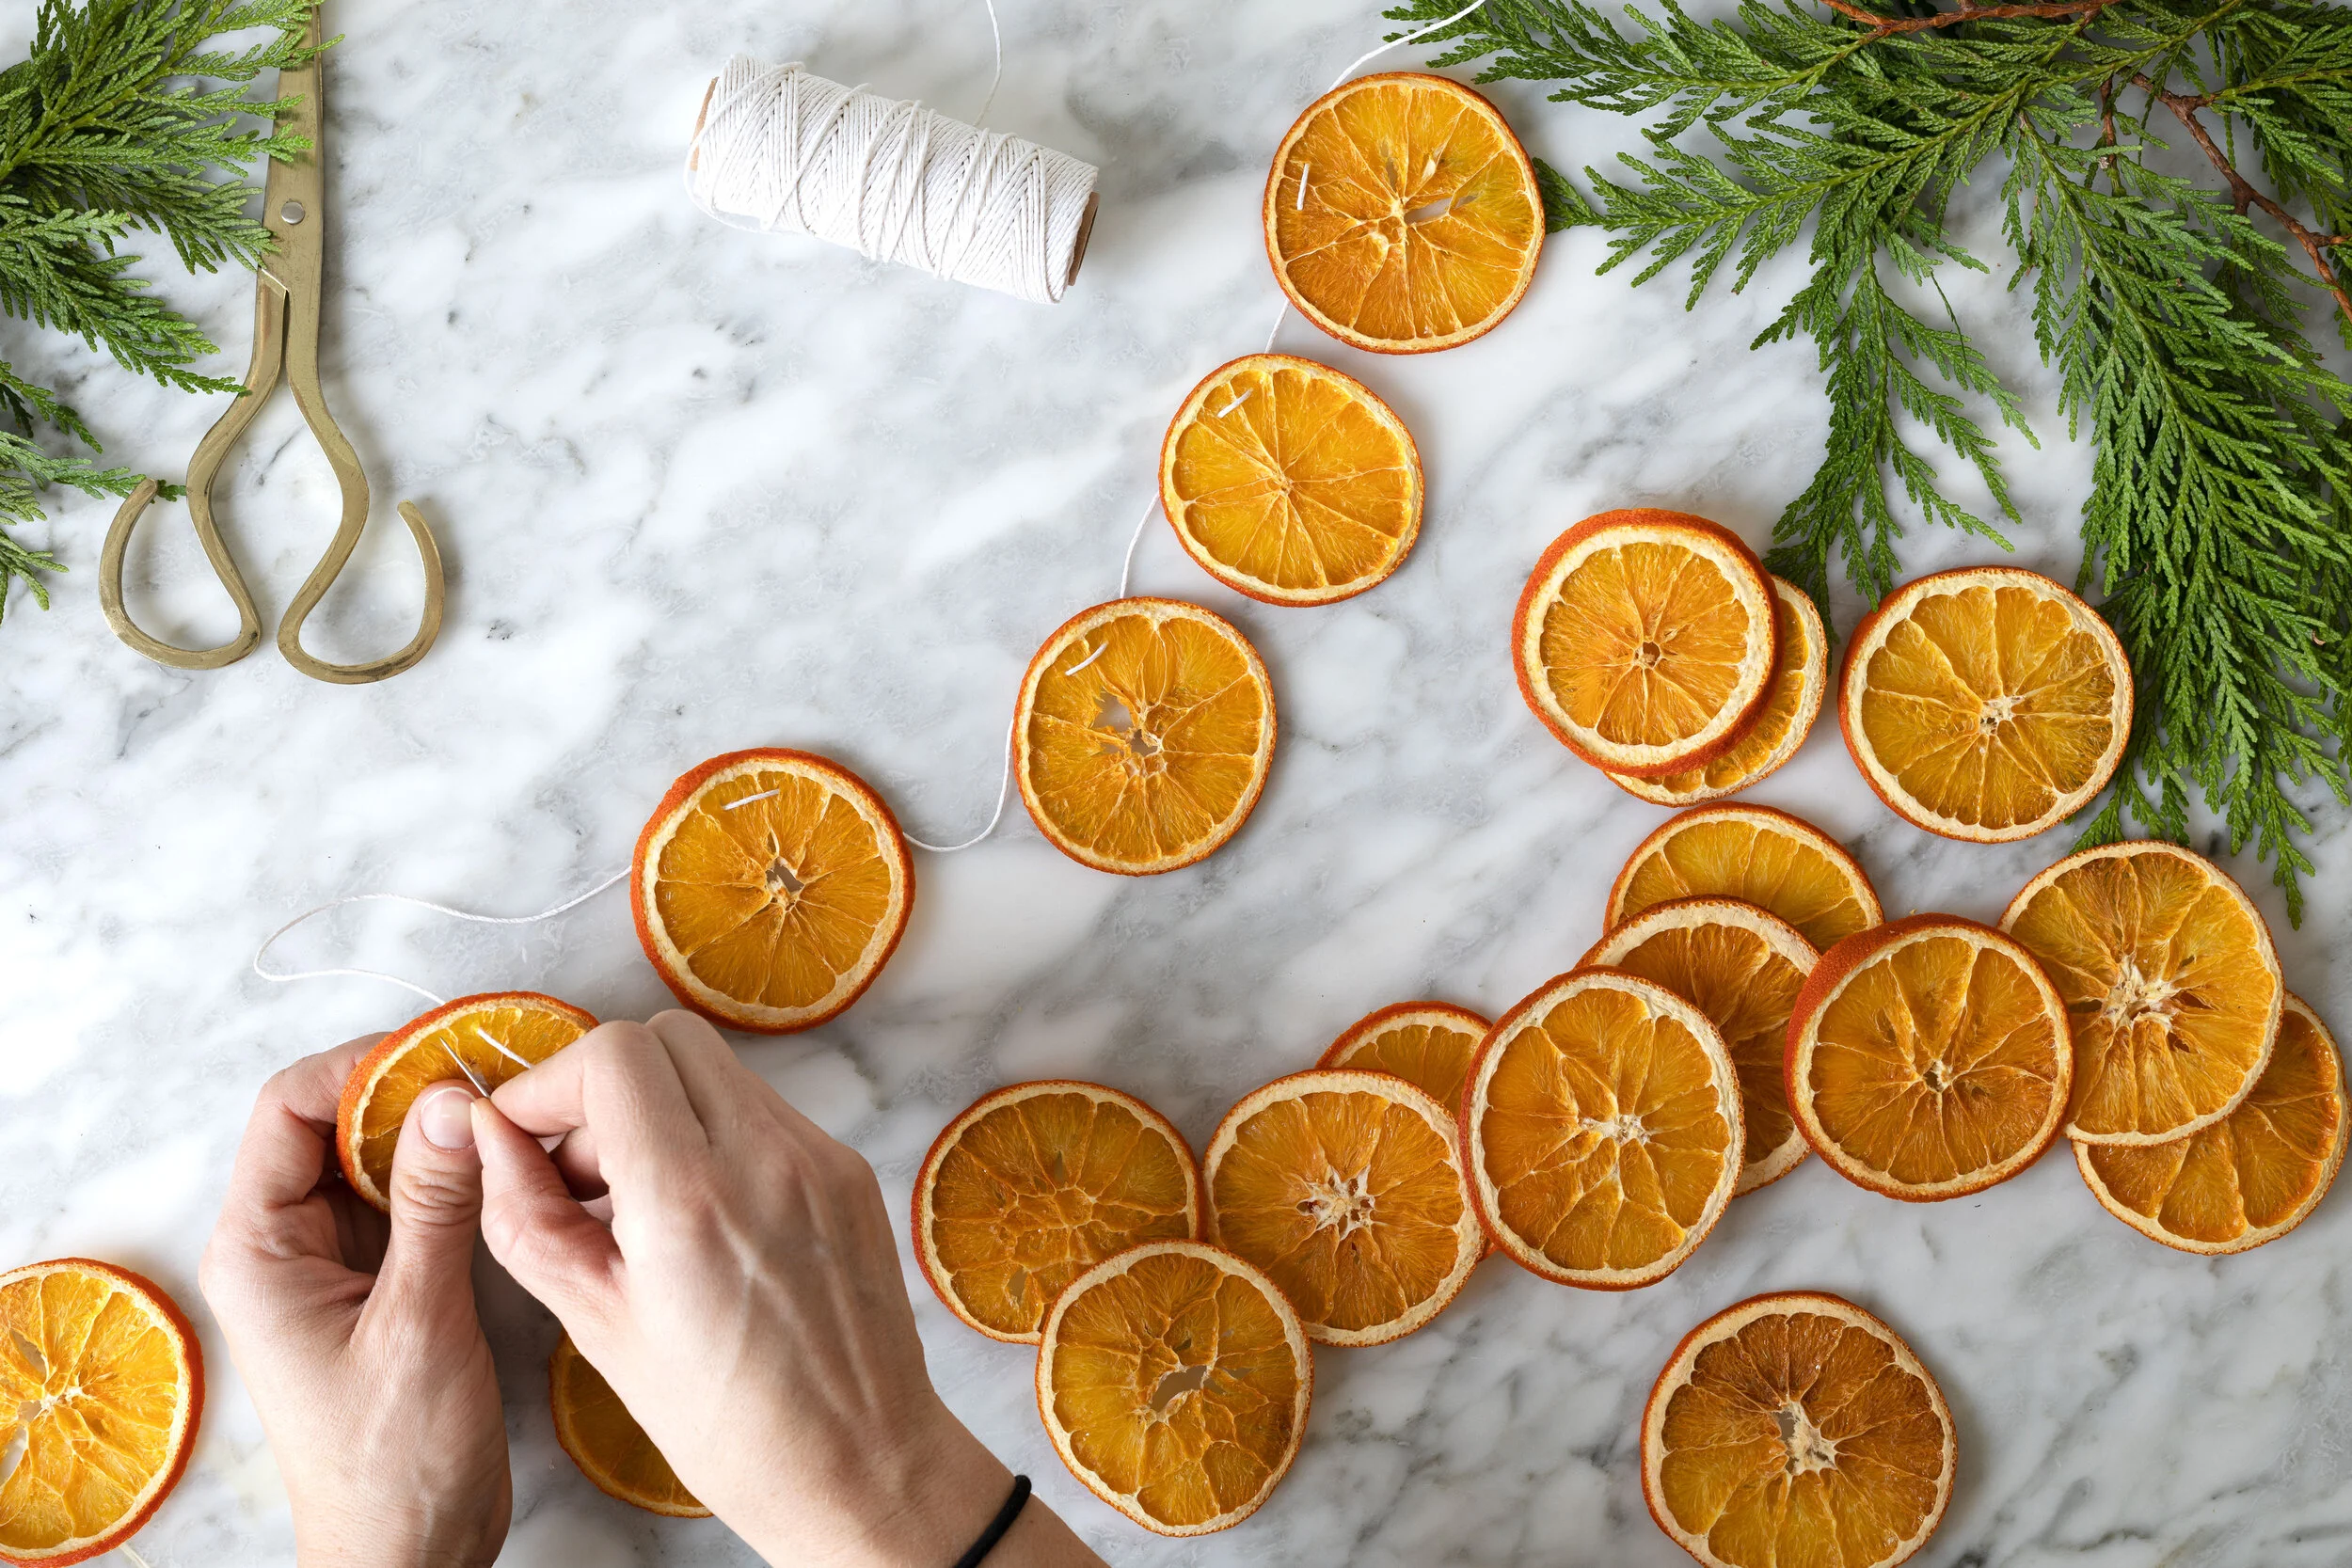
Step 3 // assemble the garland
To create a garland, thread a large-eyed needle with twine. Stitch together the oranges with one stitch in each slice. The oranges can be slid along the twine easily, but make sure to leave enough room at the begging and end for hanging.

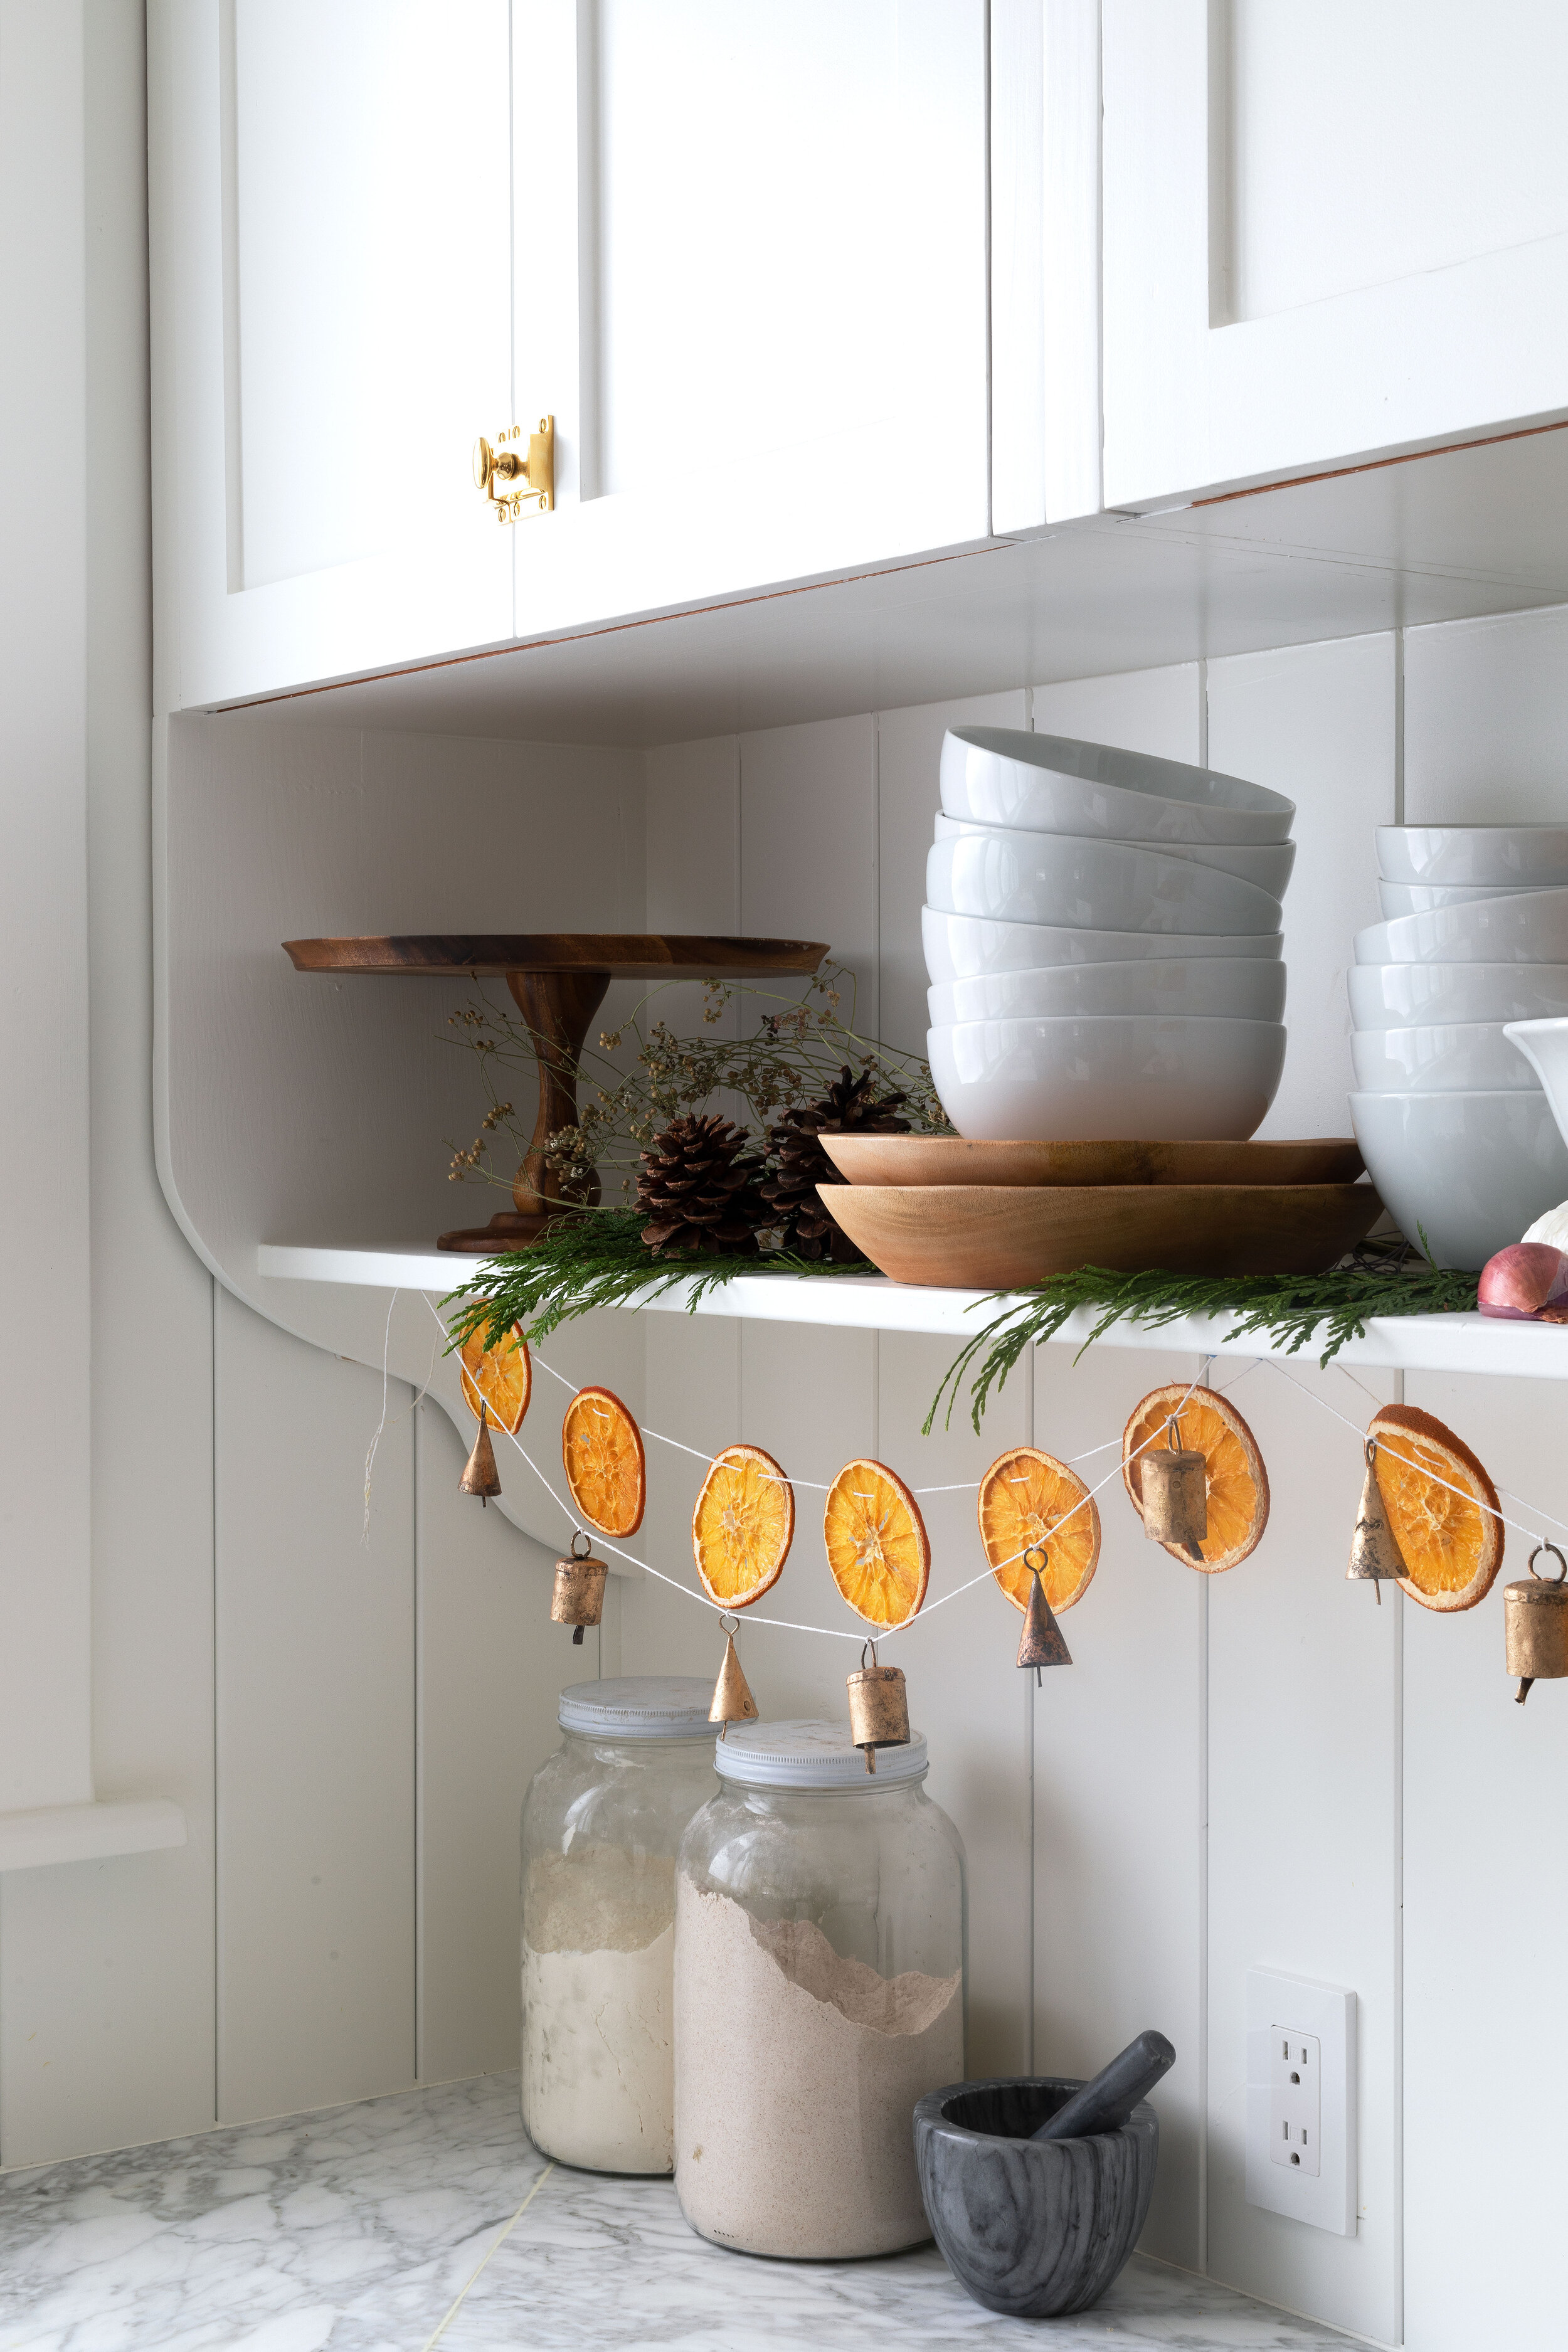

step 4 // Brass Bell Garland
The dried orange garland can stand alone, but if you want to add a brass bell garland like we did then start with these bells. String them on the twine and add a simple knot at each bell to keep them in place. Again, make sure to leave enough string on either end for hanging.


That’s it! Pretty easy, right?! And I love that these garlands are totally reusable for next year. One suggestion on the oranges…there’s likely a little moisture left in the slices so refrain from storing them in something air-tight after you take them down in the new year. If they can breath, they’ll continue to dry out over the year and hopefully not mold.

Let me know if you try this one!