DIY // How to Router a Butcher Block Edge
THE FARMHOUSE
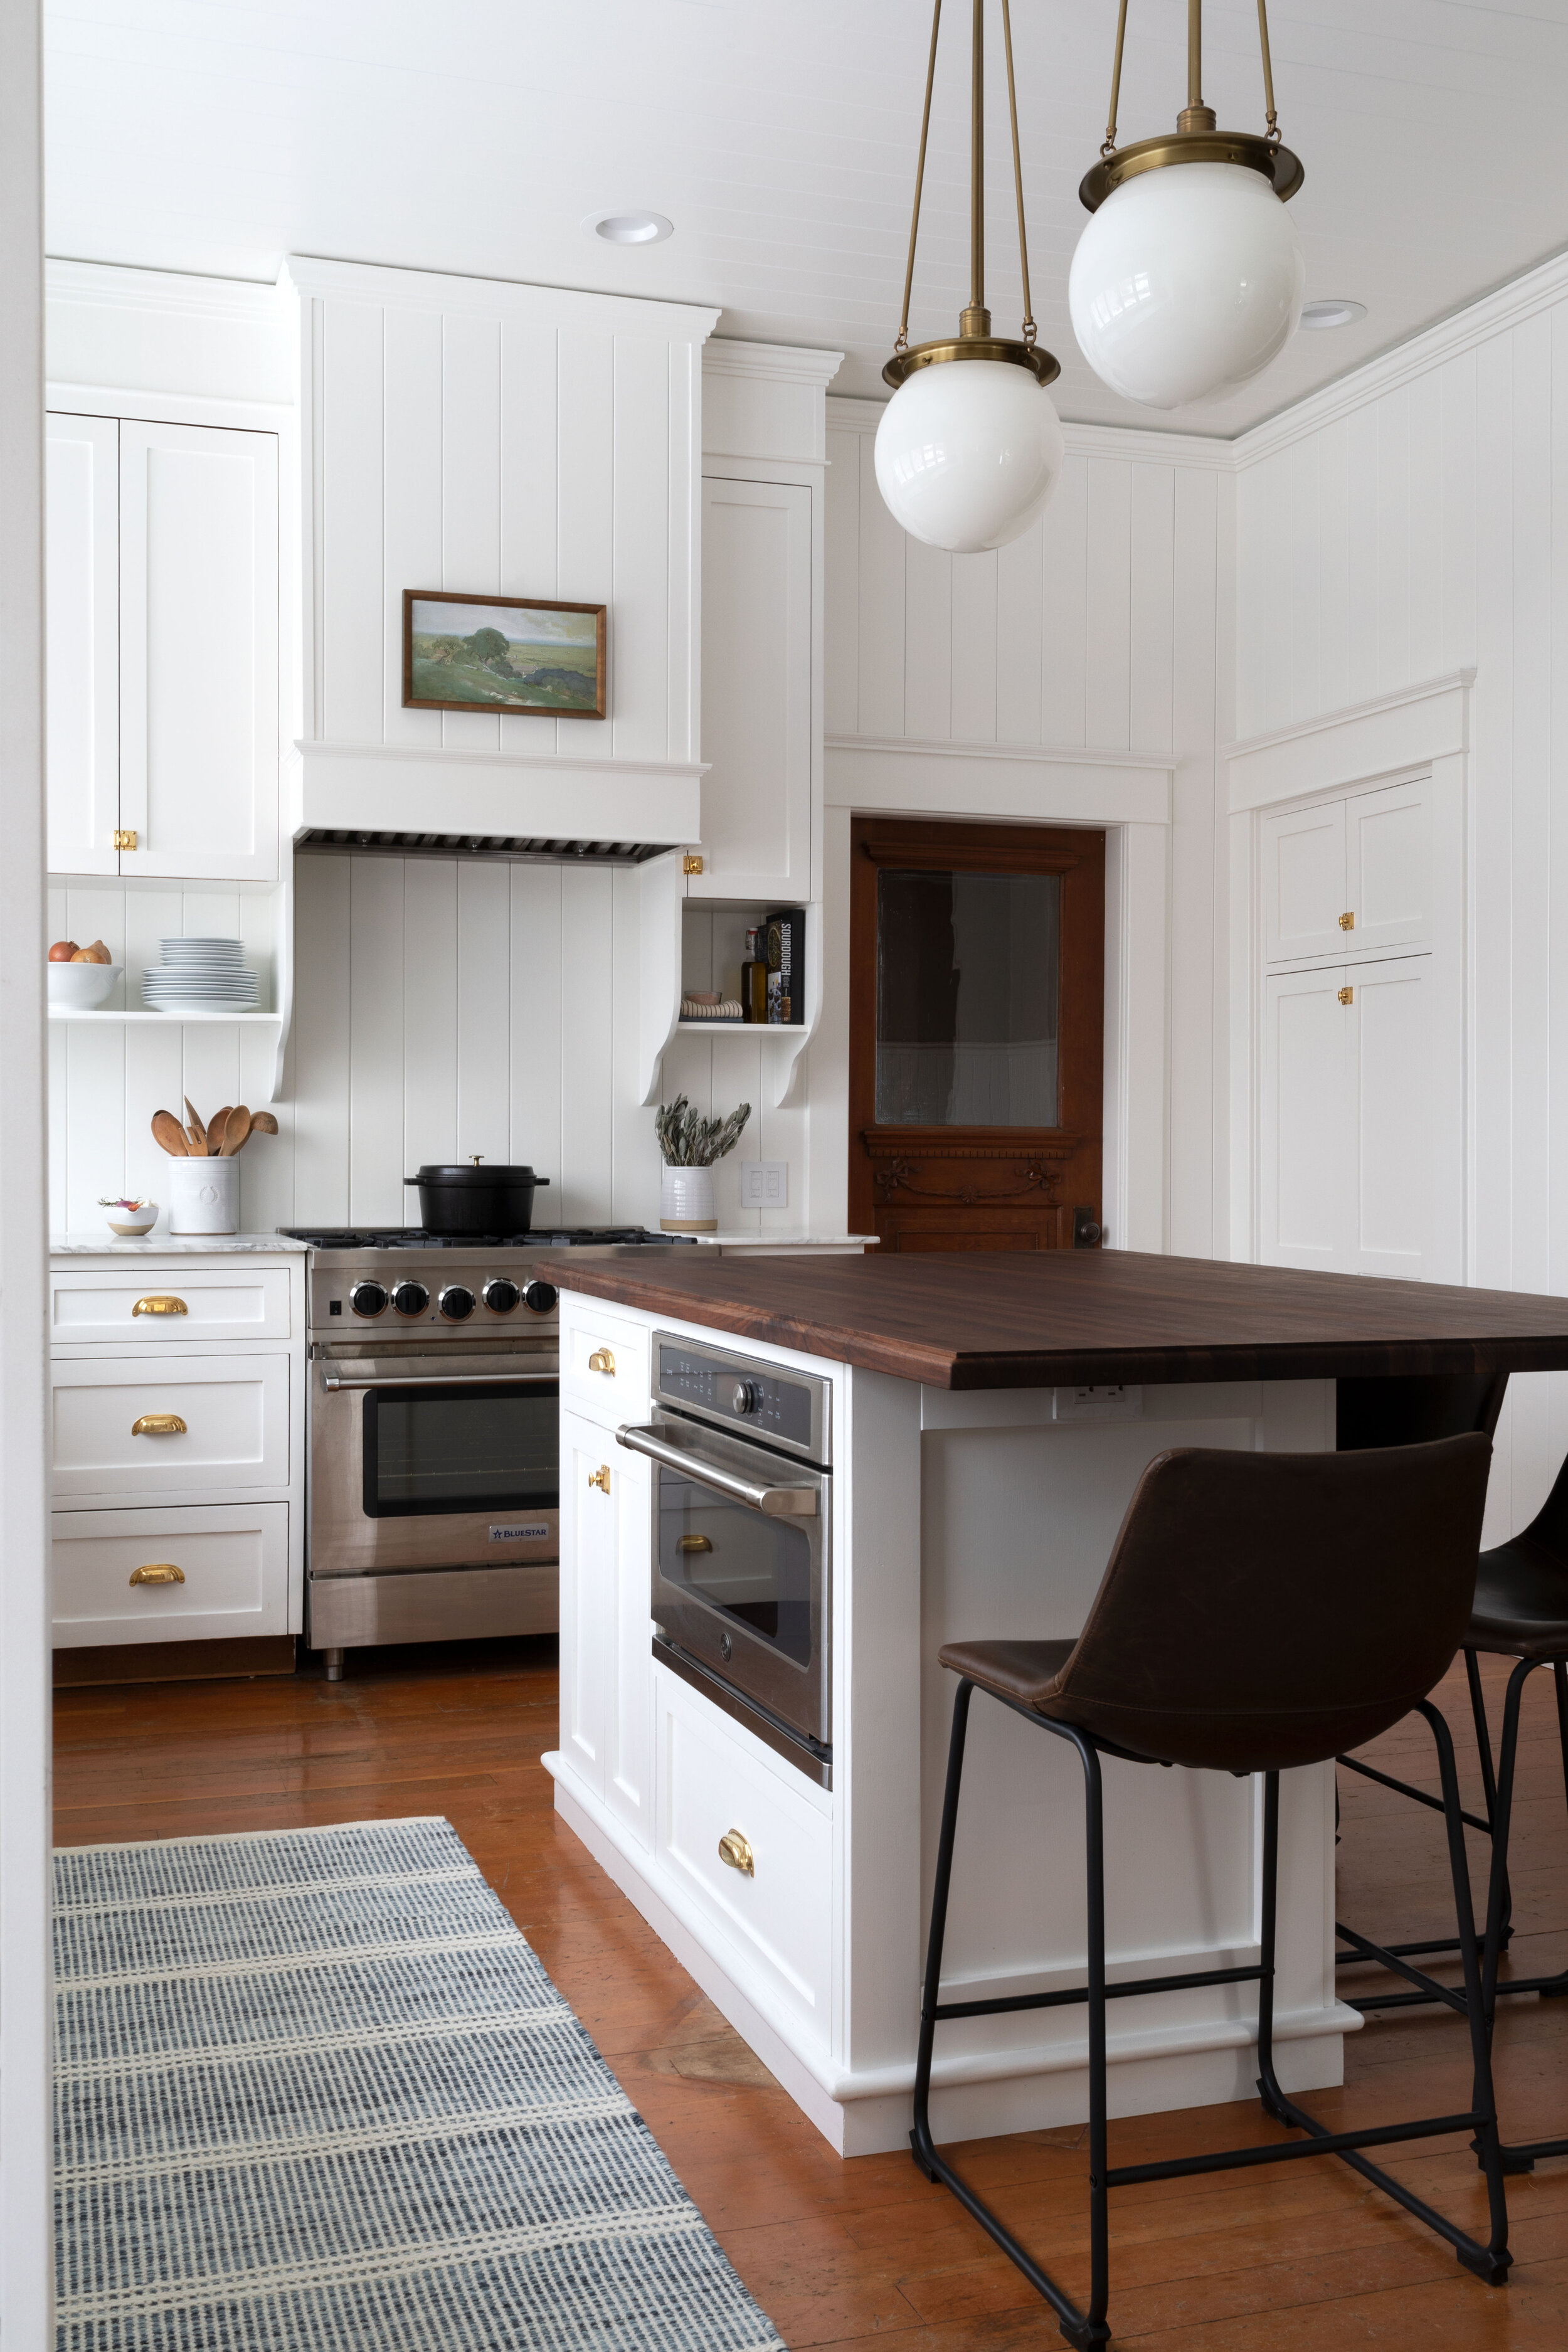
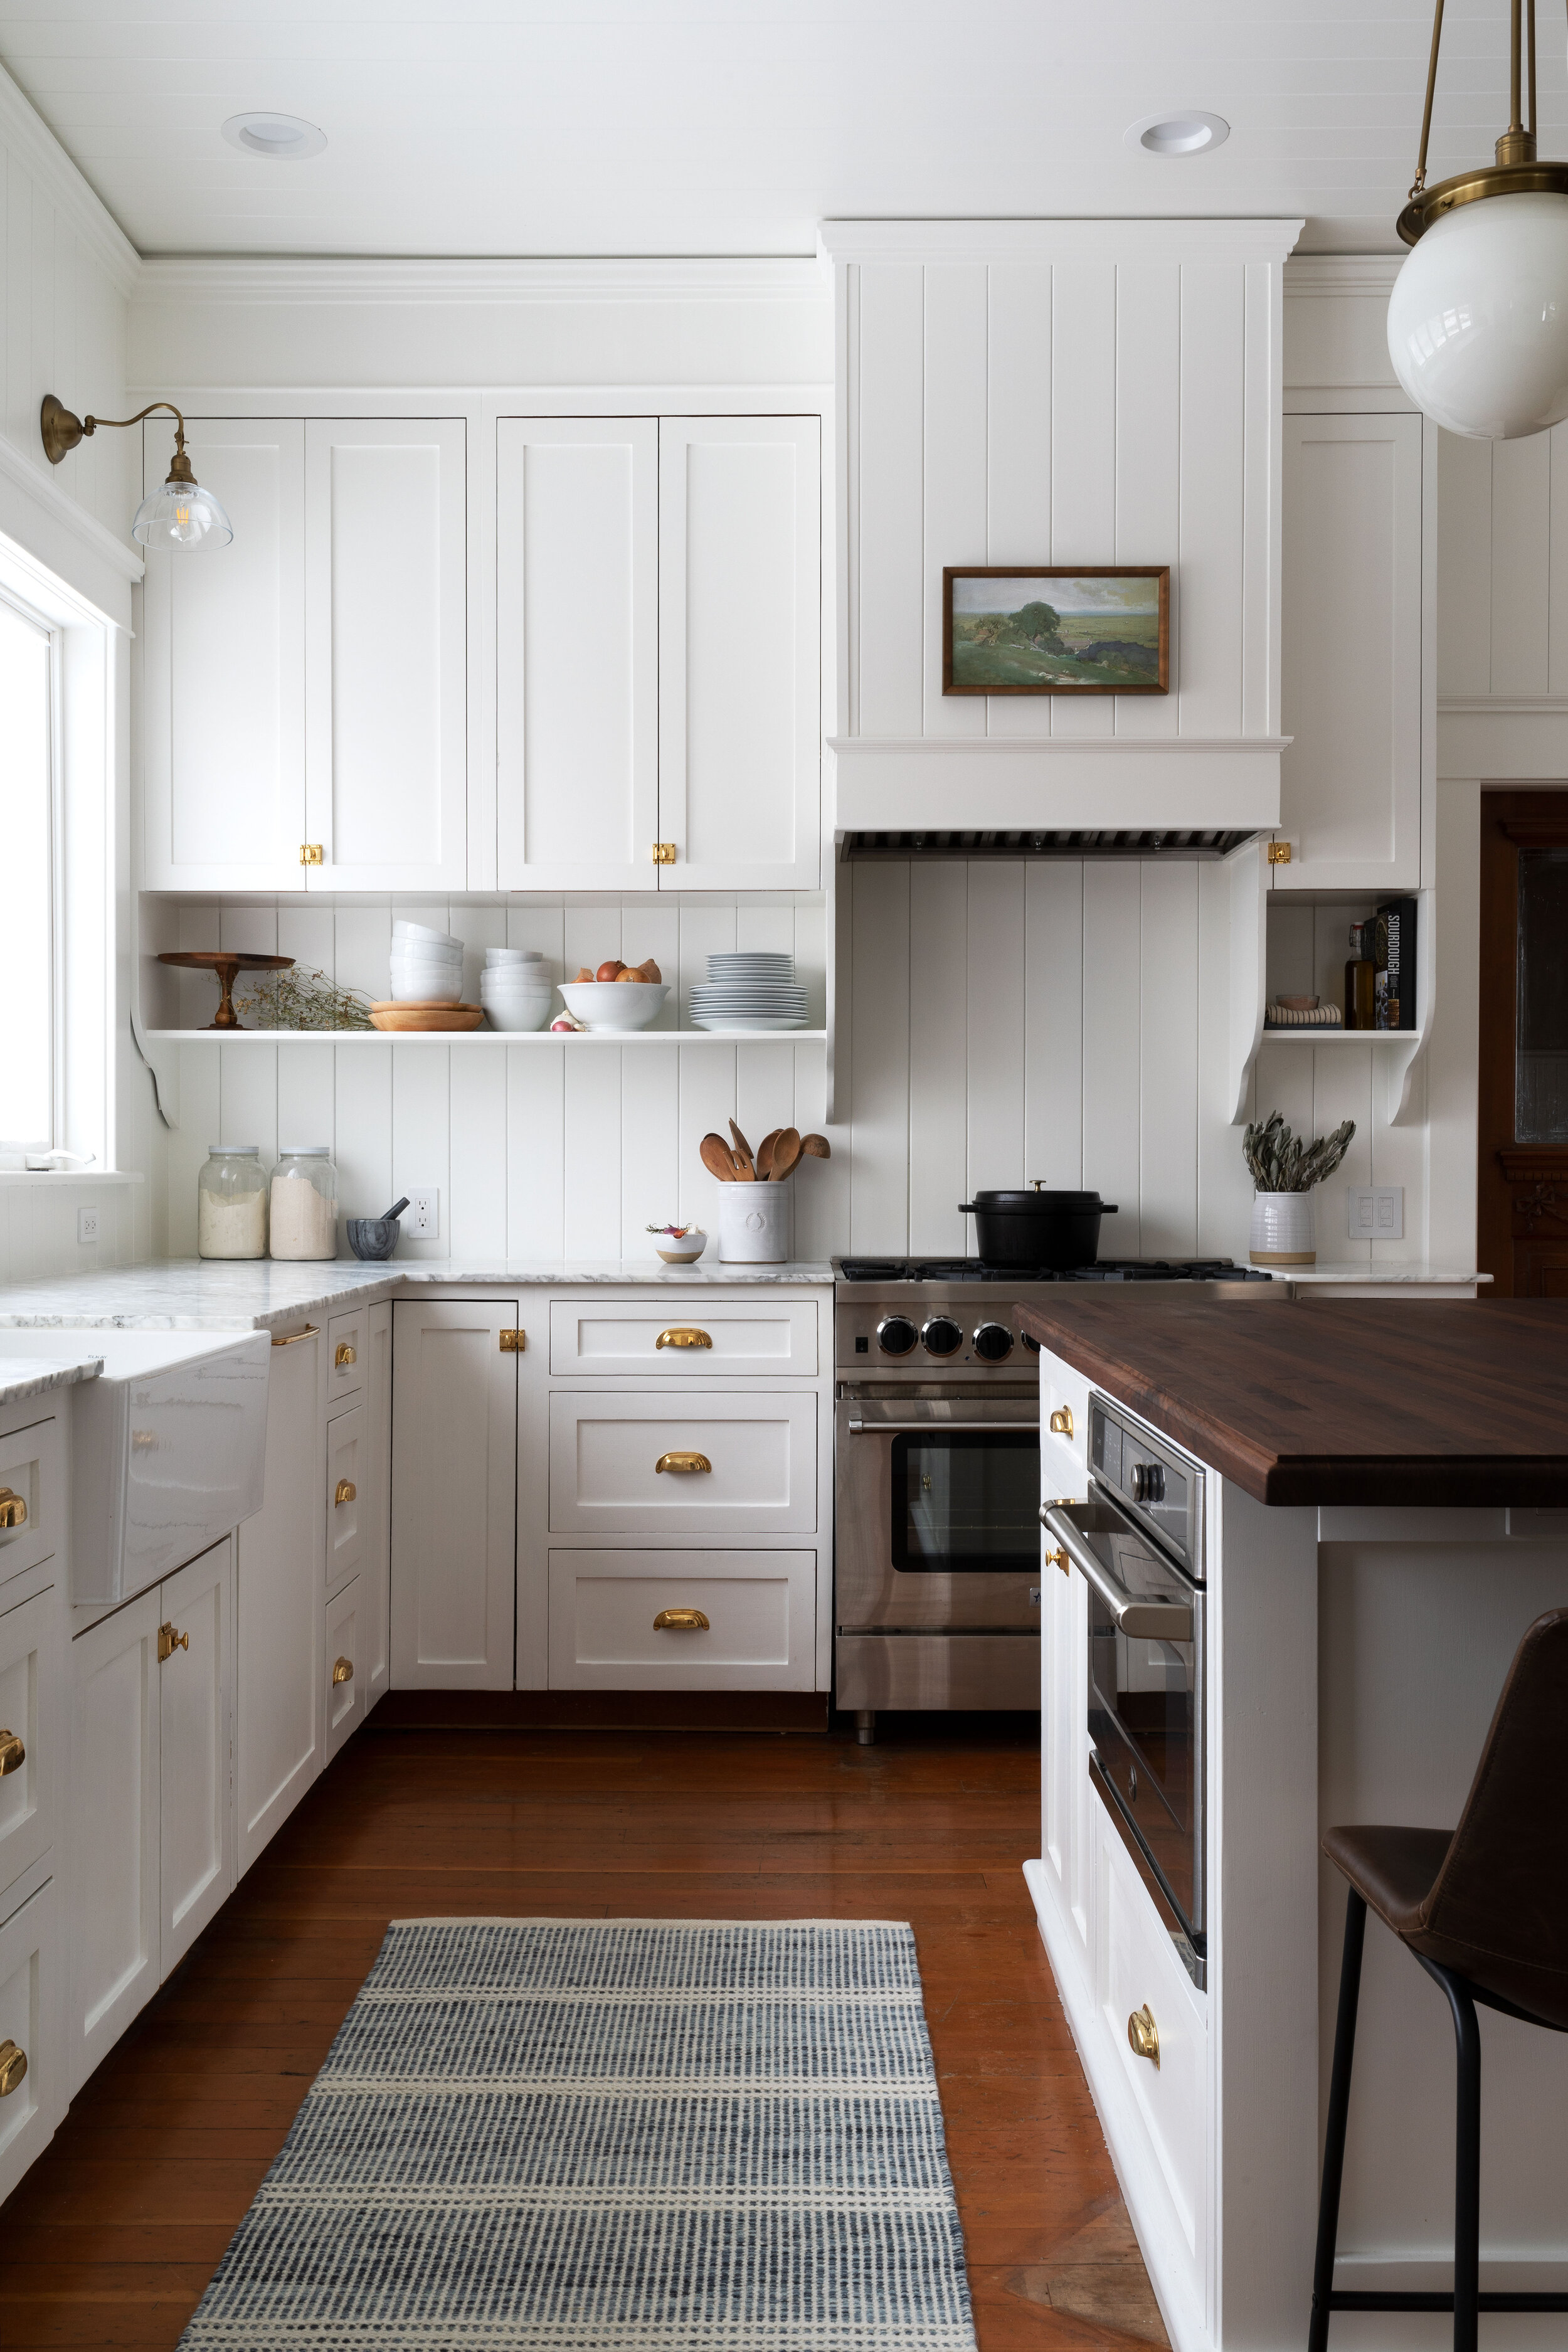
When we revealed our Farmhouse kitchen last week, you may have noticed the curved detail on the edge of the butcher block. It’s a routered edge that we added ourselves last minute. And I love it so, so much!
Today we wanted to show you exactly how to router a butcher block edge like we did to this walnut countertop to get an older, more-custom, polished look. It’s a relatively easy DIY and we hope you feel more confident trying it after reading this post.

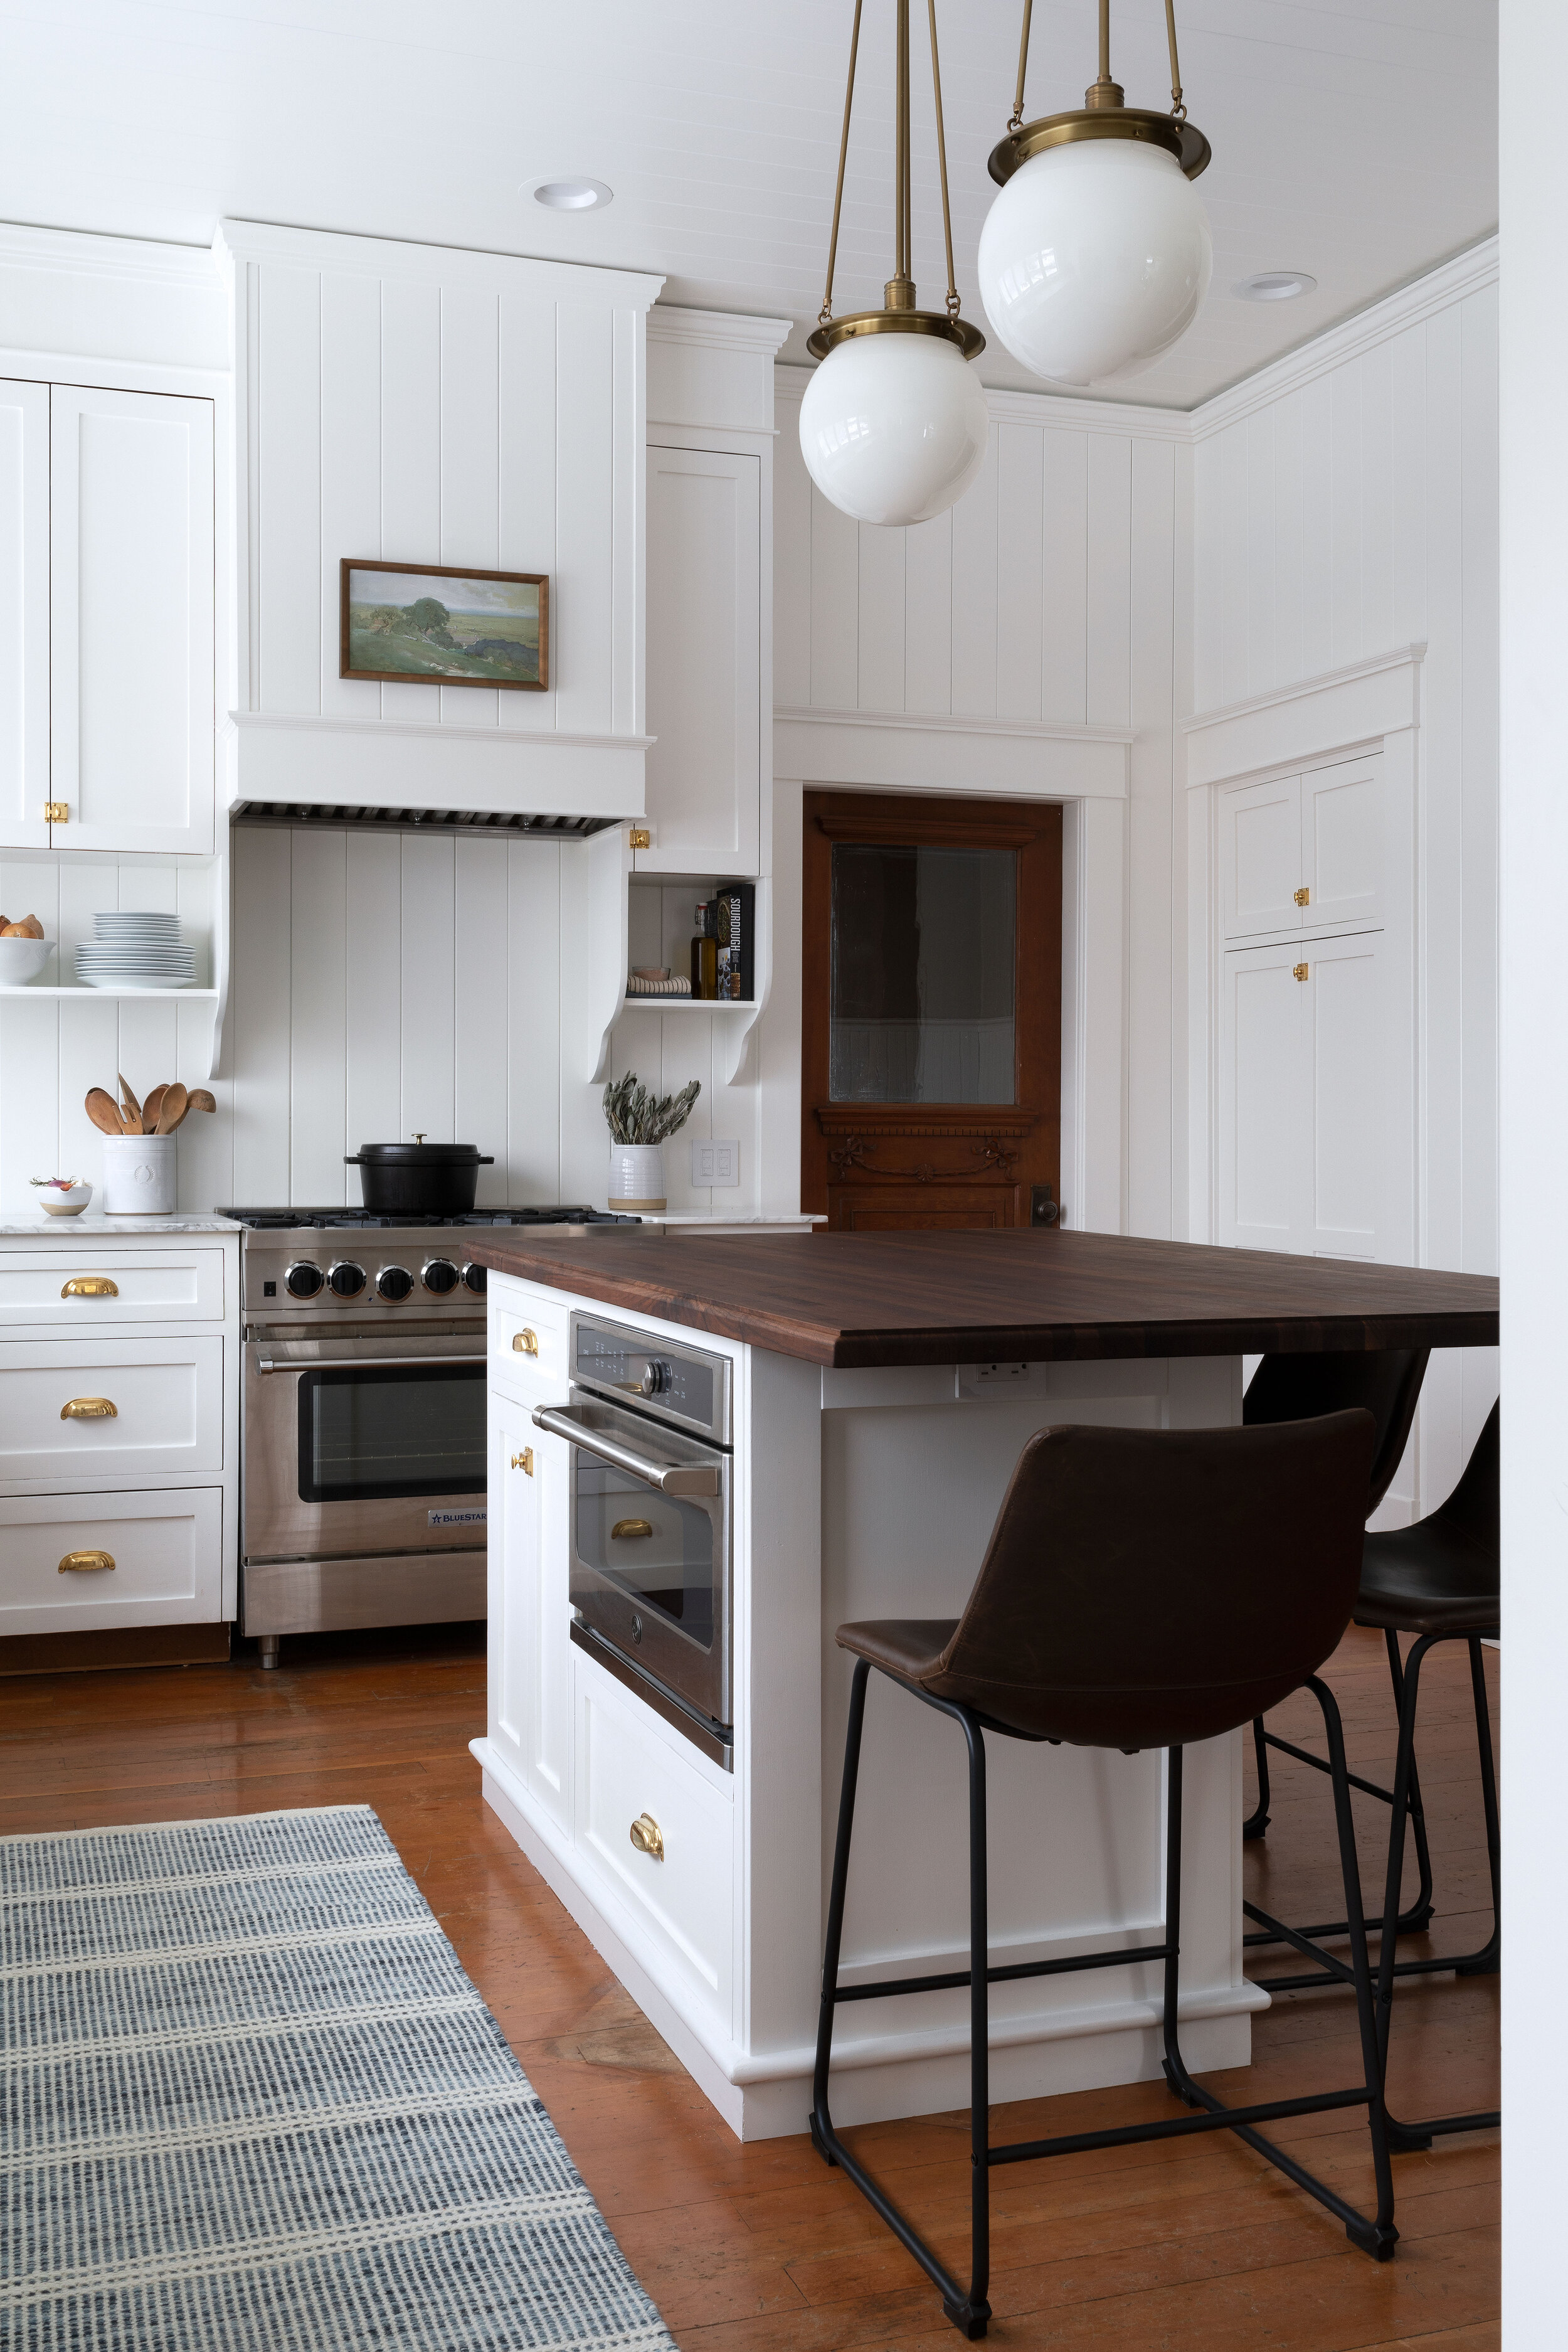


The Farmhouse kitchen / sources here
DIY // How to router a butcher block edge
Time: 2 hours
Level: moderate
Format: video
tools
clamps (we have this awesome set!)
shop vac (optional - but it’s MESSY!)
two 2x4 pieces about 6” long
Steps
Garrett walks you through the steps of this simple DIY in the following 4-minute video.
One tip…it would have been a lot less messy to router the edge before we installed the butcher block. So if you can swing it, router the butcher block edge after cutting it to size while it’s still outside. The router creates a ton of wood shavings and dust and it took forever to clean the kitchen up afterwards. Ugh.
But it was 100% worth the mess!

That’s it! An easy DIY to change the look of your wood countertop.
Let us know if you try this one!