DIY // How to Install Panel Moulding
THE RAVENNA HOUSE
Back when we were getting the Ravenna House ready to sell, we added panel moulding (which looks like picture frames on the wall) to the master bedroom. It was a relatively easy project and went a long way in making this small bedroom feel more ‘master-ey’. Scroll on to read all about this project (psst: room sources are also at the bottom of this post).


This post has been a long time coming. Lots of our readers asked for details on how we installed our moulding back in the summer. Well we finally got around to putting together a video detailing our process. We also included a few tips for designing the layout and picking spacing in your own project.
If you use this tutorial to put panel moulding in your own home, we’d love to hear about it! This project is definitely do-able in a weekend, although it took us longer (maybe 3 or 4 days, part-time) since we had our kids with us and were working on other projects at the same time.

1. before

2. panel design

3. install

4. paint


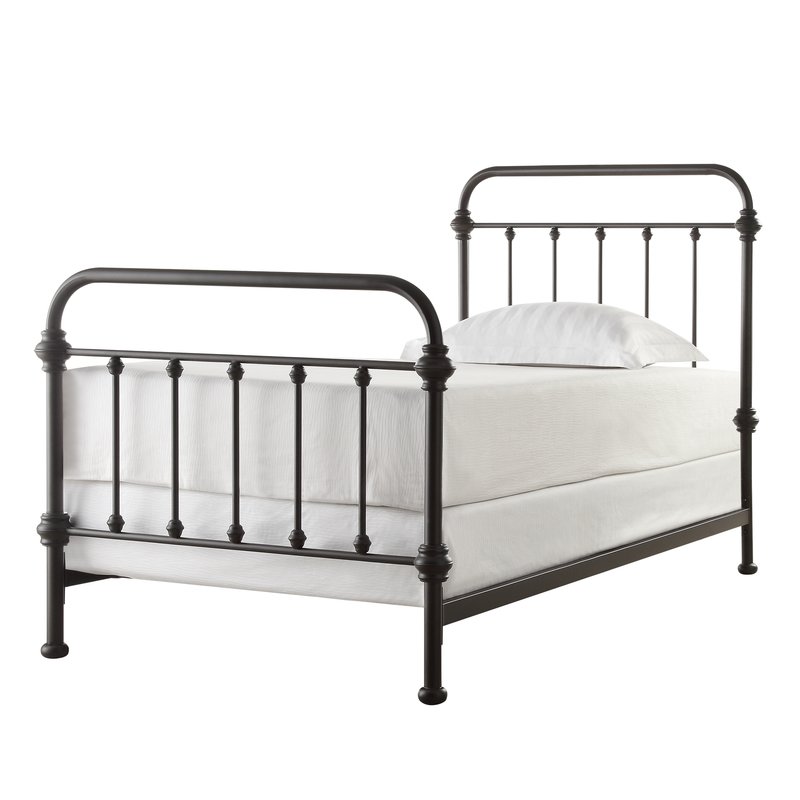
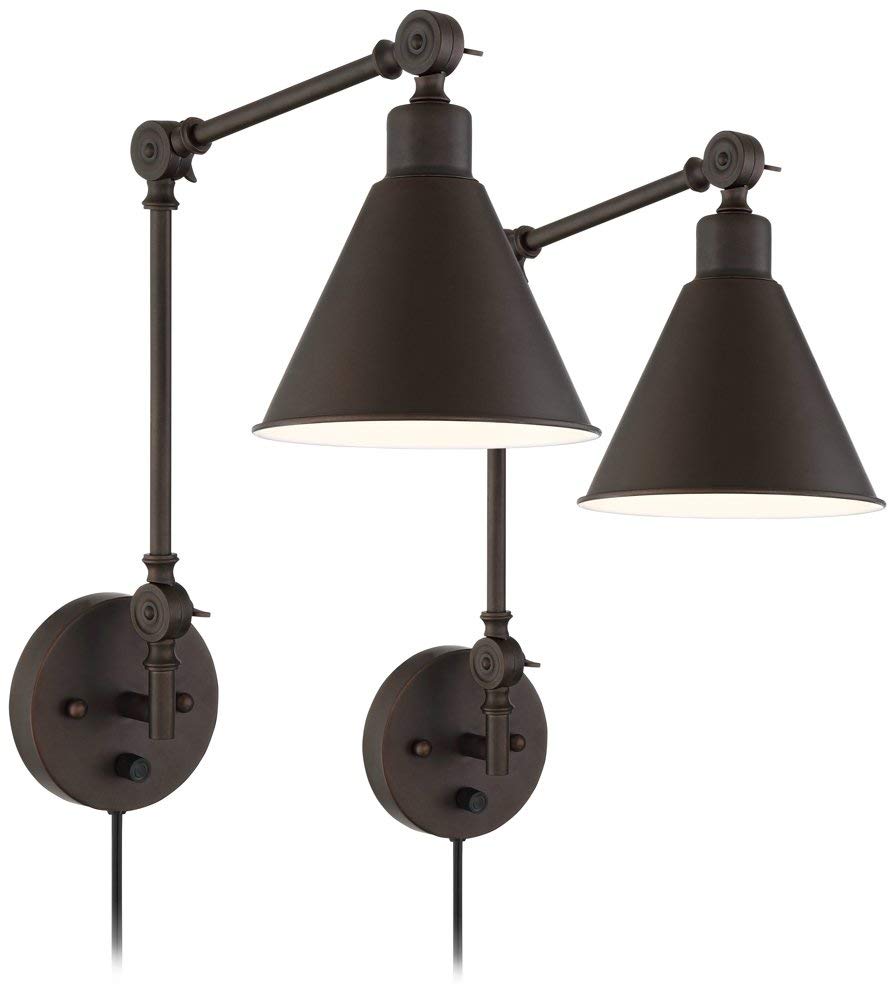
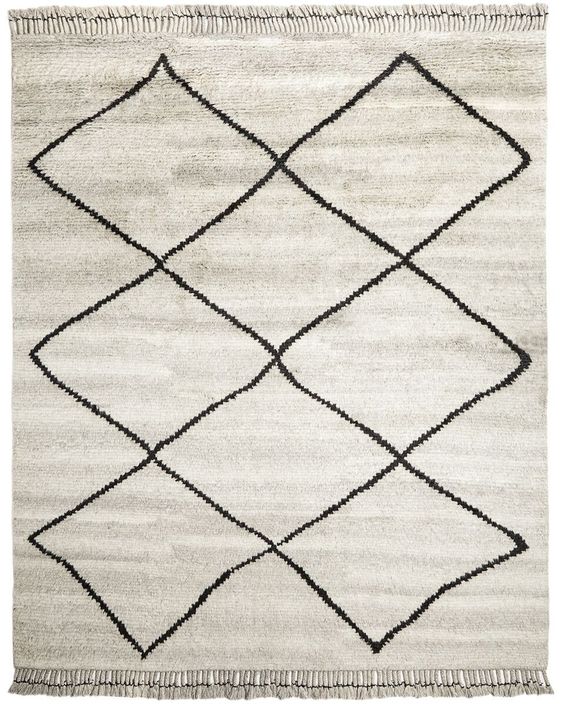
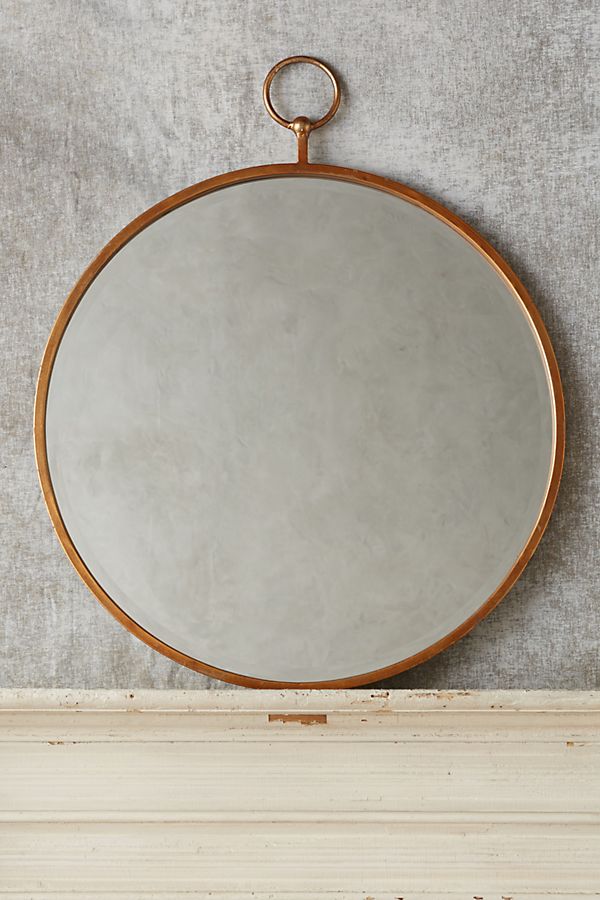
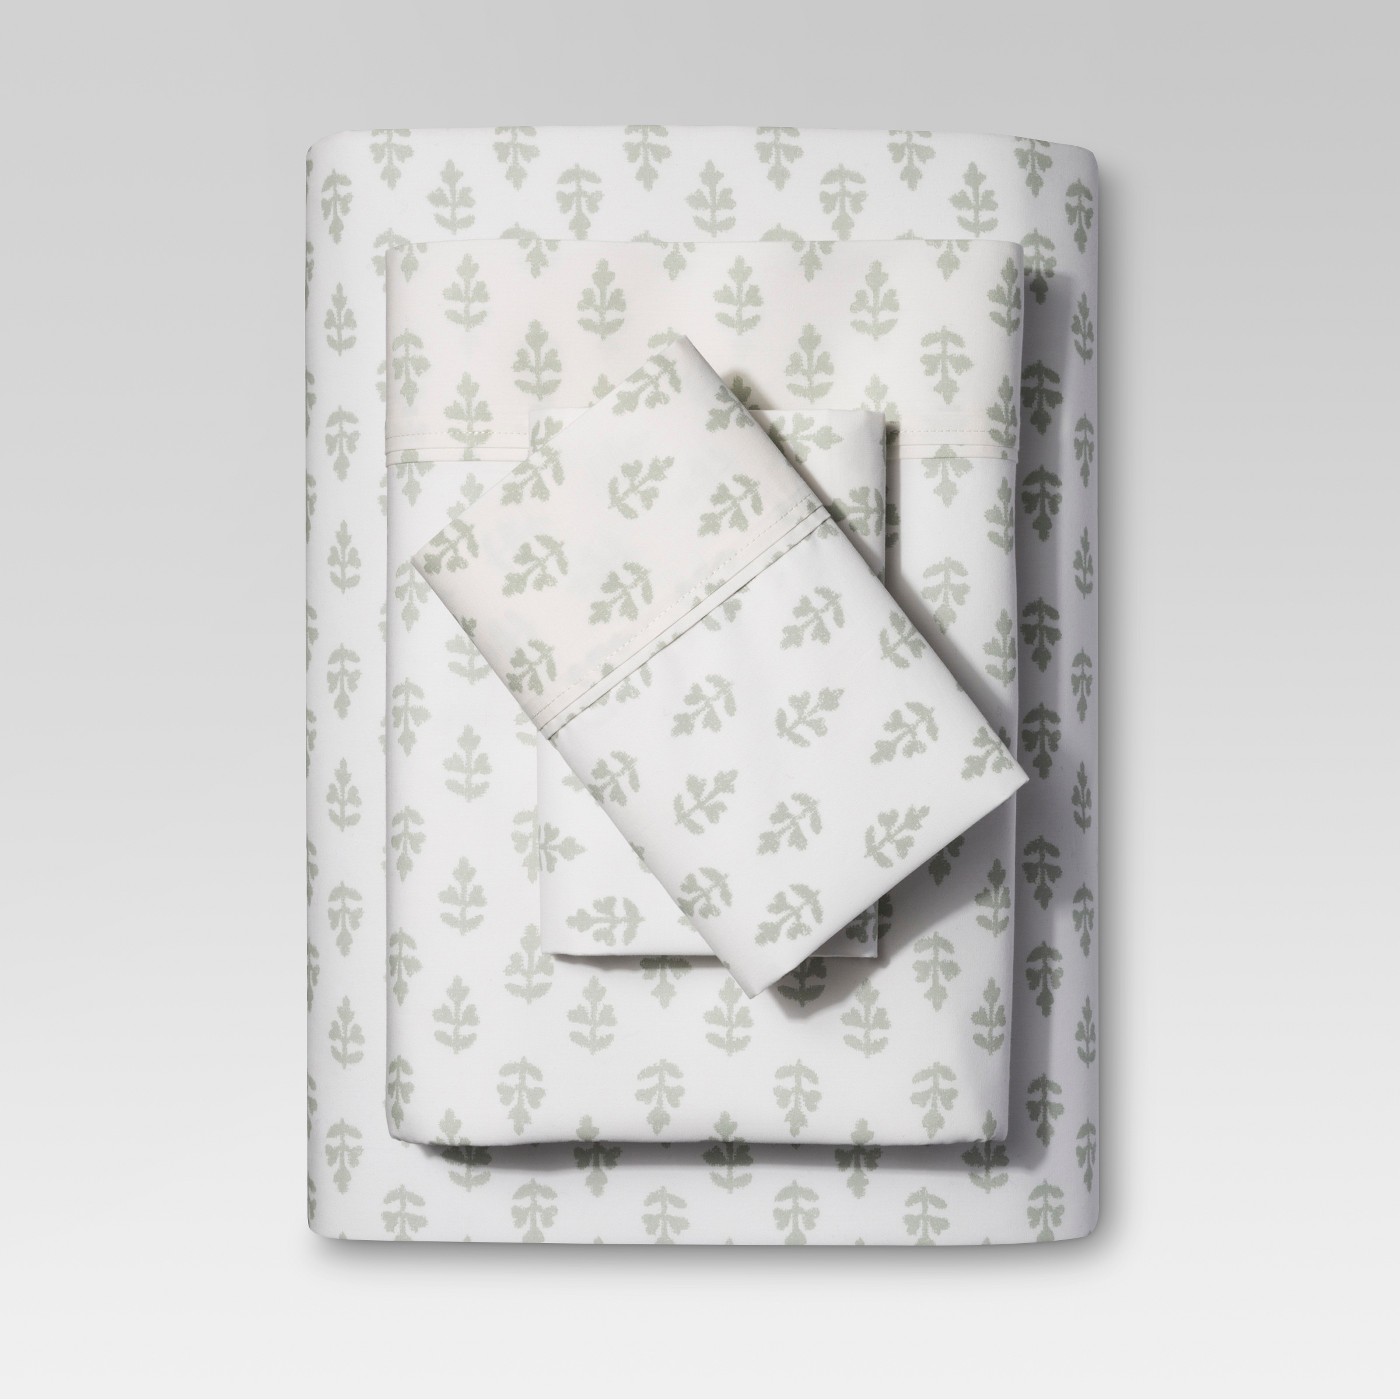
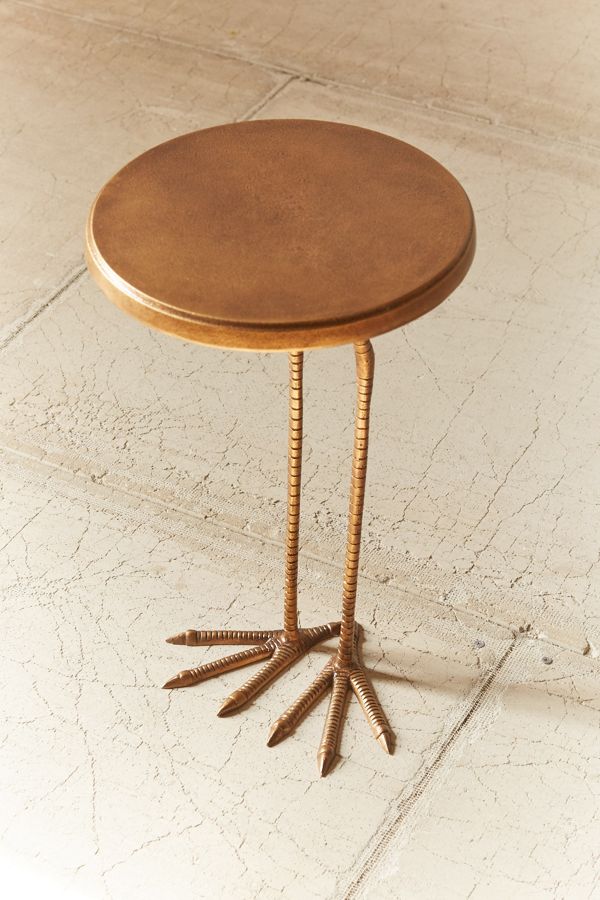
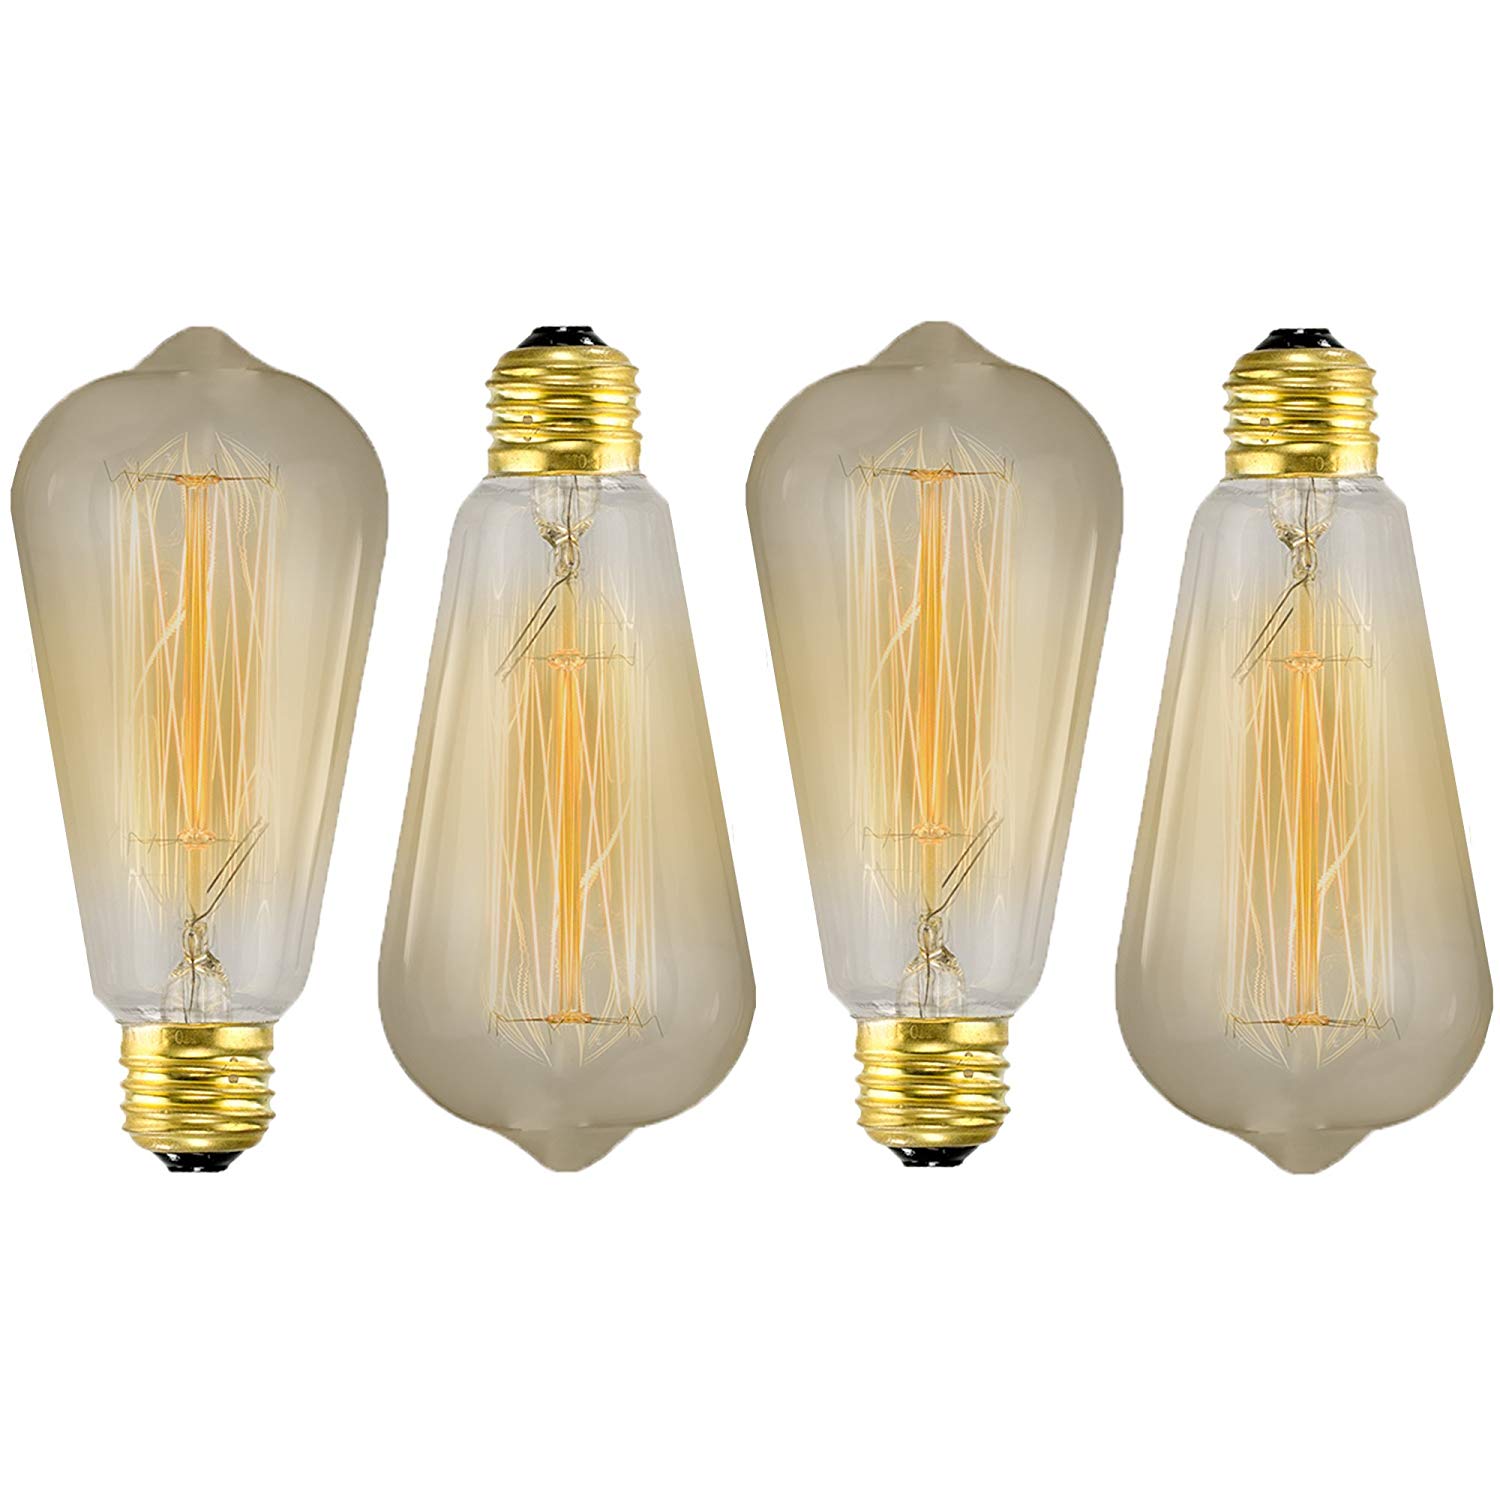
Sources
Sources for this room are below.


Related Posts
Read more about our sale of the Ravenna House in the posts below.