DIY Winter Garden Wreath
THE FARMHOUSE
This year I bought pre-made wreaths at the grocery store checkout, which is easy and great, but last year I had the time to make something with a bit more personality. And I waned to come back and share a tutorial for this winter garden wreath because I love it so much. This wreath makes use of foraged greens and the herbs and dried flowers from our garden (and Nana’s garden too ;) and is one of a kind. Let me show you how to make one of your own…


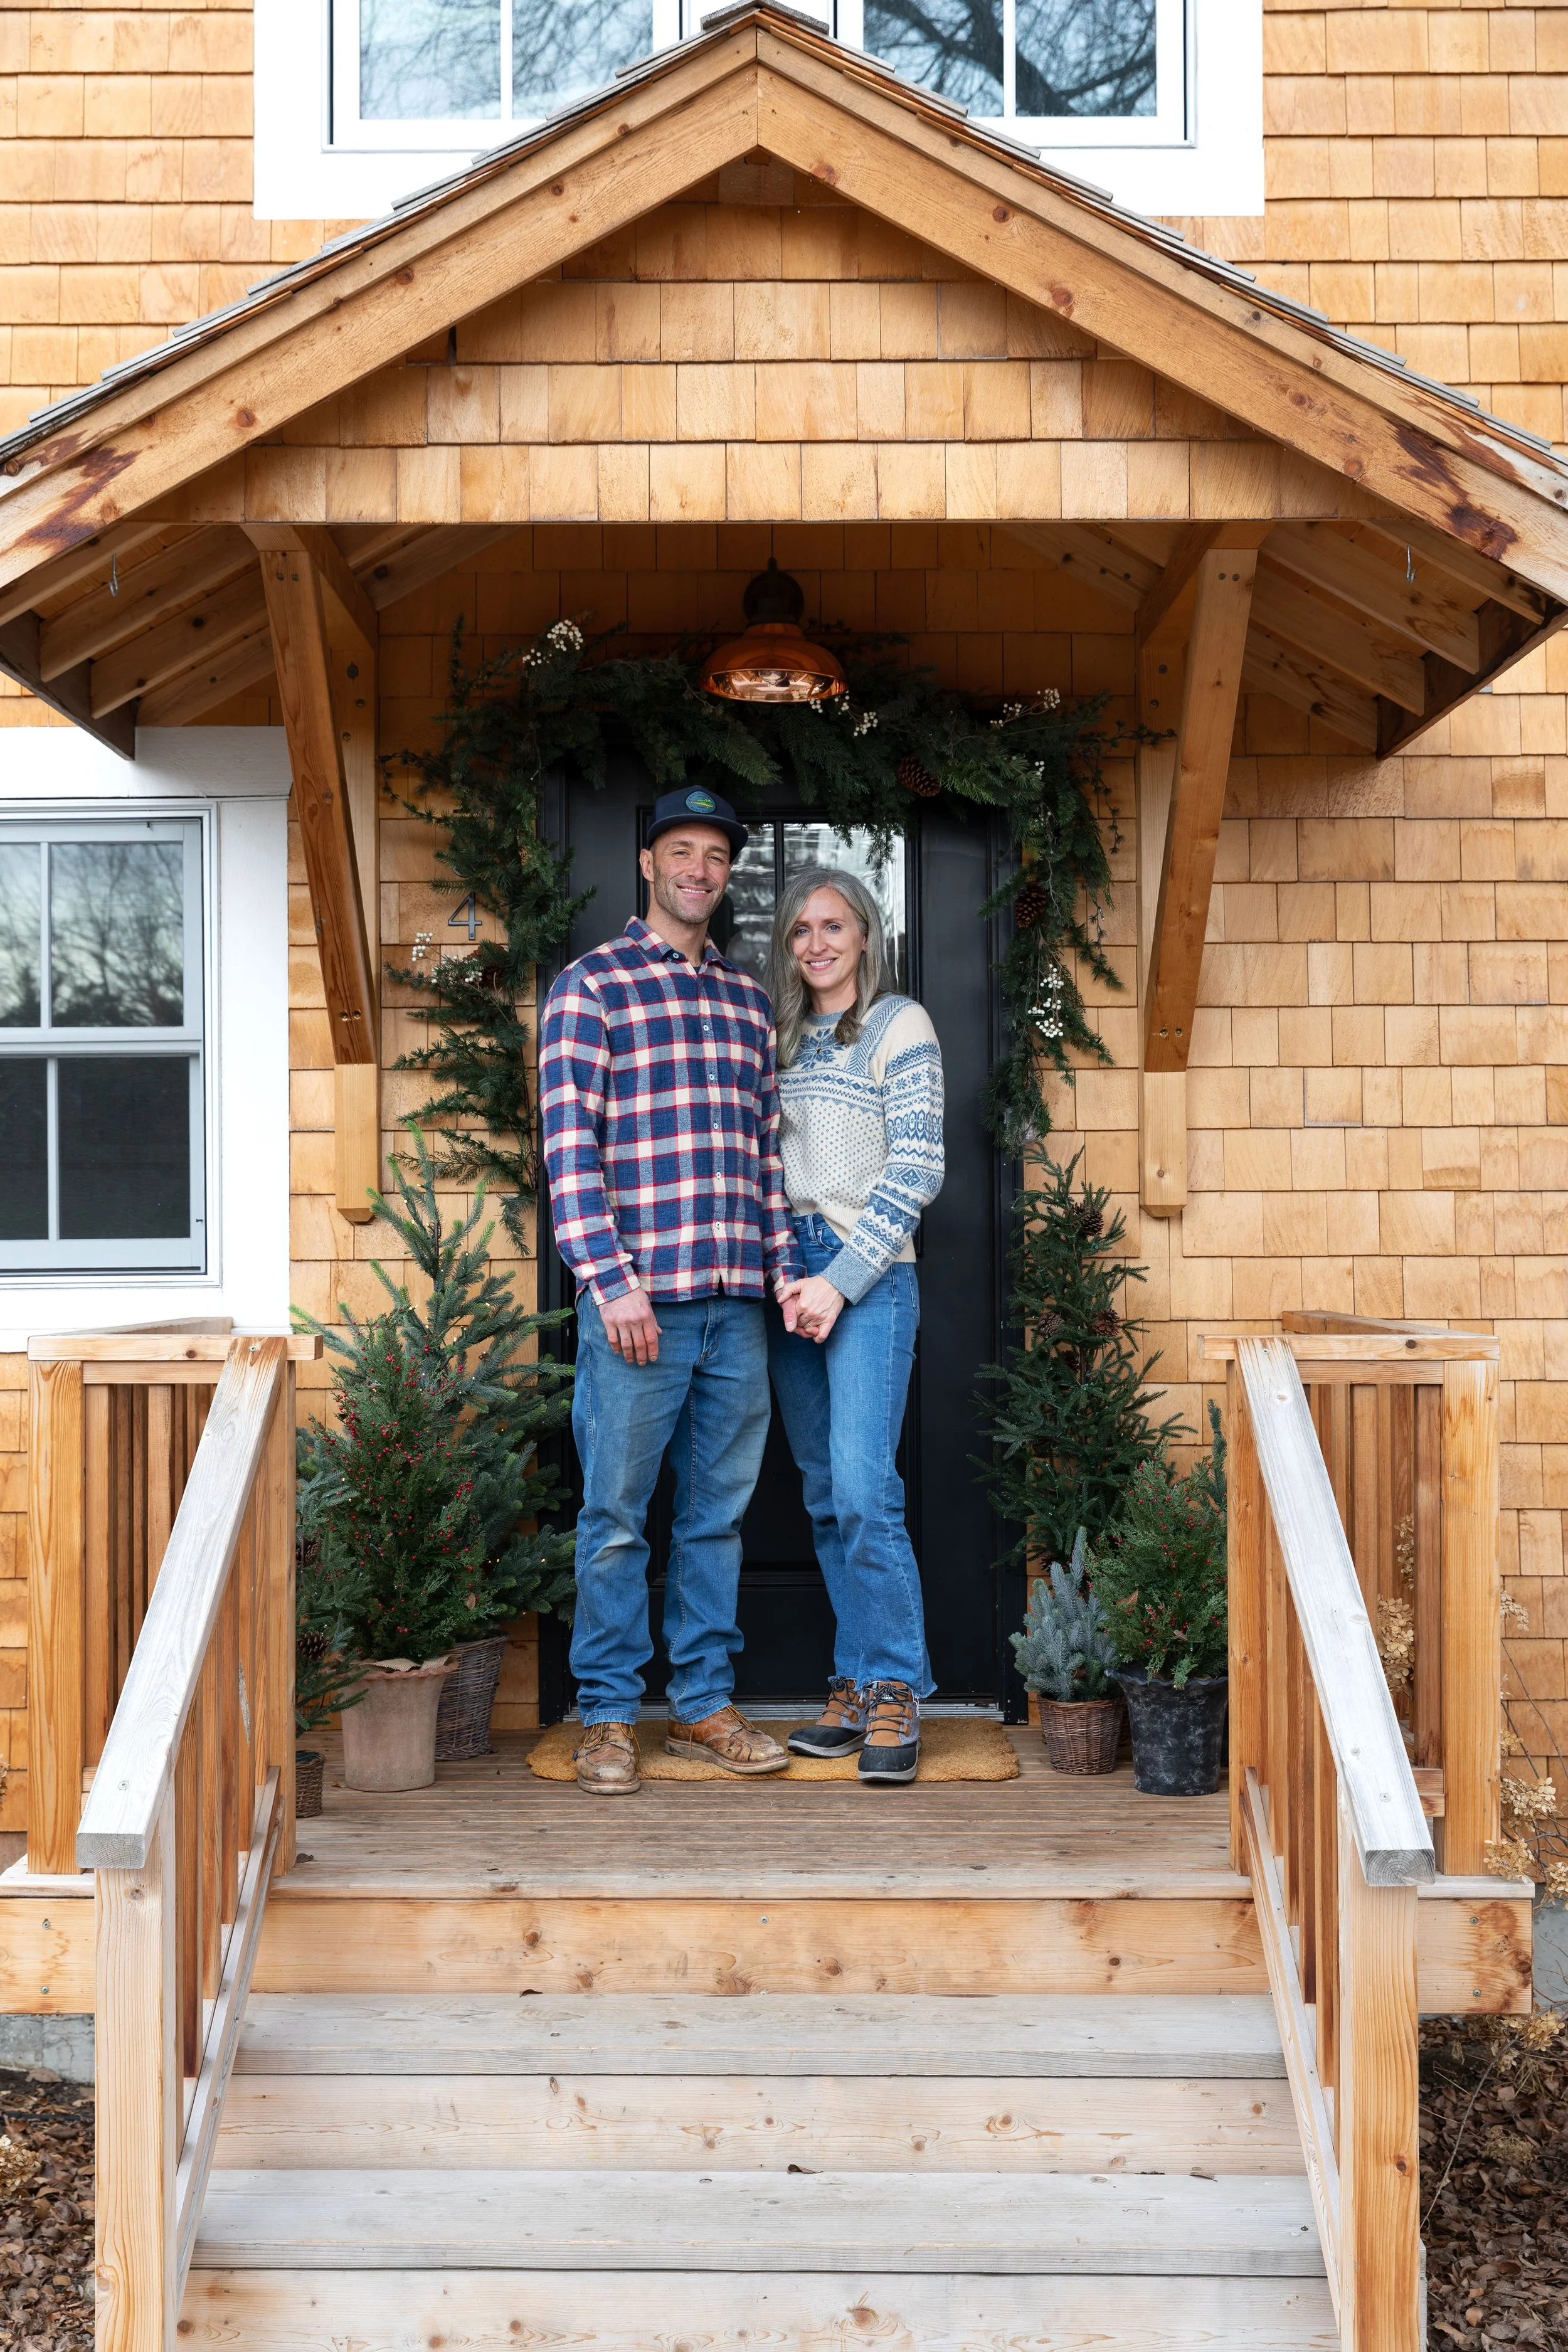
psst: all of these photos are from last Christmas when we were still in our Farmhouse. General room sources here.
I made this wreath for our kitchen last year. I really wanted something that celebrated the season and the nature outside our back door. The wreath has herbs from our winter garden, greens foraged from our trees, and seeds/weeds/stalks/etc that I found sticking out of the snow. It feels like a celebration of that beautiful property and I’m so glad I made it.


I hung the wreath on our hood vent, because sometimes I don’t like to take my own advice ;) Being so close to the stove meant it got dried out and crispy super fast, but I couldn’t imagine this wreath anywhere else. btw using a preservative like this one can help extend its life.


Winter Garden Wreath
Wreath form (I made my own ~22” form out of our grape stalks and bought the smaller metal one at Michaels.)
Floral wire
Pruning sheers
Wire cutters
2+ types of greens (I used cedar from a Home Depot garland and foraged pine as the main 2)
Herbs
Winter garden accents - dried flowers, seeds, berries, sticks…whatever you can find!
Natural preservative (optional)

I’m pulling a bit of a bait and switch on you and making a second wreath for the tutorial pictures. It’s smaller but was created the exact same way as the larger one on our hood vent.
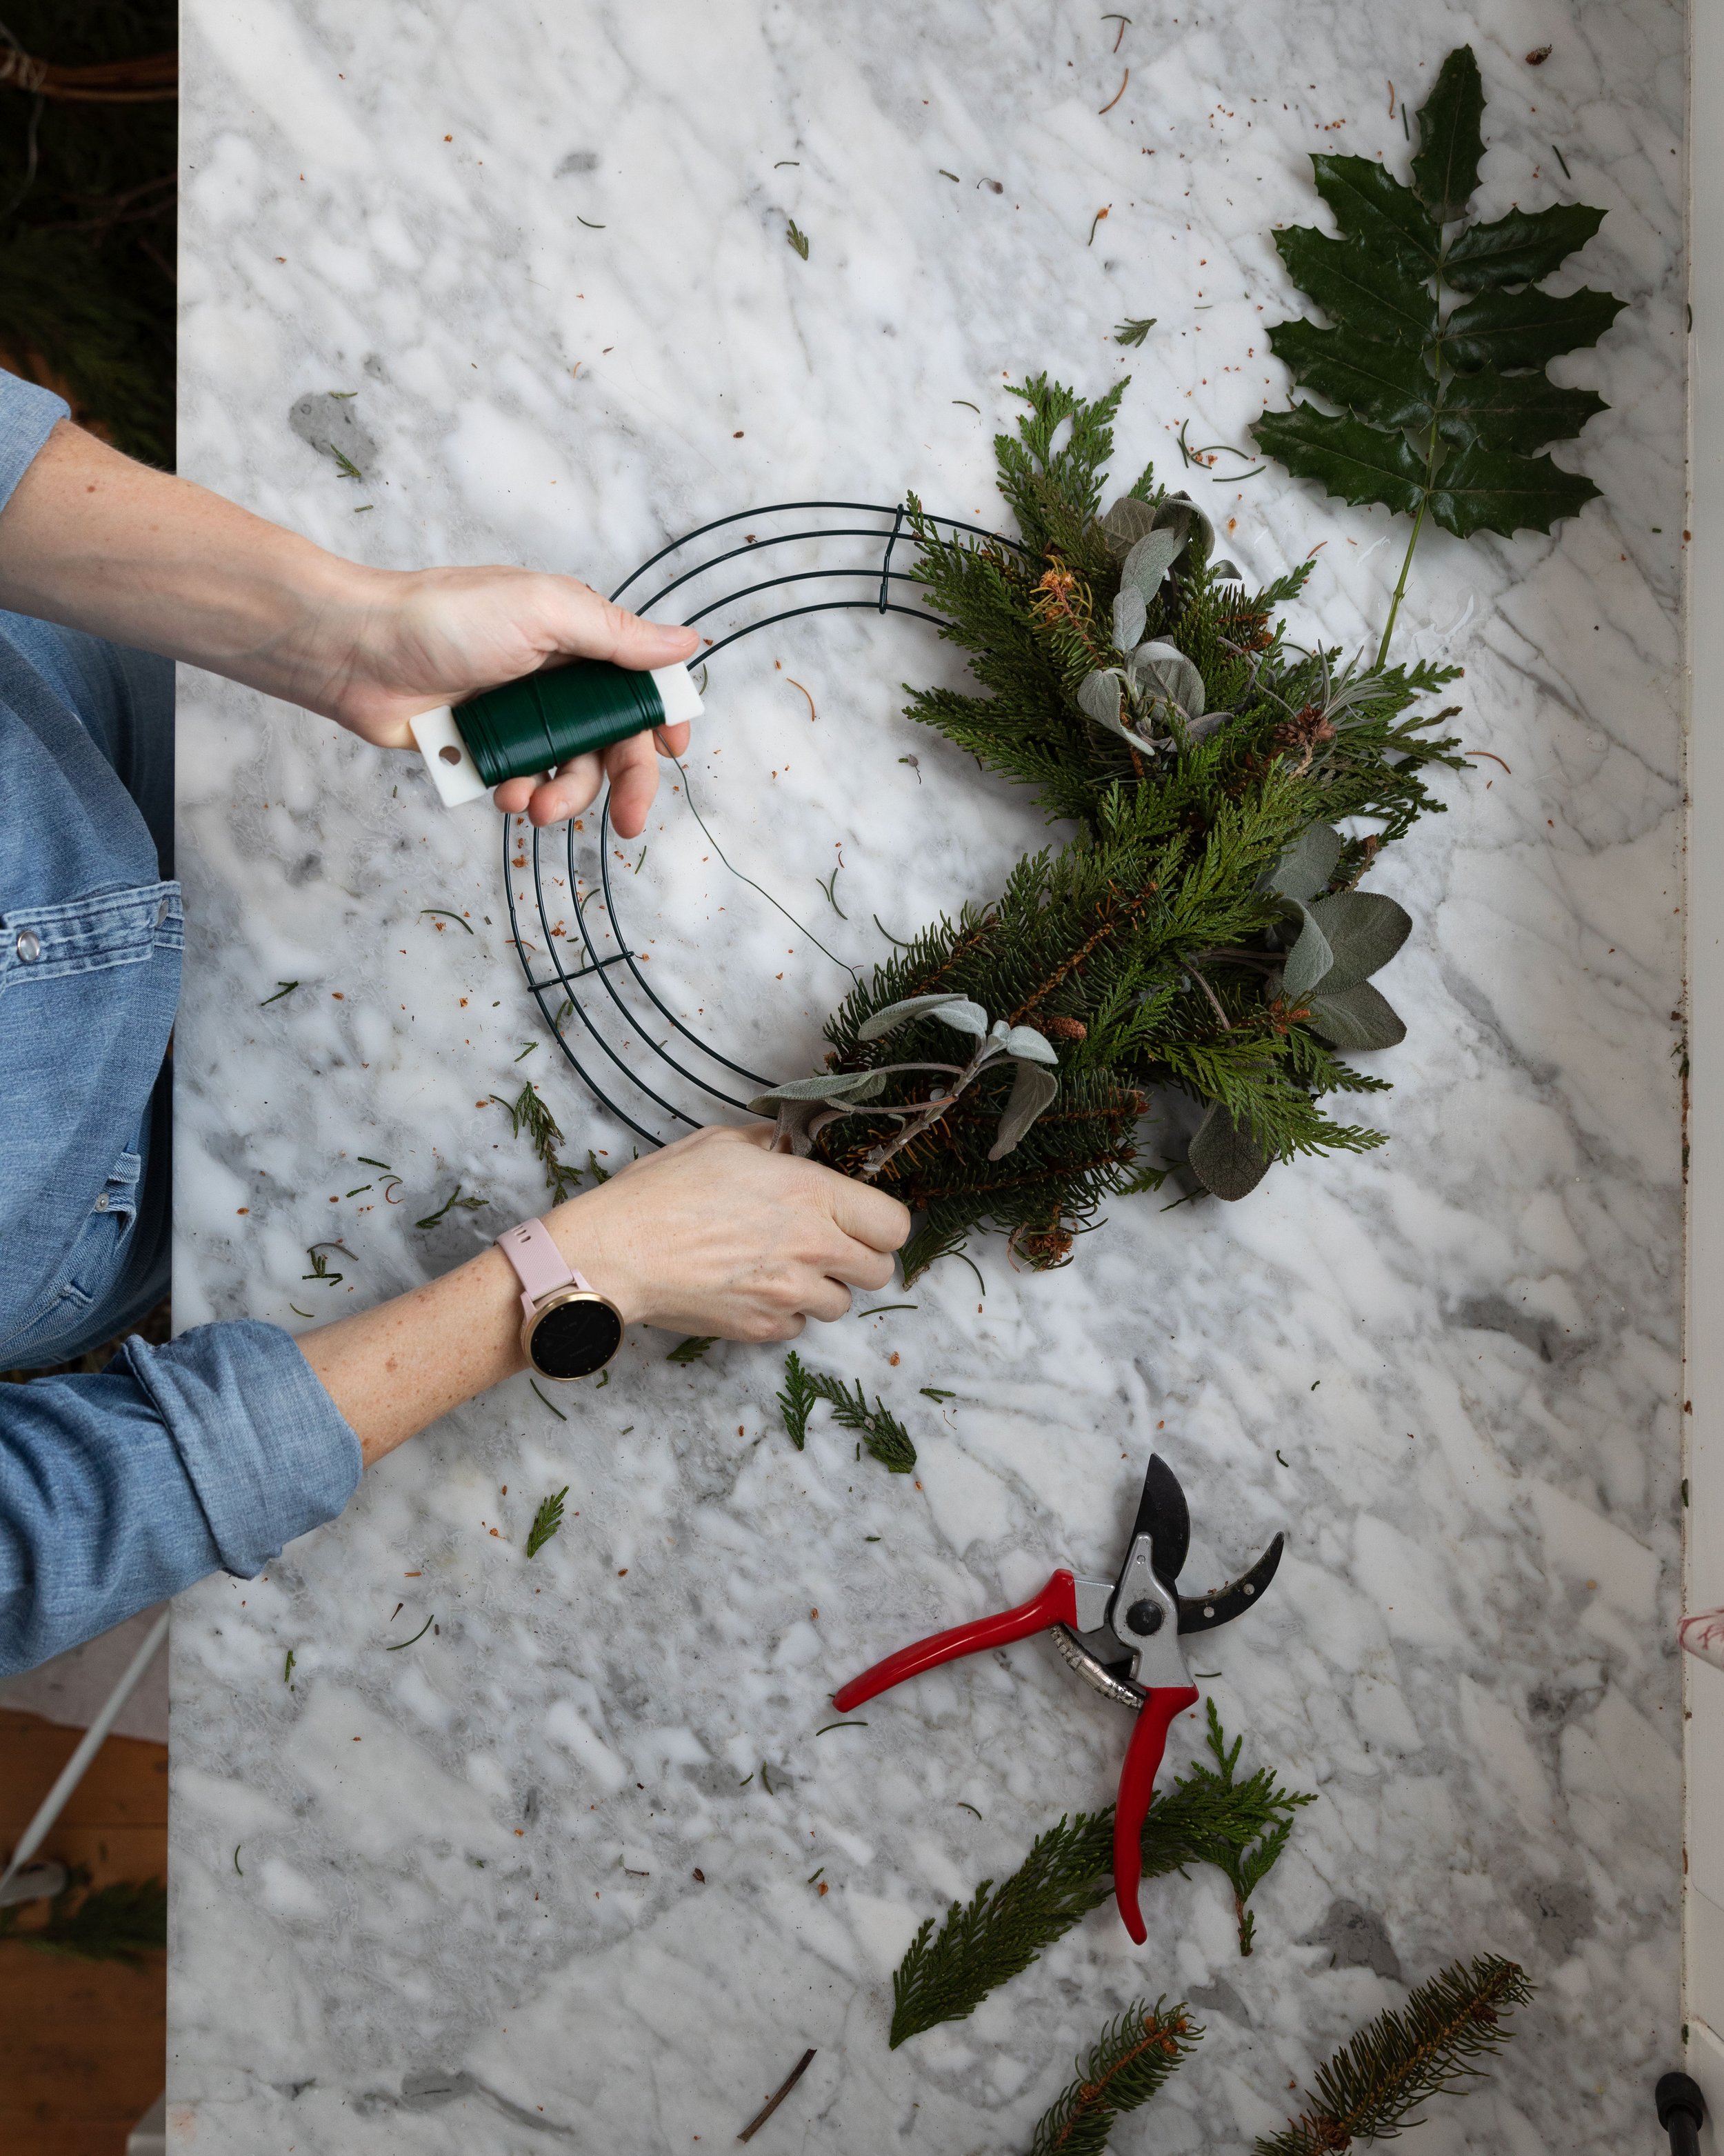
For assembly, you’ll want a long expanse of countertop or a dining table would work great. Lay out your greenery into bundles of like kind to make assembly easier.
Step by Step
Step 1 // Wrap the floral wire around your form a few times and secure it to itself. Give the loose end of the wire a good pull to make sure it’s secure. You won’t cut the wire until the very end.
Step 2 // The garland comes together in a series of overlapping ‘bundles’. For the first bundle, gather together greens and herb - I went with cedar, pine, and an herb (alternating the type of herbs with each bundle). Place it on your form and secure it by wrapping the wire around the bundle and wire twice.
Step 3 // Move down the form, laying the next bundle over top the previous one. Make sure the loose greens can show but that you hide the previous bundle’s wires with the new one (see pics below).
Step 4 // Repeat adding bundles all the way around the form. I alternated turning the bundle slightly in towards the center of the form and then out away from the form.
Step 5 // When you get to the last bundle, tuck your stems under the first bundle and wrap the wire around so it’s hidden. Cut wire with 12” to spare and secure wire around from and then at the back of the form.
Step 6 // Wreaths are forgiving and you can fill in with greenery anywhere there’s a gap. Just make sure to tuck the stems into your floral wire. You can also add an accent like I did on the wreath on my hood vent. I gathered holly and chunky stalks of herbs and wrapped them with floral wire. Then I attached it to the wreath and tucked in hydrangeas, anise, dried grape vine, until I liked how it looked. I was going for a wild, gardeney look so kept things asymmetrical and eclectic.
Step 7 // If you’re hanging your wreath inside, I’d recommend using a natural preservative. I like to take the wreath outside and spray it before hanging it up. Ideally your wreath will be hung somewhere out of daylight and not near a heat source, but if your heart is set on hanging it over the fireplace or stove, know that the greens will dry out quickly.
Step 8 // hang your wreath up! You can loop wire through the garland or attach a small length of wire to the back of the frame and create a loop for a “hidden” hanging.


And then there’s just hanging and cleanup left!

Wreath Making tips
Think about where your wreath is going to hang before you decide on the details to add. If it’s outside and unprotected, I wouldn’t recommend delicate dried hydrangeas or little seeds that will fly off in the wind. You’ll also want to make sure every piece of greenery is very secure in case it gets knocked down in the wind.
Wreaths are really forgiving. If you notice a hole in your greenery, just come back and add some in, making sure to wire it in with some extra wire or tuck it into the existing wrap.
Pair floppy greens like cedar with greens with more structured ones like the sticks of pine. That will give your greenery a little stiffness so it doesn’t look too droopy.


Happy holiday crafting!