
Farmhouse Main Bathroom // Our Quick $1000 Bathroom Remodel is Done!
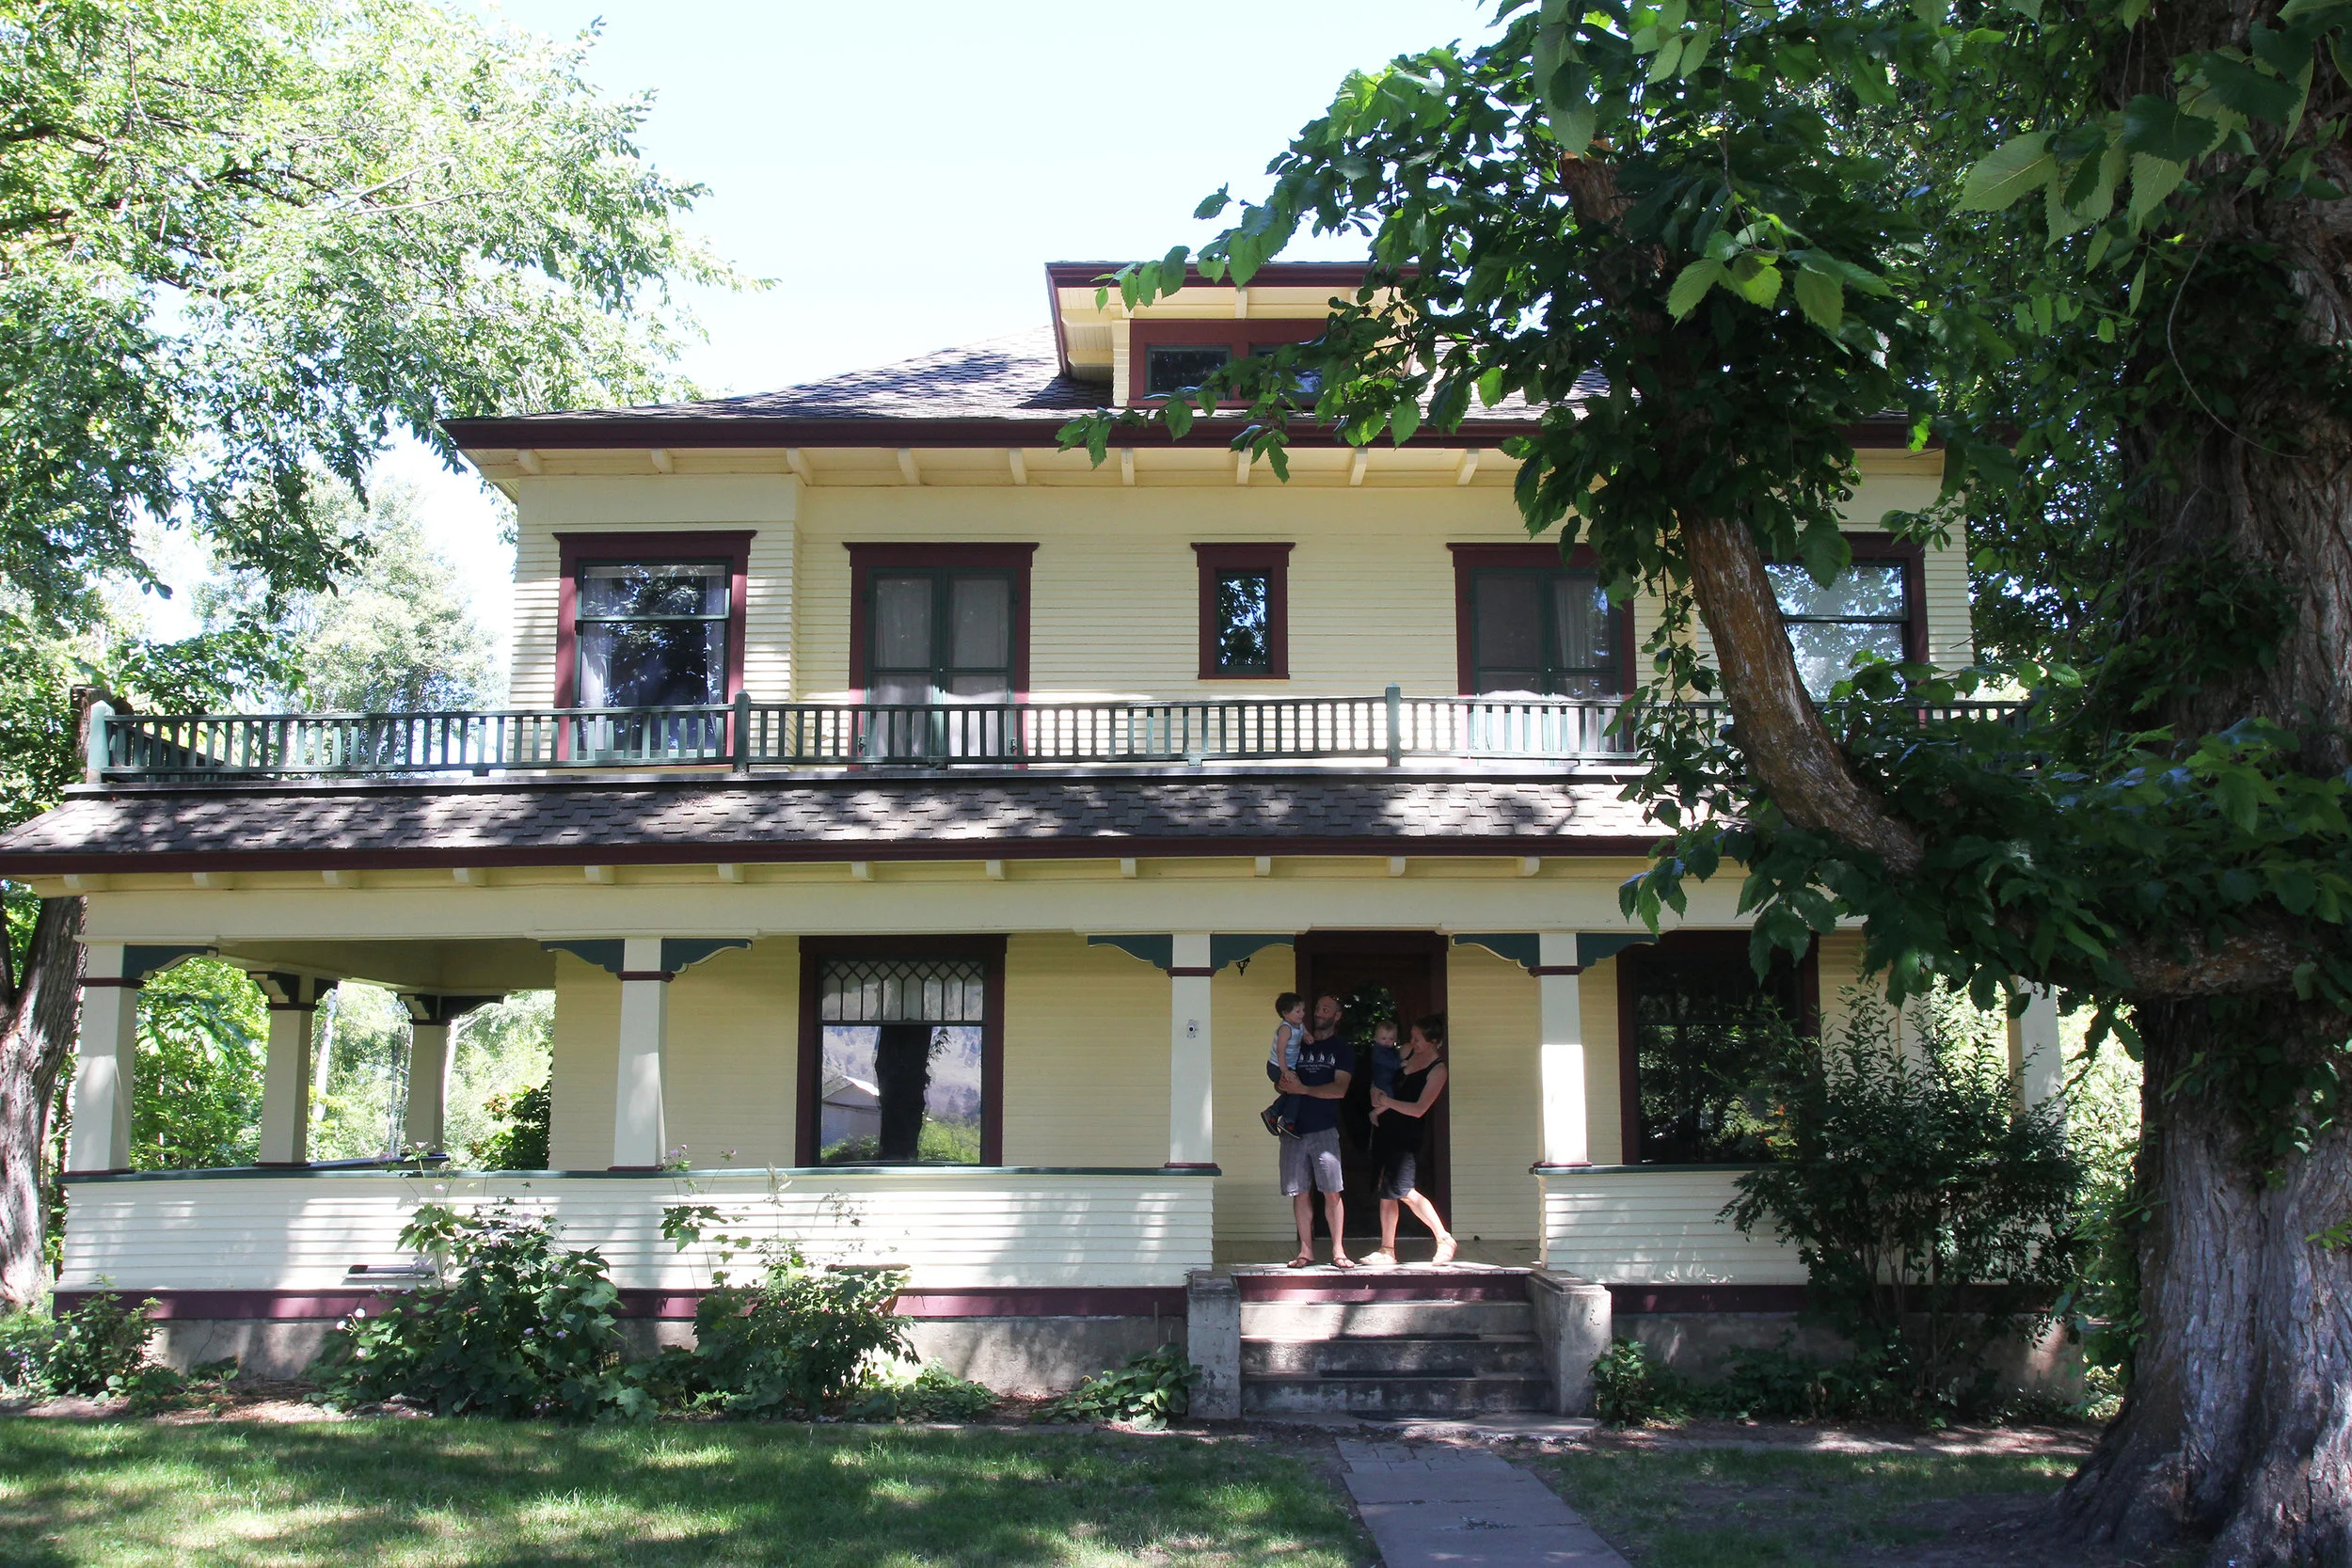
THE FARMHOUSE

Our quick and inexpensive bathroom refresh is done and thank goodness, because our first guests arrive tomorrow! Nothing like cutting it close ;) Garrett and I challenged ourselves with this project to get it done in 7 days and stick to a $1,000 budget. Spoiler: we did both! Read on for all the details and plenty of before and after photos.
*This post is sponsored by Lowe's, a brand we use and believe in. All content, ideas, and words are our own. Thank you for supporting the brands that support the Grit and Polish.

BEFORE

AFTER
A big change, right?! You can read more about our original plans for this space here, but suffice it to say, Garrett and I are both blown away with how far $1,000 went in here. This bathroom started out as the biggest eye sore at the Farmhouse and transformed into one of our favorite rooms. And everything we added to this space came from Lowes (sources are linked at the bottom of this post) or was collecting dust in our basement.
Let’s talk about what we did…
Overall Feel
Our main goal was to make this bathroom feel more cohesive with our 1912 Farmhouse. So I wanted to take out some of the 90s feel that came with prior renovations and bring back some charm. A few ways we did that was paint in a simple color palette, traditional wood knobs and shaker pegs, a refreshed vanity, and beefed-up moldings. Plus all the vintage accents.


Molding
The mdf beadbaord wainscot was added in a previous renovation and felt a bit chintzy next to all of the historic woodwork in this house. So we built a shaker peg shelf for the top rail (built from 1x4 poplar and shaker pegs) and added baseboard at the bottom (built out of 1x6 poplar). This was one of those low-effort, big-reward projects that completely changed the look of the space. Molding, you now?! It’s so inexpensive and easy, and can give the most boring space instant charm. It’s definitely a do-able weekend project and could be last minute since all these products were available at our Lowes store.
We always get a ton of questions about our shaker peg shelves whenever I share one. So I’ll say it here: they’re easy! Check out Garrett’s video (at the bottom of this post) for more details on how we put this one together. I also listed out all the tools we used at the bottom of this post since you need a special bit for installing shaker pegs.


Rehab the Vanity
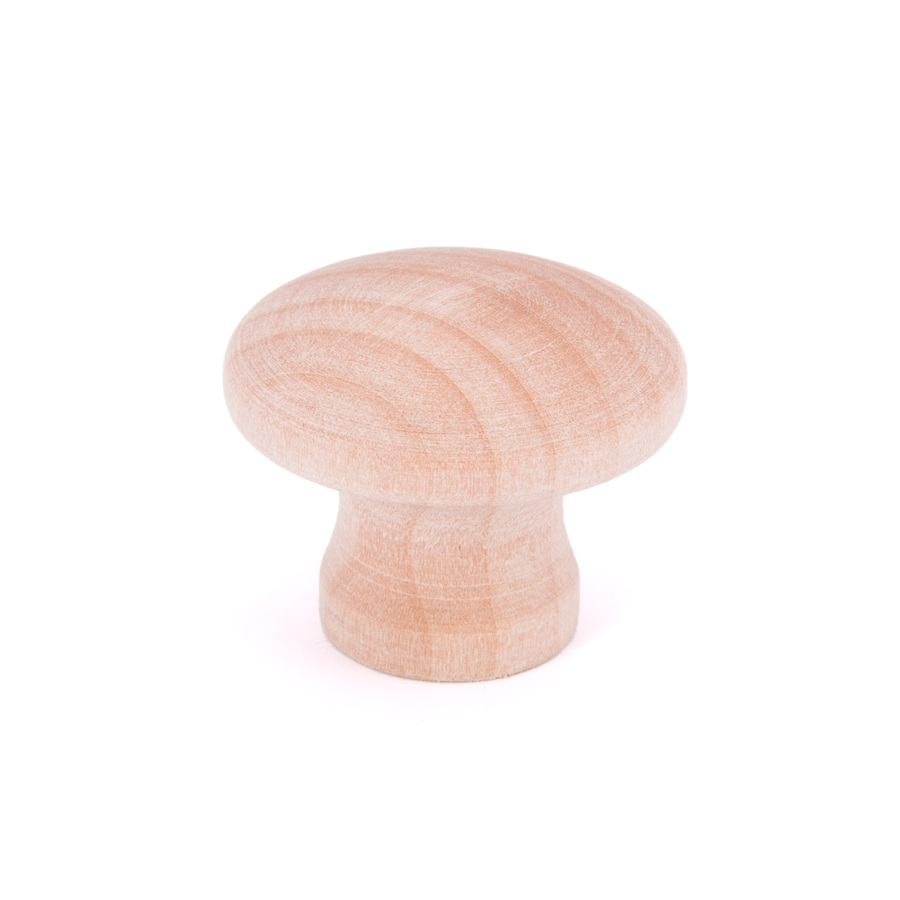
Thankfully we had a solid, well-built vanity to begin with so we just needed to refinish it. We started by sanding off the original finish (and the animal scratches in the legs) and then primed and painted. We also replaced the hardware with simple shaker knobs from Lowes, which are around $1 each. They’re traditional and easy to use and I love them so. To hide the original holes from the old hardware, we filled them with wood putty and then sanded, primed, and painted with the rest of the vanity.
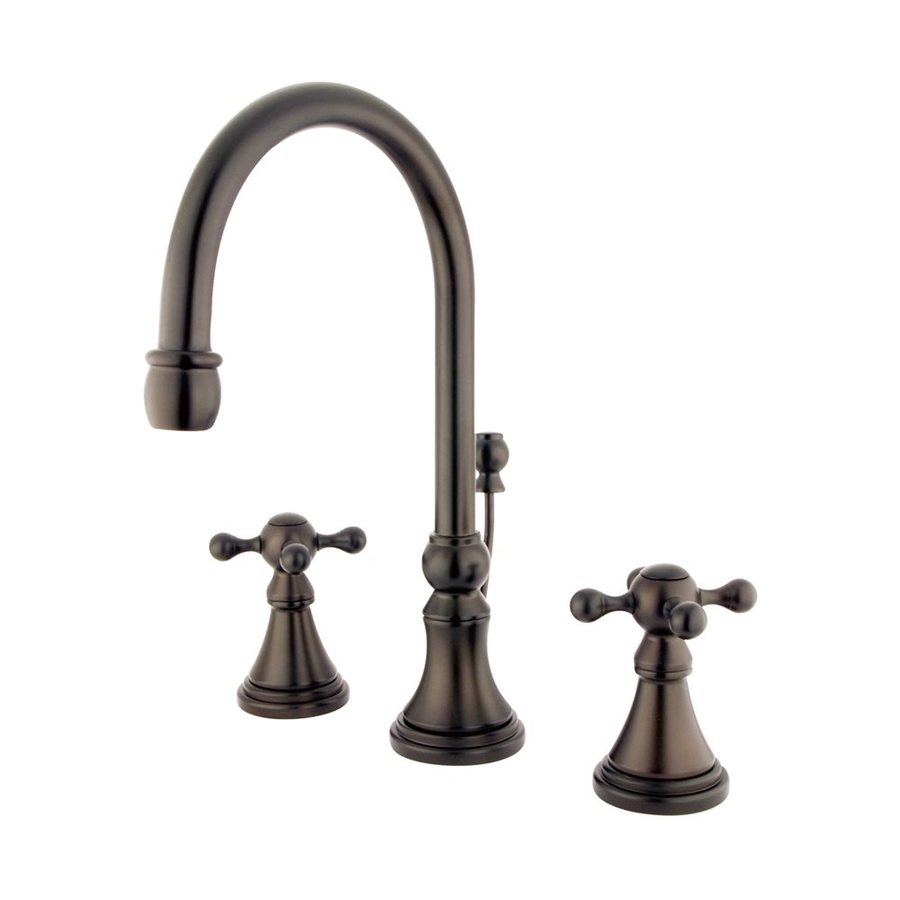
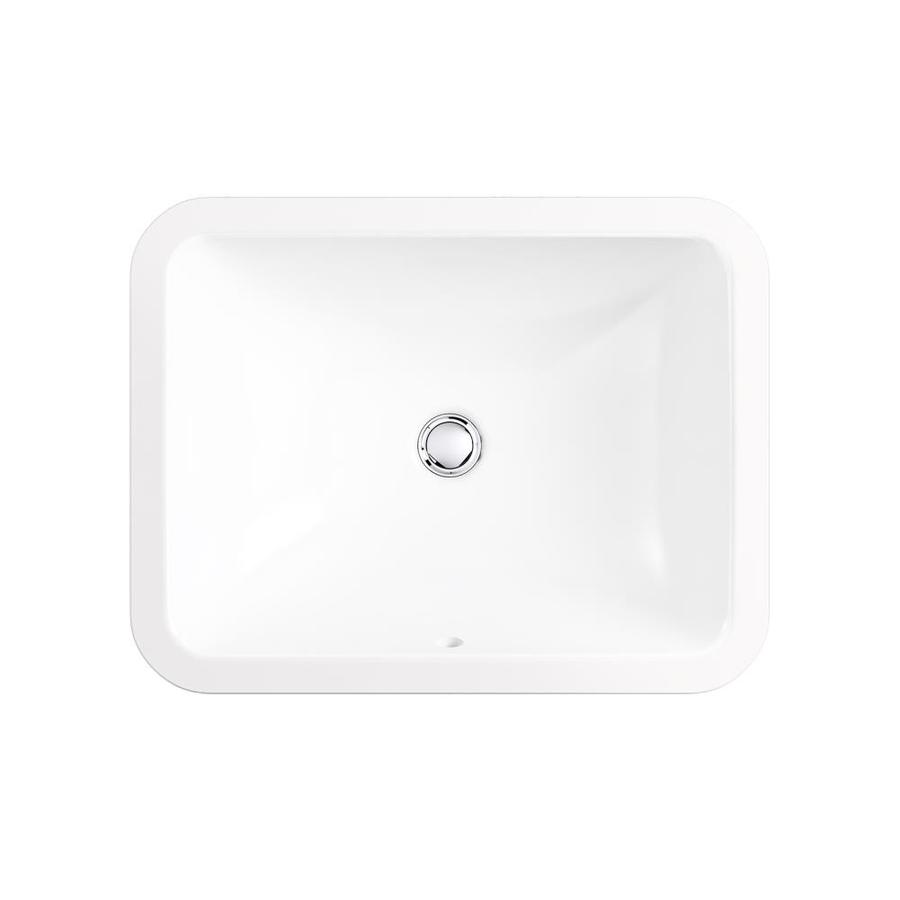
We also swapped out the vanity top for this marble one, which was leftover from the Porch House. Garrett fabricated it (despite his claims to never fabricate another stone vanity ever again ;)) and it turned out beautiful. We paired it with a Kingston Brass wide-spread faucet and removed the trim for a more streamlined look. This faucet was the biggest splurge of the project at $240, but it’s super solid and beautiful and 100% worth it. The sink is Kohler’s Caxton undercount, which was pretty easy to install and makes the countertop feel twice as wide.


Color
Color is something I always struggle with. I like the idea of lots of color, but in the end, I prefer living with whites and neutrals. So that’s what we did here. We picked up a gallon of Valspar signature paint for the vanity in September Fog, which is a lovely off-white.
One note about the wood trim. We have a general don’t-paint-original-wood-trim rule at our Farmhouse, but we did paint the wood trim around these windows, and here’s why... The trim was added after the house was built and had patches and inconsistent finish. We also didn’t like how the wainscot worked with it. So we decided to paint the trim and make everything look more cohesive - as if it the window trim, wainscot, and shaker peg shelf were all installed at the same time.


Electrical + Lighting
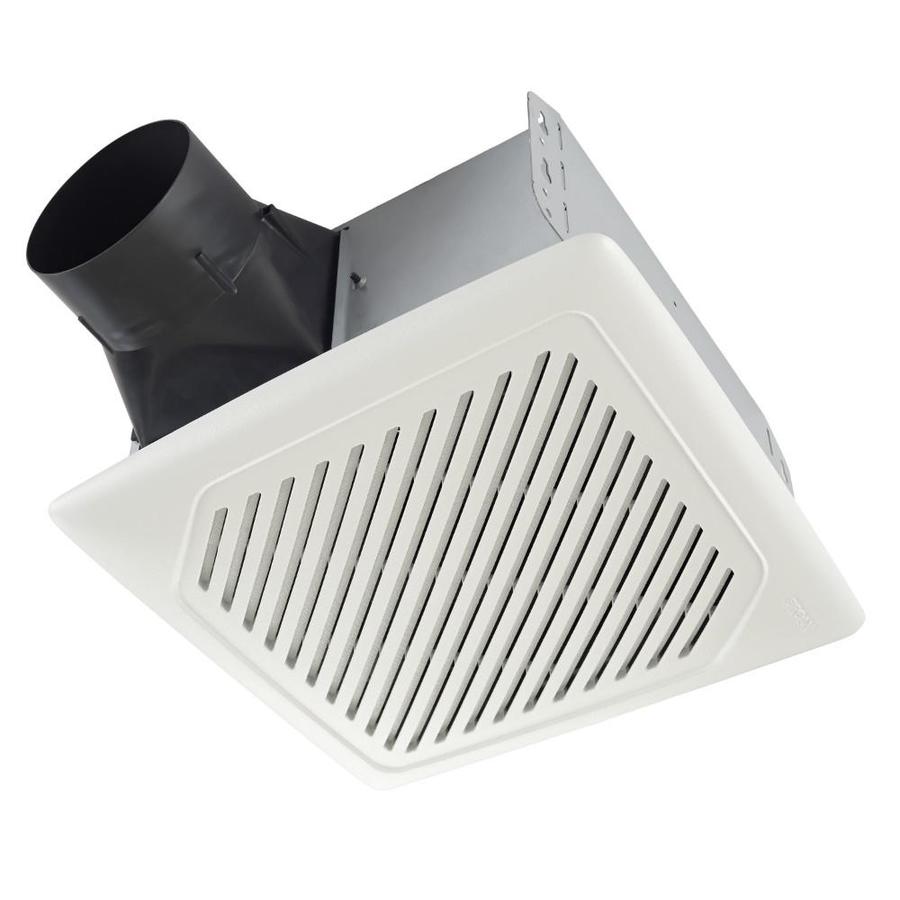
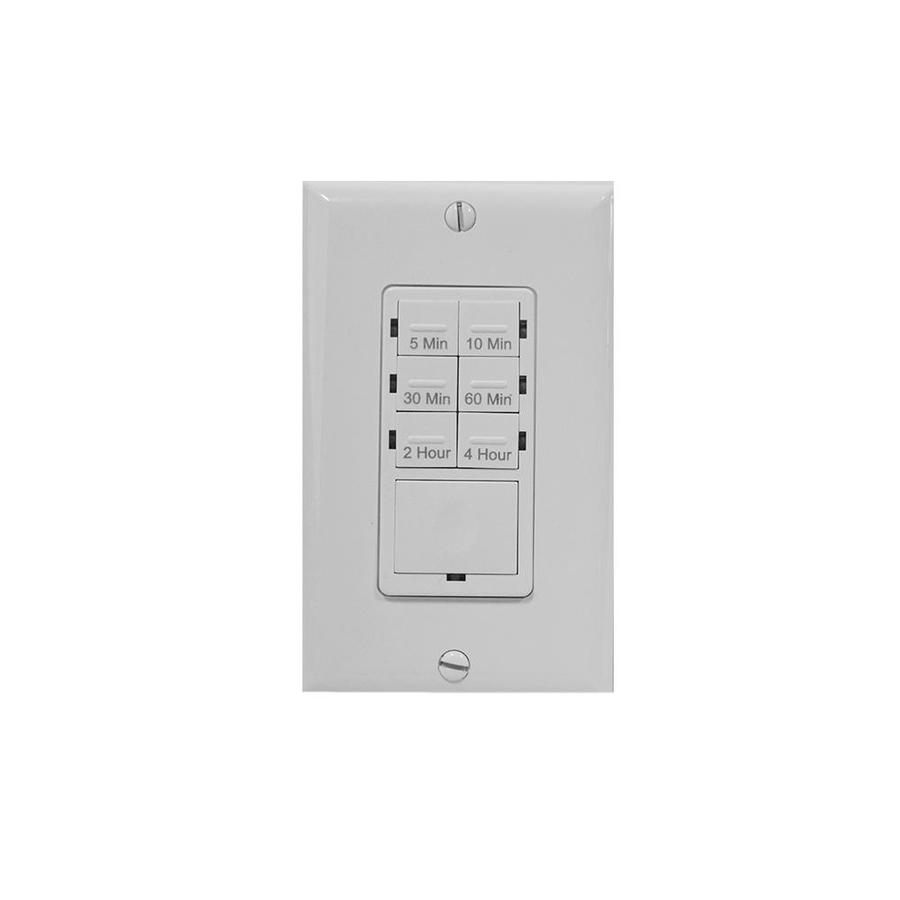
I was really excited to have room in the budget for a new bathroom fan. I say ‘new’, but really this is the first working fan we’ve ever had in this room (the old one was broken when we moved in). We picked Braun’s 110CFM fan, which is quiet and still moves enough air. One tip for bathrooms: add a timer (especially in rentals!). That way the fans don’t get left on for days and suck all the heat out of your house. We grabbed this TORK countdown timer from Lowes and replaced the old switch. A big upgrade for under $20!
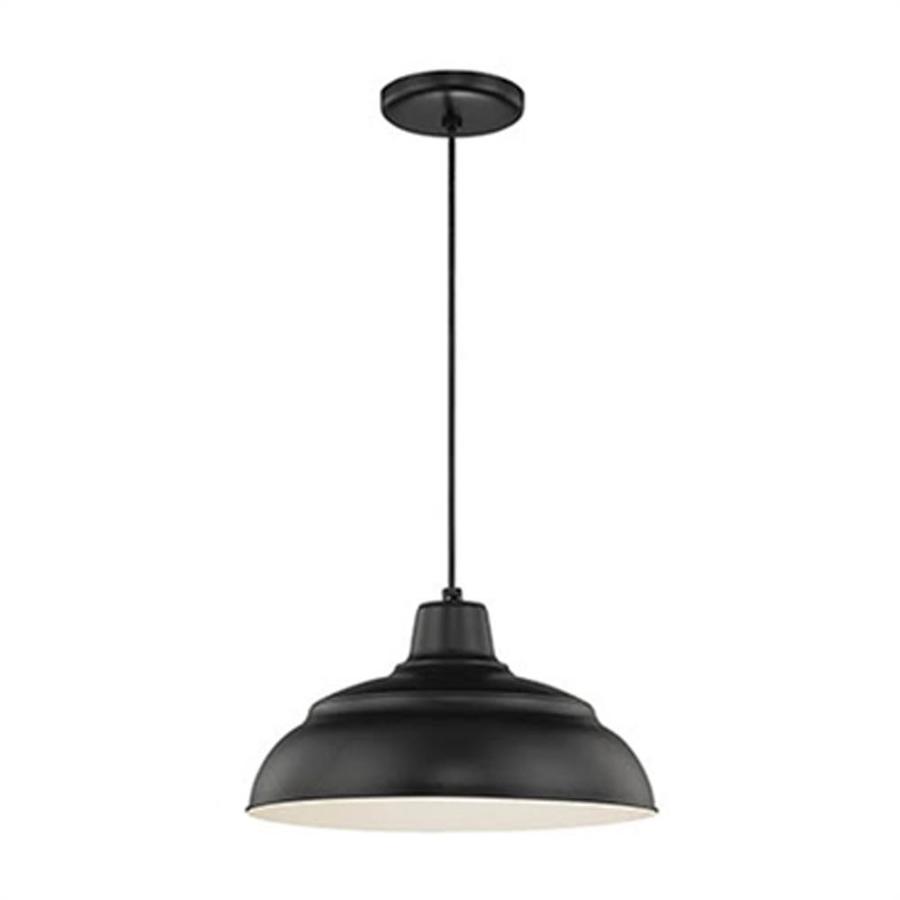
We also swapped the old light fixture for Millennium Lighting’s Industrial Warehouse Pendant, which adds a bit of modern and simple to this space. And lastly we put in an Eaton GFCI outlet and replaced the other black outlets for white.


Garrett put together a video of this makeover and it shows much more of the process. So if you’re wondering how we built something or what tools we used, you can see it all in action here. Plus I talk a bit more about design and takeaways in case you want to recreate something similar in your own home.
It’s really important to Garrett and I to renovate on a reasonable budget, with long-term financial return in mind. And that’s definitely what we did in this space. Here’s a breakdown of where the money went:
Budget Breakdown
$240 Faucet
$70 Sink
$70 Light
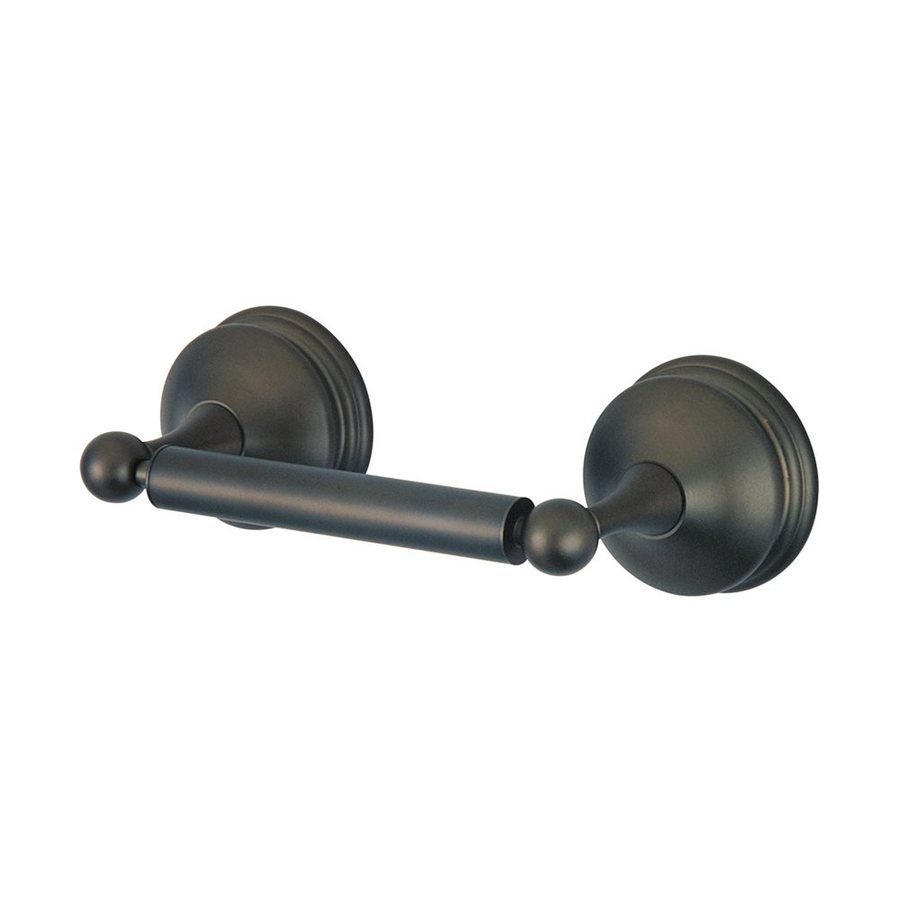
$45 Toilet Paper Holder
$119 Fan
$19 Timer
$30 Outlets/Plate Covers
$61 Shaker Pegs
$12 Knobs
$96 1x4 Poplar
$79 1x6 Poplar
$70 paint (2 gallons)
$911 Total*
*this doesn’t include the marble vanity top since we had the stone leftover from the Porch House and Garrett fabricated it himself.

BEFORE

AFTER

Tools
Here are all the tools we used on this project (excluding marble fabrication).


Sources
Sources for everything from Lowes are below. You can find all other room sources here.


We’d love to hear from you. Would you try any of these budget-friendly ideas in your own space? Any high-impact, low-expense renovations you’re particularly proud of?
Thanks to Lowes for sponsoring this post!
SEE MORE
Our 1912 Farmhouse