How to DIY a Panel-Ready Dishwasher (+ What Ours Cost)
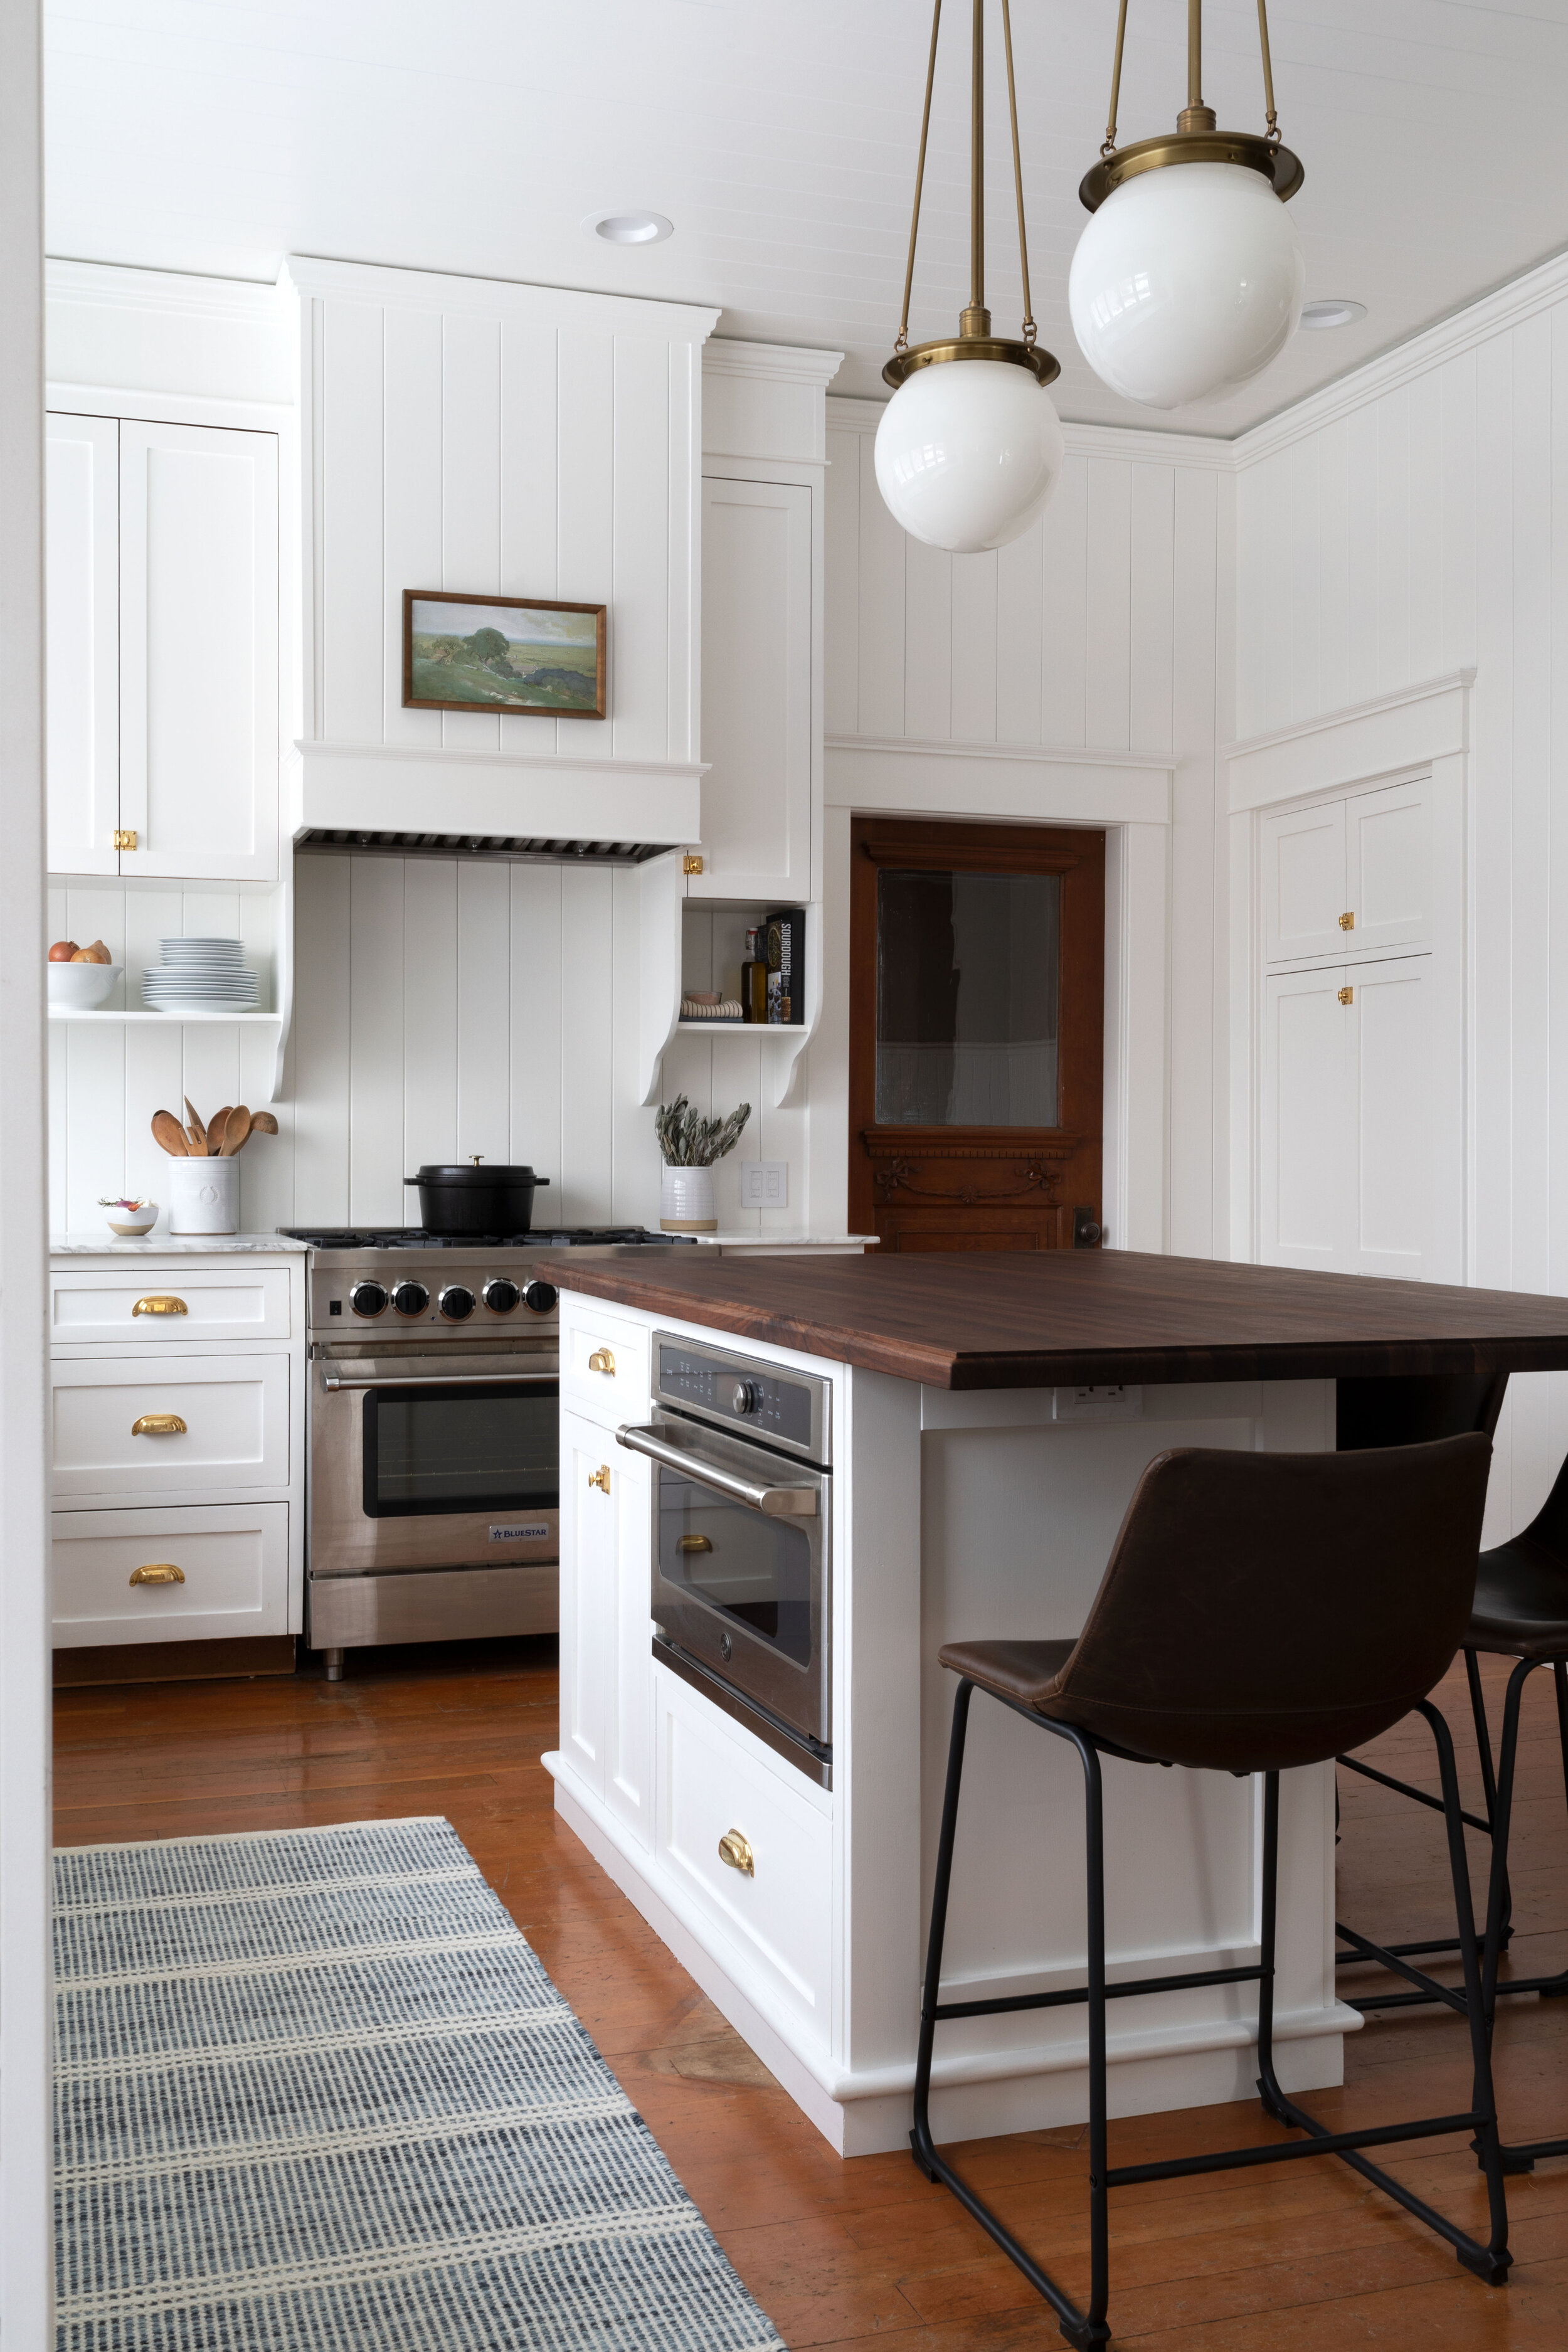
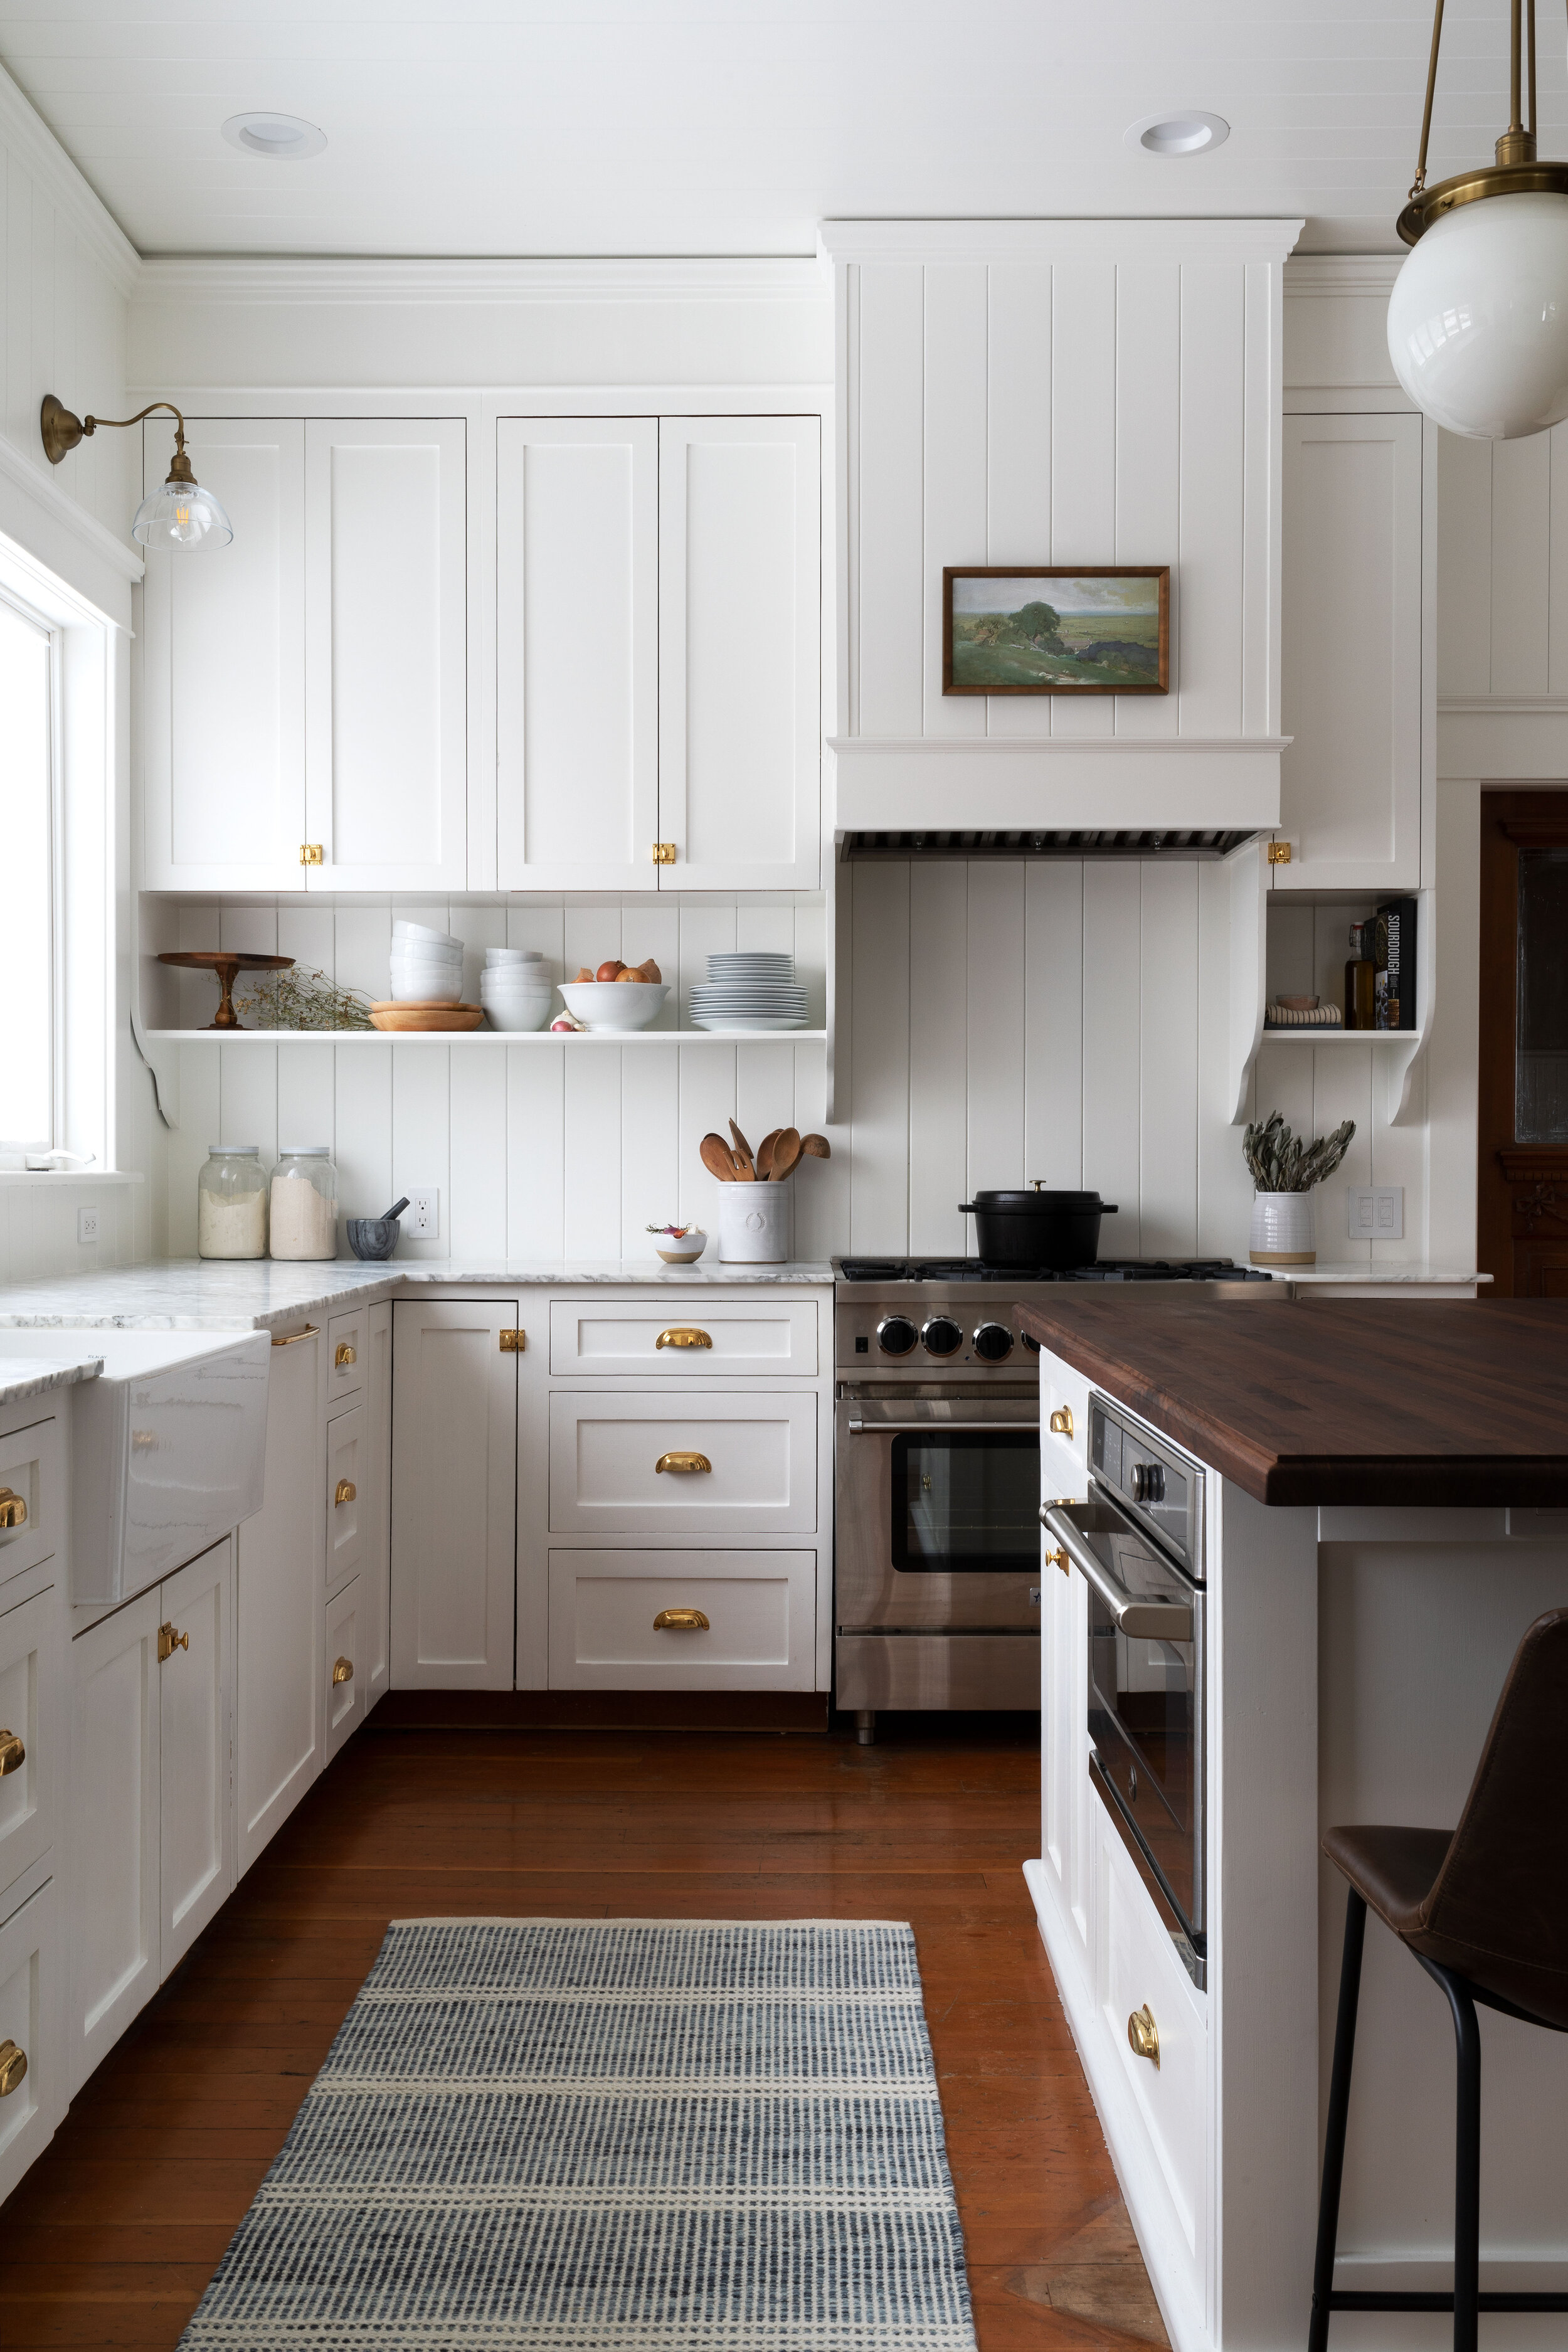
THE FARMHOUSE
Garrett and I finally got around to putting a panel on our panel-ready dishwasher (!!!) so today I’m sharing a DIY. This post should contain everything you need in order to DIY one of these yourself. Plus what our’s cost.
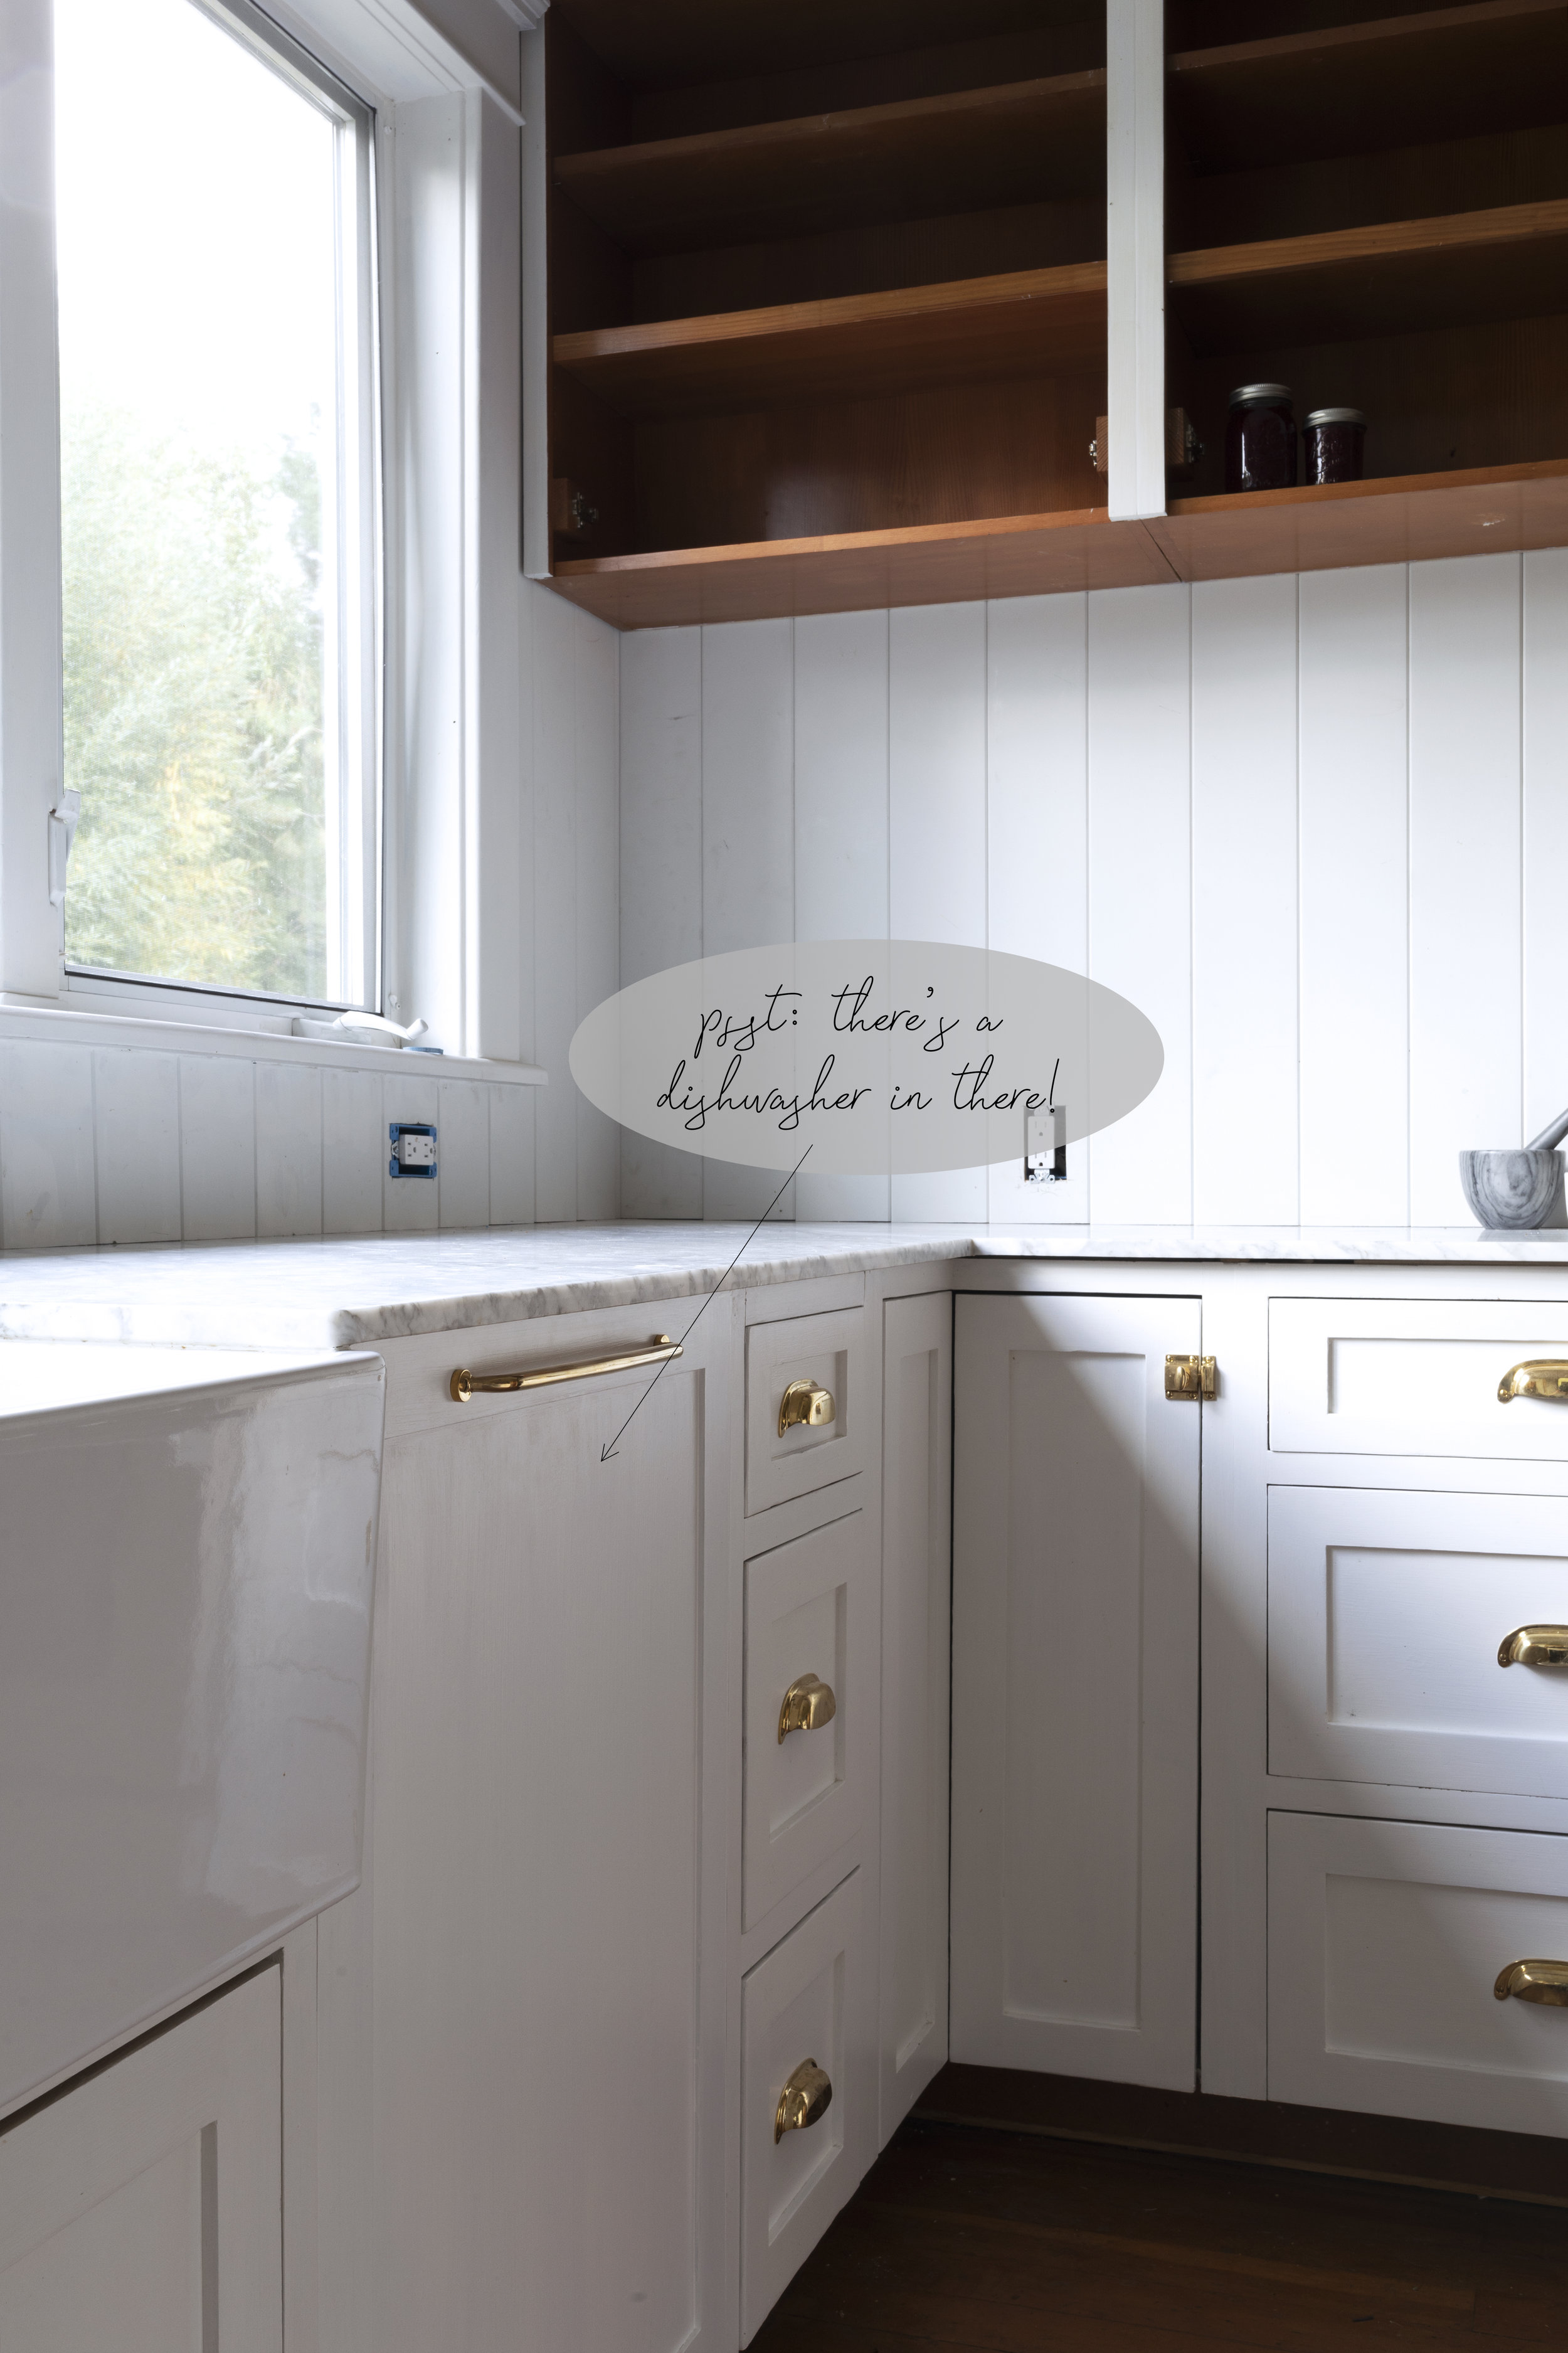
For those of you who don’t know what “panel-ready” means, it’s a dishwasher that accepts a cabinet face on the front. They’re often called integrated or concealed dishwashers and are designed to blend in with the surrounding cabinetry. What I love about this “hidden” look is that it elongates the cabinetry and creates a seamless, high-end look. I’m beyond happy with how our’s turned out…and what it cost!
sources: dishwasher pull, drawer pulls, cabinet latch, paneling, paint (BM Simply White)
Read on for how we ordered, finished, and installed a cabinet panel on our dishwasher as well as how much it cost. We have a Blomberg panel-ready dishwasher (purchased from a scratch-and-dent sale), but the basic steps in this tutorial should work for most brands.

DIY // Panel-Ready Dishwasher
Time: 1 hr + Cabinet Prep
Level: easy
Format: Blog Post & Video
Tools & Materials
panel-ready dishwasher (we have a Blomberg)
panel (we ordered a custom door - read how in this post)
primer and paint (or whatever you plan to finish the panel with)
cabinet hardware (we opted for this pretty pull)
drill
drill bits
screwdriver (for installing the pull)
Video
Garrett put together a 2-minute video walking you through the steps we took to panel our dishwasher. Yup, it’s easy enough to fit in a 2 minute video! You can watch it video below.
Step 1: Prep the panel
We ordered a custom cabinet door online from www.fastcabinetdoors.com for our panel (read this post for all the specifics), and selected no holes for hinges. It cost $65 plus shipping and we’re really happy with the quality! Plus the door matches the existing details of the existing cabinets, which is a nice touch. You can also make your own panel if you’re so inclined. At the Dexter House, we created a flat-panel version using a 24”-wide 3/4”-thick plywood sheet. It’s not as polished looking as the custom cabinet face at the Farmhouse, but looks and works just fine. The key to whatever panel you end up with is that it fits the opening of the dishwasher (minus the toe kick) and leaves room for a small gap on the top and sides (about 1/8”). Once you have your panel, prepare it like you did the other cabinets in your kitchen. We used primer and BM Advance paint in Simply White.
TIP: if you don’t know what color your cabinets are painted, take a door into the paint shop and they can match it.

step 2: attach alignment bracket to panel
Our dishwasher came with a plastic alignment bracket, which we attached to the back of the panel in the location shown on the instruction manual. The bracket is designed to line up with receiving holes in the dishwasher, which will help place the panel for the final install (you could use clamps if you’re missing a bracket). To attach the bracket once it’s positioned correctly, pre-drill and then mount with the provided screws.
tip: always pre-drill when attaching screws to a cabinet panel in order to avoid splitting the wood.

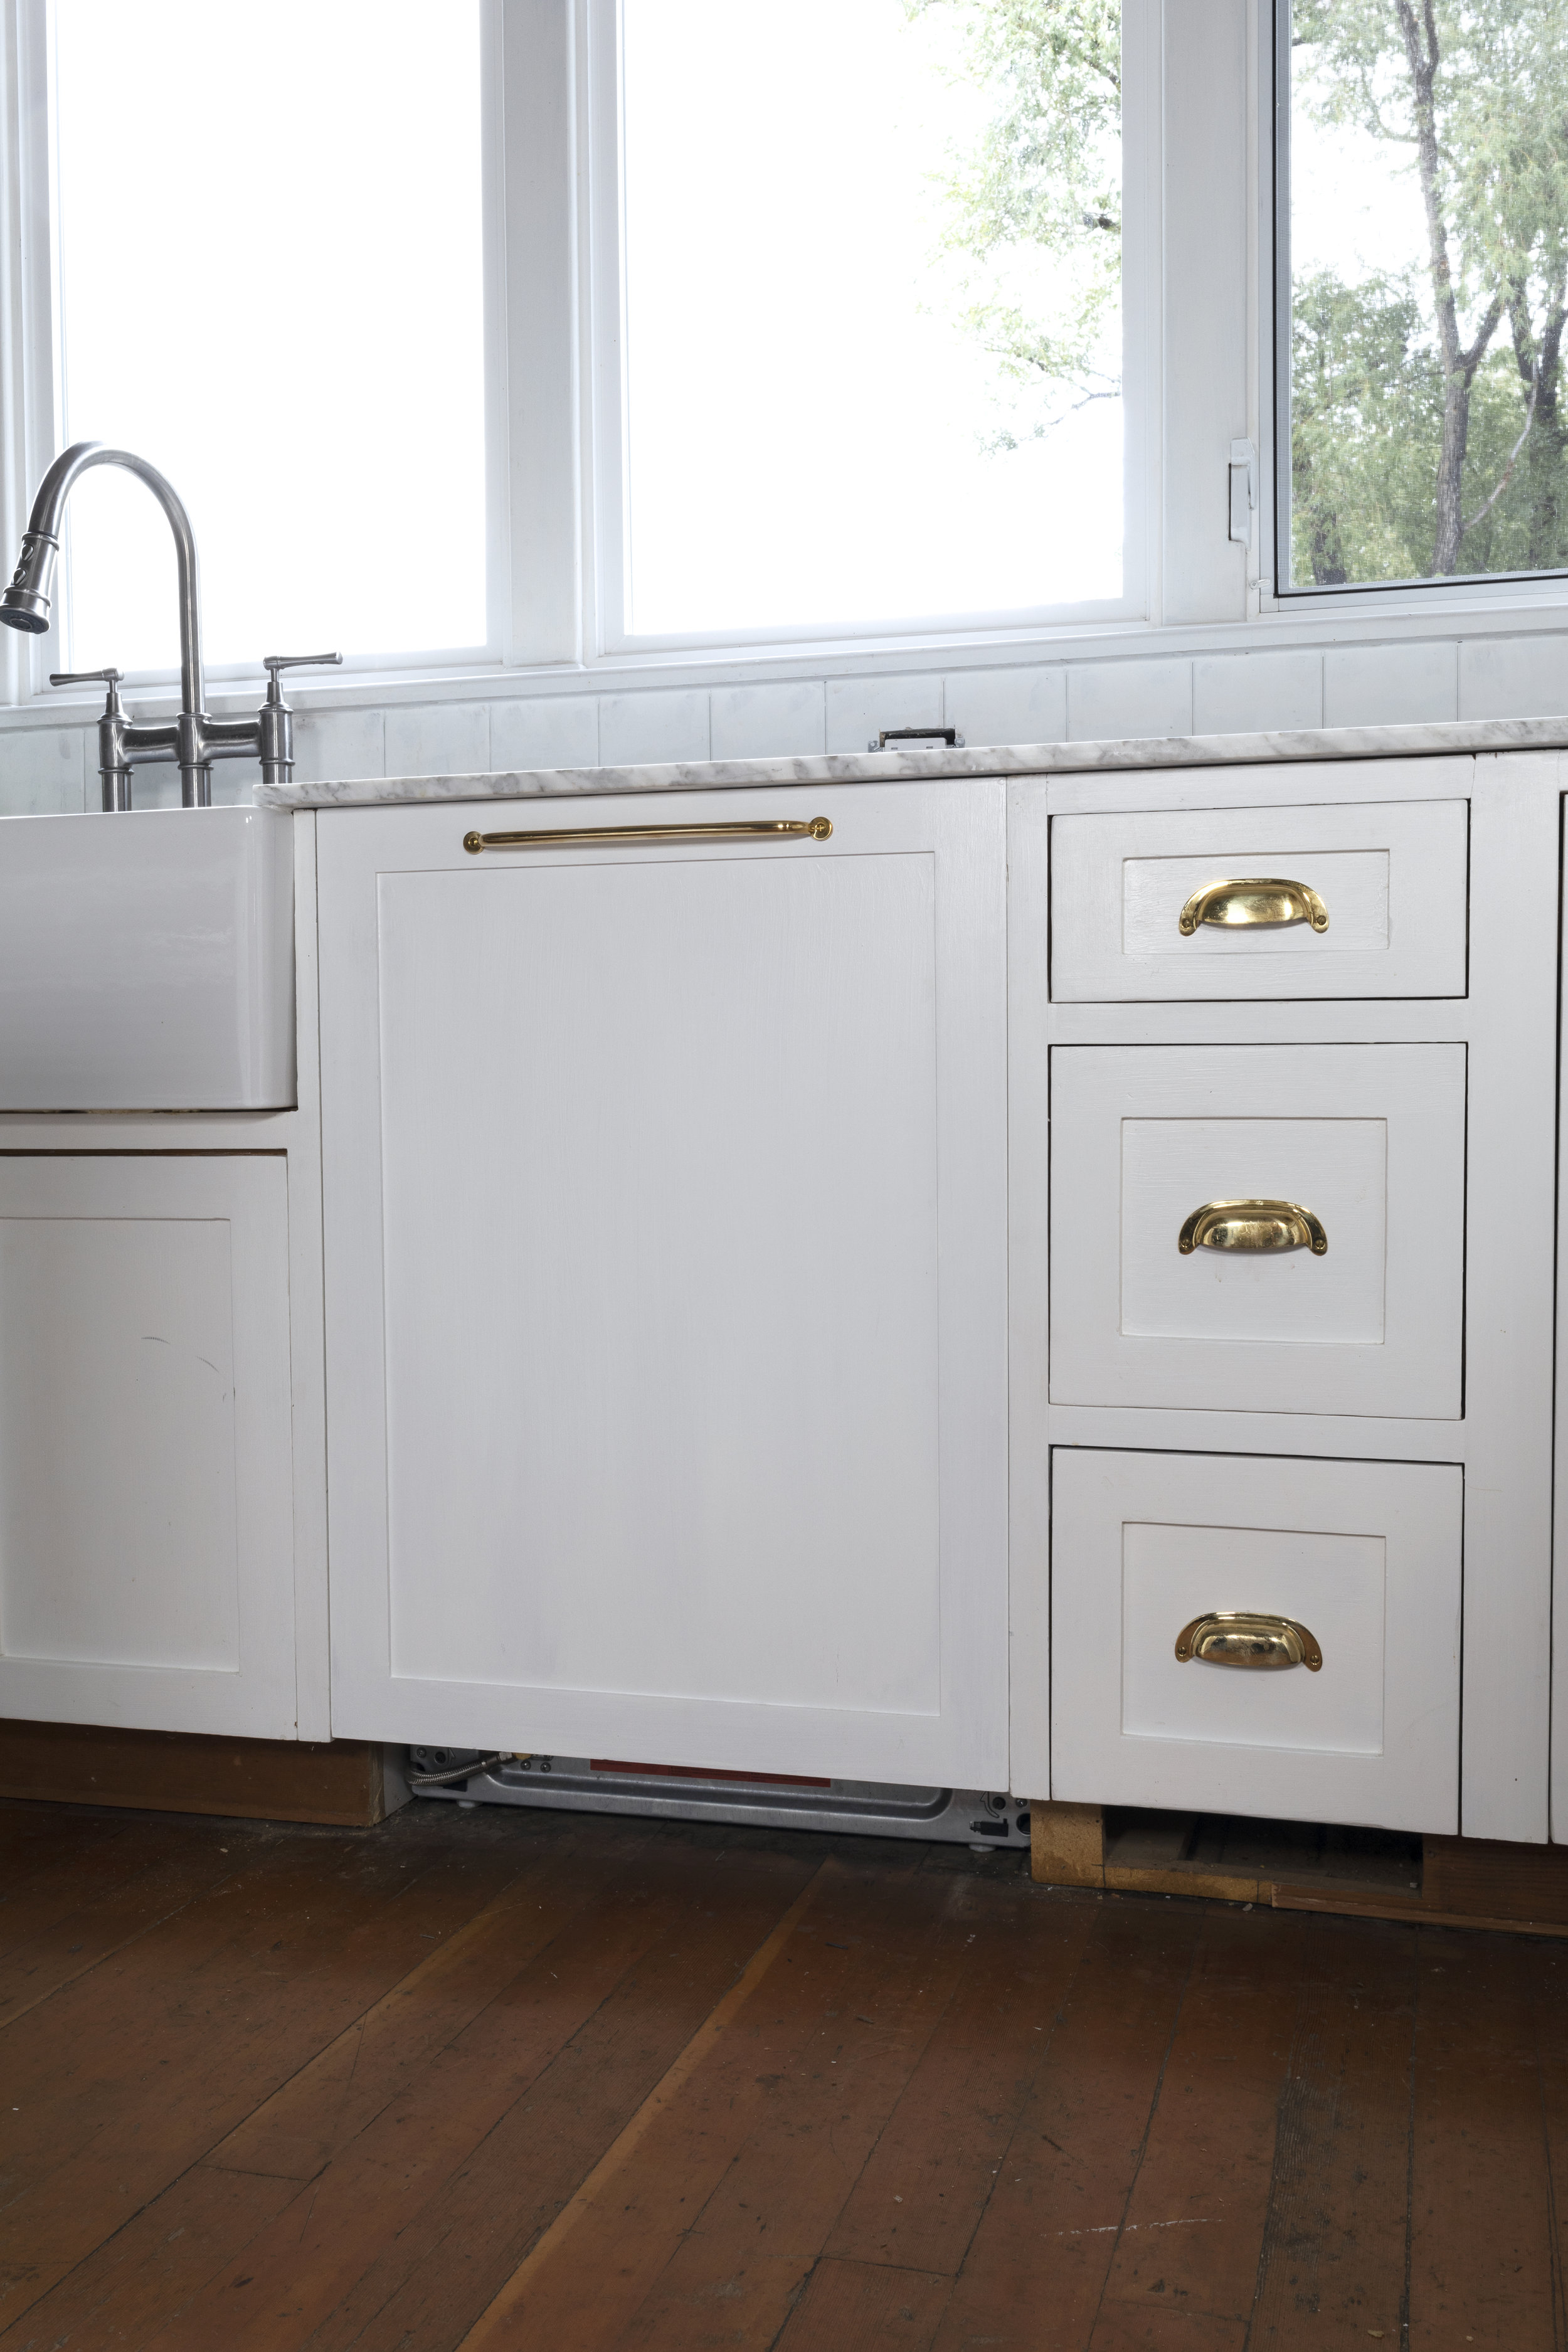
Step 3: Attach cabinet hardware
We opted for a large cabinet pull on the dishwasher in unlacquered brass. The finish matches the surrounding hardware and the pull allows for hanging a towel and easy access to the dishwasher. I would have also considred using the same cup pull as we have on the doors or a knob in the same finish. Whatever you choose, locate the handle in an easy-to grab spot. We placed our’s at 1 3/8” from top of panel, which was about 2/3 of the top shaker rail. Always pre-drill when screwing into a cabinet panel to avoid splitting the wood.
tip: Attach hardware screws with a screwdriver (and not an electric drill) so that the heads stay looking nice.

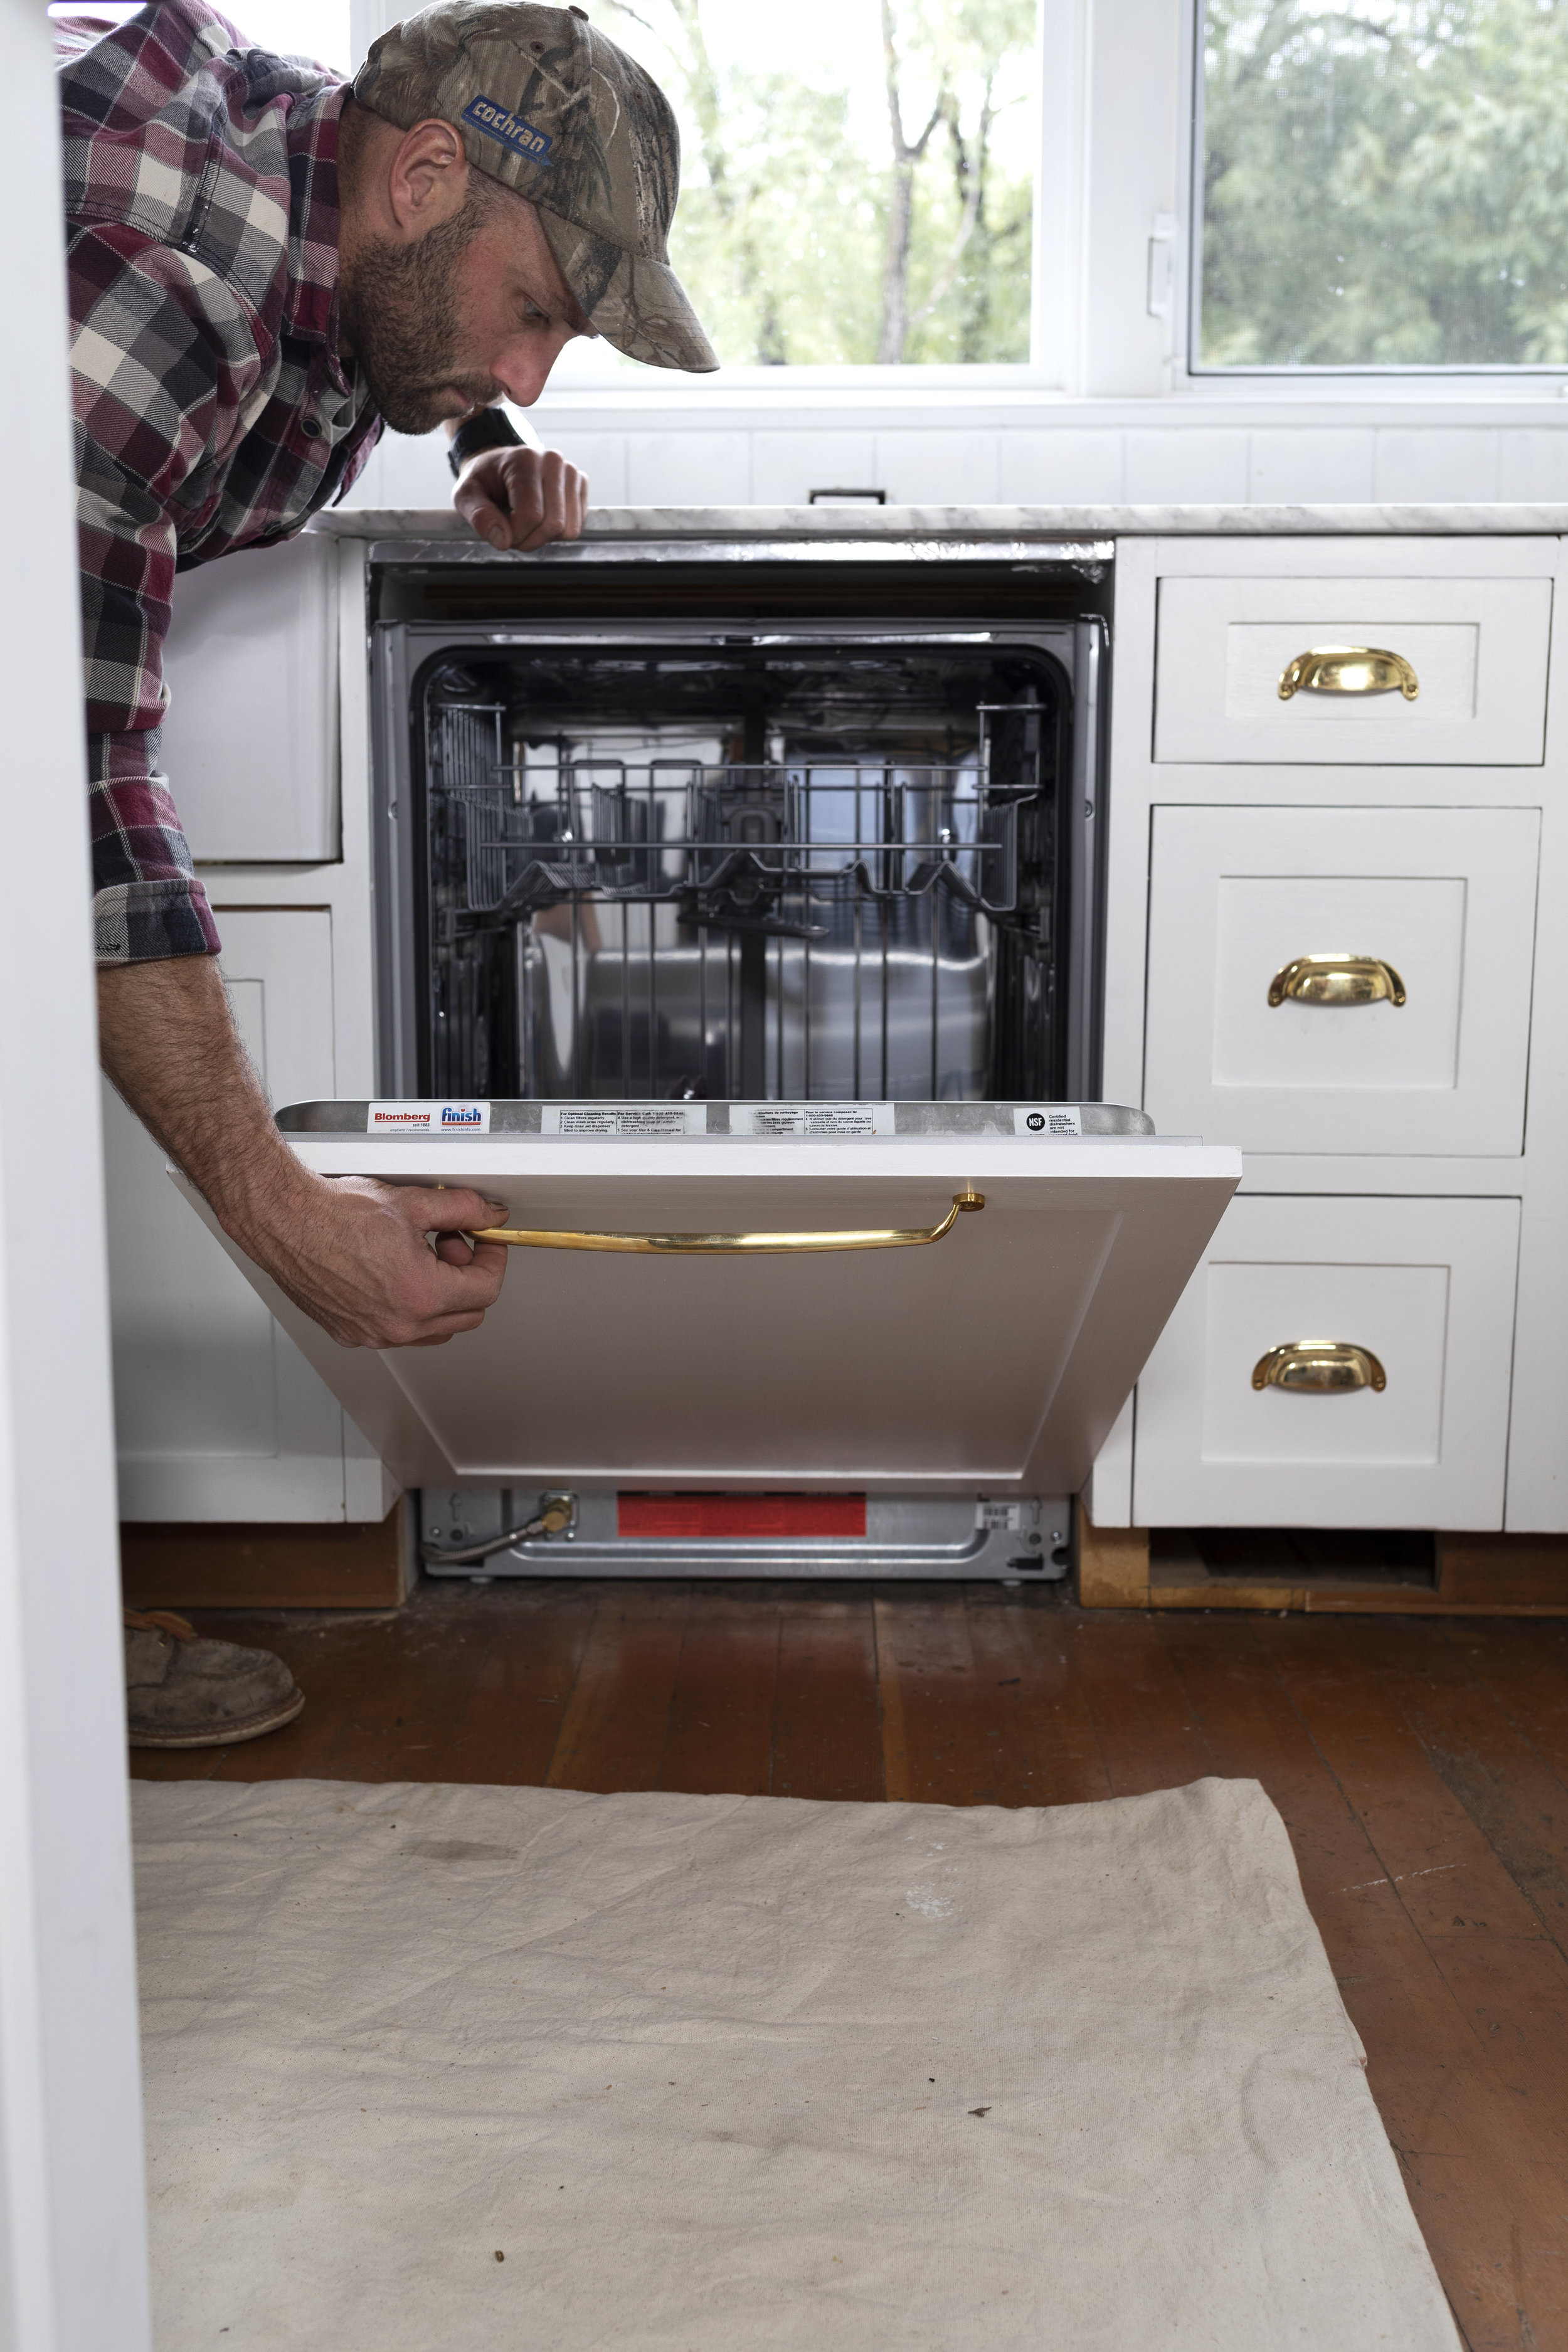
Step 4: test fit & adjust
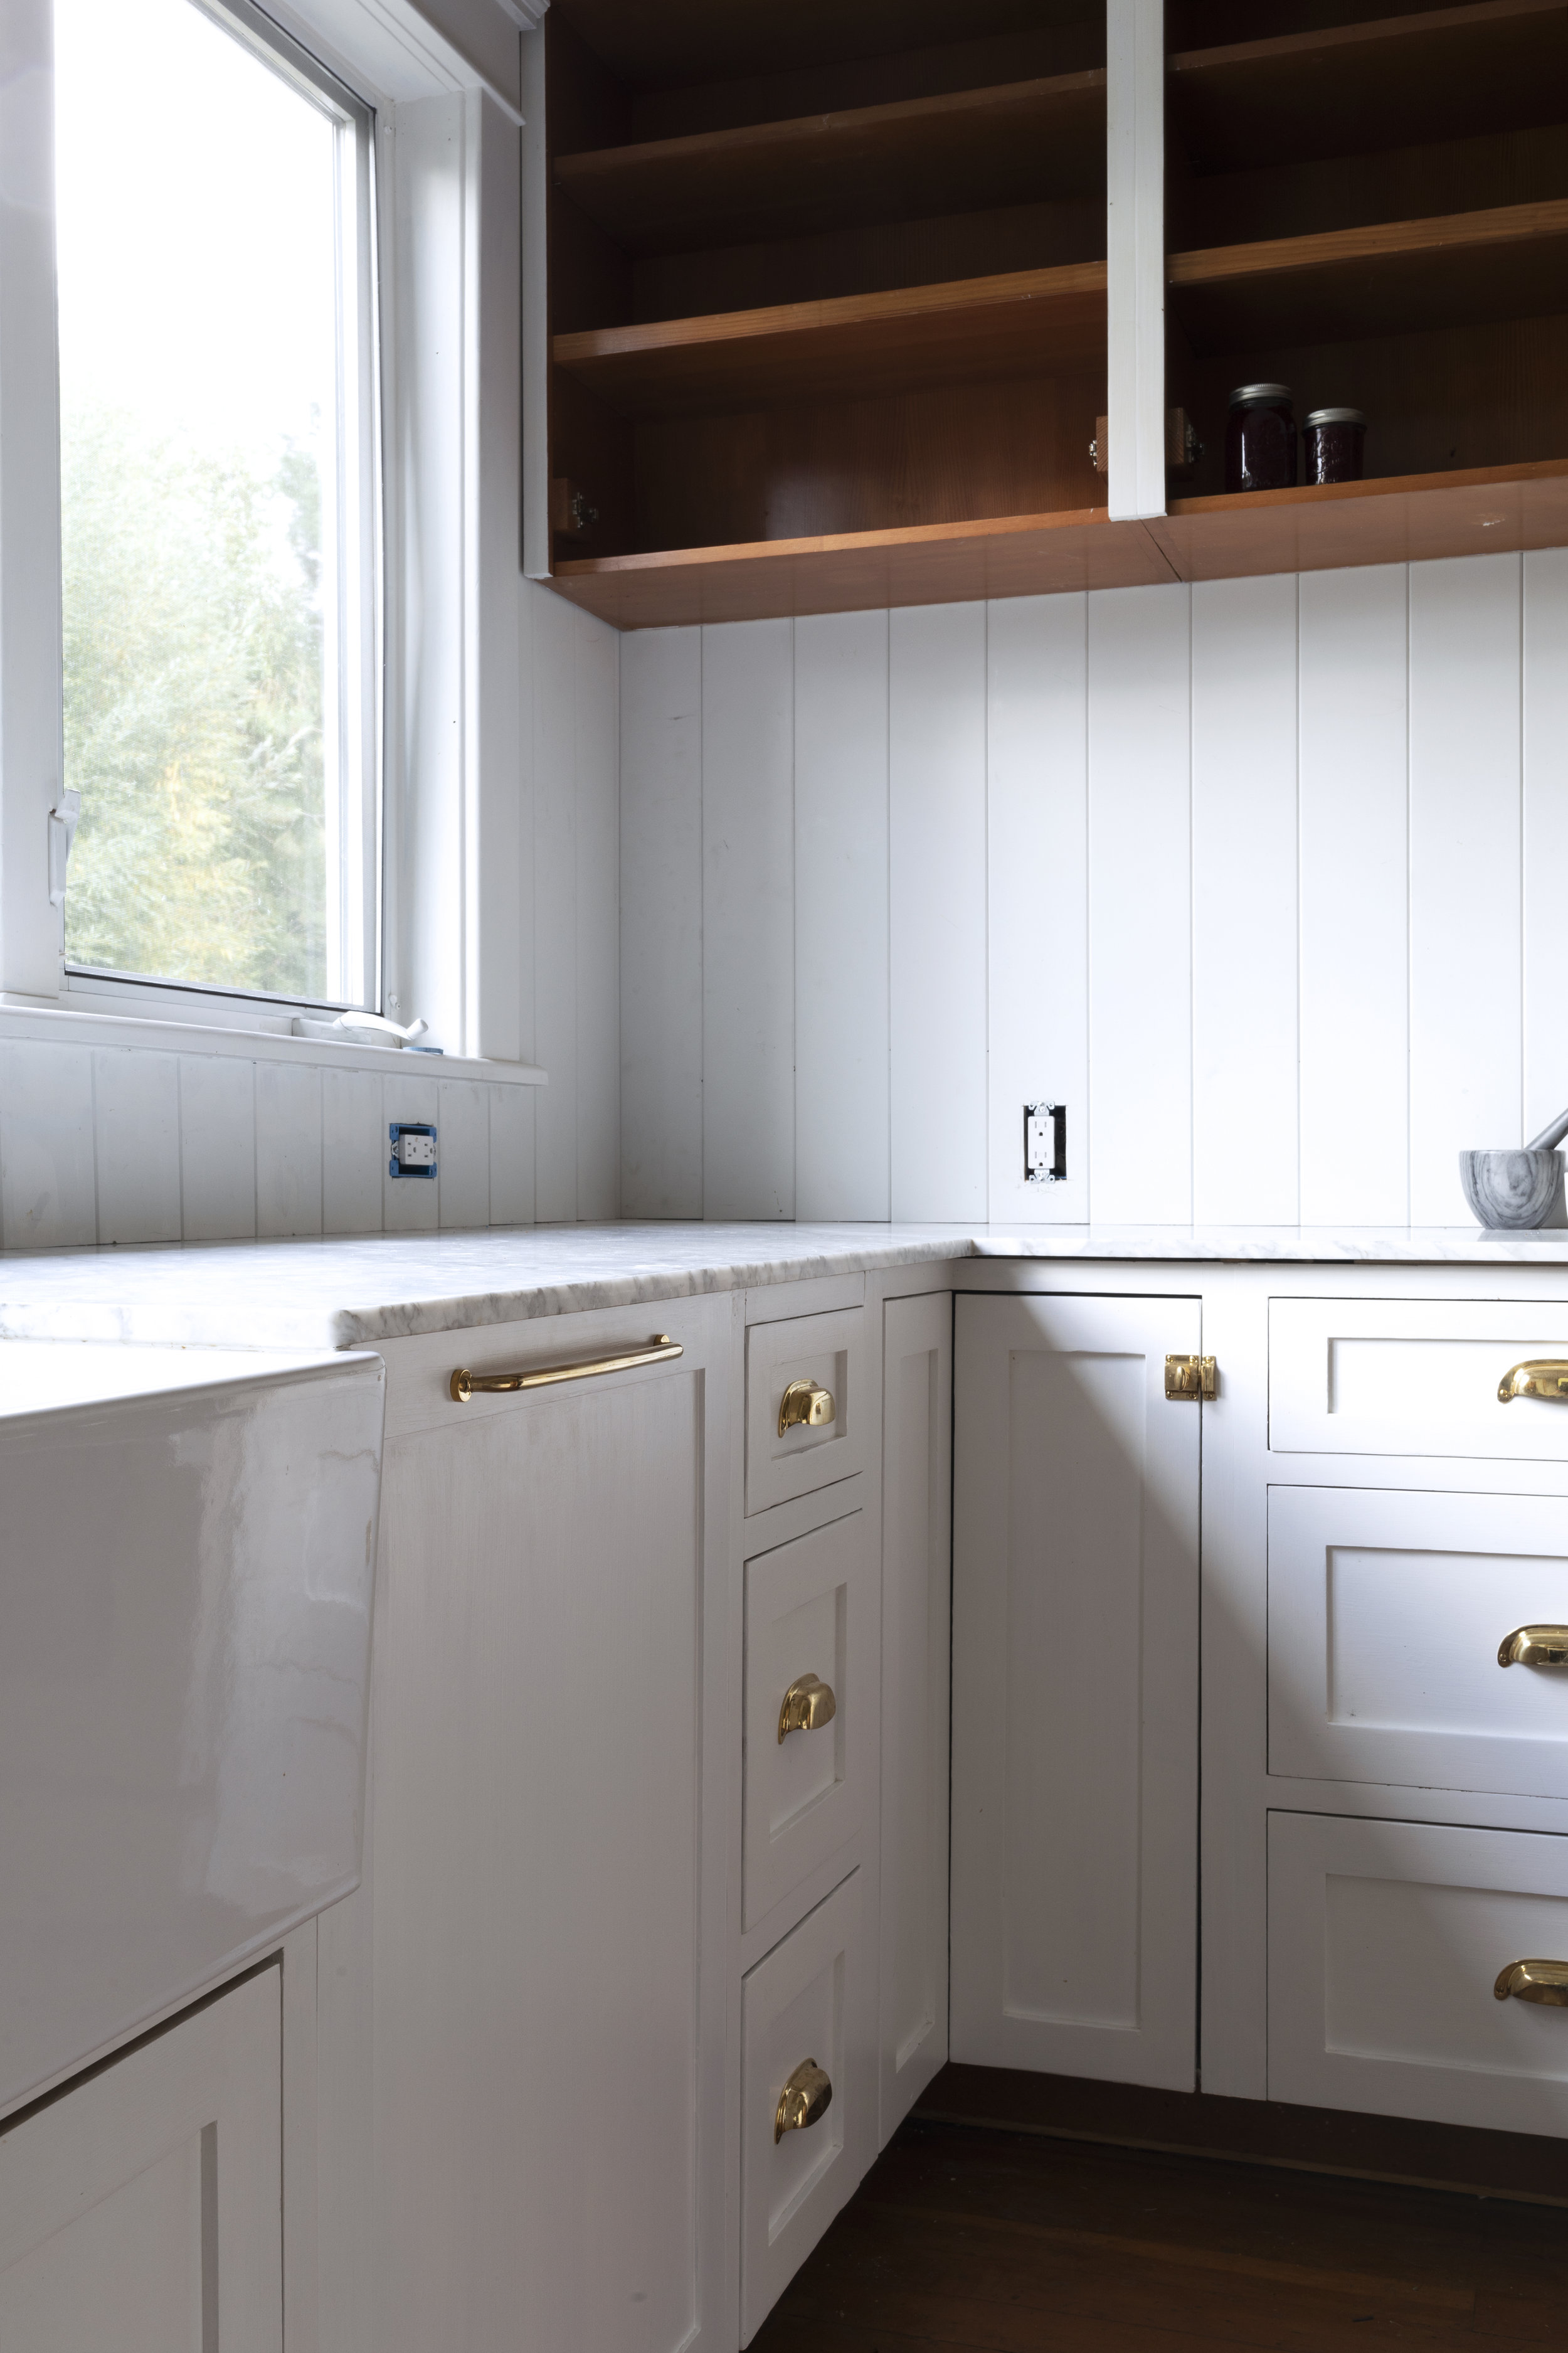
Clip the panel onto the dishwasher by fitting the alignment bracket into it’s designated holes. While in this temporary hold, take a look at the panel placement. Open it and close it. Check how the panel sits. This is the time to make adjustments using the bracket to raise or lower the panel. Also make sure to open your dishwasher fully and verify the panel doesn’t interfere with the door operation or rug against the adjacent cabinets.
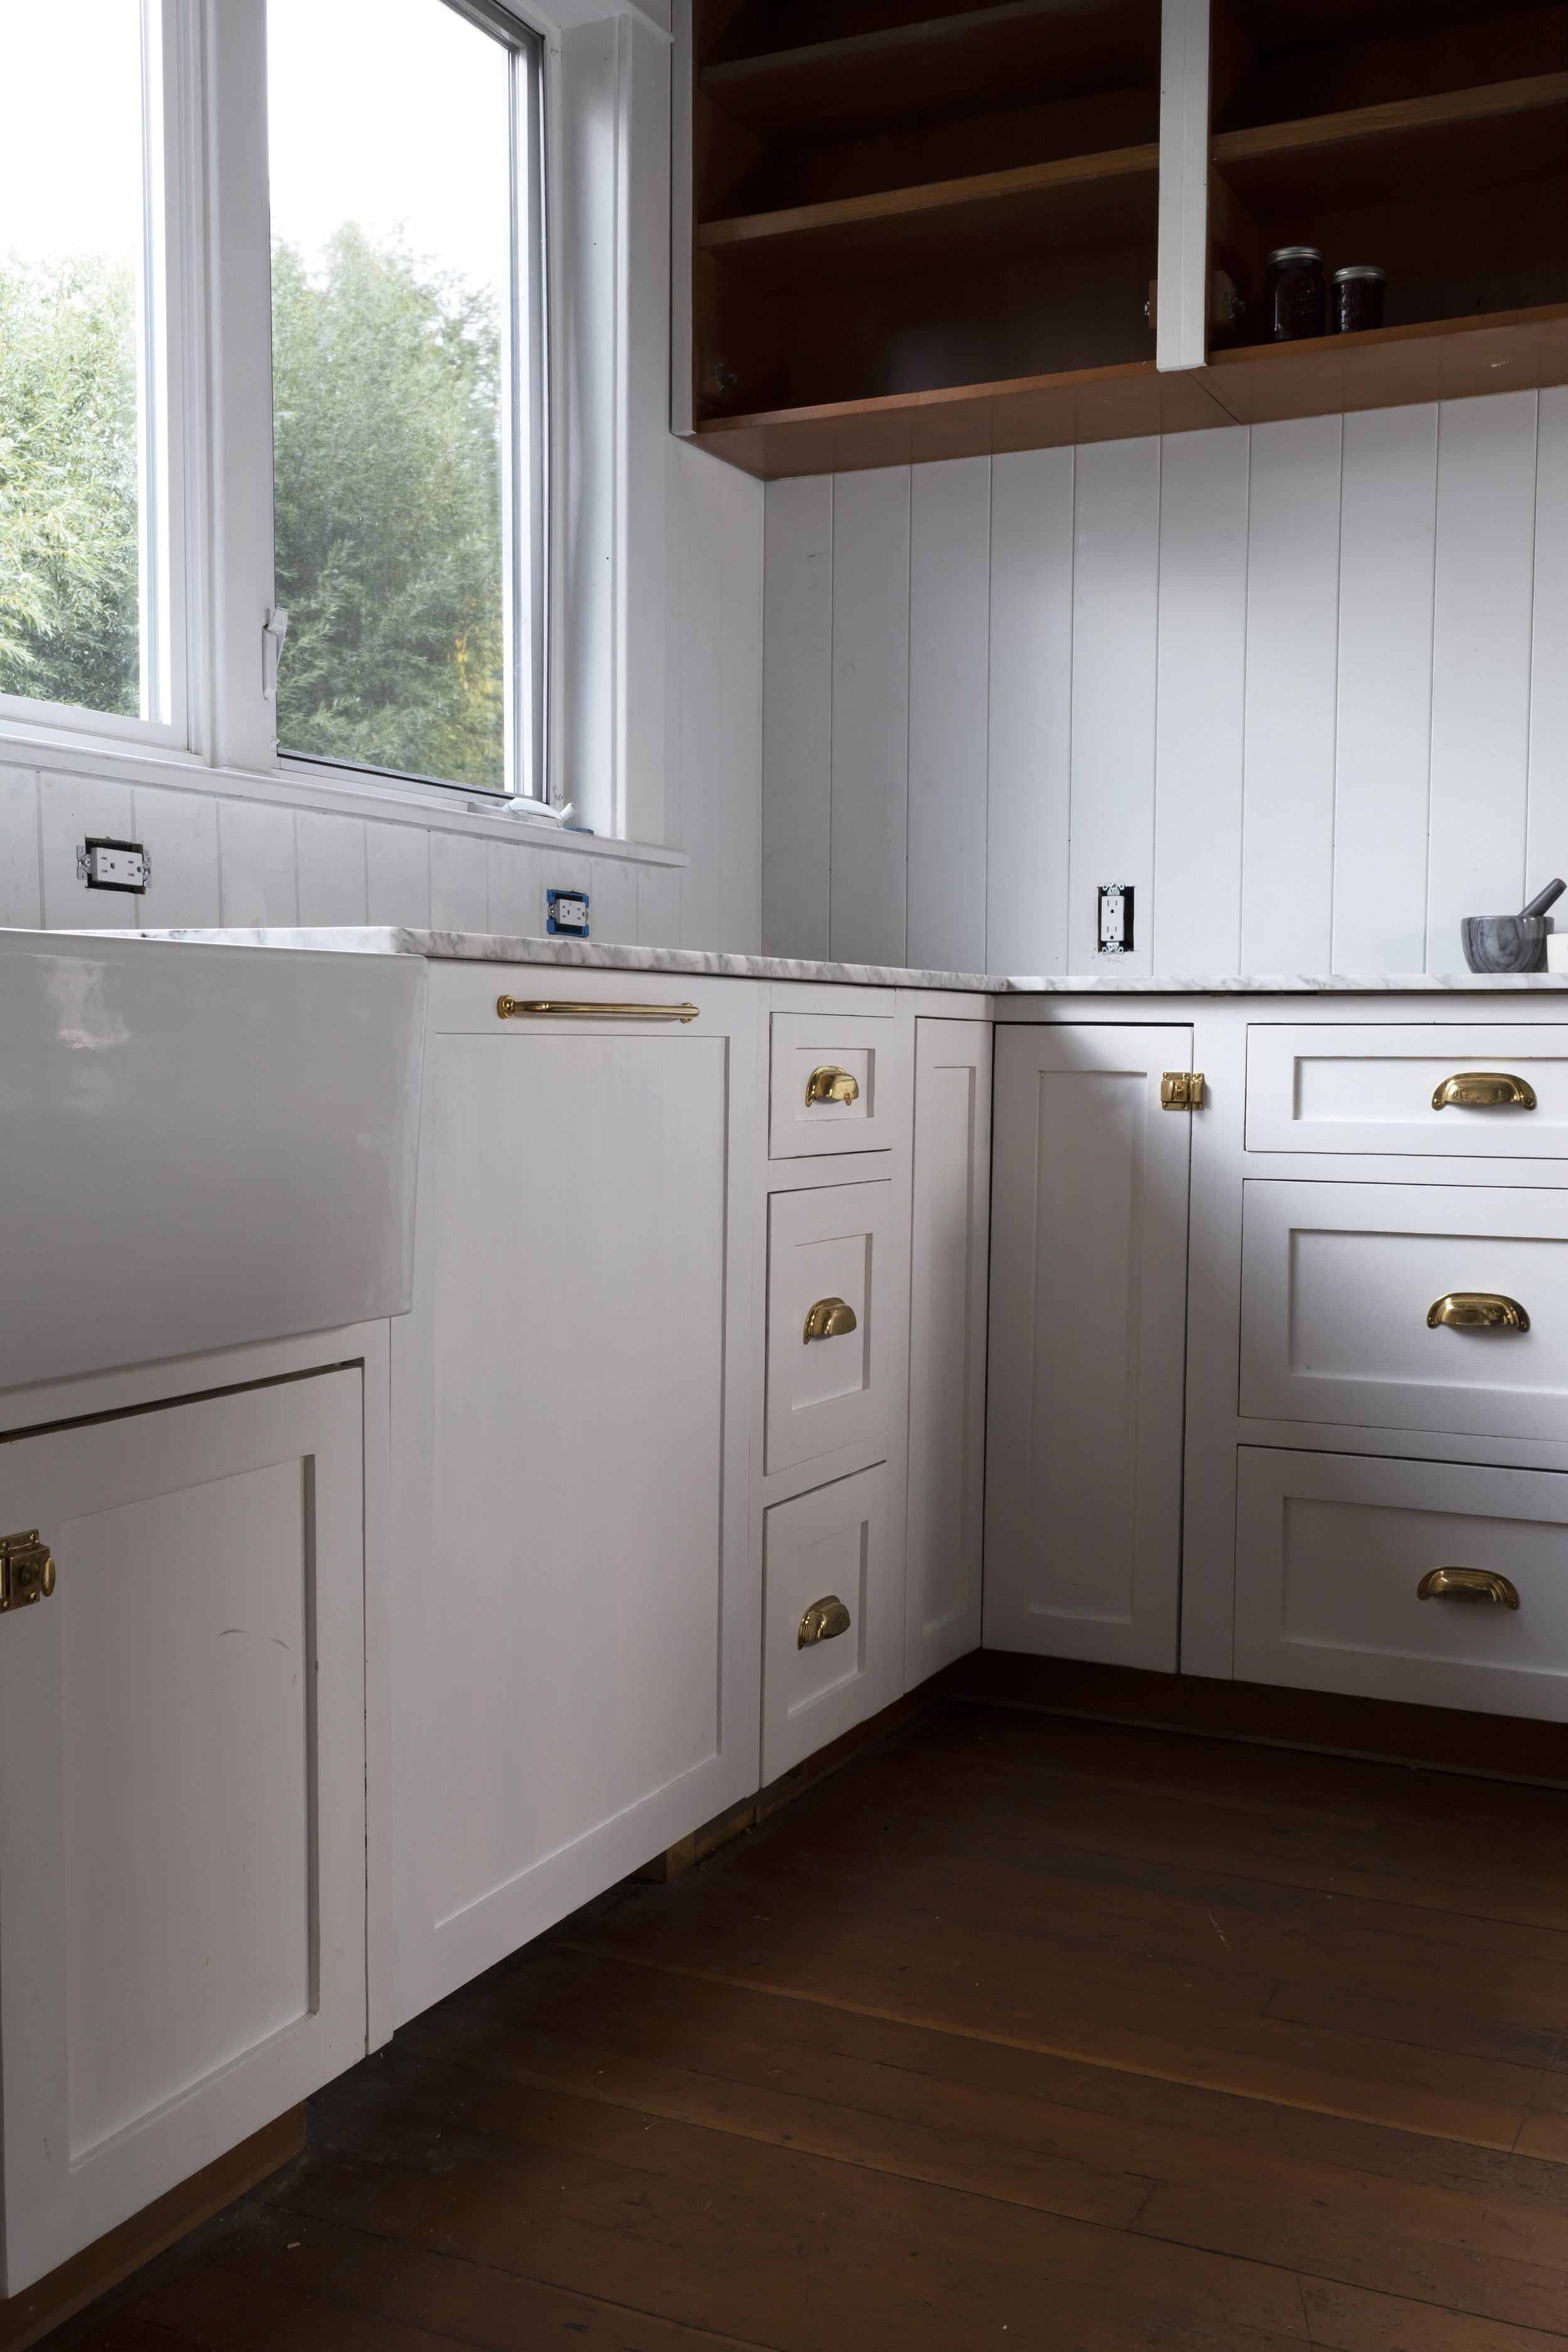
psst: we have really tall cabinets and ended up having to adjust the dishwasher placement at this stage, too. We lowered the dishwasher down as far as it would go so that the panel didn’t hit the toe-kick when opening. (You can see how there’s a gap between the top of the dishwasher and the bottom of the countertop now.)

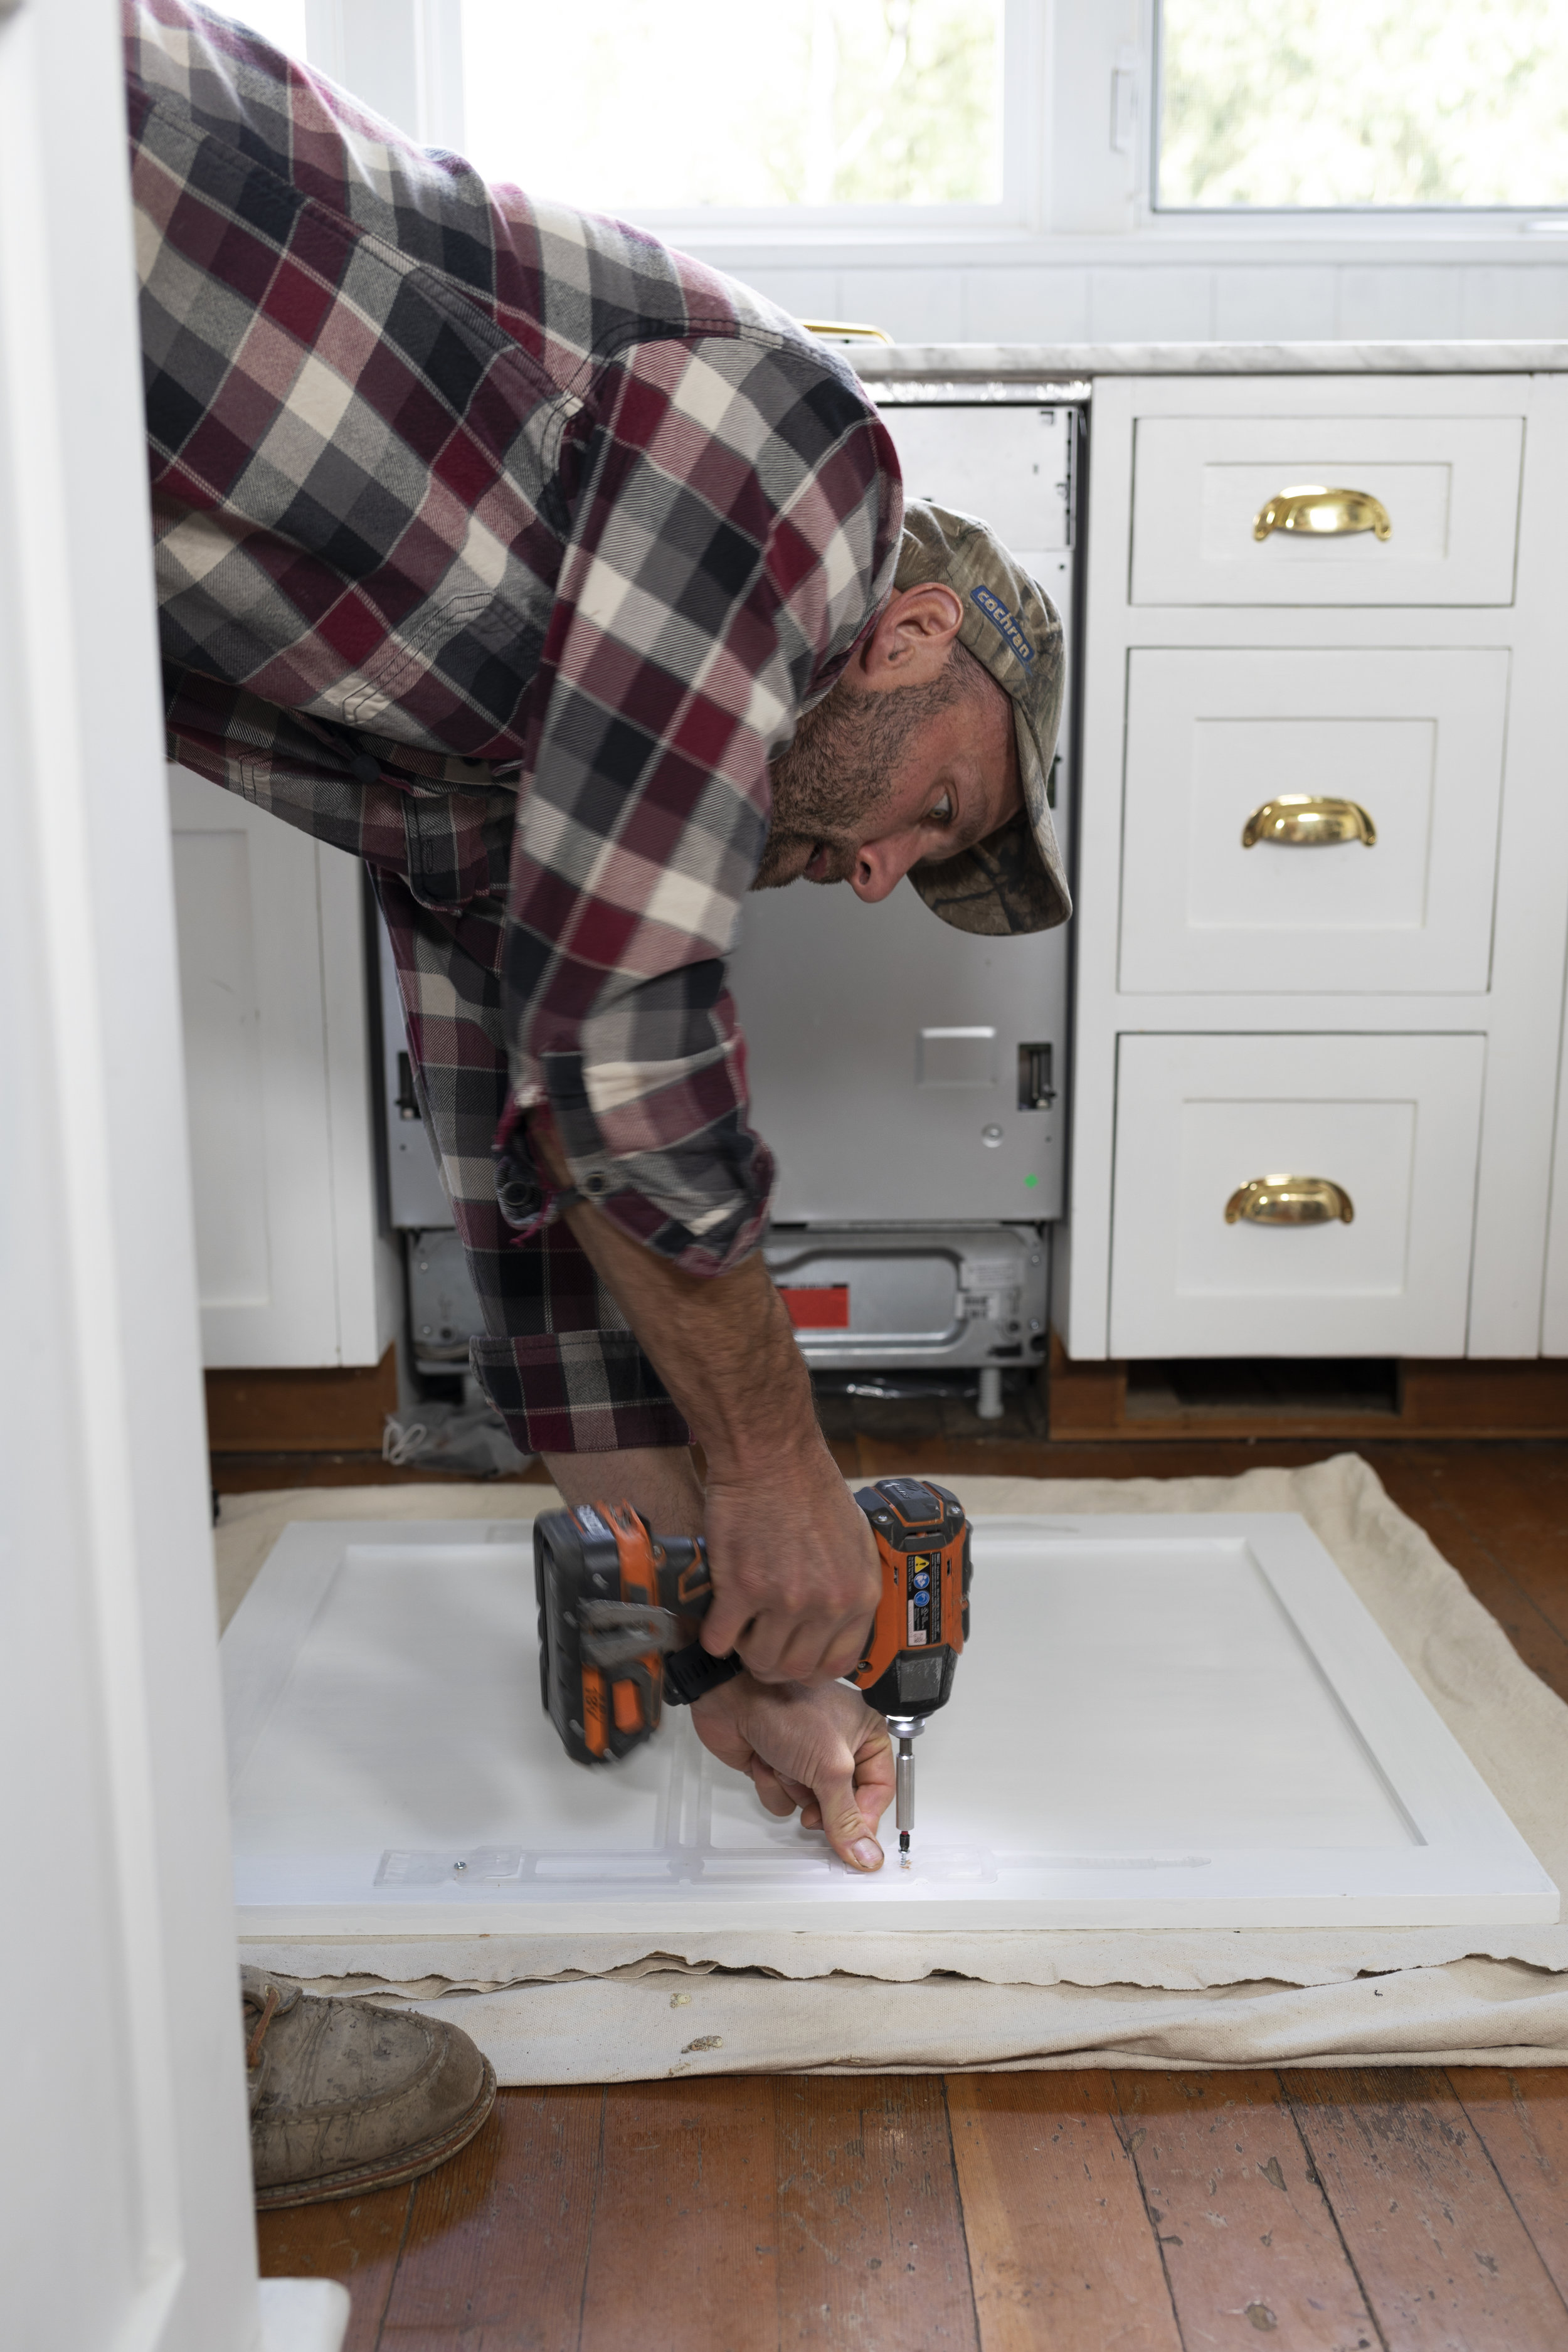
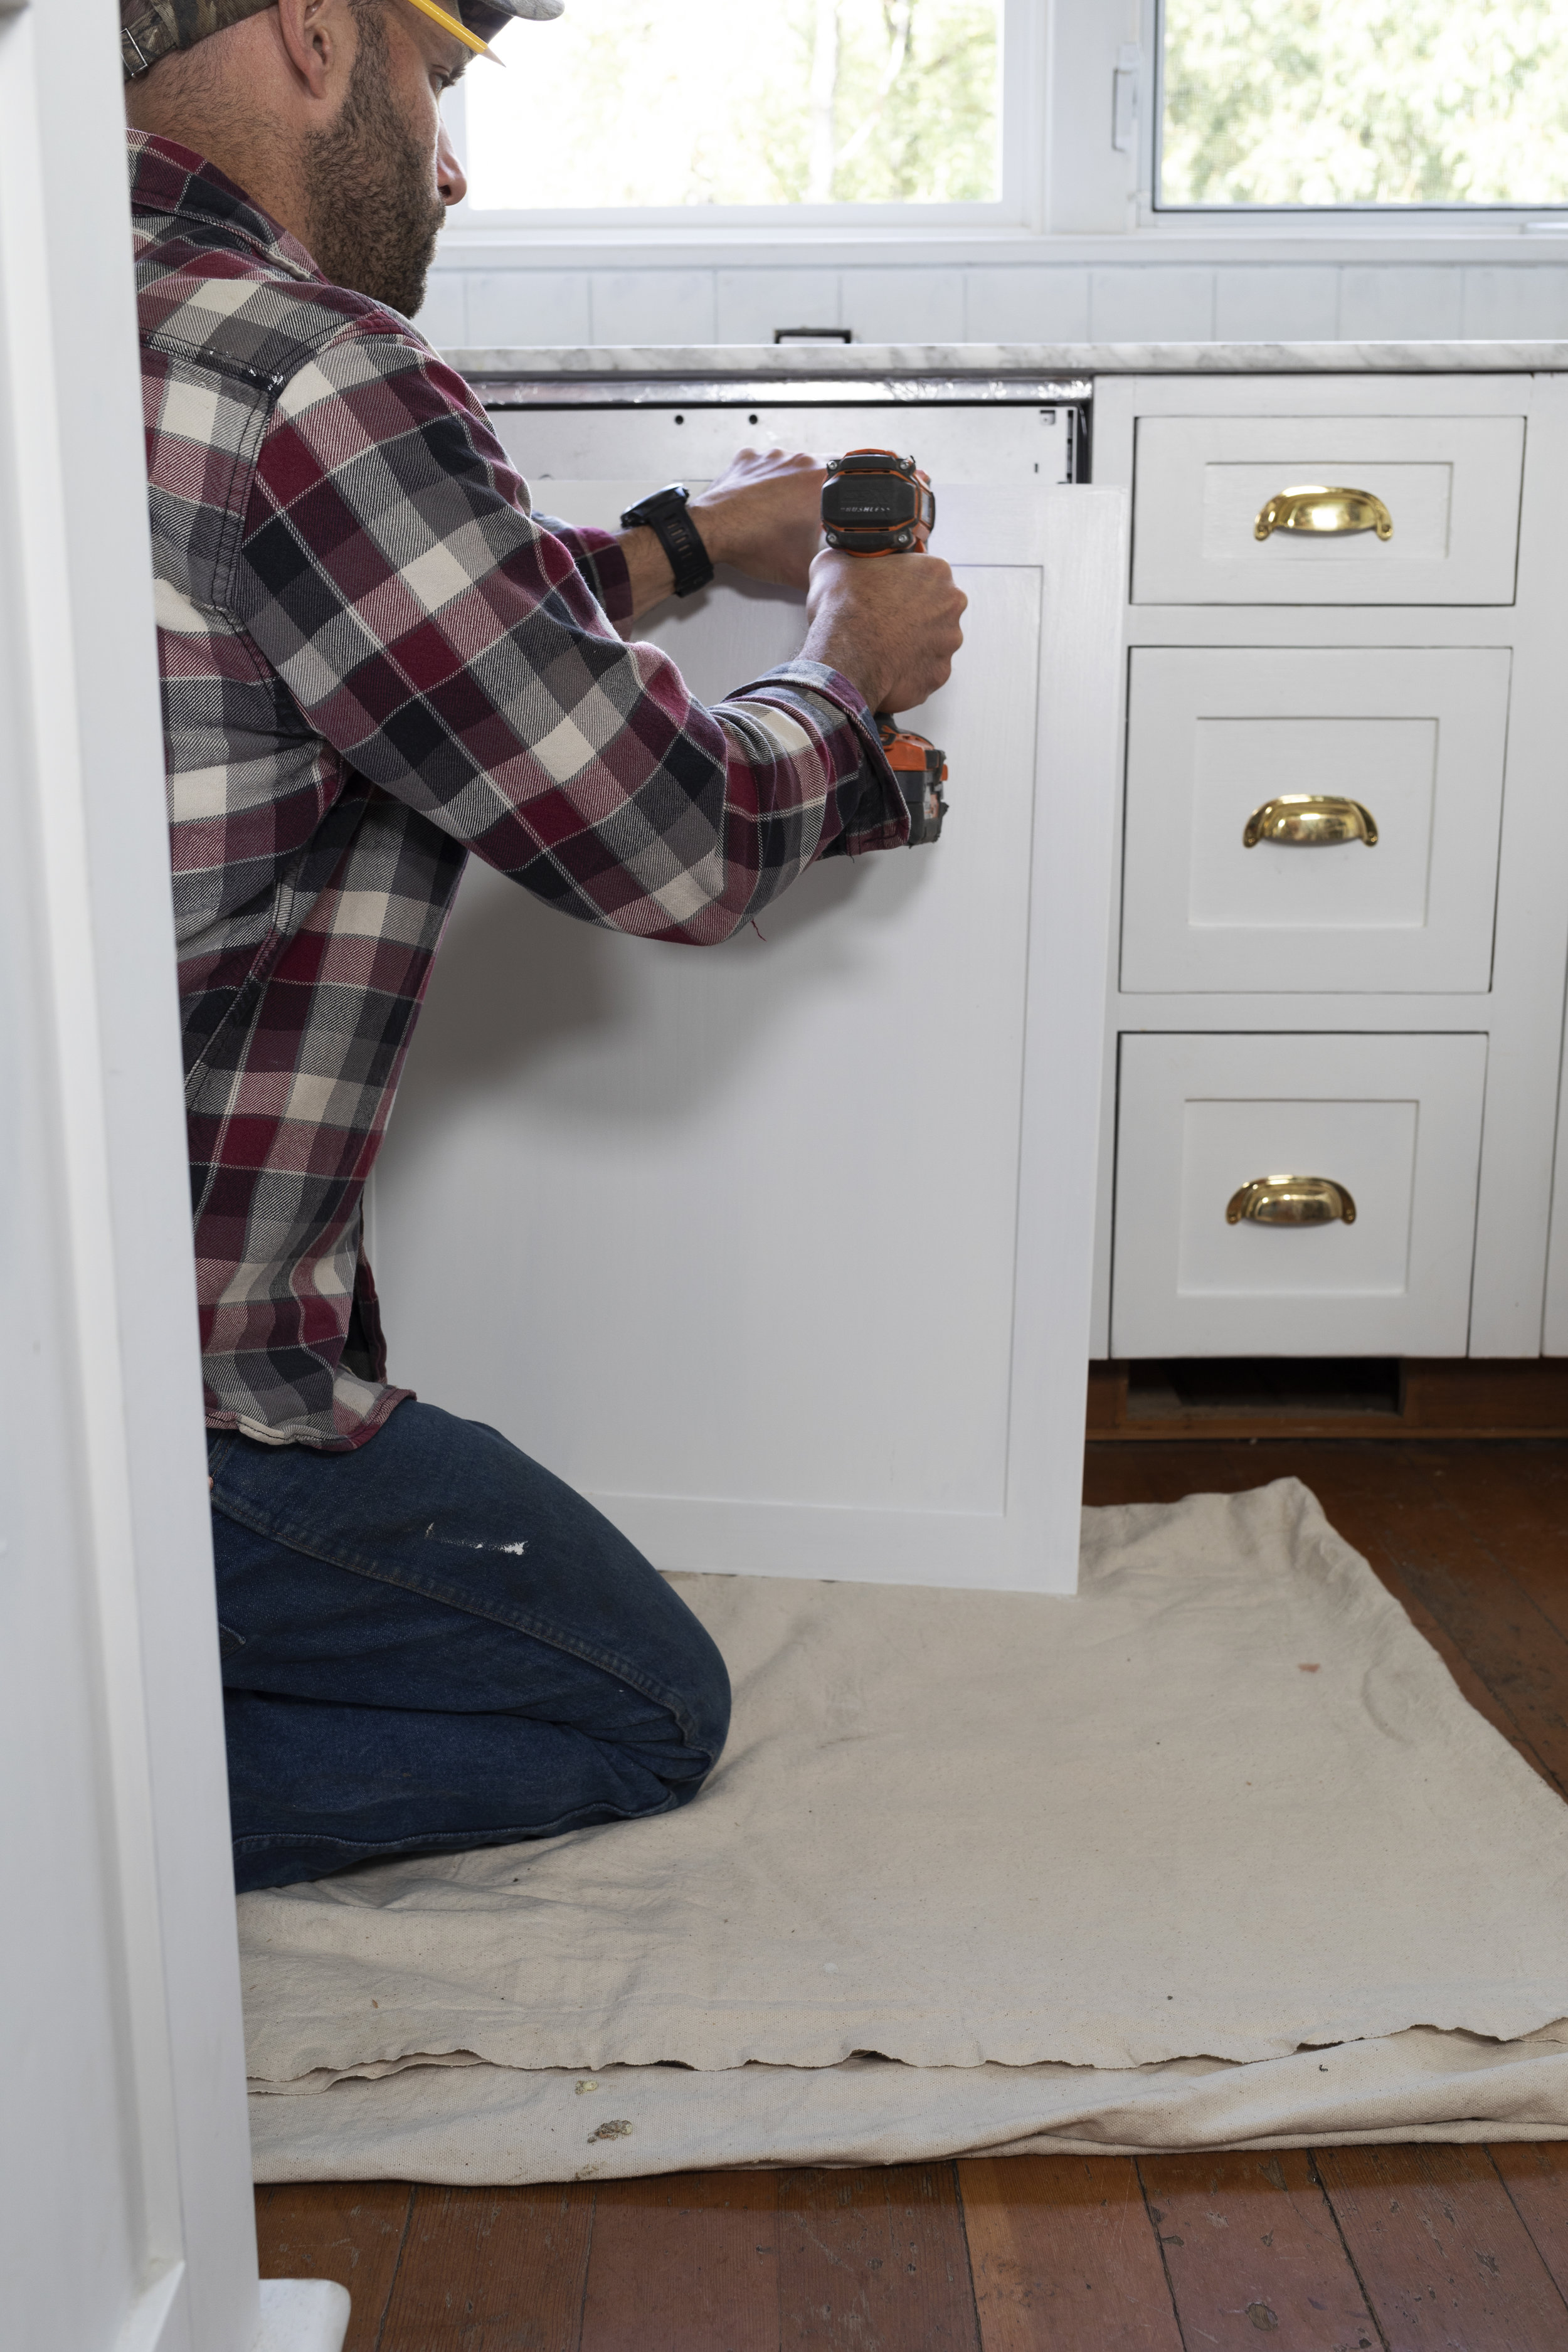
Step 5: Attach Panel to dishwasher
Panel-ready dishwashers come with holes in the door for screws to attach the panel to the appliance. Since the panel is already temporarily attached using the alignment bracket, this step is really easy. Just pre-drill the panel in the holes and add the screws. No need to remove the panel at all, you can do this step while it attached to the dishwasher.
tip: if the brackets aren’t working well enough (or your dishwasher didn’t come with them), use clamps to hold the panel to the dishwasher door while attaching it.

That’s it! You’re done.
What our Dishwasher cost
Considering the high-end look of integrated/concealed/panel-ready dishwashers, I feel like this project was really reasonably priced. But we did get our dishwasher for a screaming deal at a scratch-and-dent sale, so our final number could vary quite a bit from other’s.
$349.99 Panel-front dishwasher (Blomberg), scratch-and-dent
$80 Custom panel ordered online (includes shipping)
$0 Primer and paint (leftover)
$50.00 Brass drawer pull
$479.99 Total

That’s everything we know about panel-ready dishwashers! Anything you care to add? Drop a comment below if you have any words of wisdom or questions!