My dream wallpaper in the primary nook
THE FARMHOUSE
My dream wallpaper is up. Eeek! But I have to say… wallpapering takes some extra DIY fortitude. This is our third time hanging wallpaper and thankfully it went smoother than our previous attempts. So today I wanted to share the tools we used and a few tips that got us into a groove after some initial hiccups (wallpaper is harder to cut after it’s pasted!). And there’re lots of peaks of the finished wallpaper! Let’s get to it…
*this post is sponsored by Handy Products
Psst: you can see our previous wallpaper jobs here and here.
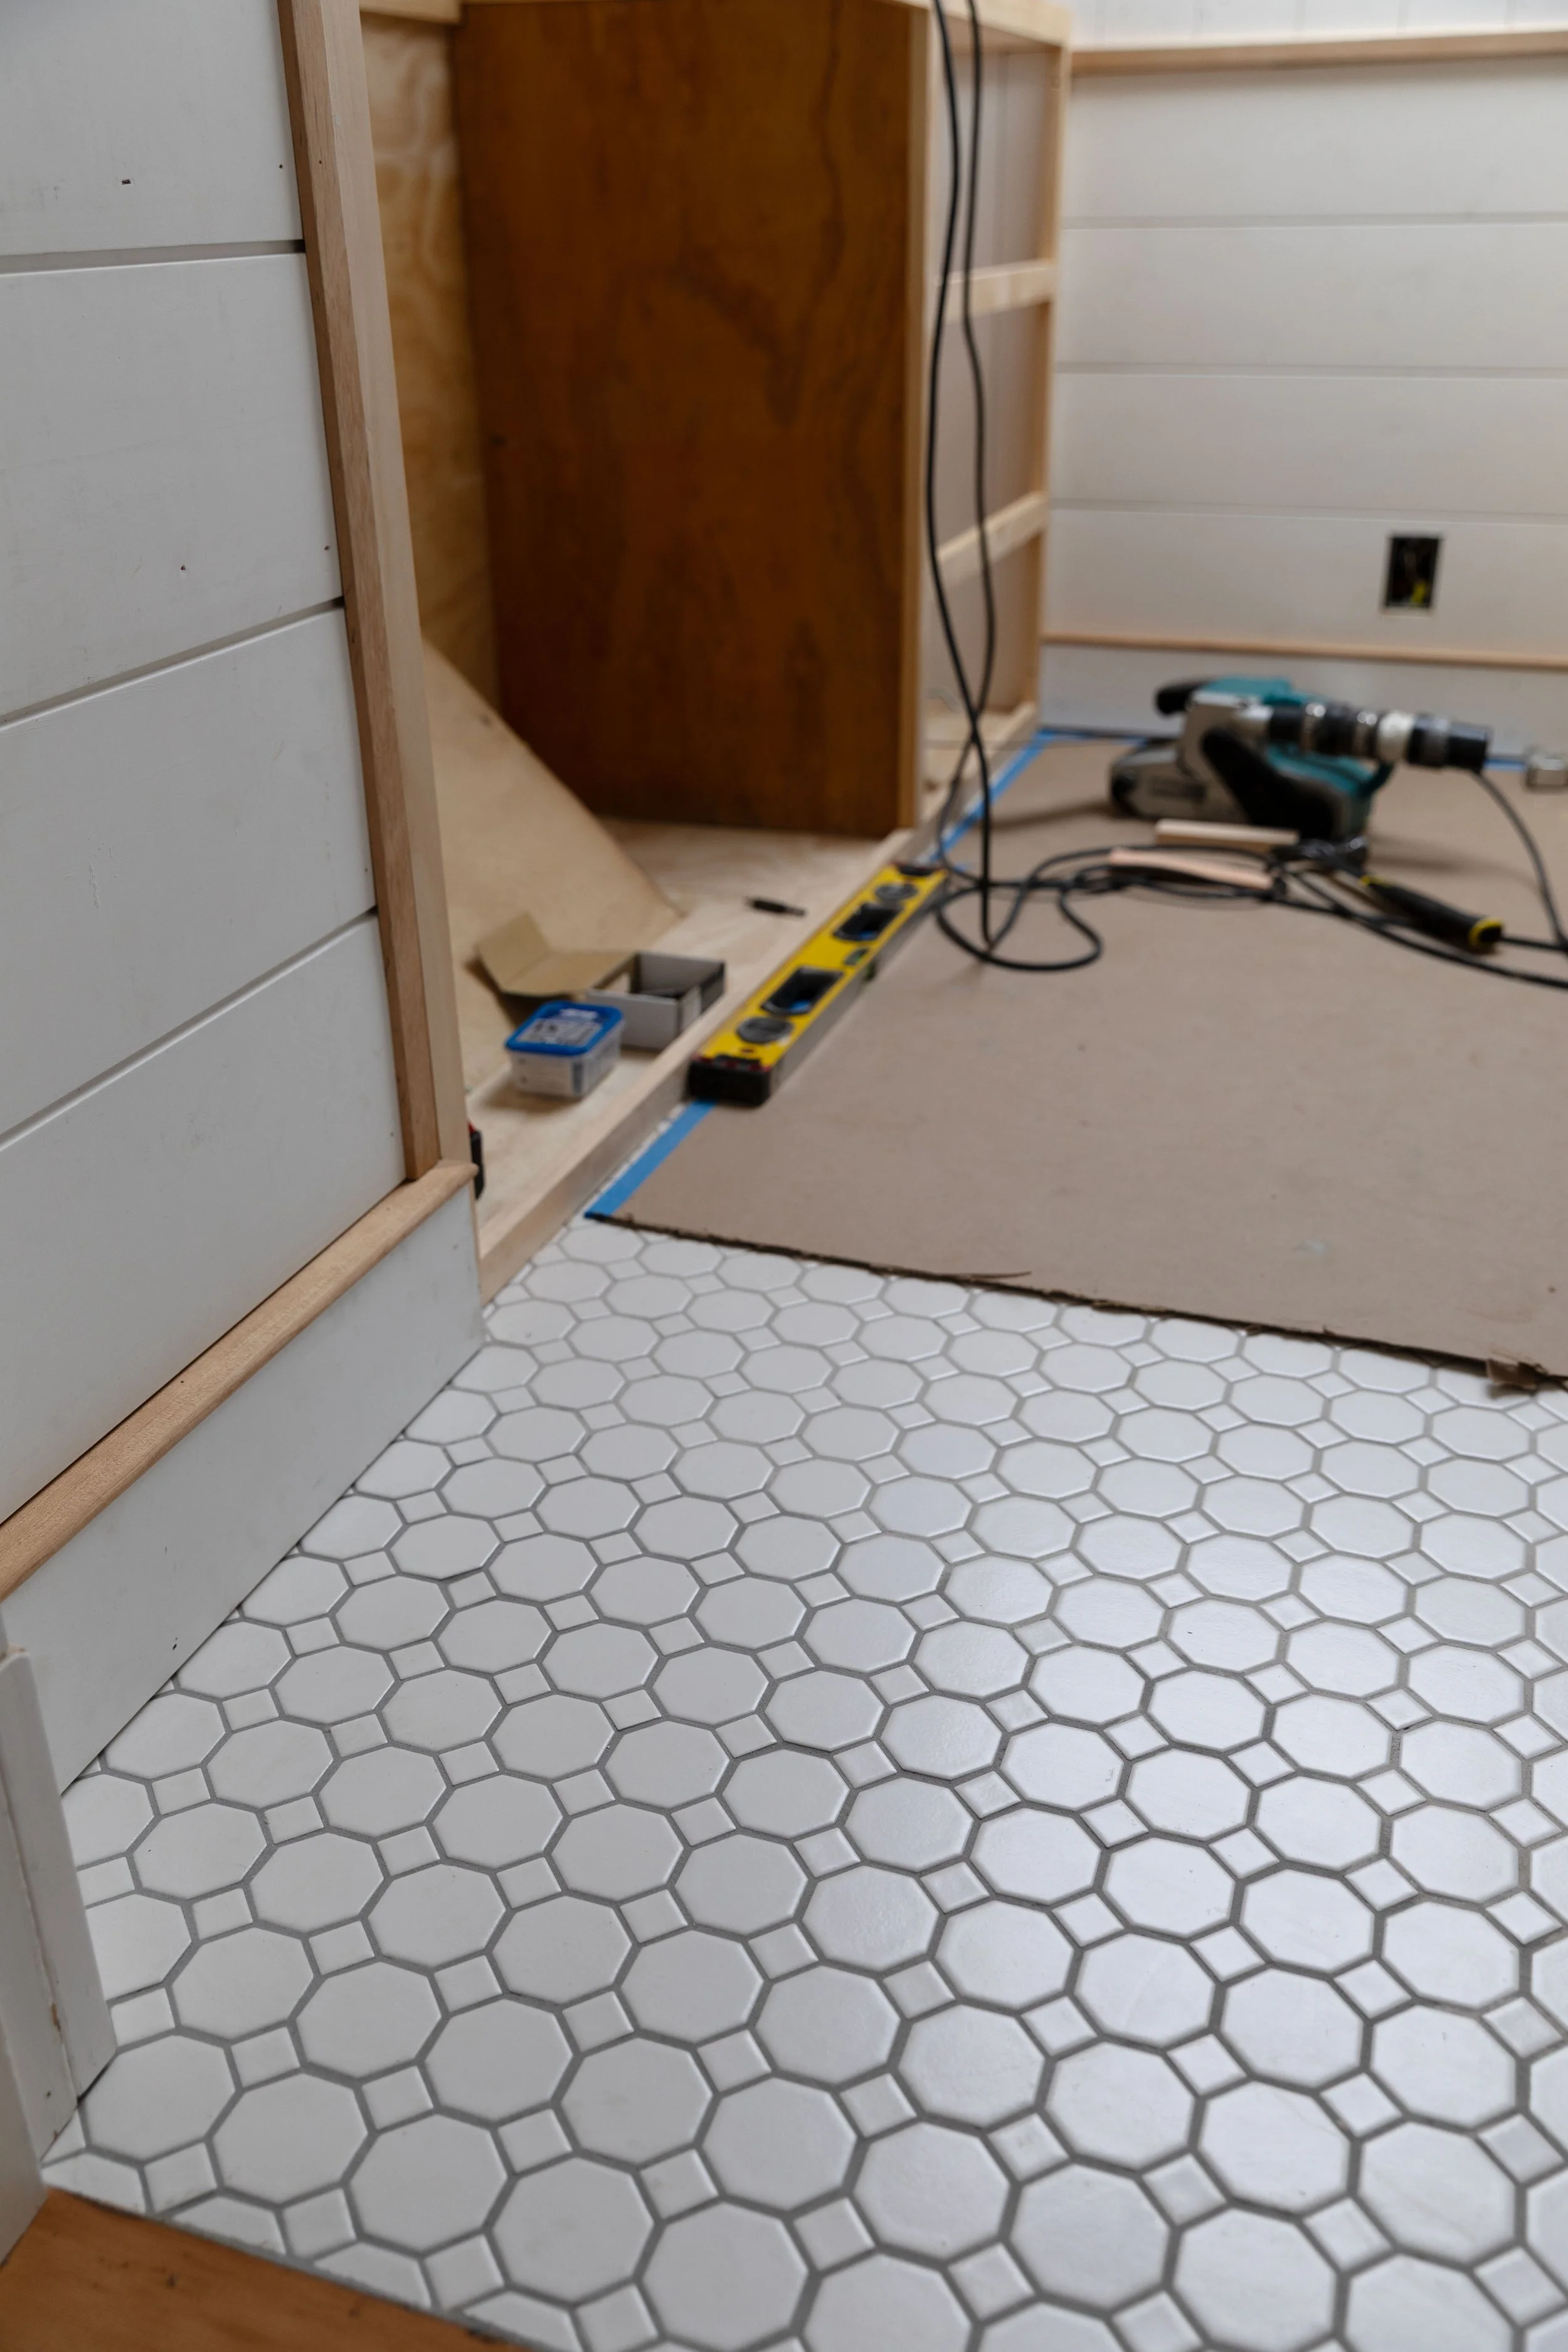
I’ve been dreaming of using Morris’ Pimpernel wallpaper for years now! And it was a thrill to see it going up. The project took about 8 hours spread over two days not including wall prep. But I’m pretty sure it was worth it. This space feels more like it’s own room now and leads into the bathroom beautifully.
I wanted to share a few tips for hanging wallpaper, but first let me show you how it turned out! This wallpaper is a bit of a chameleon, feeling deep and moody during an overcast day (as shown here), but light and fun on a sunny day. I love that!


This next angle is my favorite – I love seeing the wallpaper next to the bathroom’s brick chimney and wood wainscot (which will all get stained dark).

DIY tutorials
There’s lots of tutorials out there to watch before you attempt hanging your own wallpaper, but these two are short, simple, and really helpful whether you’re a newie or just trying to brush-up on your skills:


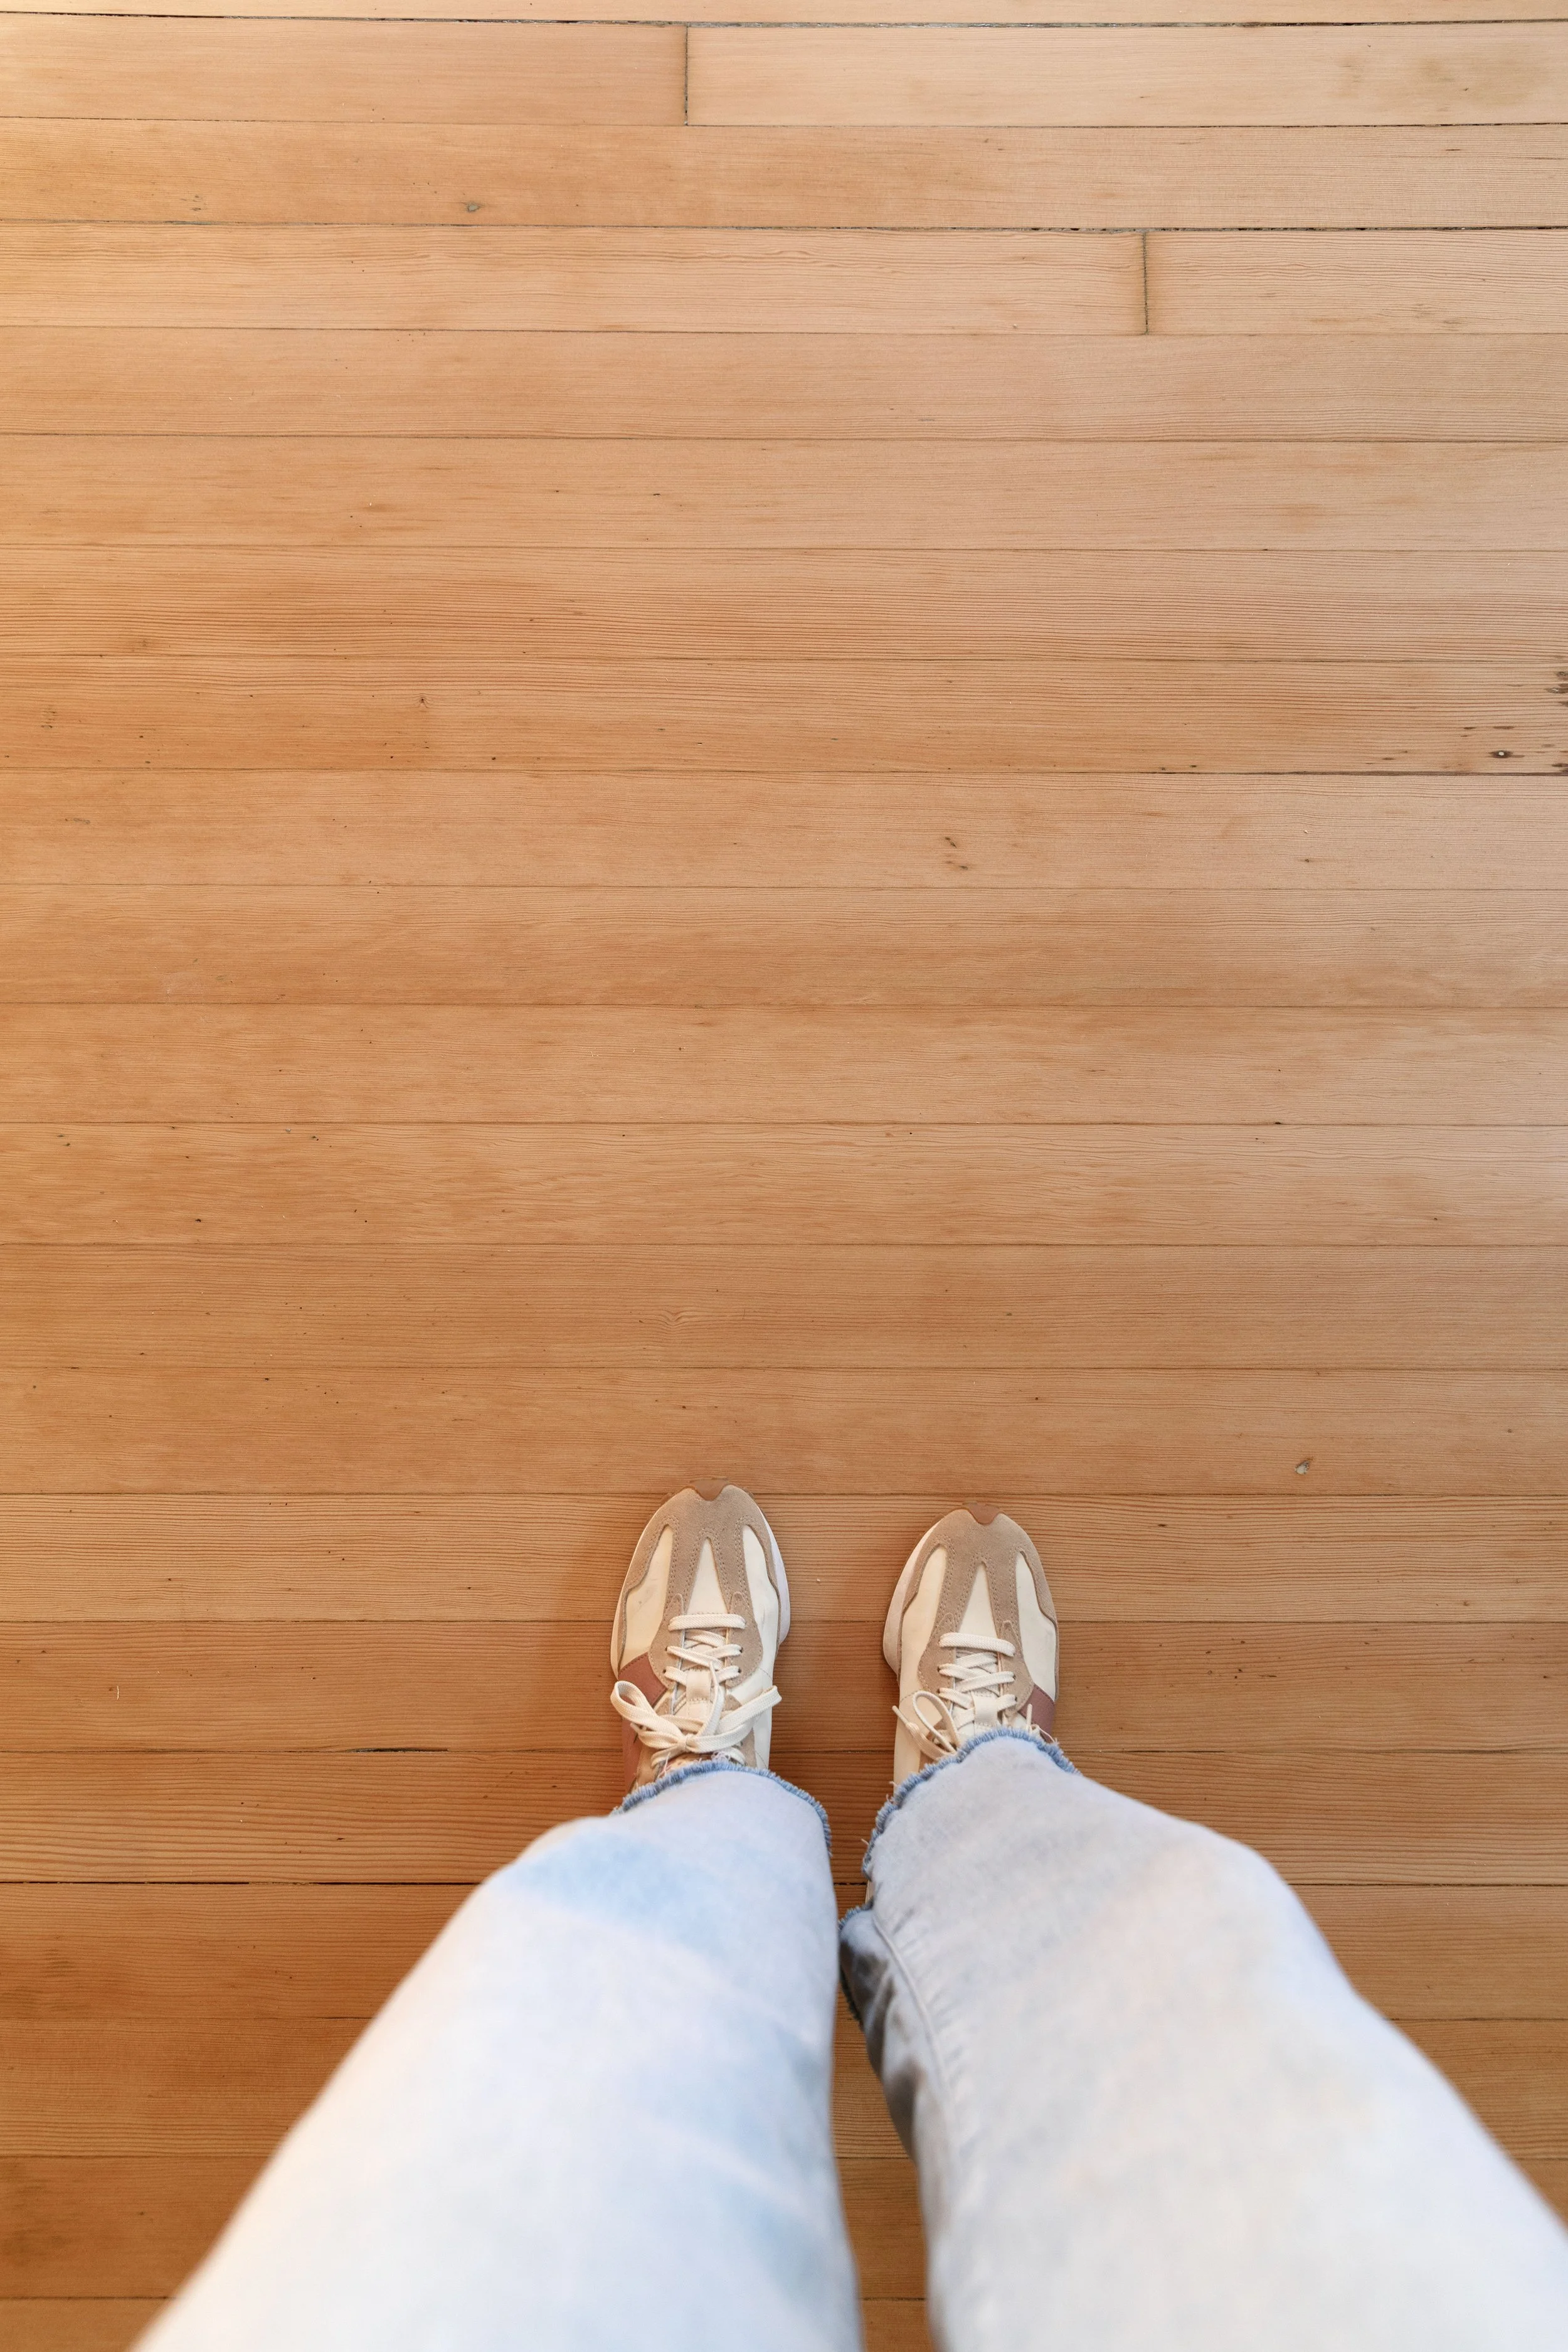
jeans (in Luxor last)
Tools of the trade
Here are the tools we used. We’re not professional wallpaper installers, so we don’t have all the specialty tools, but these were good enough ;)
Wallpaper (we used this print)
Handy Painters Tool Bag Deluxe
Scale (if using a diluted adhesive)
Measuring tape
smoothing tool (we just used our silicone grout float)
Utility knife
Scissors
Pencil
Bucket of water
Sponge
It’s also helpful to have a long table setup nearby. We used a 6’ folding table in the bathroom and marked 1’ increments along the side to make cutting easy. (Thankfully the showers never accidently turned on ;)

Here are a few tips for installing wallpaper…
Wallpaper hanging tips
1 // Prep, prep, prep
Smooth, level, and square walls make install so much faster. Of course in an old house, those can be hard to find! To begin with our walls had a bit of texture with a hand flattened skim coating of mud and some spots had a coarse sanded feel. We gave them a quick, light scrape to knock down the largest bumps and filled the most noticeable relief using drywall mud. After this process they were smoother than when we started but definitely still had some texture. Next we primed the walls and painted the ceiling.


2 // Pre-cut
Pre-cut when you can (before glue) – Wallpaper is hard to cut once it’s pasted and moist, so we did our best to precut the length.
3 // Remove trim and wall plates
We removed all of the outlet and switch covers and then it was easy to cut these out once the paper was glued in place. All of the trim was also off so we didn’t have to cut around these making for a faster install and in the end a cleaner look.
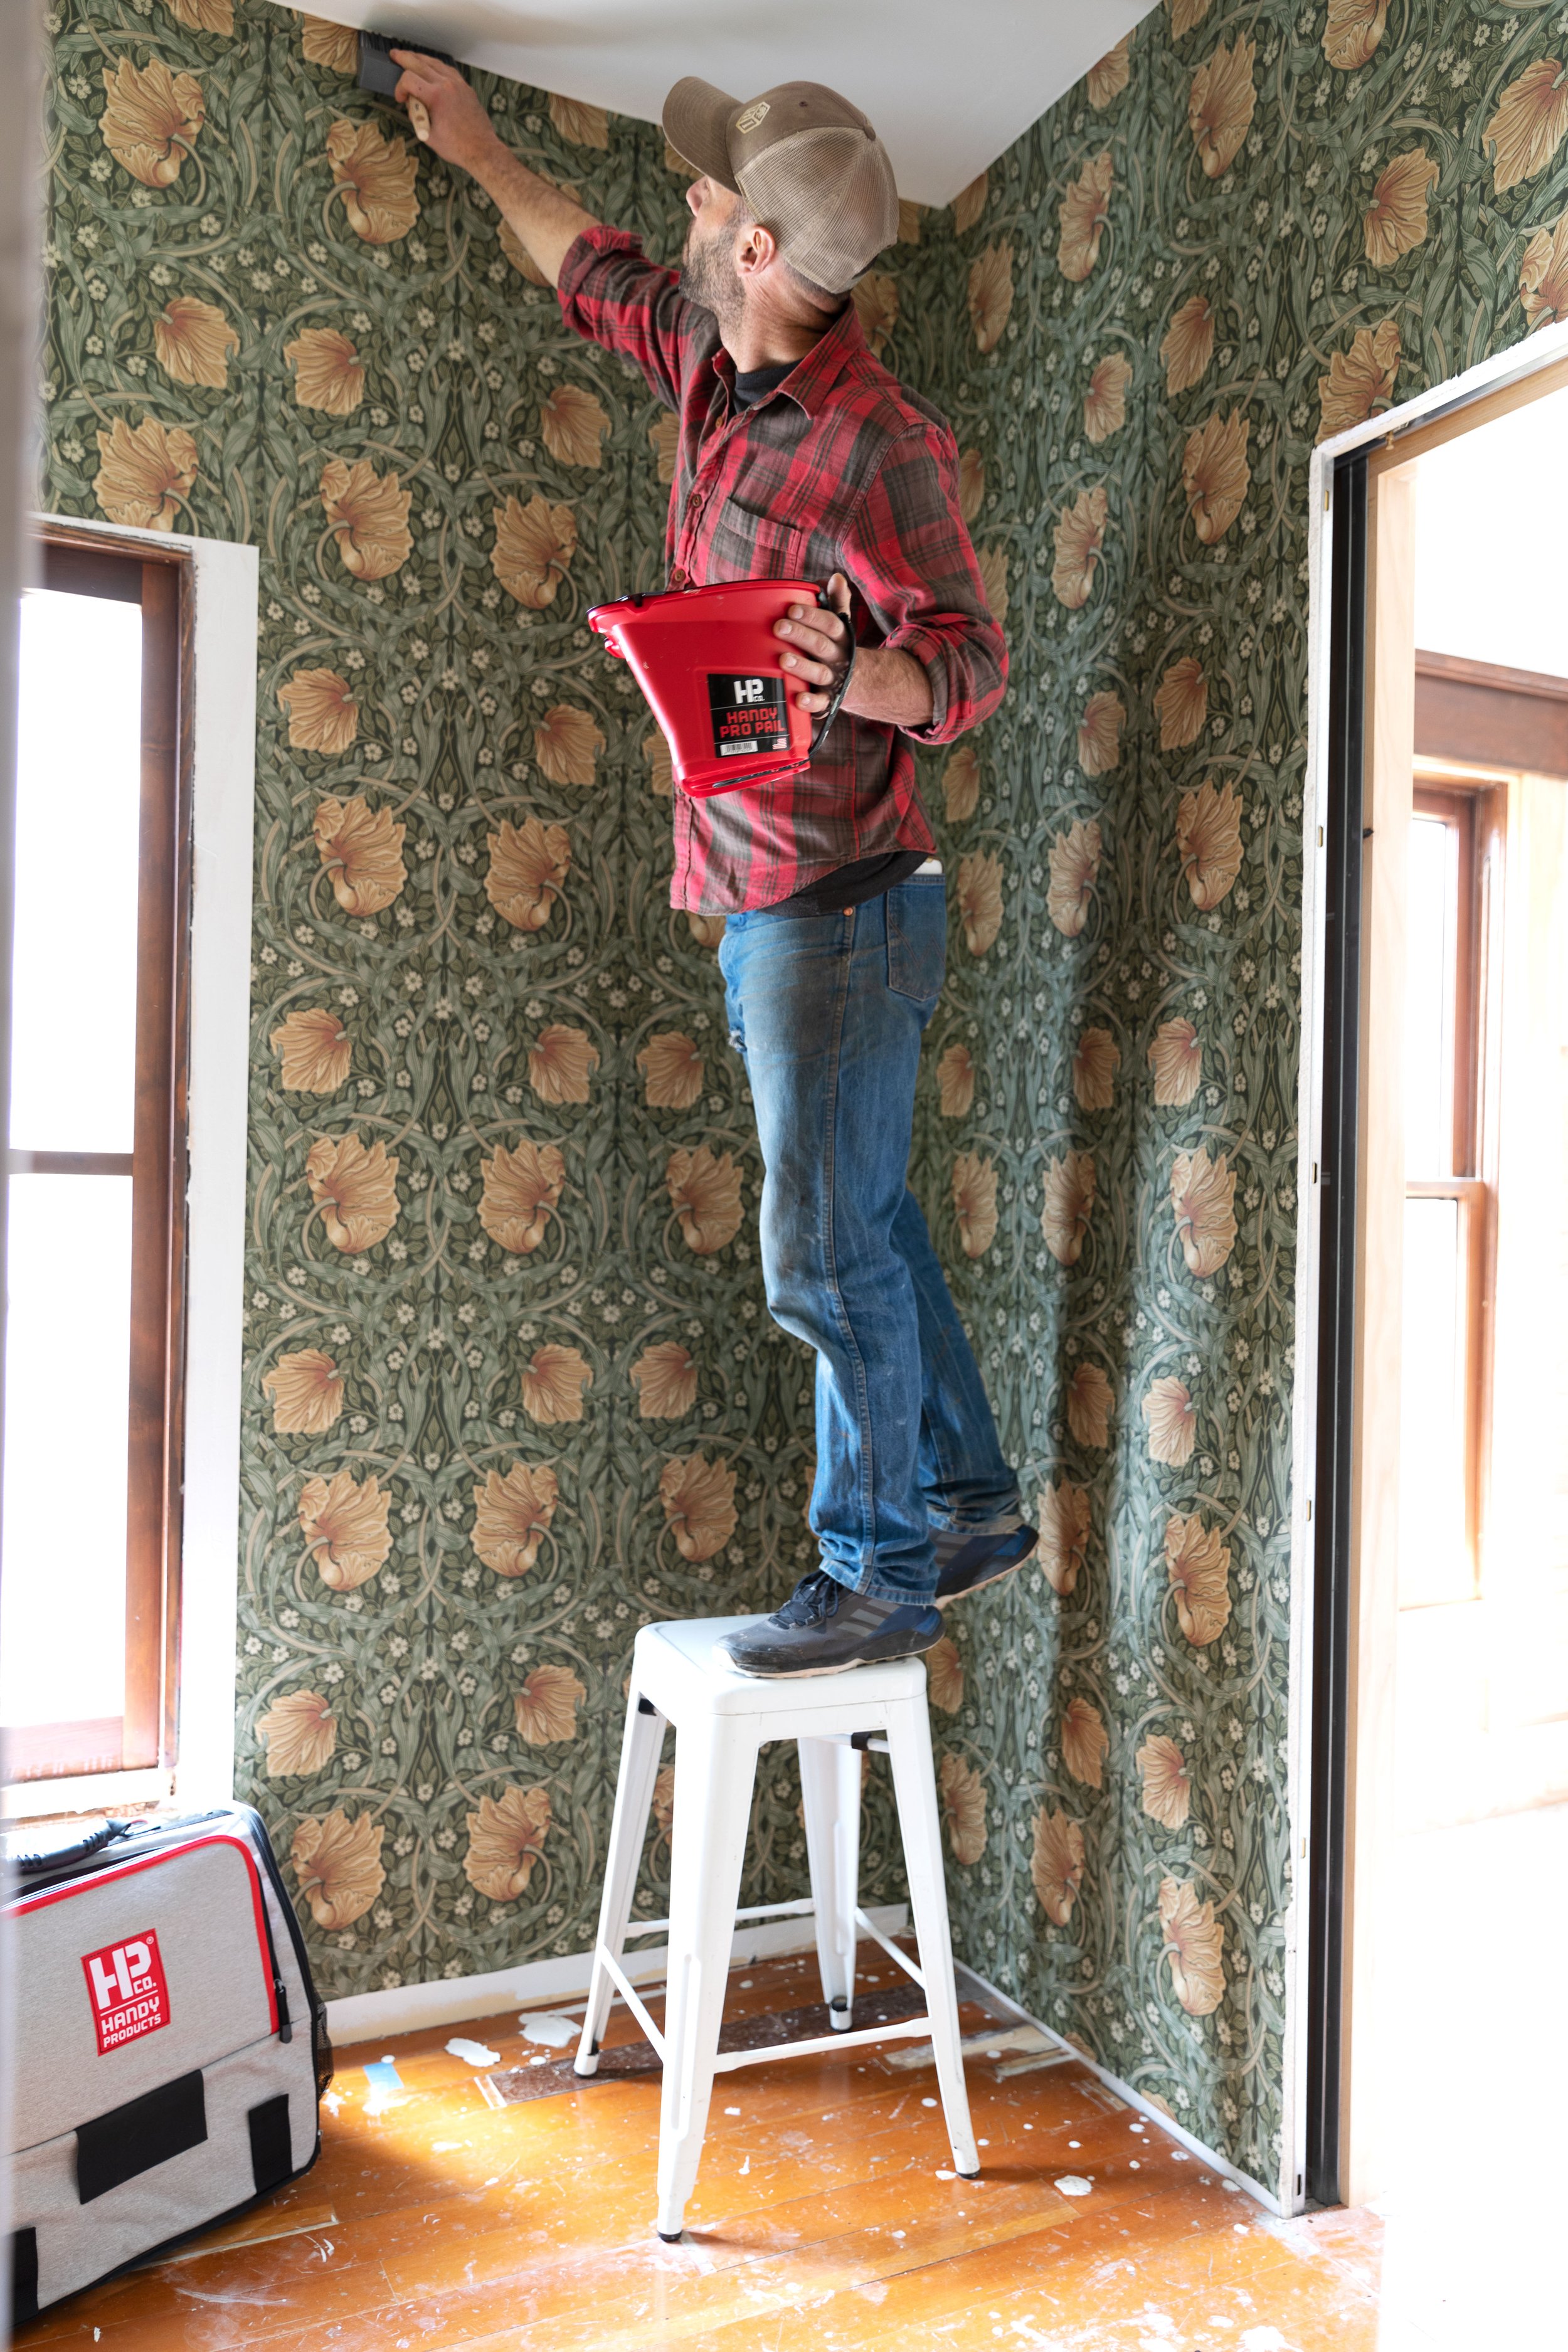
4 // Have your paste mobile
We mixed our paste in the Handy Pro Pail, which was a nice size for this task because its fit the large paste brush. With almost each sheet, we found ourselves adding more glue to the edges, top, or bottom as we placed the paper and the Pro Pail made taking it anywhere easy.

5 // It takes two –
Garrett and I worked together on this install over two days. I actually considered doing the install myself, but I’m thankful I didn’t because a partner makes it go sooooo much smoother, especially when you have tall ceilings and long pieces of wallpaper.
6 // Have fresh, clean water handy.
We kept a bucket of fresh water nearby to clean glue off our table, clean glue off the front of the wallpaper, clean glue off the floors…you get the point.
7 // Take your time.
Ugh. I know. You’re ready for the lovely wallpaper to be up already. But taking your time and getting each piece of paper placed as precisely as possible, makes the next piece go up easier. We found that the corners and doorways were the hardest and required 5x longer to hang than the sheets on flat long walls.
8 // Have enough
Triple check you have enough paper before you start. That means accounting for the pattern repeat and waste. I’d recommend having an extra length or two or a whole roll in case you accidently cut your first sheet 2’ short (hypothetically ;). This small room took 4 rolls of paper, which still blows my mind, but that’s just how it goes.


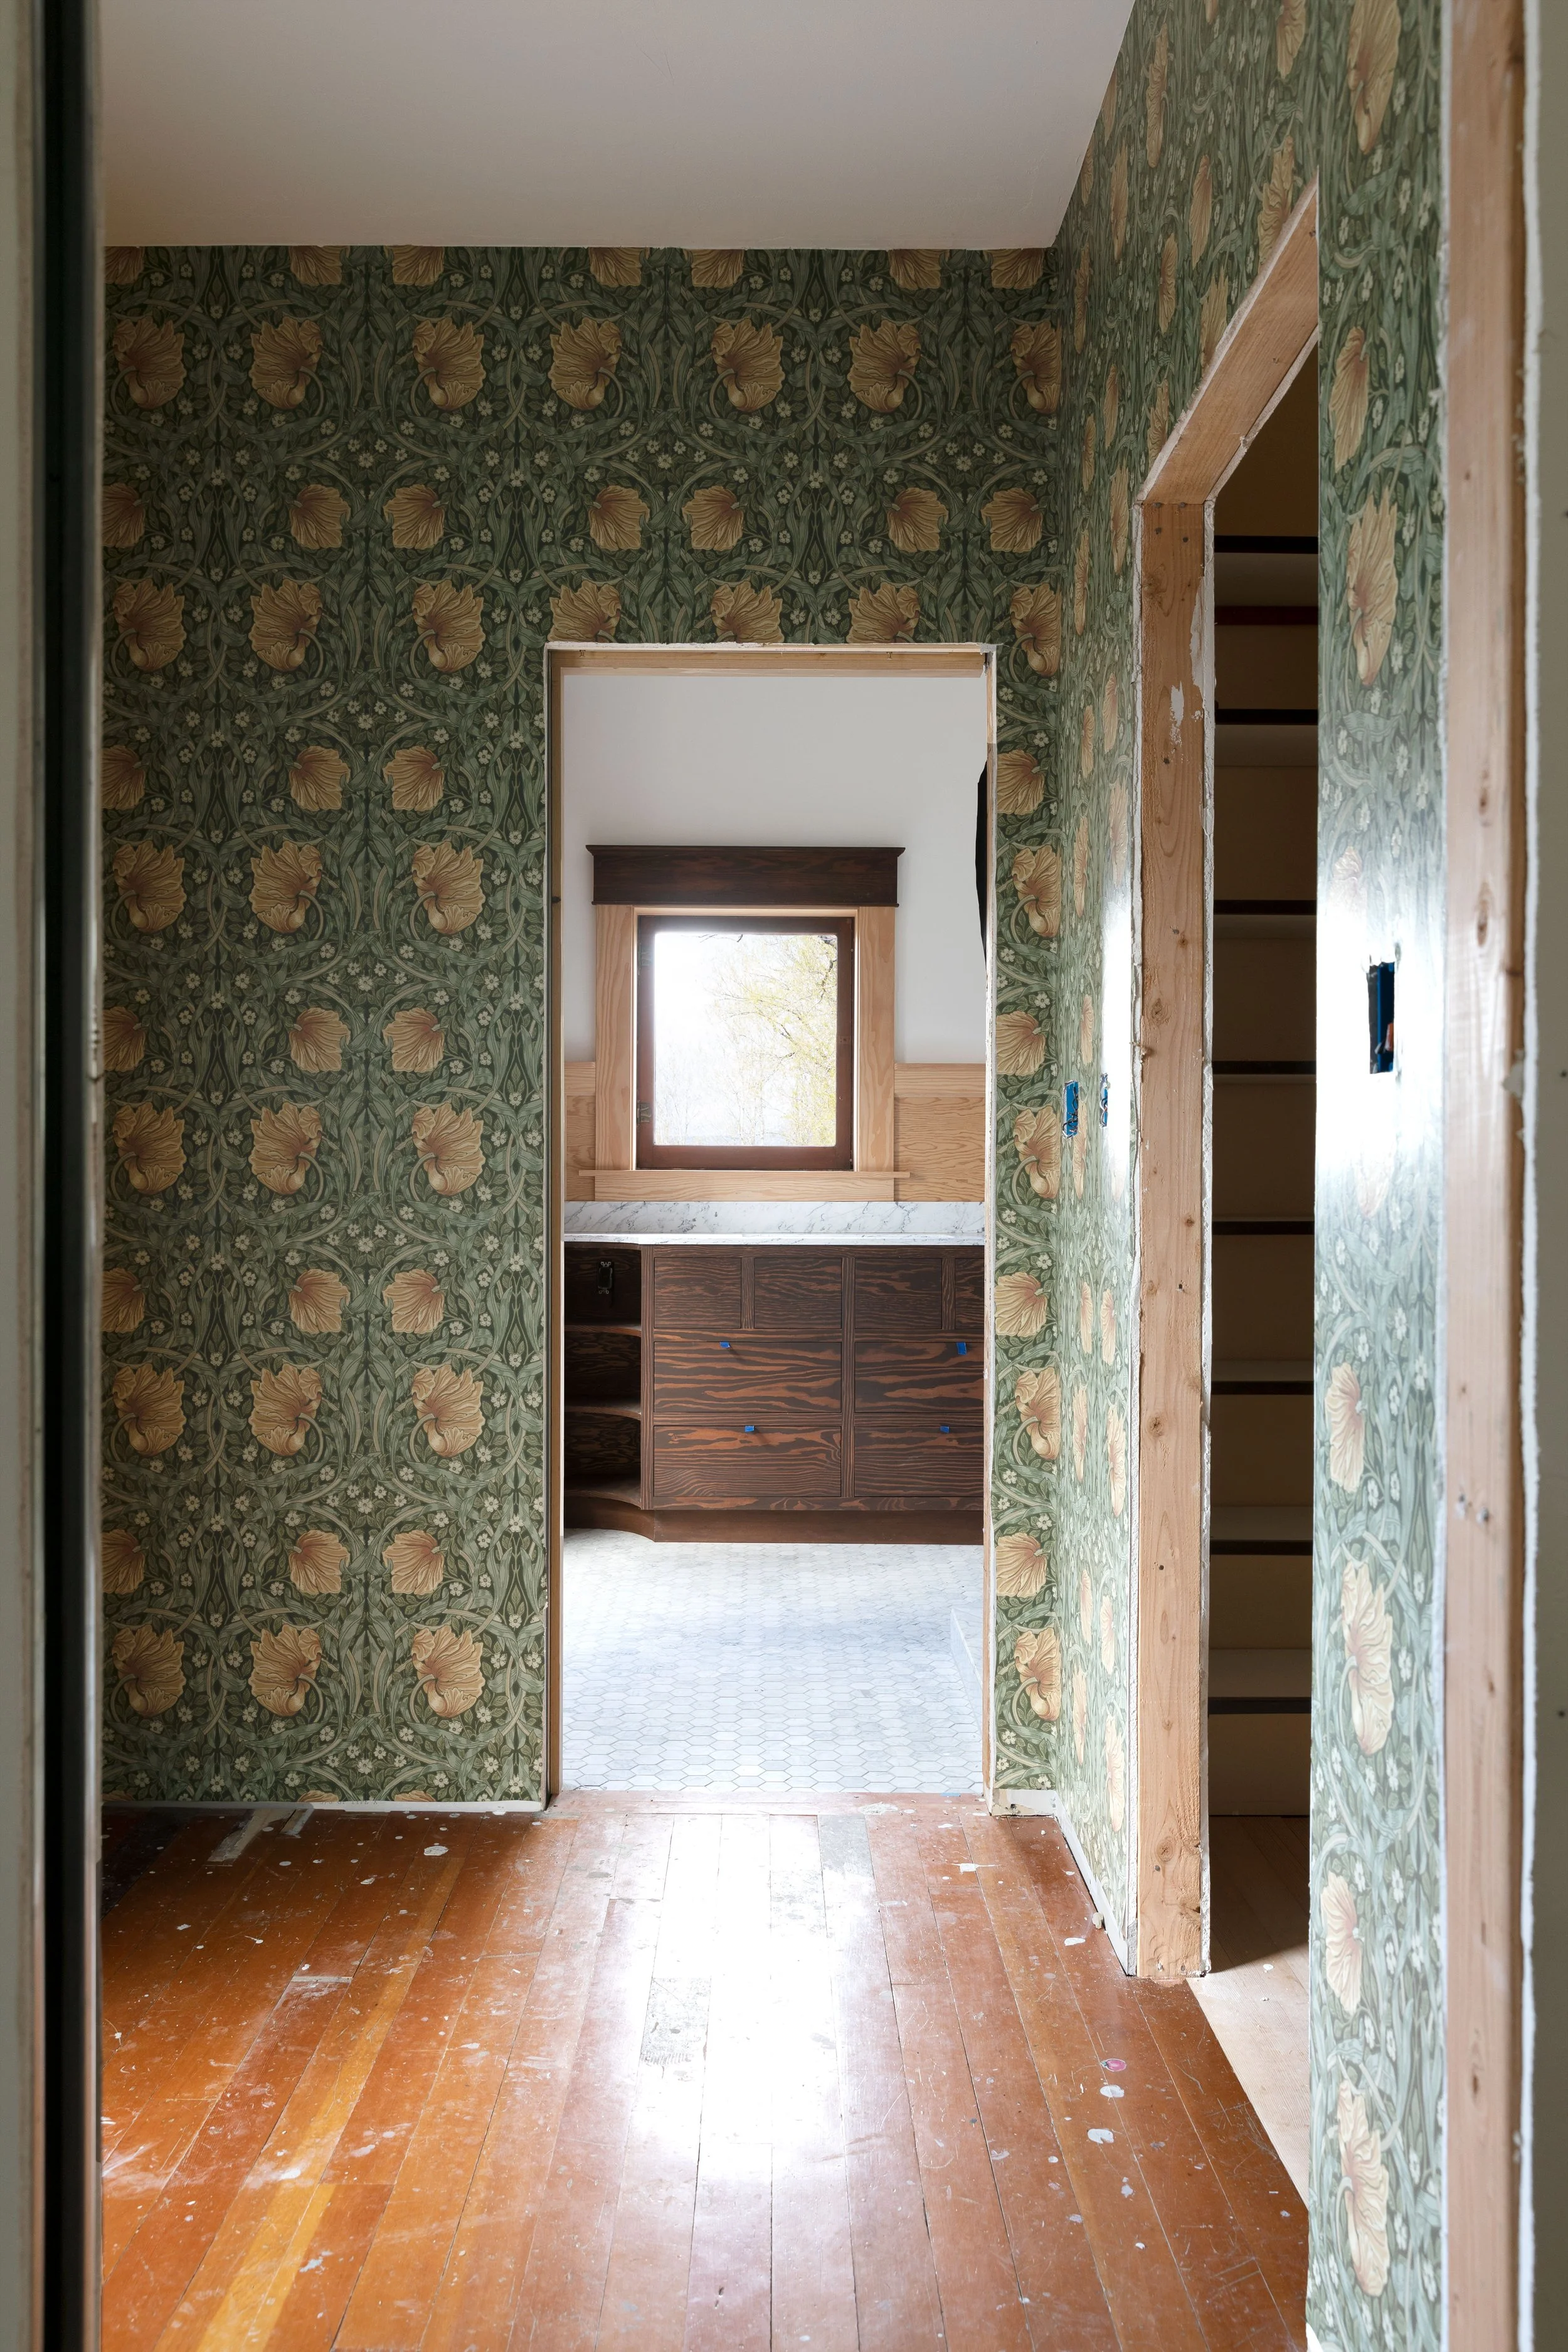
And now for a dilemma…
And now that the wallpaper is on…here’s our dilemma. Do we put dark wood molding up in here to match the rest of the house? OR do we put up painted trim to match the closet color, F&B Off-White (we’ll catch you up on the closet progress soon!)? OR do we go for white trim to tie in the adjacent bedroom and bathroom color, BM Simple White? Here are a few photos to give you a feel for the situation, you’ll have to use a bit of imagination and please excuse the mess ;)


Thoughts?
Thanks for cheering us on every step of the way for the world’s slowwwest bathroom/closet/nook remodel ;) and thanks to Handy Products for supporting our work!