Tiles and Wallpaper in the Kids Bathroom!
THE FARMHOUSE
We’ve been making steady progress on the kids bathroom remodel. Bathtub. Check! Tiles. Check! Wallpaper. Check! It’s been a whirlwind and today I wanted to catch you up all the progress. Let’s get into it…

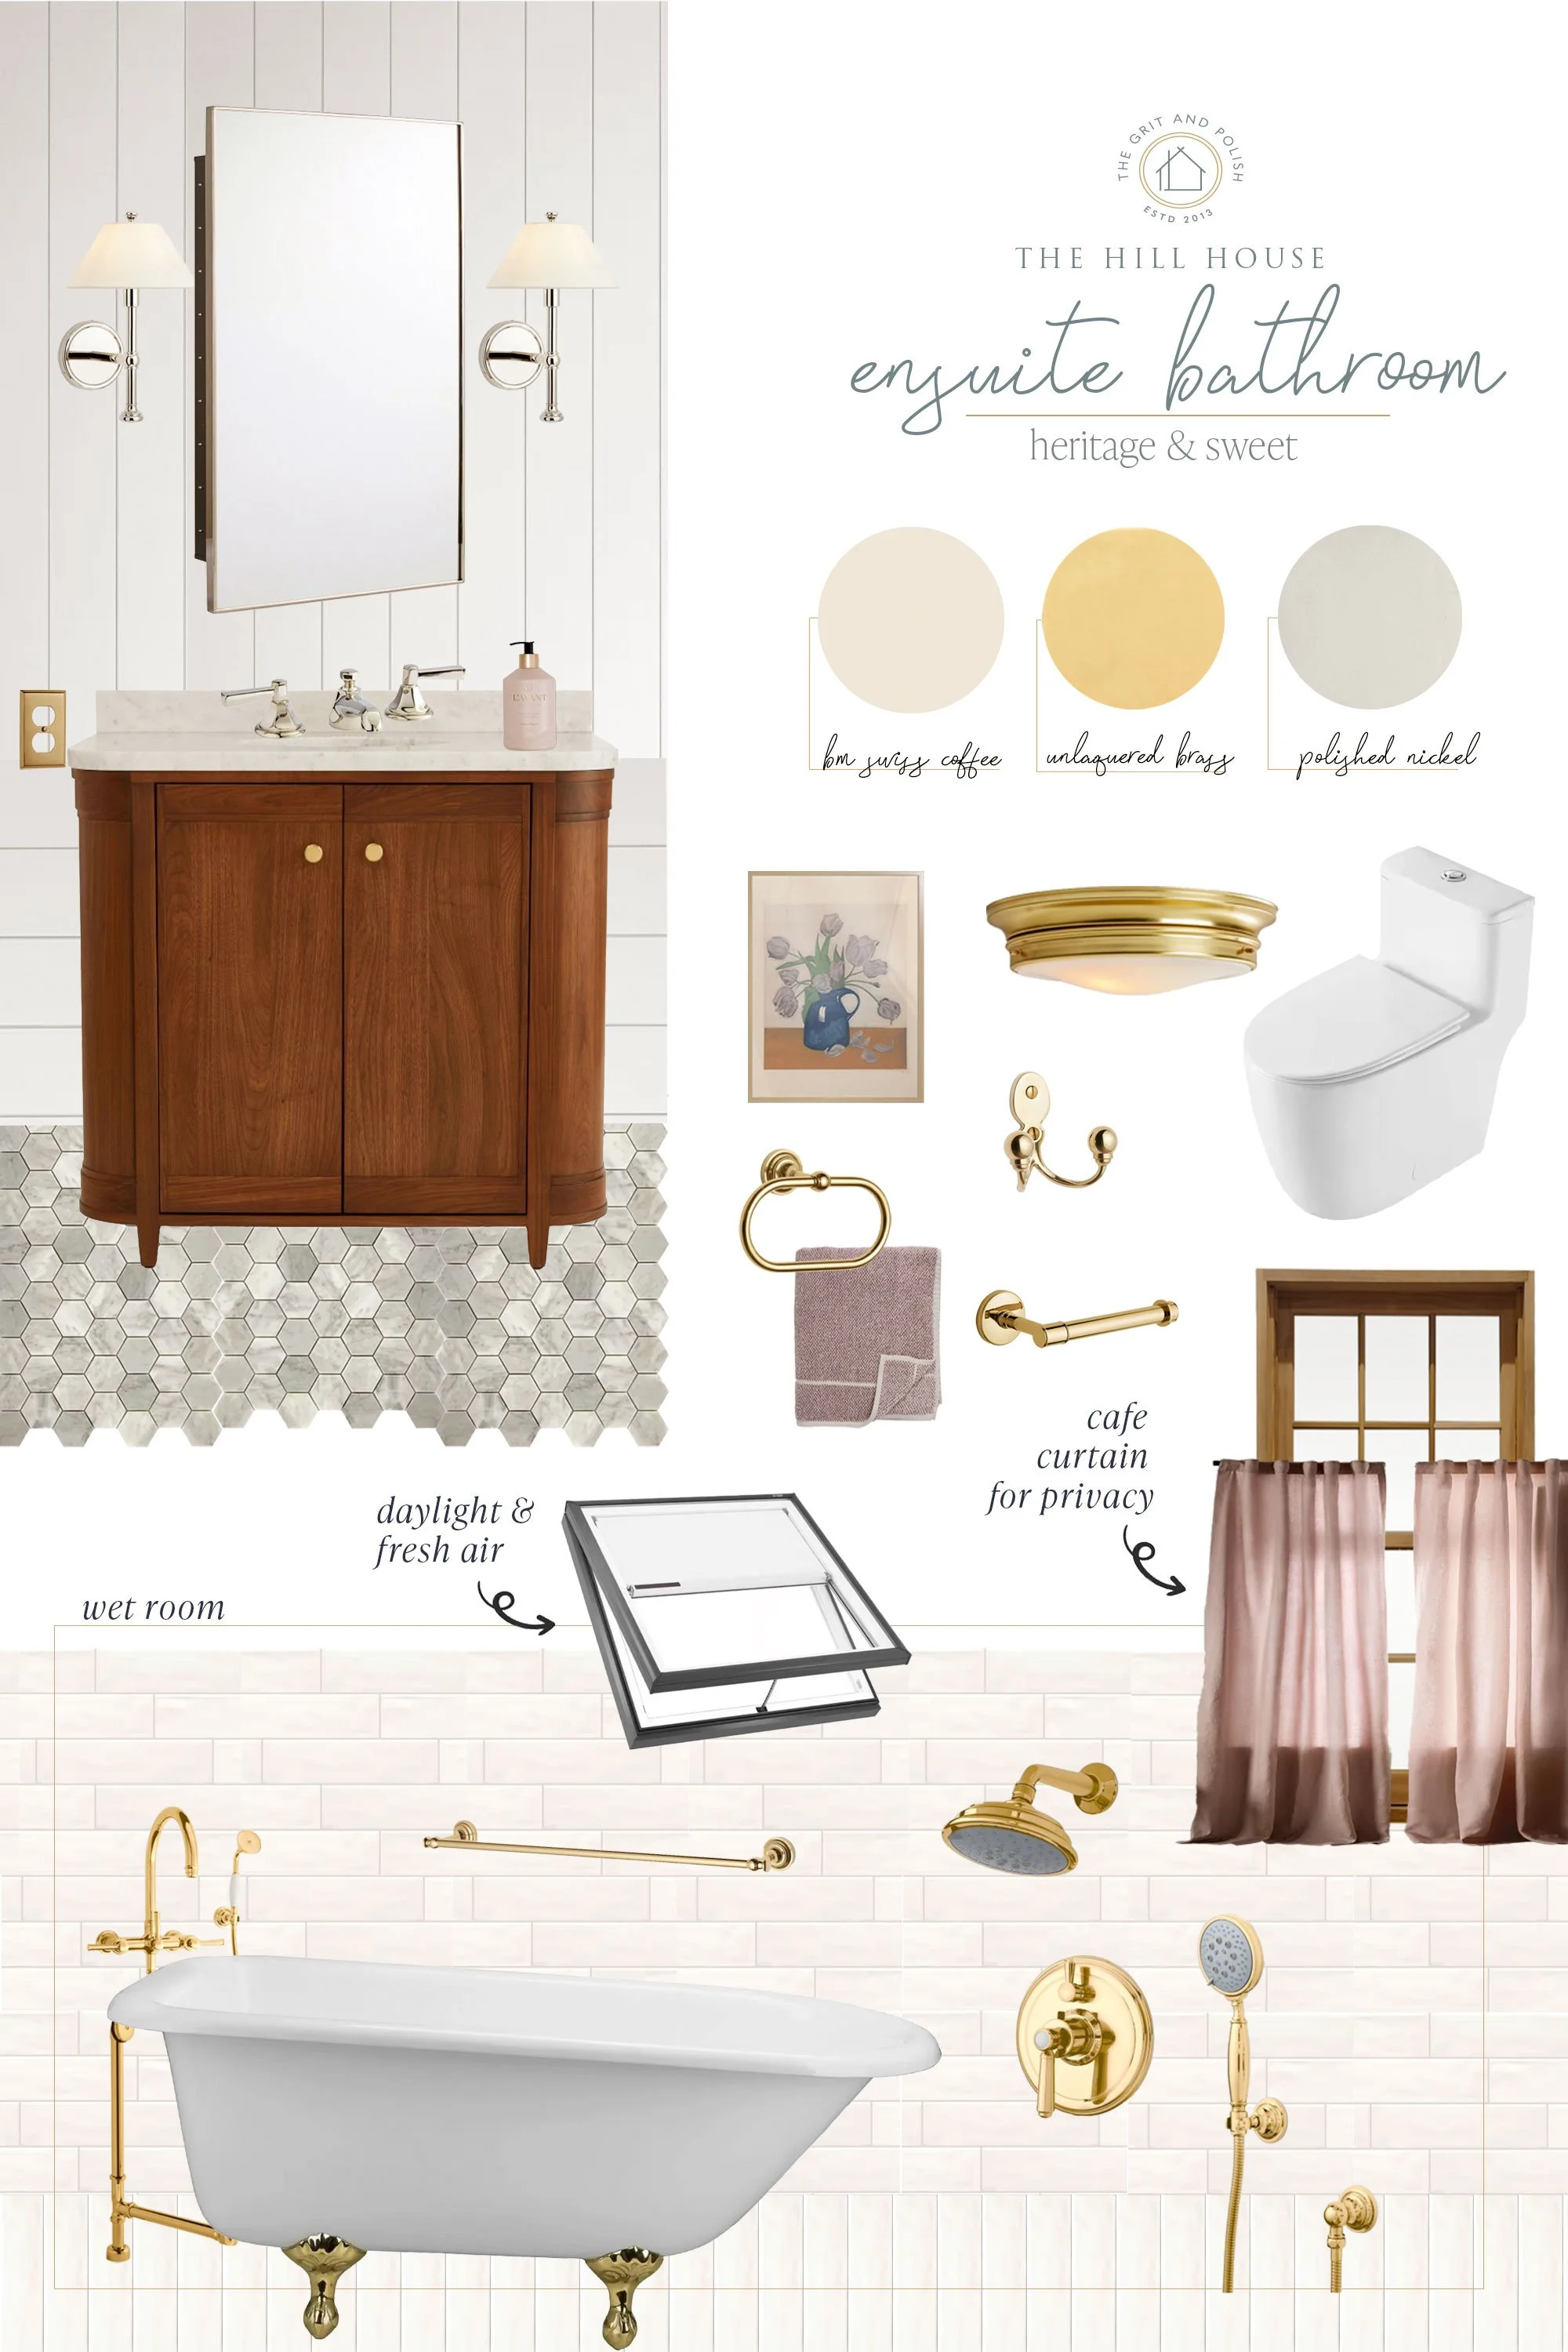
As a reminder, here are the finishes we’re using in this bathroom…

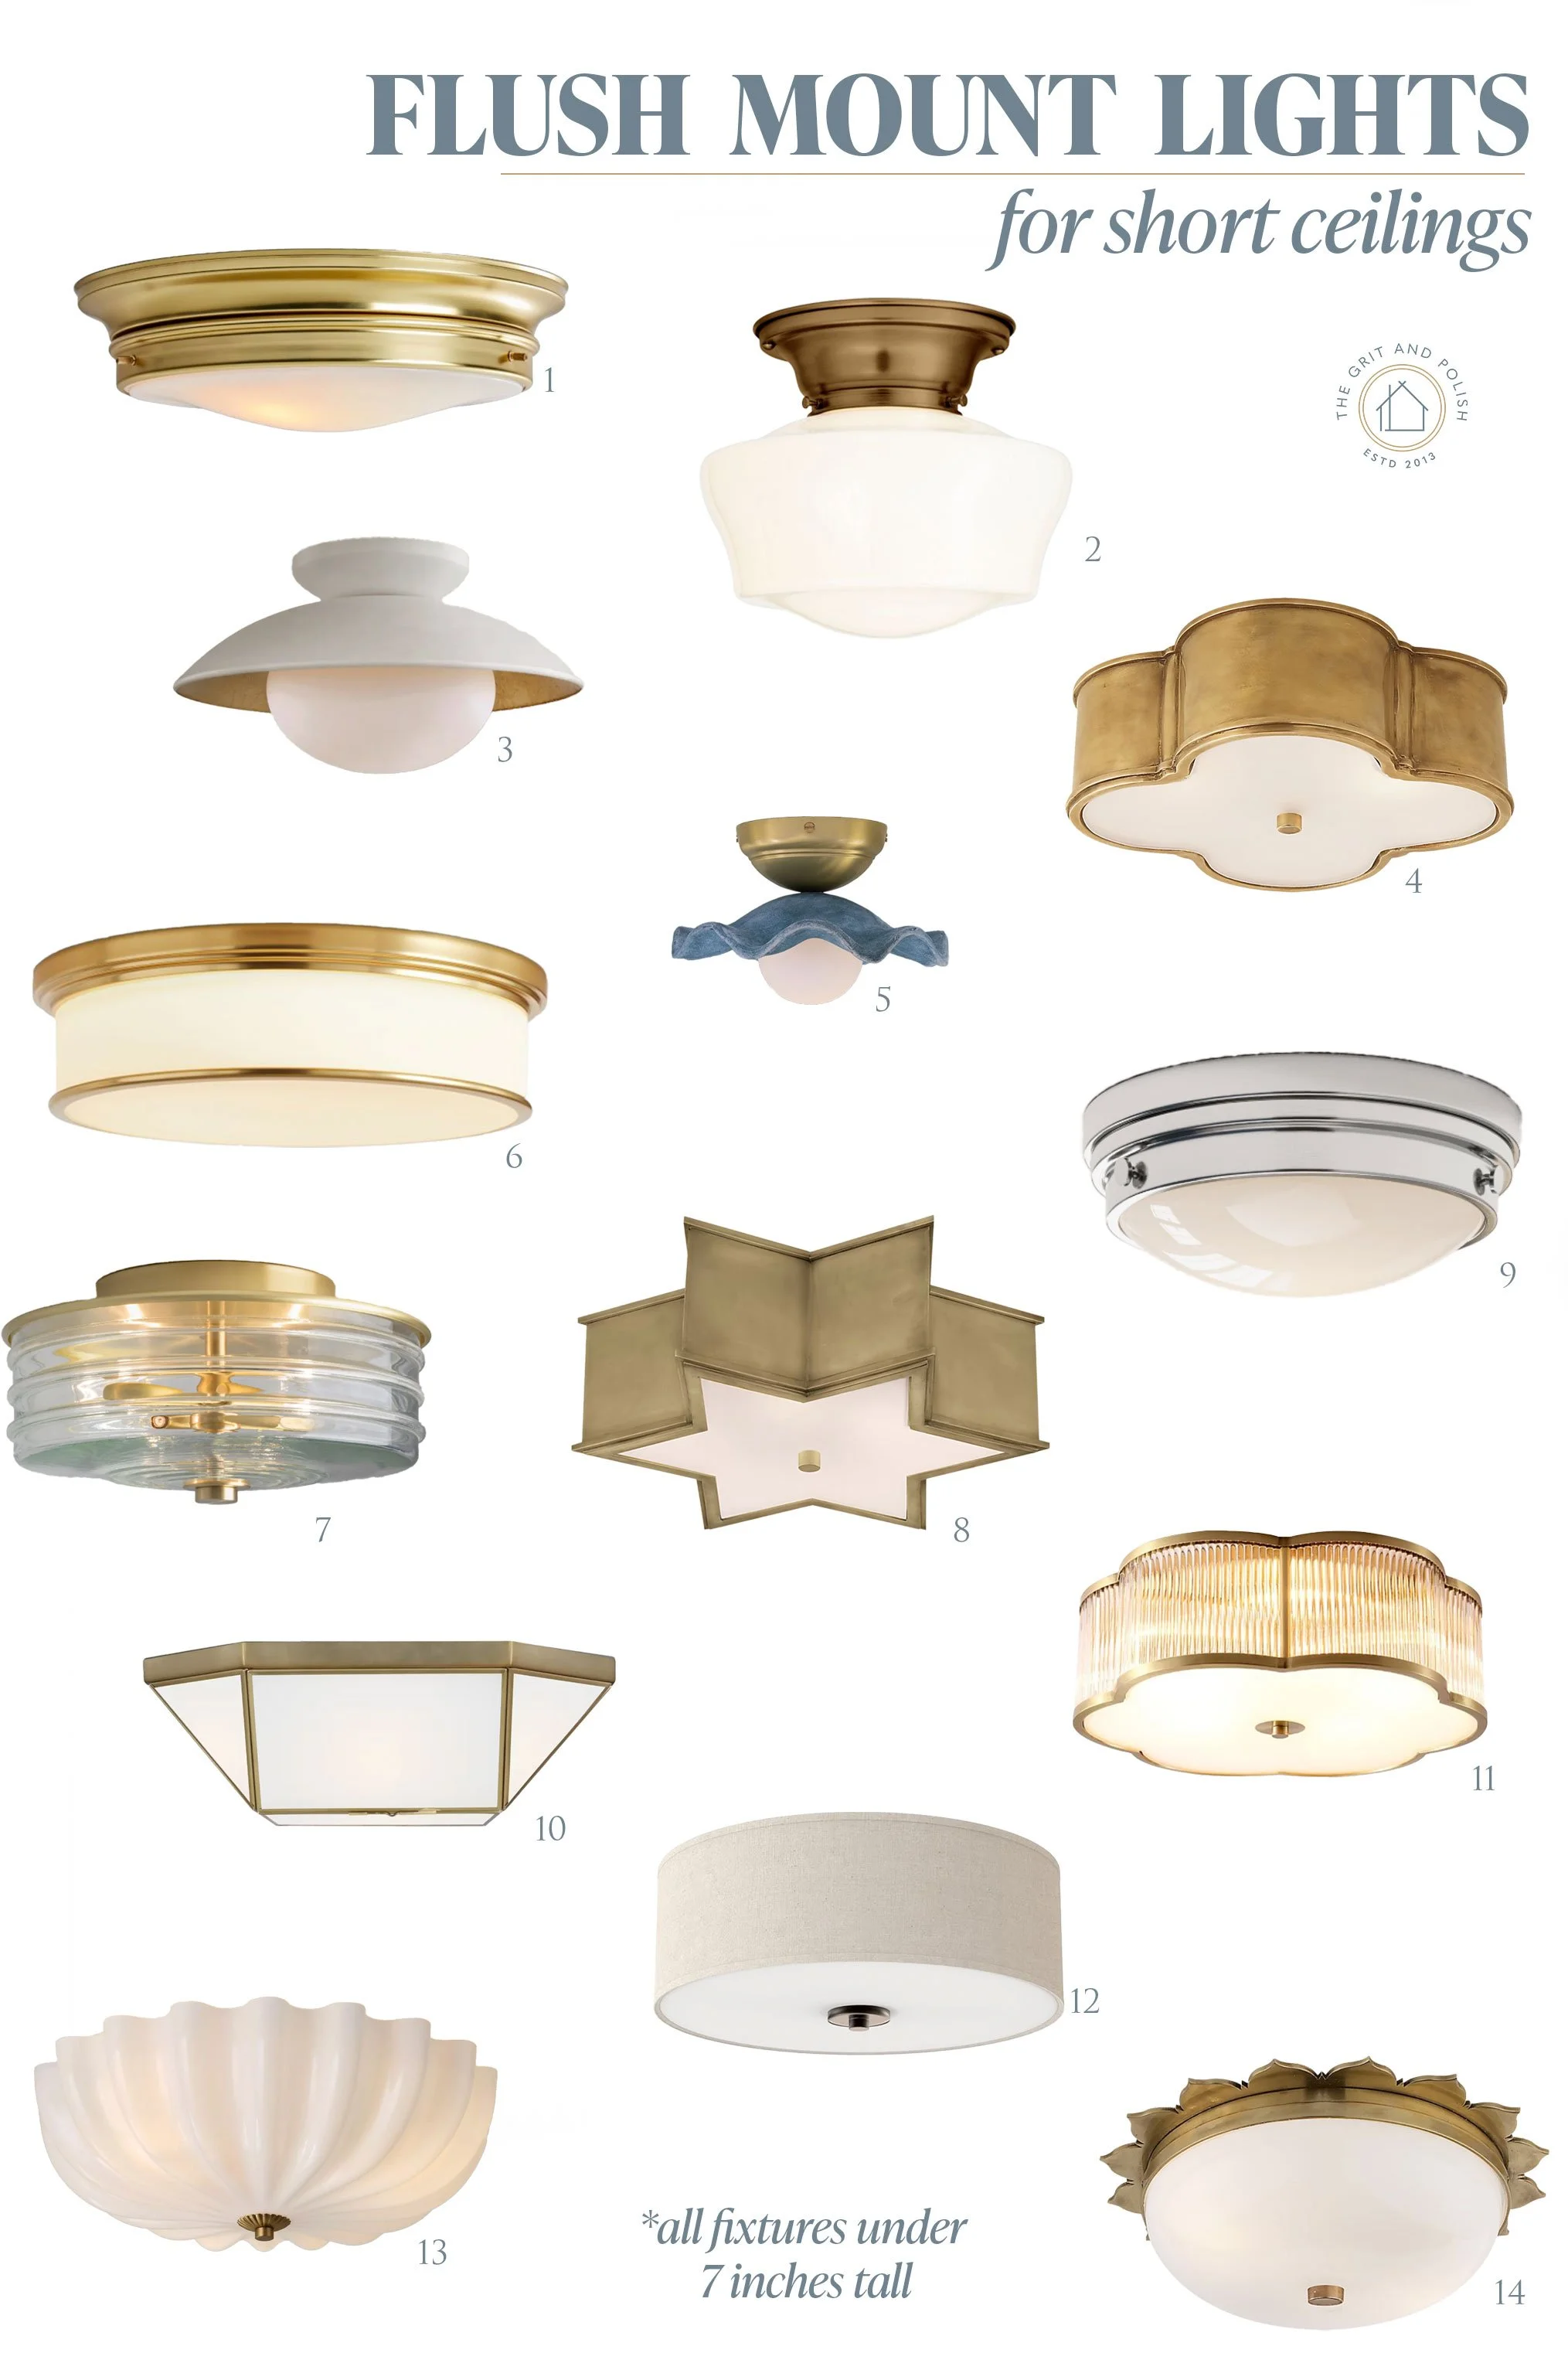
wallpaper (chalk white), mirror, sconces (aged brass, opal dome), vanity, brass nobs, overhead fixture, floor tile, wall tile, marble accent tile, ring + hook + holder, faucet, bath+ shower trim kit, shower head, cast iron tub, bottles, picture light, shower curtain fabric
the bathtub!
I have a bit of an obsession with cast iron tubs (acrylic just doesn’t do it for me) so I ordered this large, flat-front number from Kohler. I’m in LOVE with it but… it weighs 400lbs. Eek! Moving that sucker upstairs was a pain, but somehow with the help of our 9-year-old and a block-and tackle pulley setup we were able to haul it to the second floor. A small miracle!

Okay, let’s talk about the tile…
Tile
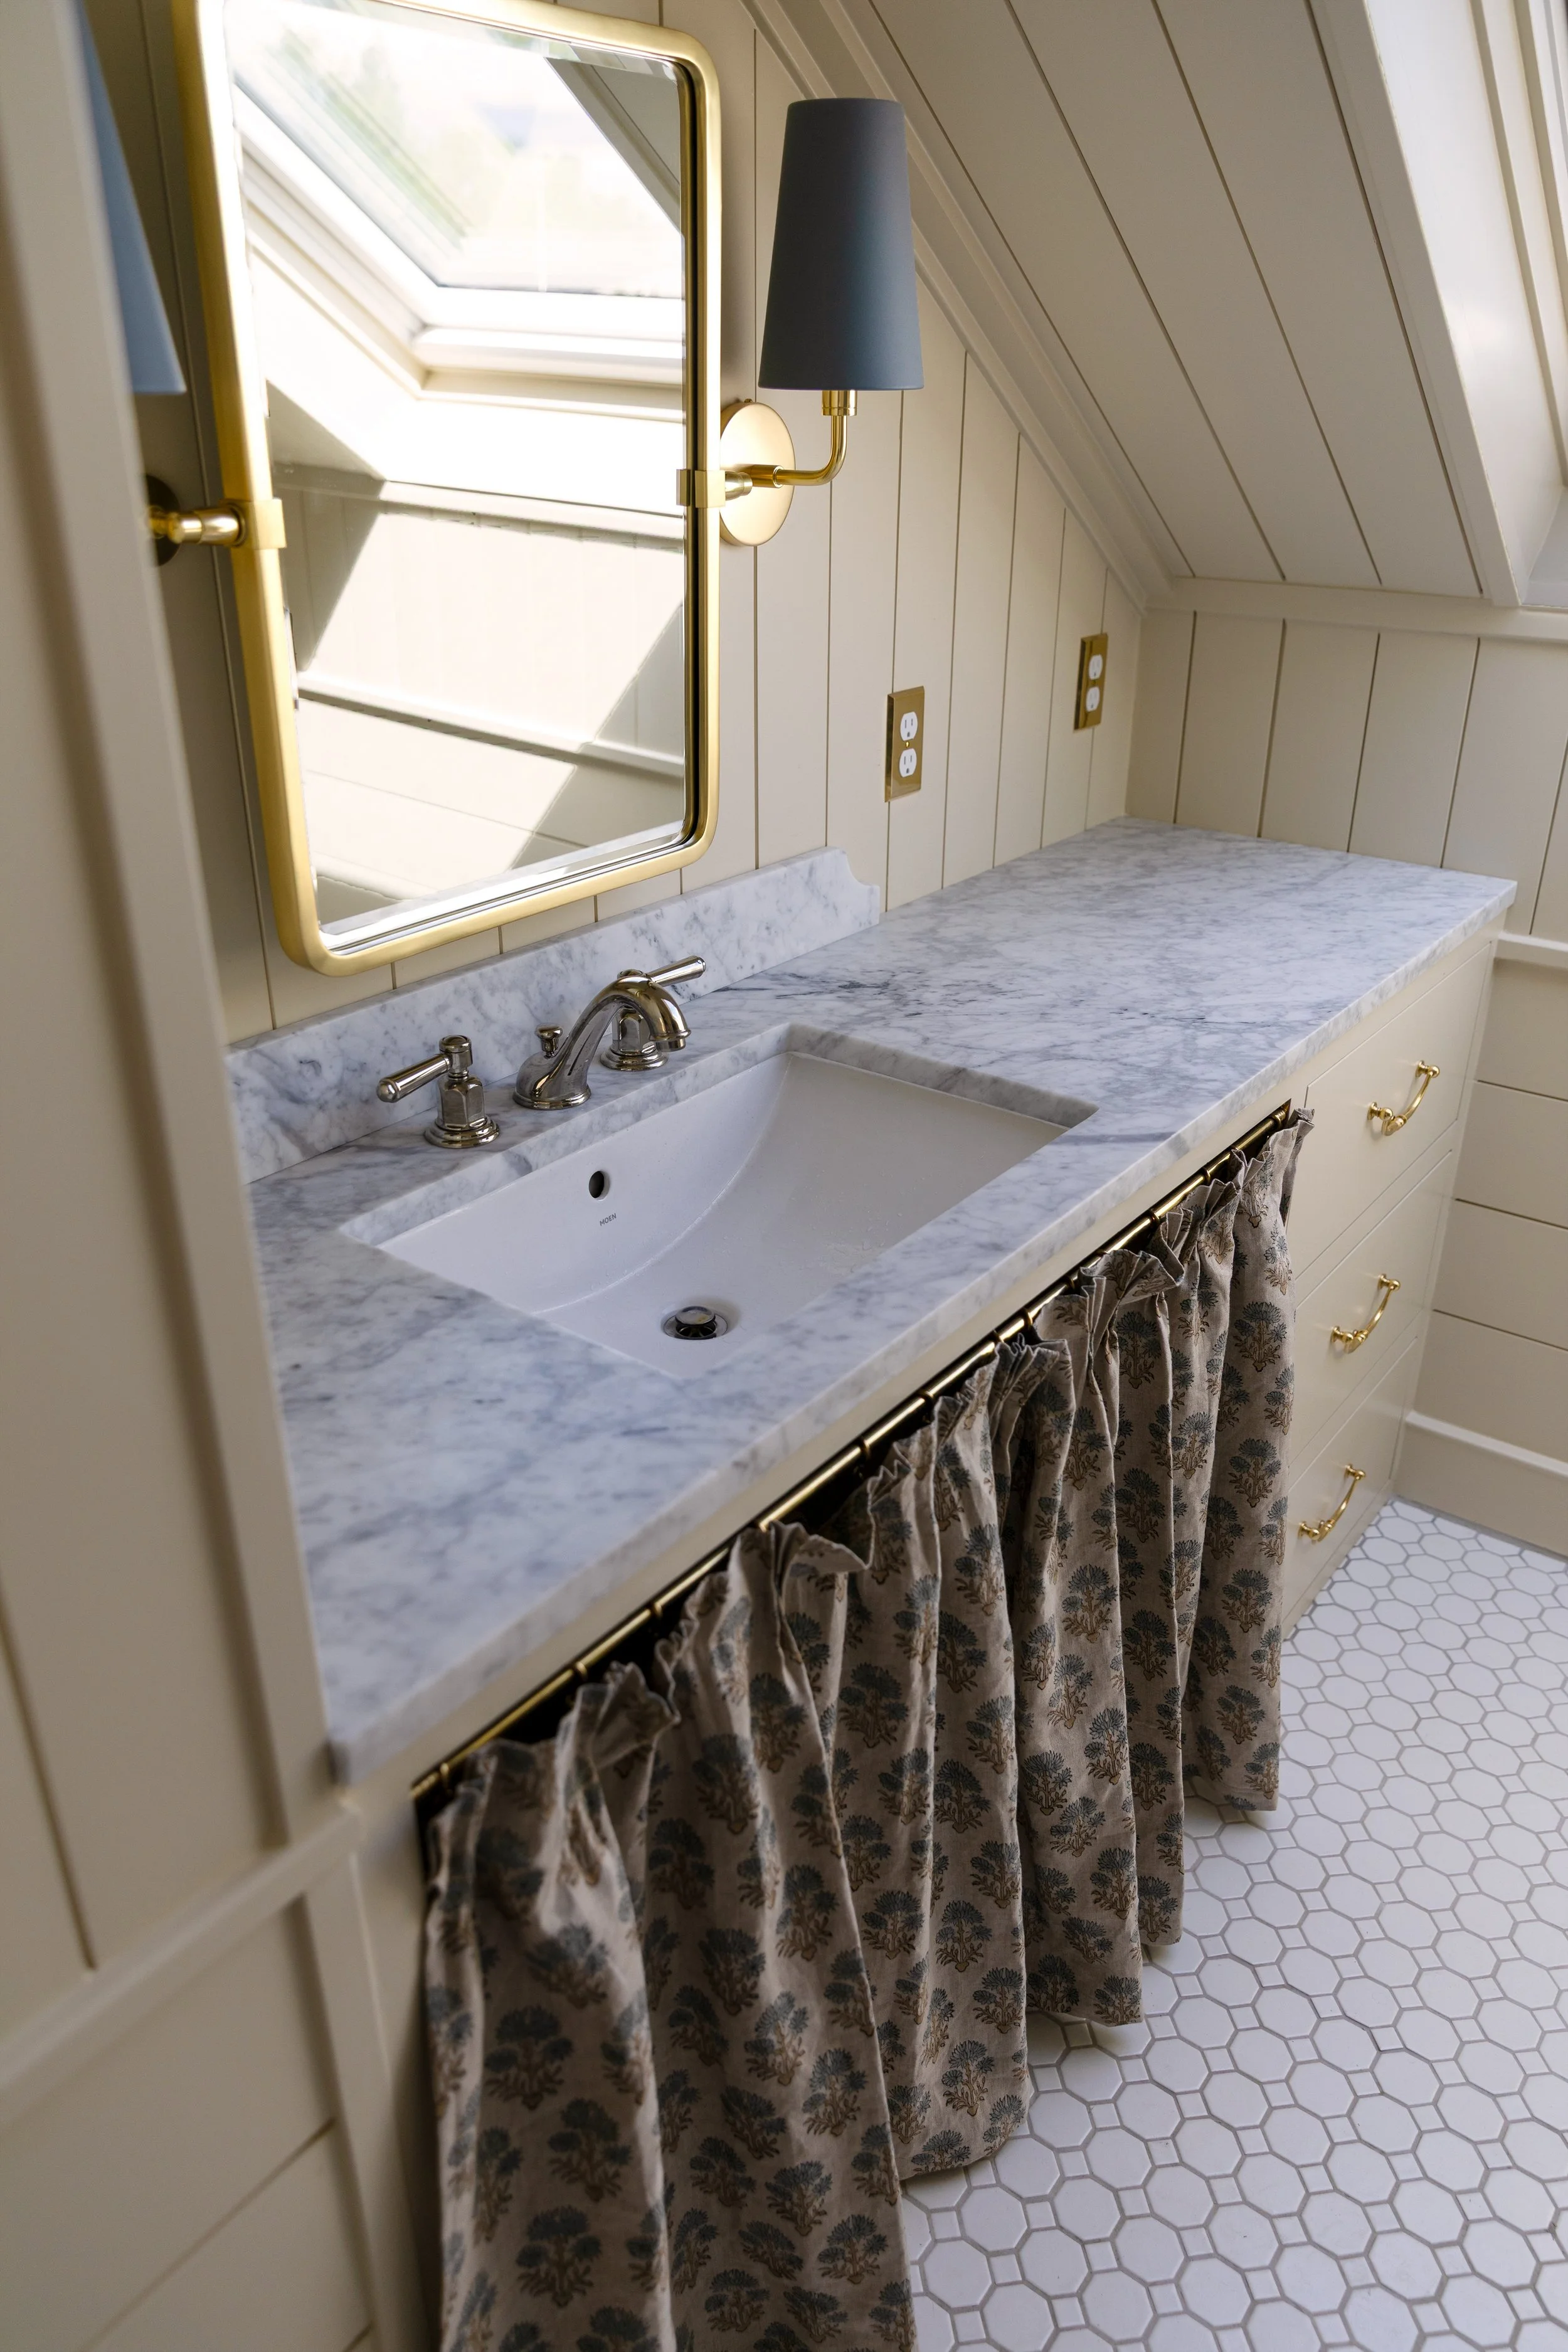
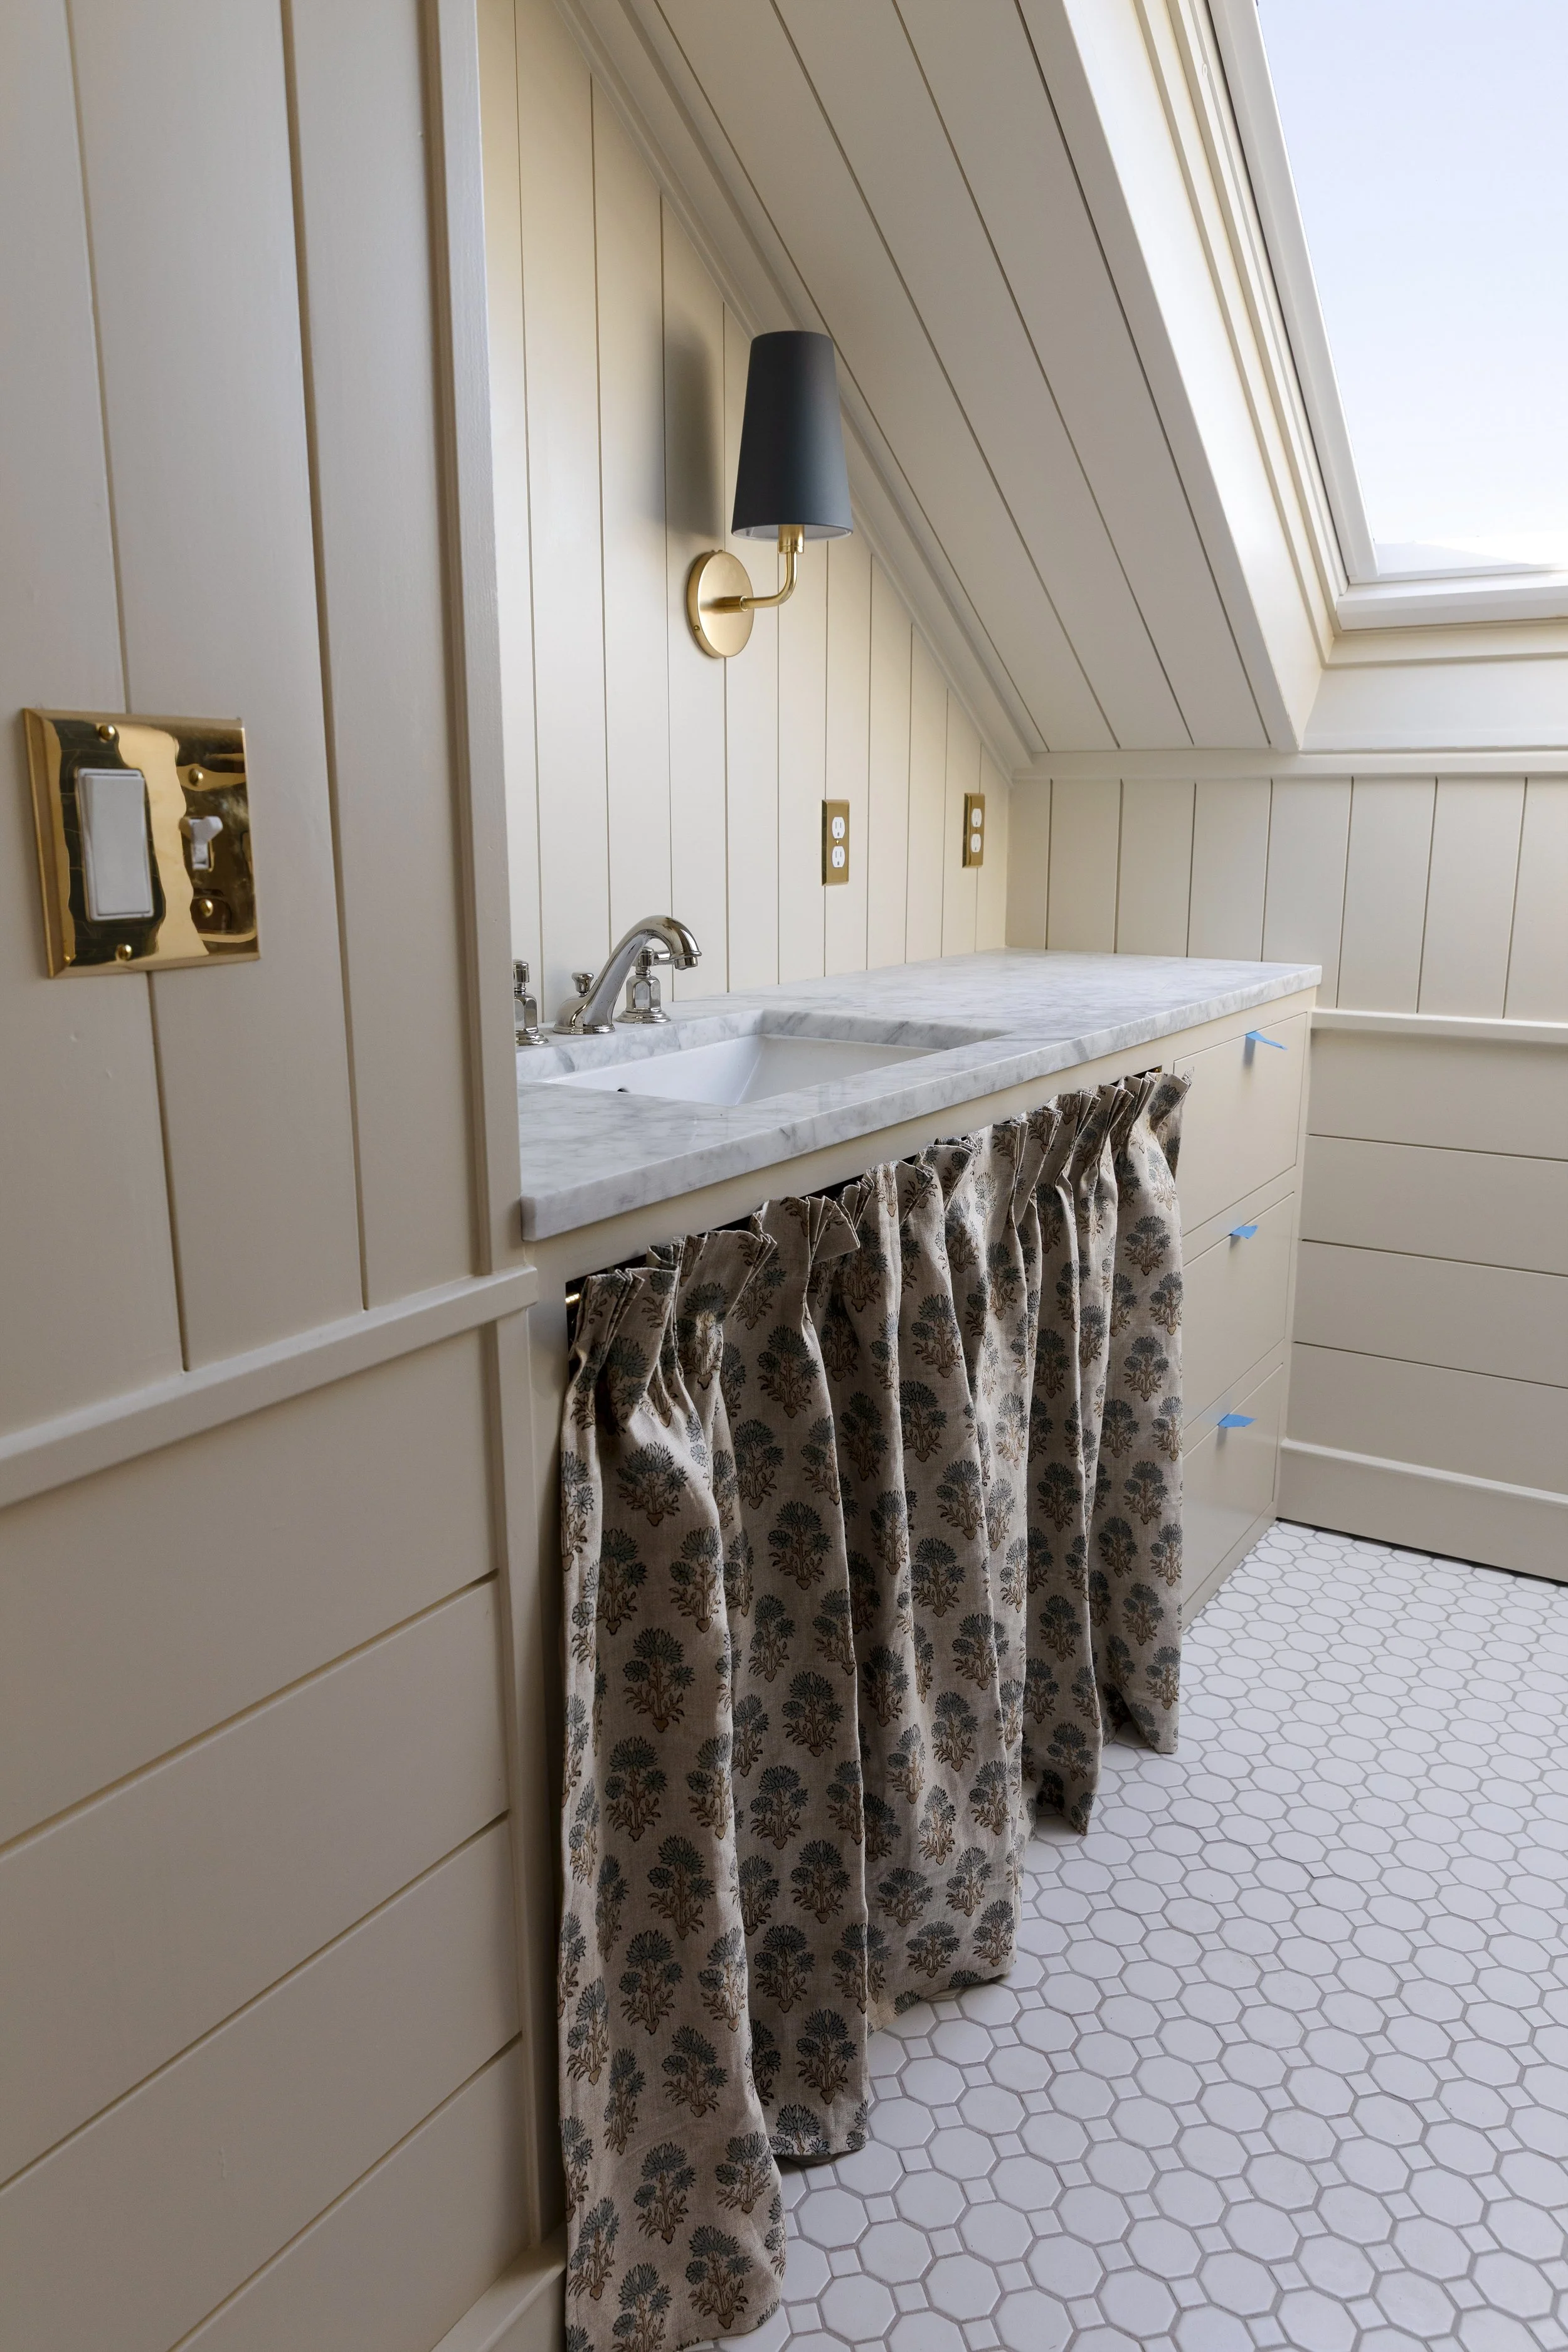
We loved how our primary bathroom turned out and decided to do something similar. Okay wait, that’s not the full truth. I first ordered a different floor tile, a marble herringbone with dark and light pieces. It was beautiful but somehow it felt too modern in the space. So last minute I switched the floors to marble hex, picking it up at Home Depot.


We went with a classic subway on the walls and will add a marble pencil detail to finish off the edges (where the temp wood board is here). With so much going on in the wallpaper, I wanted to keep the wall tiles really simple.

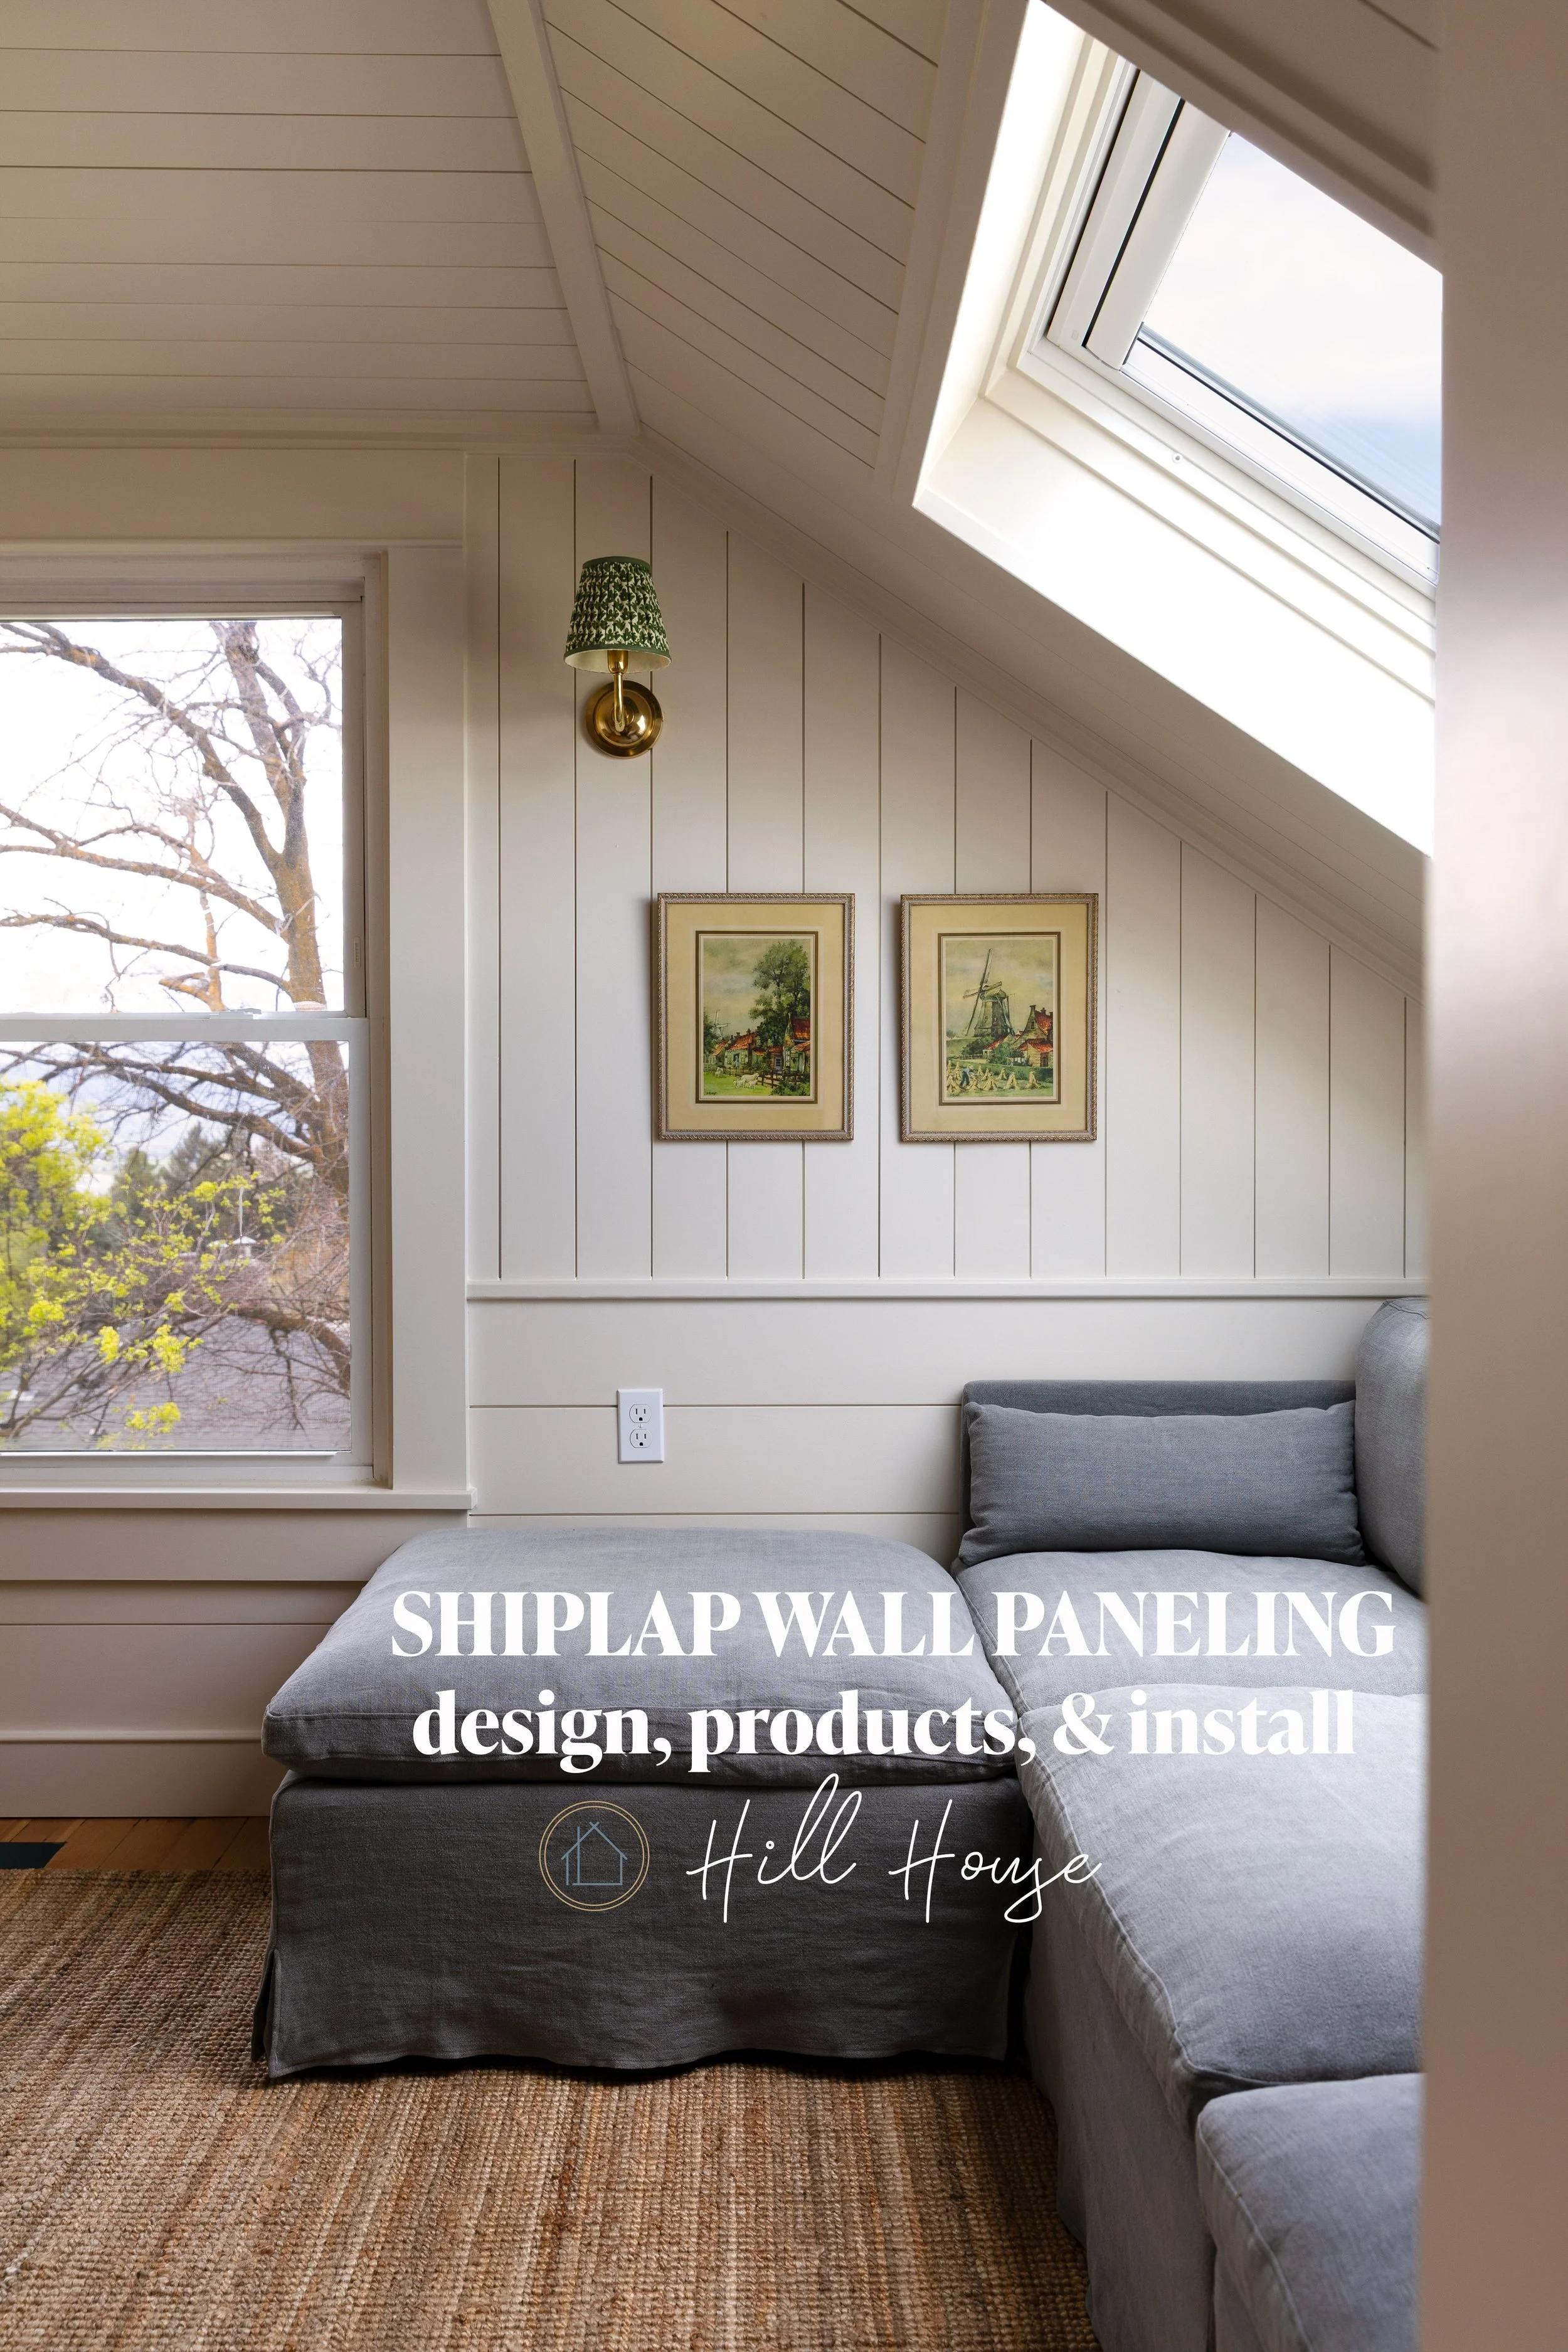
Wallpaper
I’ve been dreaming about using this wallpaper for years! Ever since seeing it one of Jersey Ice Cream Co’s projects it’s been a favorite of mine. The pattern dates back to 1926 and this kids bathroom felt like the perfect moment for it. So I ordered 4 rolls (plus matching fabric for the shower curtains…which is backordered).


This was the easiest wallpaper installation yet! We’ve wallpapered a few times now and it always stresses me out. It’s messy and awkward and the glue dries so fast. But this time around we used a paste-the-wall method and it was the WAY TO GO!!!

Here’s how the tile and wallpaper look together. We still need to add the marble edging details and grout the walls, but otherwise we’re done with tiling!


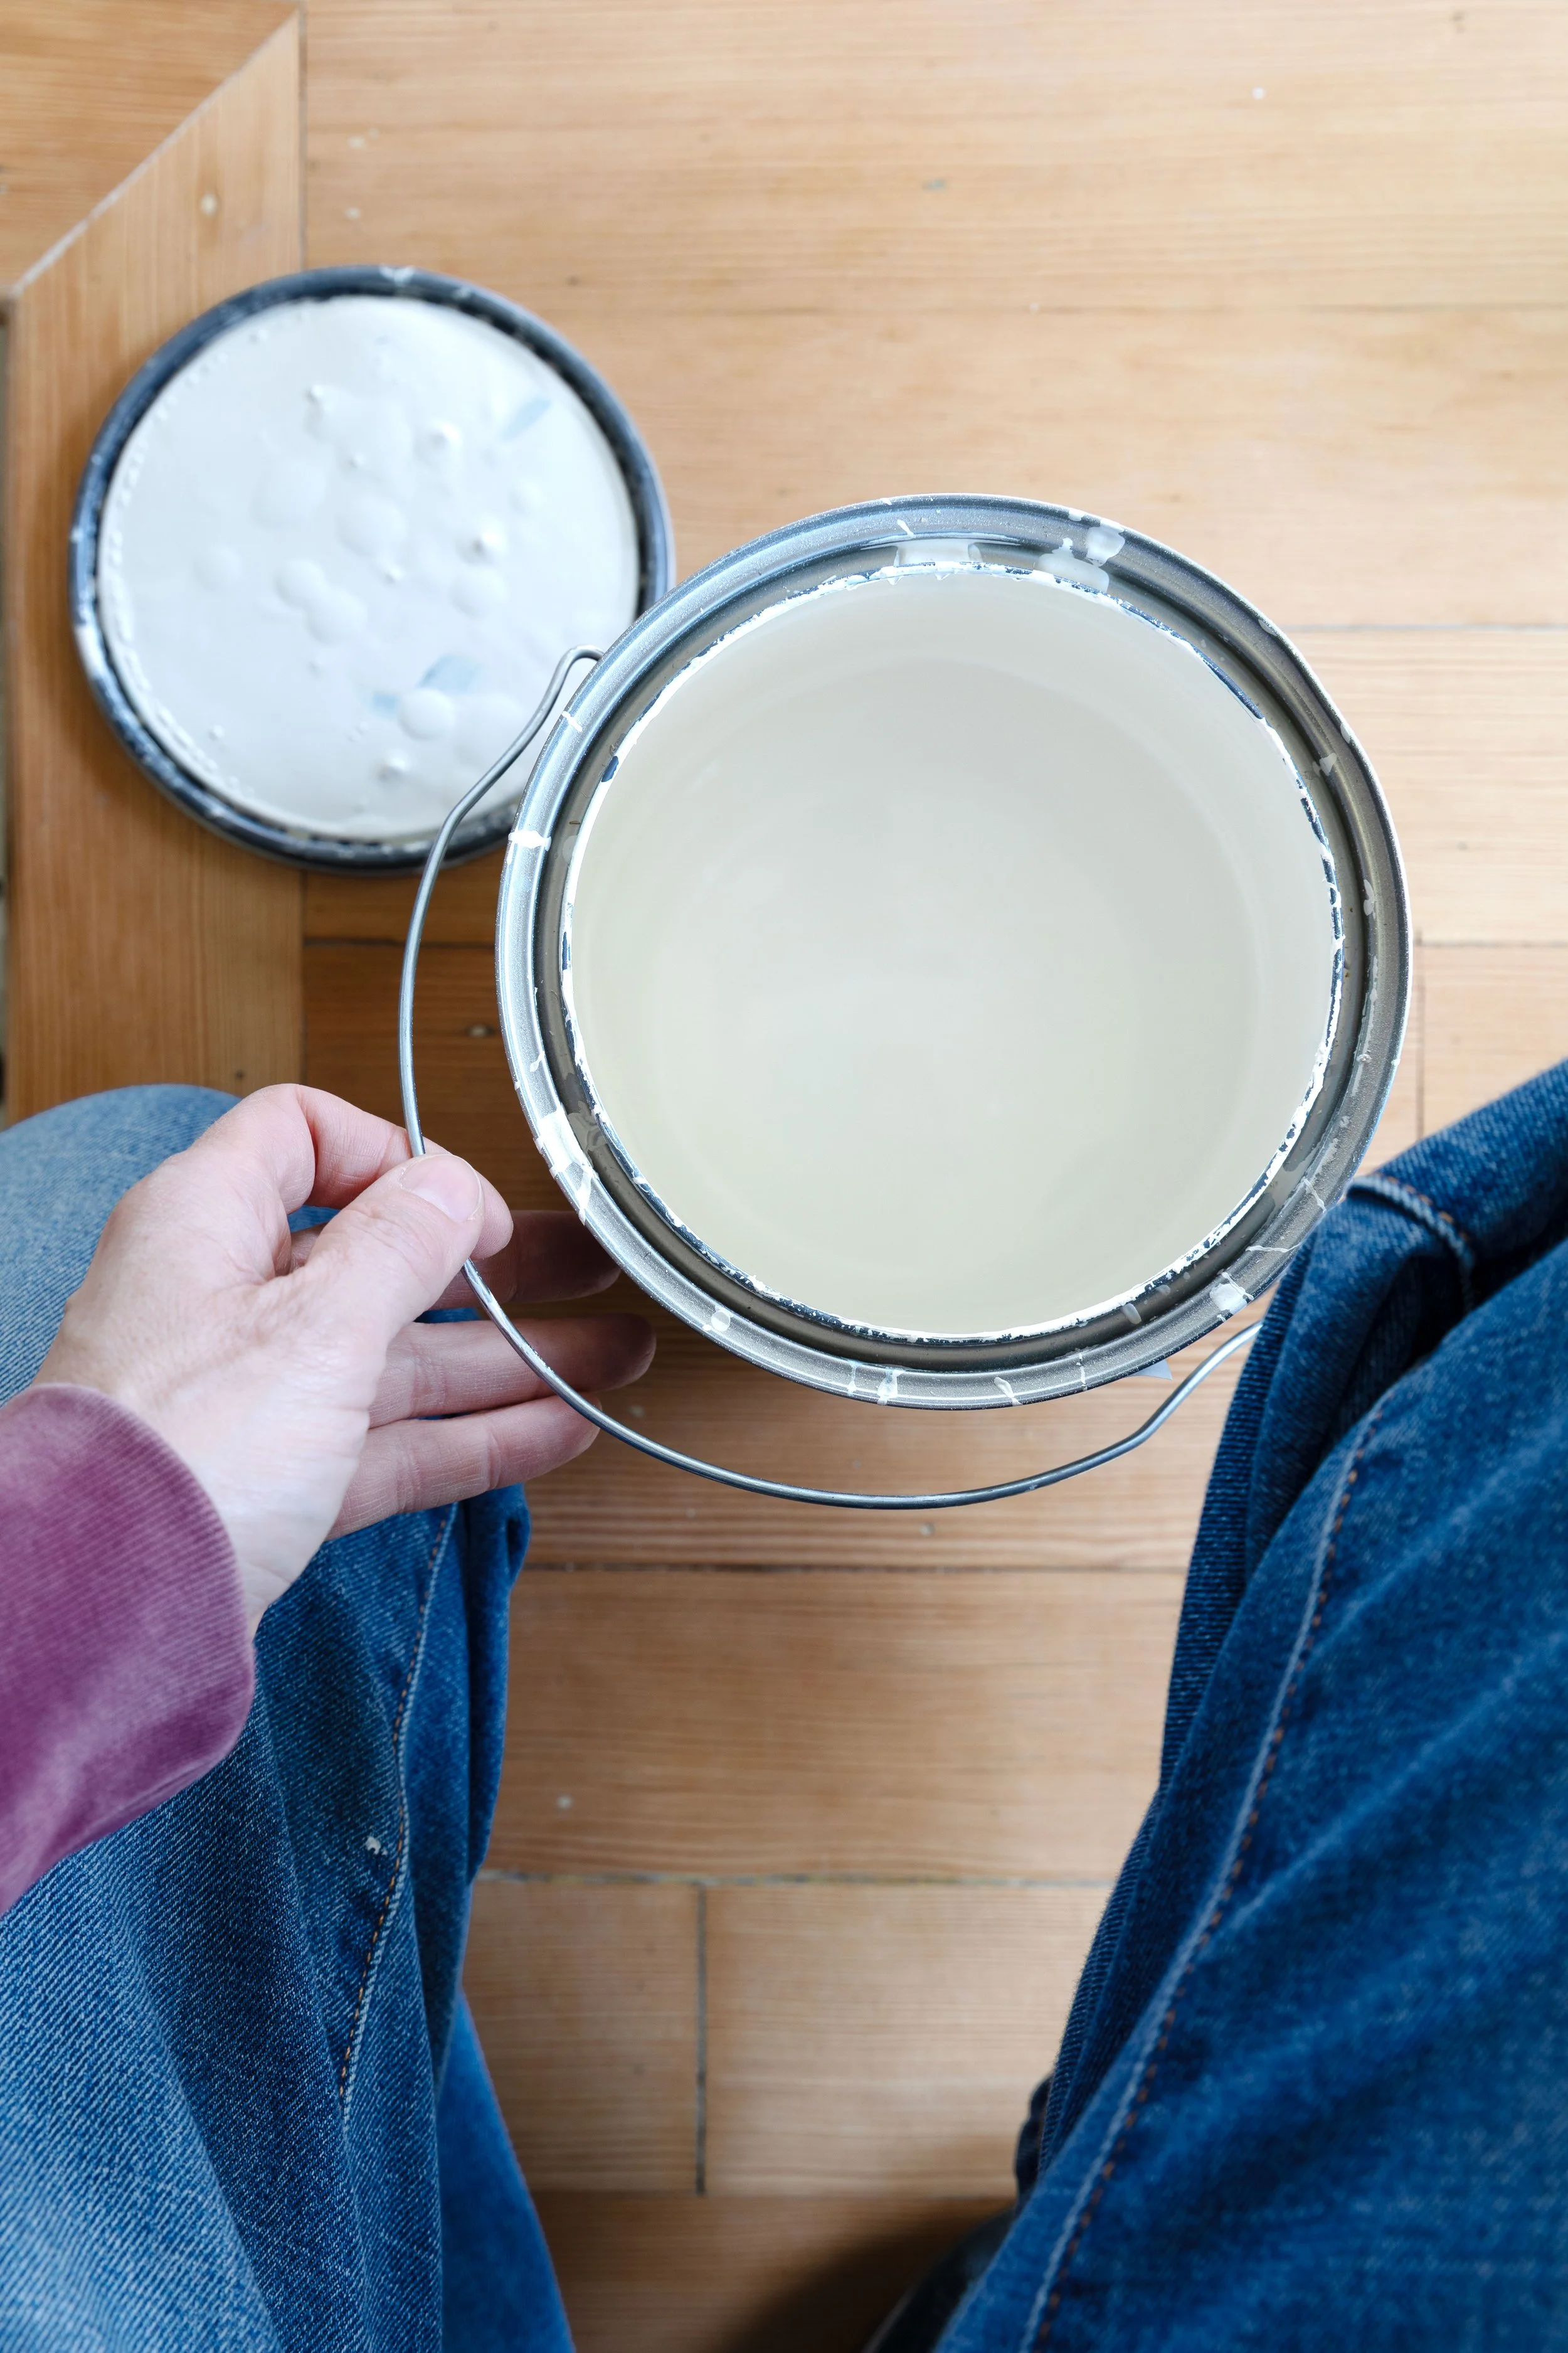
Next up…I’m trying to decide on a trim color. Last minute we switched from marble tile base to a painted wood so I’m going to get a custom color match to the wallpaper (I’ll probably paint the vanity in that color too). Stay tuned…