Everything You Wanted to Know about Painting with a Sprayer
THE FARMHOUSE
Hey guys, Garrett here! We had quite a few questions about spraying when we shared our process for painting our kitchen in November so this post has everything we know about paint sprayers and the spray process. When done properly spraying gives a next level finish to cabinets, mouldings and woodwork. If you’ve decided this look’s for you then read on. I’m going to offer some helpful tips for success for rookie sprayers and a few options if you are researching a paint sprayer purchase.
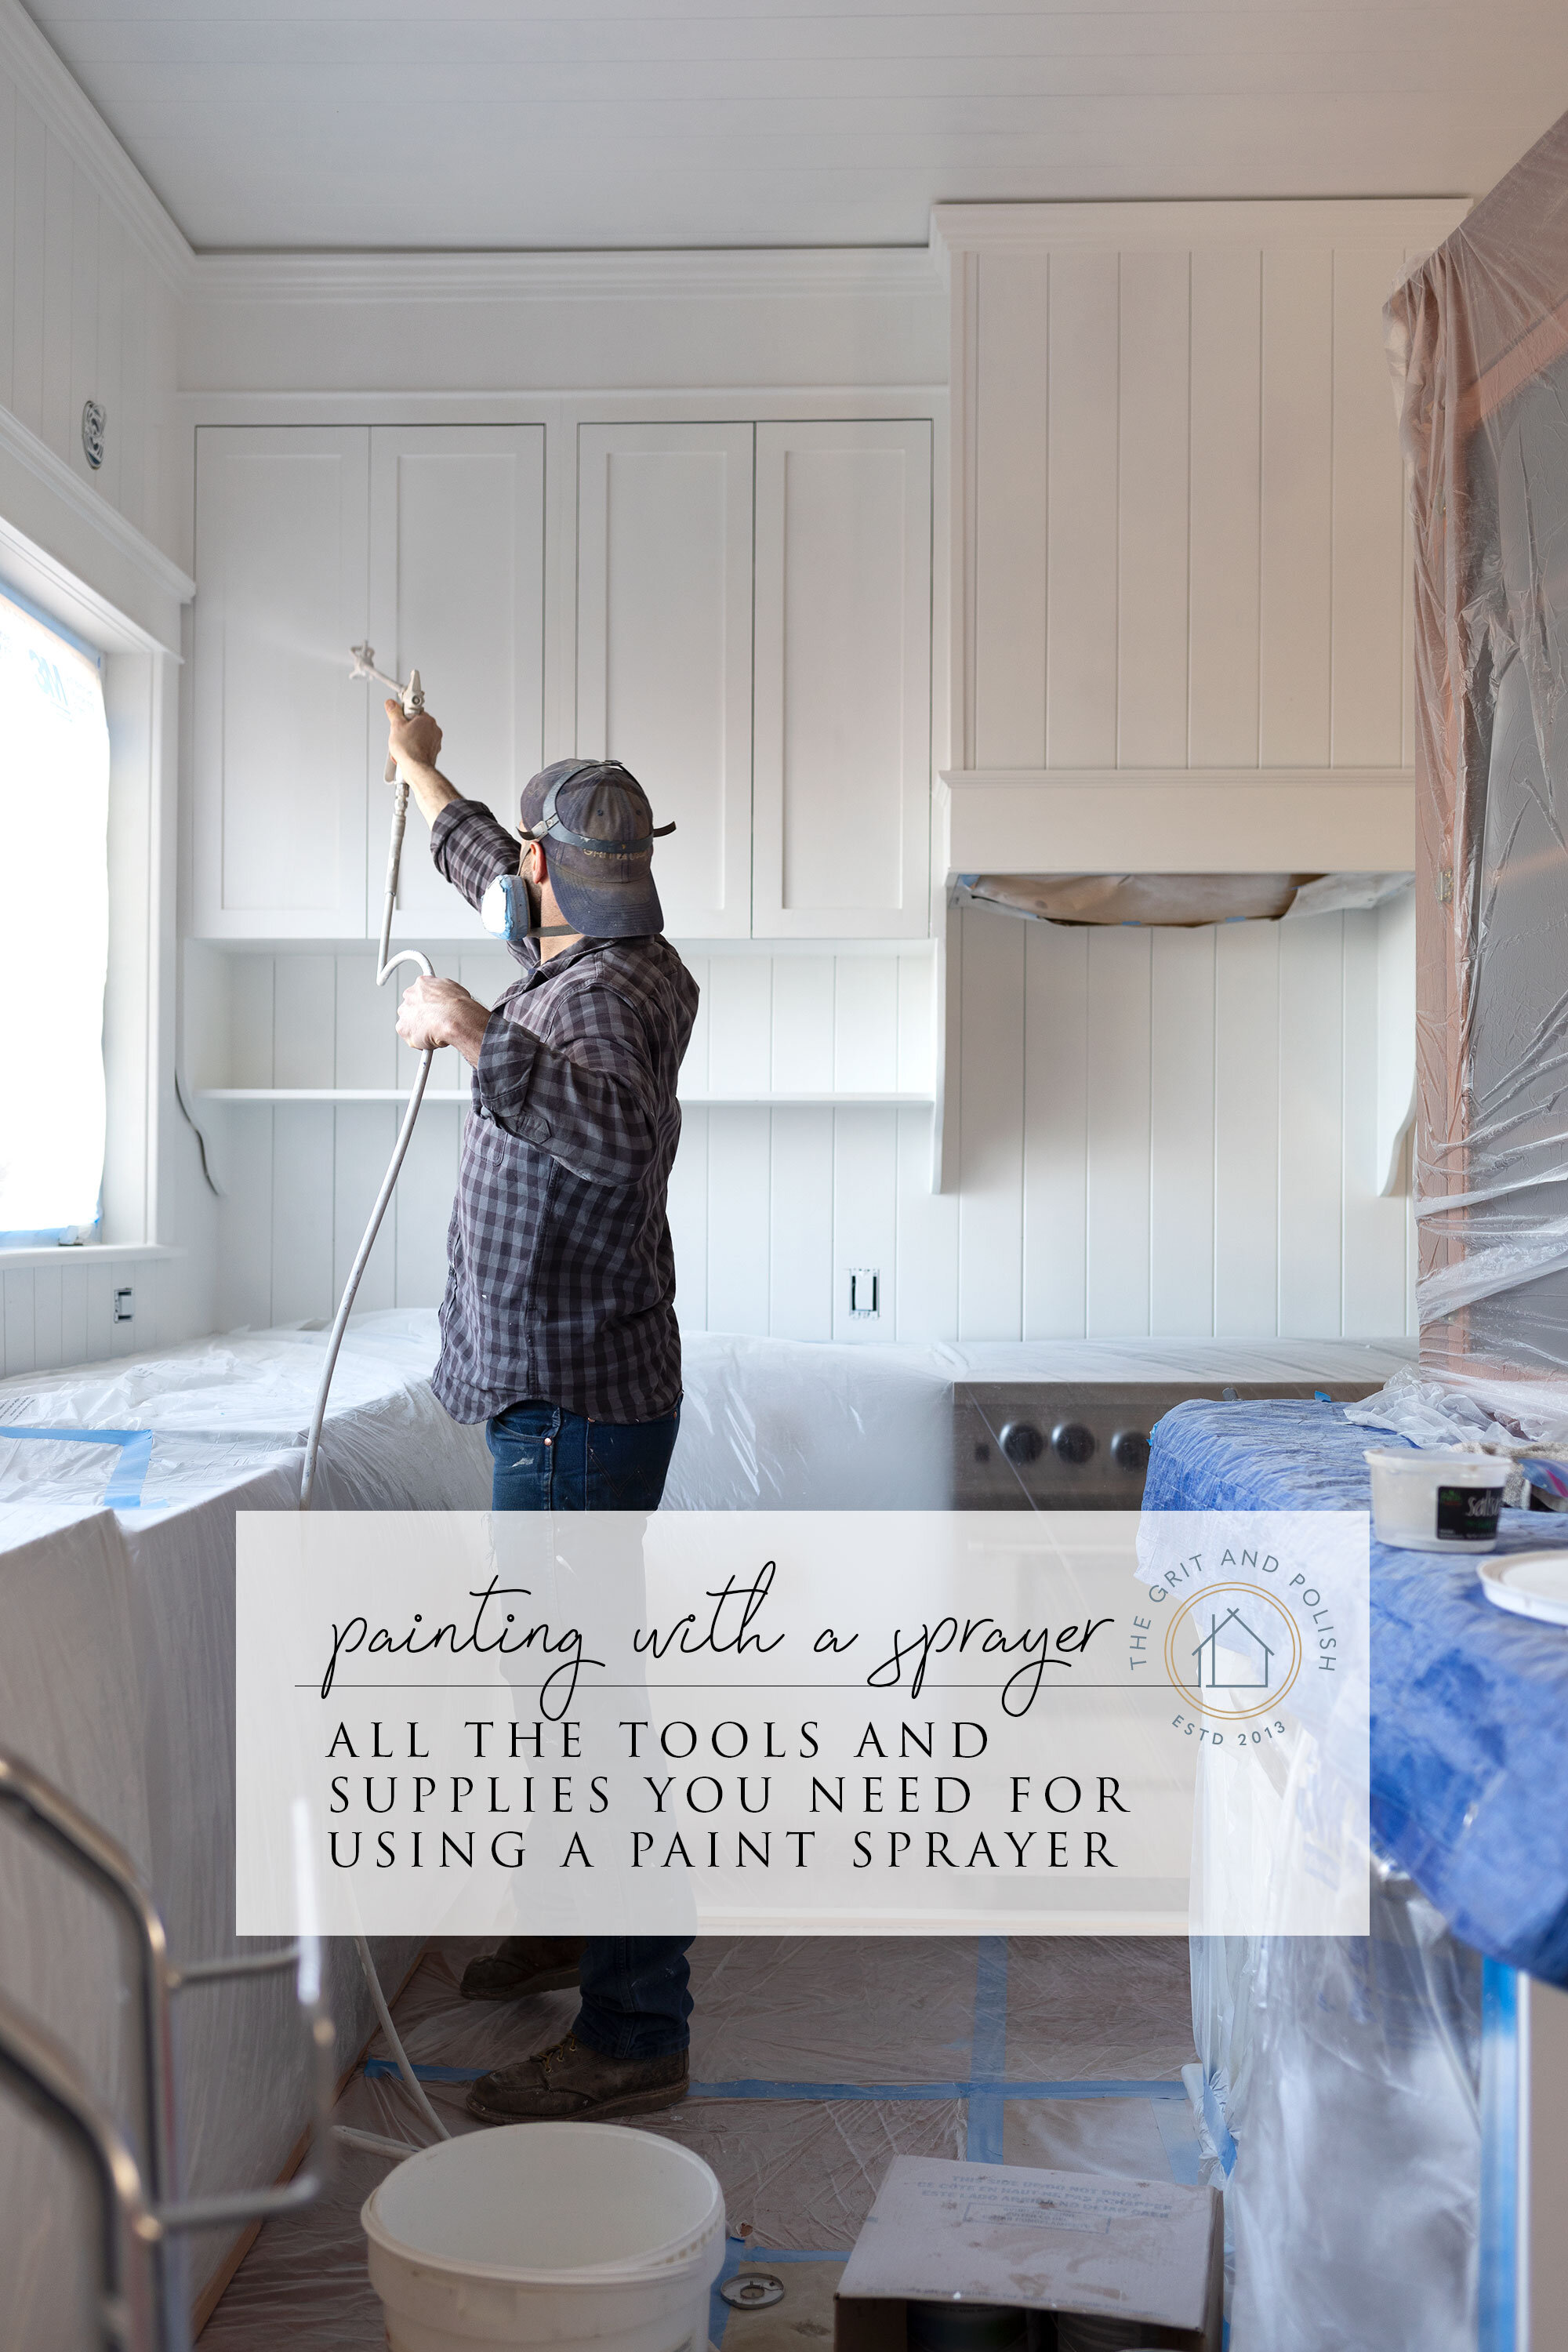
We’ve sprayed several projects over the years beginning at the Ravenna house and there’s really no other way to create that high-end smooth paint finish. However there’s a fair amount of prep behind that look and it takes a bit of technique to get even coverage without runs! If you’re putting together your dream kitchen and have never sprayed before then you might consider hiring a pro.
Another important point. This post doesn’t really cover the pre-paint process like caulking, filling and patching. A nice caulk line is a beautiful thing ; ) so don’t skimp on the prep.
Types of sprayer
So first what kind of sprayer do you need? There are basically three types of sprayers:
Airless, piston pumps that use high pressure to shoot paint through a tip. This one can lay down a lot of paint quickly and works well with thick latex paints and primers. (This is what we have!)
HVLP (high volume low pressure) which excels at creating a fine finish and has better transfer efficiency than the airless meaning more paint ends up on your target rather than as fine droplets in the air.
Air assisted sprayers. These are hooked up to your air compressor and could be a great affordable option for small projects like shelves, cabinets, or furniture.
Airless are the best for thick latex paints and primers
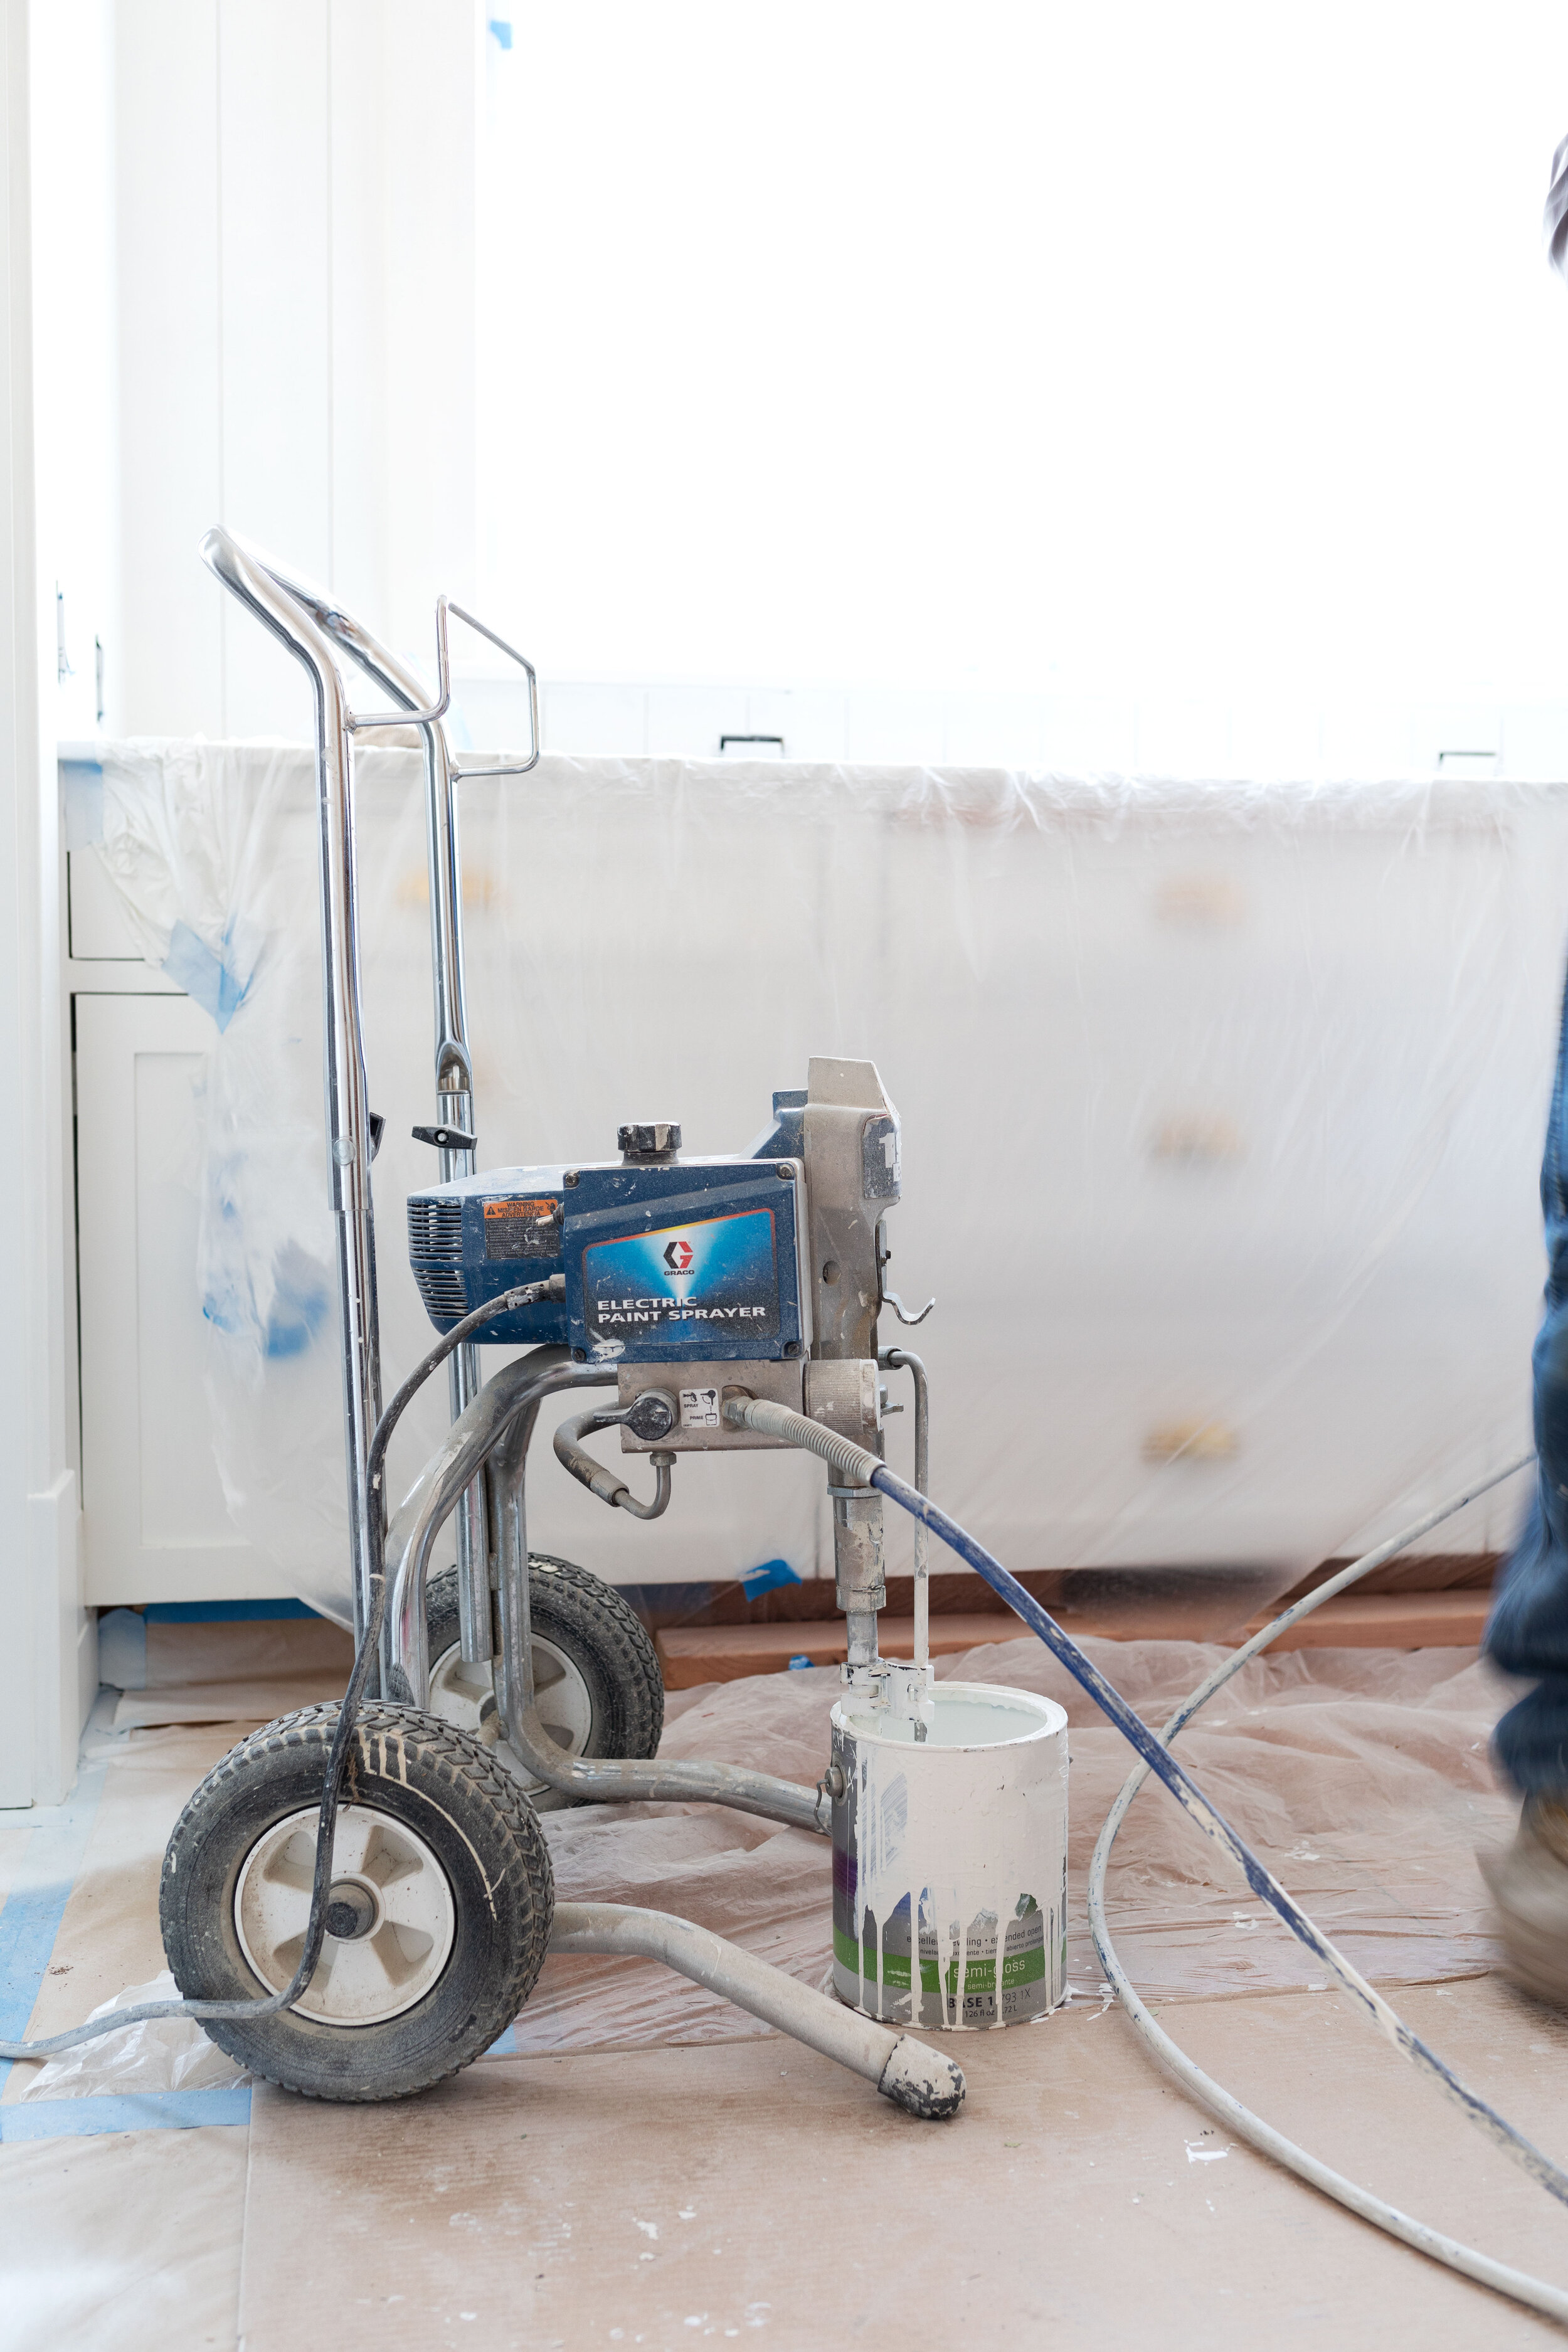
Today we’re talking about the airless sprayers, which is what we have, and what you’d want to get for large renovation projects like whole rooms or houses. Airless can handle latex primers and paints without thinning. The HVLP sprayers would be a good option if your main use case is small projects where fine control and the finest finish is needed but they don’t handle thicker paints as well as an airless.
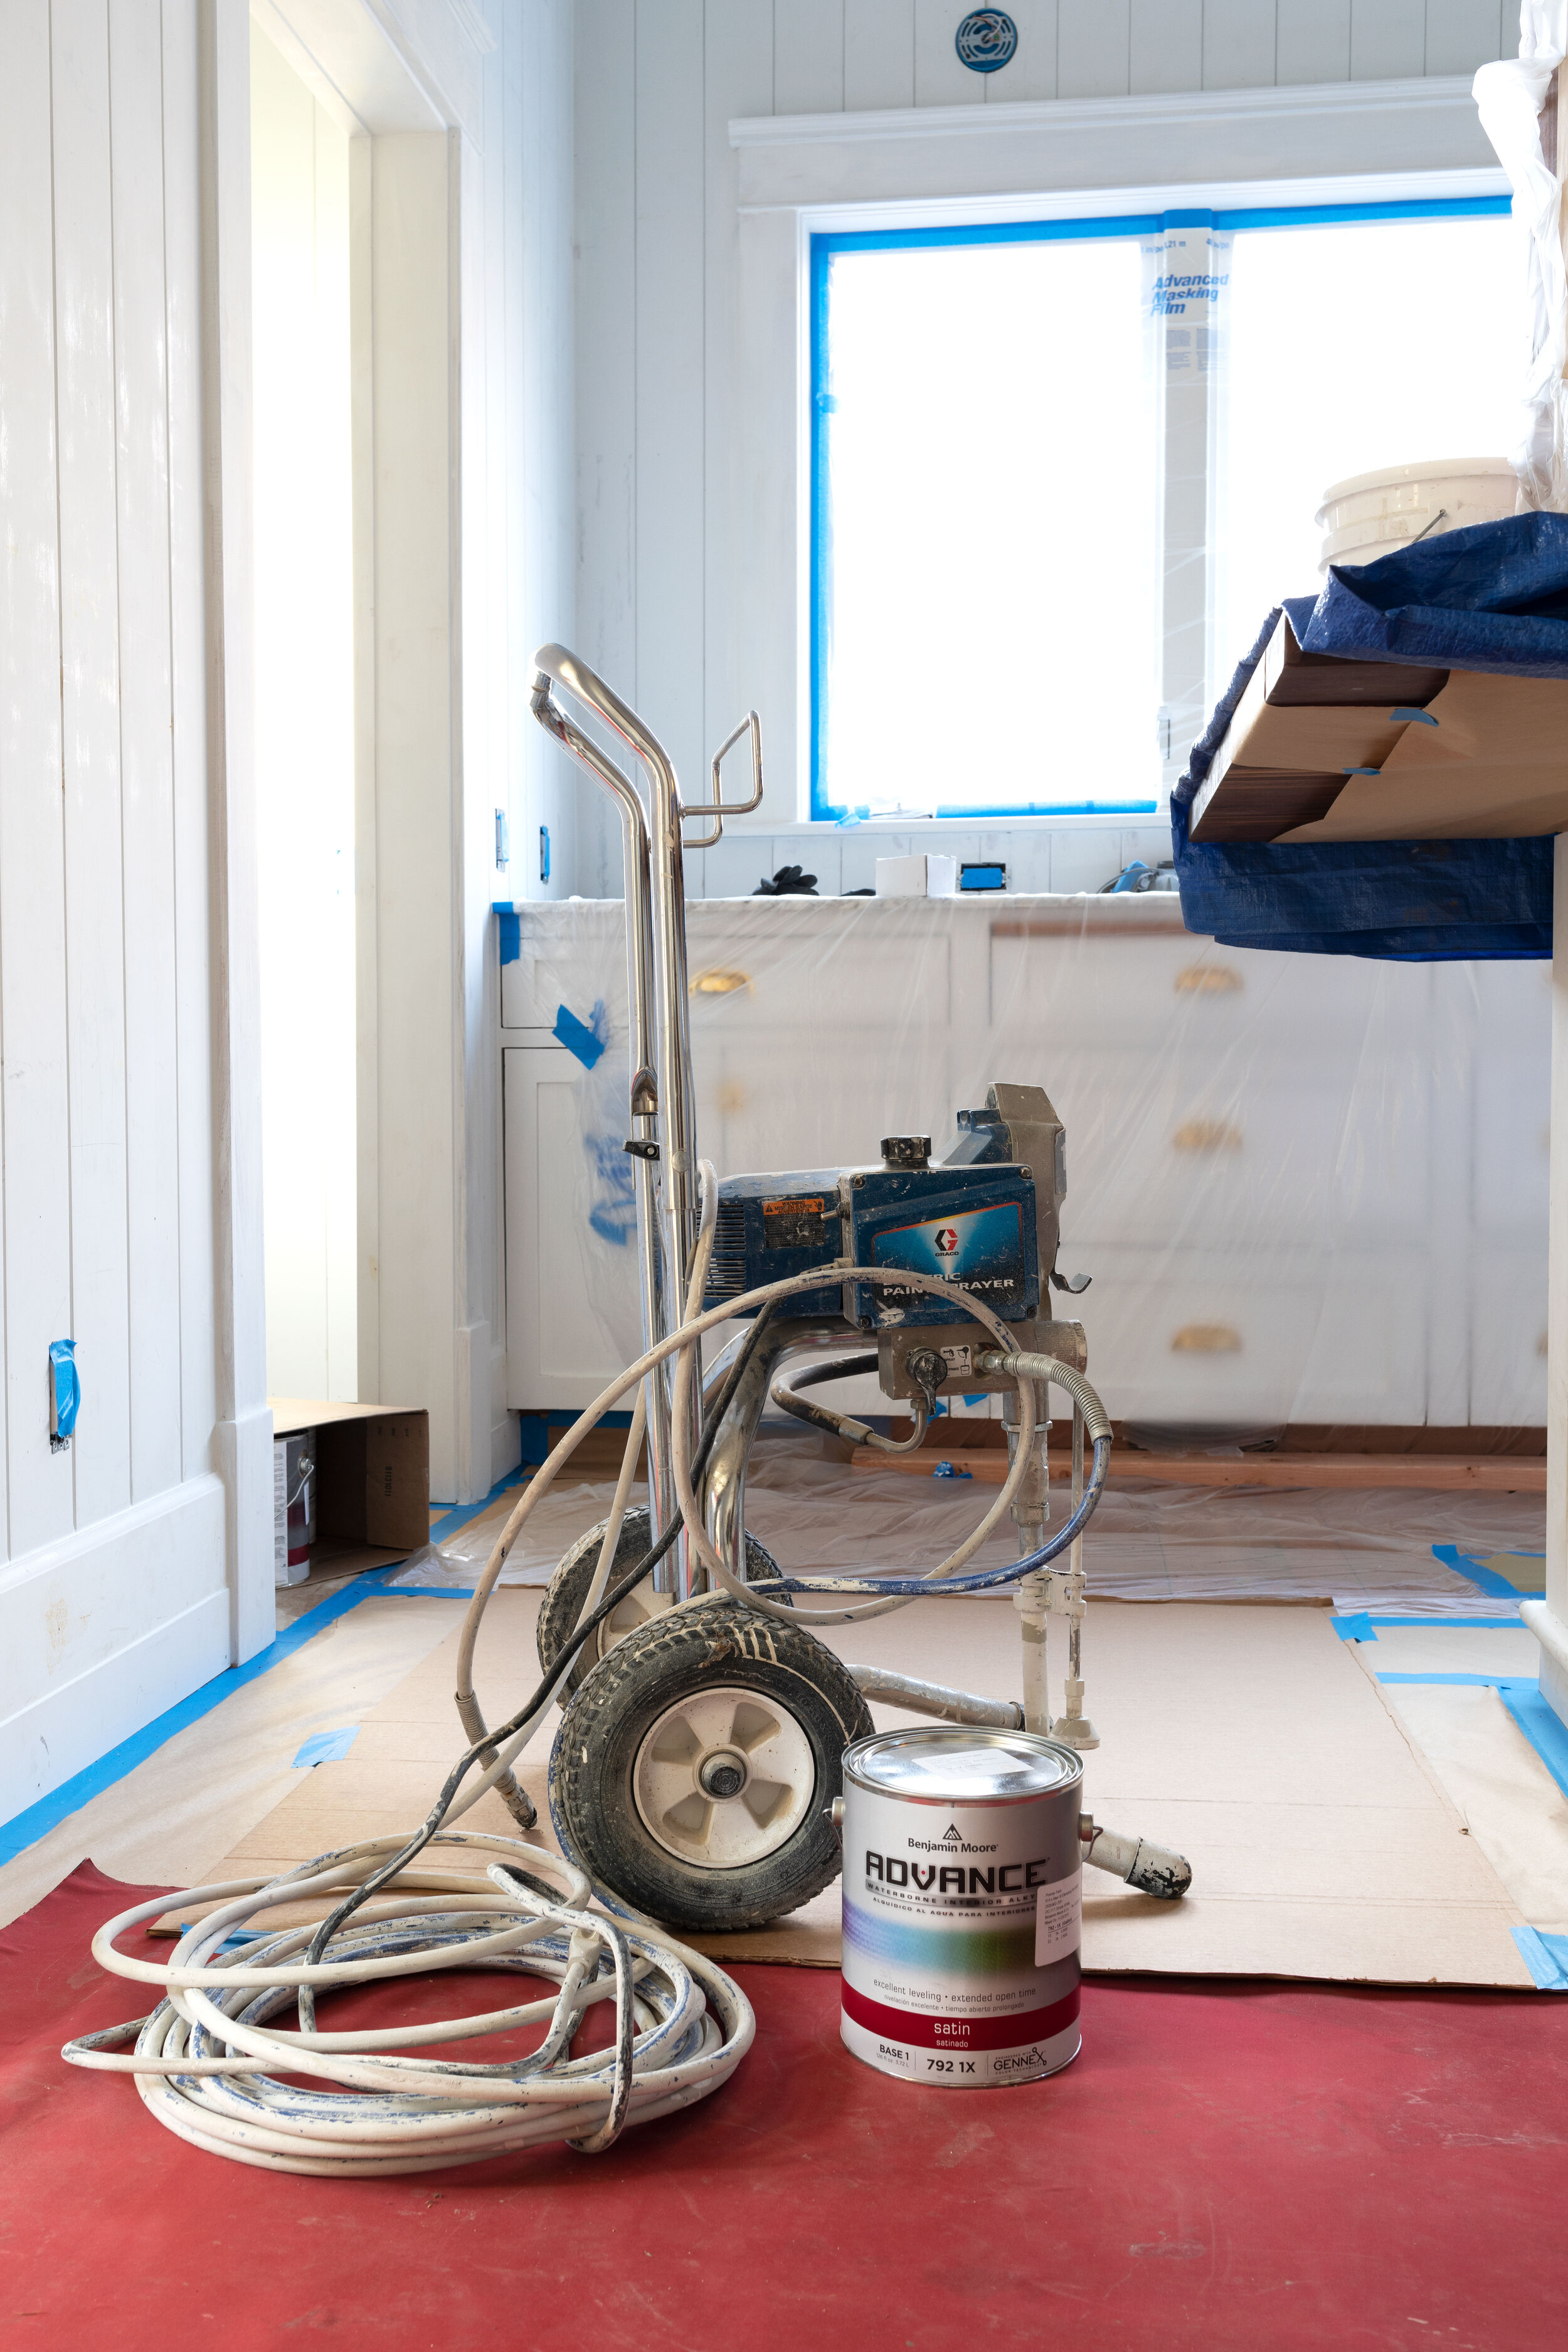
We have an the entry level contractor grade airless (Graco ES190) and I’ve used it without issue on many projects over the last 6 years. It’s more capable than I need but I tend to spend a bit more in the hope that tools will last and so far that’s the case with this one. If you don’t want to spend $500+ on a sprayer there are quite a few options targeted at homeowners for occasional use that would likely work well and I’ve listed a couple below. Another option is to rent one for ~$70/day. You’ll get to try out spraying with contractor-grade equipment and these things can lay down tons of paint. The main caveat I’d give here is that it’s hard enough to get even, thorough coverage without the added pressure of a daily rental tick-tocking dollars as you work!
Entry Level Sprayer SUGGESTIONS:
tools and supplies
Here are all of the tools and supplies we use.
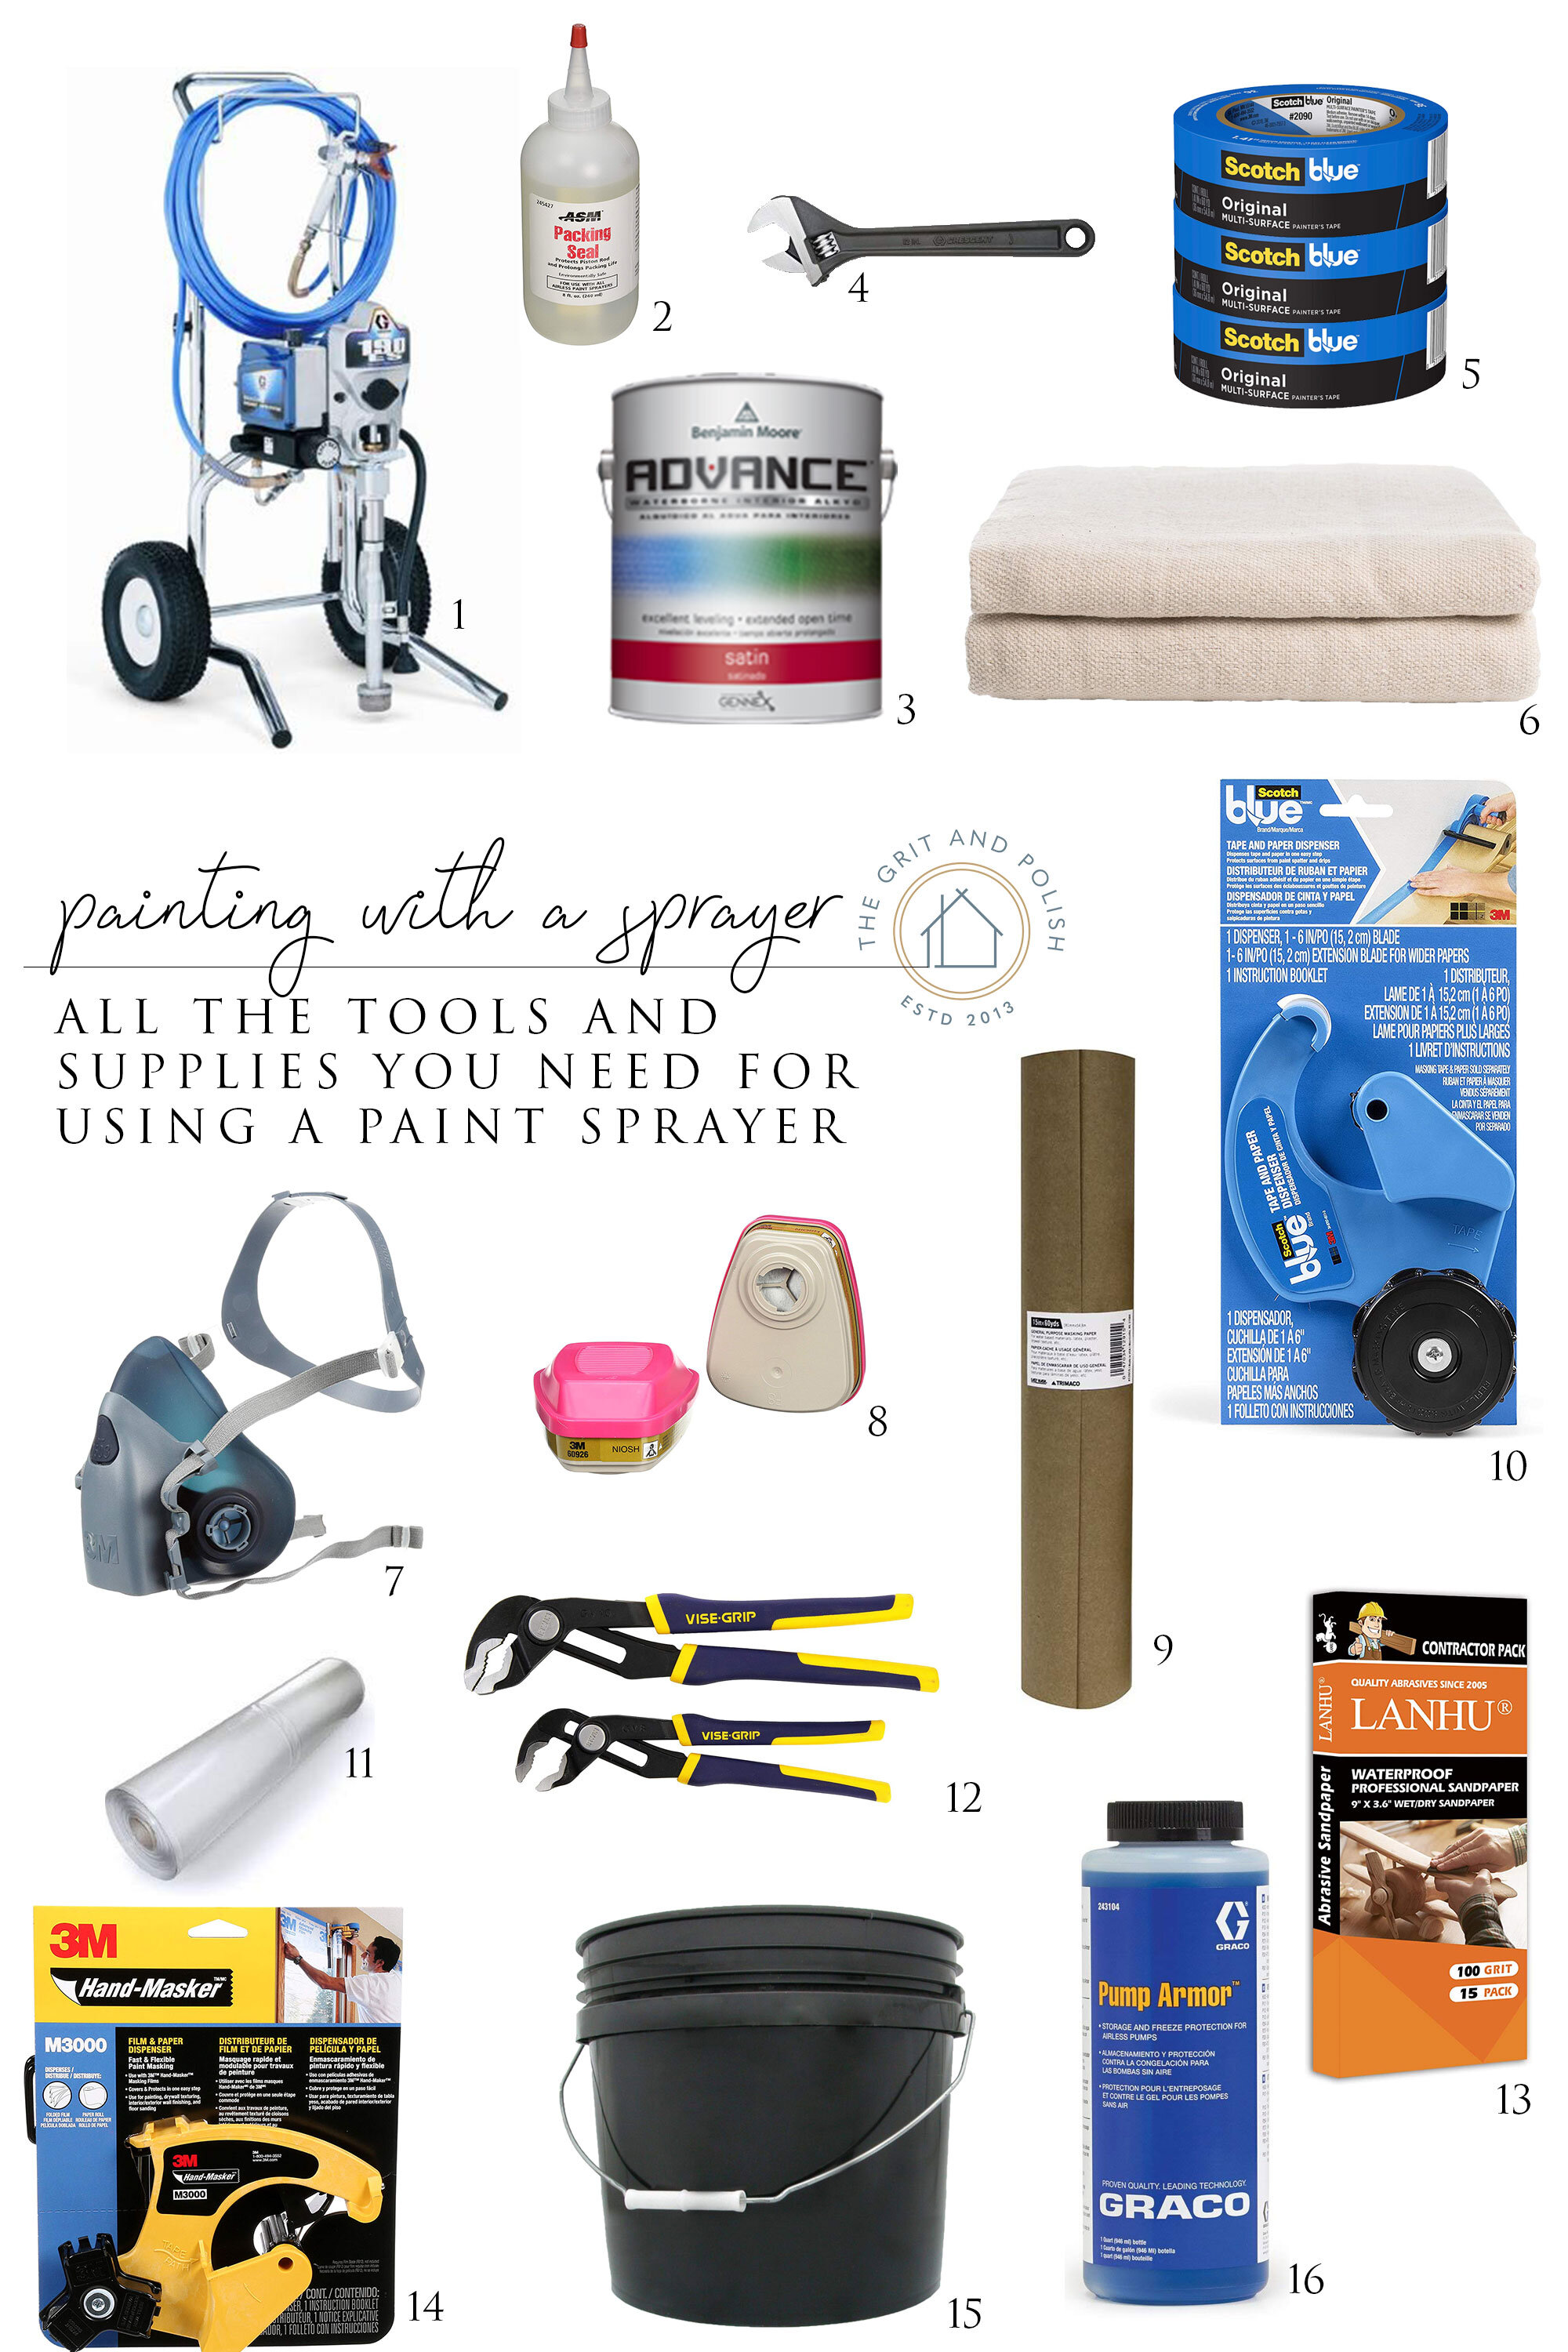
1 Paint sprayer (we have this one, other recommendations above) | 2. Seal Throat Lube | 3. Paint (we used Satin) | 4. wrench | 5. Blue tape | 6. drop cloths | 7. Respirator | 8. vapor filters | 9. Paper | 10. Paper masking tool | 11. Plastic | 12. locking pliers | 13. Sand paper (for any drips) | 14. Plastic masking tool | 15. 3-gallon bucket | 16. pump protector (storage fluid)
A word of caution: Airless sprayers shoot liquid at pressures high enough to cause severe injuries so never touch the tip of a charged gun or spray at a body part.

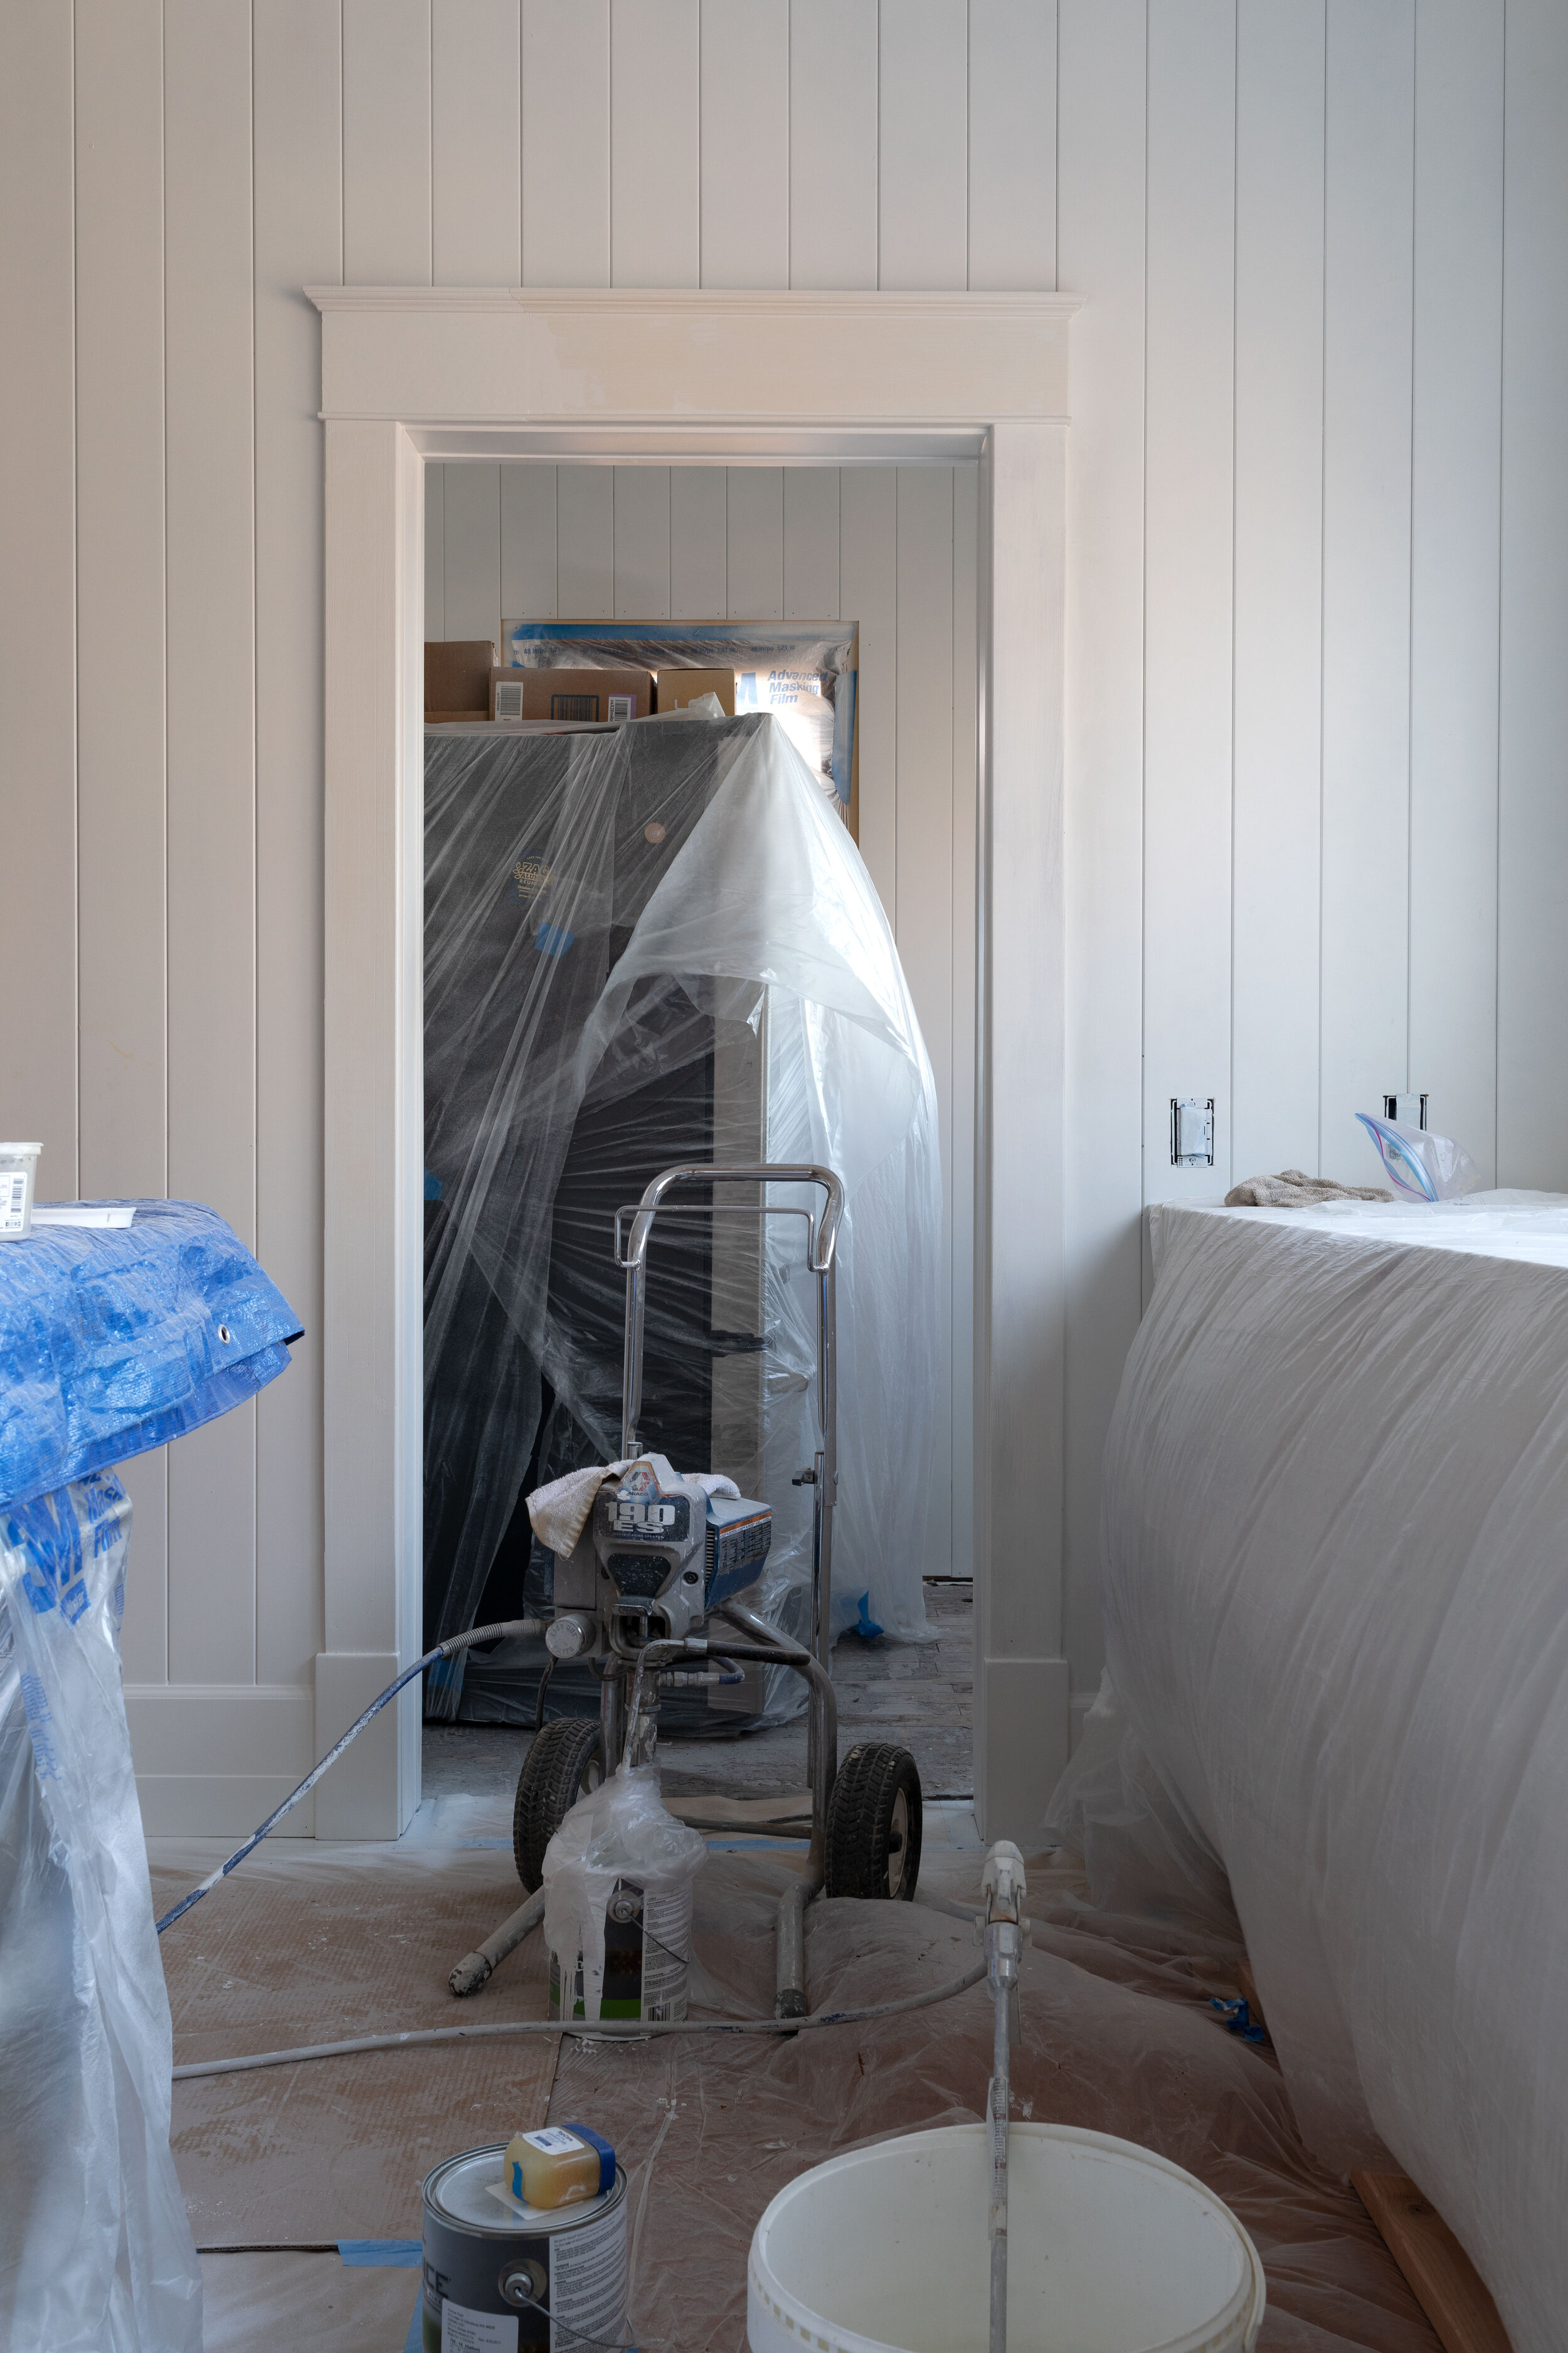
Masking
Extra time spent on this part will be re-payed in spades! Anything in the room (and adjoining rooms if not sealed off!) will be covered in a fine layer of aerosolized paint particles so make sure all surfaces, including the floors, are covered. Use painters tape to seal masking materials all along the paint edge. The spray has enough force to blow heavy drop cloths and card board around if they aren’t fixed in place. The masking process goes faster with dispensers that apply the tape and materials together in a continuous fashion. We use plastic on the windows and doors and paper on the floor edges. To mask the floor/wall edges we use ~9” wide paper taped continuously along the paint edge.
Set up the sprayer
As a general rule, you want to paint yourself out of the room. You don’t want to back track across areas you’ve already sprayed cause there’s a good chance you’ll bump into wet paint with yourself or your hose. So set up the pump on a piece of cardboard or heavy plastic (drips and spills are almost a given) in a central spot. Getting the pump primed and charged is pretty simple for latex paints. Refer to the sprayer manual for model specific instructions for attaching the gun and tips and operations but the general steps below would hold for most any sprayer.
1. Flush the pump and lines with water. Place the suction tube in a bucket of water and prime until liquid flows out of the relief tube and then switch to spray. After shooting ~1/2 gallon into the empty bucket it’s ready for paint. This is also a good time to charge the line at spray pressures to check for any leaks.
2. Load paint into the sprayer. Replace the water bucket with a paint can and then put the relief tube into the spare bucket. Prime just until paint flows out of the relief tube then place the relief tube into the paint can. Switch to spray with low pressure and shoot the still tipless gun into the discharge bucket until you see paint coming out. Turn off the pump and release the pressure in the line by squeezing the trigger into the discharge bucket. Now you’re ready to attach the tip guard and insert the spray tip.
3. Select a spray tip based on the size of the desired spray pattern (called a fan) and coating type (latex, stain, lacquer etc). There’s great background info on tip selection here, but the takeaway is that the tips are really important. I use a 515 tip which produces a 10-12” fan for painting large areas (walls and ceilings). Then I use a 211 or 312 for mouldings which only shoot ~4” or ~6” fans. Insert selected tip into the gun.
4. Turn on the sprayer and adjust to a medium pressure and test spray onto a masked surface. Adjust the pressure just high enough that the fan pattern gives an even coverage (no lines along the edges). Higher pressures will aerosolize more paint leading to less efficient application so operate at the lowest pressure that produces an even fan.
5. Now you’re ready to have fun! Sprayers especially at contractor grades can quickly lay down a ton of paint. I’ve had to go back to the paint store for multiple 5 gallon buckets of primer in an afternoon.
I mentioned this before, but it warrants repeating. Airless sprayers shoot liquid at pressures high enough to cause severe injuries so never touch the tip of a charged gun or spray at a body part.

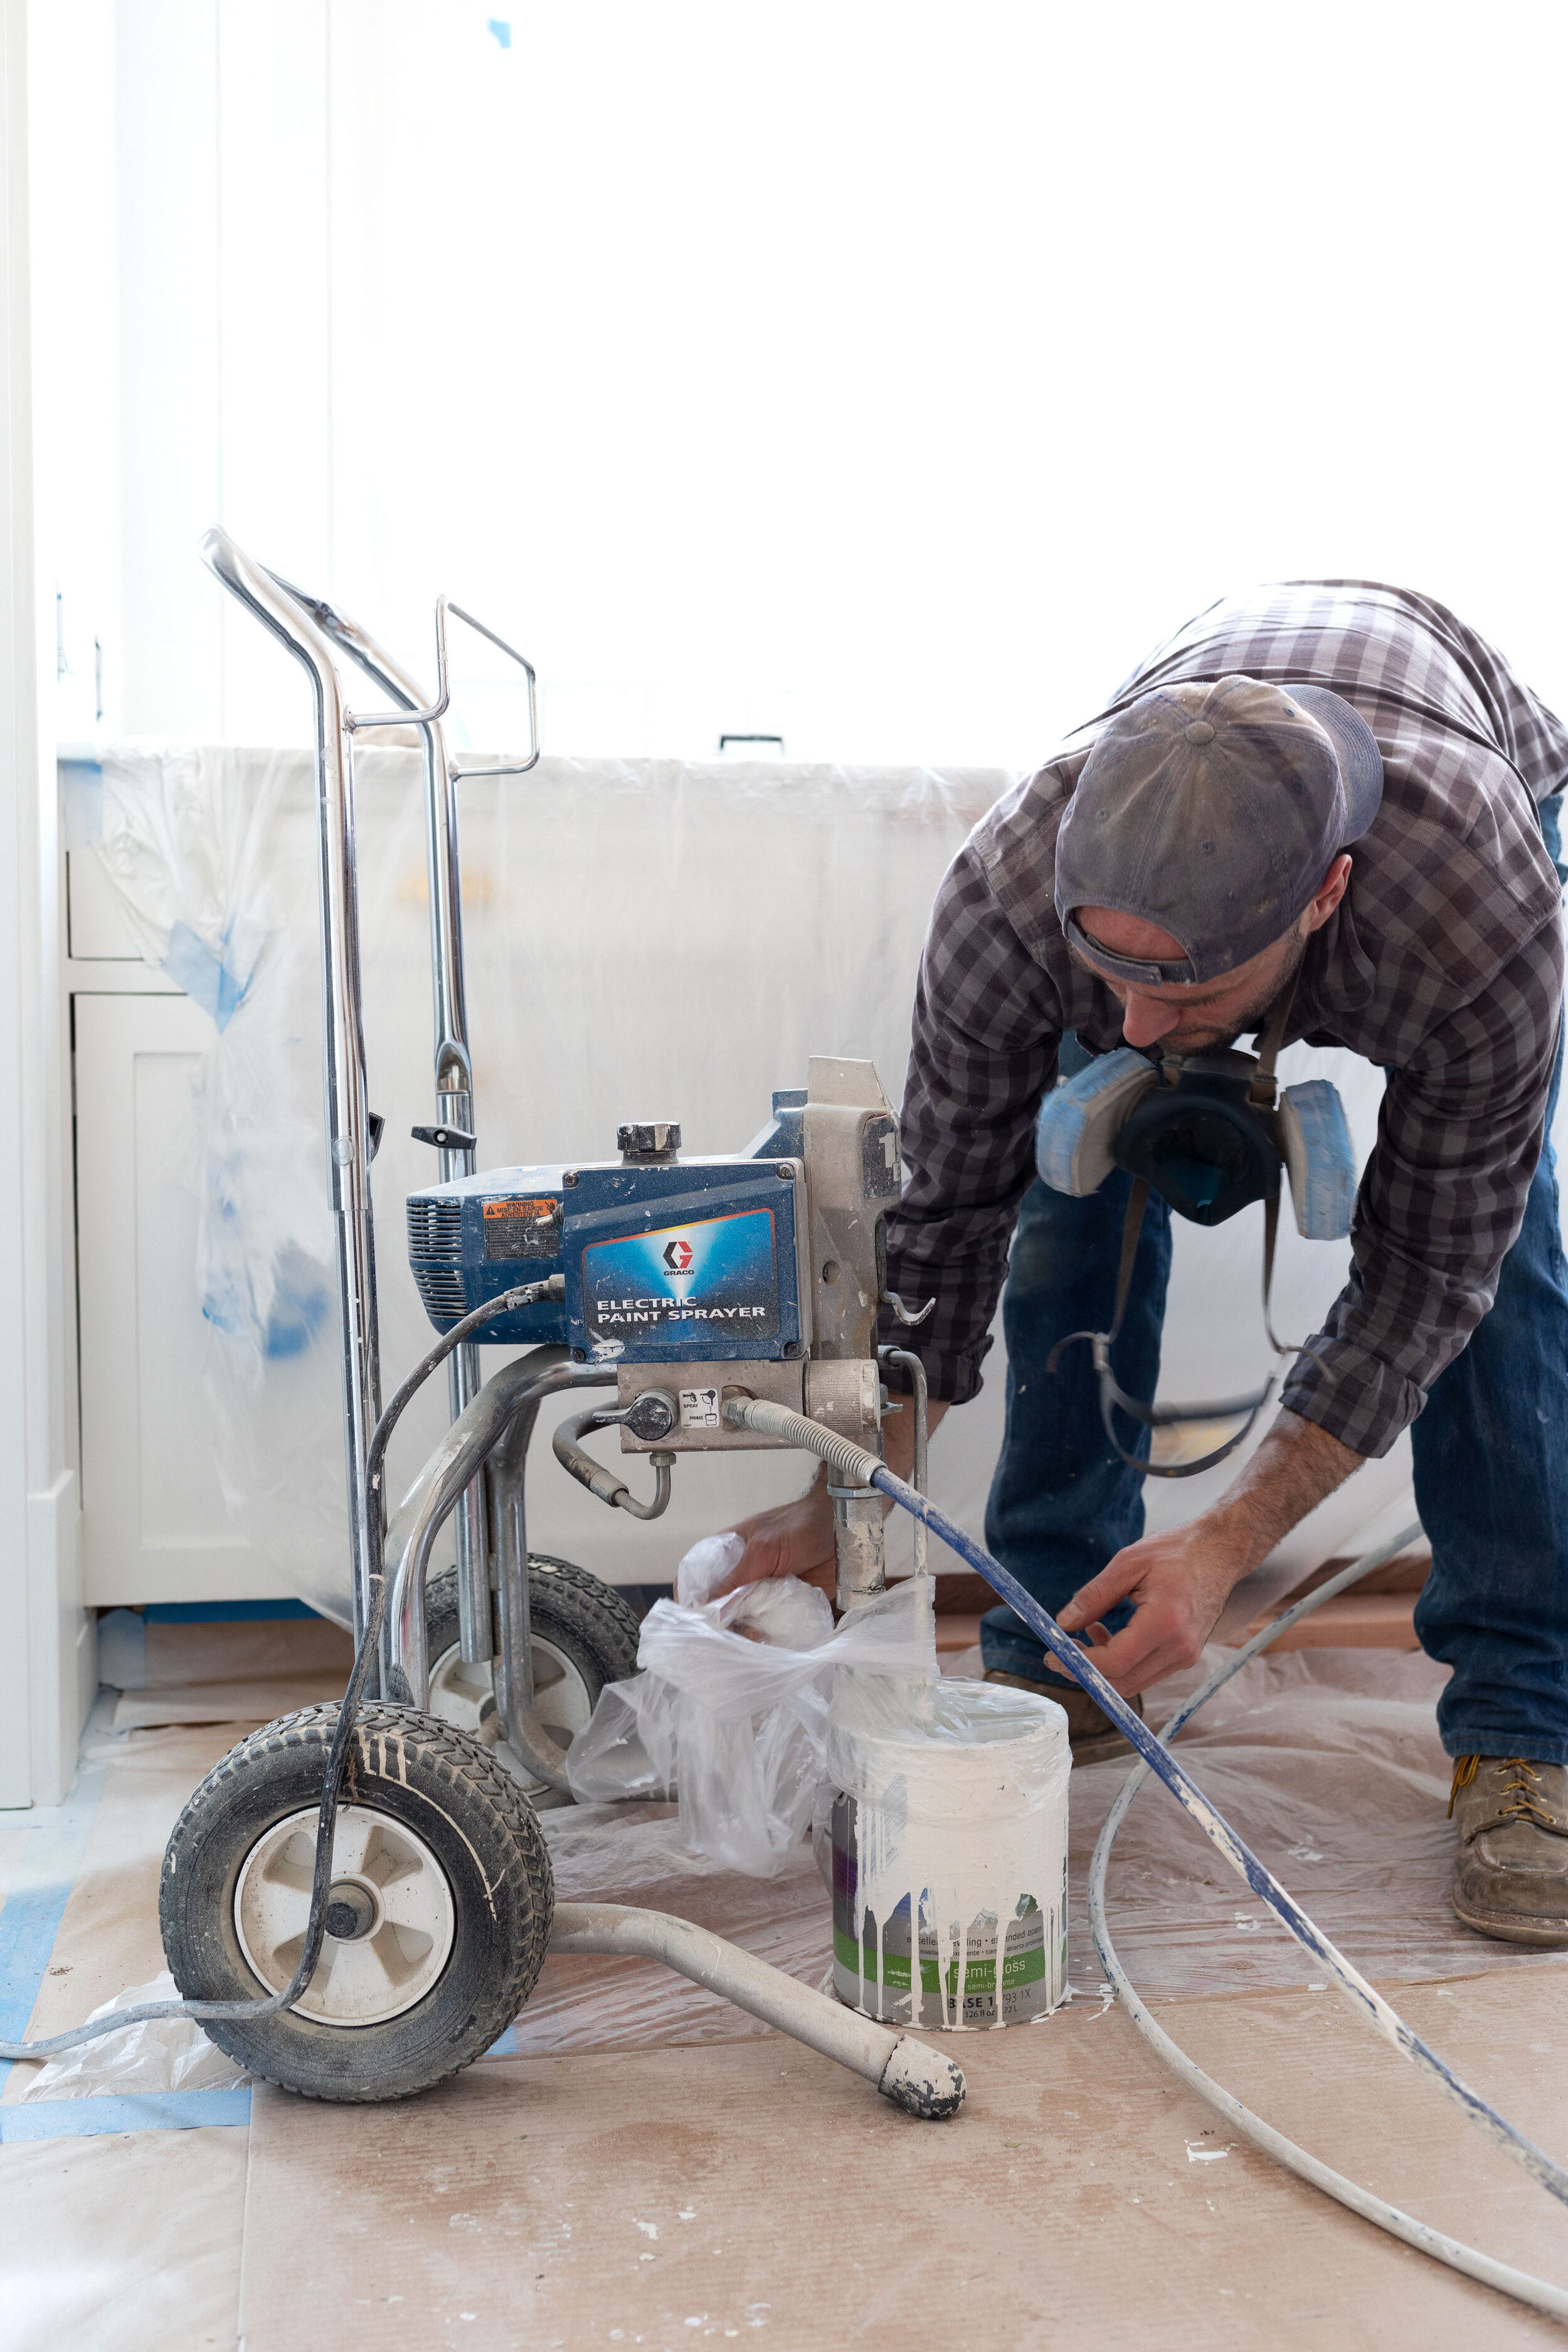
clean up
After you’re done spraying you can either do a full clean if the job is all complete or if you’re going to pick back up tomorrow, throw the gun in a bucket of water, release the pressure with a quick prime, turn off the sprayer, and cover your paint can and suction tube in plastic wrap. I’ve snoozed my pump like this for a day or two and then it’s ready to instantly pickup where you left off. The cleaning does take a bit. Probably book ~20-30min to do a thorough clean of the pump, gun, and filters and then reload with storage solution.
FYI’s
Couple last FYI’s for spraying…
Spray colors lightest to darkest unless you want to do a thorough clean between them.
The hardest part of spraying is getting even coverage. Multiple lighter coats will minimize areas with heavy paint leading to drips.
If you lay painted surfaces horizontally (cabinet doors or drawers) you’ll minimize chances of drips.
That’s all I have for you. Feel free to ask any lingering questions in the comments. Otherwise…go spray em tiger! ; )