Hill House Hall Bathroom Tile Reveal | Blue Subway Tile, Marble Accents & Classic Octagon-and-Dot Floors
THE HILL HOUSE
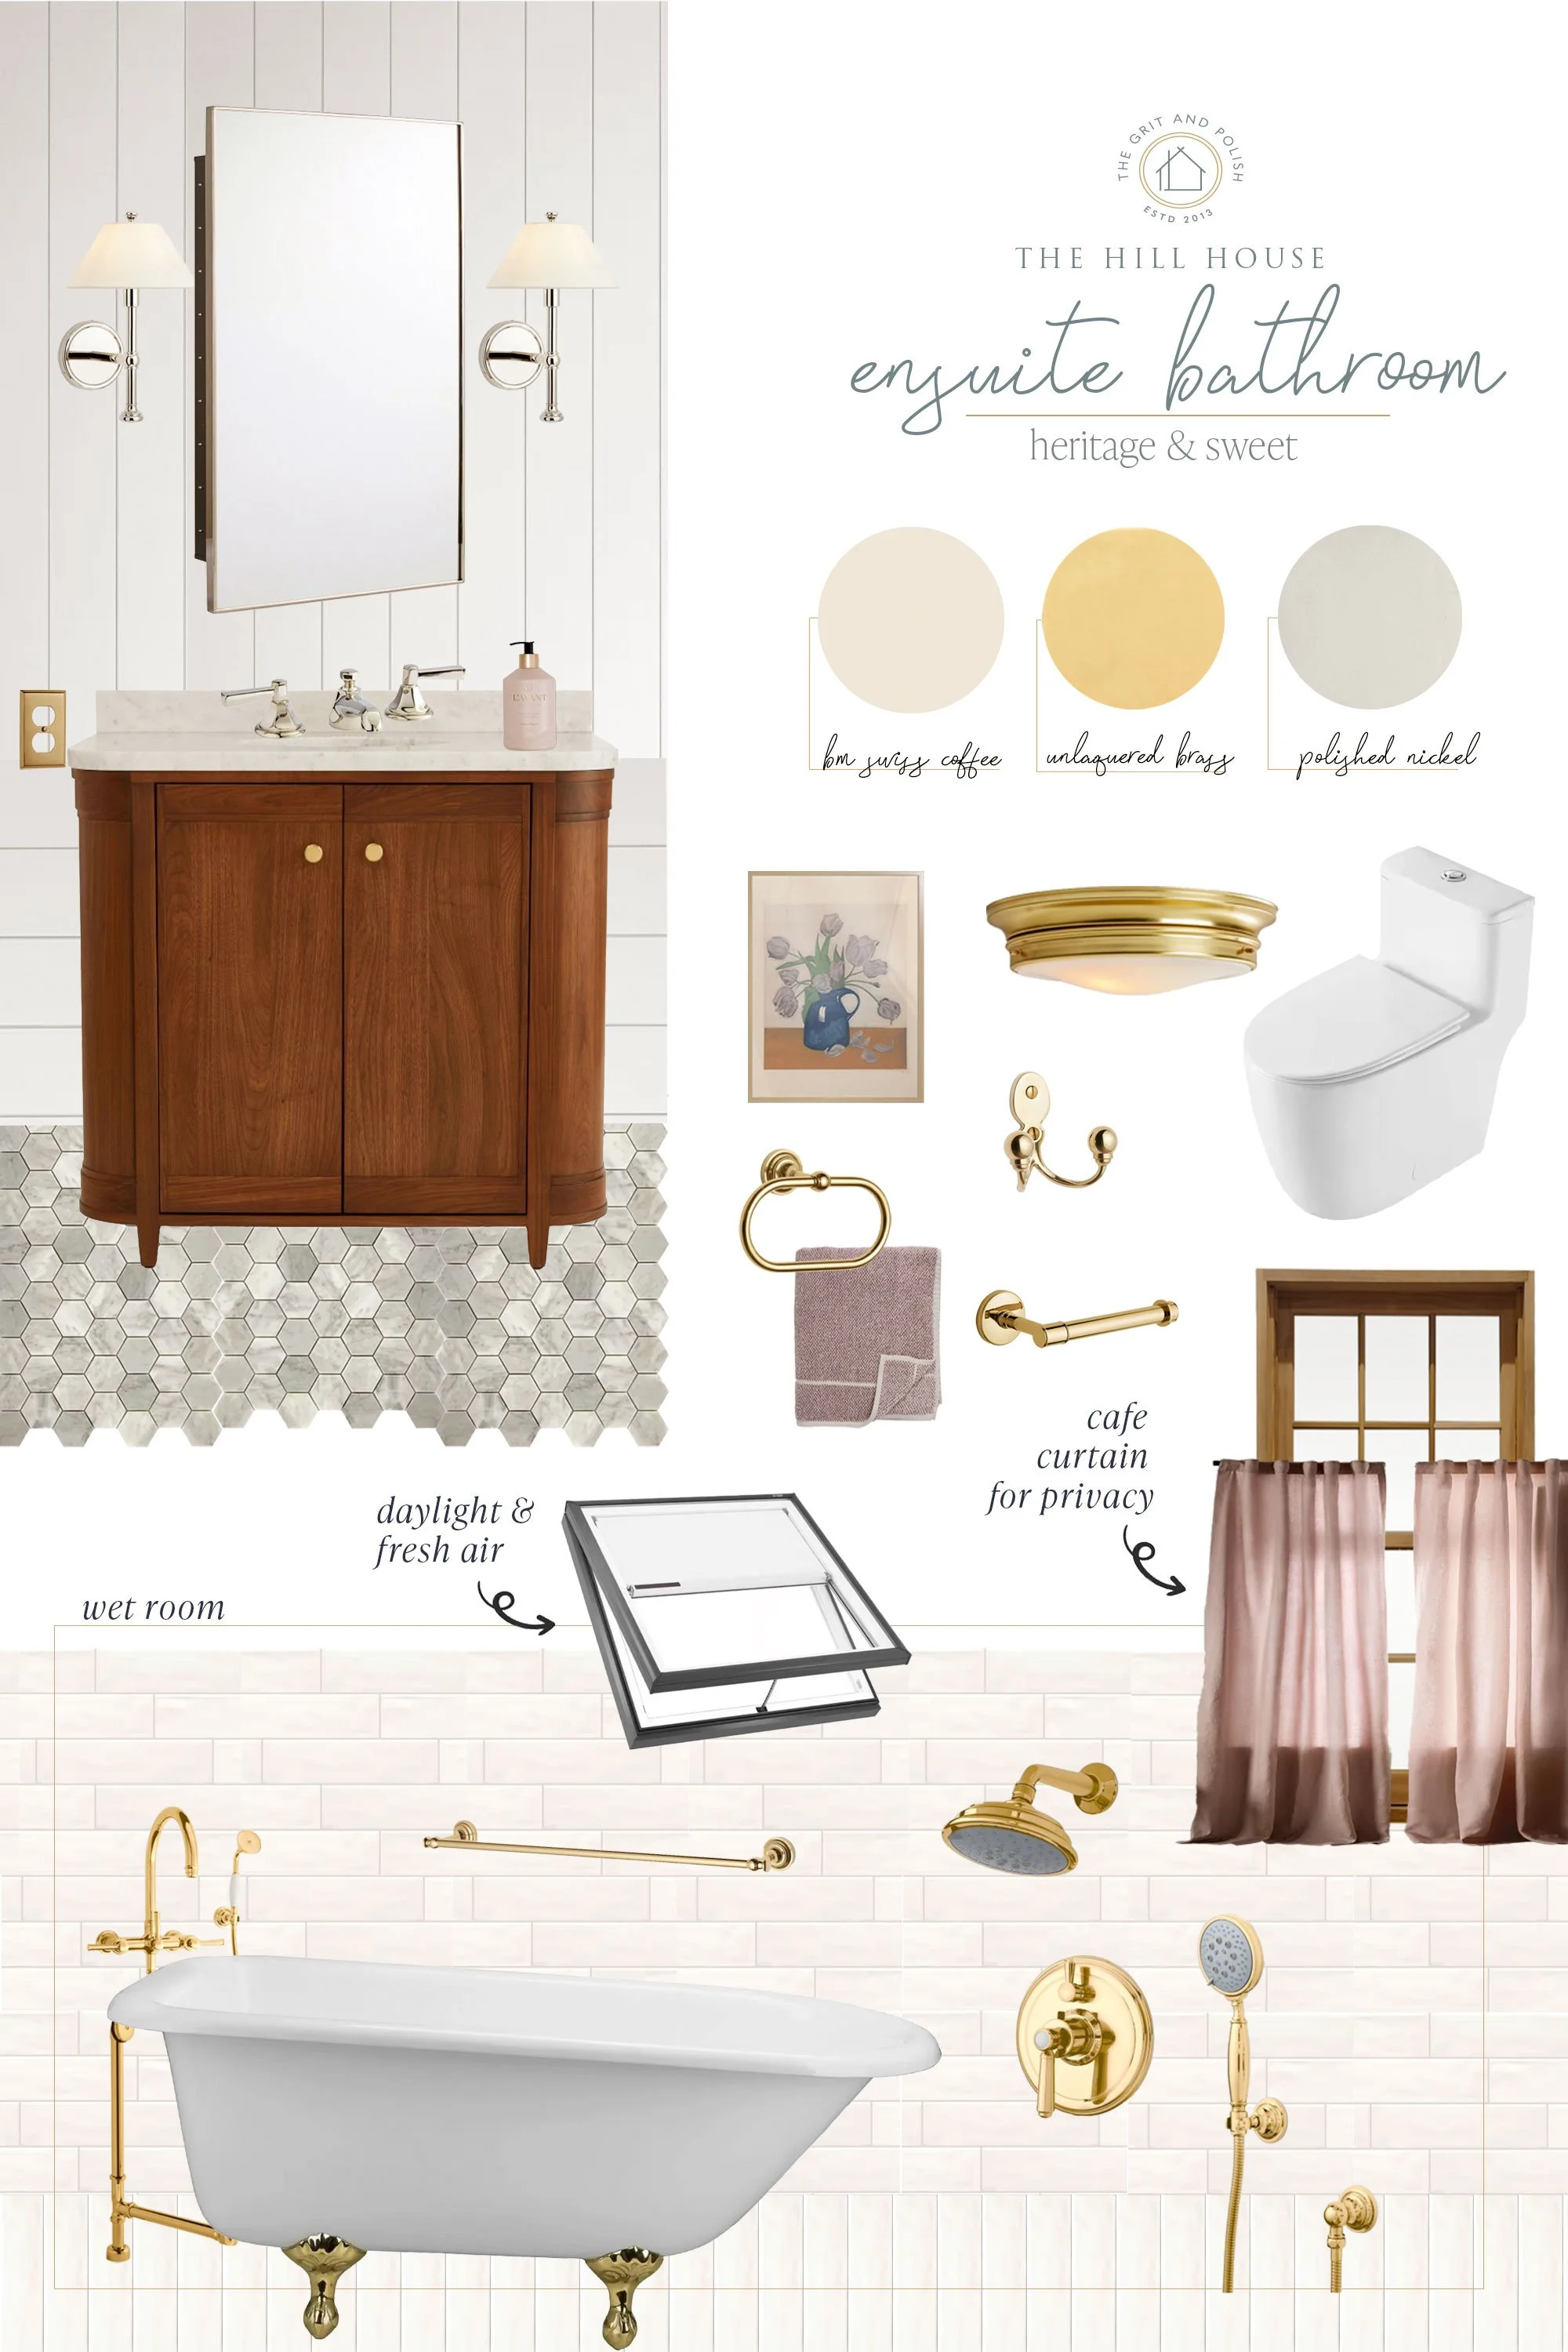
Let’s talk tile! The upstairs hall bathroom will eventually serve our three kids and guests, so we wanted it to feel timeless, durable, and just a little bit fun. With the walls up, surfaces prepped, and waterproofing done, it was finally time to bring the design to life. If you caught our Hall Bathroom Moodboard, you already know the direction: classic materials, traditional shapes, a hit of blue, and plenty of old-house charm. Today we’re sharing the tile installation, the design decisions that shaped the space, and a few lessons learned along the way.

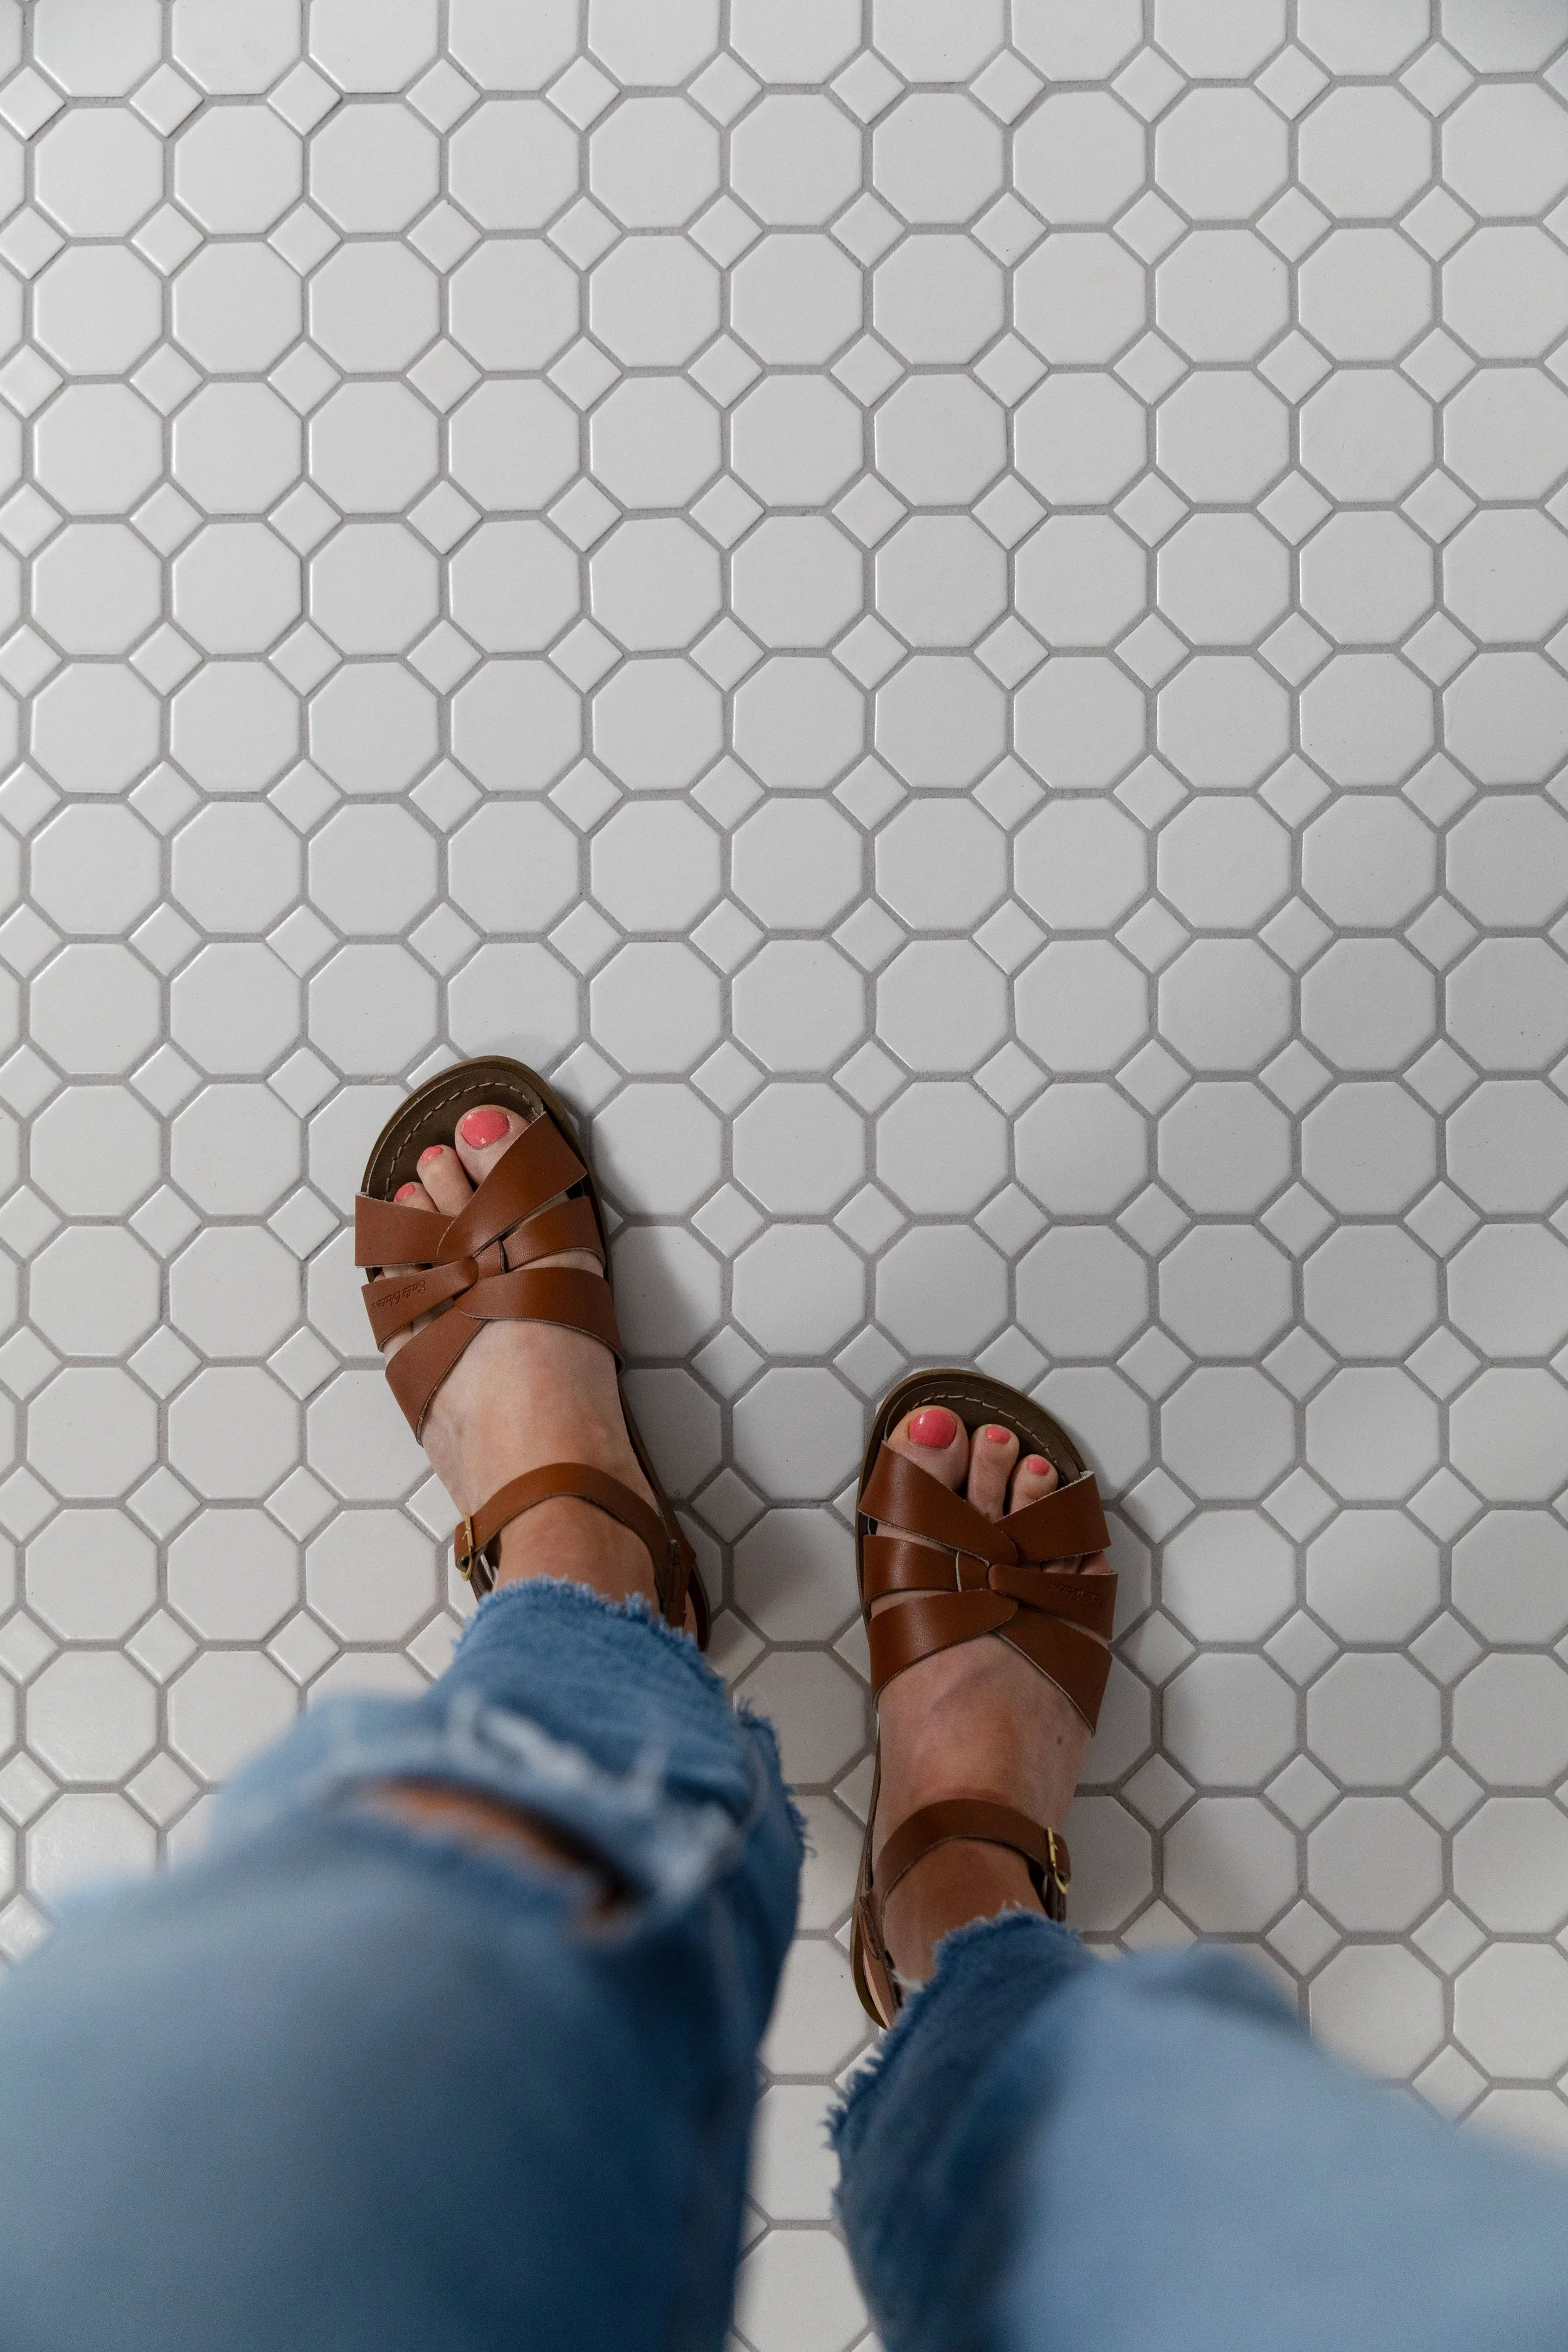
psst: we actually tiled this earlier in the year (hence the sandals) but promptly switched back to the Poplar Cottage renovation and didn’t get around to sharing it on the Grit and Polish until now.
The Design Vision: Classic Meets Kid-Friendly
This bathroom needed to walk the line between kid-friendly and old-house classic. So we used materials that feel at home in a 1910 house. Adding a subtle color brings in fun without dating the space. And we chose finishes durable enough to withstand daily kid-life. The final tile palette became a mix of dreamy blue subway tiles, classic white octagon-and-dot mosaic floors, a touch of marble, and polished nickel hardware. The combination feels fresh but rooted in the age of the home, exactly what we wanted for the Hill House.

Tile Sources & Materials
All tile came from DalTile from The Home Depot, making this very accessible!
Wall Tile
Subtle glaze variation that mimics a handmade look
Installed in a classic subway pattern
Shower Niche
12×12 Marble Tile, cut down
Marble remnant sill with a raised lip to hide a ¼" height misalignment
Floor Tile
Comes in 12×12 mats for faster installation (!!!)
A historic pattern common to early-1900s homes
Bathtub
Cast iron construction is sturdy, historically accurate, and feels good to the touch
Backer & Waterproofing
¼" Hardibacker on floors
½" Hardibacker on shower walls
Fiber-taped seams at transitions
RedGard membrane in the shower
Tile isn’t complicated, but old-house prep can be. Getting the surfaces flat and even was the most time-intensive part - and the reason everything looks crisp in the end.
Surface Prep (The Real Secret to Beautiful Tile)
Old houses rarely give you perfectly square corners or level floors, so we’ve learned to budget plenty of time for prep:
1. In-Floor Heat
We installed electric in-floor heat directly over the subfloor (tasty toes in the winter are never a bad idea!). A layer of thinset secured the mats and smoothed everything out before the Hardibacker went in.


2. Hardibacker Installation
¼" on floors
½" on walls
All joints taped
All transitions feathered so tile sits flat
3. Waterproofing
The shower walls were coated with RedGard, including corners and seams.
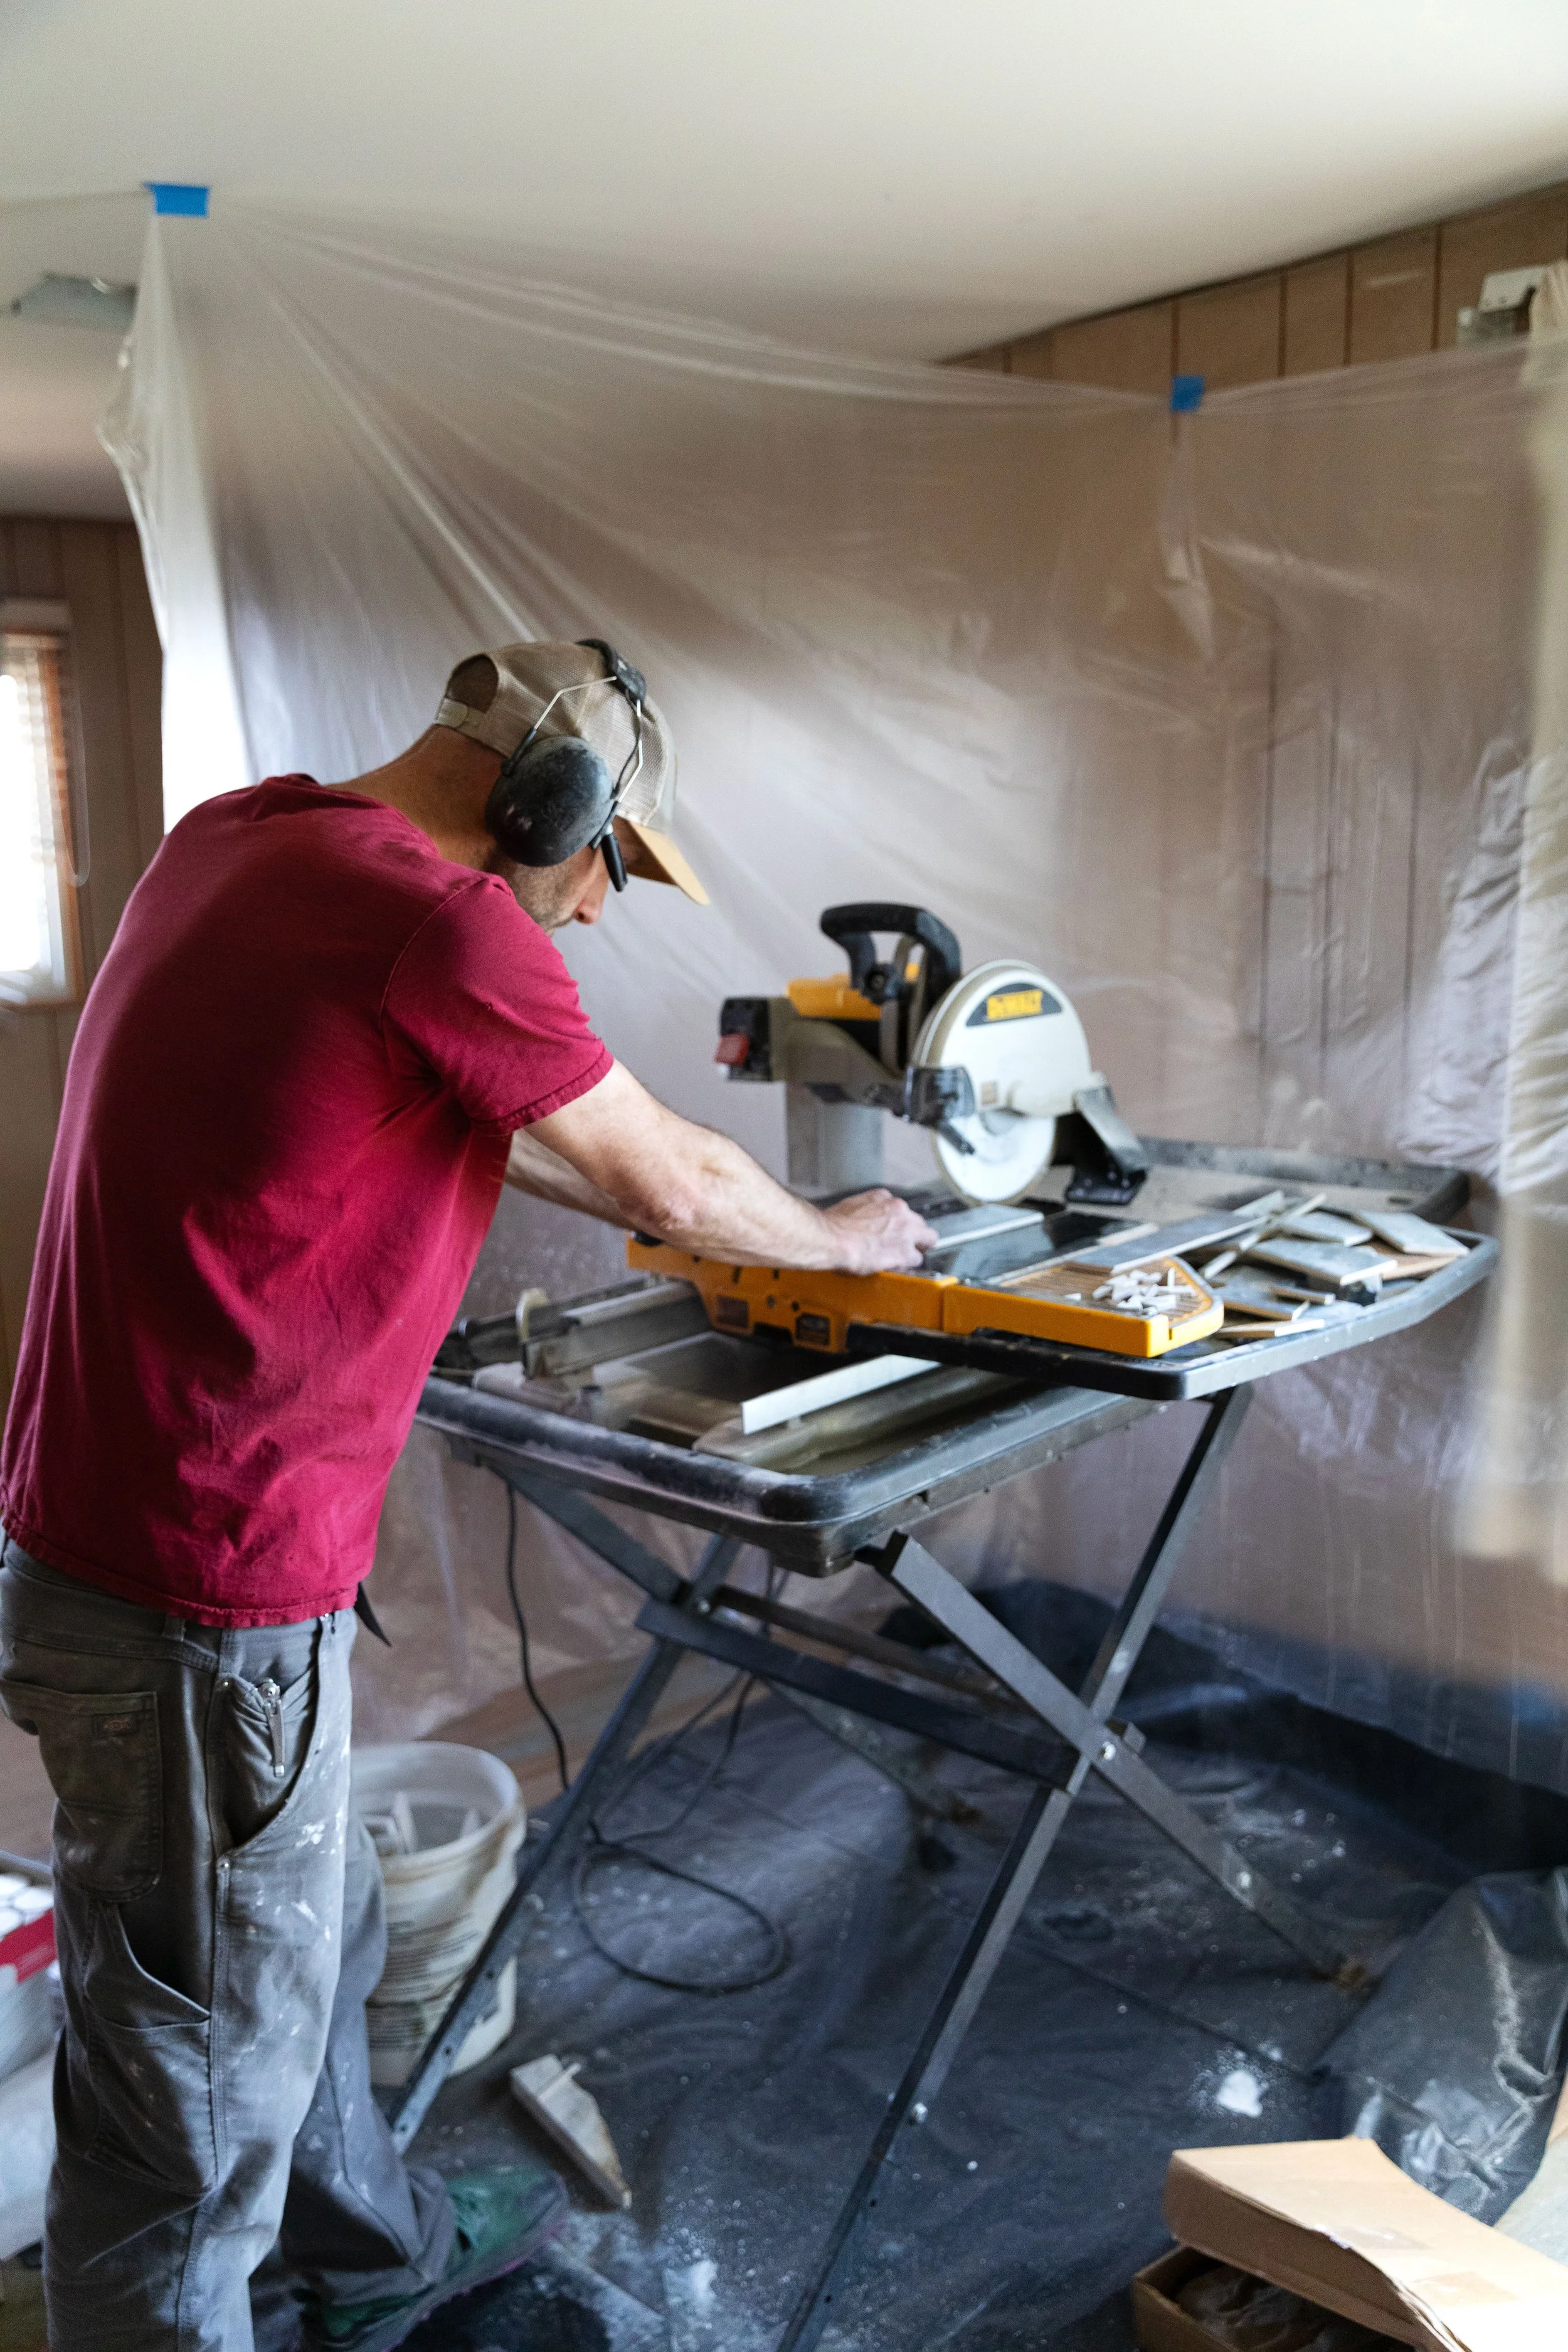
4. Tile Saw Setup
We hauled the tile saw upstairs and wrapped the kids’ room in painter’s plastic. It was not pretty, but it saved hours of running up and down stairs for each cut. We will always avoid setting up a saw outside for an upstairs bathroom!
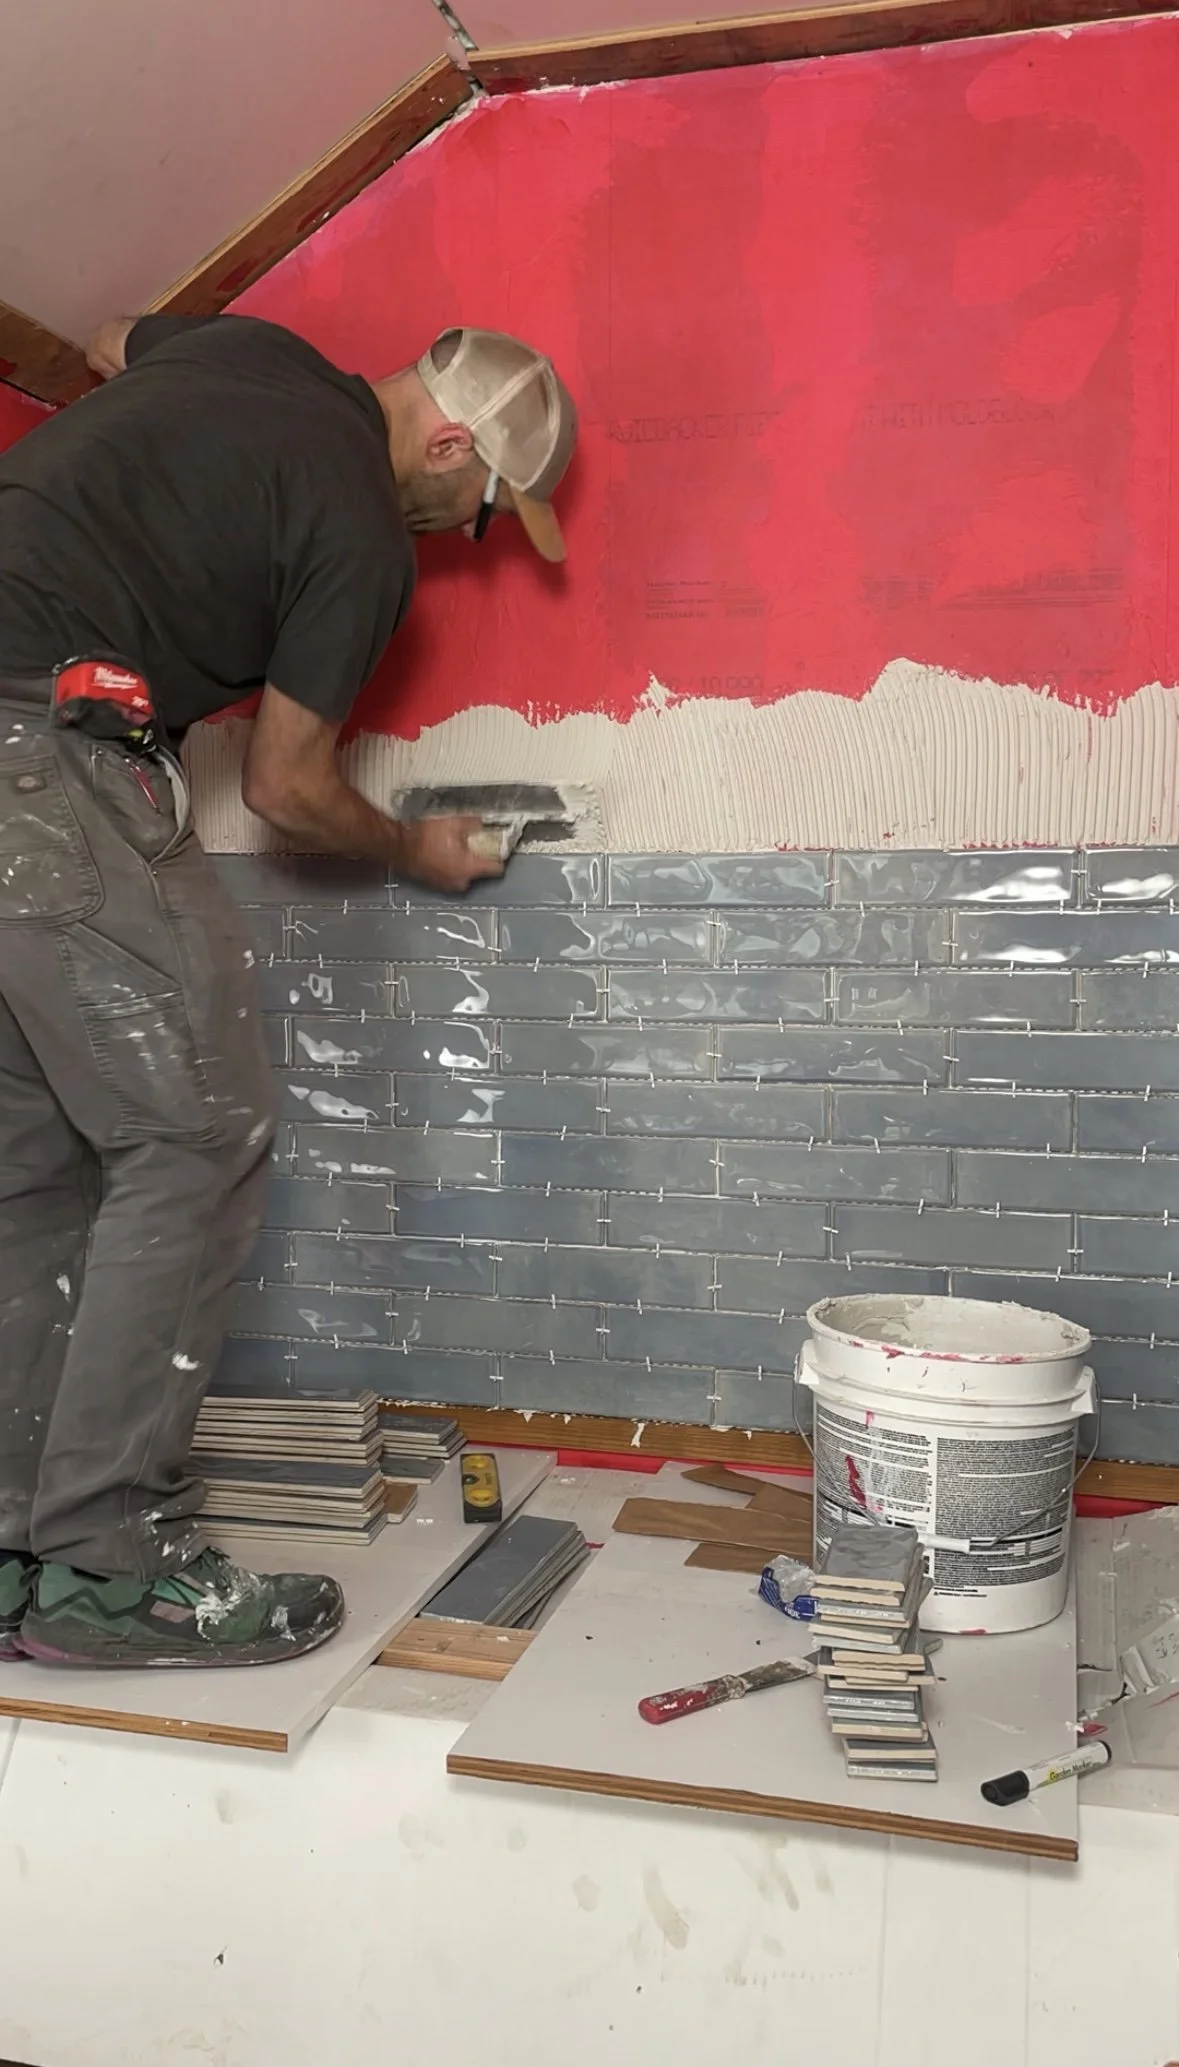
Wall Tile Installation
Once everything was waterproofed and cured, we started on the walls.
Ledger Board for a Perfect First Course
Because bathtubs rarely sit perfectly level (aka old house floors are rarely perfectly level), we installed a ledger board one tile + grout line above the lowest point of the tub. This kept the whole design straight and avoided skinny cut pieces.
Center-Out Layout
We started our first tile at the center of the back wall and worked outward. This ensures the side walls end with equal cuts, one of those simple details that makes a bathroom feel a bit more intentional and higher end.
Two-Person Workflow
Ideally one person lays and one cuts. In reality, that only lasts until school pickup. For this project, Cathy tiled a portion of the walls while Garrett cut, and then Garrett finished the rest while Cathy ran to swim practice.

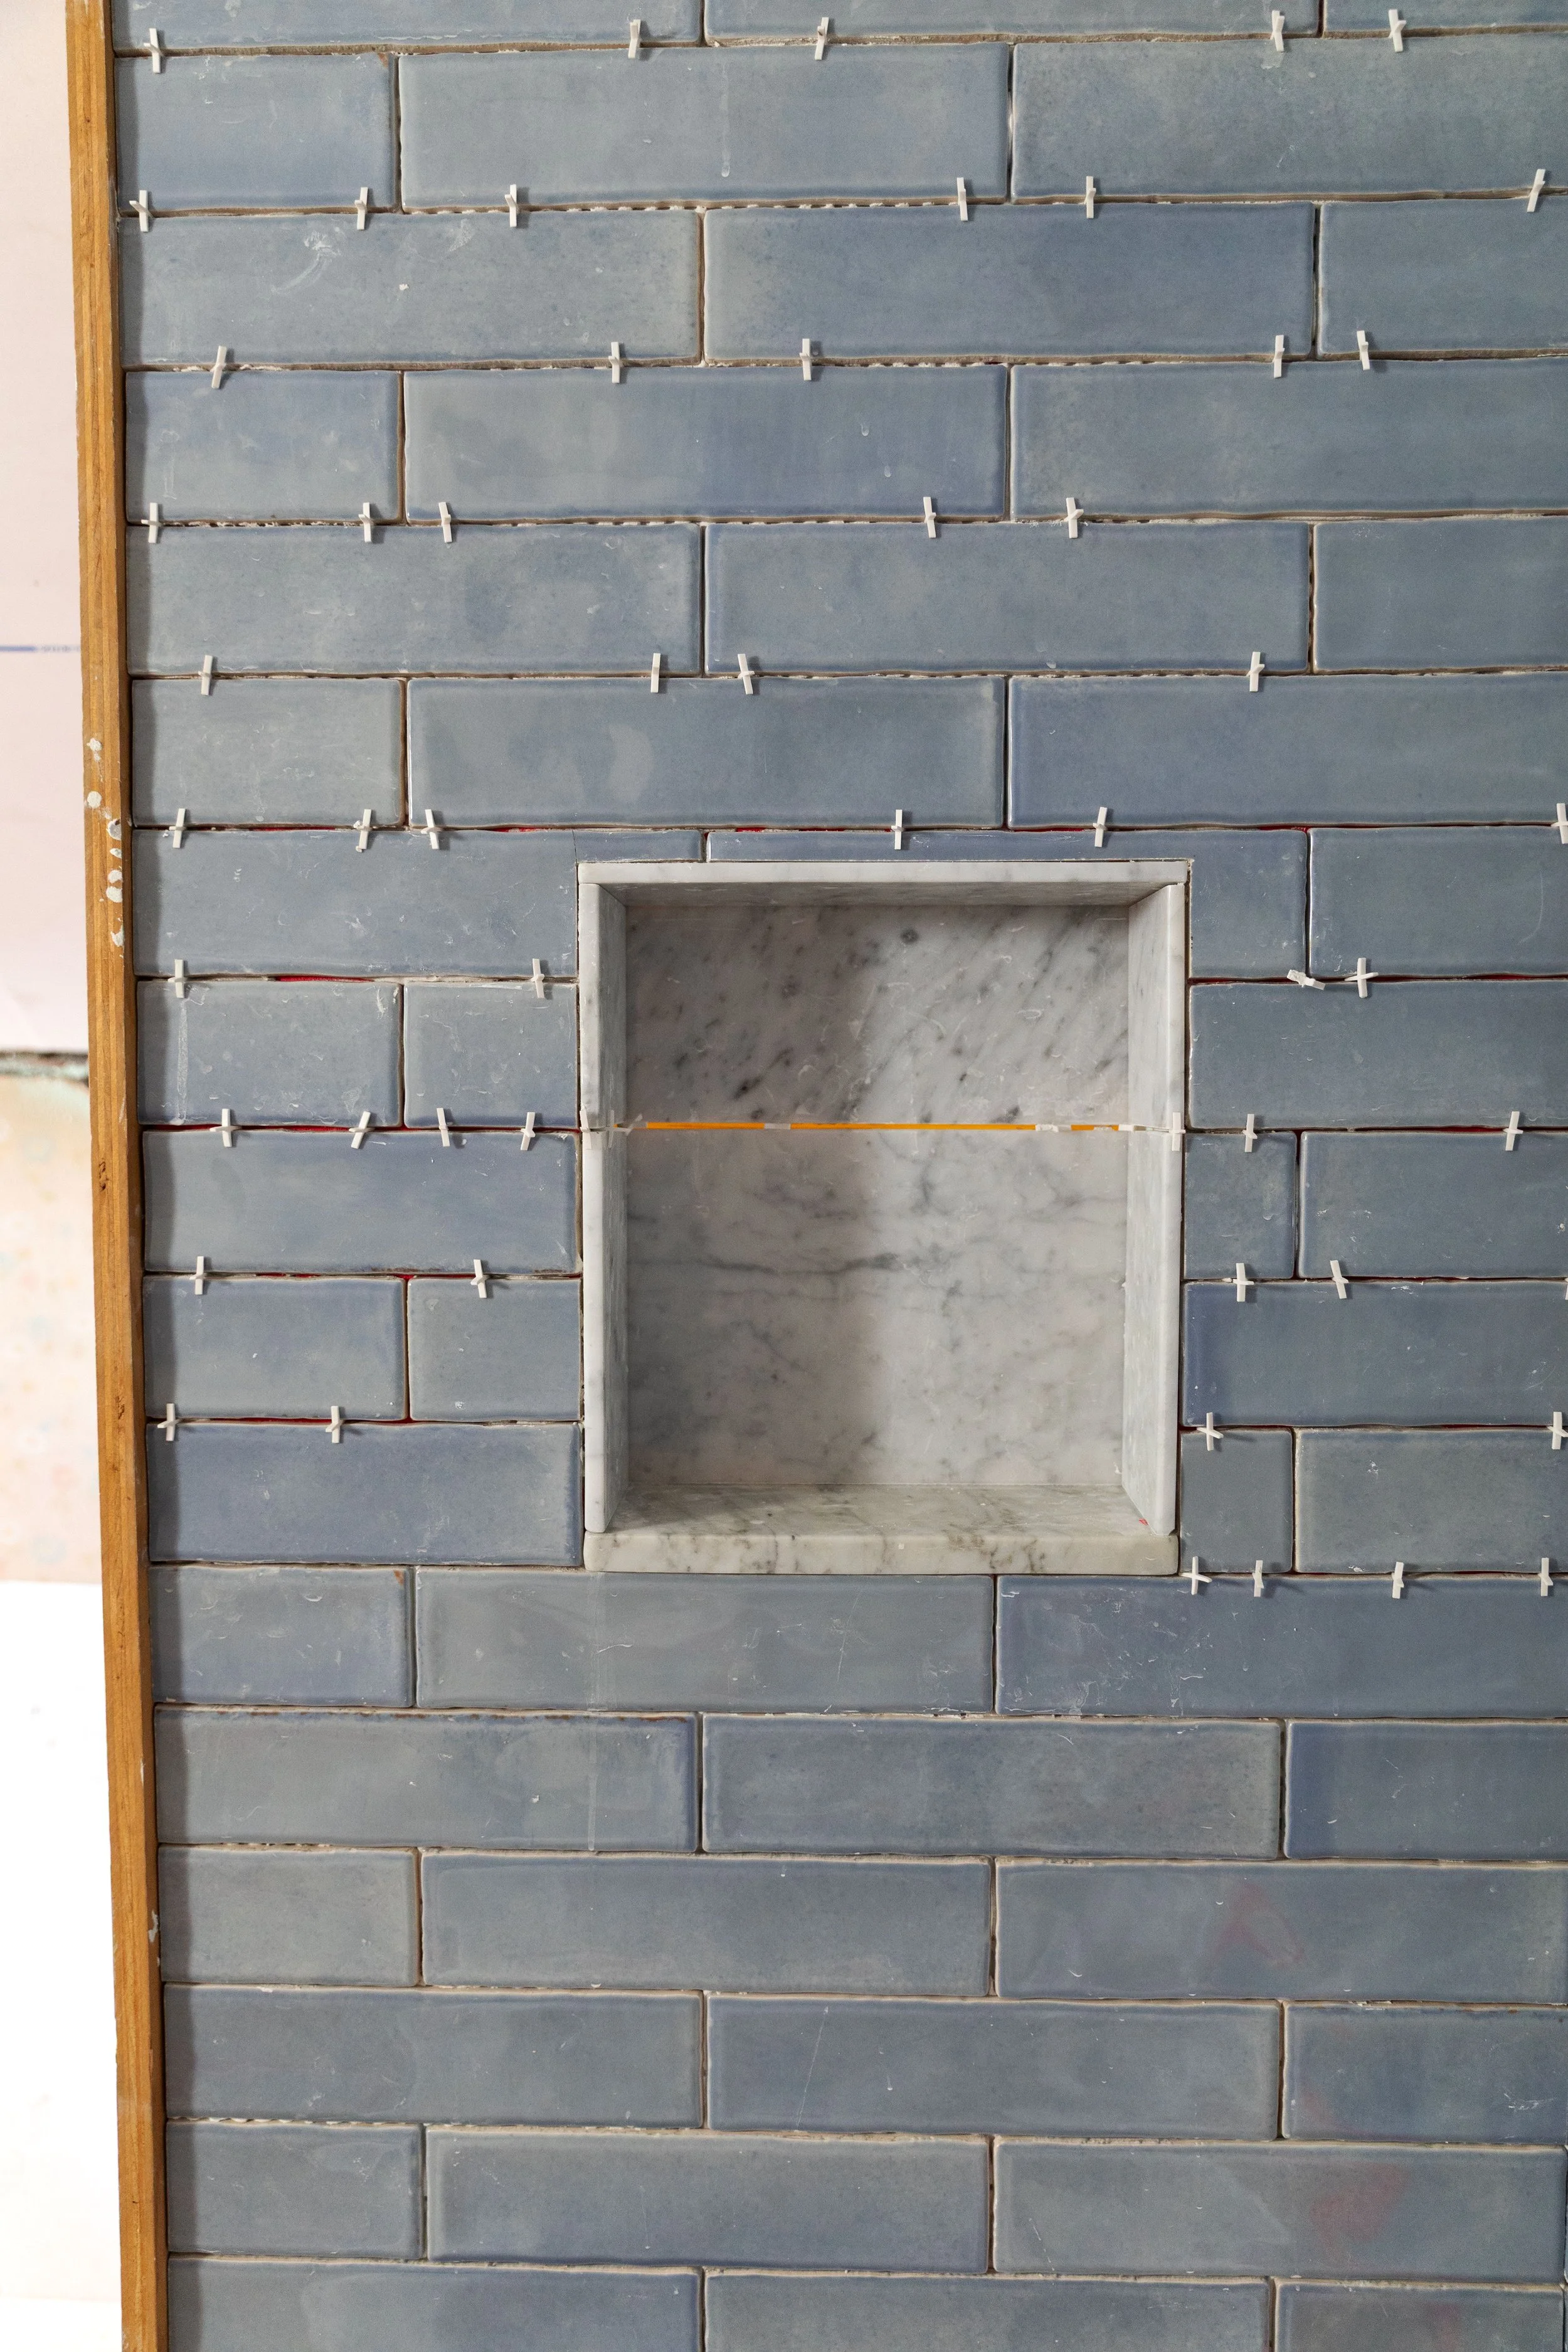
Shower Niche (A Happy Accident)
Originally we planned to wrap the niche in blue tile, but the niche height ended up ¼" above a full tile row. Too tight for clean cuts, too noticeable if we forced it. So plan B was to use a marble remnant to create a flush sill and then line the niche with cut-down 12×12 marble tiles. The niche became a quiet feature and it’s now one of our favorite details in the whole room!

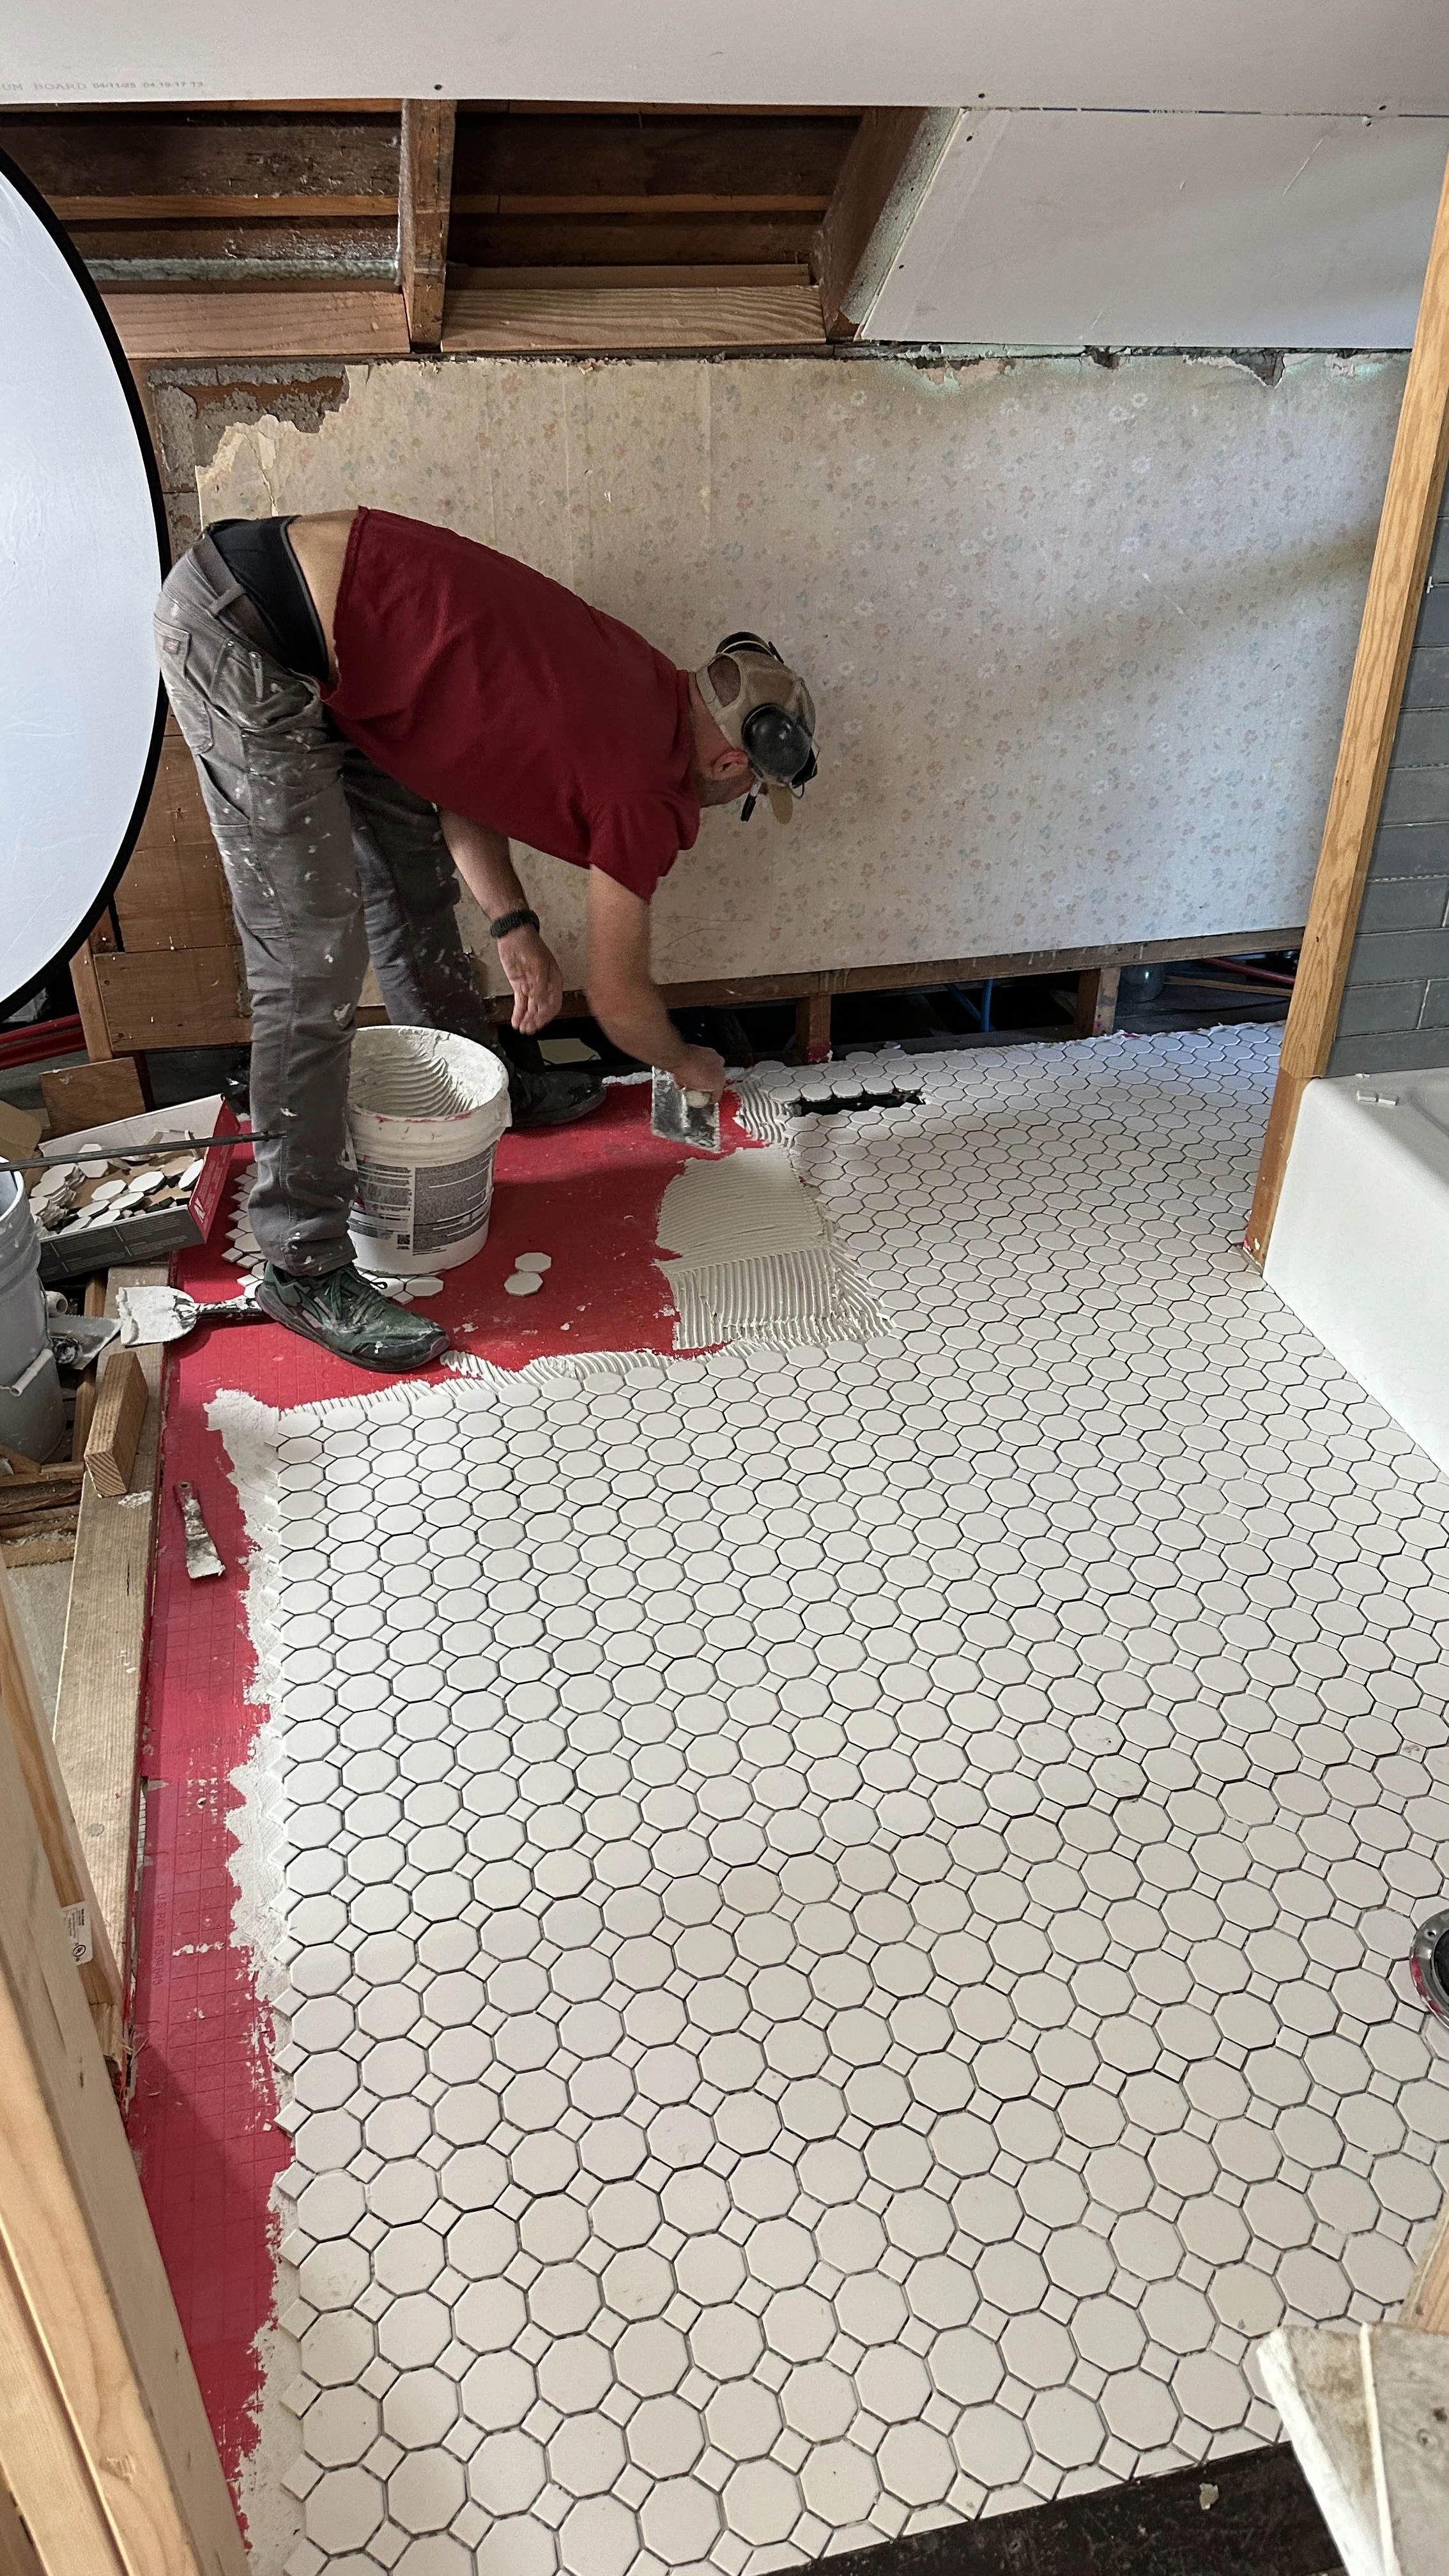
Floor Tile Installation
The 12×12 octagon-and-dot mats lay surprisingly quickly, but they require patience. A level subfloor was absolutely essential here.
Starting Point
We began at the most visible spot by the tub and worked our way out from there.
Adjusting the Mats
Even with good prep, mosaic mats always need nudging to keep joints aligned. We gently “fudged” pieces as we went, and the final pattern looks seamless.
The Finished Tile
The finished space feels like a modern interpretation of a 1910 bathroom: calm, classic, functional, and quietly special. The blue walls and the marble niche add personality, the mosaic floor adds history.


Next up:
wall paneling
planked ceiling
fixtures and paint
and then a full bathroom reveal
And of course… more on the epoxy grout we used (including a very big lesson learned, eeek!).
More Hill House Bathroom Posts
Epoxy Grout Color Variation (What We Learned From Our Spectralock Mistake) (coming next)
ps This post contains affiliate links, meaning we may earn a small commission if you purchase through our links, at no cost to you. Thank you for supporting The Grit and Polish!