Are Your Old Hardwood Floors Worth Saving? Here’s How to Tell...
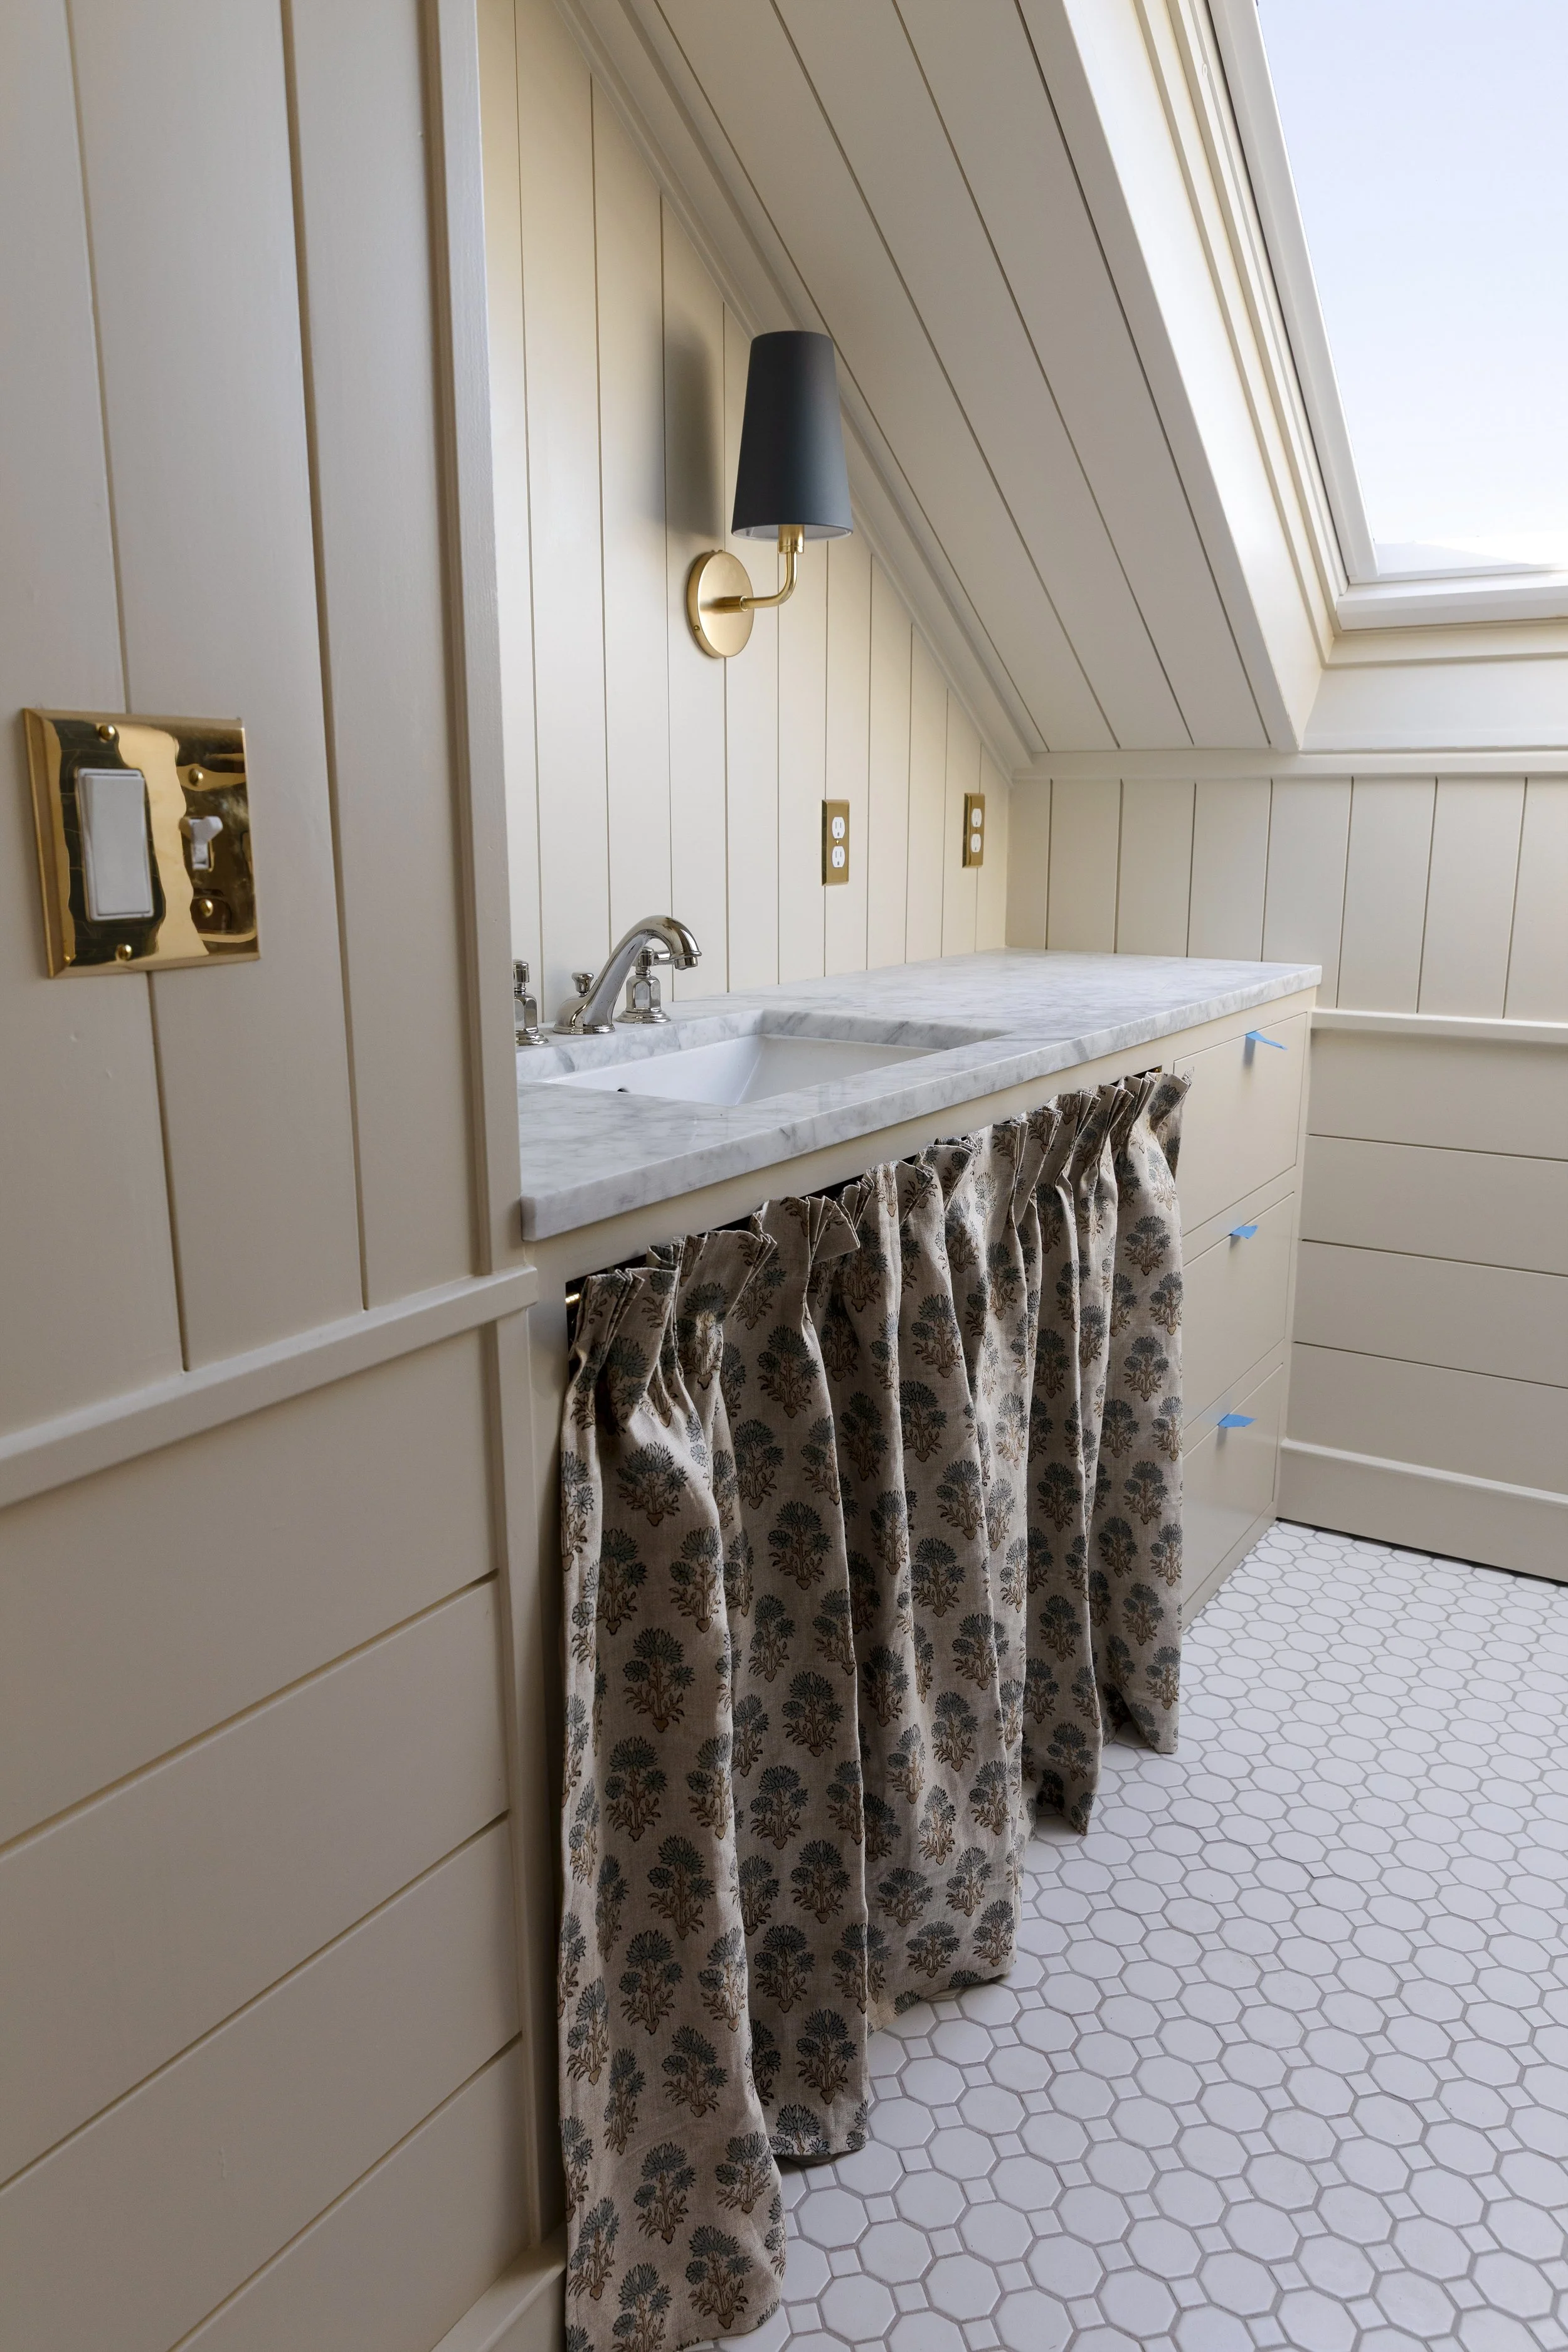
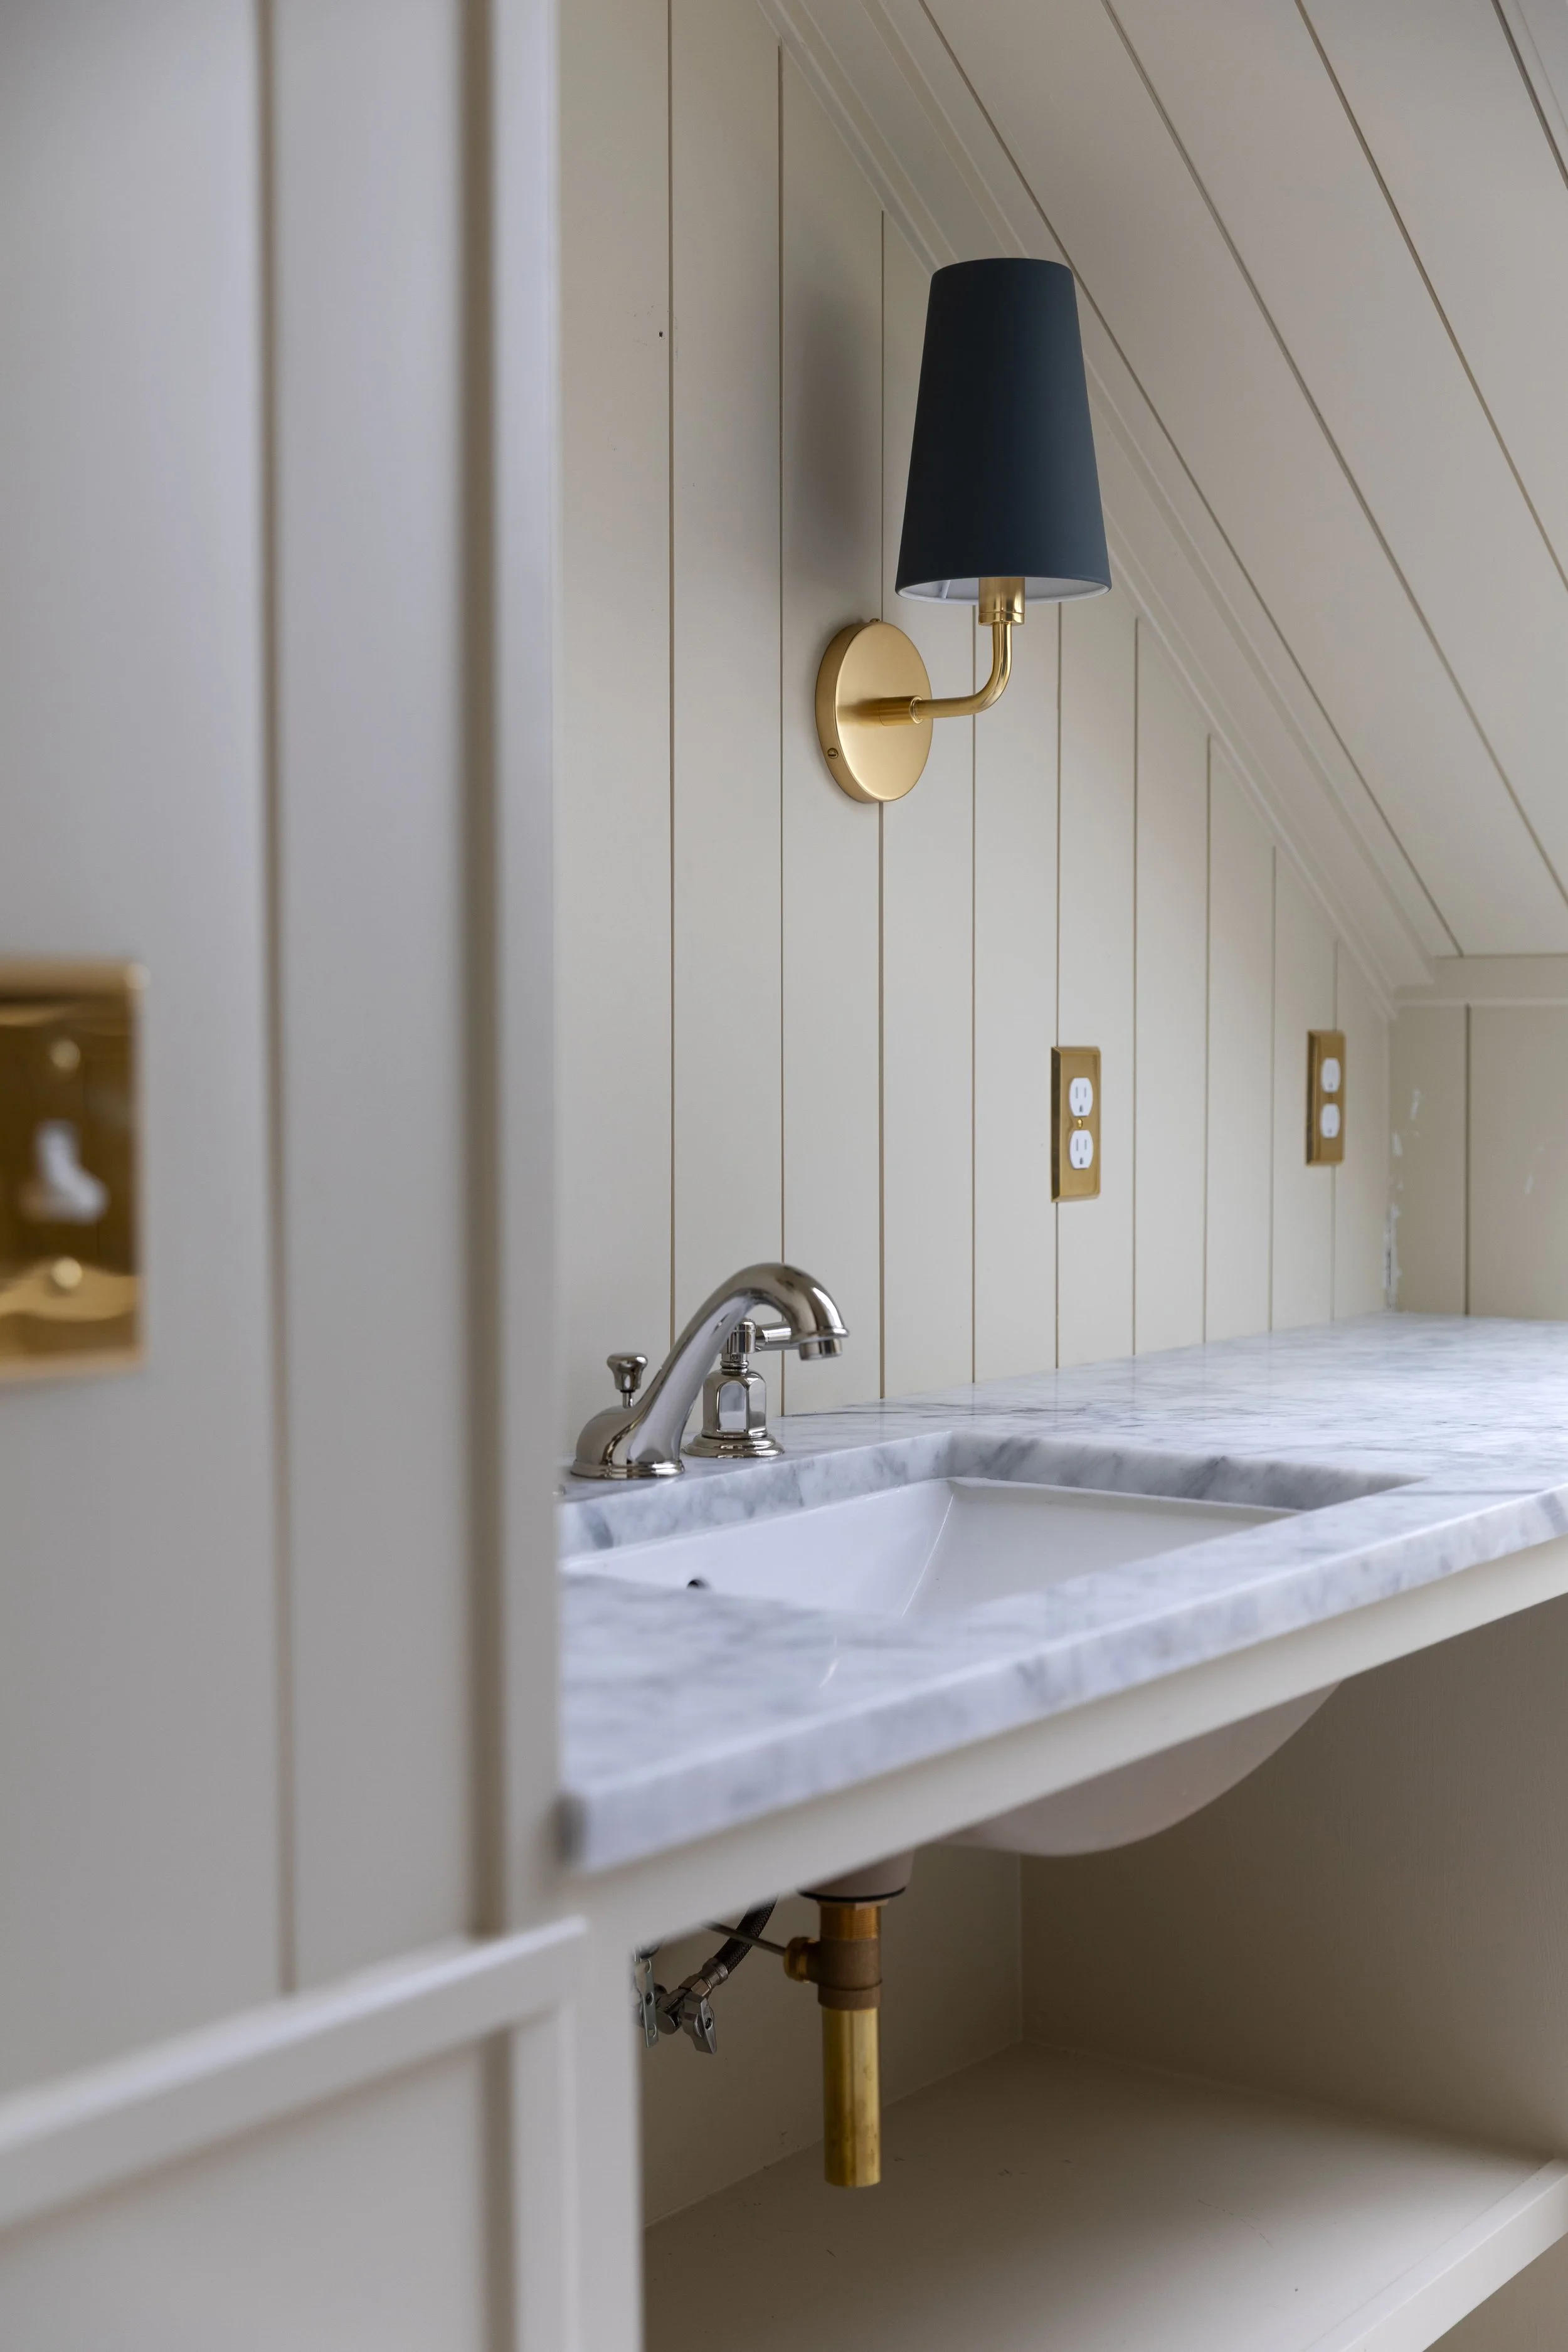
THE HILL HOUSE
One of the most exciting parts of renovating an old house is pulling up the carpets and discovering what’s hiding underneath. If your home was built before the 1960s, there’s a good chance it’s hardwoods - sometimes beautifully preserved by the carpet and sometimes not so much. Today we’re sharing how to tell when wood floors are worth saving and refinishing…and when they’re not. Plus what we found when we pulled up the upstairs carpets at the Hill House. Let’s get into it…

We’re huge fans of old hardwood floors (and softwood, too!) - they add so much character and charm to a house and can save serious time and money when they’re in decent shape. Over the years we’ve refinished dozens of wood floors, from fir to oak, sometimes hiring the job out but usually doing it ourselves. And we have a lot to thoughts on all things wood floors. Today we’re sharing:
What we found under the Hill House carpets
How to tell if your wood floors are salvageable
Common signs of damage to look for
When refinishing is worth it (and when it’s not)
What to do before hiring out or DIYing a hardwood floor refinish
If you’re thinking about removing carpet, this guide will help you understand what’s realistic, what’s restorable, and how to make the best decision for your home. Let’s get into it…
What We Found Under the Upstairs Carpet
The Hill House had wall-to-wall carpet upstairs upstairs when we moved in - bedrooms, hallway, closets, everything. When we pulled it back, here’s what we uncovered:
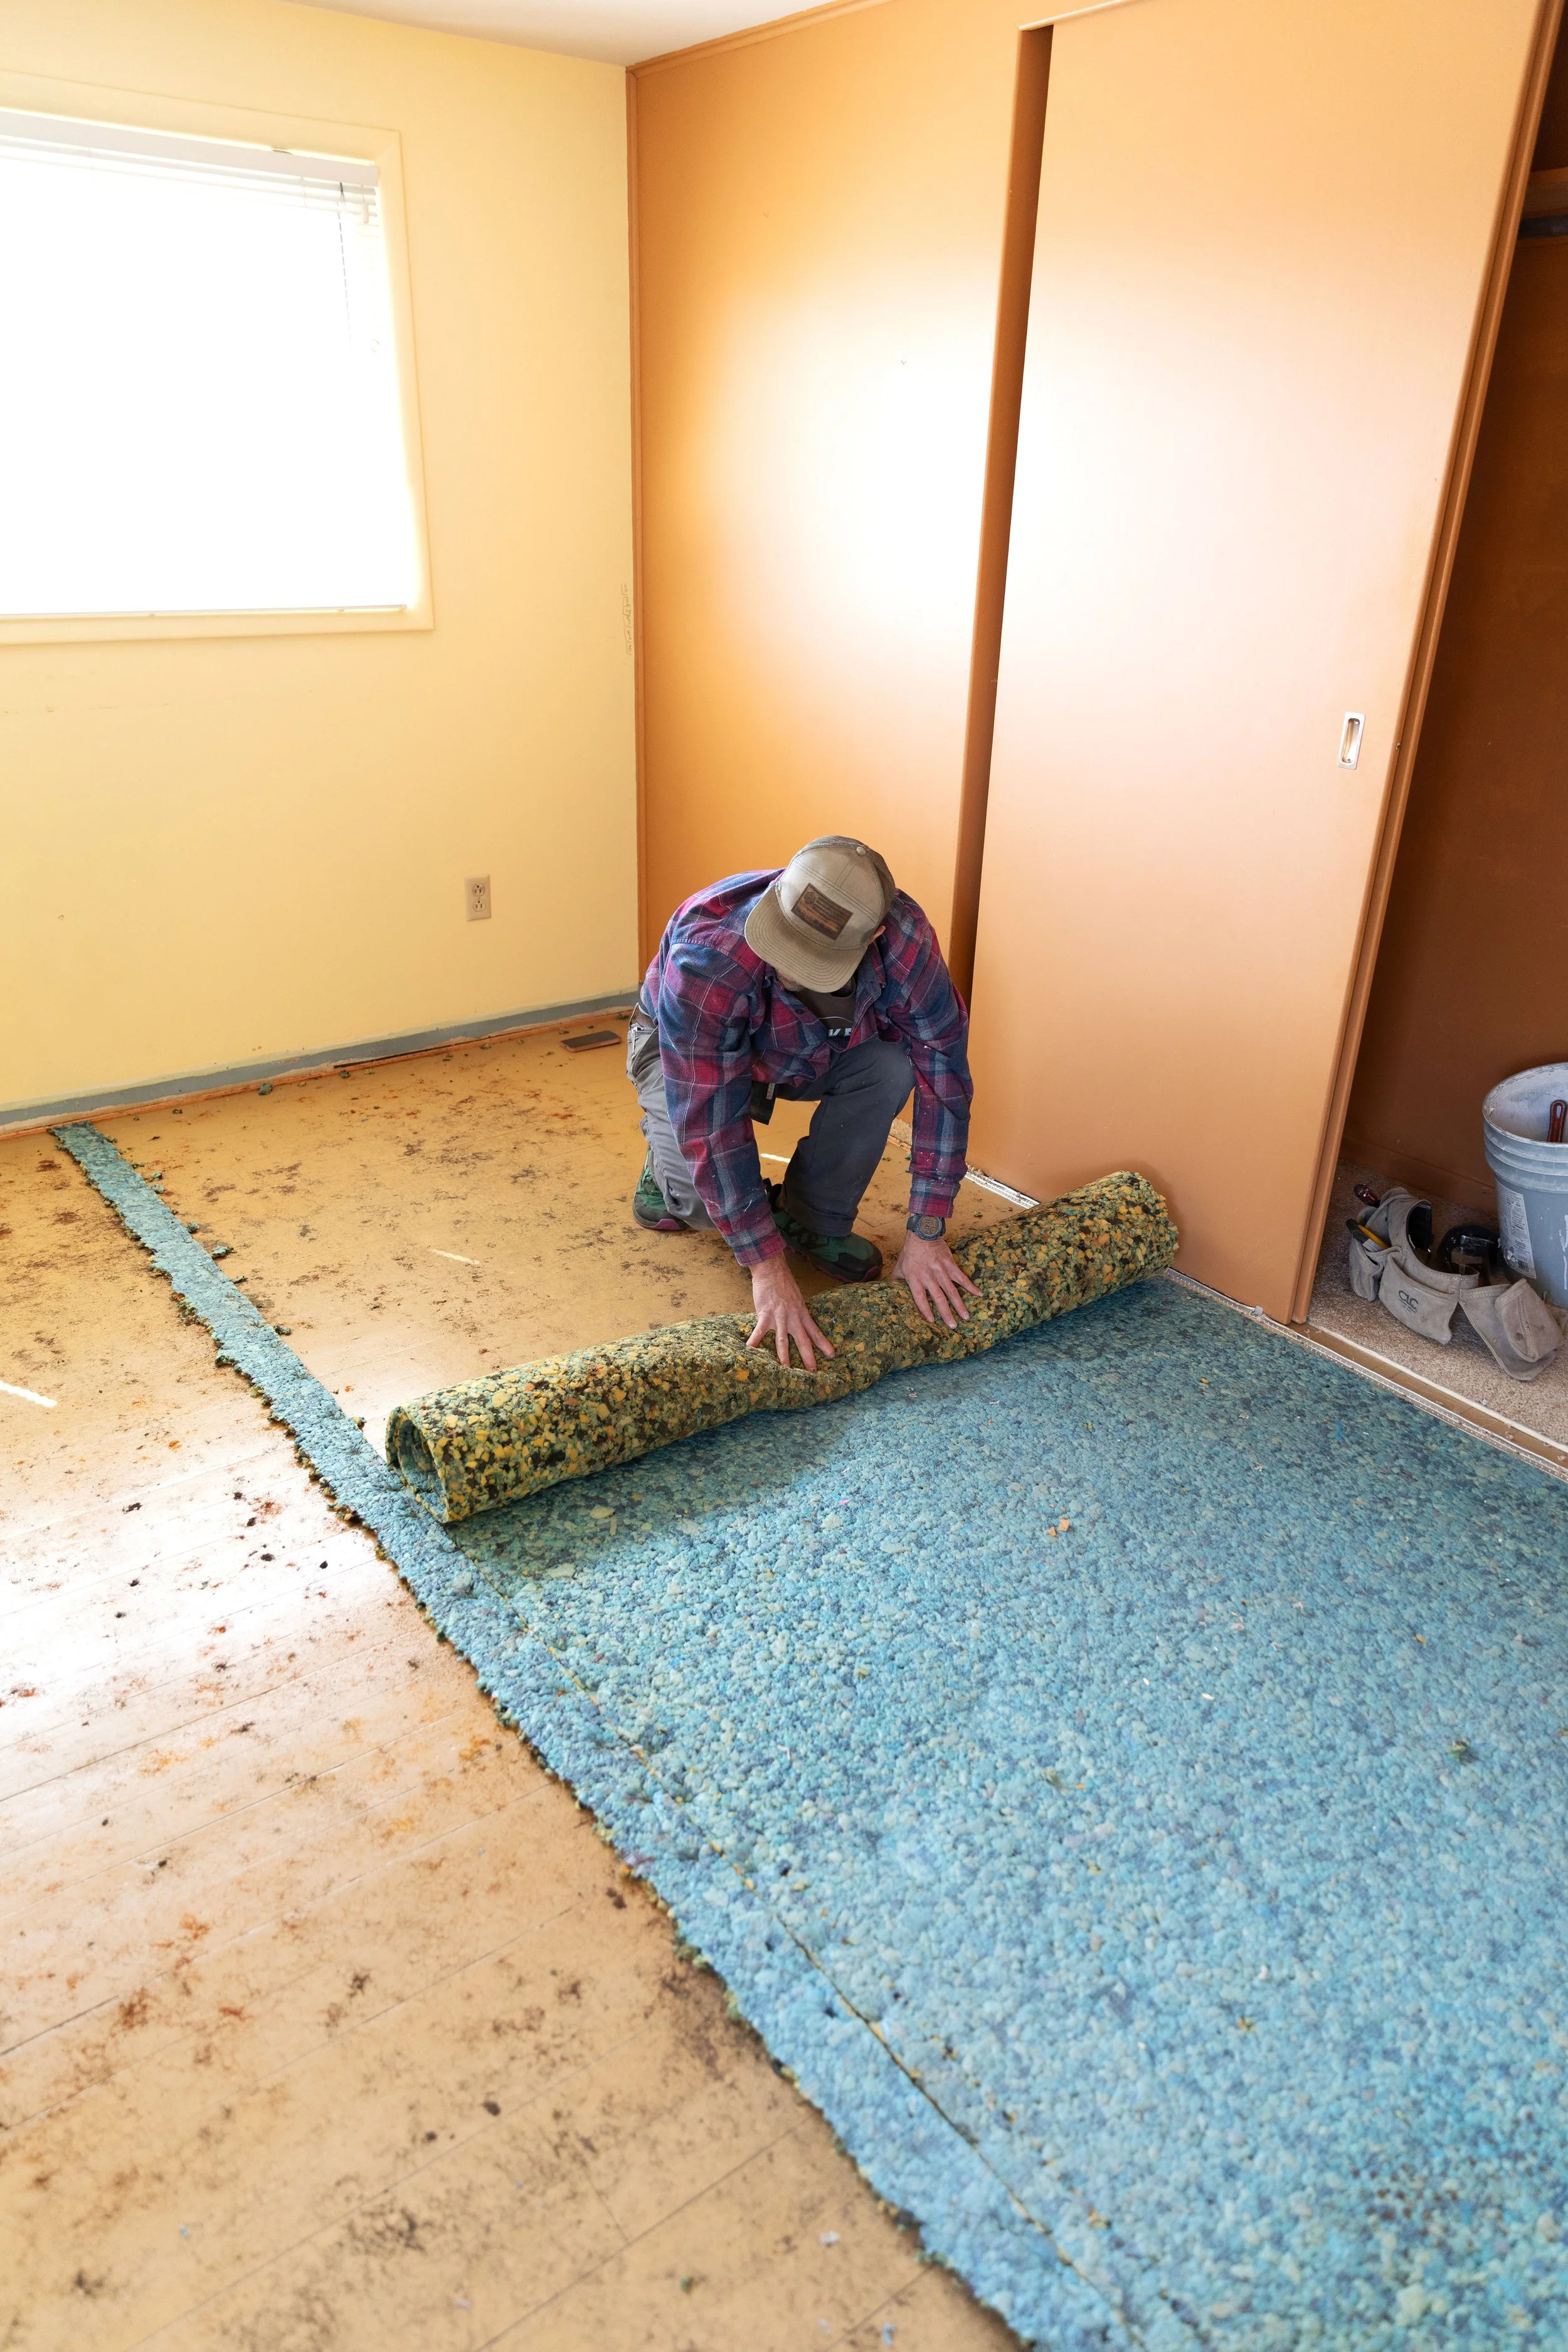


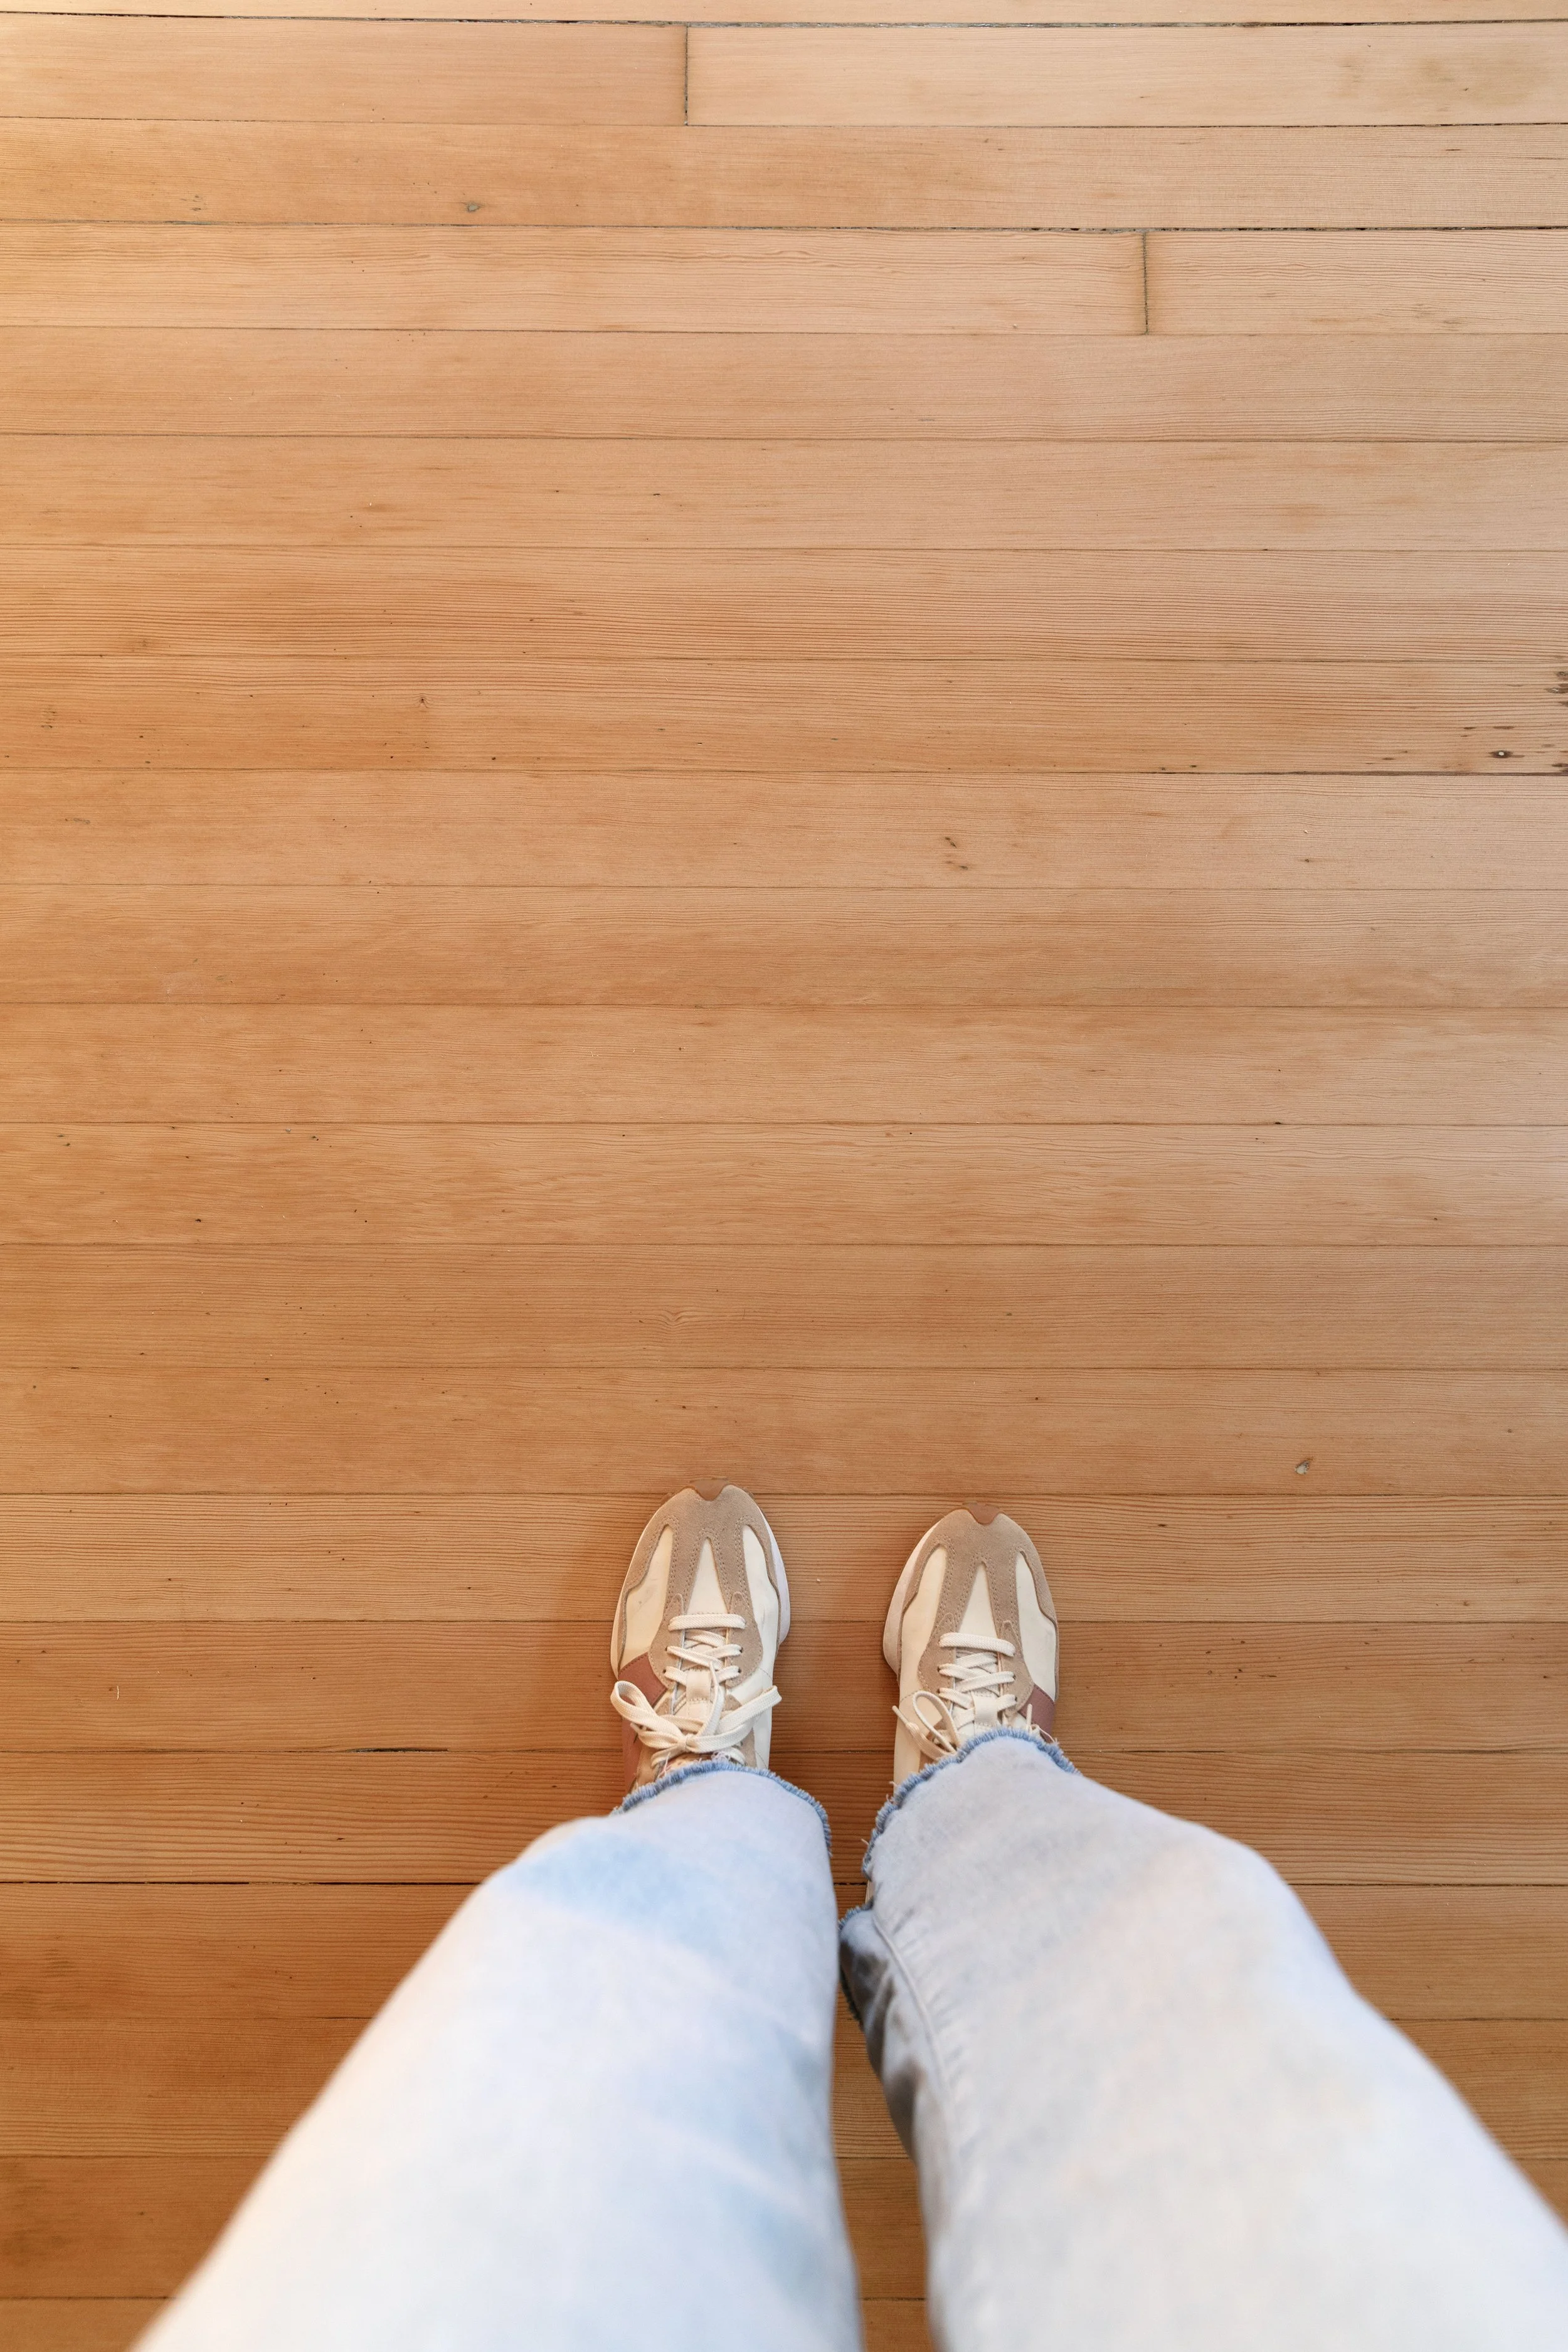
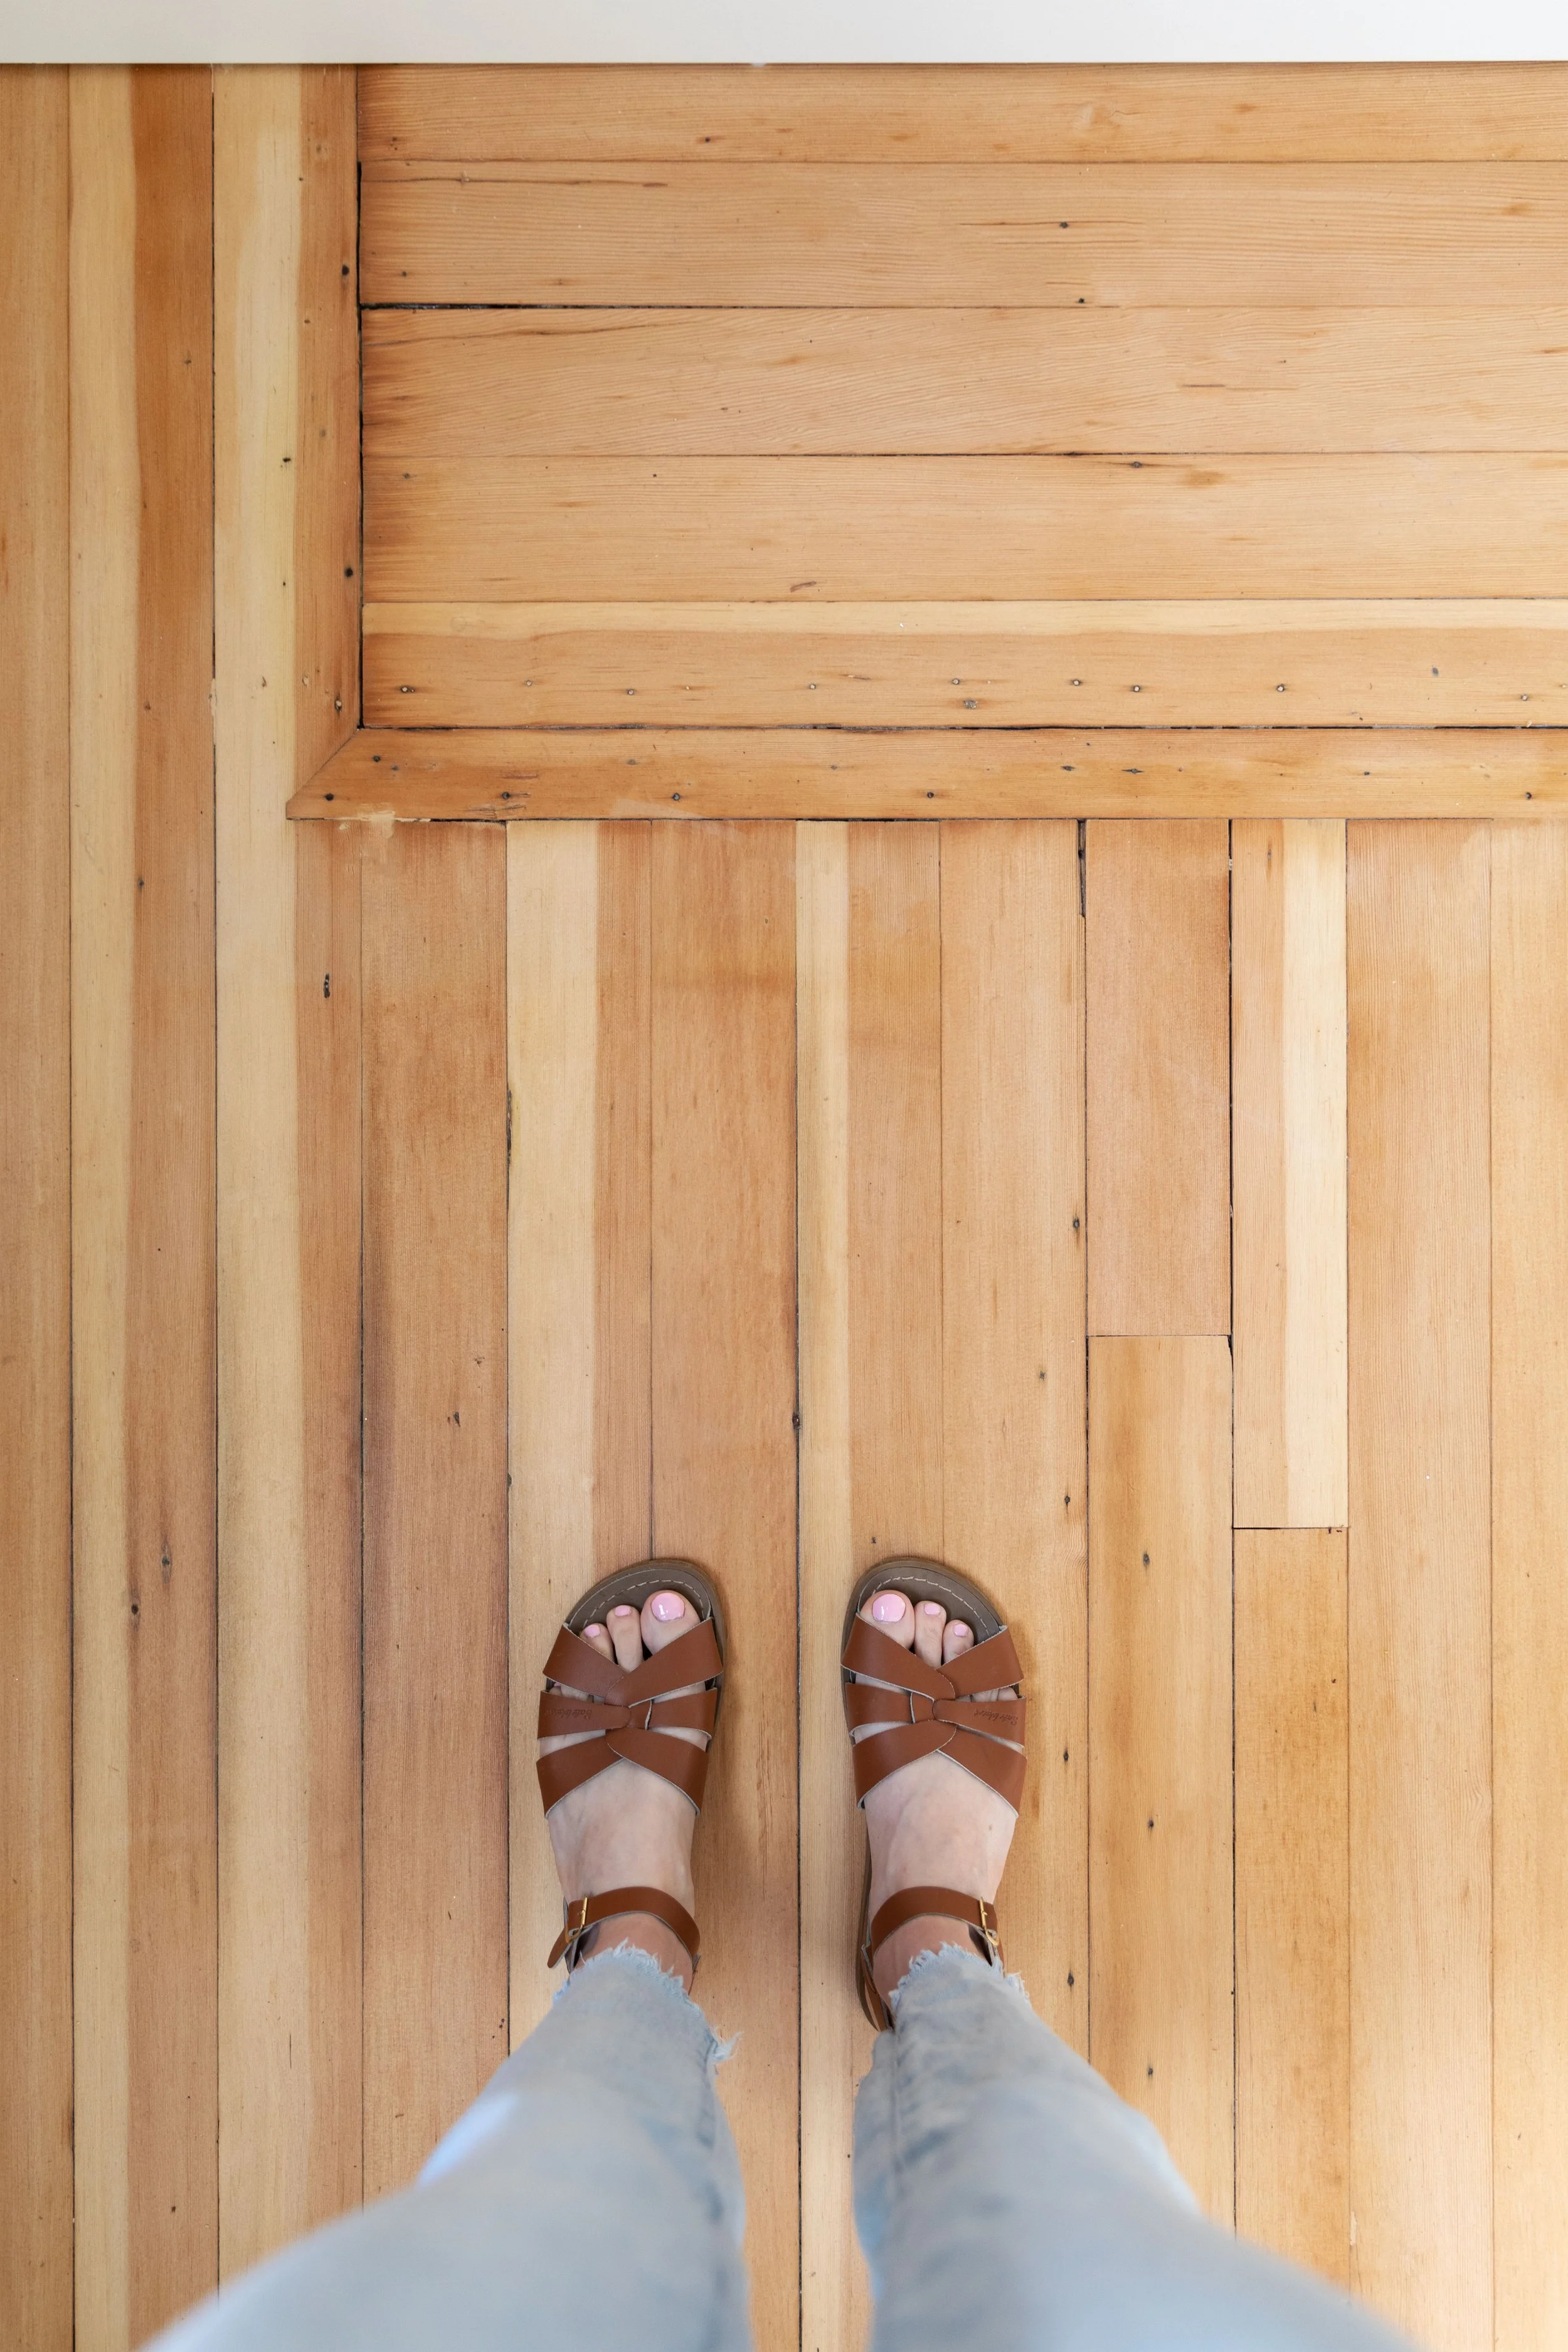
Original 1910 fir floors!!!
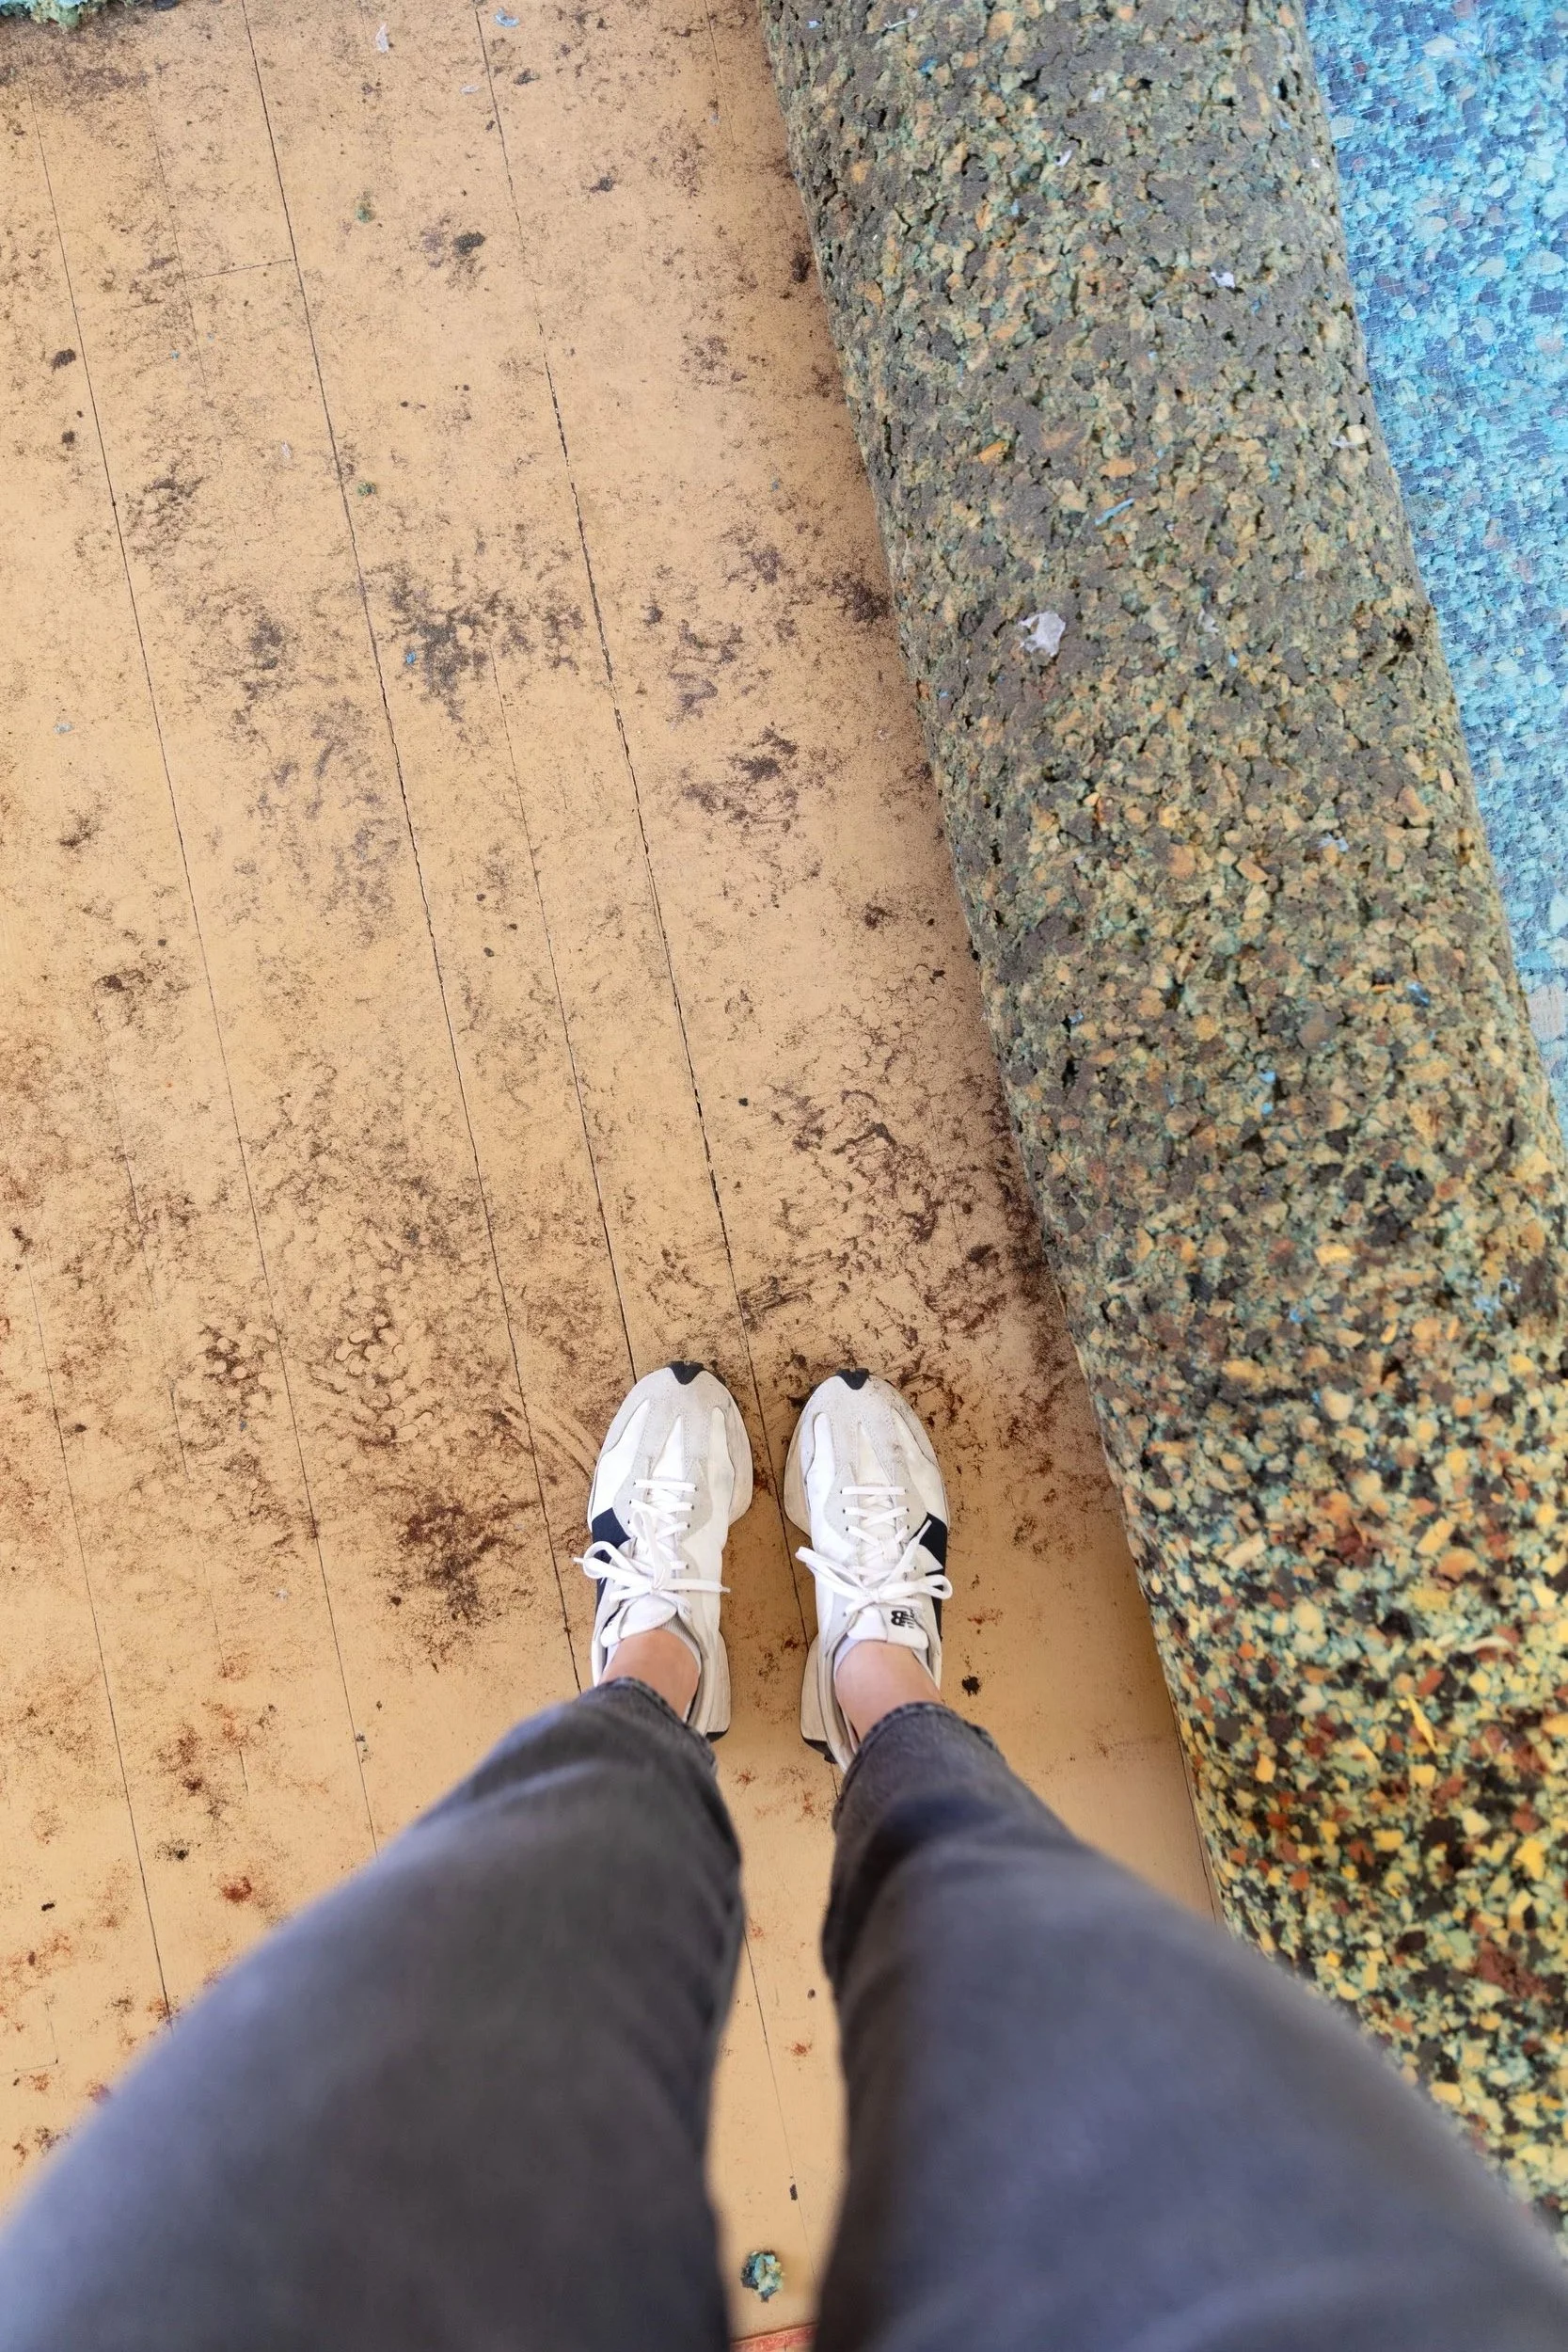
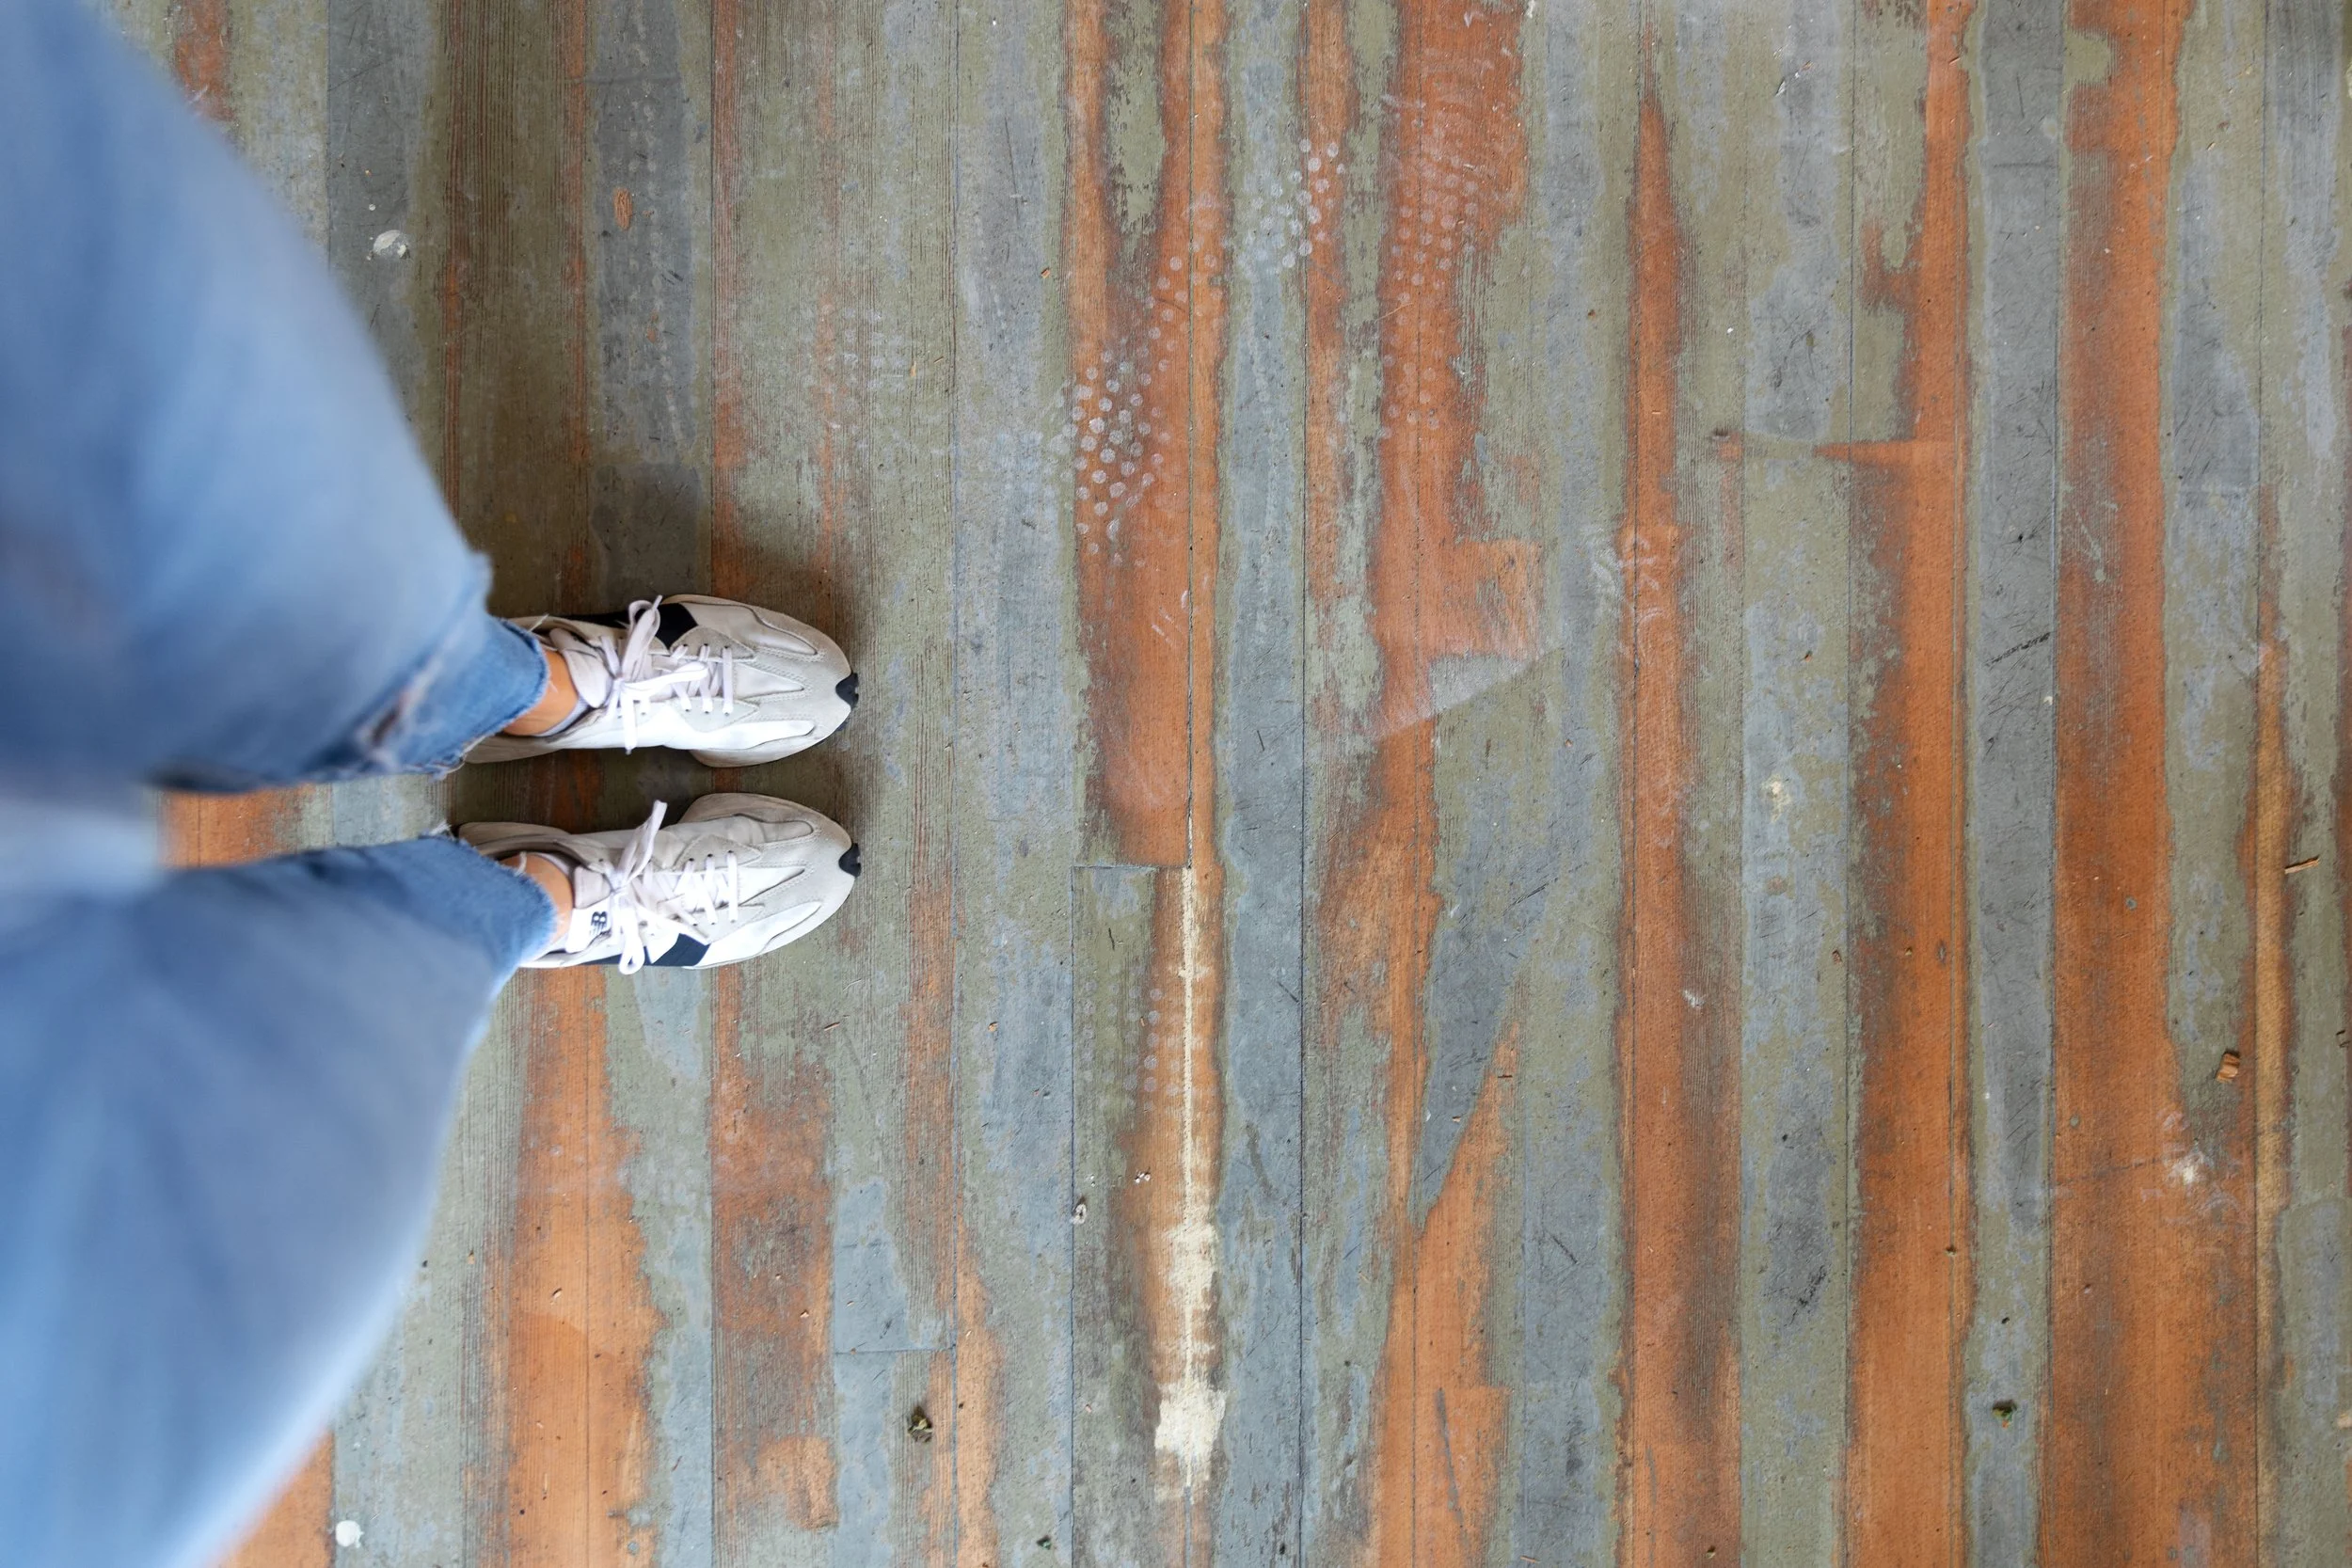
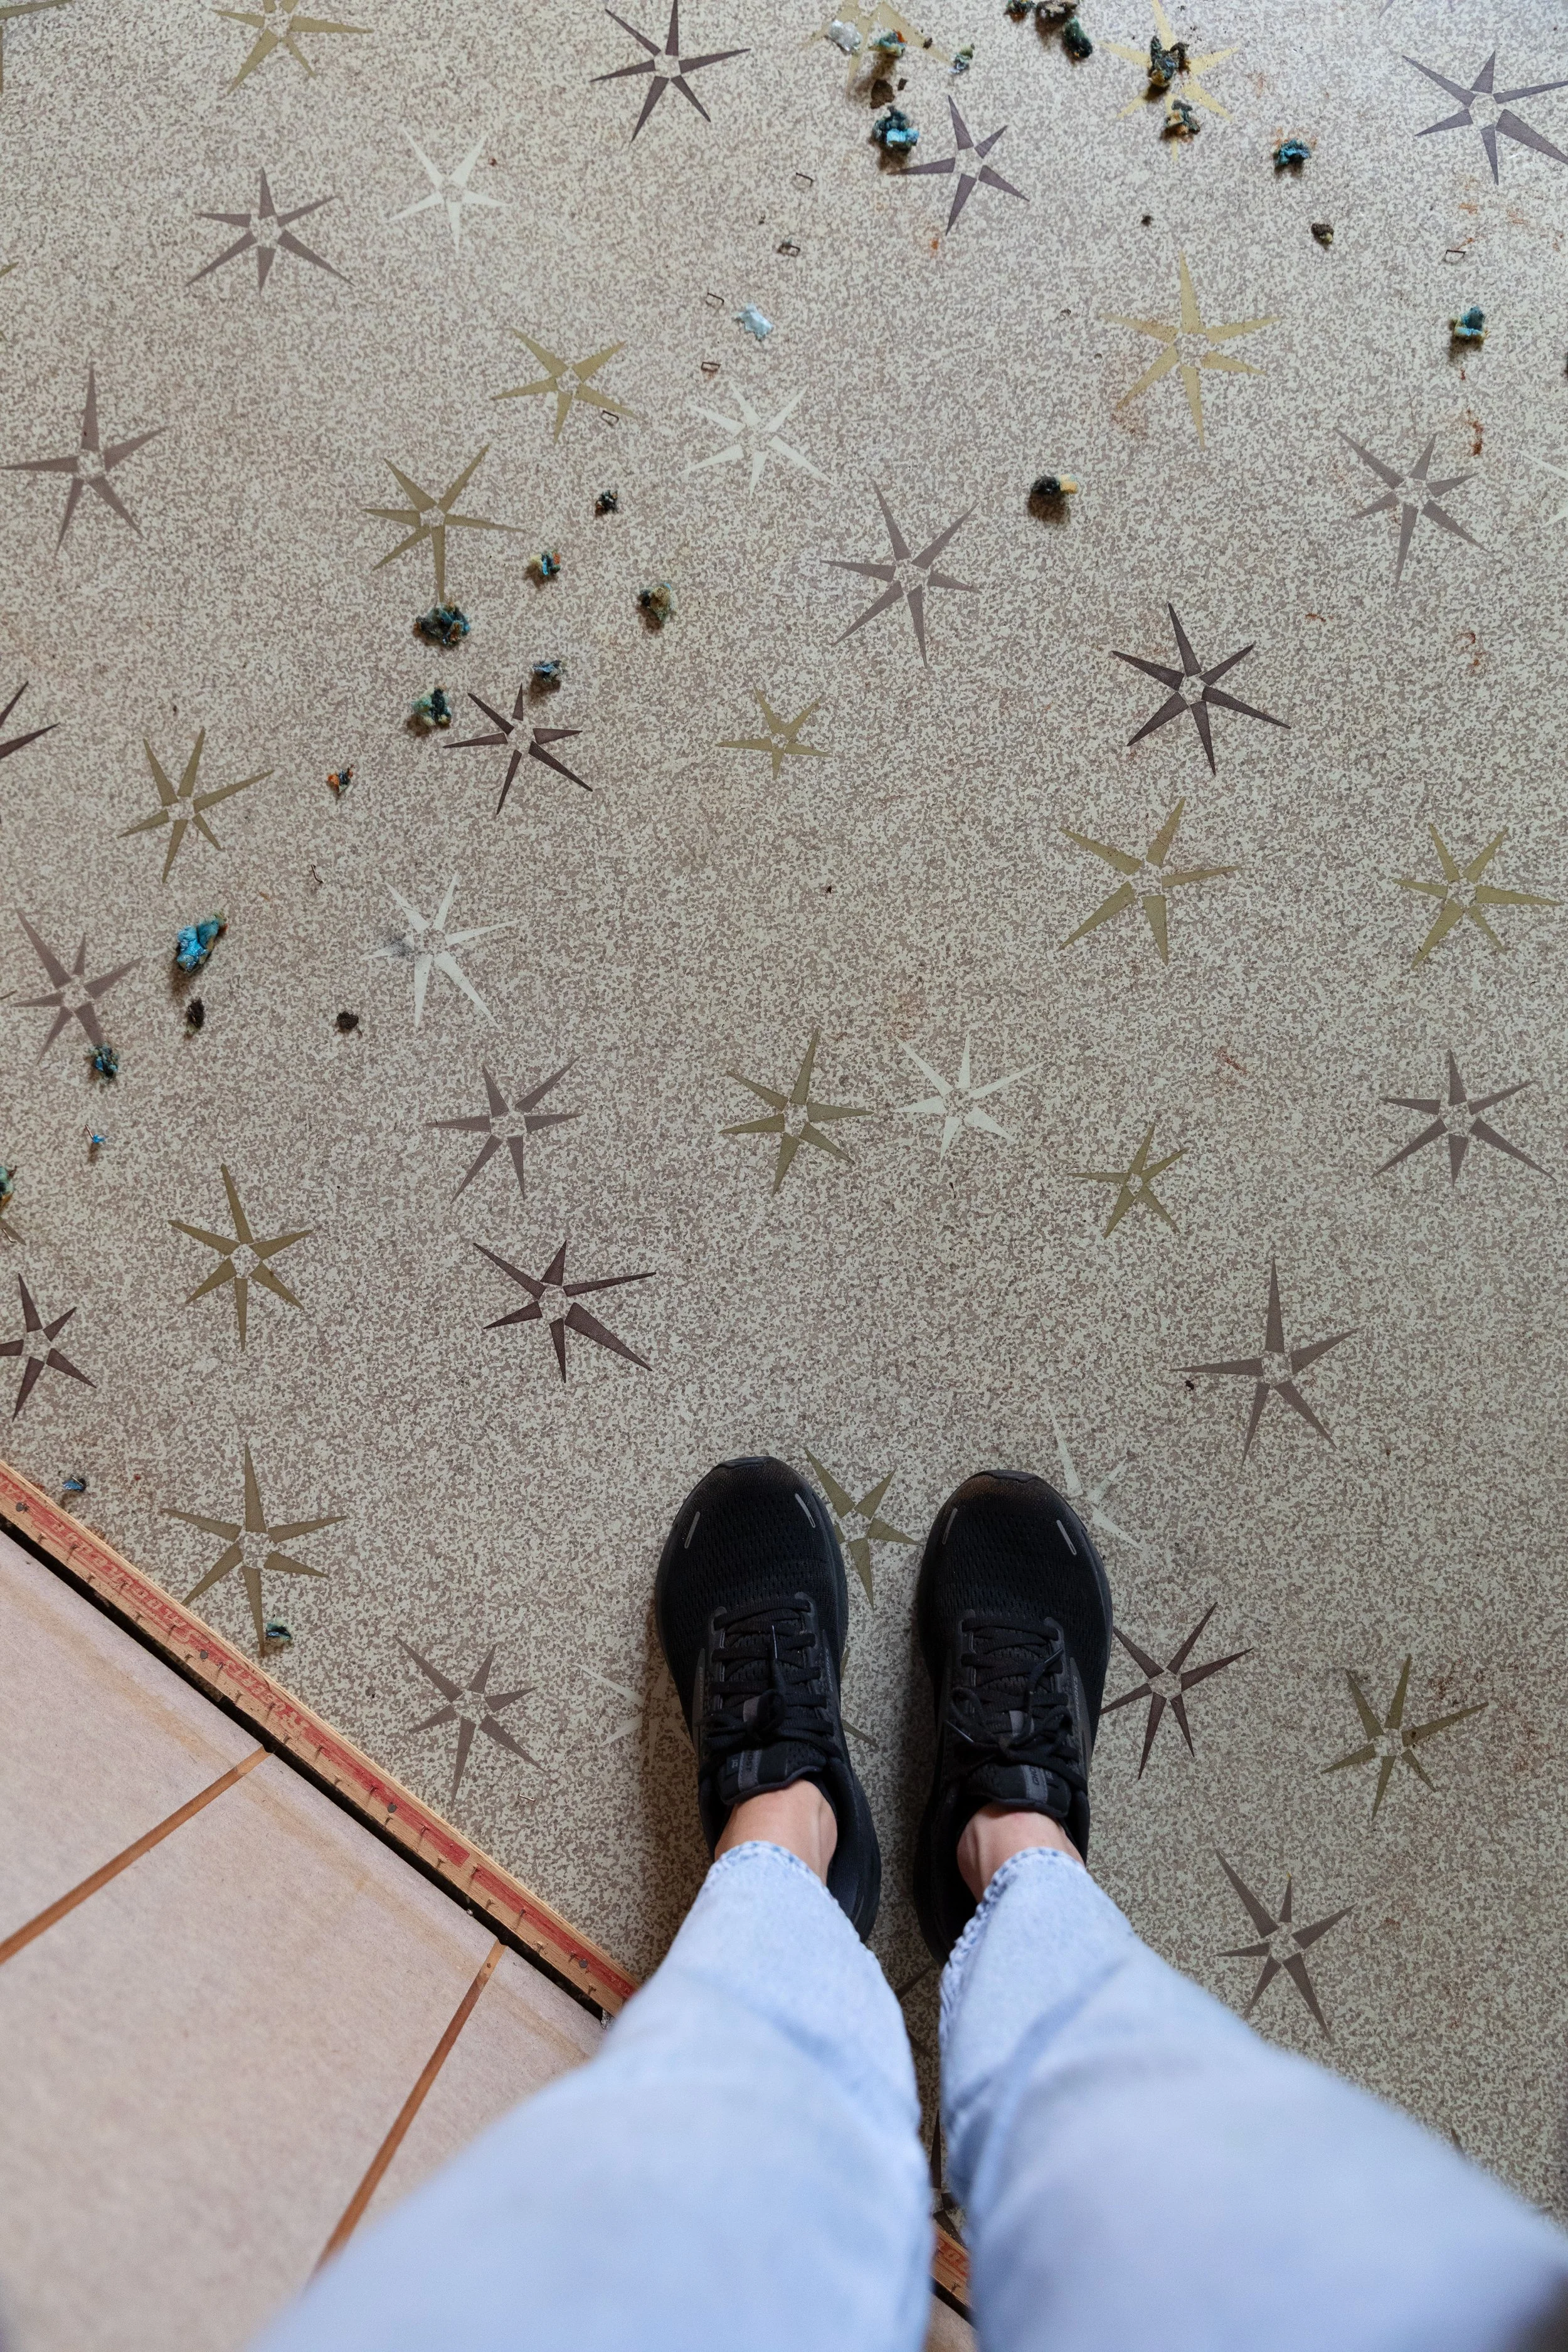
There was a lot of paint (some yellow-ish and some blue that appeared to be partially sanded off) and a lot of laminate between the carpet and fir. But that didn’t damper our excitement. Because this fir was old with long-grains and in long planks, the kind you can’t buy anymore. It was a great find! And in case you haven’t seen fir before, it’s technically a softwood but was commonly used for flooring in the early 1900s and we’ve seen it in most homes we’ve renovated here in the PNW.
But the floors weren’t perfect. Here’s what was wrong with them…
A lot of embedded carpet pad - The yellow foam was nearly fossilized into the grain.
Paint. Lots of paint (meaning testing and additional sanding).
Staple holes everywhere.
Stains, sun damage, scratches, and water marks. A century of life under carpet.
Gaps from seasonal expansion and contraction. Totally normal in old houses.
A couple of patch jobs. A previous owner had patched a section near the stair landing and over an old vent hole.
Uneven sanding. Areas of the painted floor had long stretches sanded down to bare wood.
But even so, these floors were still absolutely worth saving.
They needed a lot of love - sanding, patching, and the right finish - but the bones were there. And the same is true for so many old homes. Perfect is rare. Salvageable is common.
How to Tell If Your Wood Floors Are Worth Saving
Whether you’re looking at pine, fir, oak, maple, or something more unexpected, these are the things to look for when you pull up that first corner of carpet.
1. Check the Thickness of the Floorboards
This can be tricky to assess, but the best way to check for thickness of your floorboards is to look at vents or find a gap to place a tap measure in. You’ll want to see at least:
<5/8” (may be enough for one careful refinish but nail heads might start to show - you are probably better off replacing)
>5/8” + (refinishing should work)
Most old wood floors were originally 3/4” thick so depending on how many refinishes they’ve seen, they’ll be thinner than that. As planks are sanded down, they’ll eventually show the nail heads that were nailed through the tongue of the planks. That’s a good indication the flooring needs replaced.
2. Look for Water Damage or Black Spots
Black staining can mean:
old pet accidents (so common!)
plant pots
carpet cleaning machines
or moisture seep-through
Light black stains often sand out. Deep stains may not.
If stains are:
isolated → patchable
scattered everywhere → floors may need replacing
concentrated near an exterior wall → check for water intrusion
I‘ve heard you can bleach deep stains with oxalic acid after sanding (professionals do this often), but we view a little staining as character.
3. Check for Painted Surfaces
Painted floors aren’t a deal-breaker, but they require some extra work. Any painted floor will need aggressive sanding or chemical stripping to remove the paint, which adds materials, mess, and hours to the project.
In homes built before 1978, paint can contain lead, so testing before sanding is essential. If lead is present, removal requires proper containment, protection, and cleanup and is best left to a professional. Lead doesn’t mean your floors aren’t worth saving, it simply means the process needs to be handled safely.
4. Check for Soft Spots or Rot
Use your foot to press:
near vents
near radiators
under windows
near bathrooms
If the boards feel soft or crumbly, that area may need replacing. Rot doesn’t automatically kill a floor, it usually just means replacing a few boards.
pro tip: when replacing boards (or having professionals do it) look at architectural salvage shops for wood planks that are the same species as your’s and a similar age.
5. Look at the Gaps Between Boards
Gaps are normal in old houses. What you’re checking for is:
consistent gaps → normal
major separation → drying over decades
cupping (edges higher) → water damage
crowning (center higher) → water damage
Cupping and crowning often sand out. Large gaps can be filled or replaced.
6. Nail Holes, Staples, gouging, and Tack Strips
Don’t panic, these almost always sand out. Carpet installers weren’t gentle. Staples and tack strip nails pepper the perimeter of almost every old room, but we’ve found 80%+ of holes disappear with sanding. Large gouges can often be filled. We’ve refinished staple-riddled floors a dozen times and never once regretted it.
7. Check If the Wood Is Solid or Veneer
Most pre-1980 floors are solid. But a few mid-century houses have veneer-over-plywood floors, which cannot be sanded. If you see layers when you inspect a vent opening, it’s veneer.
8. Look for Major Patch Jobs
Small patches = totally normal.
Large patches = something to plan around.
Patches may include different species, plywood, or different age wood (and thus different grain/lengths) that look mismatched, especially after sanding off any old stain. If there are many mismatched areas, you might need to:
weave new boards in
add thresholds
or stain strategically
But patchwork alone is not a reason to abandon your old floor. I’d go so far as to say old patchwork can be pretty charming (and character is what we’re going for with old floors, right?!). The image below is from our Farmhouse mudroom fir floors.
And here’s a photo of a patch job we did on the Farmhouse primary closet fir floors (replacing a plywood section a previous owner put in below carpet). You can see the grain is different on the new floors, but it’s close enough that no one ever noticed.
9. Confirm What Species You Have
Before you decide whether your old floors are worth saving, it helps to know what wood you’re actually working with. Even heavily damaged floors can be absolutely worth restoring if the species is one of the classics:
Douglas fir
Heart pine
Red or white oak
Maple
Chestnut
These woods have density, grain, character, and old-growth tightness you simply cannot buy anymore. If your floors fall into one of these categories, they’re extra worth repairing.
Simple Tests to Identify Your Wood Species Yourself
1. Look at the grain pattern
Different woods have highly distinguishable grain:
Fir – straight, vertical grain with cathedraling; soft under fingernail pressure.
Heart pine – warm reddish tone, very tight grain, resin smell when sanded.
Oak – strong, open grain; white oak is cooler-toned, red oak has pink undertones.
Maple – very smooth, subtle grain; looks almost “creamy” compared to oak.
Chestnut – open grain
2. Check the board widths
Older homes often used wider planks for softwoods, narrower strips for hardwoods:
Fir: usually 3.5”
Pine: 3.5”–8” typical
Oak and maple: 1.5”–3” typical
3. Sand a small patch
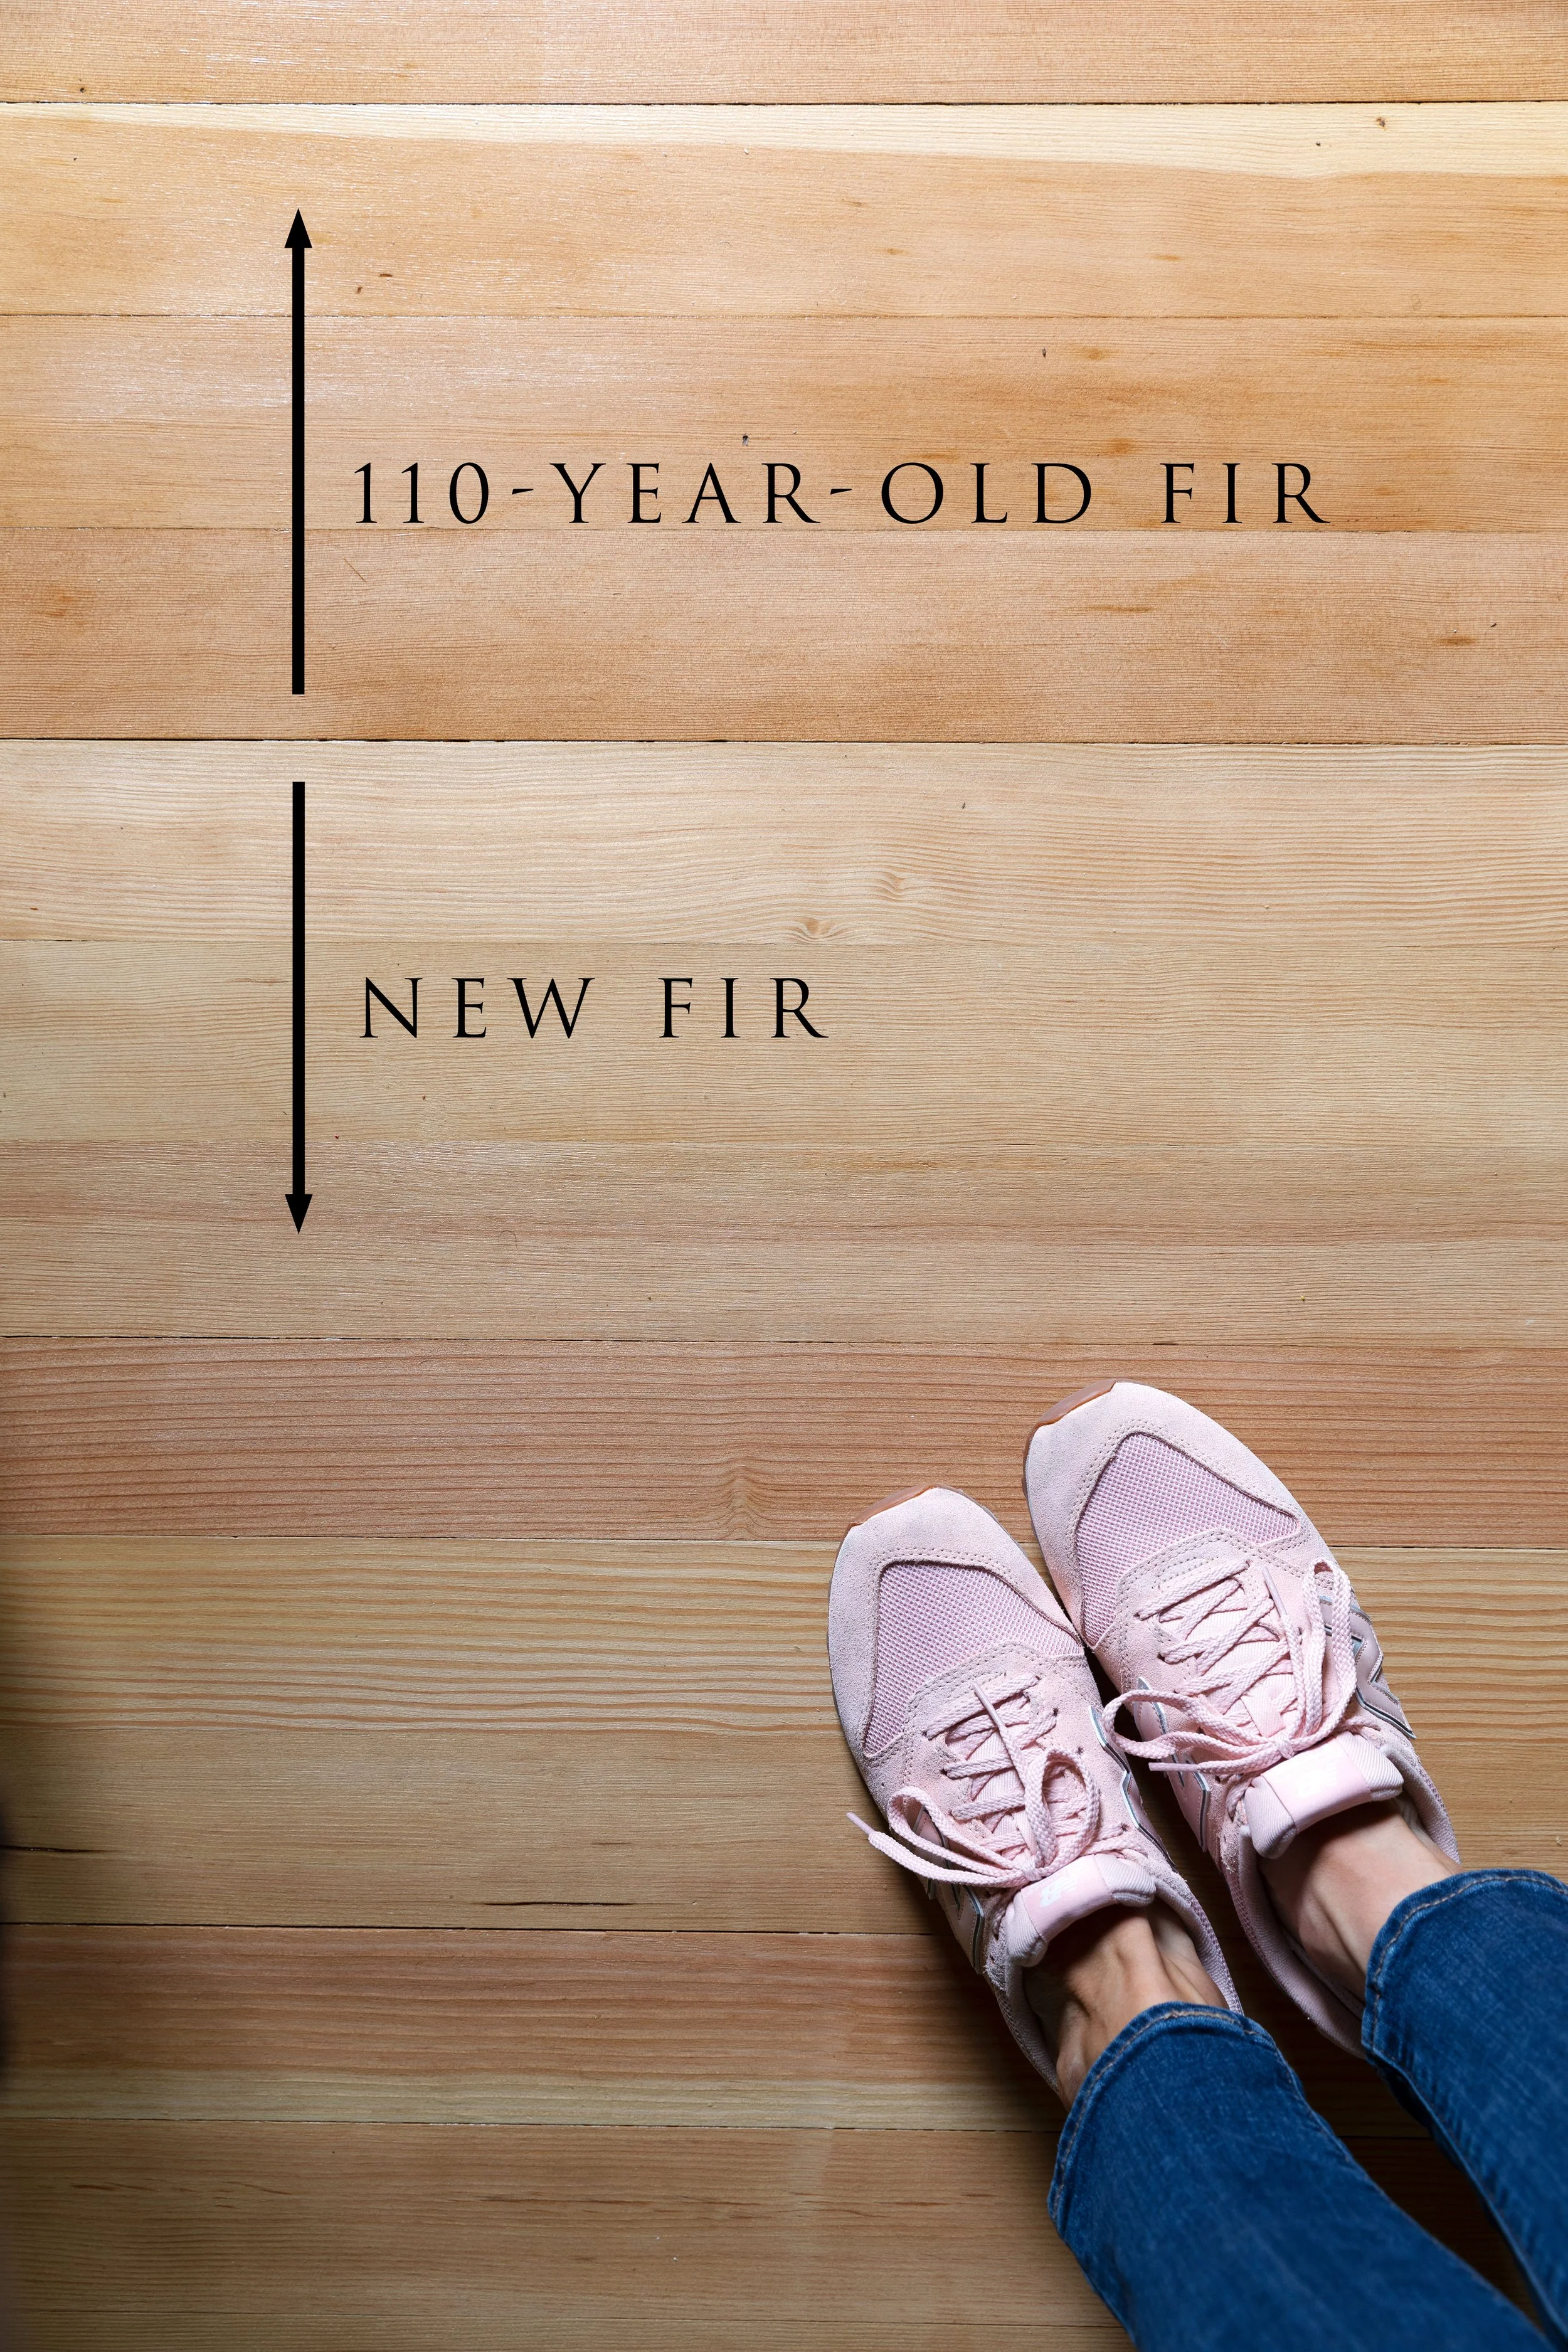
Freshly sanded wood reveals its true color:
Fir → golden to reddish
Pine → warm amber
Oak → pale tan (white oak) or rosy (red oak)
Maple → pale blonde
Chestnut → sandy tan with darker open pores
4. Look in closets or under registers
Those areas often show the raw, un-darkened original wood tone.
Bottom Line
If your floors are fir, pine, oak, maple, or chestnut, they’re worth trying to save. These woods carry an irreplaceable, old-house soul - the tight growth rings, the depth of color, the character marks and the beauty of old-growth is incredibly valuable and you just can’t recreate with new flooring today.
When Your Floors Are Worth Saving
They’re almost always salvageable if:
boards are at least 5/8”+ thick
no rot or limited to small sections
stains are localized
gaps are consistent
the floor feels solid when you walk
it’s a desirable wood species
the layout is continuous (hallways + rooms)
These floors often become the showpiece of the home after sanding and sealing. Old hardwoods just add so much character and interest to a home!
At the Hill House, our floors checked all these boxes.
When Your Floors Might Not Be Worth Saving
Consider replacement or patching if:
boards are too thin to sand
extensive gouging, tearing, splintering
water damage is wide spread
discontinuous flooring, especially when walls are removed
many penetrations from plumbing and electrical
extensive staining like from dog urine
structural repairs are needed underneath
But even then, full replacement isn’t always necessary - you can sometimes replace sections and keep the rest. And subfloors can sometimes be addressed from the underside.
Before You Refinish: What to Do Next
Once you’ve determined your floors are worth saving, the real work starts.
✔ Remove tack strips and staples
(Don’t rush—this part takes the longest.)
✔ Vacuum thoroughly
Old carpet pad dust is relentless.
✔ Decide what needs patched or filled
Patchwork and fills are common in 100+ year-old homes.
✔ Choose your floor finish
We just refinished our upstairs floors using Bona Traffic HD—and it is hands-down the best finish we’ve ever used.
Next post:
➡ Best Hardwood Floor Finish for Old Houses (Why We Chose Bona Traffic HD)
This will walk through the sealing process and why we love Bona Traffic HD for old floors!
✔ Decide if you’ll DIY or hire out
For the record, we LOVE hiring out hardwood floor refinishes. It’s a messy, disruptive process and we’ve found it relatively reasonably priced. BUT when we moved to our small town, we’ve found that there just aren’t that many contractors doing that kind of work and it’s really expensive. So Garrett got good at refinishing. Here’s a peek at the mess and disruption that a floor sand can cause…
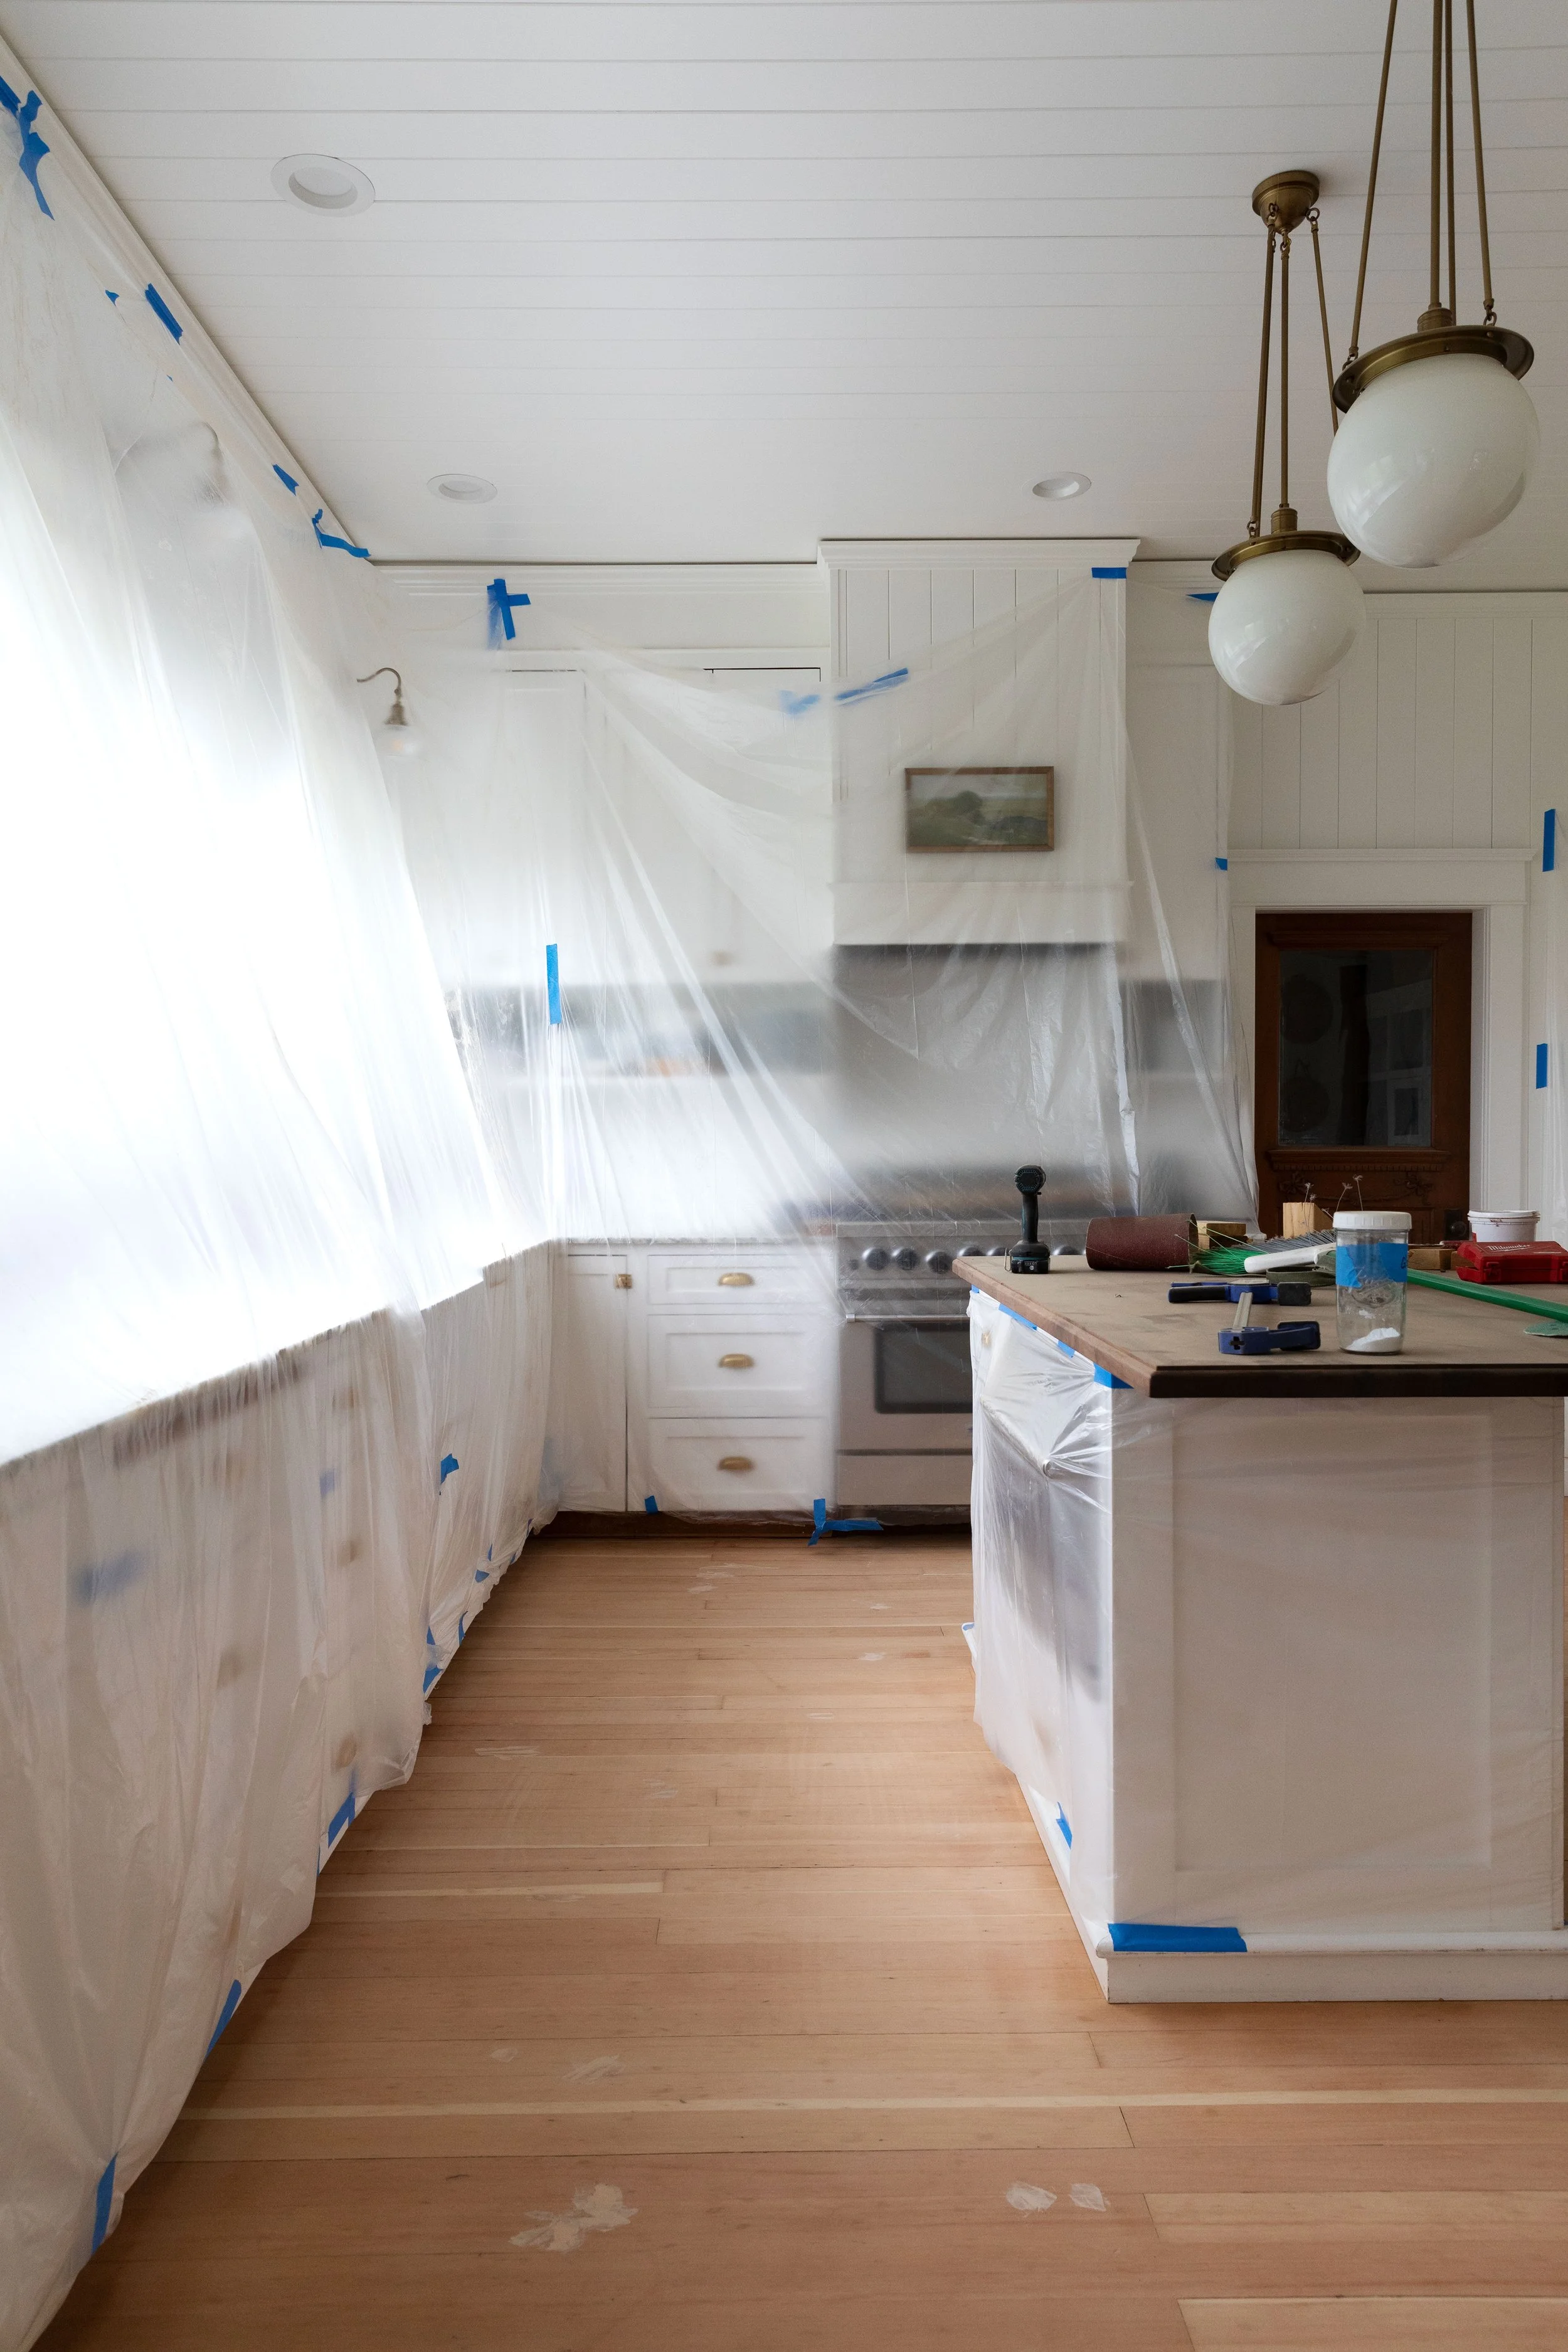
Our Farmhouse kitchen (we finally refinished the floors just before selling)
What We Learned at the Hill House
Old floors rarely look good the moment the carpet comes up. Ours looked rough - painted, half-sanded, scratched, uneven - but almost every issue was fixable.
Now that they’re refinished (with Bona Traffic HD), they’re absolutely stunning. We can’t wait to show you!
If your home has floors hiding under carpet, chances are they’re worth saving too. Old wood has a patina and warmth that simply can’t be recreated, and restoring it is one of the most impactful upgrades you can make to an old home. Let us know if you do!
ps This post contains affiliate links, which means we may earn a small commission if you purchase something through our links, at no cost to you.