Adding New Wood Window Screens to our Old Windows
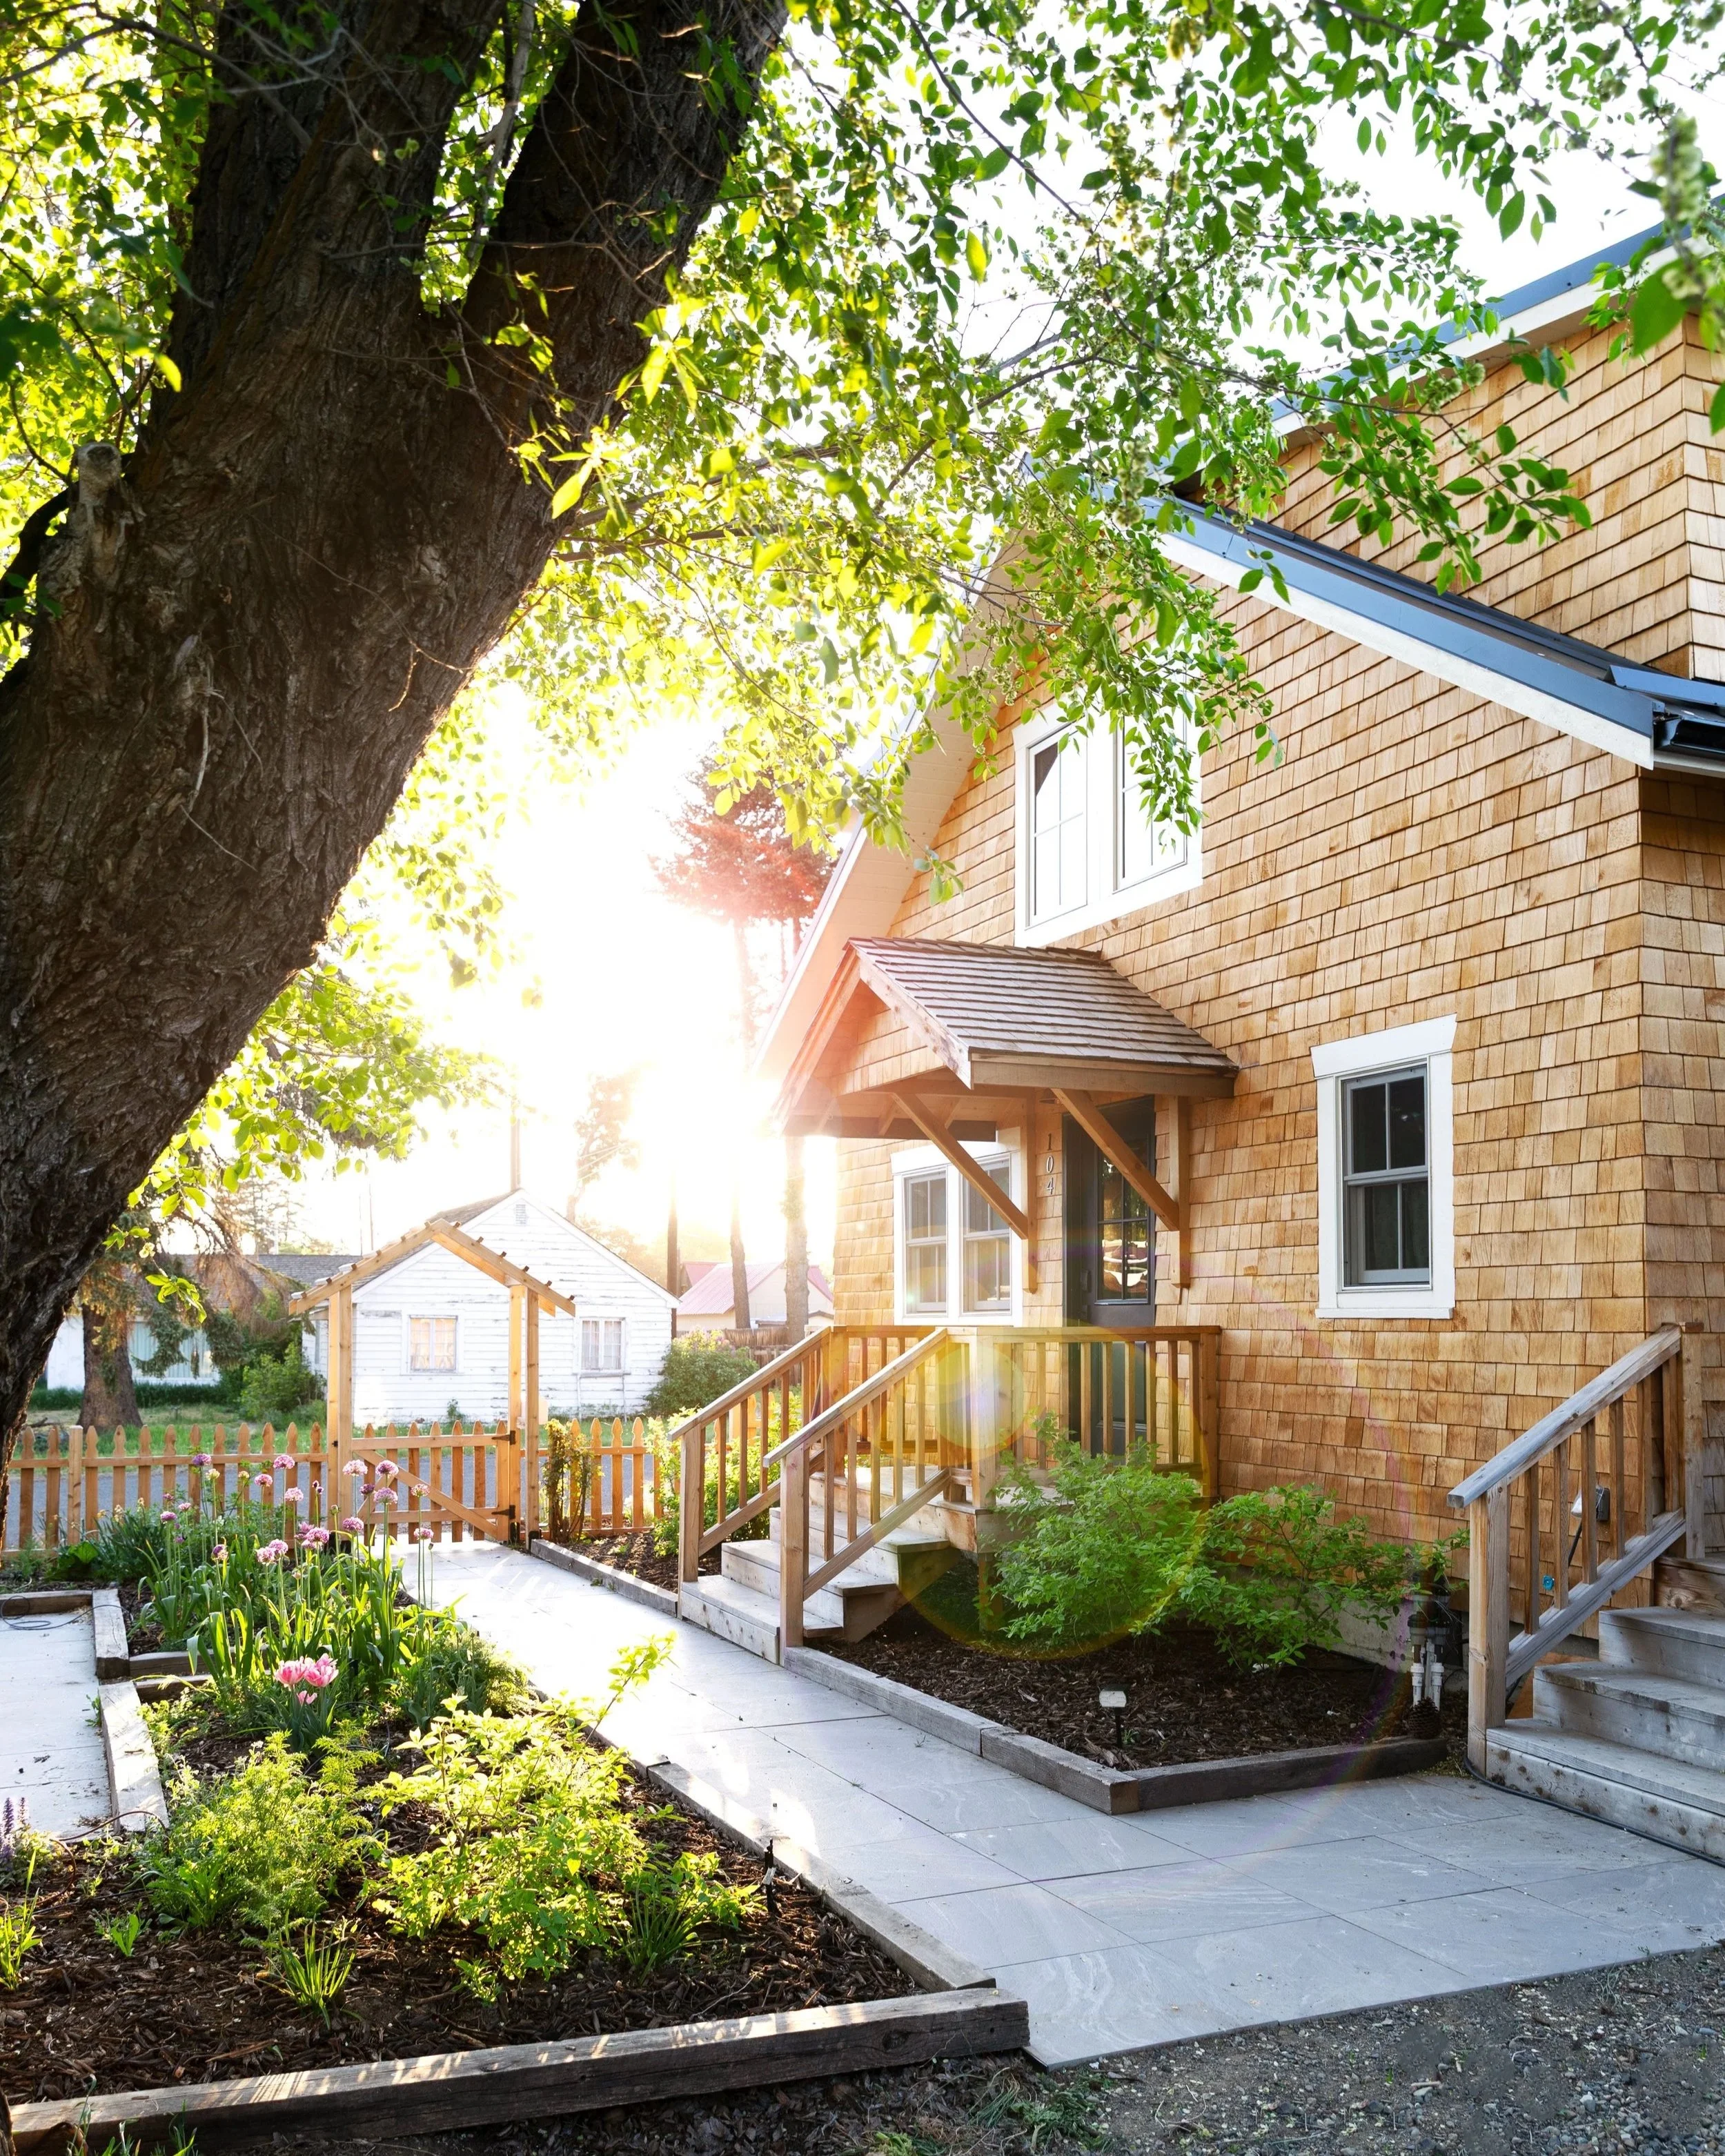
THE FARMHOUSE
We’re really lucky to have beautiful old windows on our 1912 farmhouse. They’re huge and made of solid wood and in great shape. But we’ve never been able to appreciate them fully because none of the windows came with screens and many were stuck closed with lack of use/paint/screws. So this summer we pried open the windows and bought custom-sized wood screens to keep the bugs out. We’re so happy with the screens (!!!) and I had to share all the details including where we bought them from and how to order. Let’s get into it…

The Farmhouse has so many big, beautiful windows! The hardest part about adding screens was figuring out which windows we wanted to add screens to. It seems easy to say ALL OF THEM, but screens are expensive and we wanted to be careful not to cover up any decorative details. So we decided against adding screens in the windows at the front of the house and instead put them in the more-functional windows on the sides and back of the house.


Where to buy window screens from
We ordered our window screens from Coppa Woodworking, the same company that made our screen doors (which we LOVE!). I’m sure there are plenty of custom screen companies out there that make equally good product, but this is just who we used.
how to order window screens
Ordering window screens requires a tape measure and a little bit of patience. They’re customized to your window with dimensions, width, wood species, bevel, screen, paint, etc.
Windows like our’s were designed to have the screens rest on the blind stop (see image below) so we ordered large screens that cover the entire window. And for the couple of our windows that didn’t have blind stops, we’ll add those as we finish up screen installation.
Here’s how to order screens for your windows…

Measure the opening
Measure each of the window openings just outside the blind stop for the overall screen dimensions. It’s best to measure on both sides and at the top and bottom of the window to make sure the opening is relatively square. Then subtract 1/8” off the height and width to give yourself a little wiggle room. You can always buzz a little off after the screens arrive with a table saw, but it’s easier to measure and get a good fit!
tip: keep a list of all the screen dimensions and where they go on the house in case the labels get lost
Bevel
Coppa WoodWorking offers an optional bevel at the bottom of the screens. And we went for it, so the bottom of the window screen is cut at a 10-degree angle to match the window sill.

These are the specs we went for on our screens:
3/4” thick
Douglas fir
Unfinished
Beveled bottom
BetterVue screen
Prepping screens
Once the screens arrive, I recommend test fitting them before finishing the wood (assuming you didn’t have them factory painted). That way you can make any necessary dimension changes before painting or staining. We had a couple of screens that were too snug so removed a blade width from them using the table saw.
To help the screens blend in, we decided to paint them the same as our windows, SW Laurel Woods. Nana kindly tackled this step for us, taping off the screen and then priming and painting the wood. They turned out great!
Installing screens
The screens should be installed with a fastener on the exterior. We used these steel snap fasteners. They require just one screw to attach and make removing the screen really easy. Since our screens fit so well, we only added two fasteners to the screens, but we’ll keep an eye on them and add more if need be.


We’re only part-way through the screen installation so far, but absolutely loving them! Here’s how they look…


What our screens cost
So I didn’t shop around for screens - Coppa made our screen doors and we loved them so much we didn’t consider using another company - but I feel like this price seems fair and market-rate.
Our total for 13 screens ranging in sizes from 41”x28” on the small side and 38”x66” on the big size was $1,150 + $190 in shipping. For reference the 41”x28” was $73 and the 38”x66” screen was $107. We opted for unfinished fir, so you could add a bit to the final cost for paint (in actuality we used leftover paint from the house painting) and maybe $60 in hardware. These screens are well made and should last a long, long time - 100% worth the expense in my book :)

So far this has been a pretty easy and rewarding project. Nothing beats a fresh breeze through the house at night!