DIY Mini-Split Installation at the Poplar Cottage
THE POPLAR COTTAGE
When we built the upstairs living room at the Poplar Cottage, we knew we needed a way to keep it cool in summer and cozy in winter. With no existing ductwork and a tight budget, a ductless mini split felt like the best option. After some research, we landed on a Mr. Cool DIY 5th Gen 12K BTU Mini-Split Heat Pump. It’s specifically designed to be DIY-friendly, comes pre-charged with refrigerant, and doesn’t require hiring an HVAC pro - all good things for budget-conscious DIYers like us ;)
We installed it last winter and fired it up, making it through the depths of winter (down to –5°F) and the highs of summer (100°F+). Here’s how we installed it, what it cost, and how it’s performing so far.

mini split, stair railing, rug
Heating and Cooling Setup at Poplar
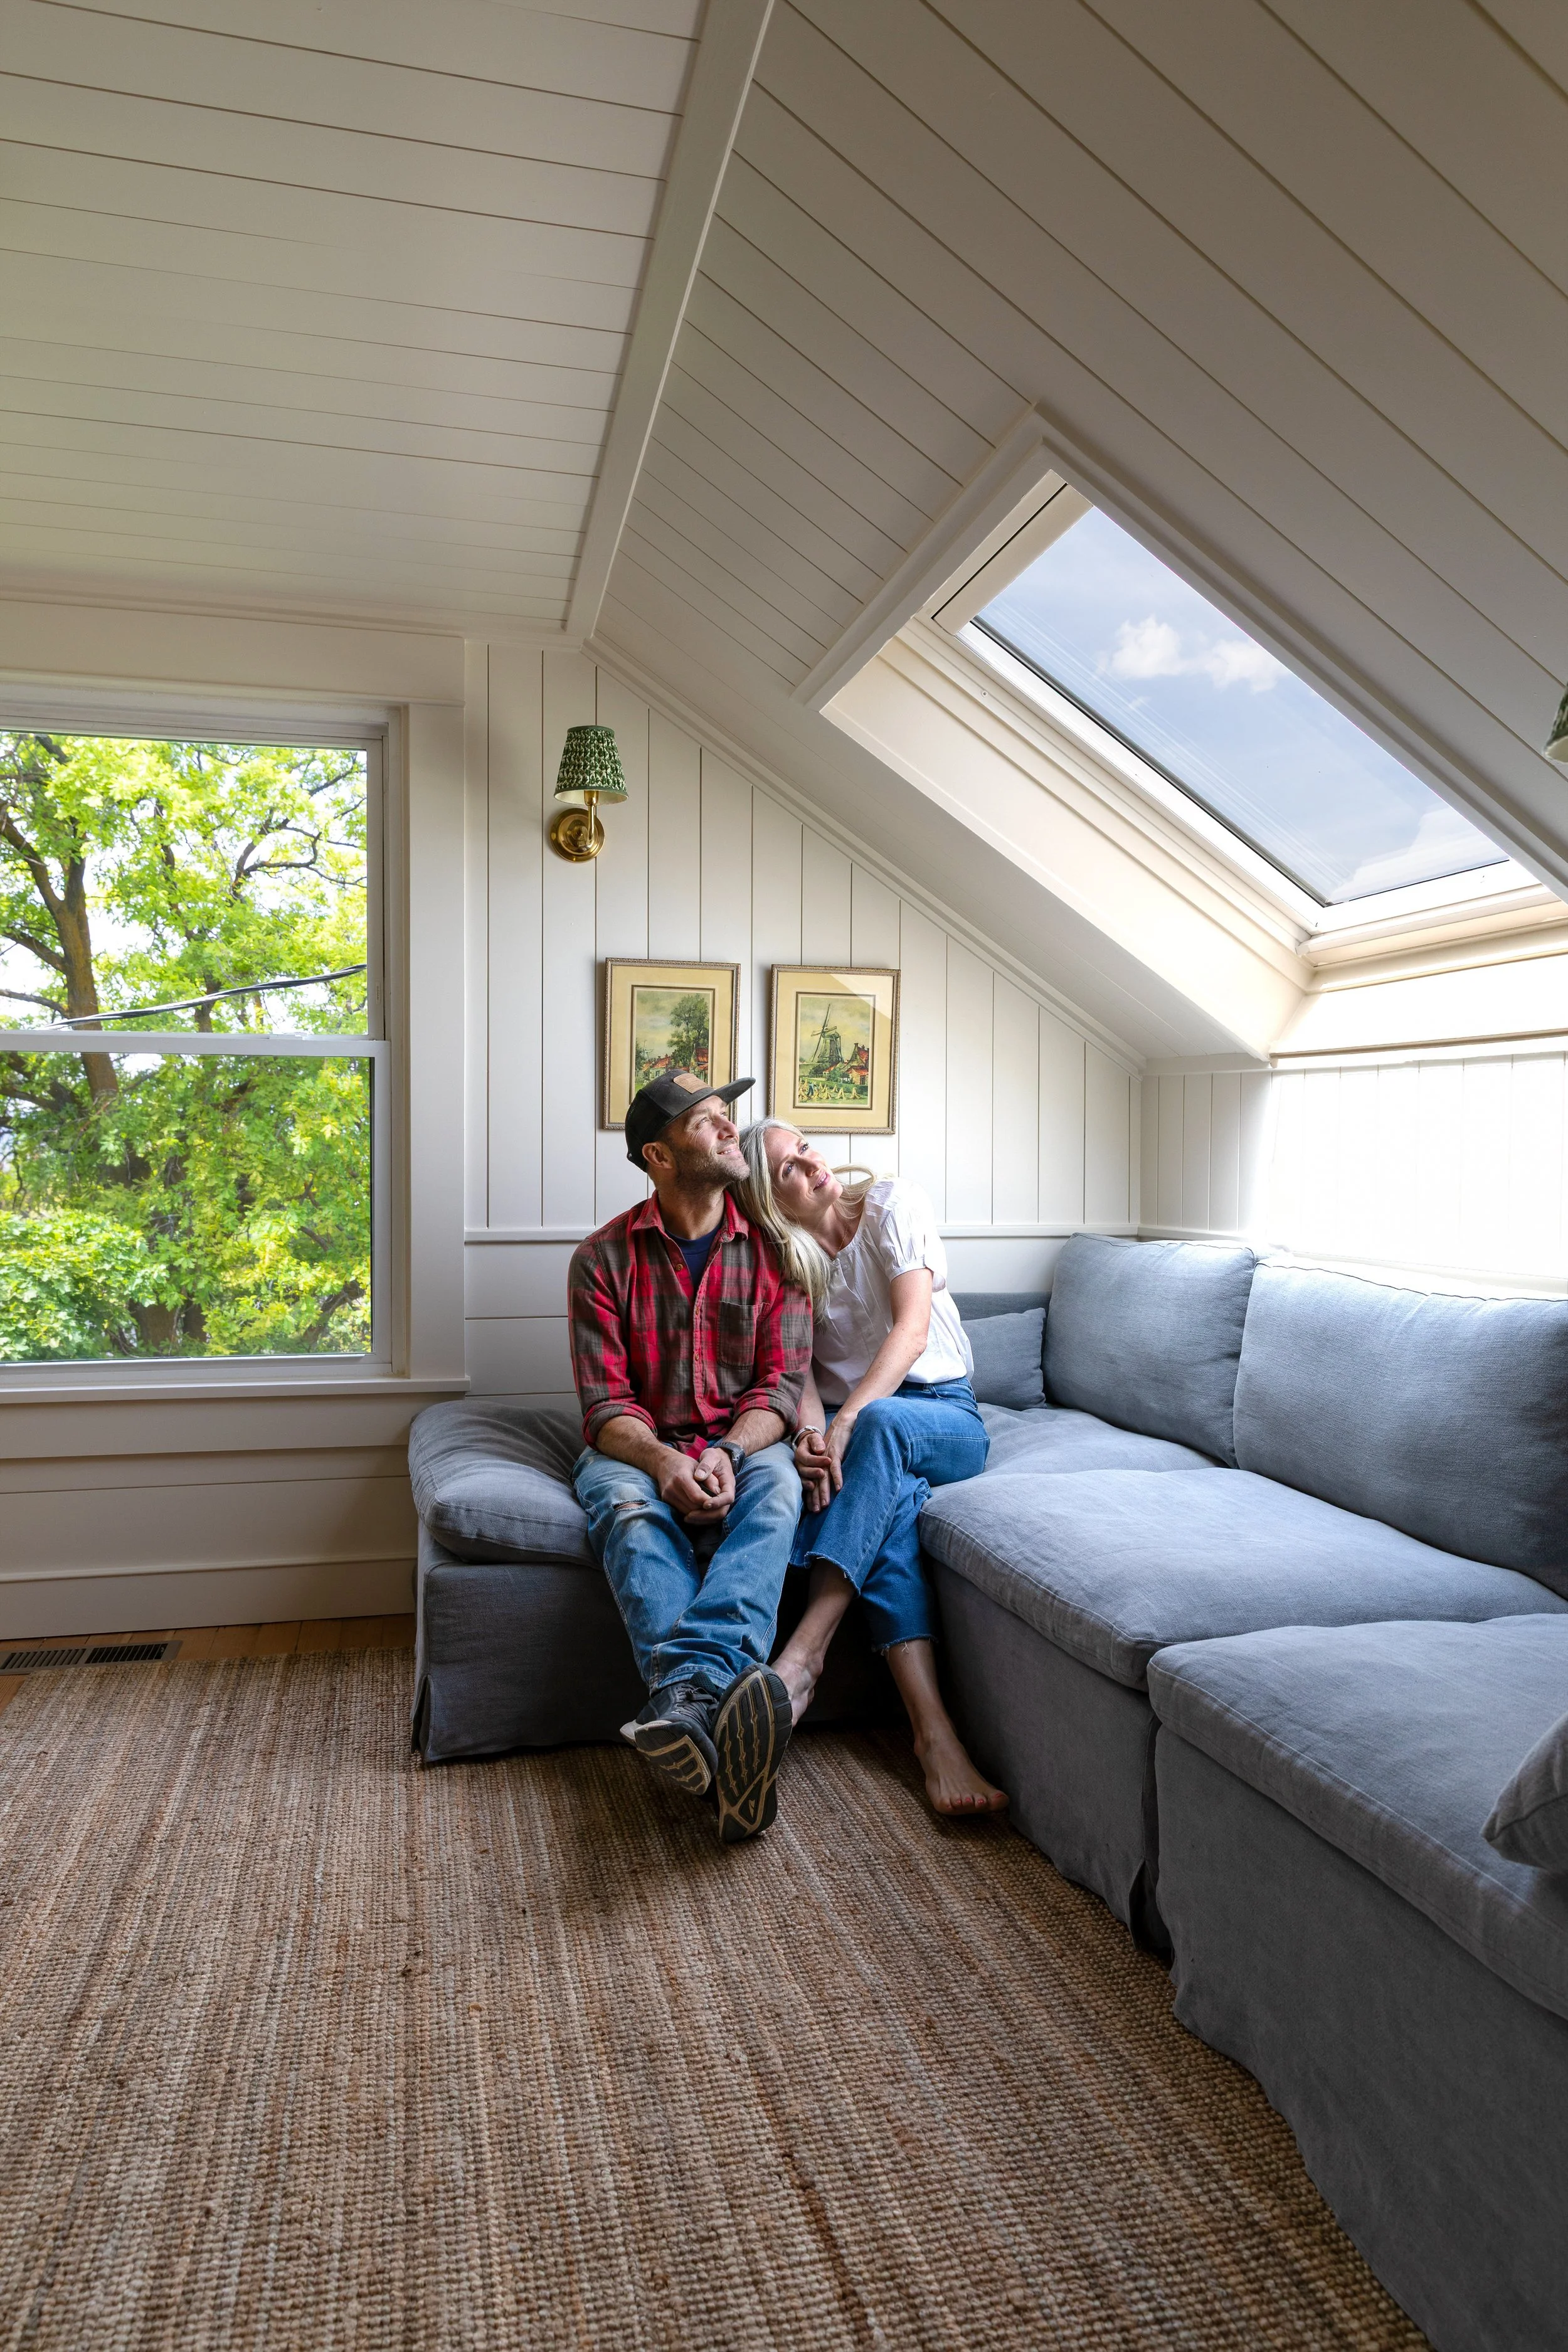
The Poplar Cottage has electric wall heaters in the main living areas and upstairs bedroom and heated floors in the upstairs bathroom. The mini split only heats the upstairs living room. But it’s also the only AC in the whole house. To help move cool air, we installed a ceiling fan near the stairwell to push cool air down to the main floor. Growing up in Eastern Washington, AC wasn’t all that common. But with today’s triple-digit summers, it’s become a necessity and it makes this house a million times more comfortable in the summer!
Our mini split details
We bought the Mr. Cool DIY 5th Gen 12K BTU Ductless Mini-Split Heat Pump at Costco for about $1,700, plus maybe $250 in electrical supplies, but you can find it at Home Depot too. Similar systems installed by a contractor can cost upwards of $5,000–$7,000, so this was a huge savings.
Why We Chose a DIY Mini Split
If cost were no issue, we would have installed a forced air system in here complete with ducting and a giant furnace. But we didn’t have the budget or the space for that. So we settled on a mini split, because…
No ducts required: Our 1000-square-foot cottage didn’t have existing ductwork, so a mini split was the simplest way to add efficient heating and cooling to the upstairs.
Energy efficiency: Heat pumps are incredibly efficient, especially in our four-season climate.
Heat & Cool: we get heat, of course, but also AC in the hottest part of the house. The west facing windows in here bake in the summer (though not in that uninsulated, drafty original windows kind of way an old house can bake, if you know what I mean).
Cost savings: having just put in a forced air system in the Hill House (more on that soon), I can confirm that this mini-split really is a fraction of the cost of a traditional forced-air system professionally installed. We’re talking 1/10th or less.
How We Installed It
The Mr. Cool kit includes nearly everything you need, with clear instructions (minus electrical hook up). We’re comfortable with DIY electrical and carpentry, but this is doable even for less experienced renovators (with one caveat on wiring - more below).
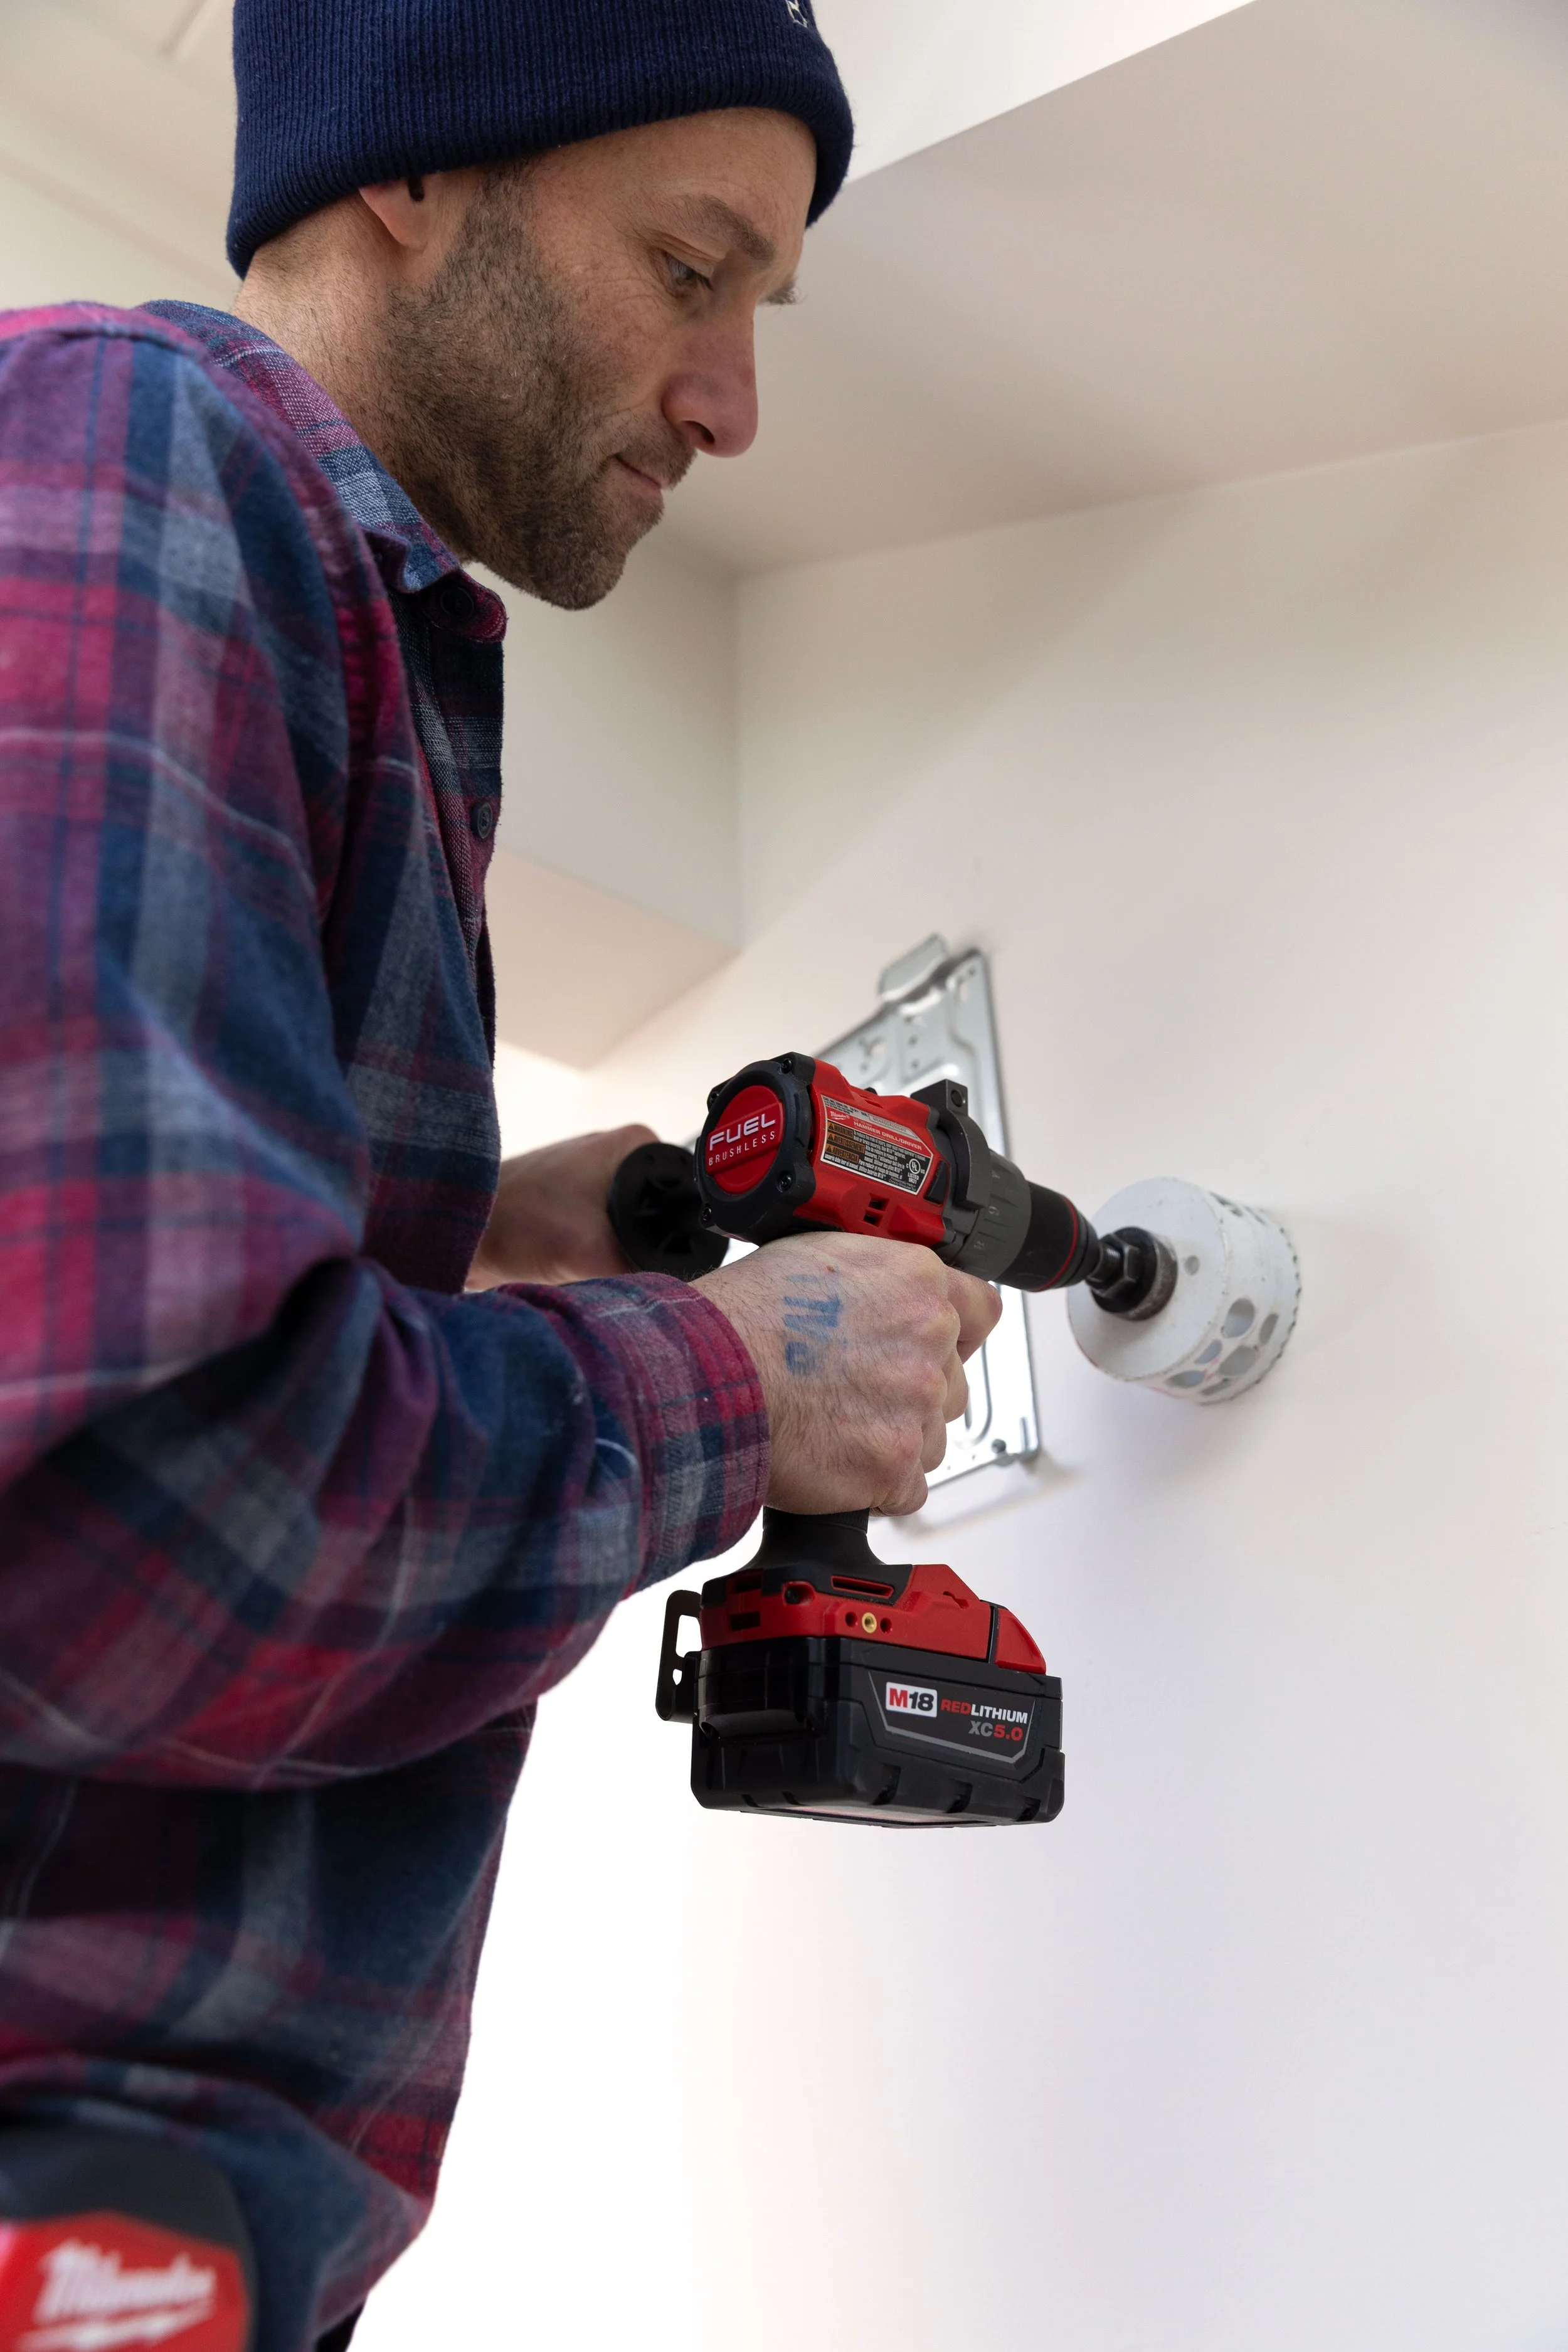
Drilled through the wall and mount the bracket
We drilled a 3" hole through the exterior wall in the living room and mounted the bracket to studs using the paper template.
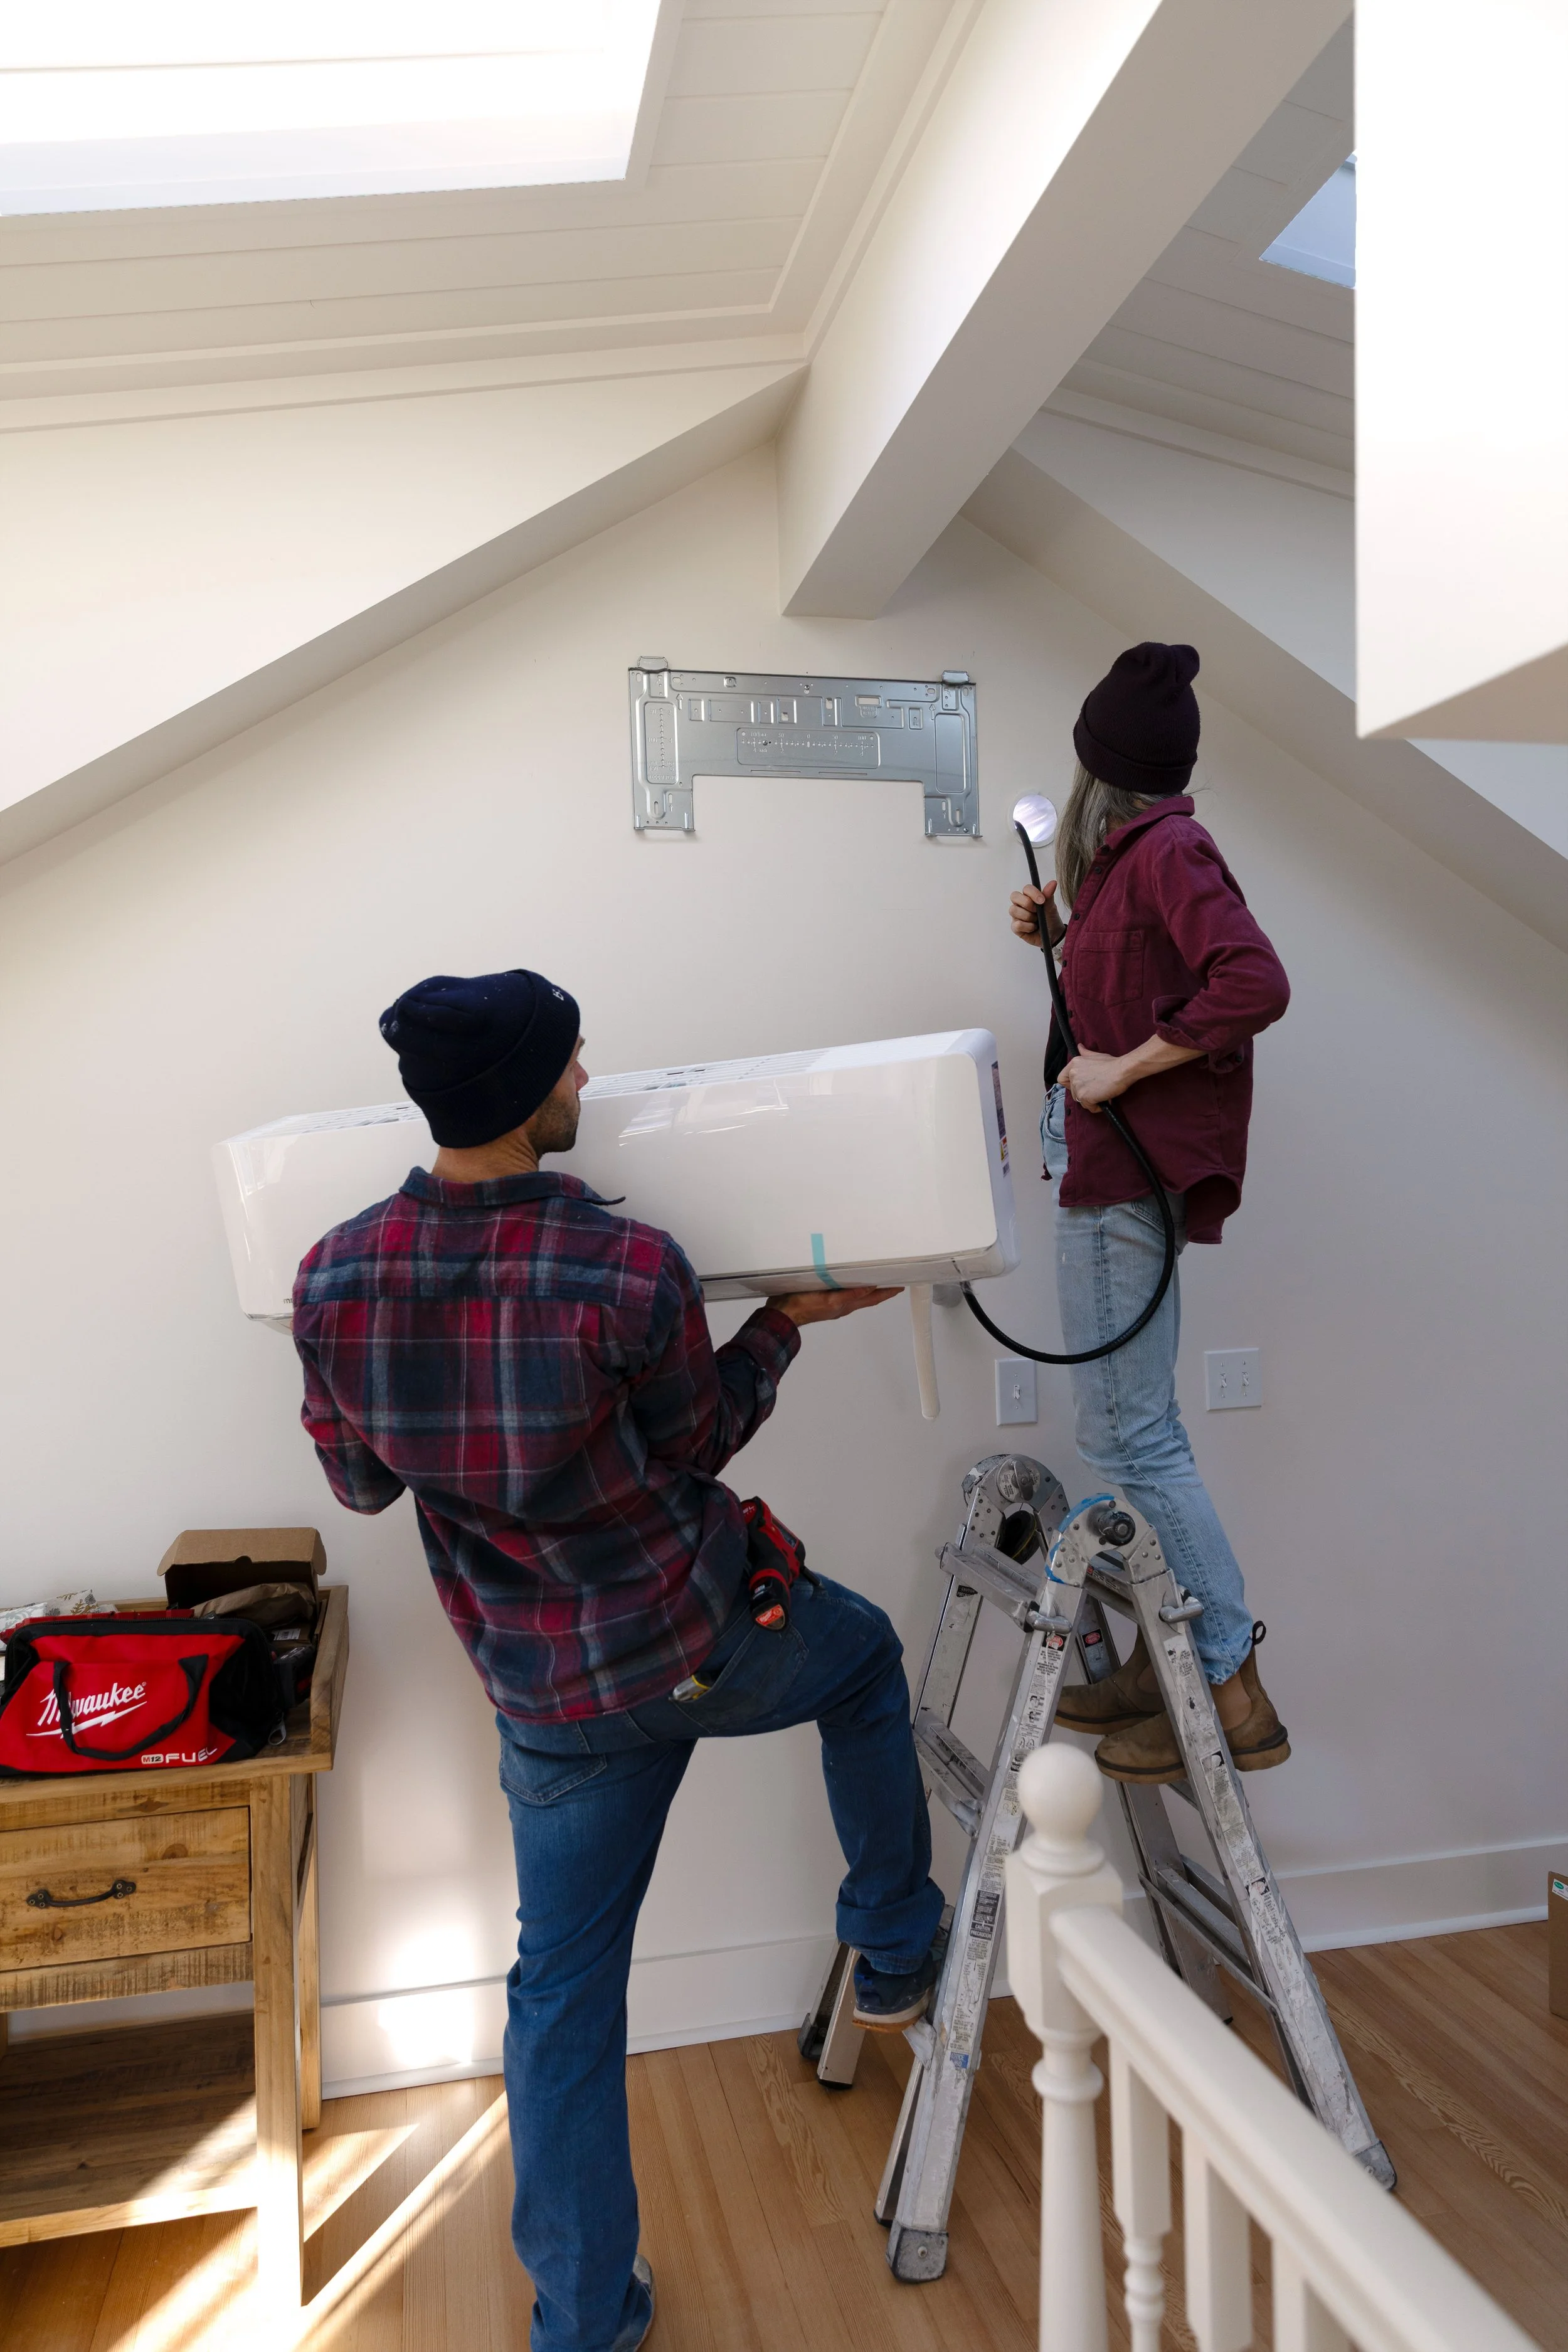
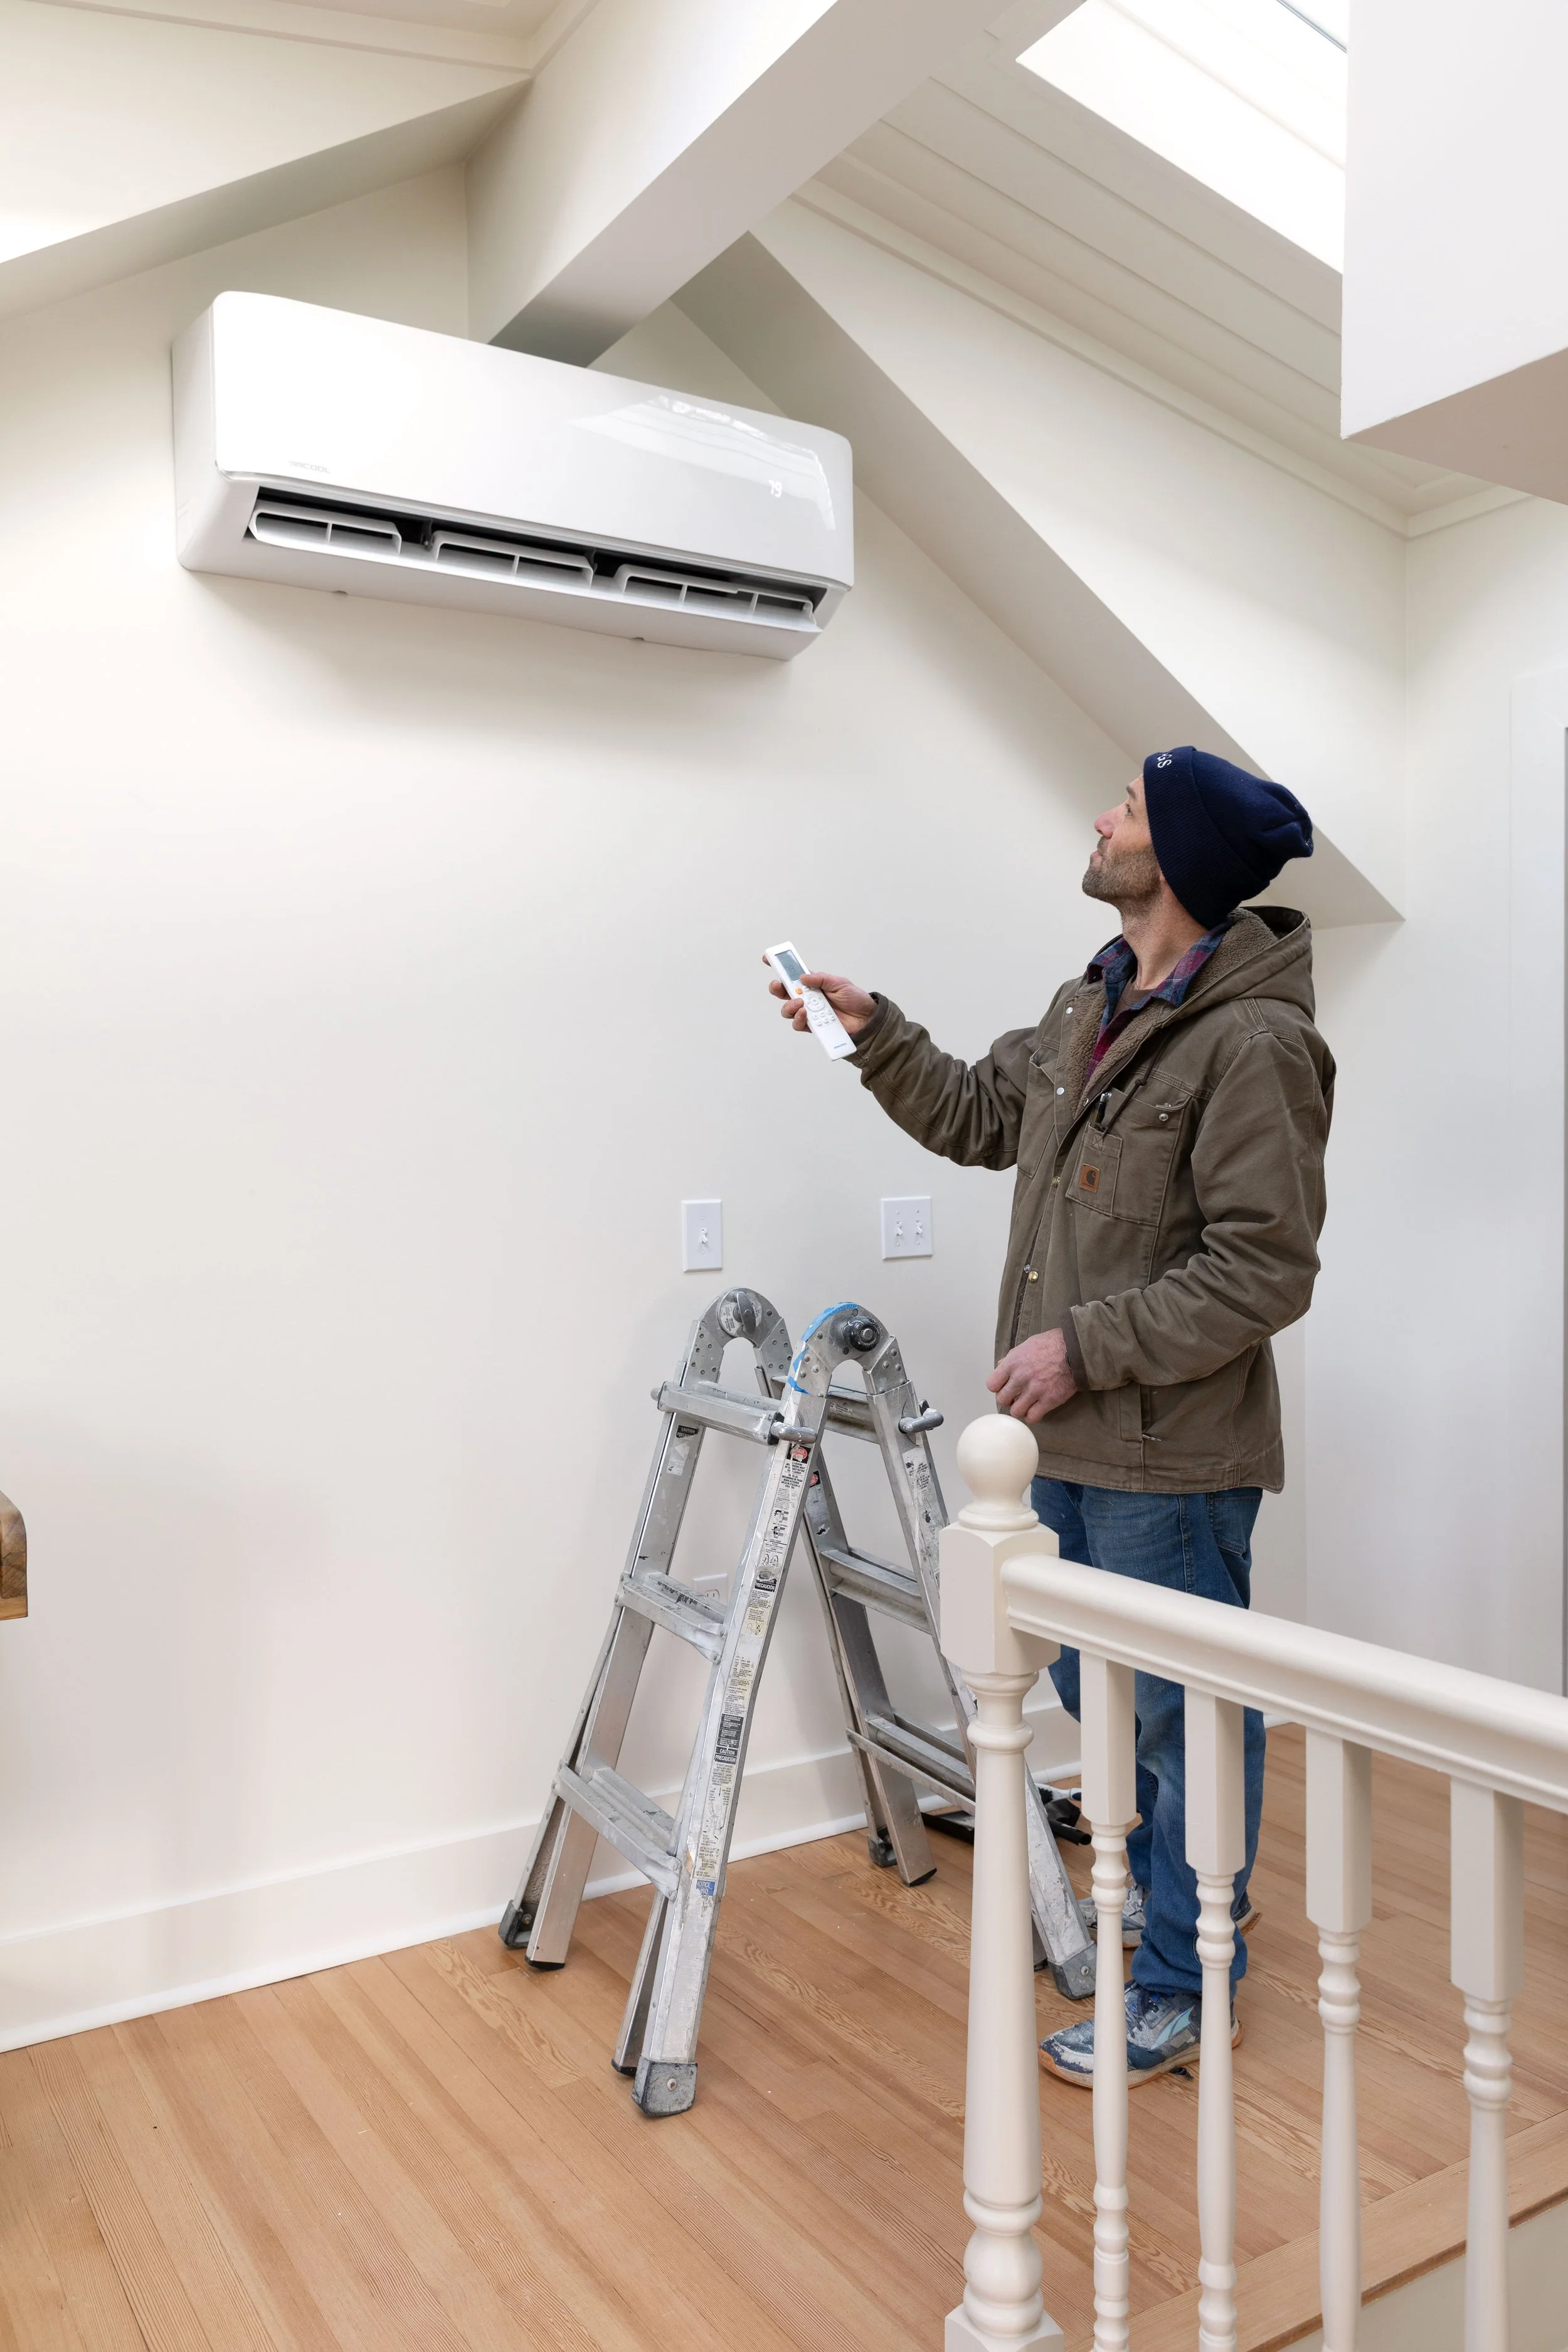
Mounted the indoor unit
We mounted the interior unit to the bracket, feeding the refrigerant lines, condensation line, and wiring through the 3” hole.
Installed the outdoor condenser
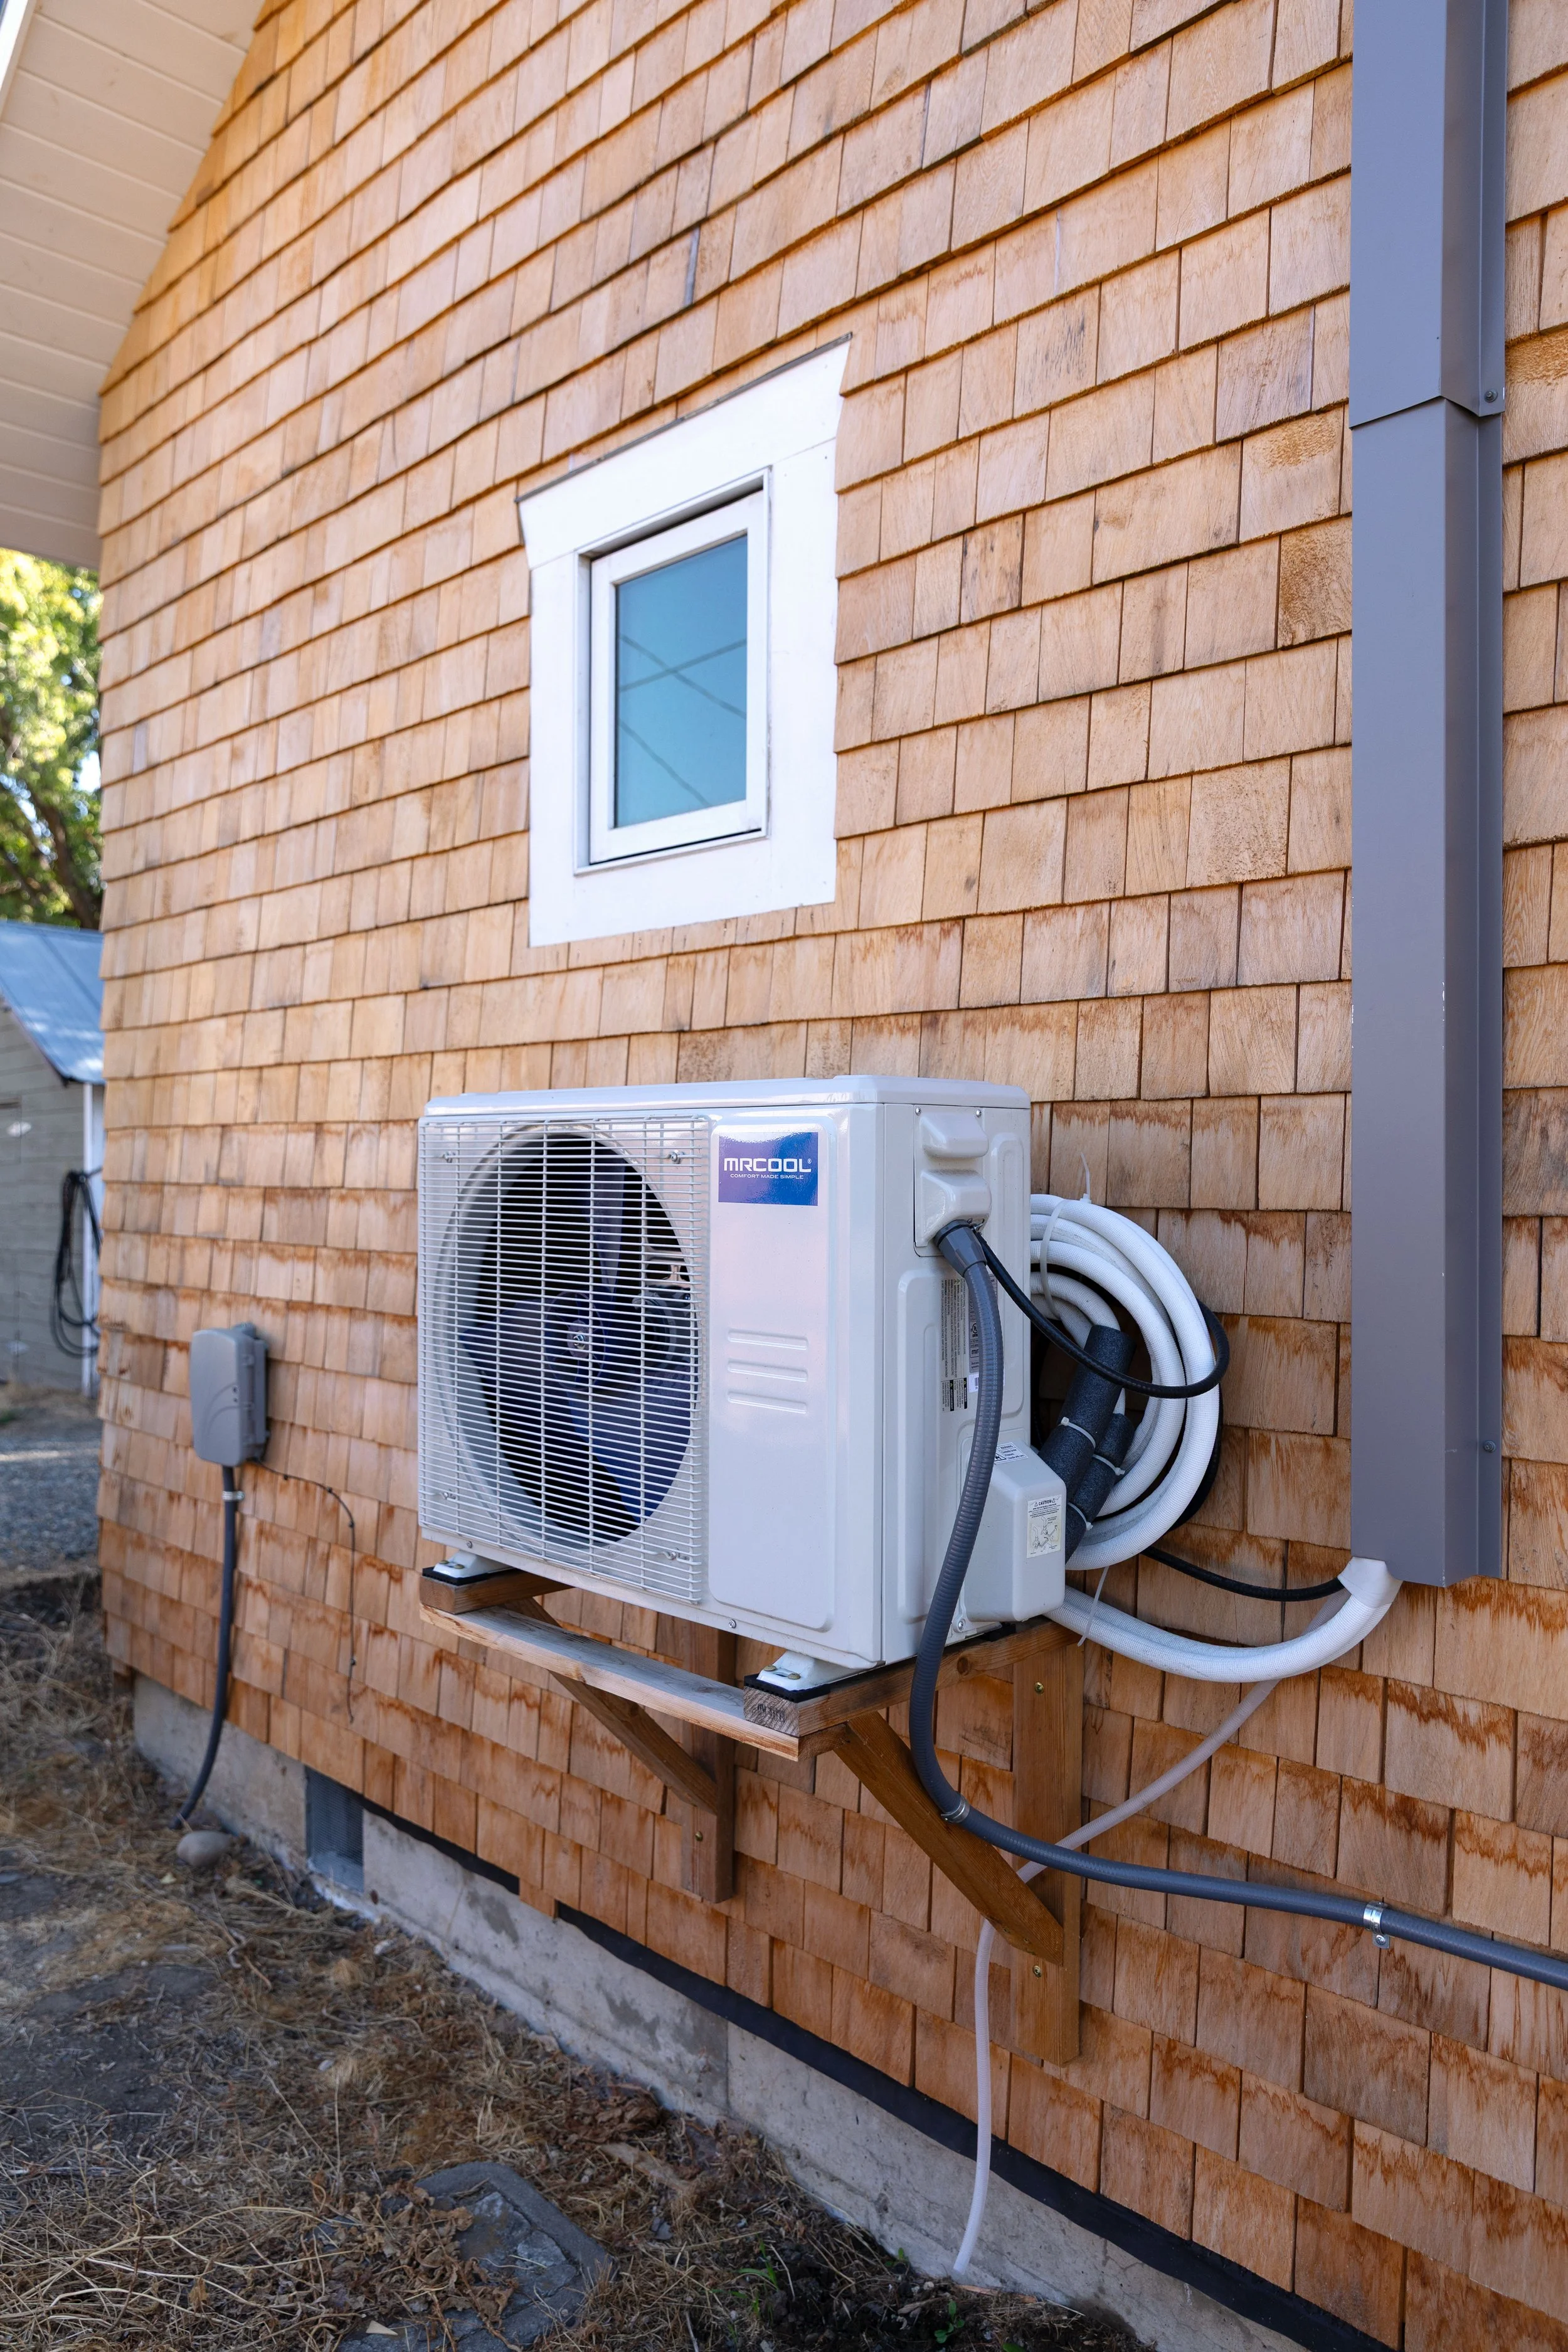
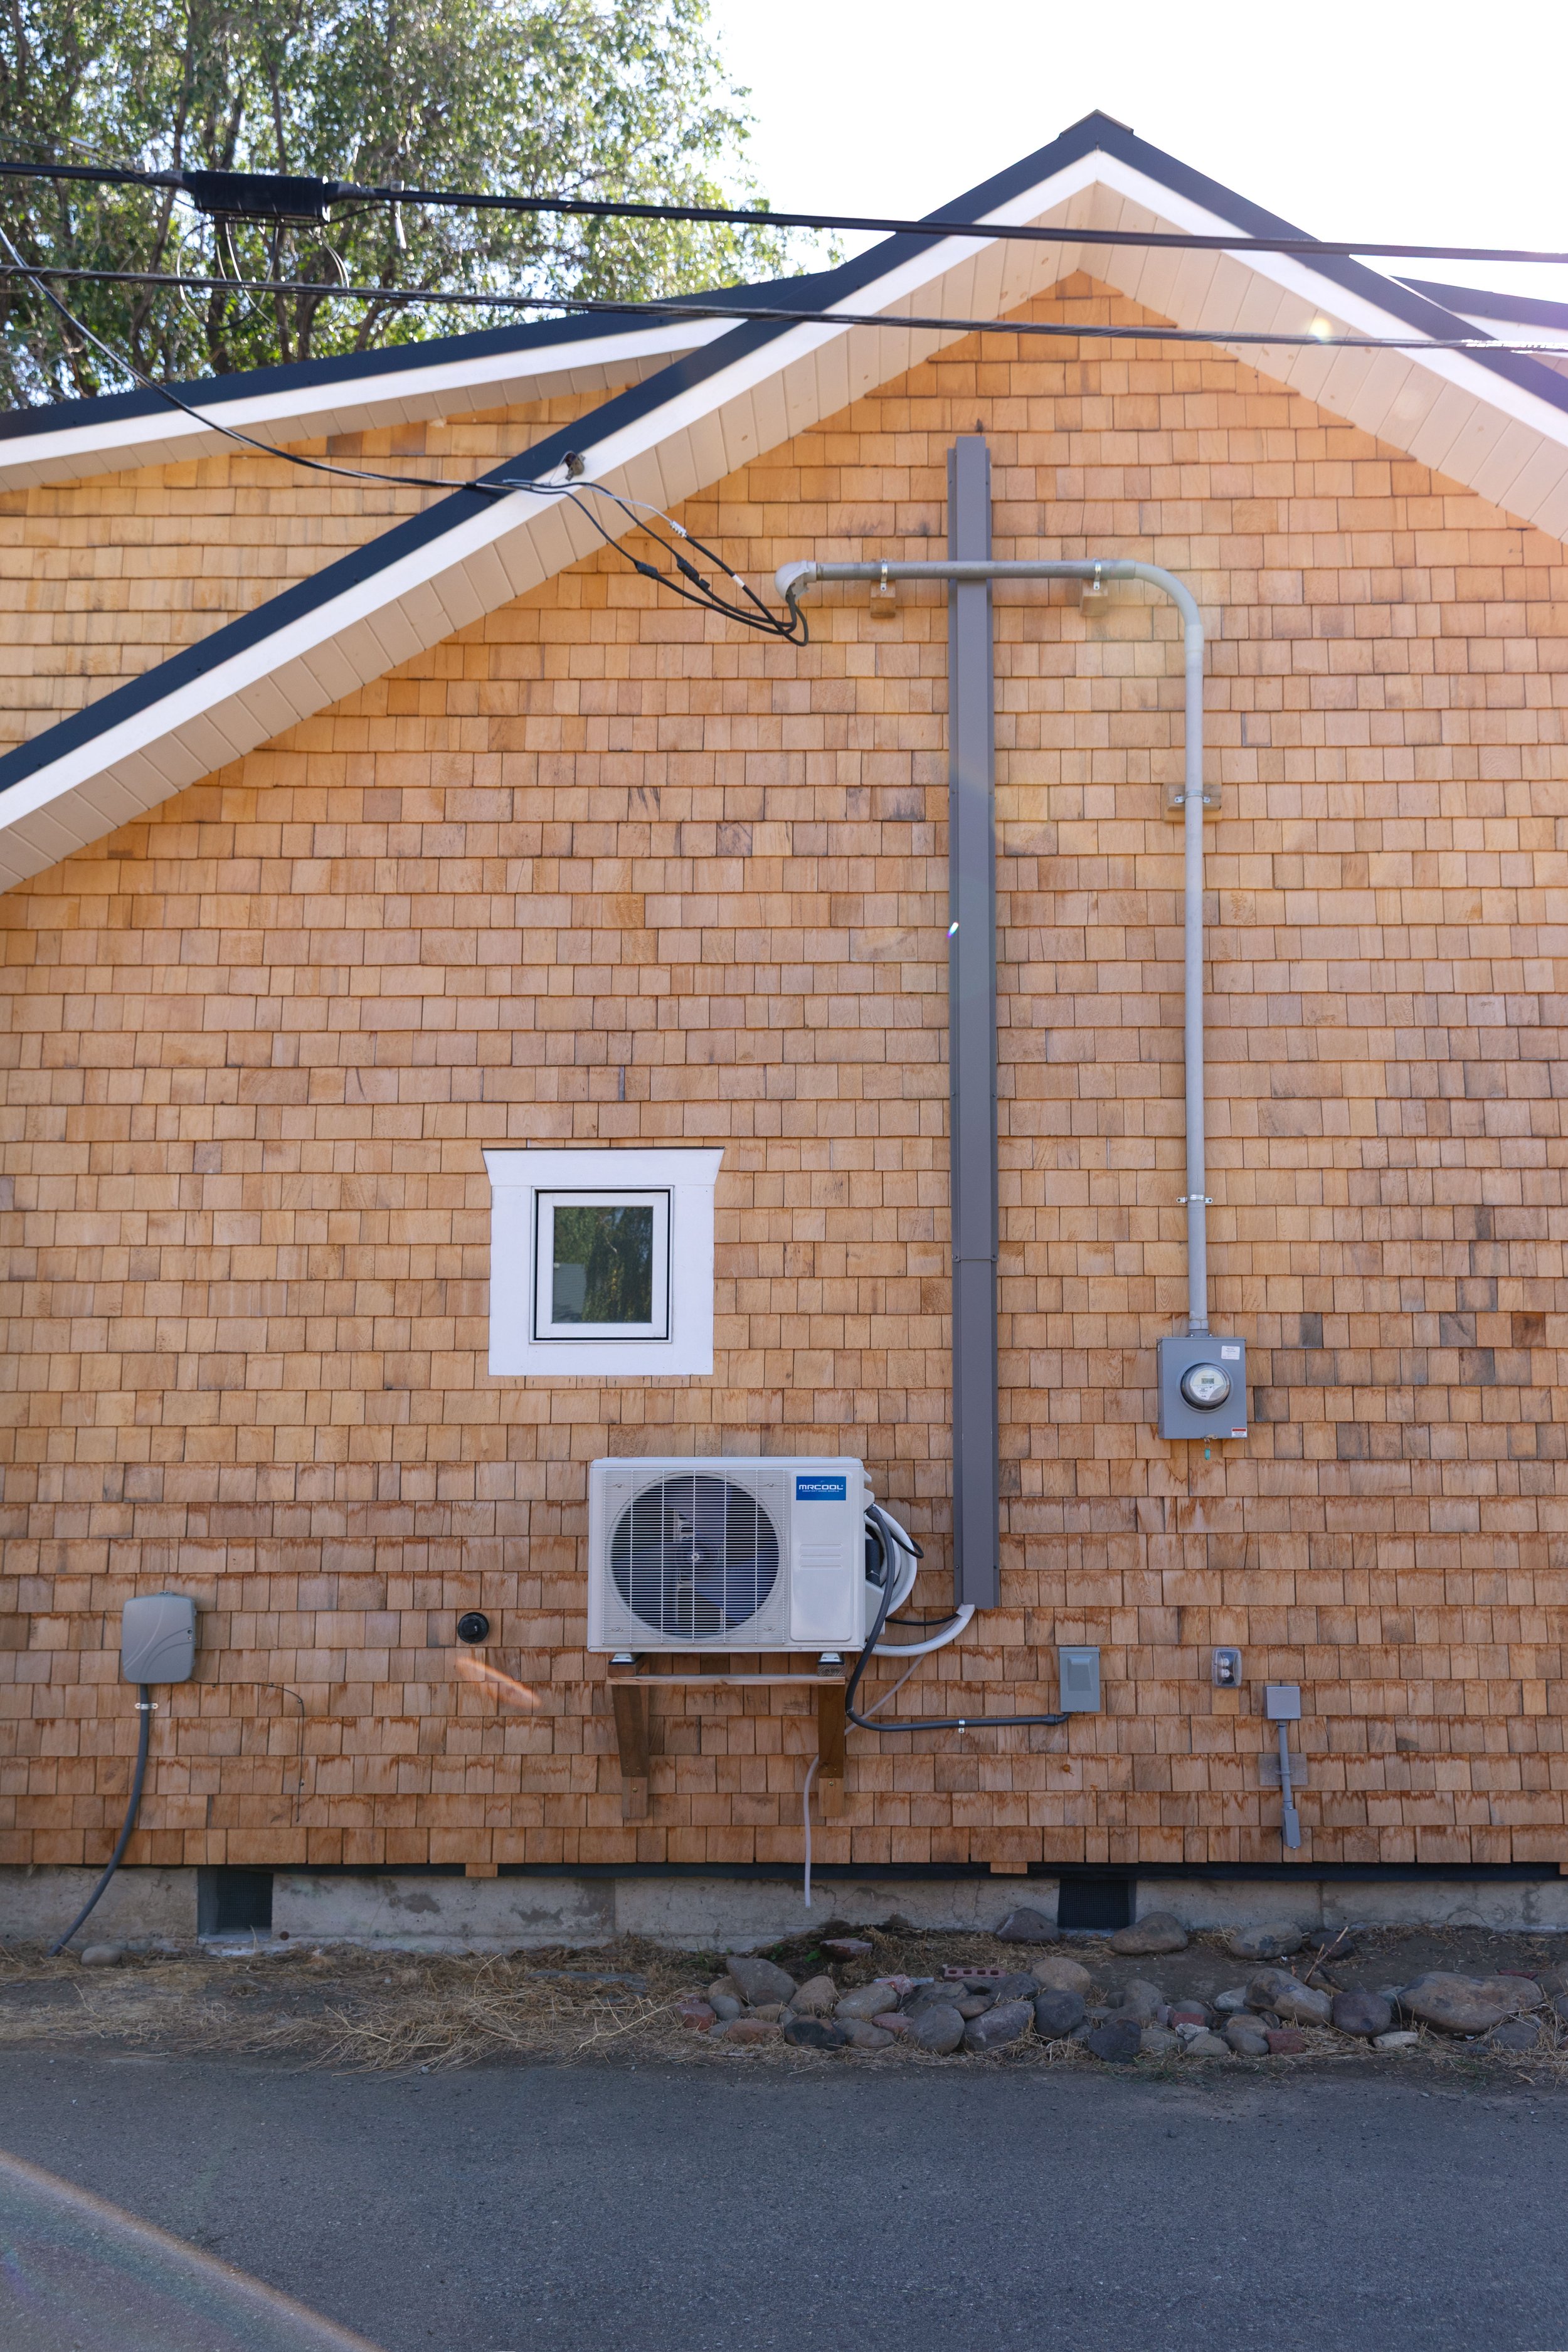
We built a custom cedar wall bracket and mounted the outdoor unit to the outside wall (you can also rest it on a stand that you purchase separately.
Run the electrical
We wired a dedicated 220V circuit from the panel to the outdoor unit. This powers both the indoor and outdoor units. But if you don’t happen to have a retired commercial electrician as a father-in-law like we do, this step may be best hired out.
Connected the lines and powered on
We connected the pre-charged lineset using large adjustable wrenches, and checked for any leaks using a soap spray, then sealed everything, and flipped the breaker. Just like that, warm air flowed upstairs.


Cleaning up the exterior look
The lineset runs along the back of the house, facing the alley. Even so, it felt like an eyesore against our new cedar shakes. Garrett covered it with custom 26-gauge flashing from our local lumber yard, and it instantly looked more intentional and tidy.
How It’s Performing
For the most part, it’s been excellent. It quietly keeps our upstairs living room cool in the summer and warm in the winter. There are a few quirks, though:
Airflow: The living room stays perfect, but the adjacent bedroom needs a small fan to help circulate air.
Downstairs cooling: The ceiling fan near the stairwell helps push air down, but our bedroom still gets warm in summer. We may add a small window unit in the dining room…we’ll see.
Wi-Fi features: The system is Wi-Fi enabled, but we’ve had issues getting it to connect consistently. Luckily, the included remote works perfectly.
Overall, it’s done exactly what we hoped - keeping our main upstairs space comfortable year-round.
Pros and Cons of DIY Mini Splits
Pros
Major cost savings vs. pro install
Quiet and energy efficient
No ducts required
Year-round heating and cooling
Cons
Requires electrical work (may need to hire an electrician if you’re not comfortable)
Doesn’t cool the entire house evenly
Smart features can be finicky
Indoor head isn’t exactly pretty
FAQs
How much does a DIY mini split cost?
Expect to spend $1,500–$2,500 for a single-zone unit, plus about $200–$300 for electrical supplies or wall brackets. Hiring out the whole job can cost $5,000+.
Can I install a mini split myself?
Yes — this model is designed for DIYers. It comes pre-charged with refrigerant and includes all the mounting hardware. You do need basic electrical knowledge and tools, though.
Does a mini split heat as well as it cools?
Yes. Ours keeps the upstairs toasty all winter long, even when temps dip below zero.
What about the “ugly” indoor head?
They’re not exactly design-forward. I remember touring Joanna Gaines’ castle project in Waco, TX and noticing that she tucked one behind a metal panel, like a radiator. I had planned to do something similar here, but in the end it doesn’t really bother me. With ours painted on a same-color wall, it blends right in. Honestly, we’re so thankful for the comfort it provides that we hardly notice it anymore.
Adding a ductless mini split to the Poplar Cottage has been a huge upgrade! It keeps the upstairs livable in every season, gave us AC without ductwork, and only cost about $2,000.
If you’re renovating an old house or looking for a budget-friendly way to heat and cool a space, a DIY mini split system is absolutely worth considering. Just plan your install carefully, cover the lineset for a clean look, and don’t be afraid to hire out the electrical if needed.
xx