Our Farmhouse Garden and Outdoor Living Space
THE FARMHOUSE
It’s been a month since we finished our garden and this space has become such an integral part of our life at the Farmhouse that I wonder how we ever lived without it. Not only do we grow fruit and veggies in our garden but we also eat, play, relax, hang out as a family, and soak in the country magic out here. We love it!

You can catch up on all of the garden posts I’ve shared to date below including the budget for this 4-week remodel. Today I wanted to give you a full tour of this space - the raised beds, eating area, flower pots…all of it. I’ve been waiting to share this full reveal until the garden grew a bit, and I finally just decided it was time. Scroll down to see our own little slice of magic.


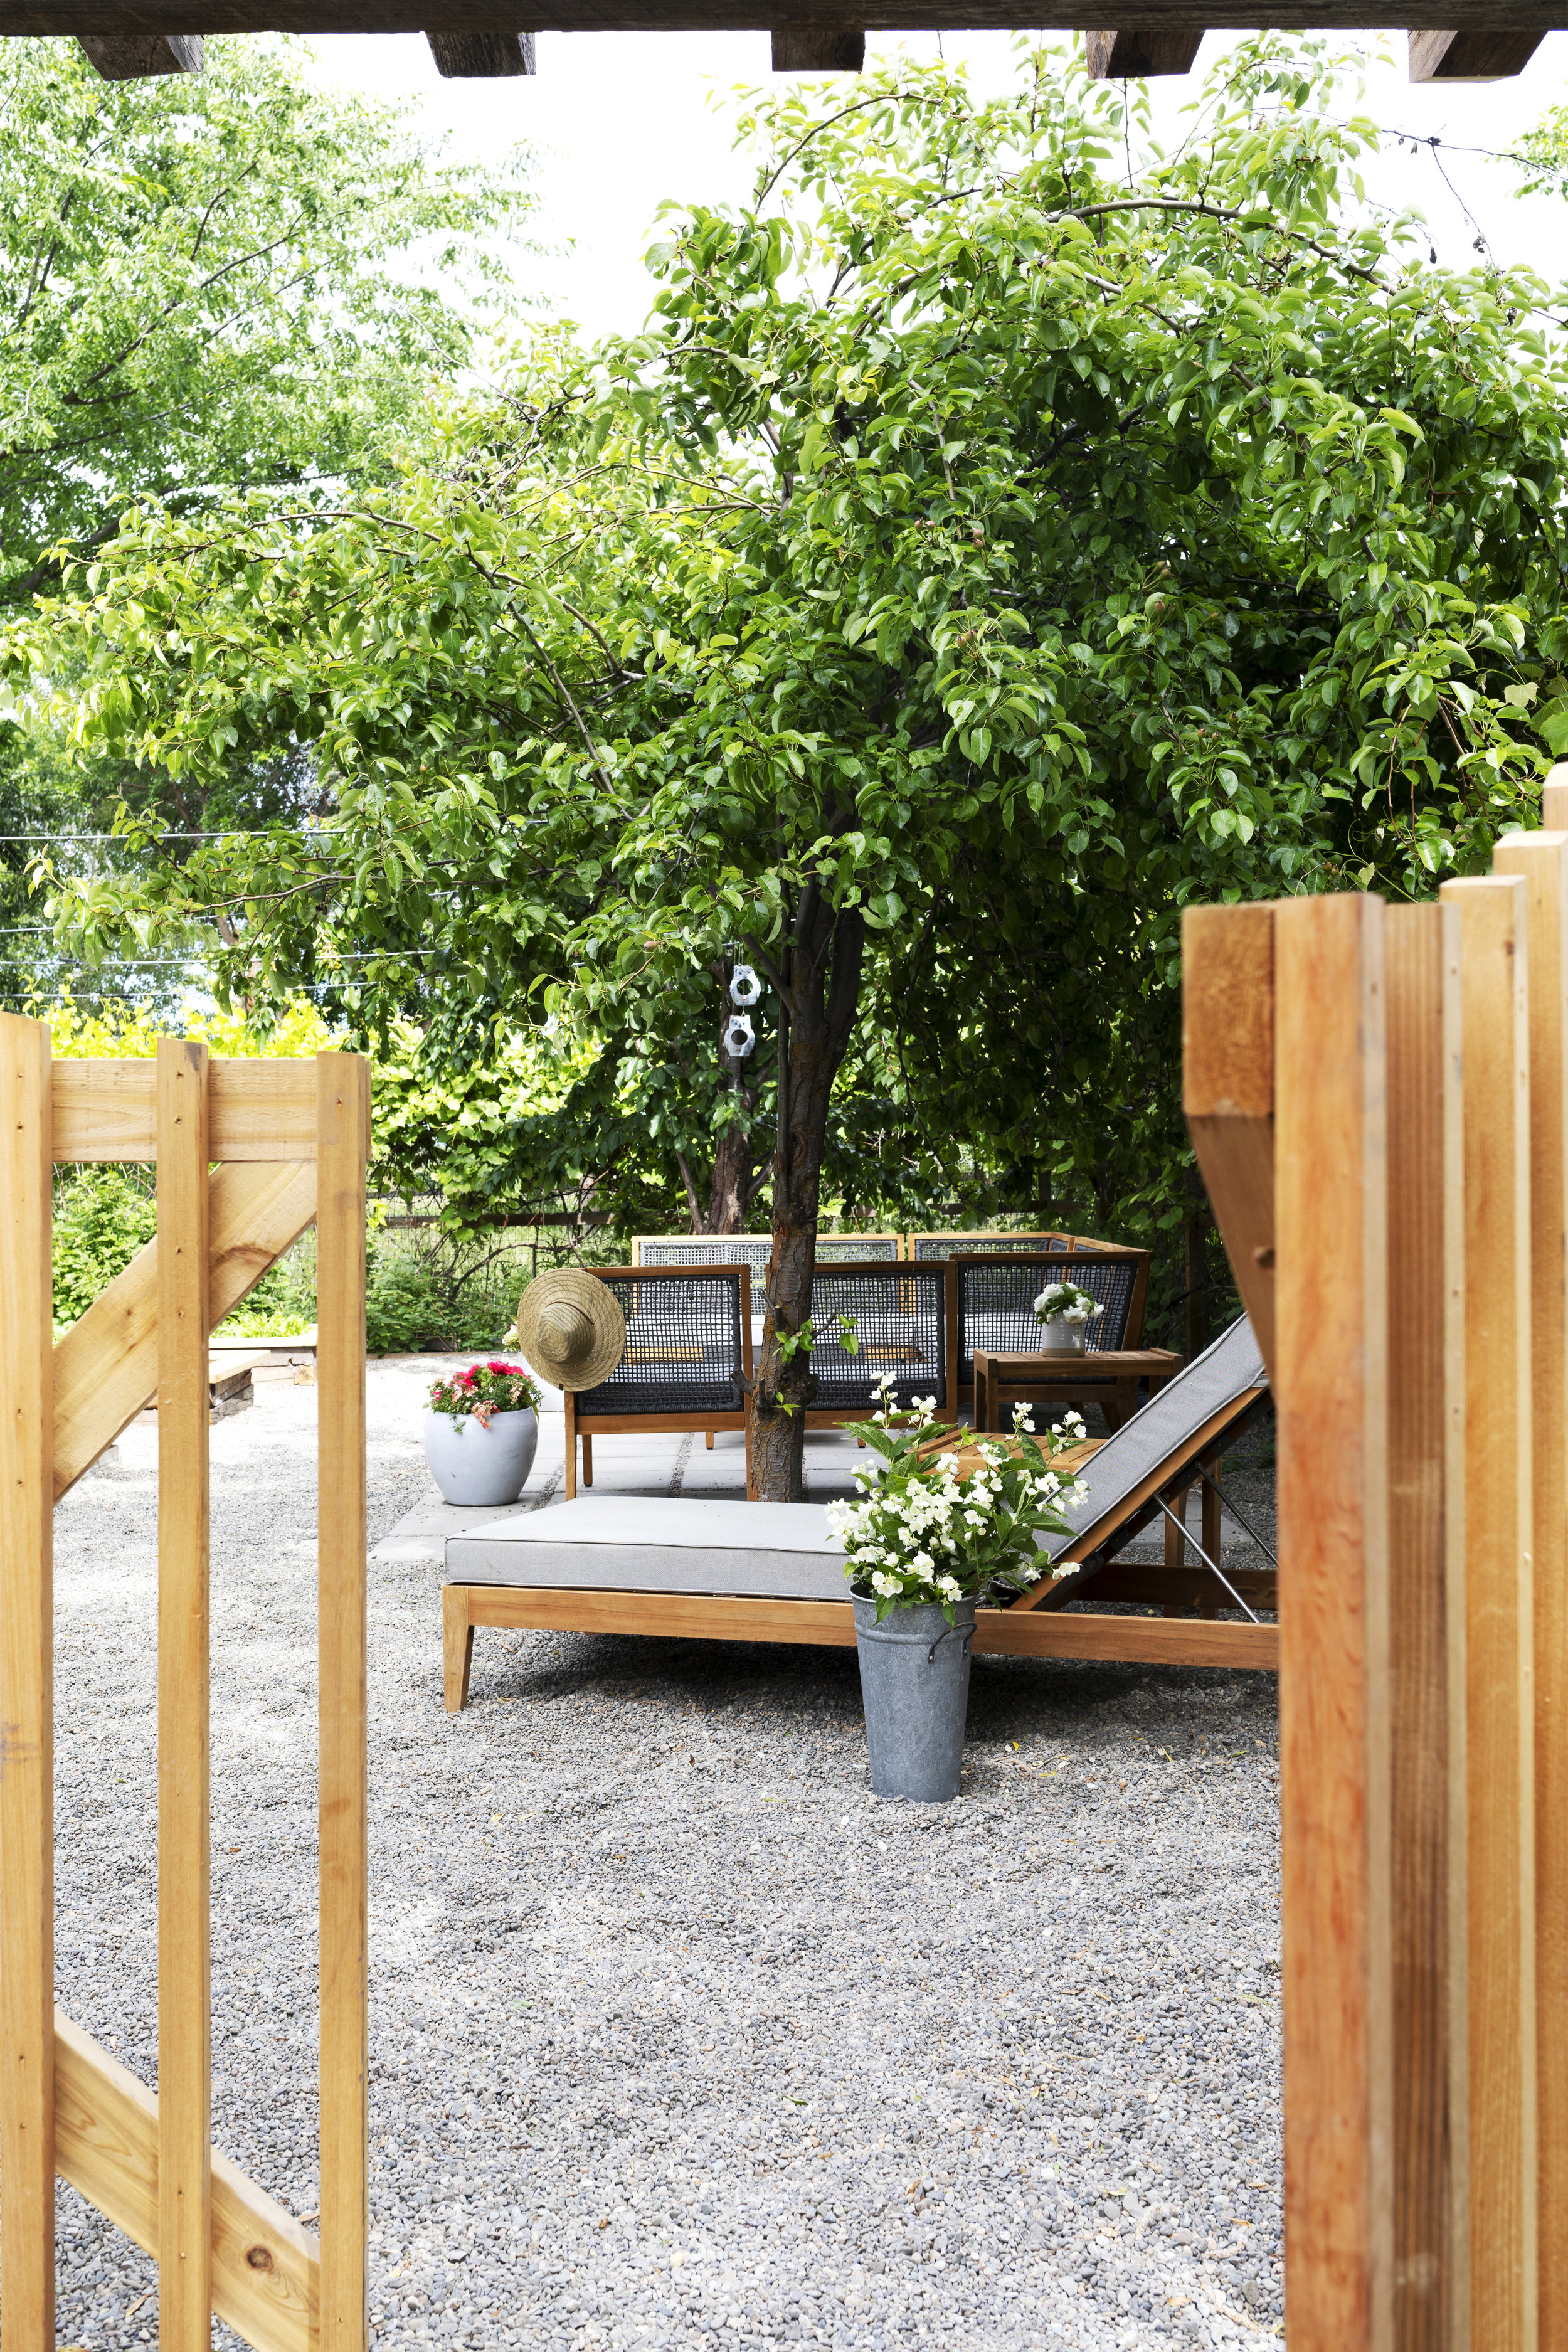
the patio living space
I’d like to share a DIY on laying the patio pavers, but for now I’ll say it was a pretty big job. Nothing you can’t DIY but the definitely the biggest project of this garden remodel. Here’s the quick version of how we built the patio:
We leveled the native soil, added weed barrier, laid down a 2-3” layer of 5/8-minus gravel, compacted that, built a frame around where the pavers would sit, laid down and carefully leveled the sand, and set the pavers down about 1” into that. The pavers we used are basic 16”-square concrete pavers from Home Depot (I’ve also seen them at our local Ace Hardware) and about 2 inches thick. Lastly we filled the joints with pea gravel to give the patio the effect that it’s floating in the surrounding gravel. And for the surrounding pea gravel (which is also a 2-3” level), is 2-3” of compacted 5/8-minus gravel, weed barrier, and leveled native soil. Here’s a great DIY from my friend Natasha if you want to know more!
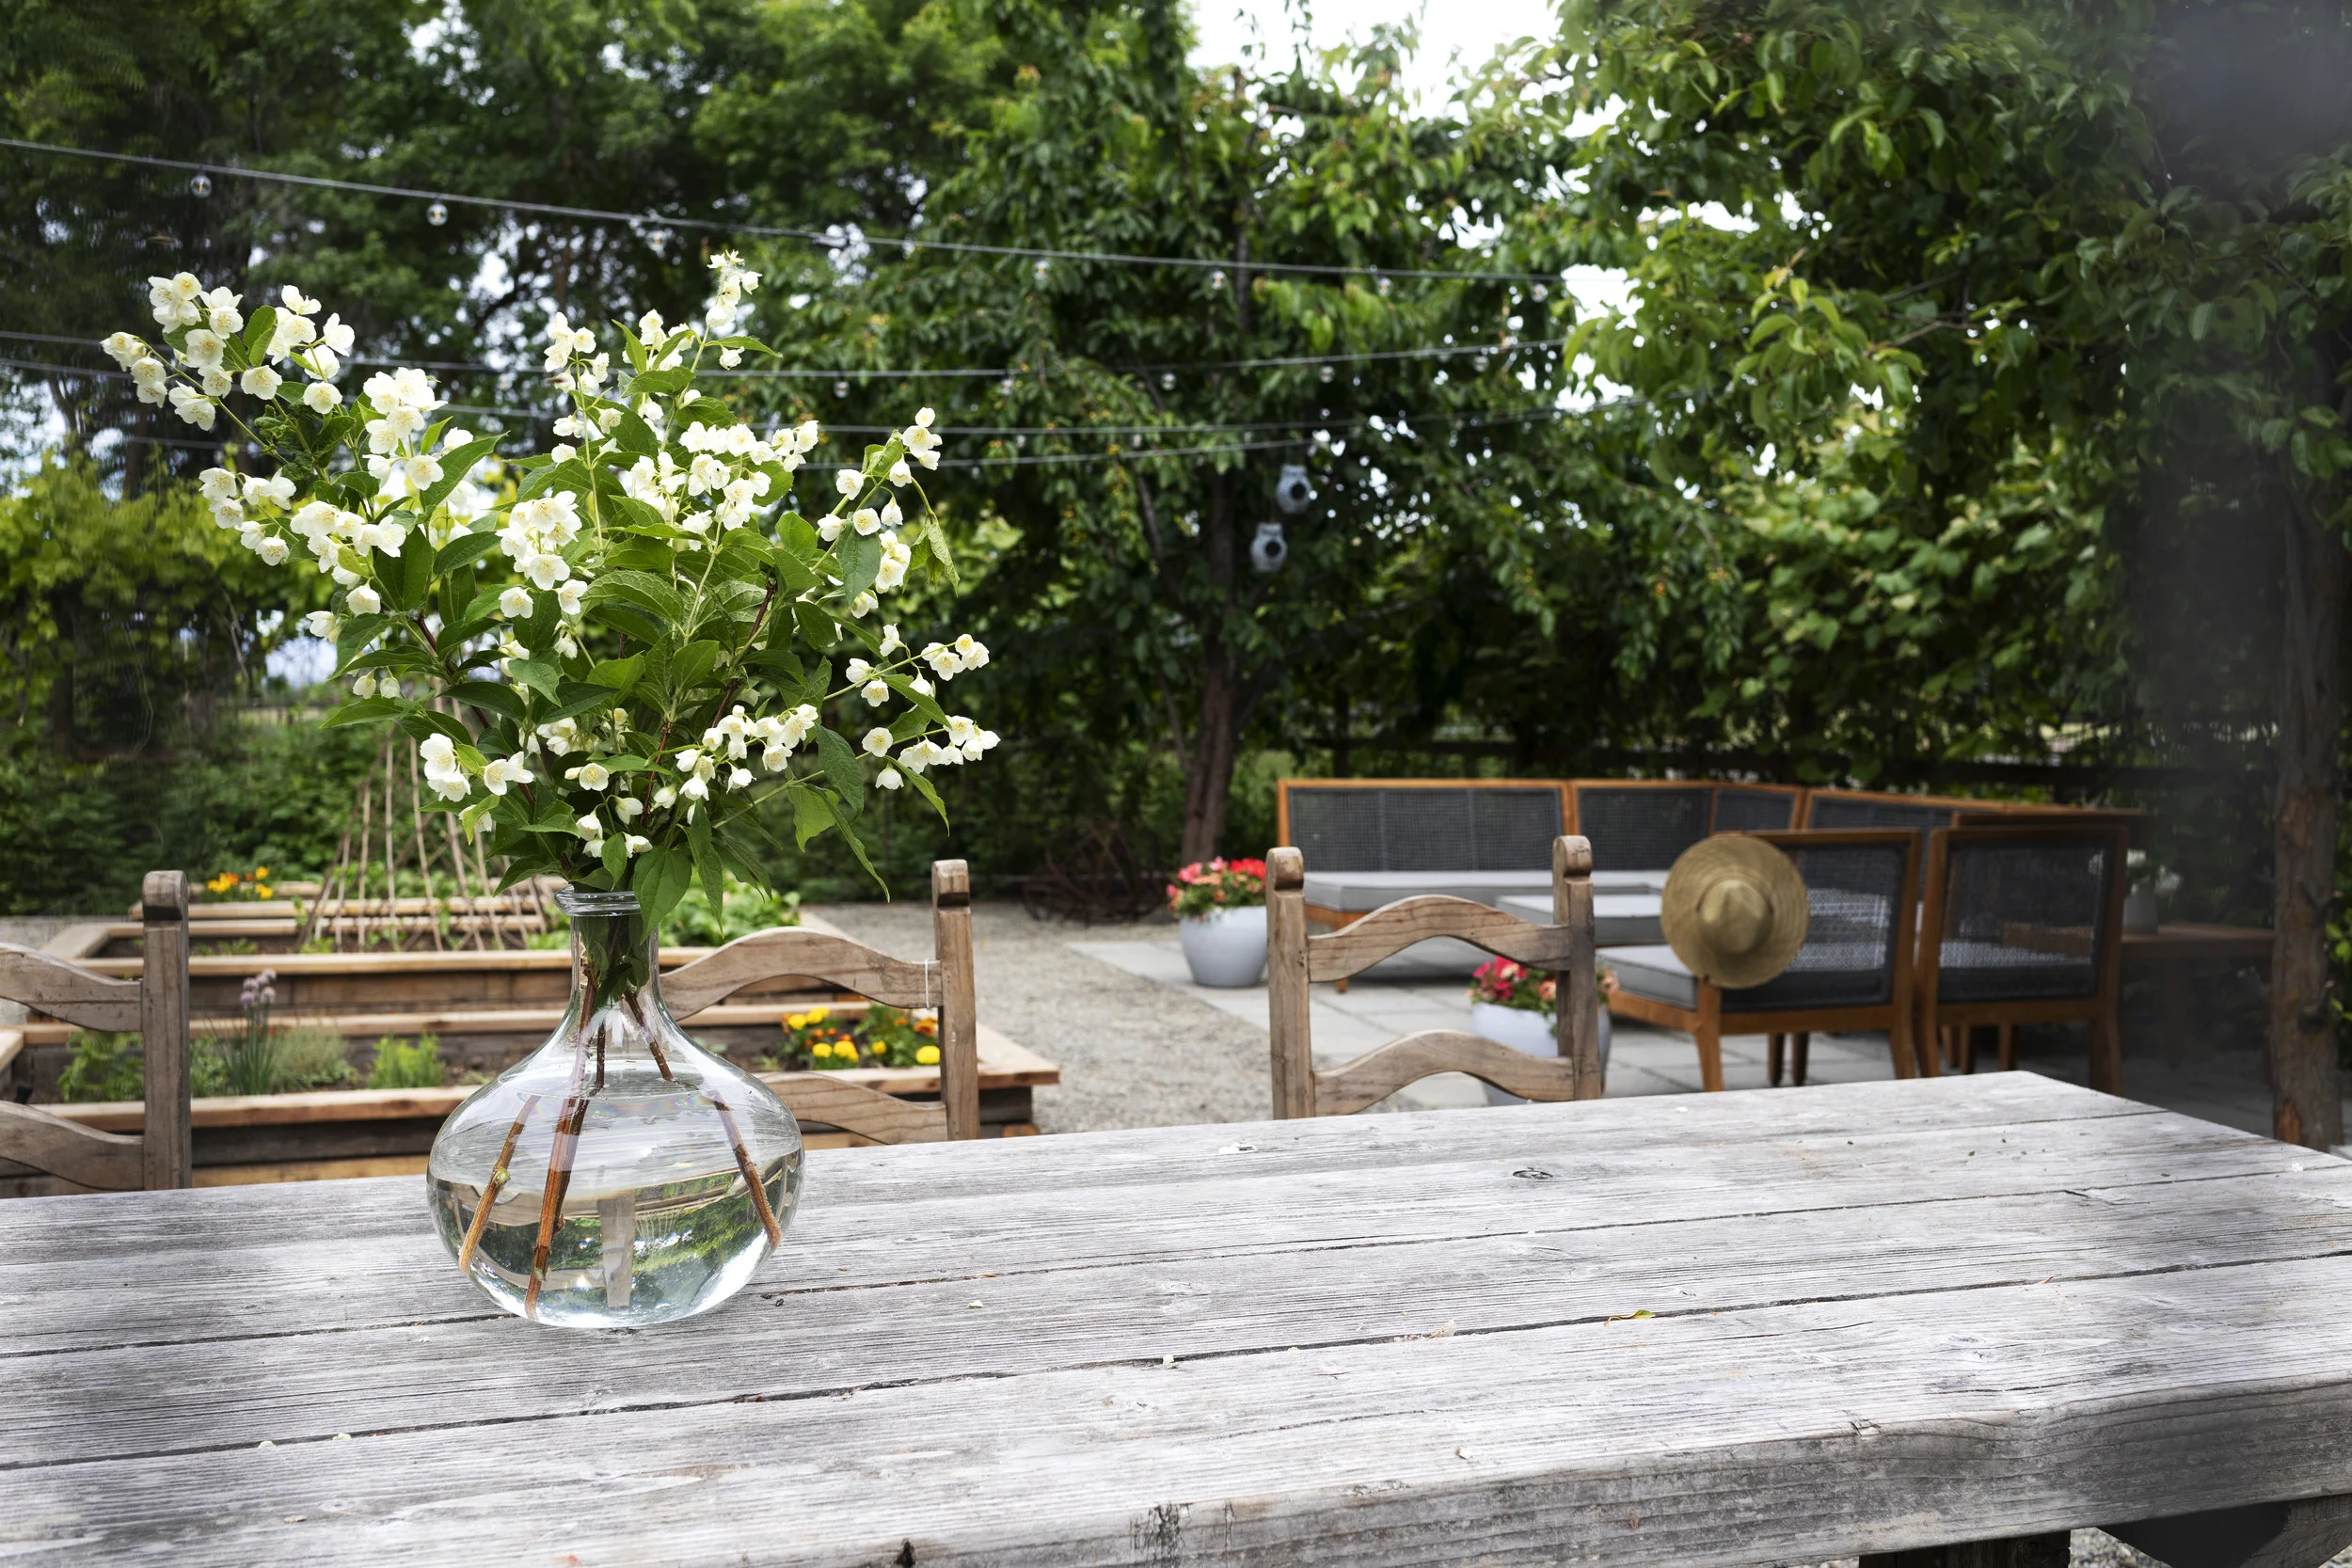
What really makes this patio for us is the furniture from The Company Store. It gives us the seating to do all that hanging out. And it’s kind of funny, but we use this patio sofa more now than the sofa in our actual living room. Ha!


Creating a dining area
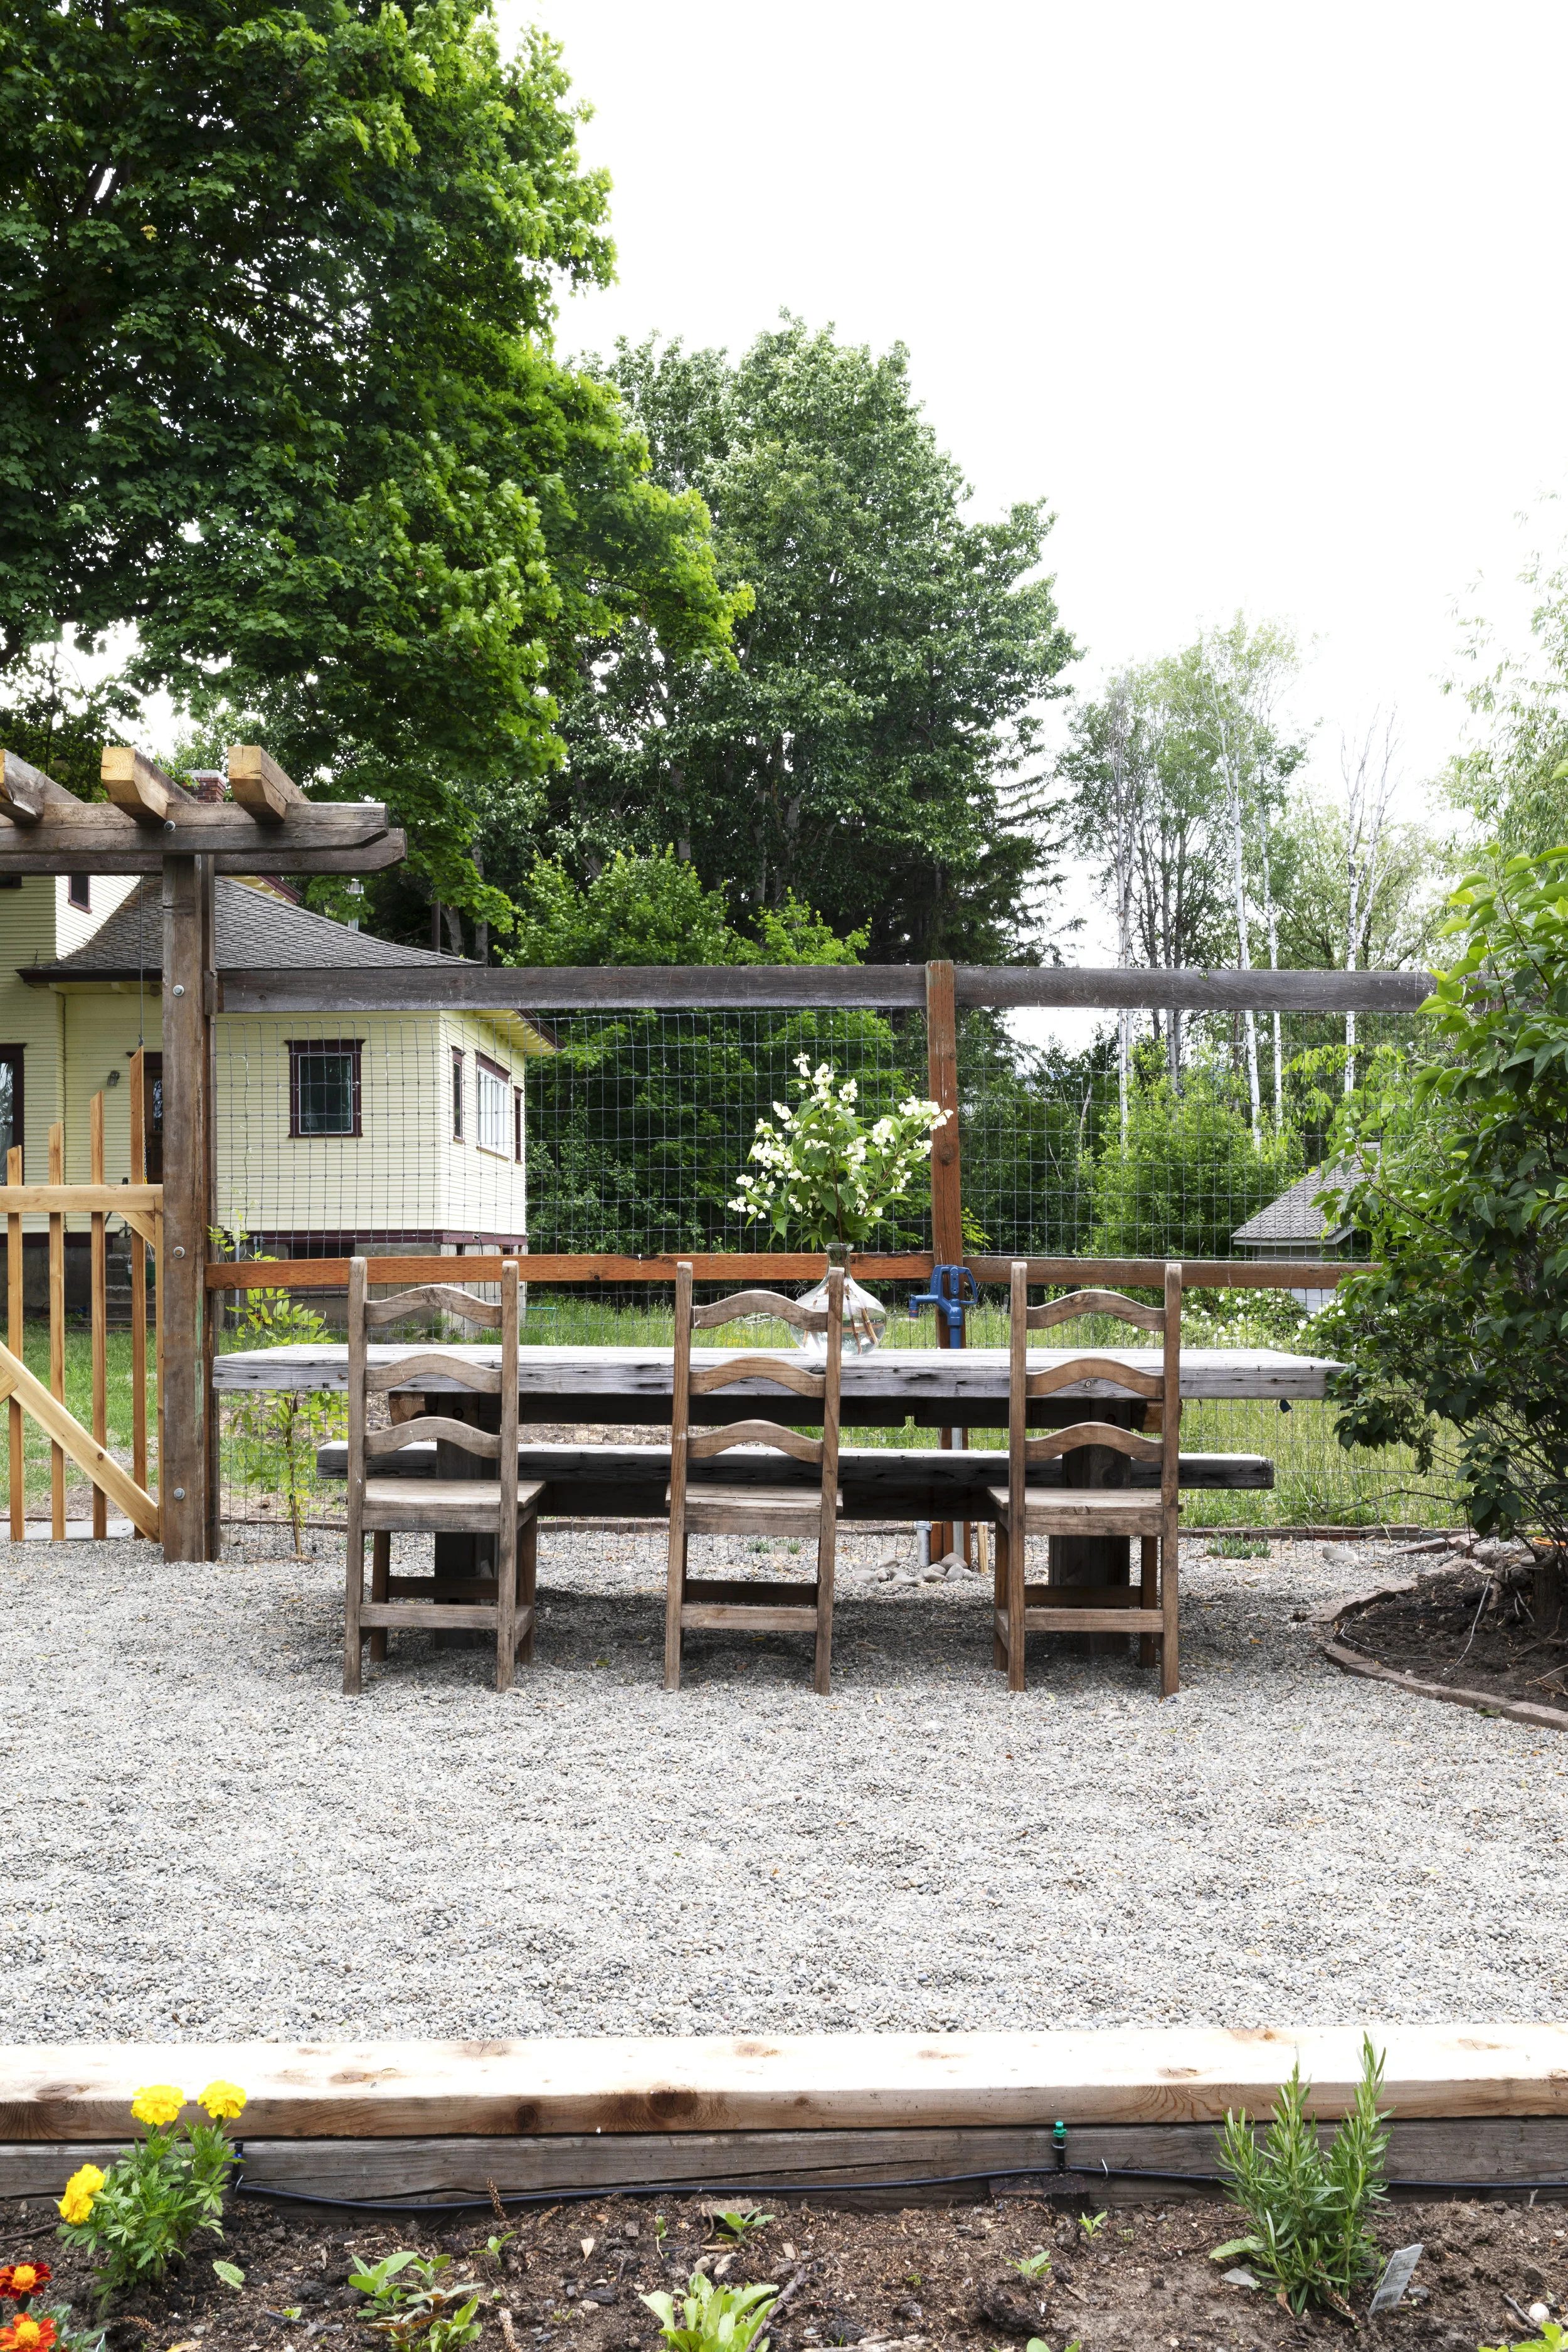
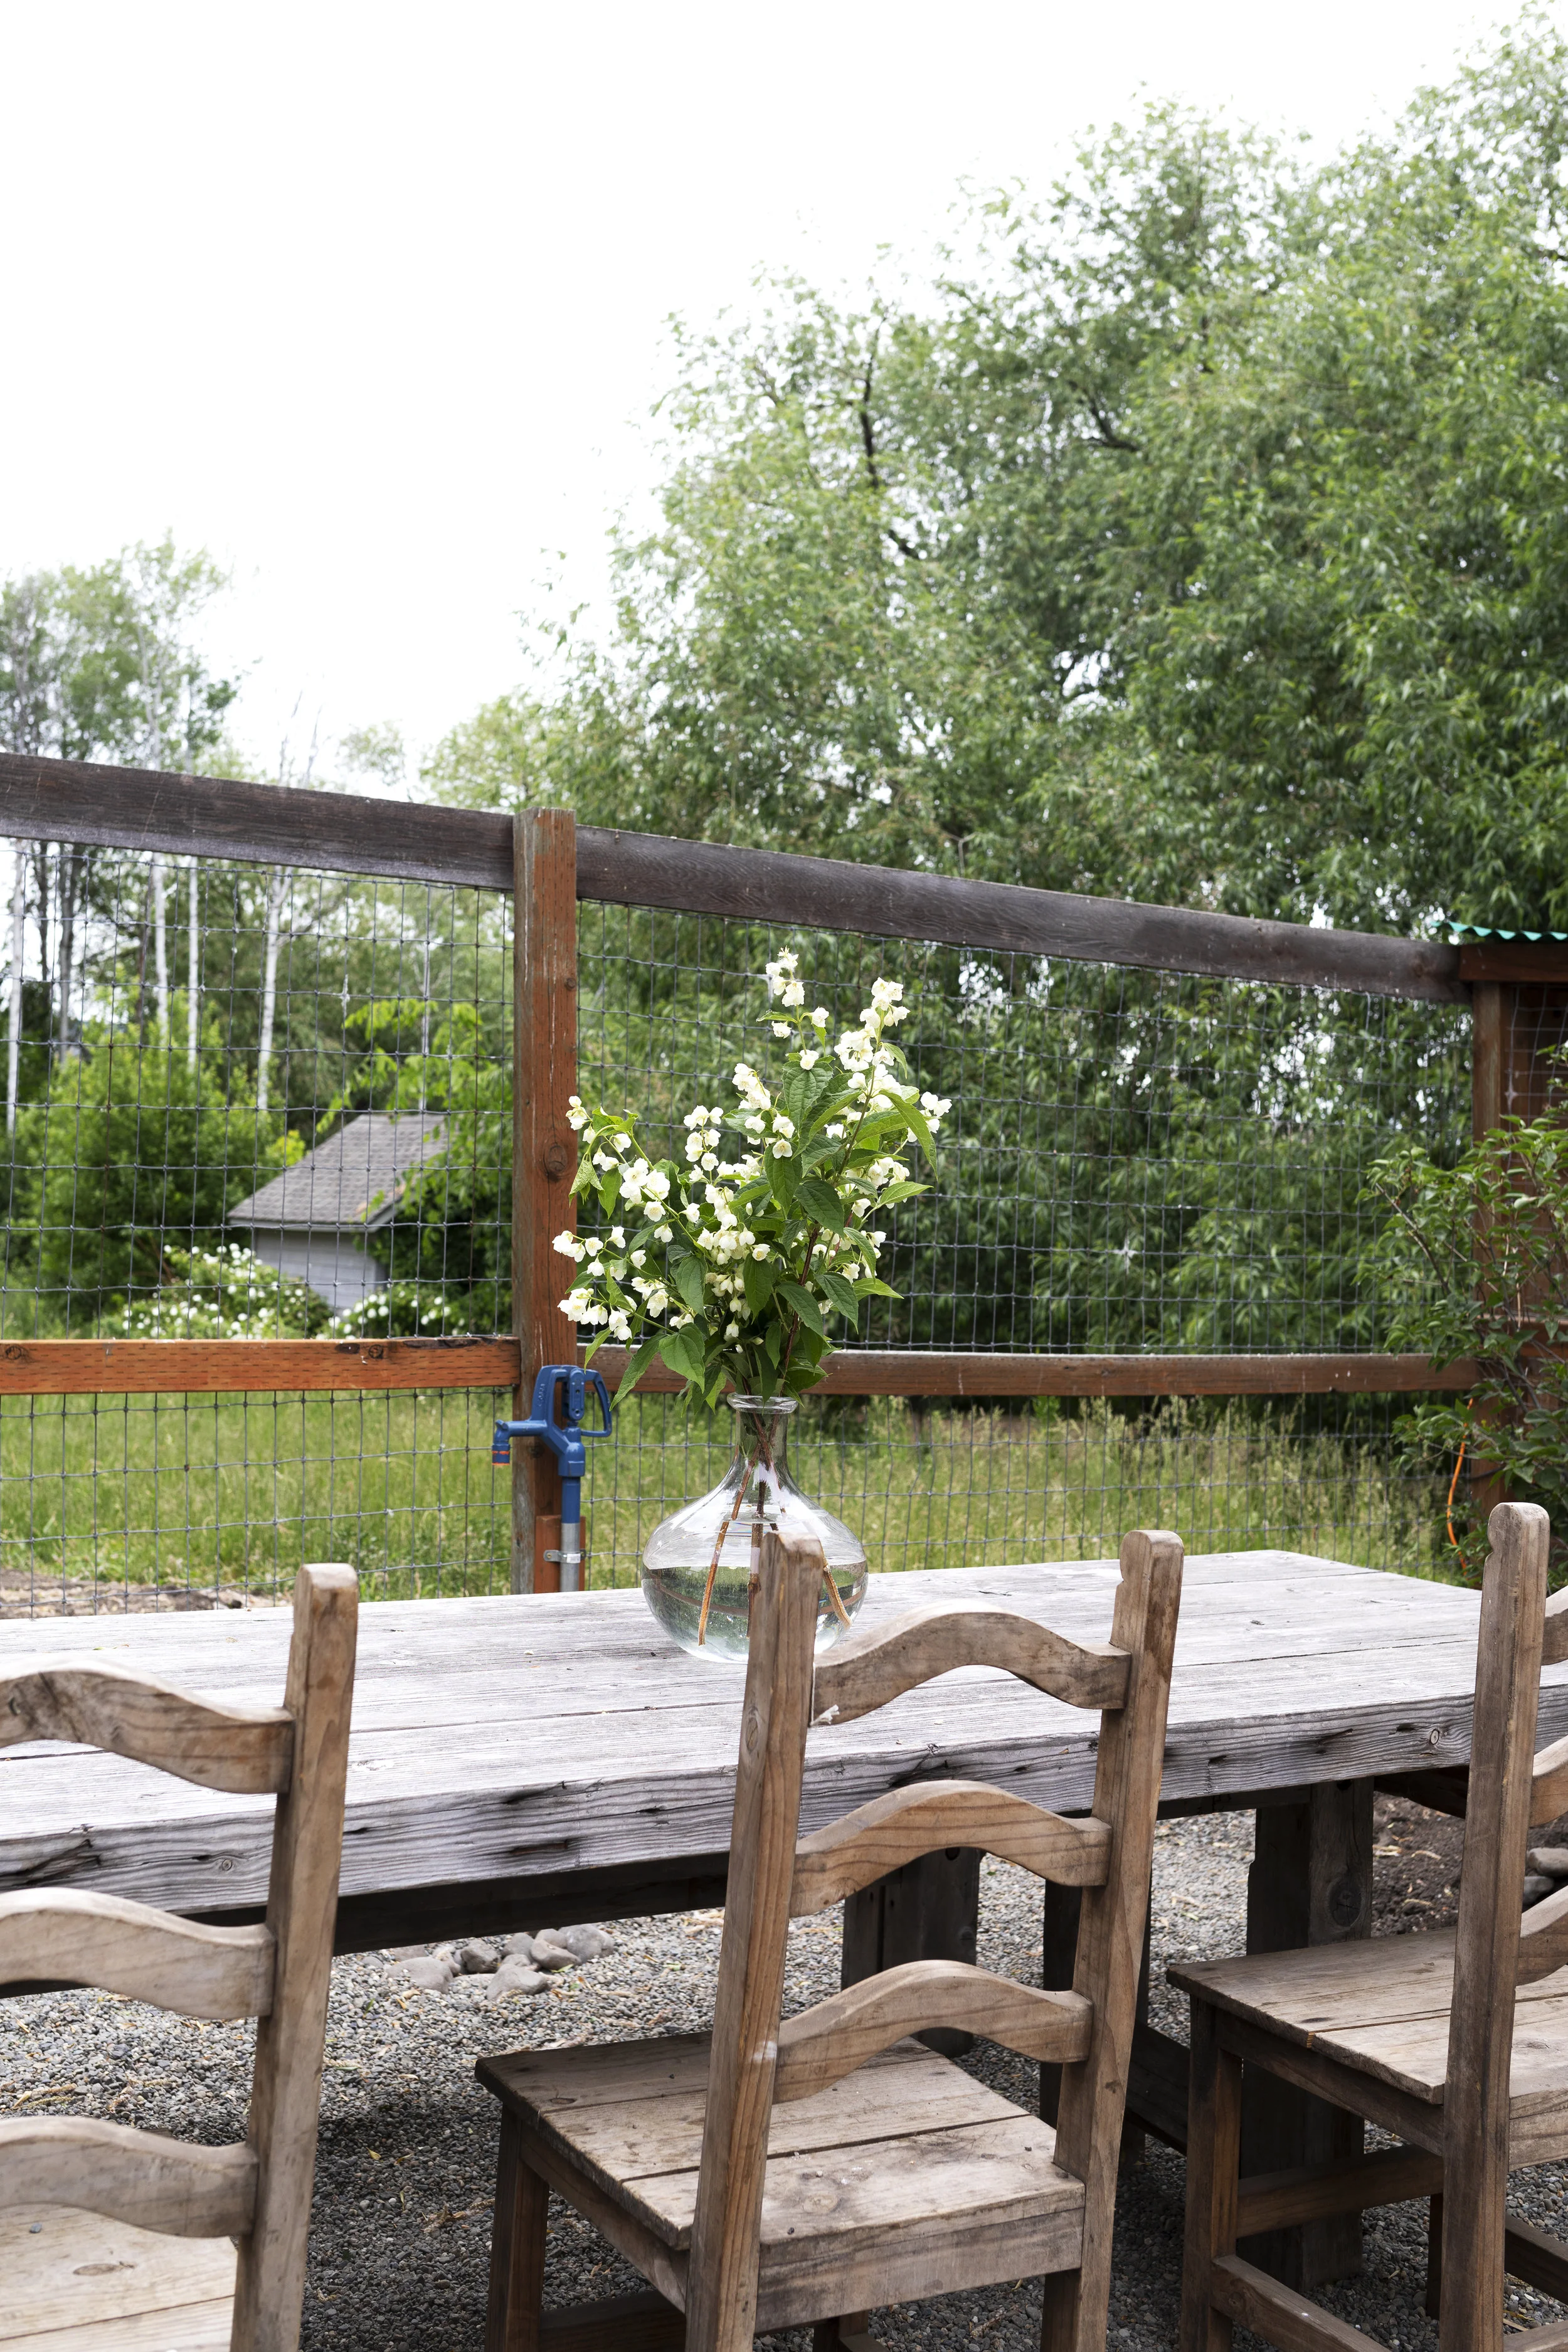
There is something lovely about eating in a garden, don’t you think?! It feels very farm-to-table in a not-an-actual-farmer kind of way. We built this dining table and bench for our first house (some 8+ years ago) out of lumber from the salvage shop. I love how it’s greyed out over the years. The chairs came from an antique store in Hood River and I scored the set of 4 for $65 (the fourth chair is in our main floor bathroom).
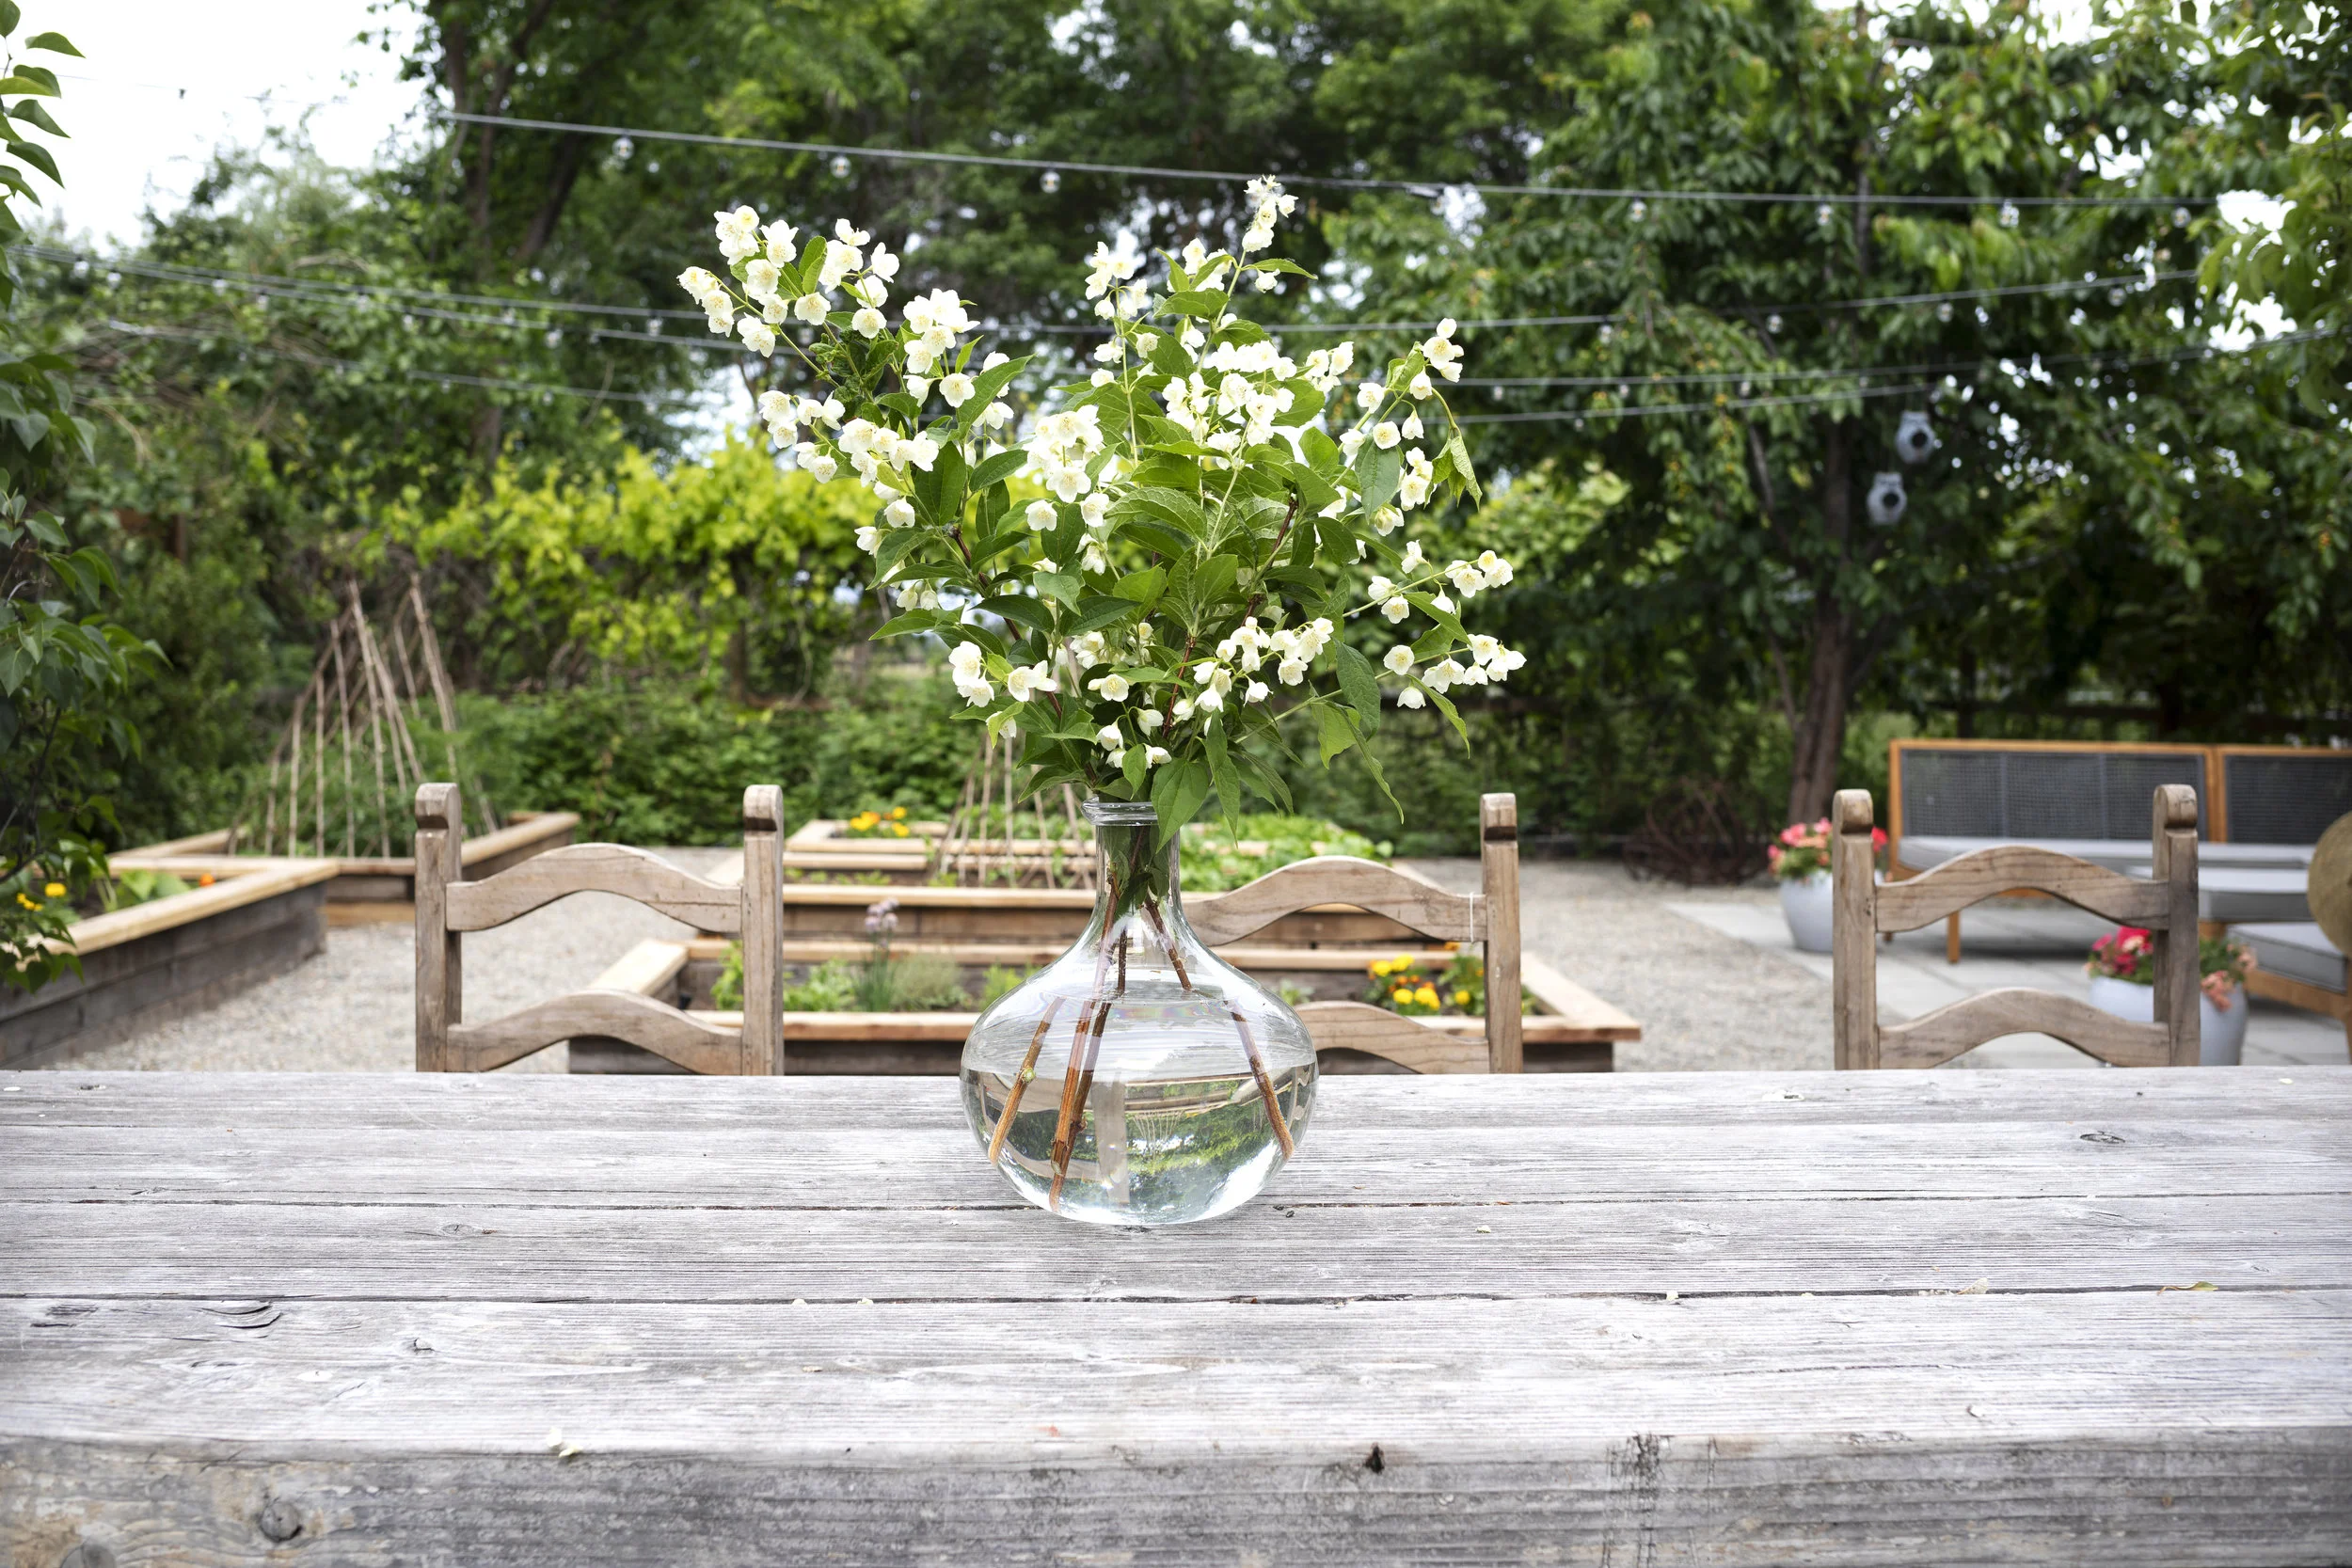

Garden beds
I’m no expert when it comes to gardening…not even close. But I sure do enjoy it! We built our beds about 4’ wide by 8’ long and used reclaimed lumber with a cedar top. We filled them with native soil plus some of Nana’s homemade compost and did not put a weed barrier at the bottom since we have good soil. The space between the beds is about 4’ wide, which feels like a nice dimension for hosting people out here. Each bed has irrigation to it.
I’ve really enjoyed having these beds to experiment with! Here are the edible plants we’ve planted (or were already here):
Tomatoes, cucumbers, pumpkins (the kids each picked out one type), corn (none have come up), radishes, snap peas, carrots (non came up), herbs, beets, arugula, lettuce (not much has come up), kale (been nibbled on extensively by what I assume is a rodent), swiss chard (not much has come up), raspberries (relocated into it’s own bed), grapes, cherries, and pears. We also have apple trees nearby.
A week or so ago, I decided to add some more color in the garden so planted some marigolds and some colorful annuals. I searched high and low for some pots, but at over $100, I couldn’t pull the trigger and then I found these at Fred Meyer for around $22. We’ve seen butterflies, bees, and hummingbirds in here so well worth the effort.


the gate
In order to get our tractor into the fenced garden, we needed to expand the gate. Honestly, I was hoping for a larger gate that felt more grand anyway, so the tractor was a happy excuse. It was also a reason to move the gate away from the corner of the fence, where we were constantly battling the raspberries. To create the new arbor we used reclaimed lumber from Garrett’s parent’s wood pile (it will hopefully be covered in flowers in years to come) and new cedar for the gate. This is something like Garrett’s 18th gate - he’s built them for our rentals and friends as well - and I can’t wait for the cedar to gray and blend in with the aged wood.


garden Essentials
Here are a few of our sources and garden essentials. I didn’t buy much in the way of new tools or supplies this year, wanting to see what we’re missing first. I am hoping to find a nice dinner bell for the gate post, though. So let me know if you’ve seen any beauties that would fit in with this space!
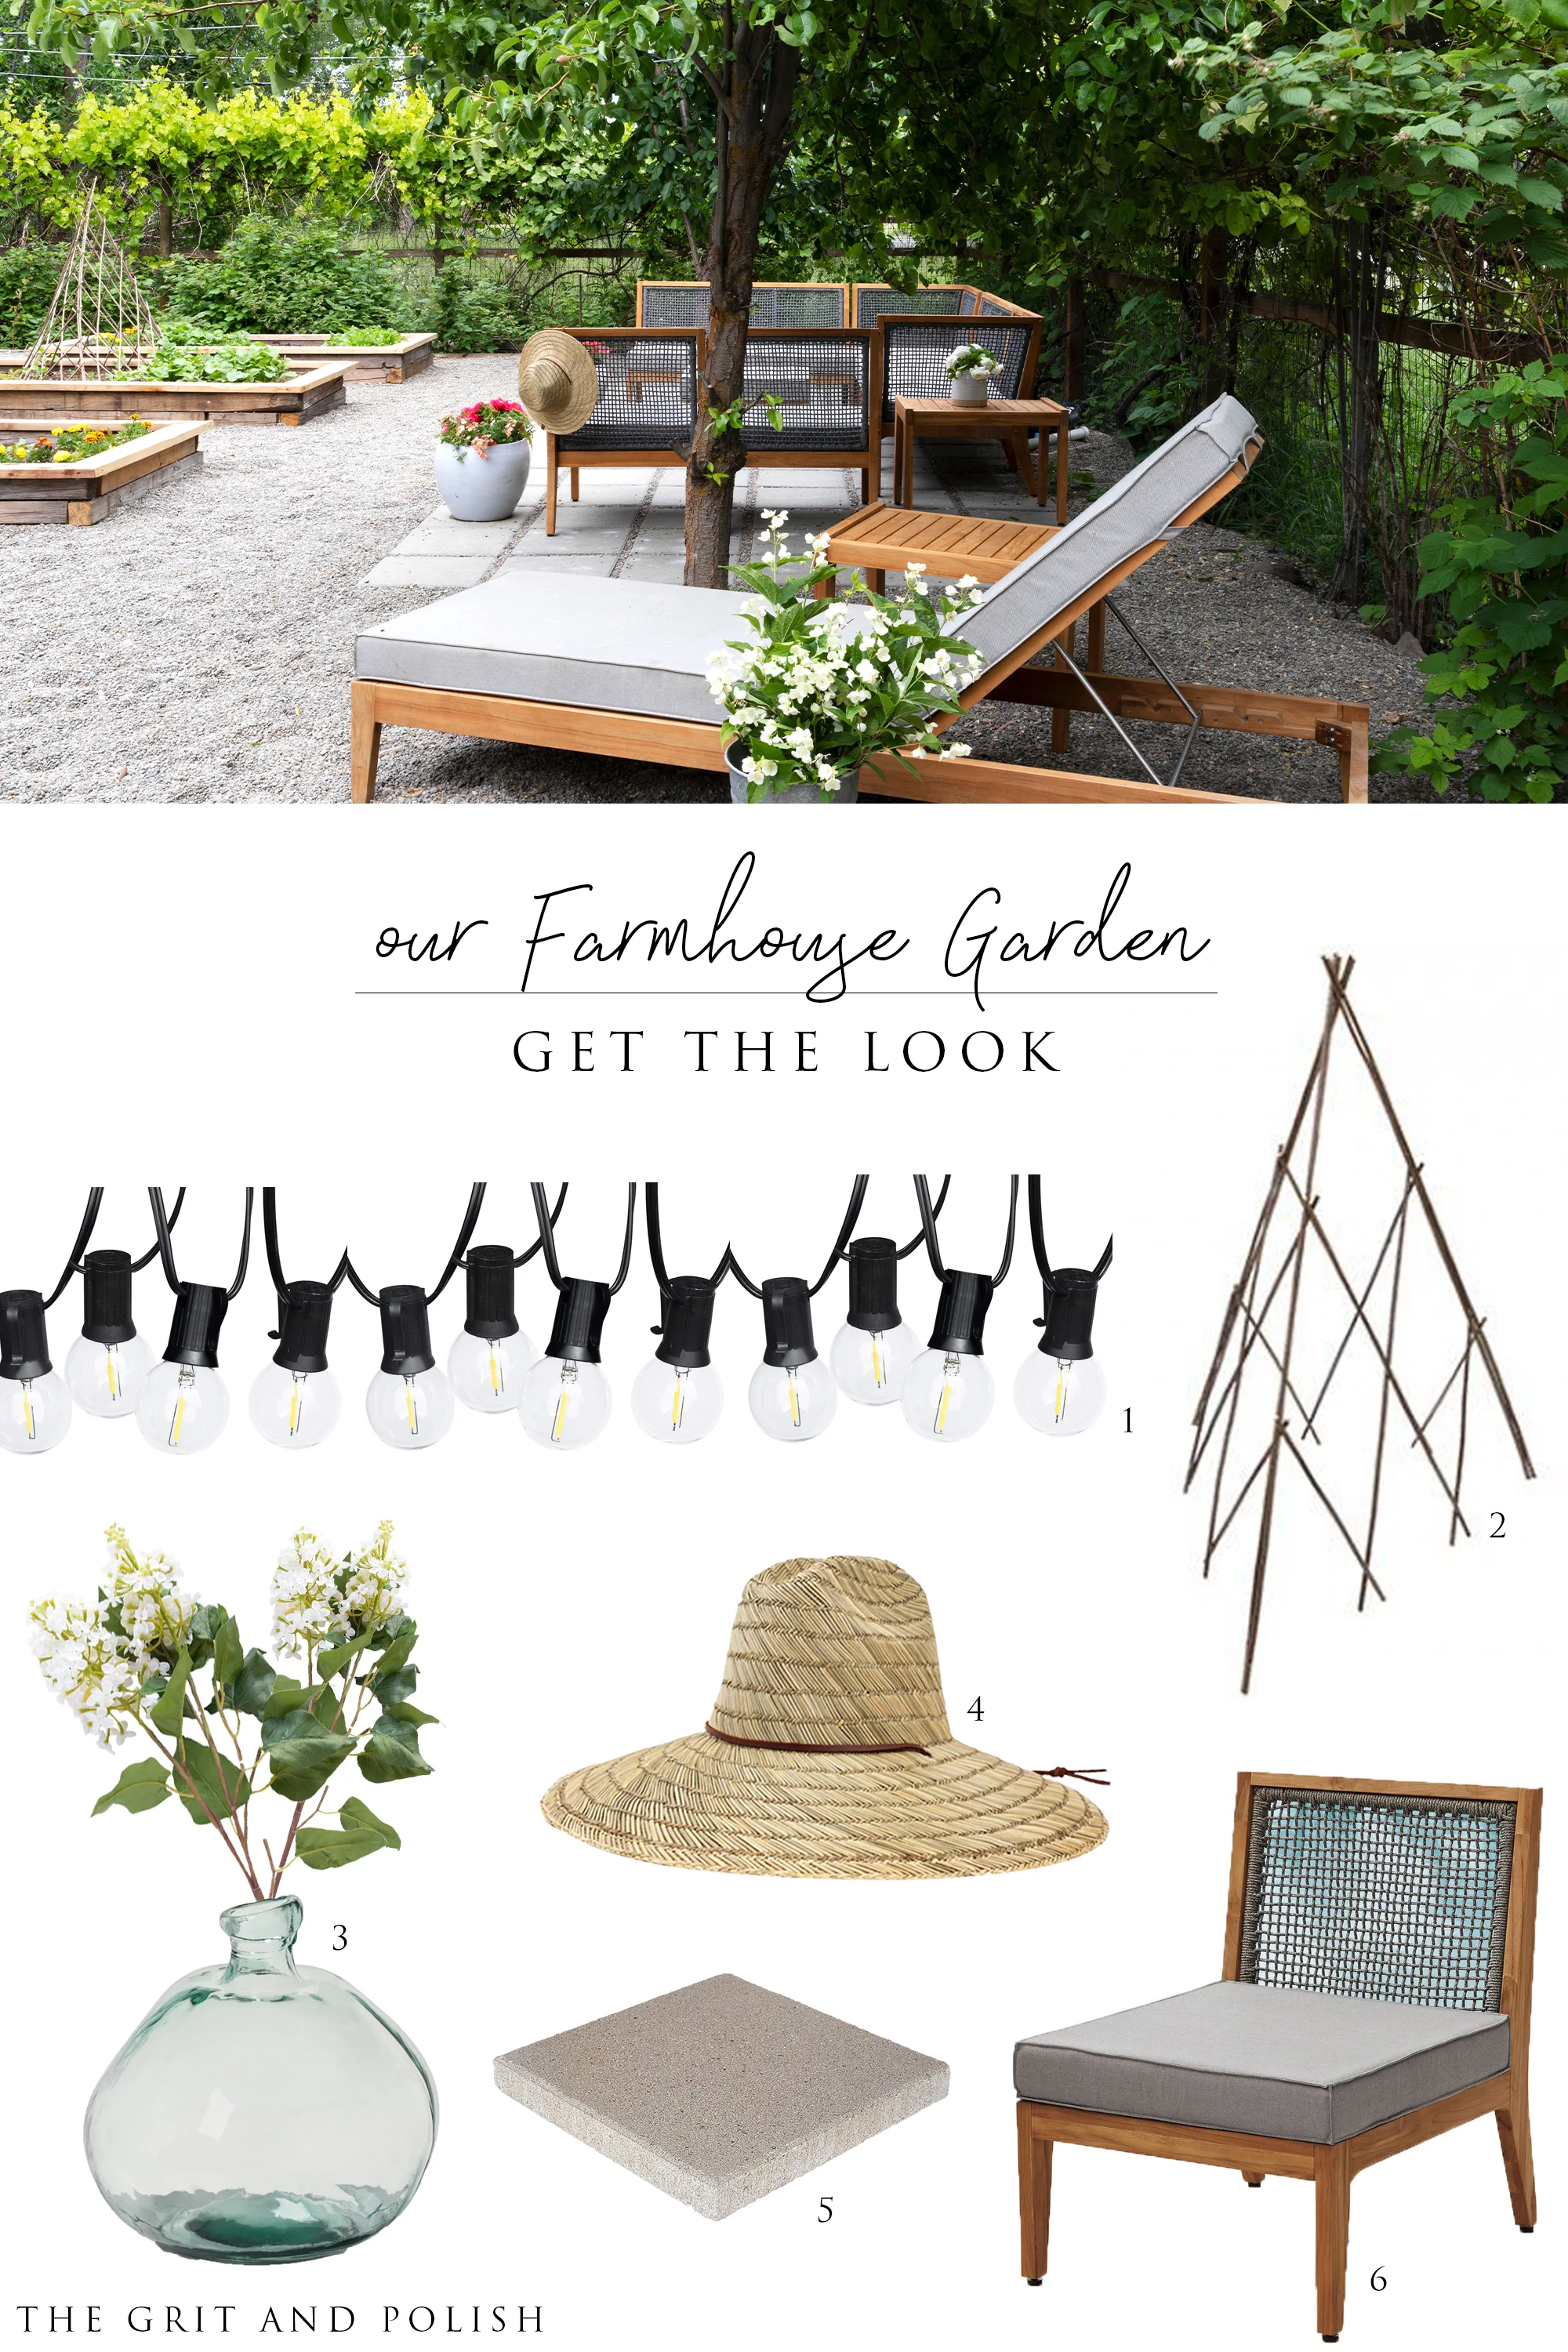
sources // 1 LED String Lights / 2 Willow Pyramid / 3 Vase (similar) / 4 Sun Hat / 5 Cement Pavers / 6 Patio Furniture
Hope you enjoyed this garden renovation! I’ll be sharing a nighttime tour of the space and hopefully a DIY on the string lights soon. But let me know if you have any questions or other posts you’d like to see. Thanks for following along!