How To Build A Hanging Laundry Rack (aka An English-Style Airer)
THE FARMHOUSE
Have you ever heard of a clothes airer? No? Me either. Of course I didn’t grow up in Europe where these overhead clothes drying rack were popular. It took Pinterest to introduce me to these throwback hanging laundry racks. And once I saw one, I knew I wanted one for our Farmhouse laundry room. Of course, being the DIY-kind-of-people we are, we decided to build our own! Read on for our DIY tutorial.
psst: our laundry room reveal (with sources) is coming next week…assuming we get it finished this weekend 😉
What exactly is an ‘overhead clothes airer’ and why would you want one?
Overhead clothes airers originated in Europe back in the 18th-century. They were installed in the laundry rooms of larger estates and built by handy men, before eventually being commercially manufactured and sold. Airers are attached to pulleys so they can be lowered to load and unload and then raised towards the ceiling to take advantage of hot air for drying. Pretty slick! (source)
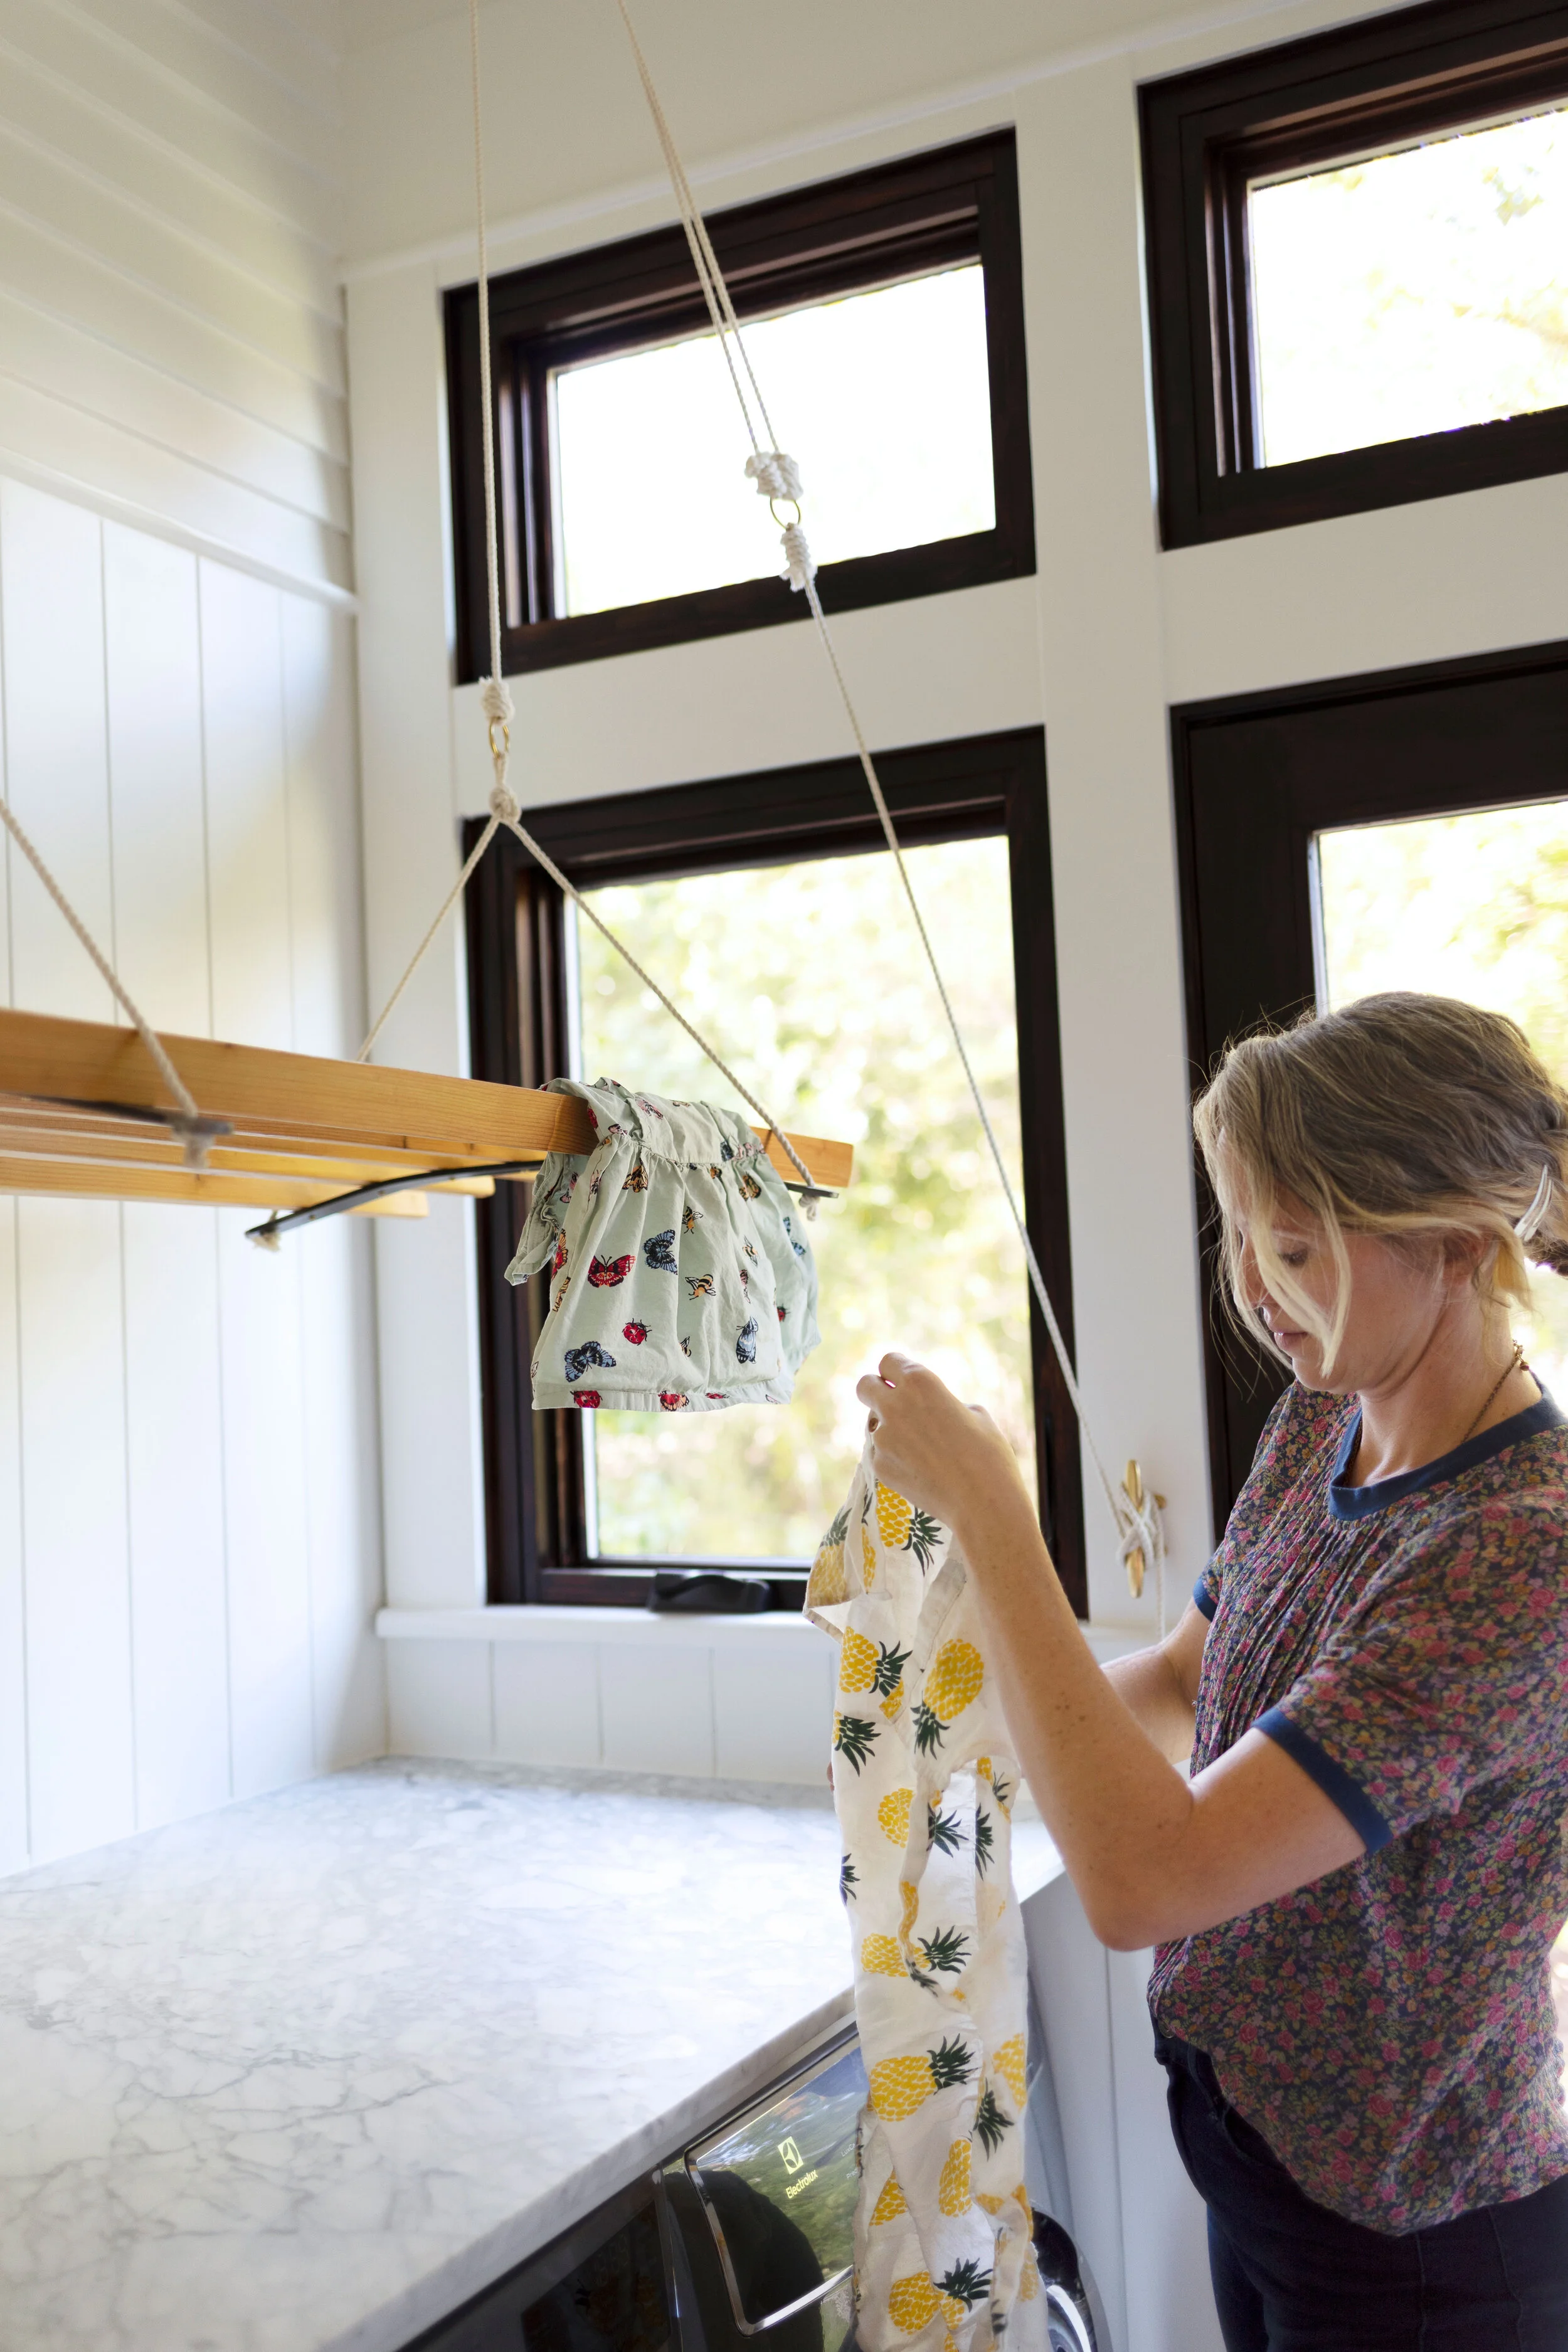
Airers are still a great way to hang laundry indoors, and the pulleys really are key! Not only do the pulleys take advantage of a home’s warmest air (hot air rises and all that), but they keep laundry out of eye shot. We’re obsessed with this little contraption!


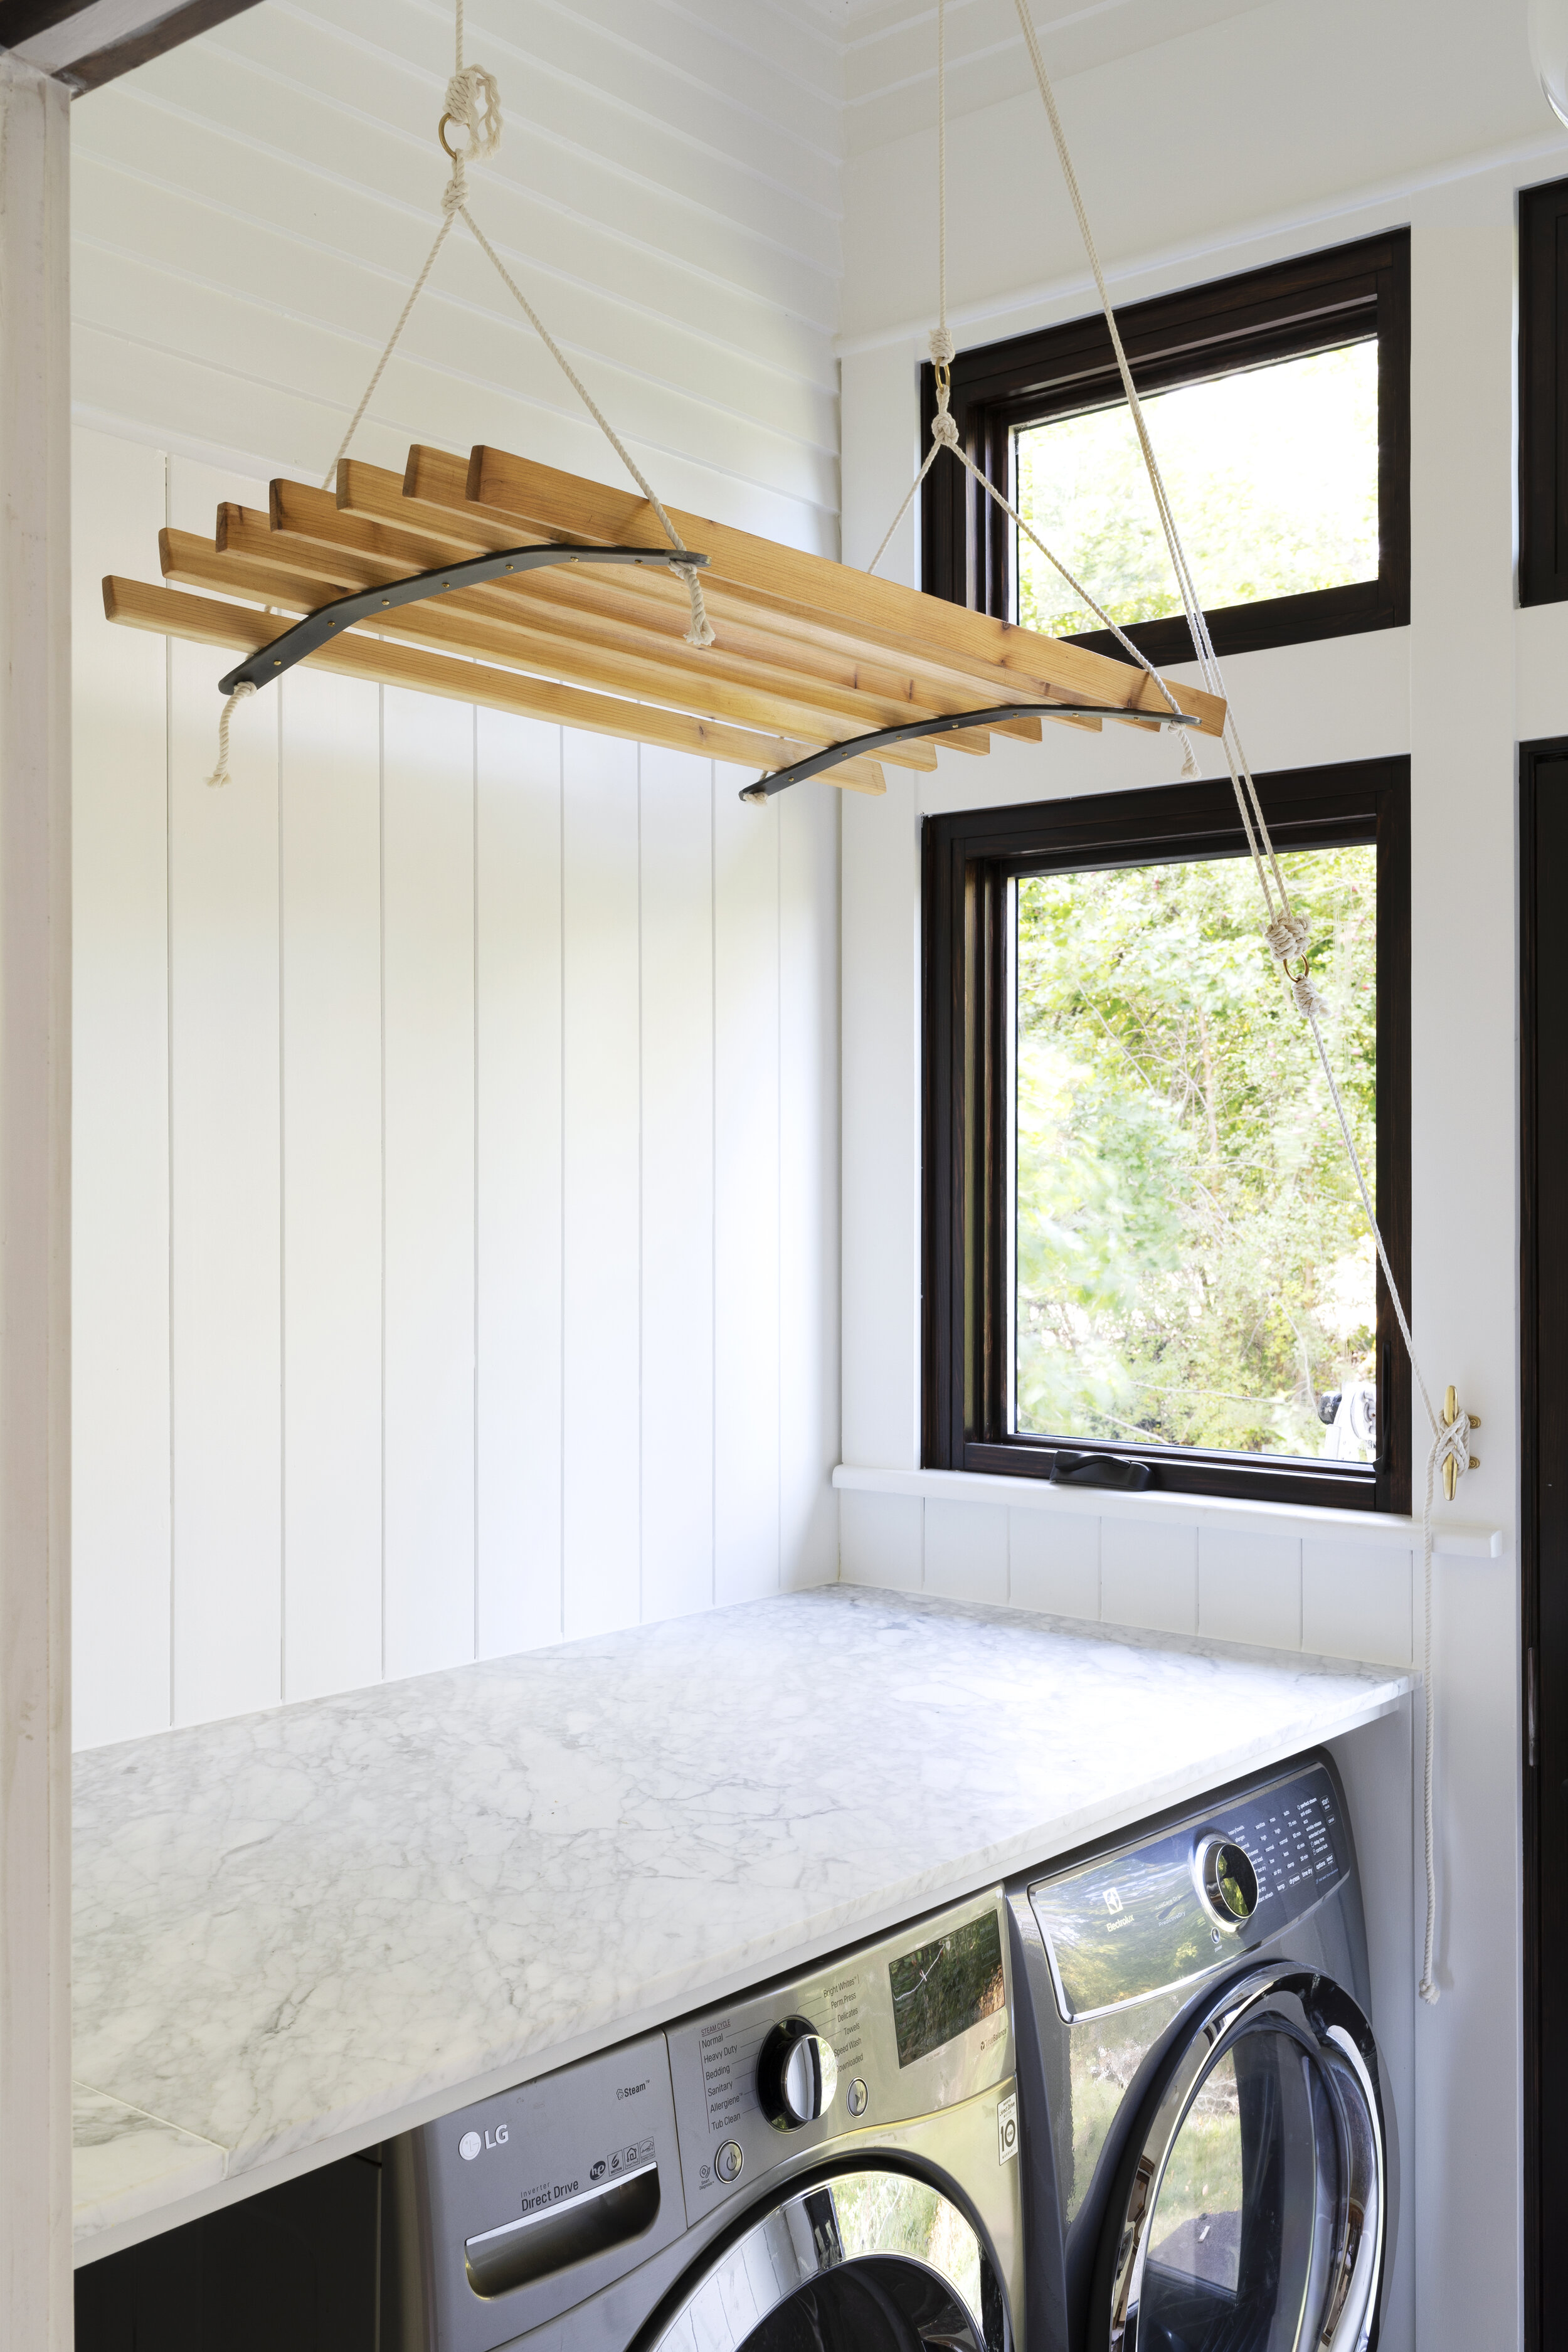
Garrett worked through the design of our clothes airer for a solid week. He played around with one pulley, but ultimately decided on two. In the end, this design cost around $50, which is 1/10th of what they’re selling for on a certain English kitchen website. Not bad!
Let’s talk about how to build one…

Building this drying rack frame was more knots and stain than it was pocket hole jig and wood filler. That is to say, it's pretty dang simple! Let's get into it...
DIY // Hanging Clothes Rack (aka English-Style Airer)
Time: 1 Day +
Level: Intermediate
Format: Video

Materials (see notes below)
wood staves (we used 7 42”x1 1/2”x5/8” cedar pieces and finished with poly, but you can use any lumber in dimensions that fit in your space)
2 2’-long flat steel (we used 1 1/2” x 1/4”)
screws, 2 per stave (we used 1 1/4” flat head, #6)
1/4” cotton cord (we used ~60’)
brass nautical cleat and wood screws
3 o-rings
2 ceiling hooks
tools
cordless drill with bit
file or angle grinder
heavy vehicle if you want to bend metal (optional!!!)
steps
This is a pretty easy project and Garrett walks you through the steps in the video below.
notes / more information
We spaced the slats at 3”, but I think the airer would be more useful with wider spacing (4” +) to allow for hanging bulkier items.
The video shows Garrett cutting our 4’ bar in two pieces, but it would have been easier to buy two 2’ long pieces. We saw the 2’ version at our local Ace Hardware.
Don’t feel like you need to use your vehicle to shape the steel! The hanging rack would be lovely with straight steel as well.
Make sure to attach your airer into studs or another part of the structure if you don’t have thick wood panelling like our’s.
Always drill pilot holes through the wood in order to keep it from splitting.
It’s a cool little contraption, right?!


We’d love to hear if you use this tutorial! Tag us on Instagram or wherever you share your project!