DIY // How to Install Shaker Pegs
We’re big fans of shaker pegs around here. They’re simple, elegant and can hang all. the. things! But even better, they’re super easy and quick to install.
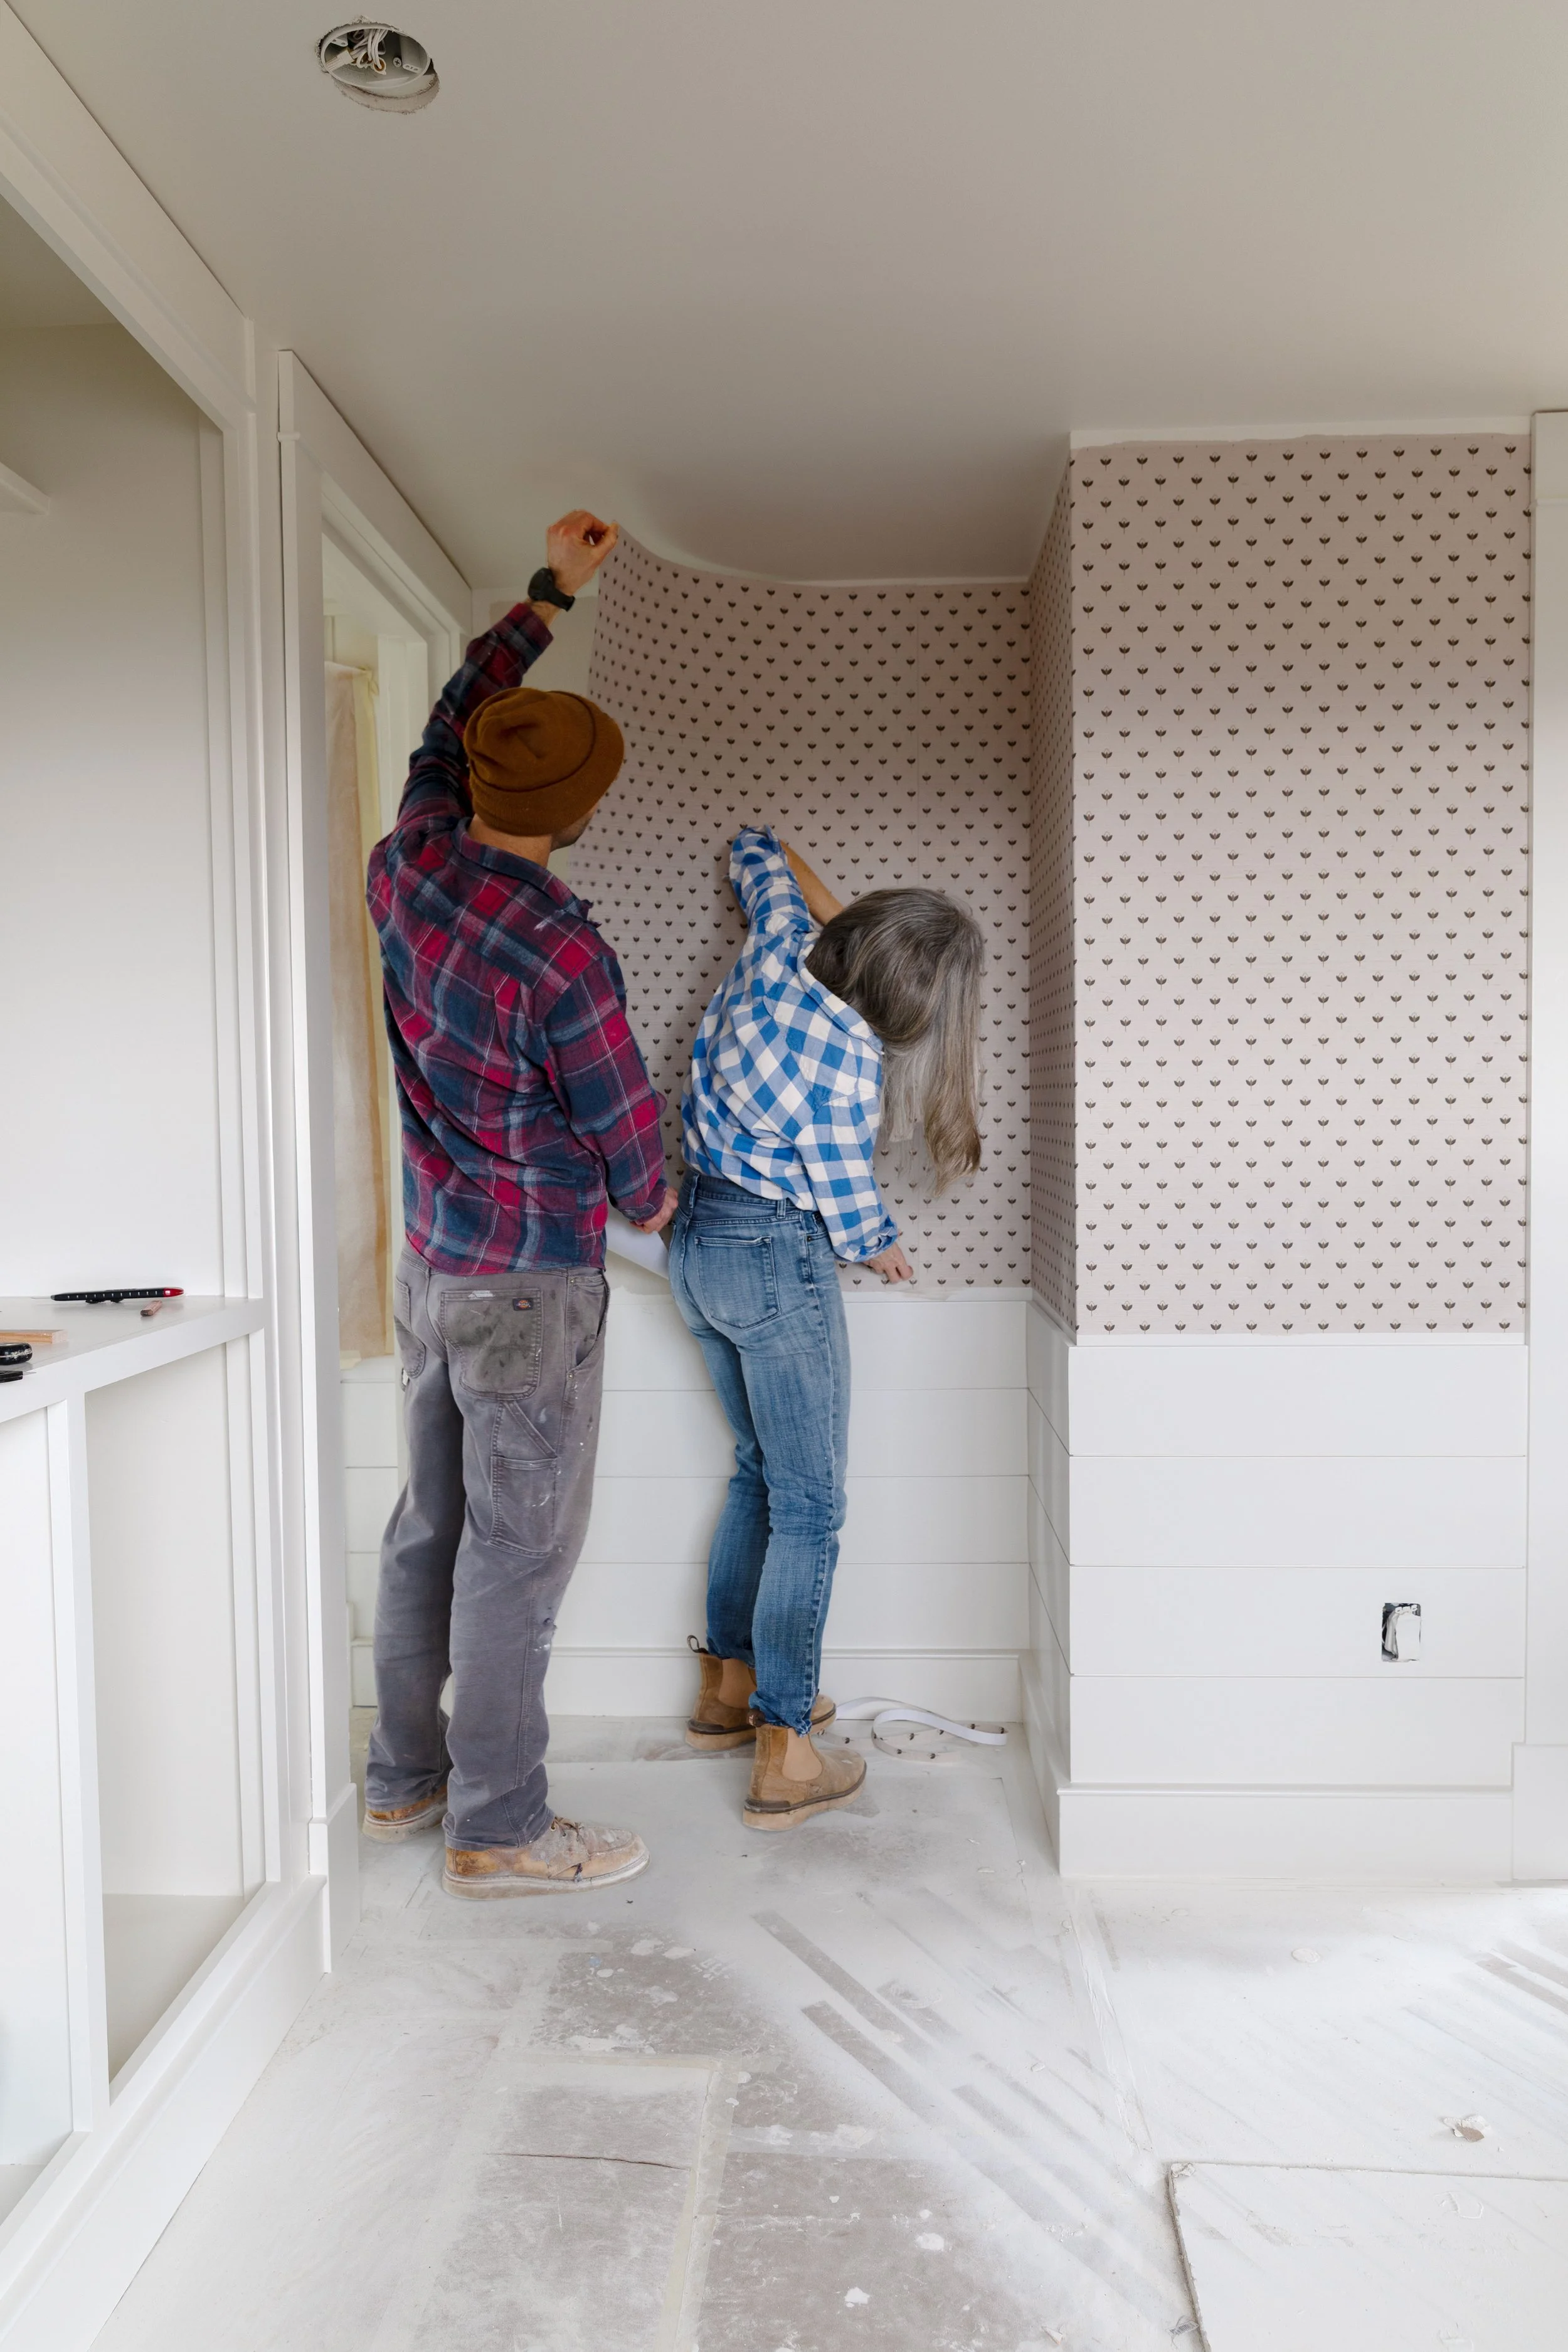
Over the years, we’ve used these pegs to create simple shaker peg shelves in the kitchen and bathroom, shaker peg rails above wainscot, and shaker peg racks in the closet. They always look lovely and have become one of my favorite details to use around our old homes. Read on for our easy and quick DIY for installing shaker pegs in your own space.
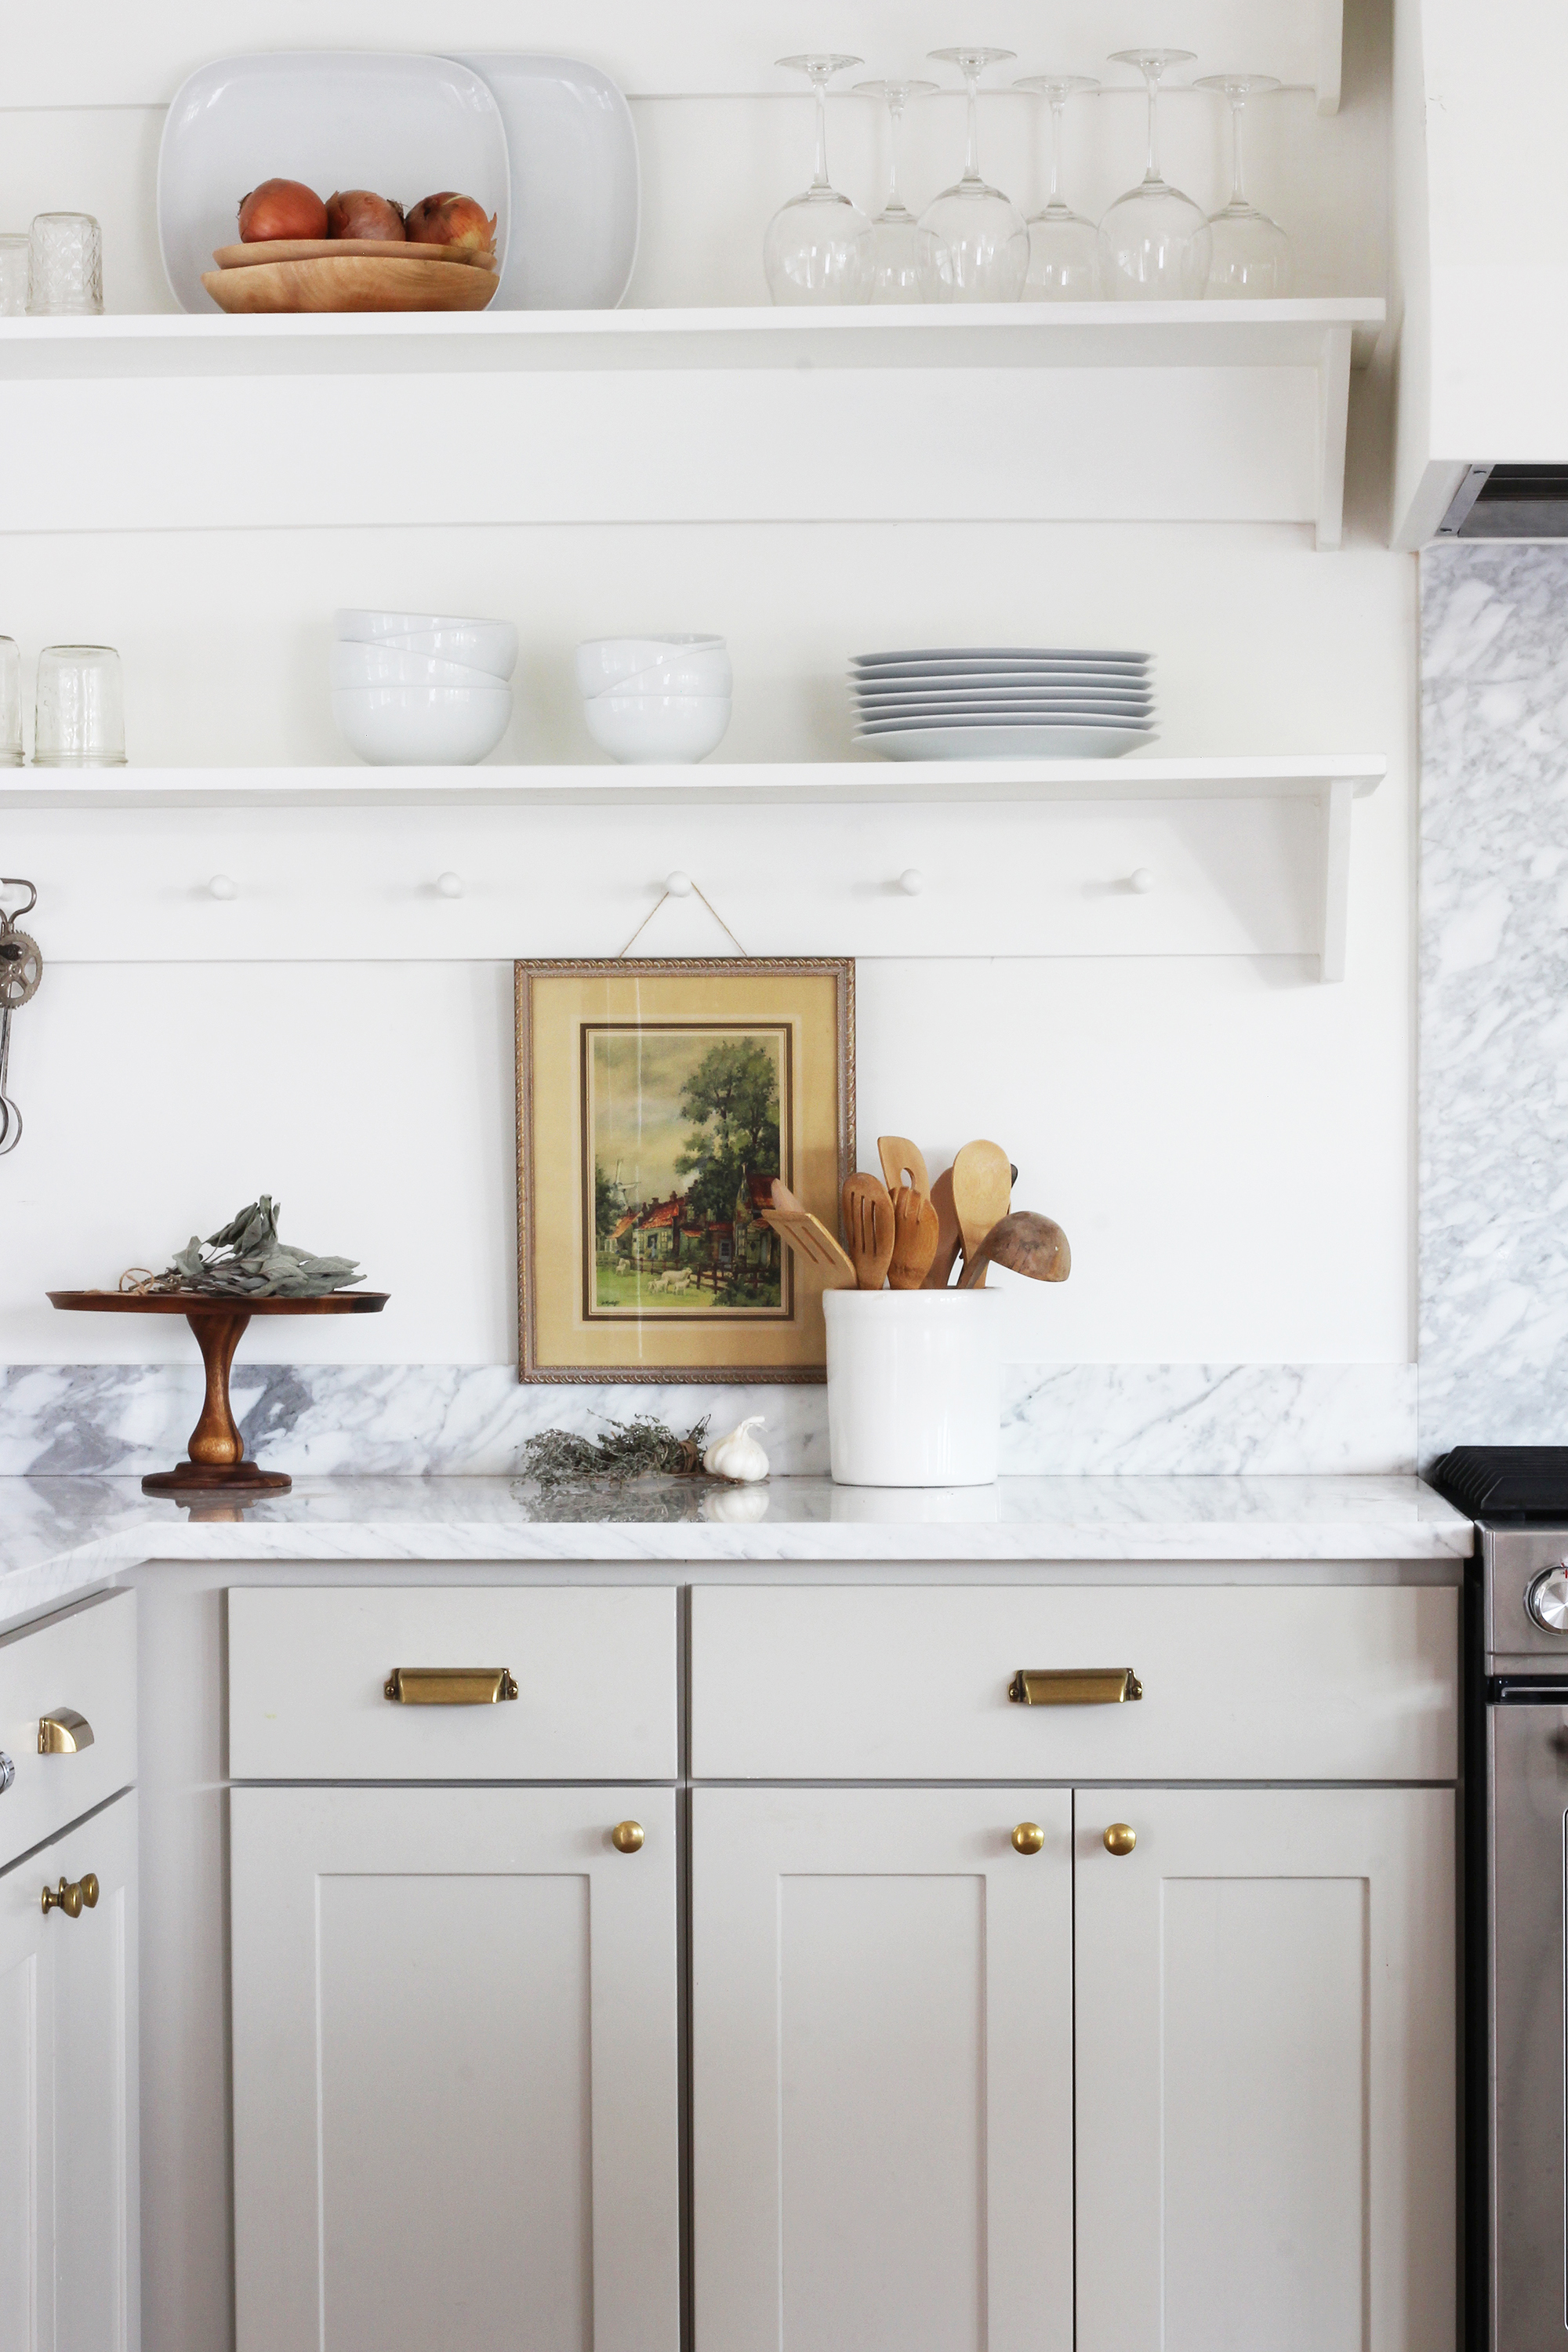
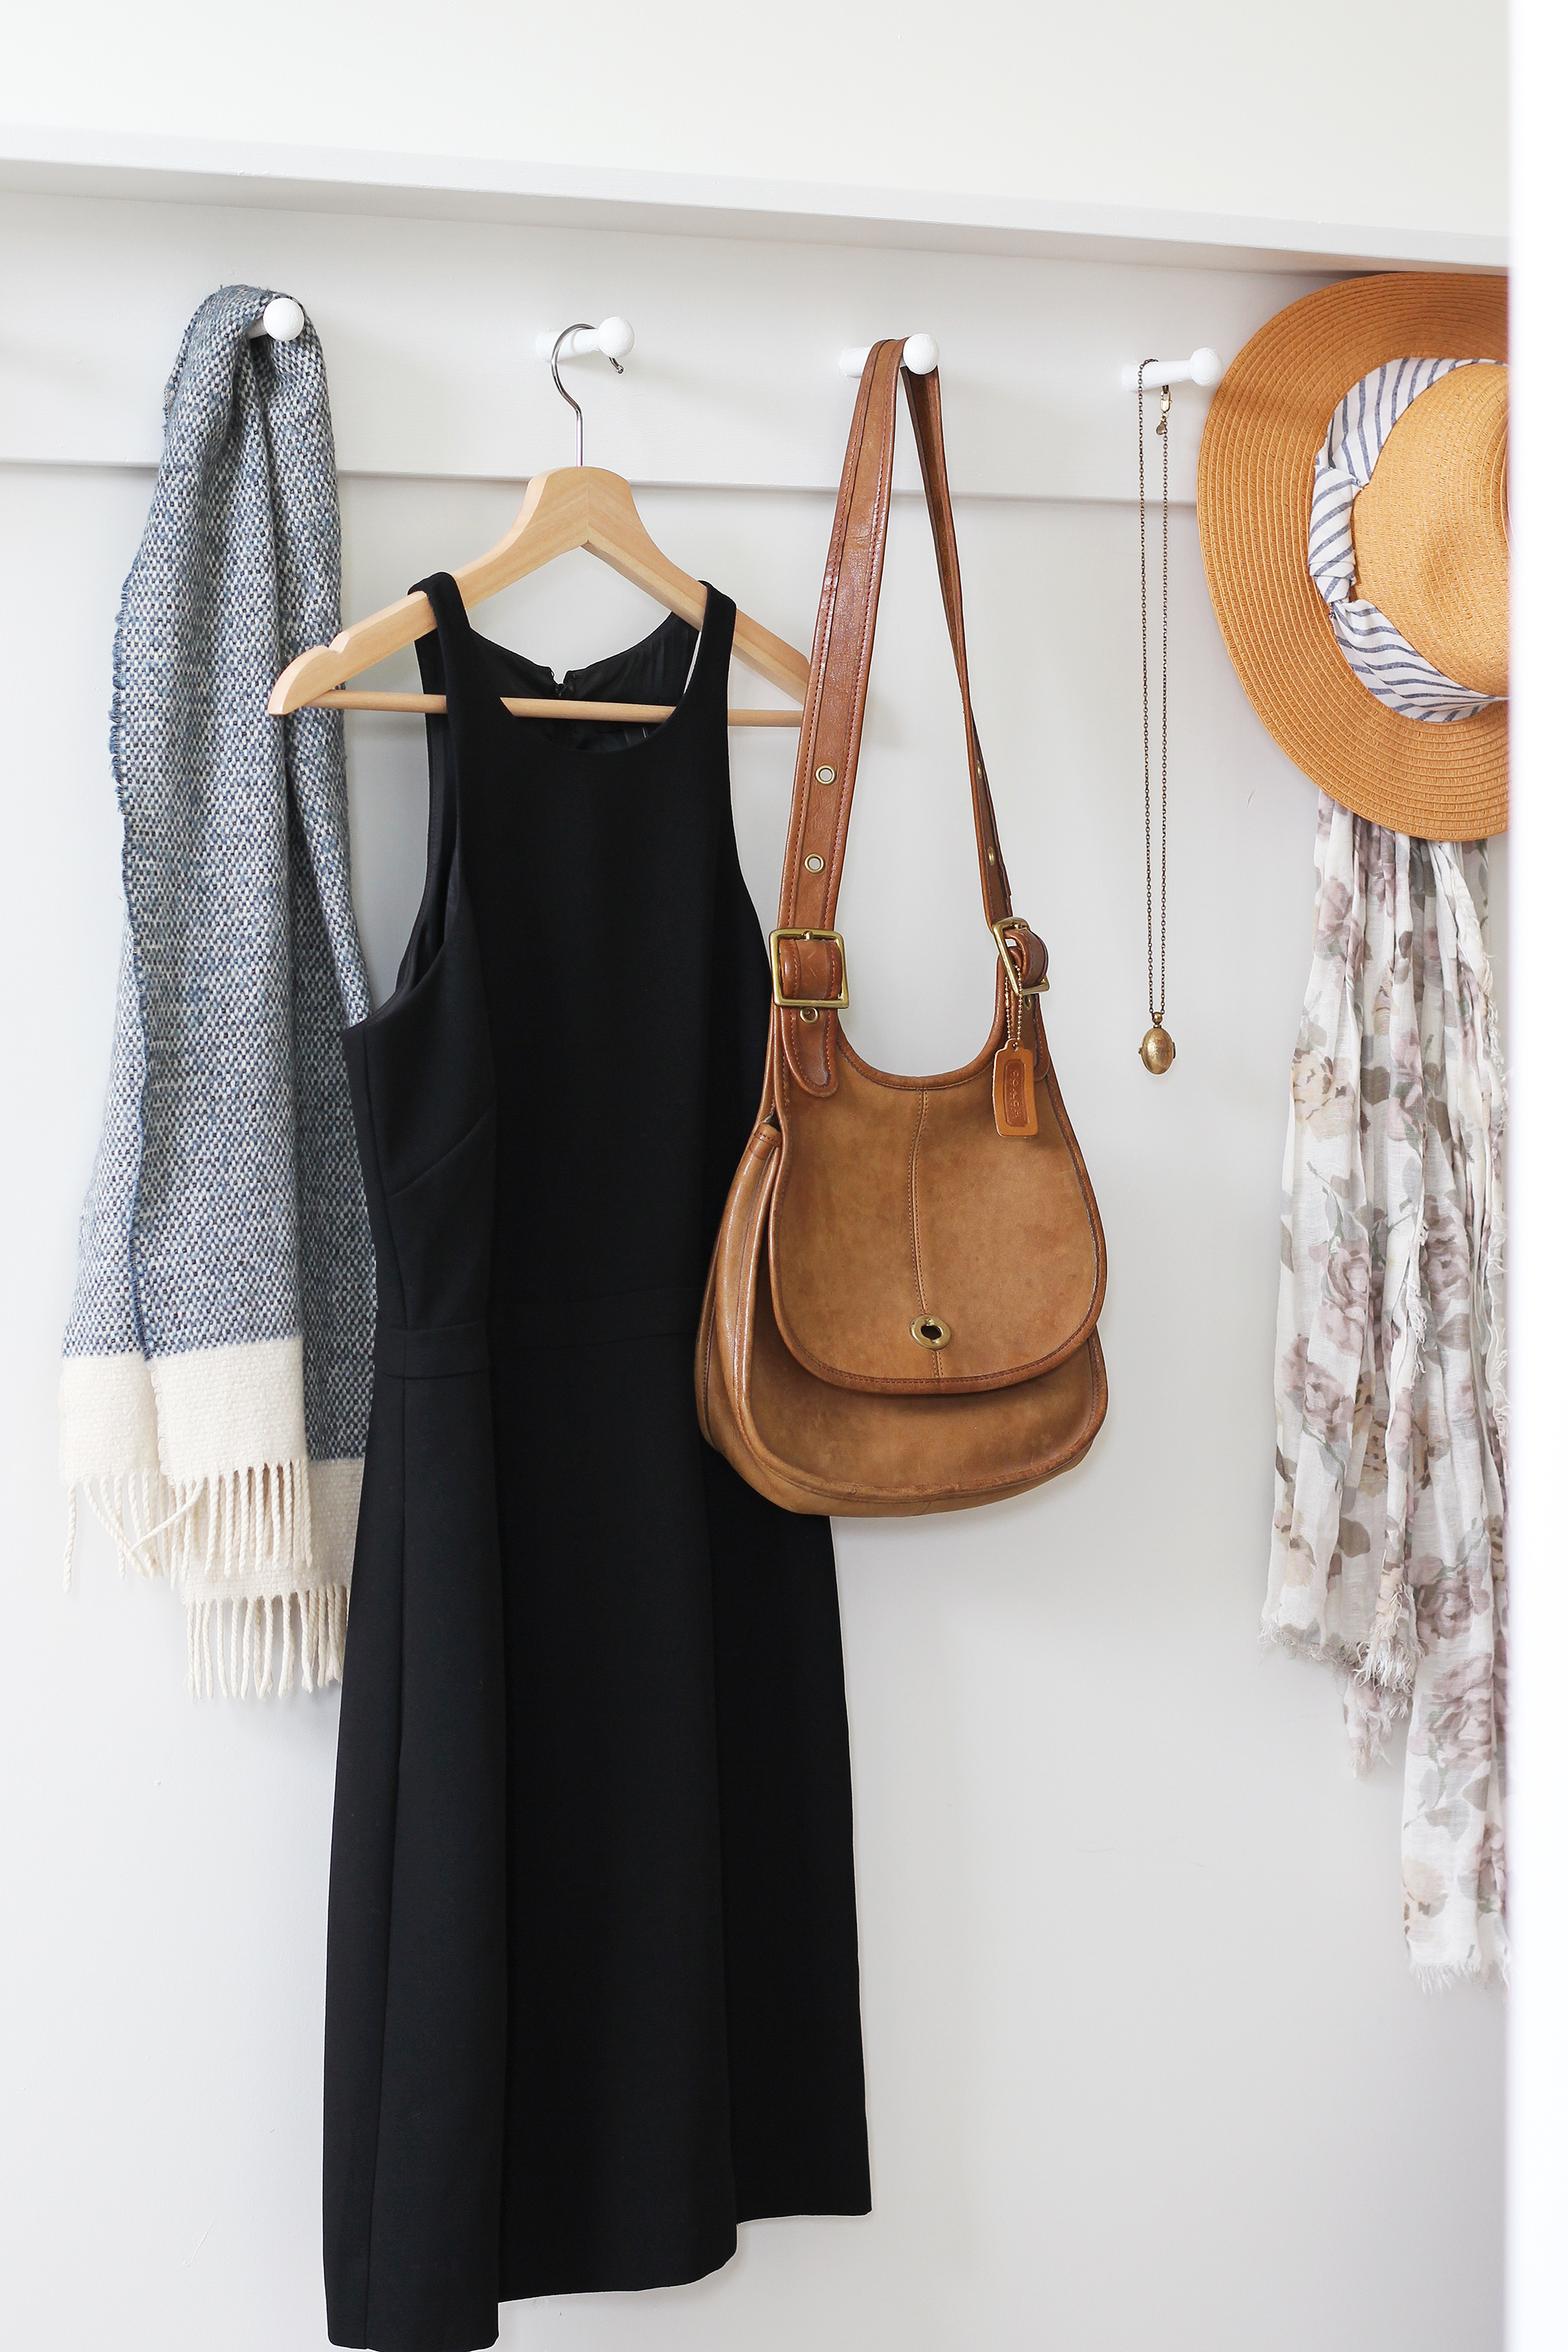

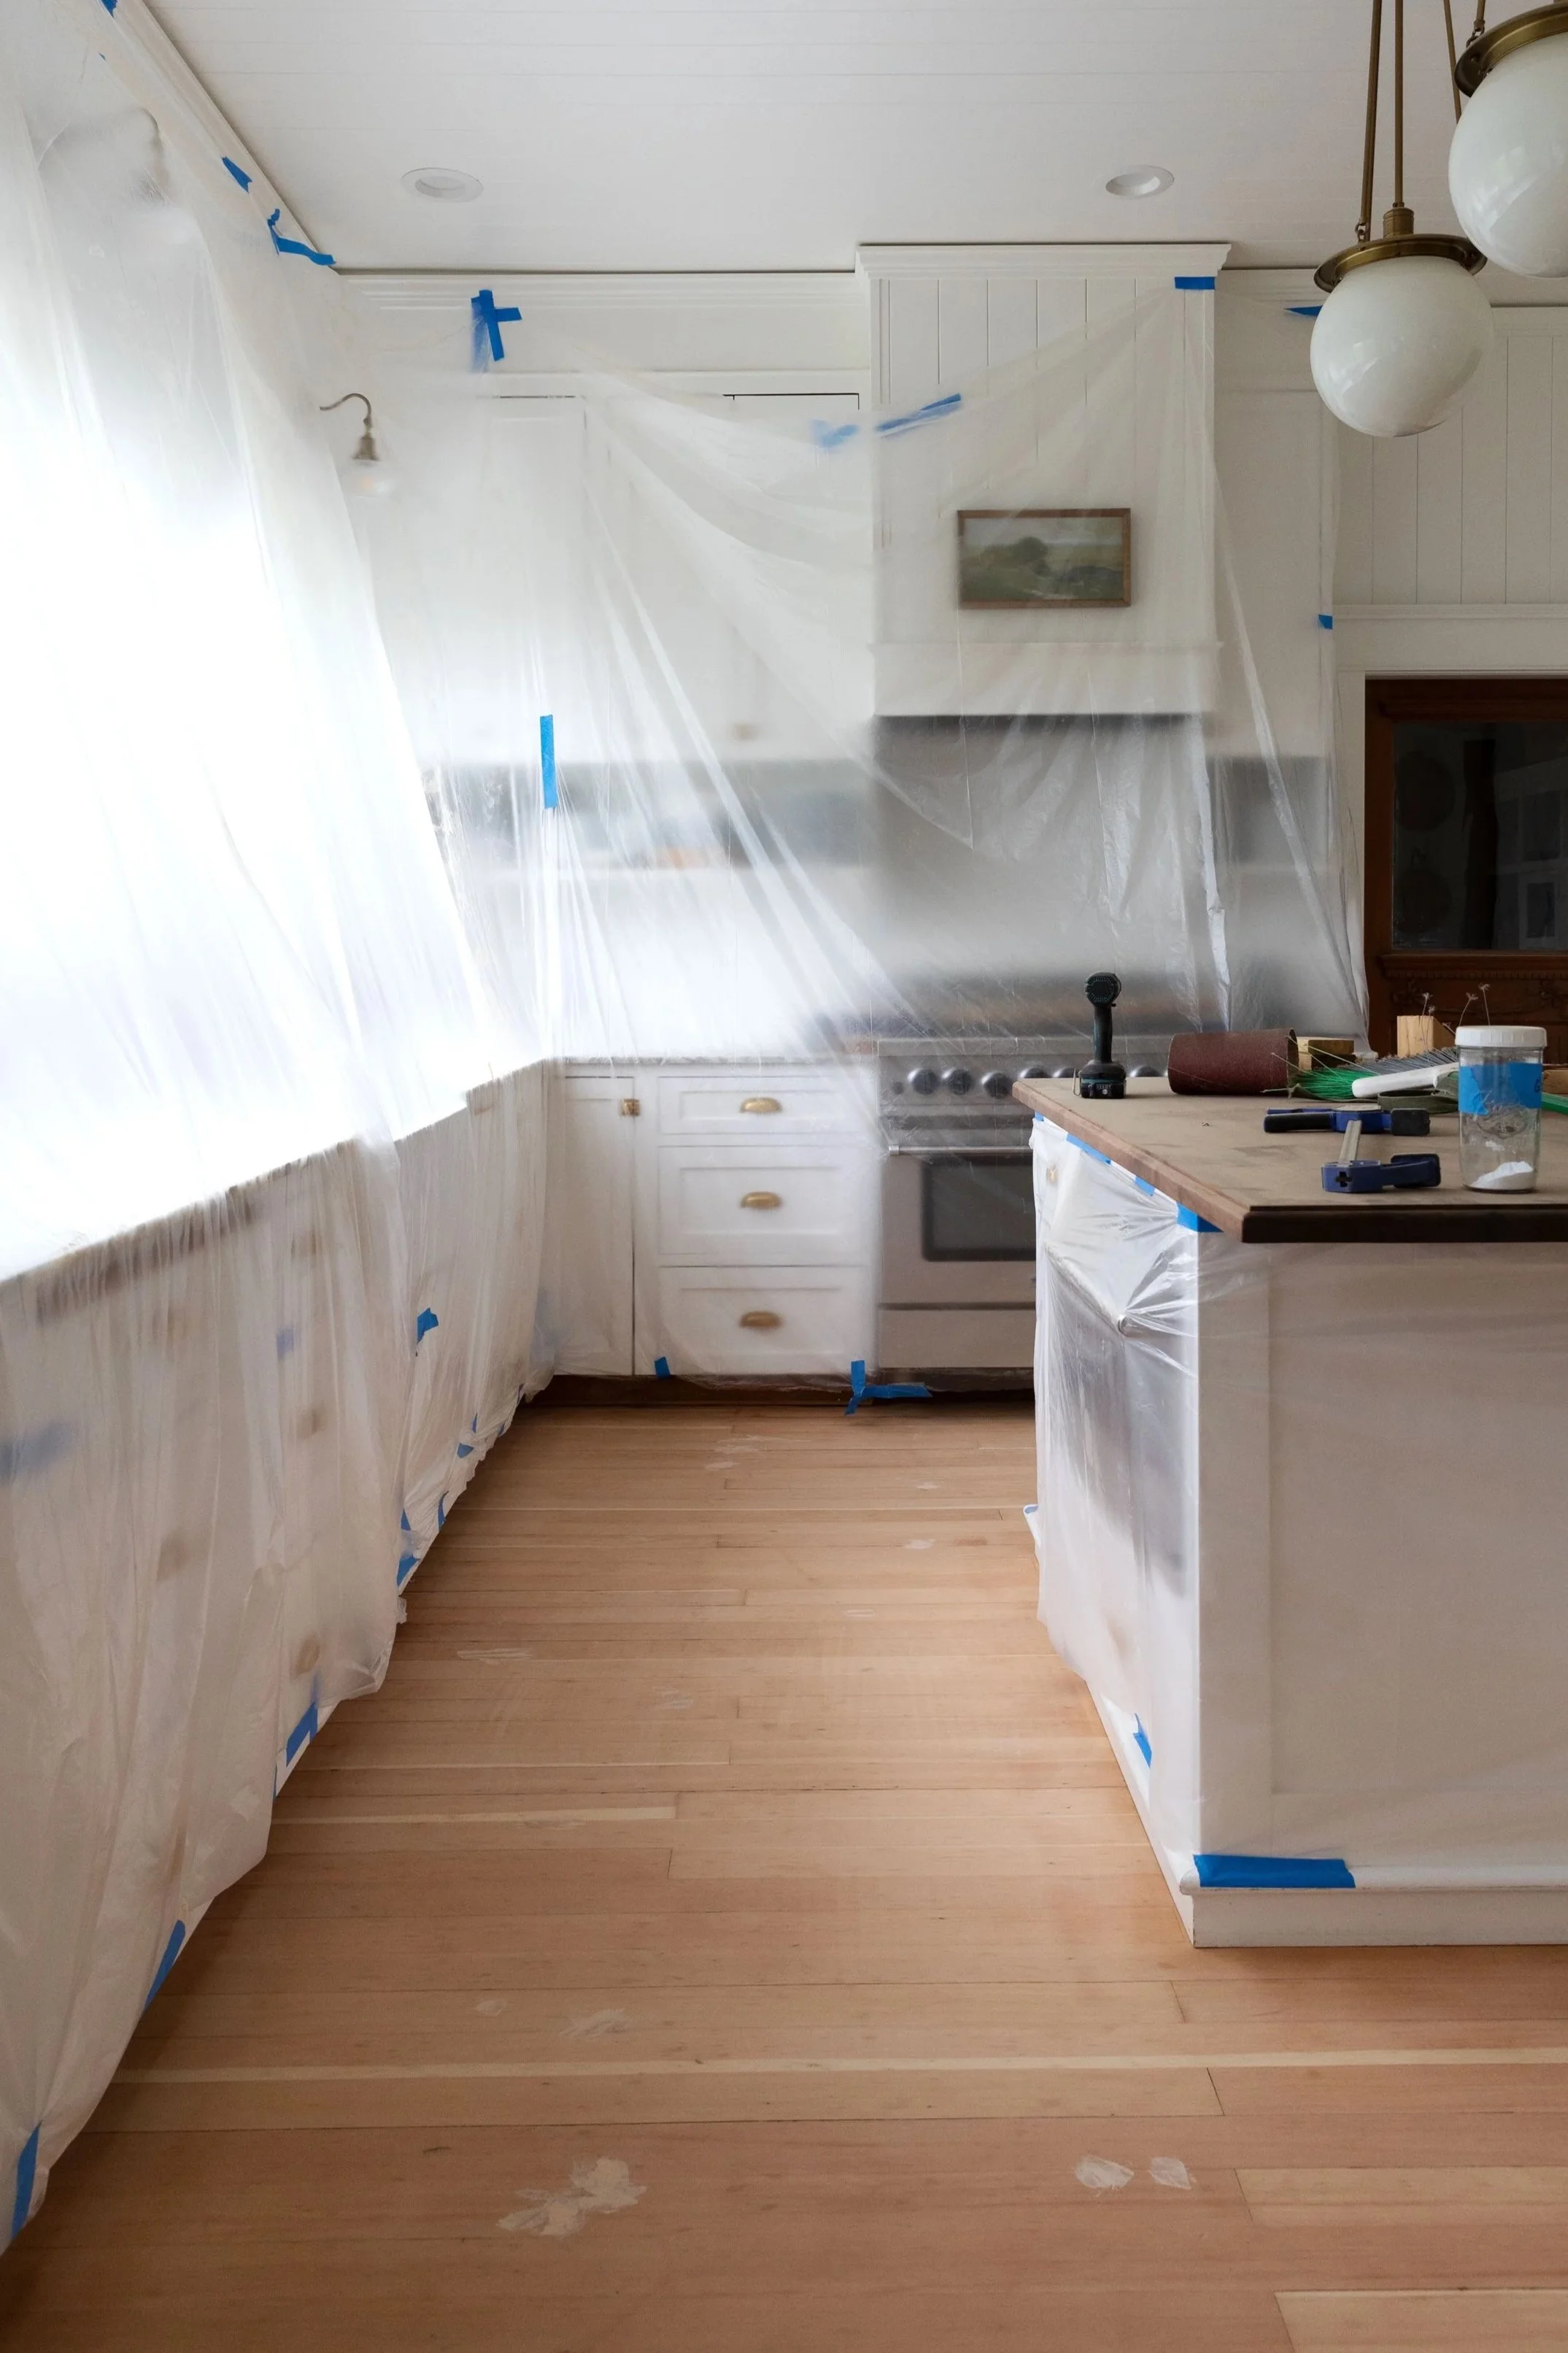
images: Porch House kitchen (top), Porch House master (middle), Farmhouse main bathroom (bottom)
DIY: how to install shaker pegs
Time: 1 hour +
Level: easy
Format: video
materials:
construction adhesive + caulking gun
tools:
tape measure
pencil
cordless drill (we have this set)
forstner bit - needs to match the tenon diameter of your shaker pegs
diy video
We put this easy diy into a 2-minute video. Check it out below.
And that’s it. Easy, right?! I’m thinking about using these handy pegs in our upcoming Farmhouse kitchen renovation. And the pantry. And the laundry room. But really there’s no limit to where these functional pegs could go.
We’d love to hear if you use this DIY - tag us on Instagram or where ever you share your project!
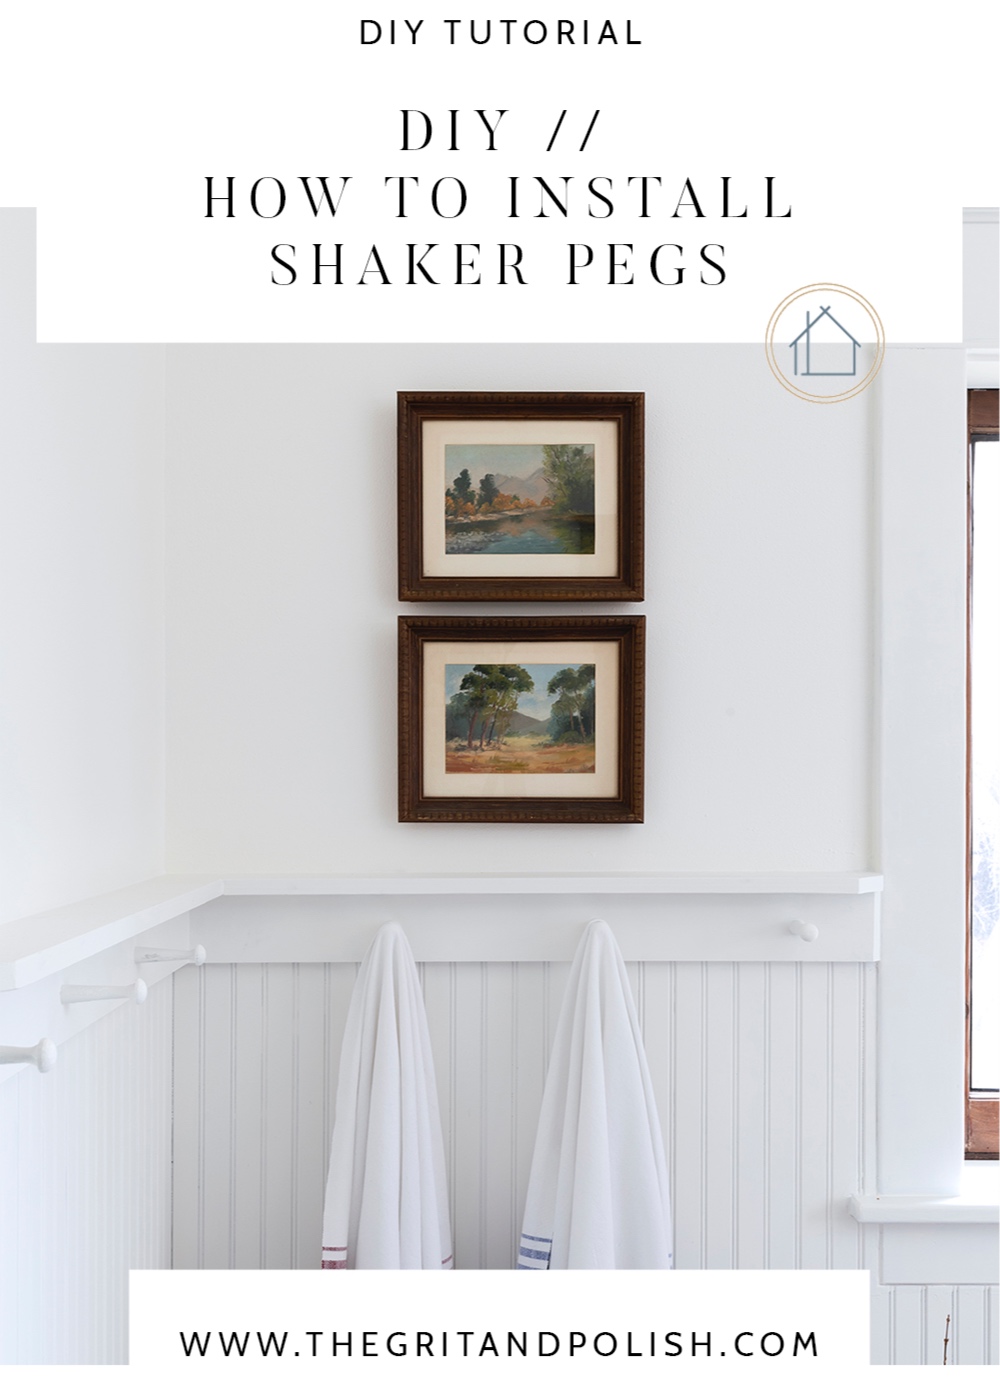
image: Farmhouse main bathroom