How to Frame and Hang a Pocket Door
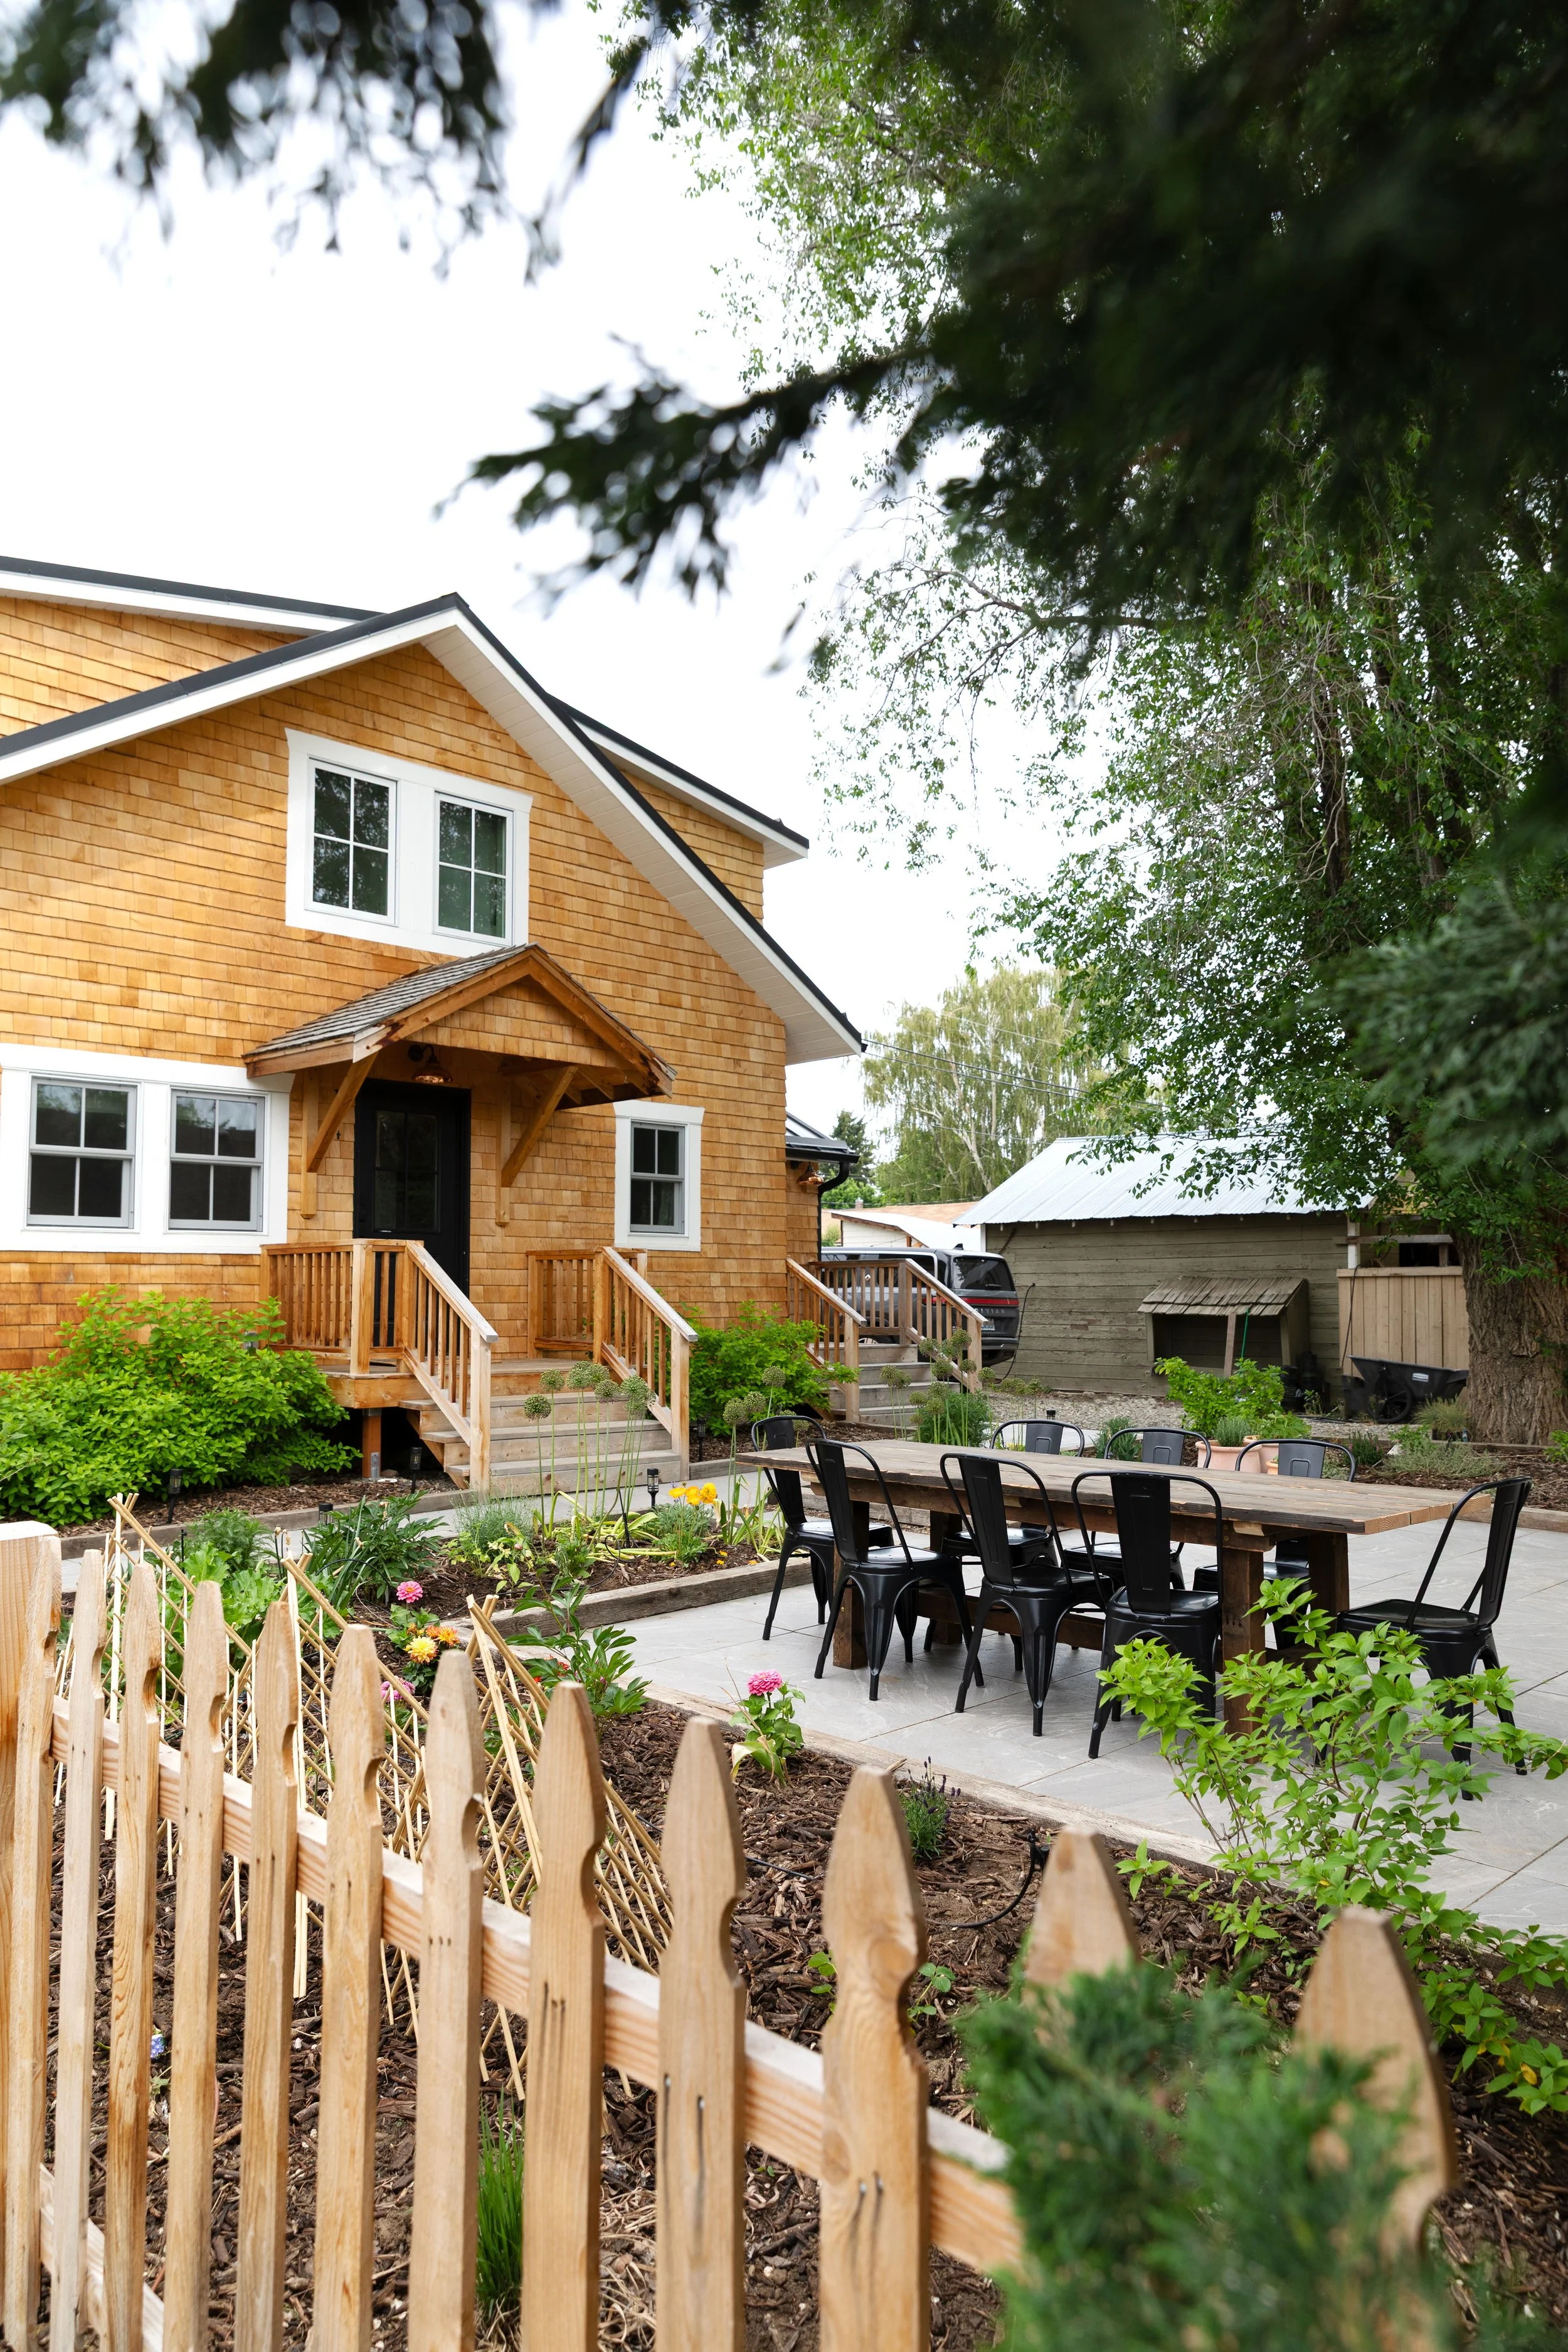
THE POPLAR COTTAGE
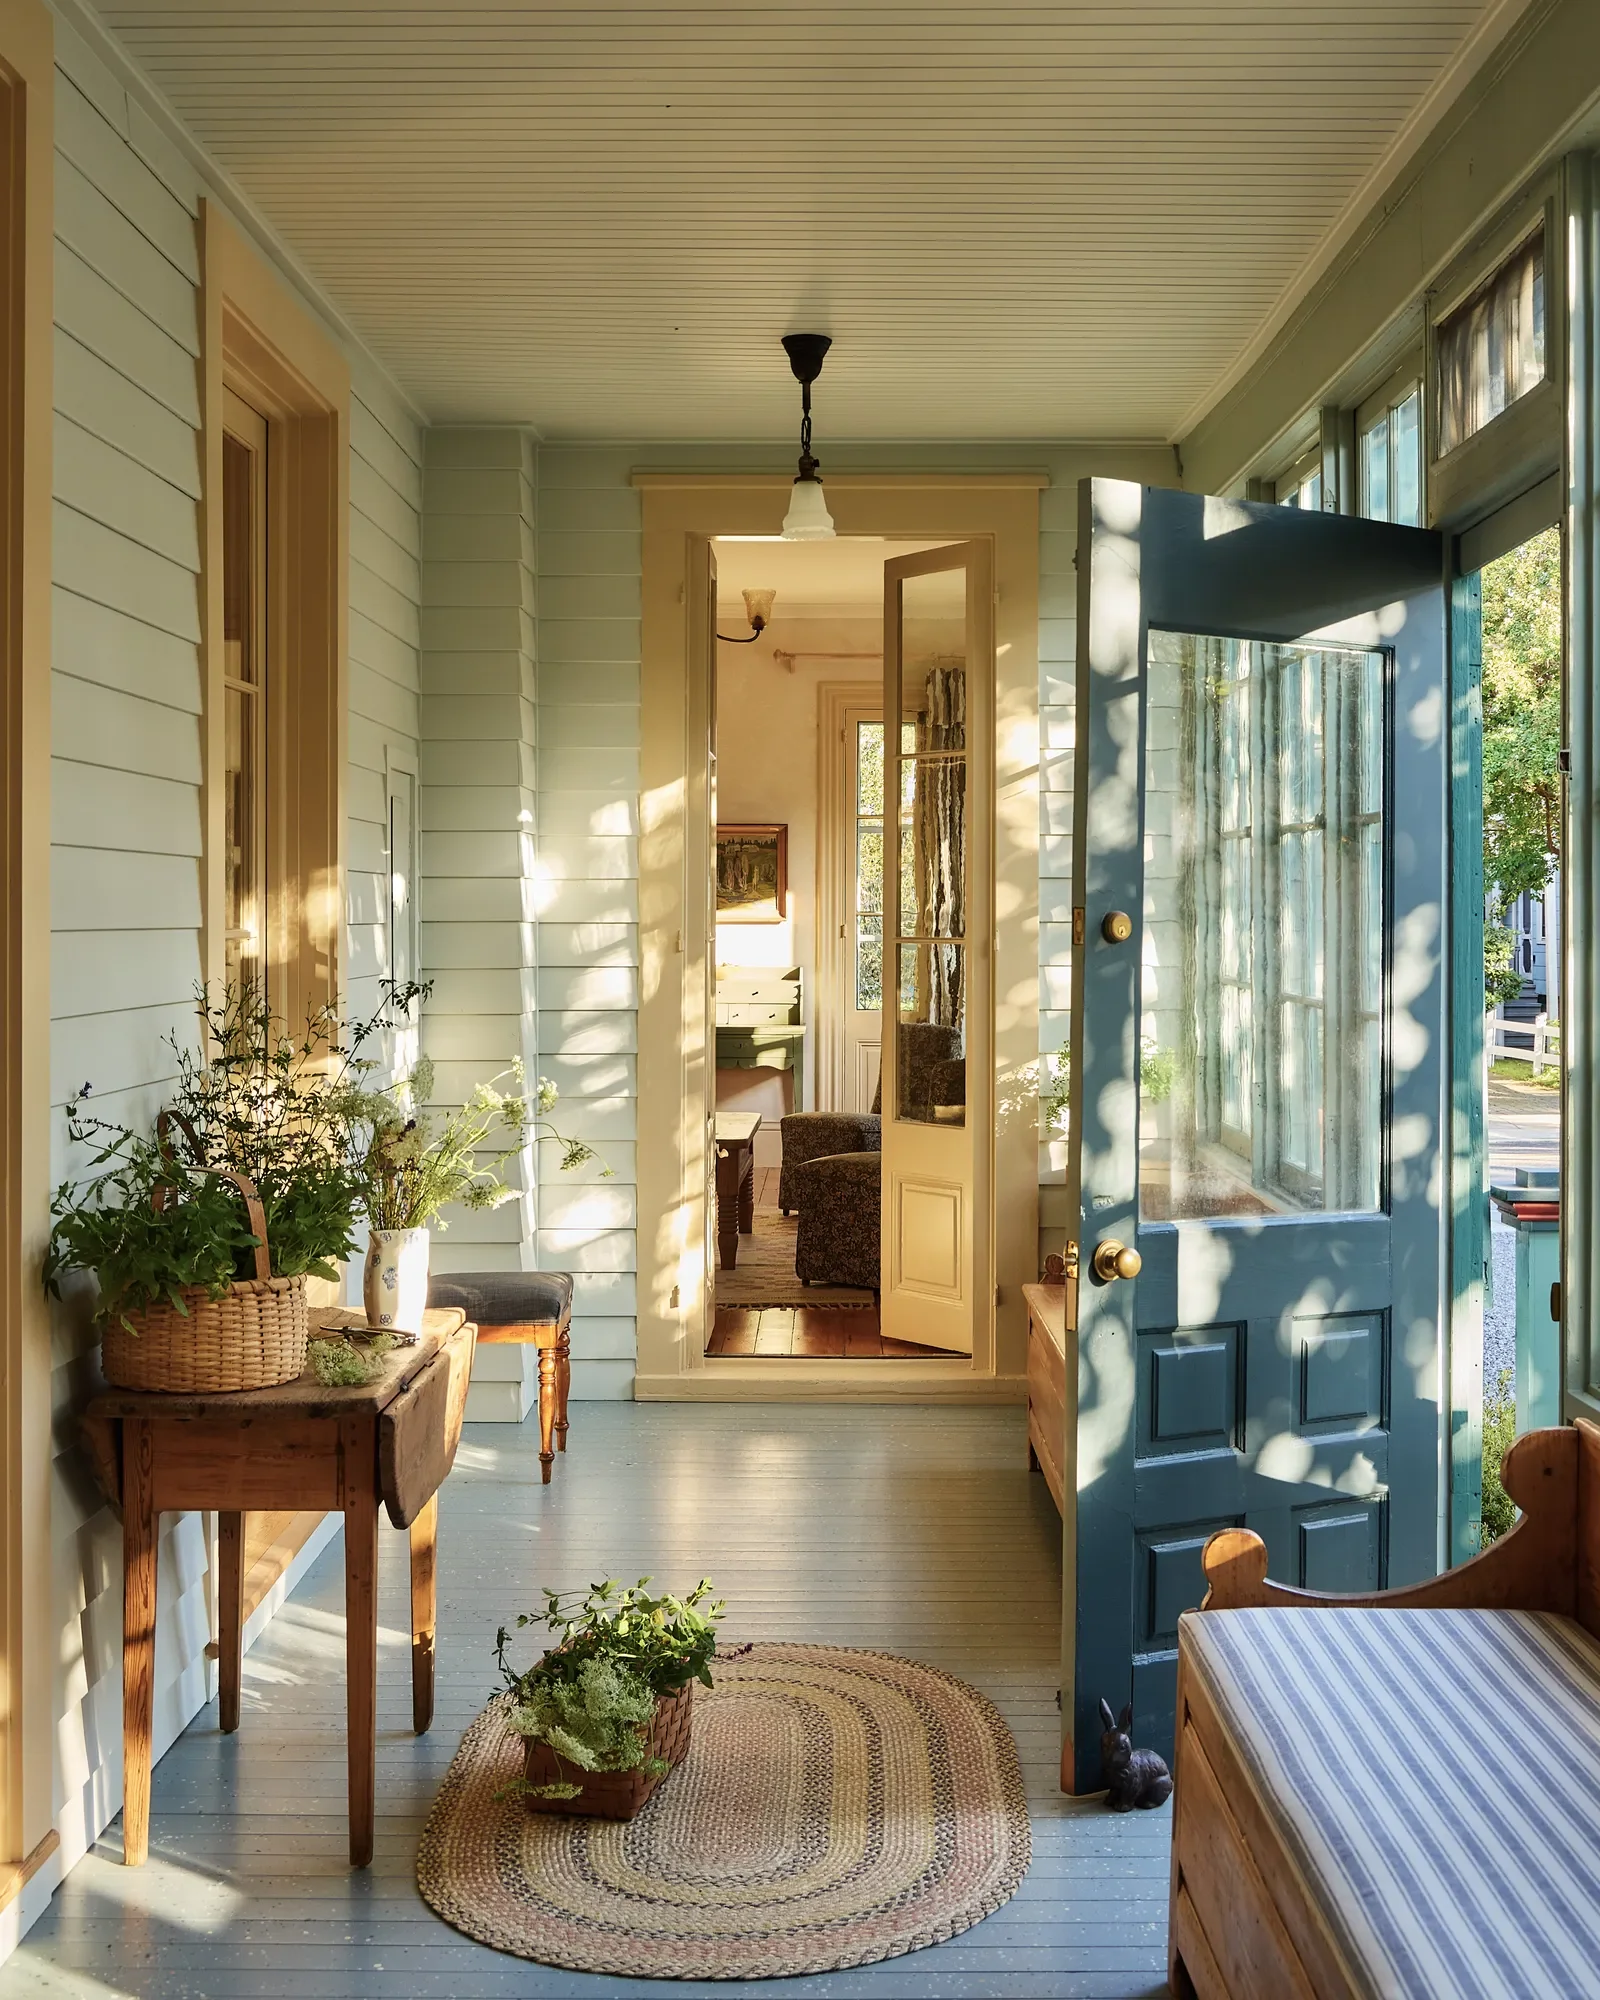
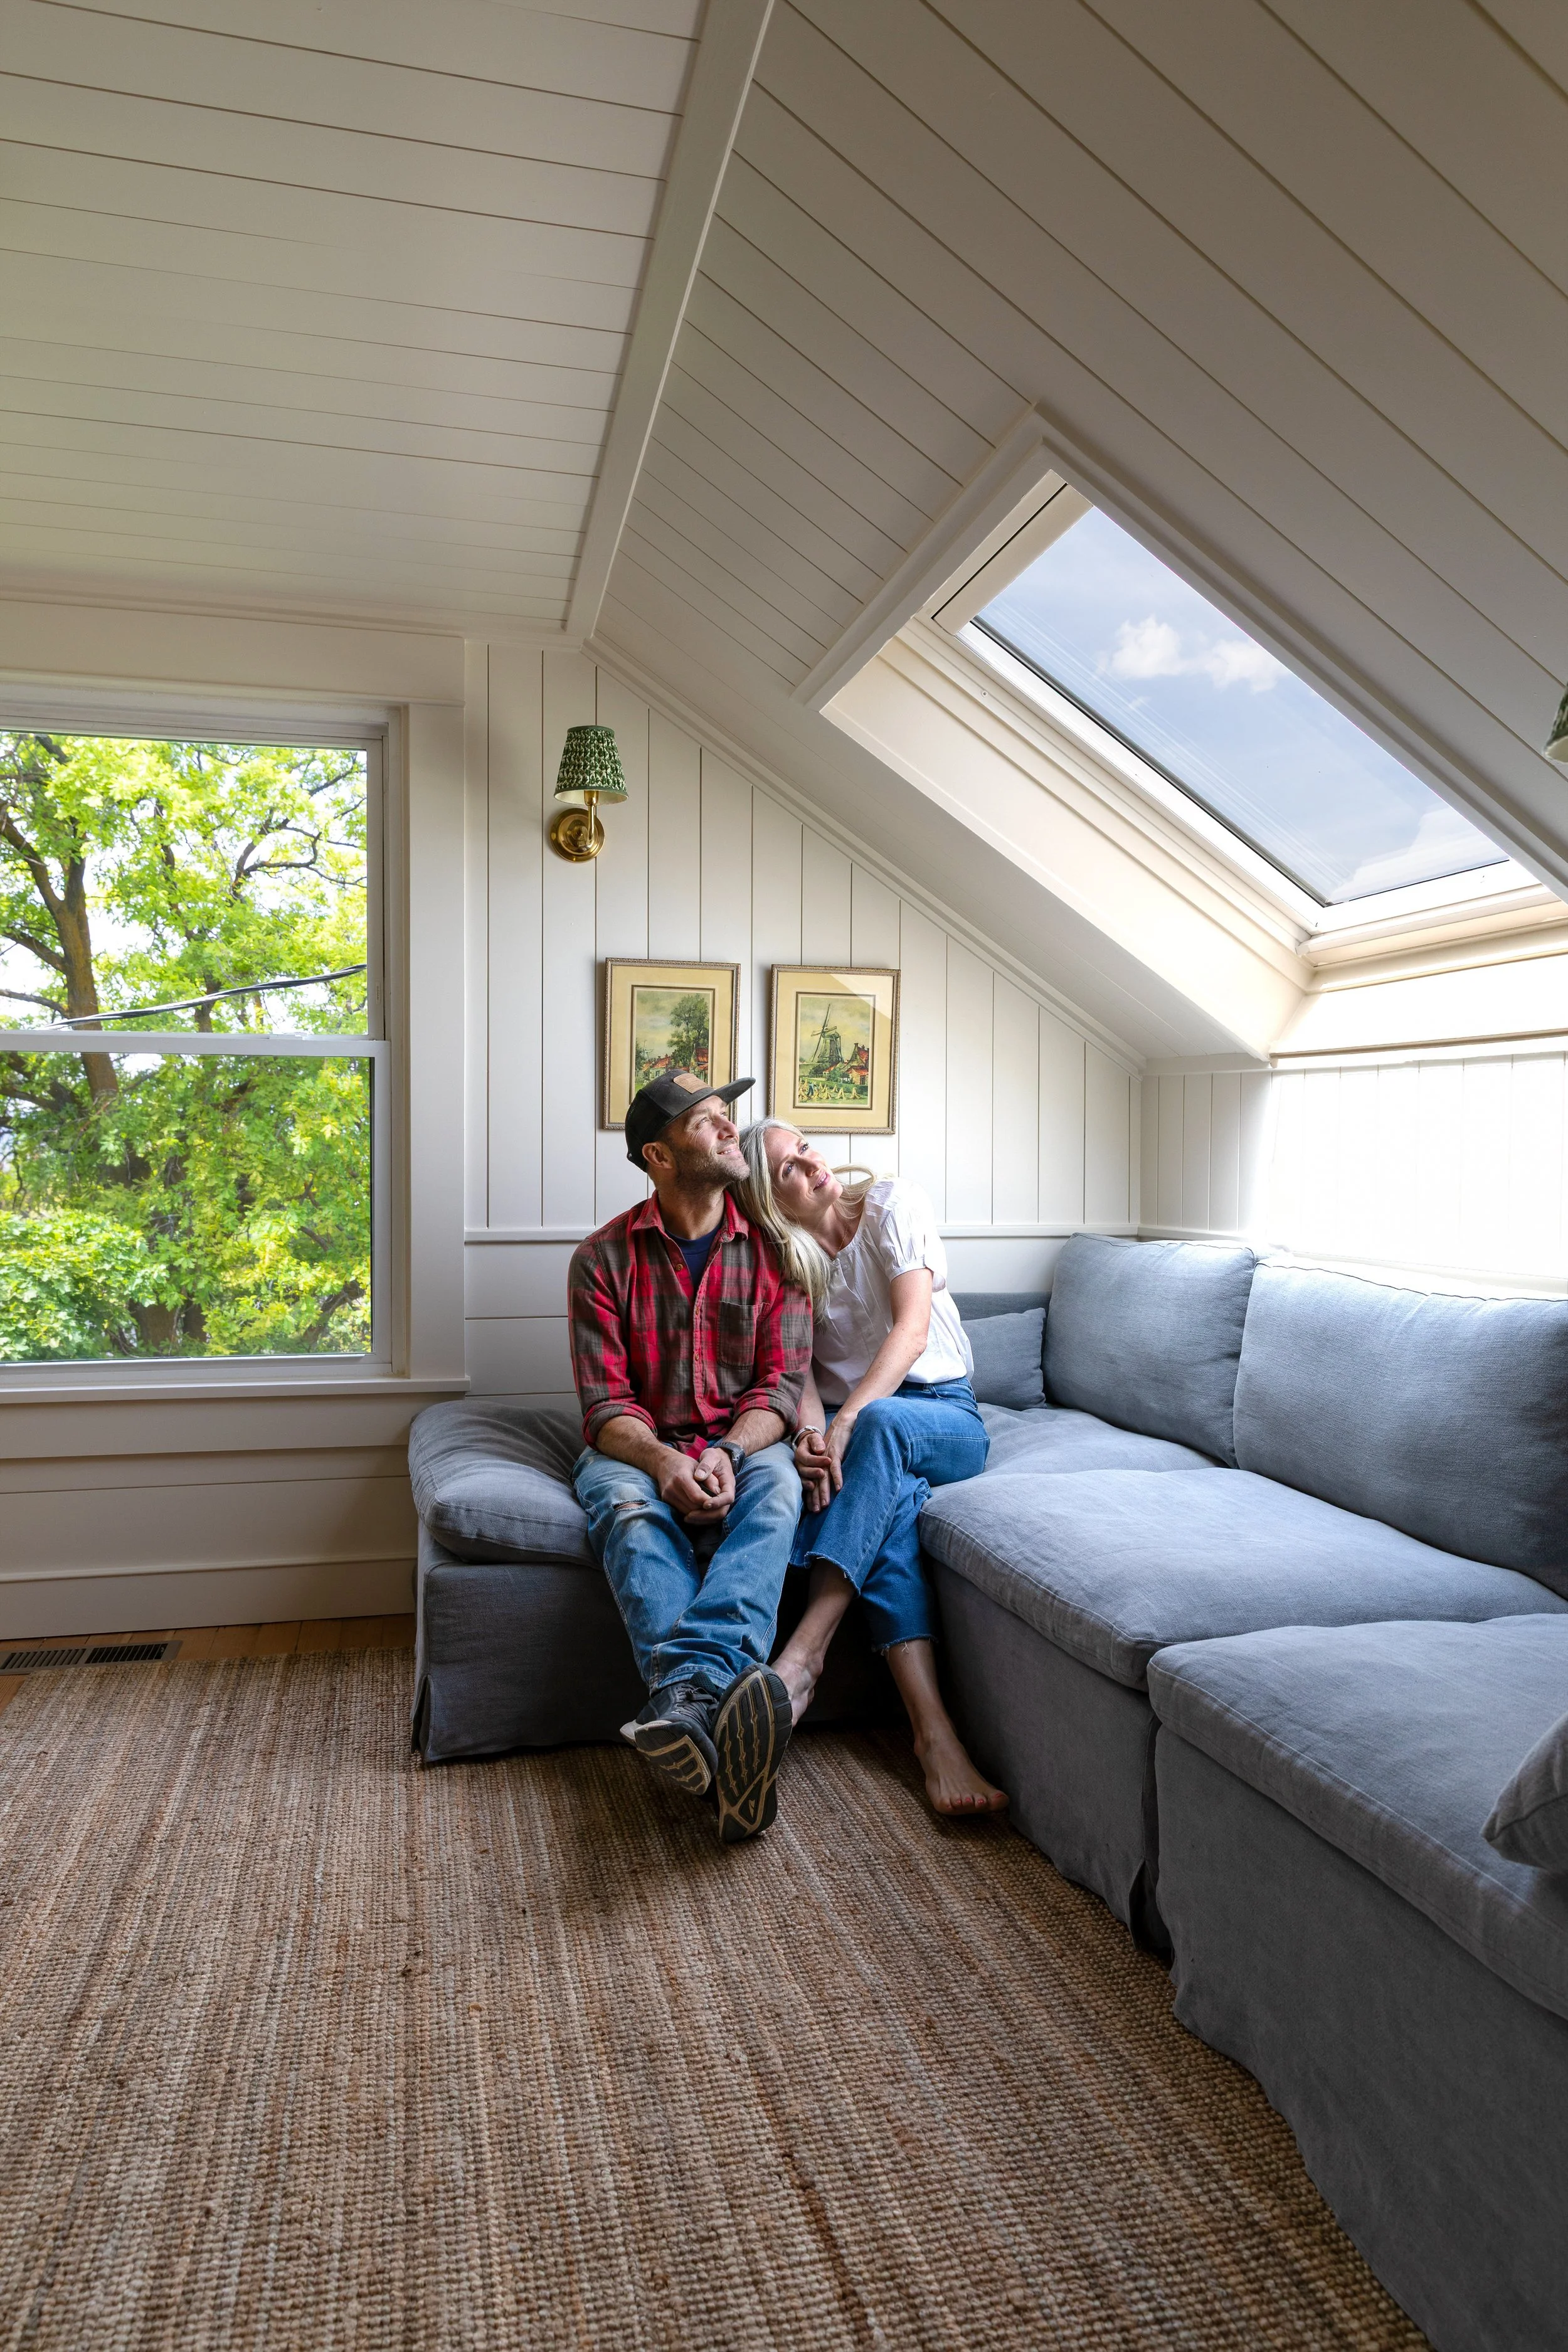
When it comes to small old houses, pocket doors are miracle workers! They don’t take up any room. And that’s exactly what we needed in our tiny, 42sf upstairs bathroom at the Poplar Cottage. Notice the edge of the toilet peaking through the doorway - it’s a tiny bathroom! Today Garrett is walking through his process for framing and hanging a pocket door, including the kit he likes that fits into a standard 2x4” wall.

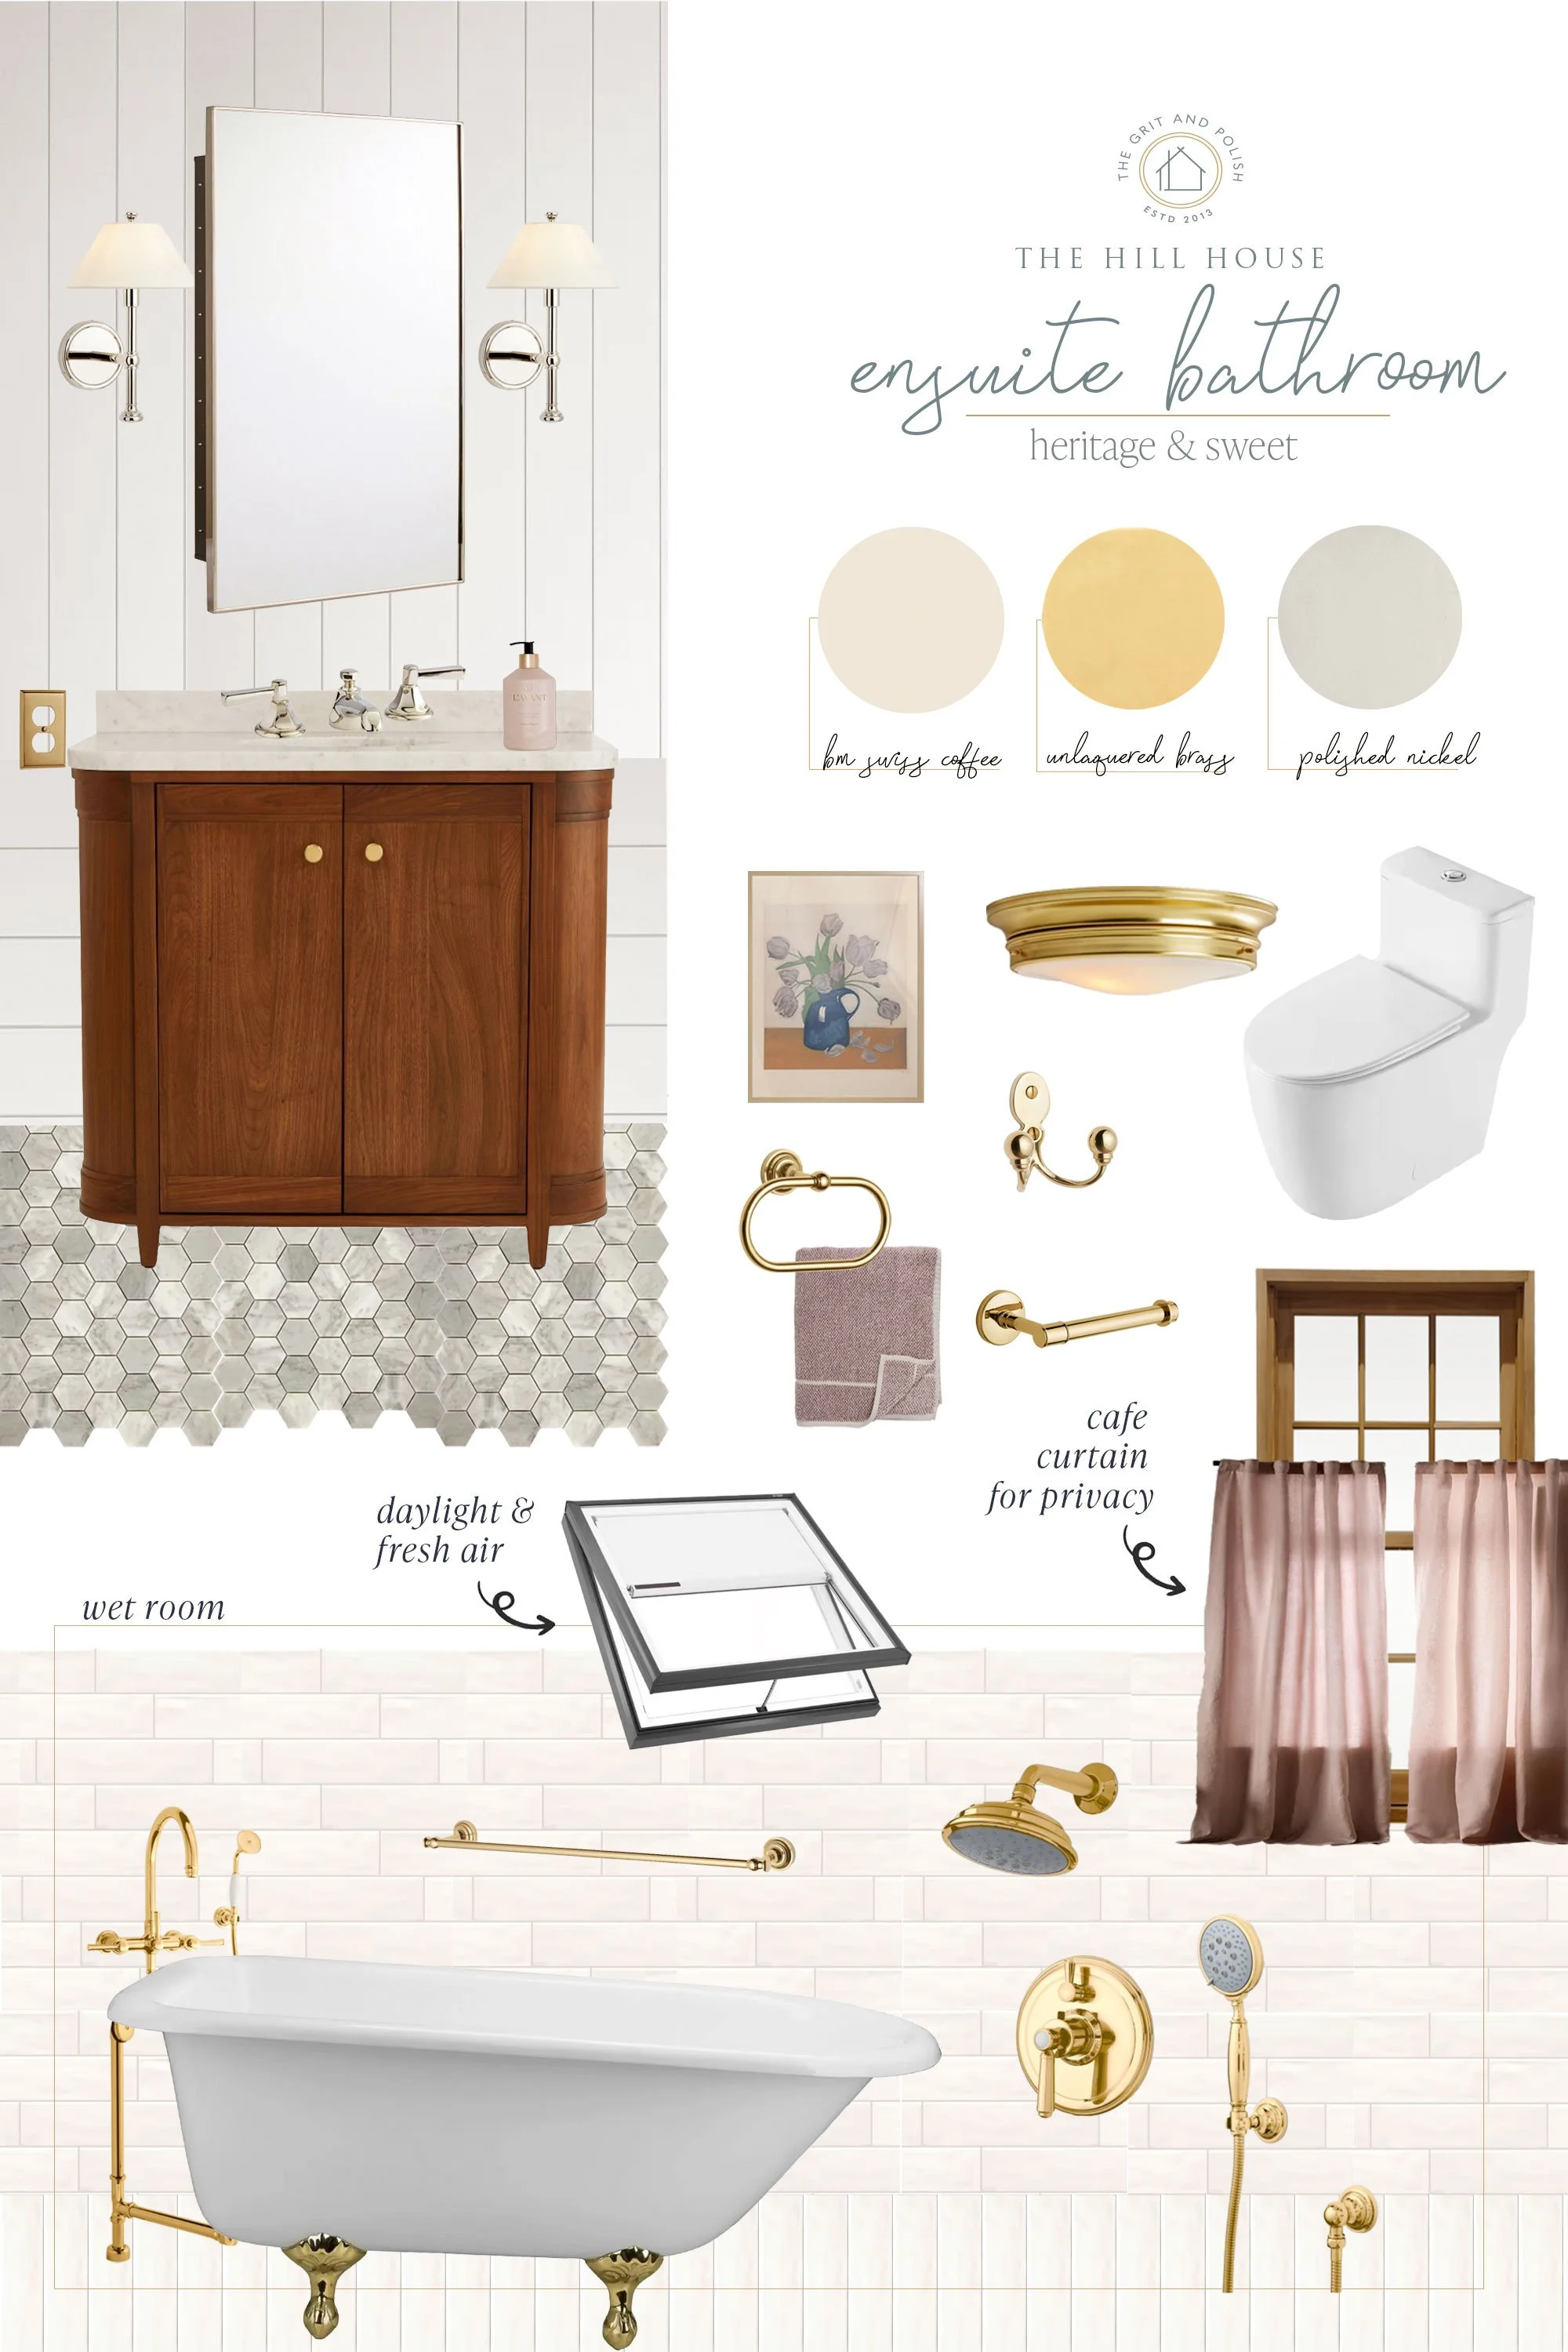
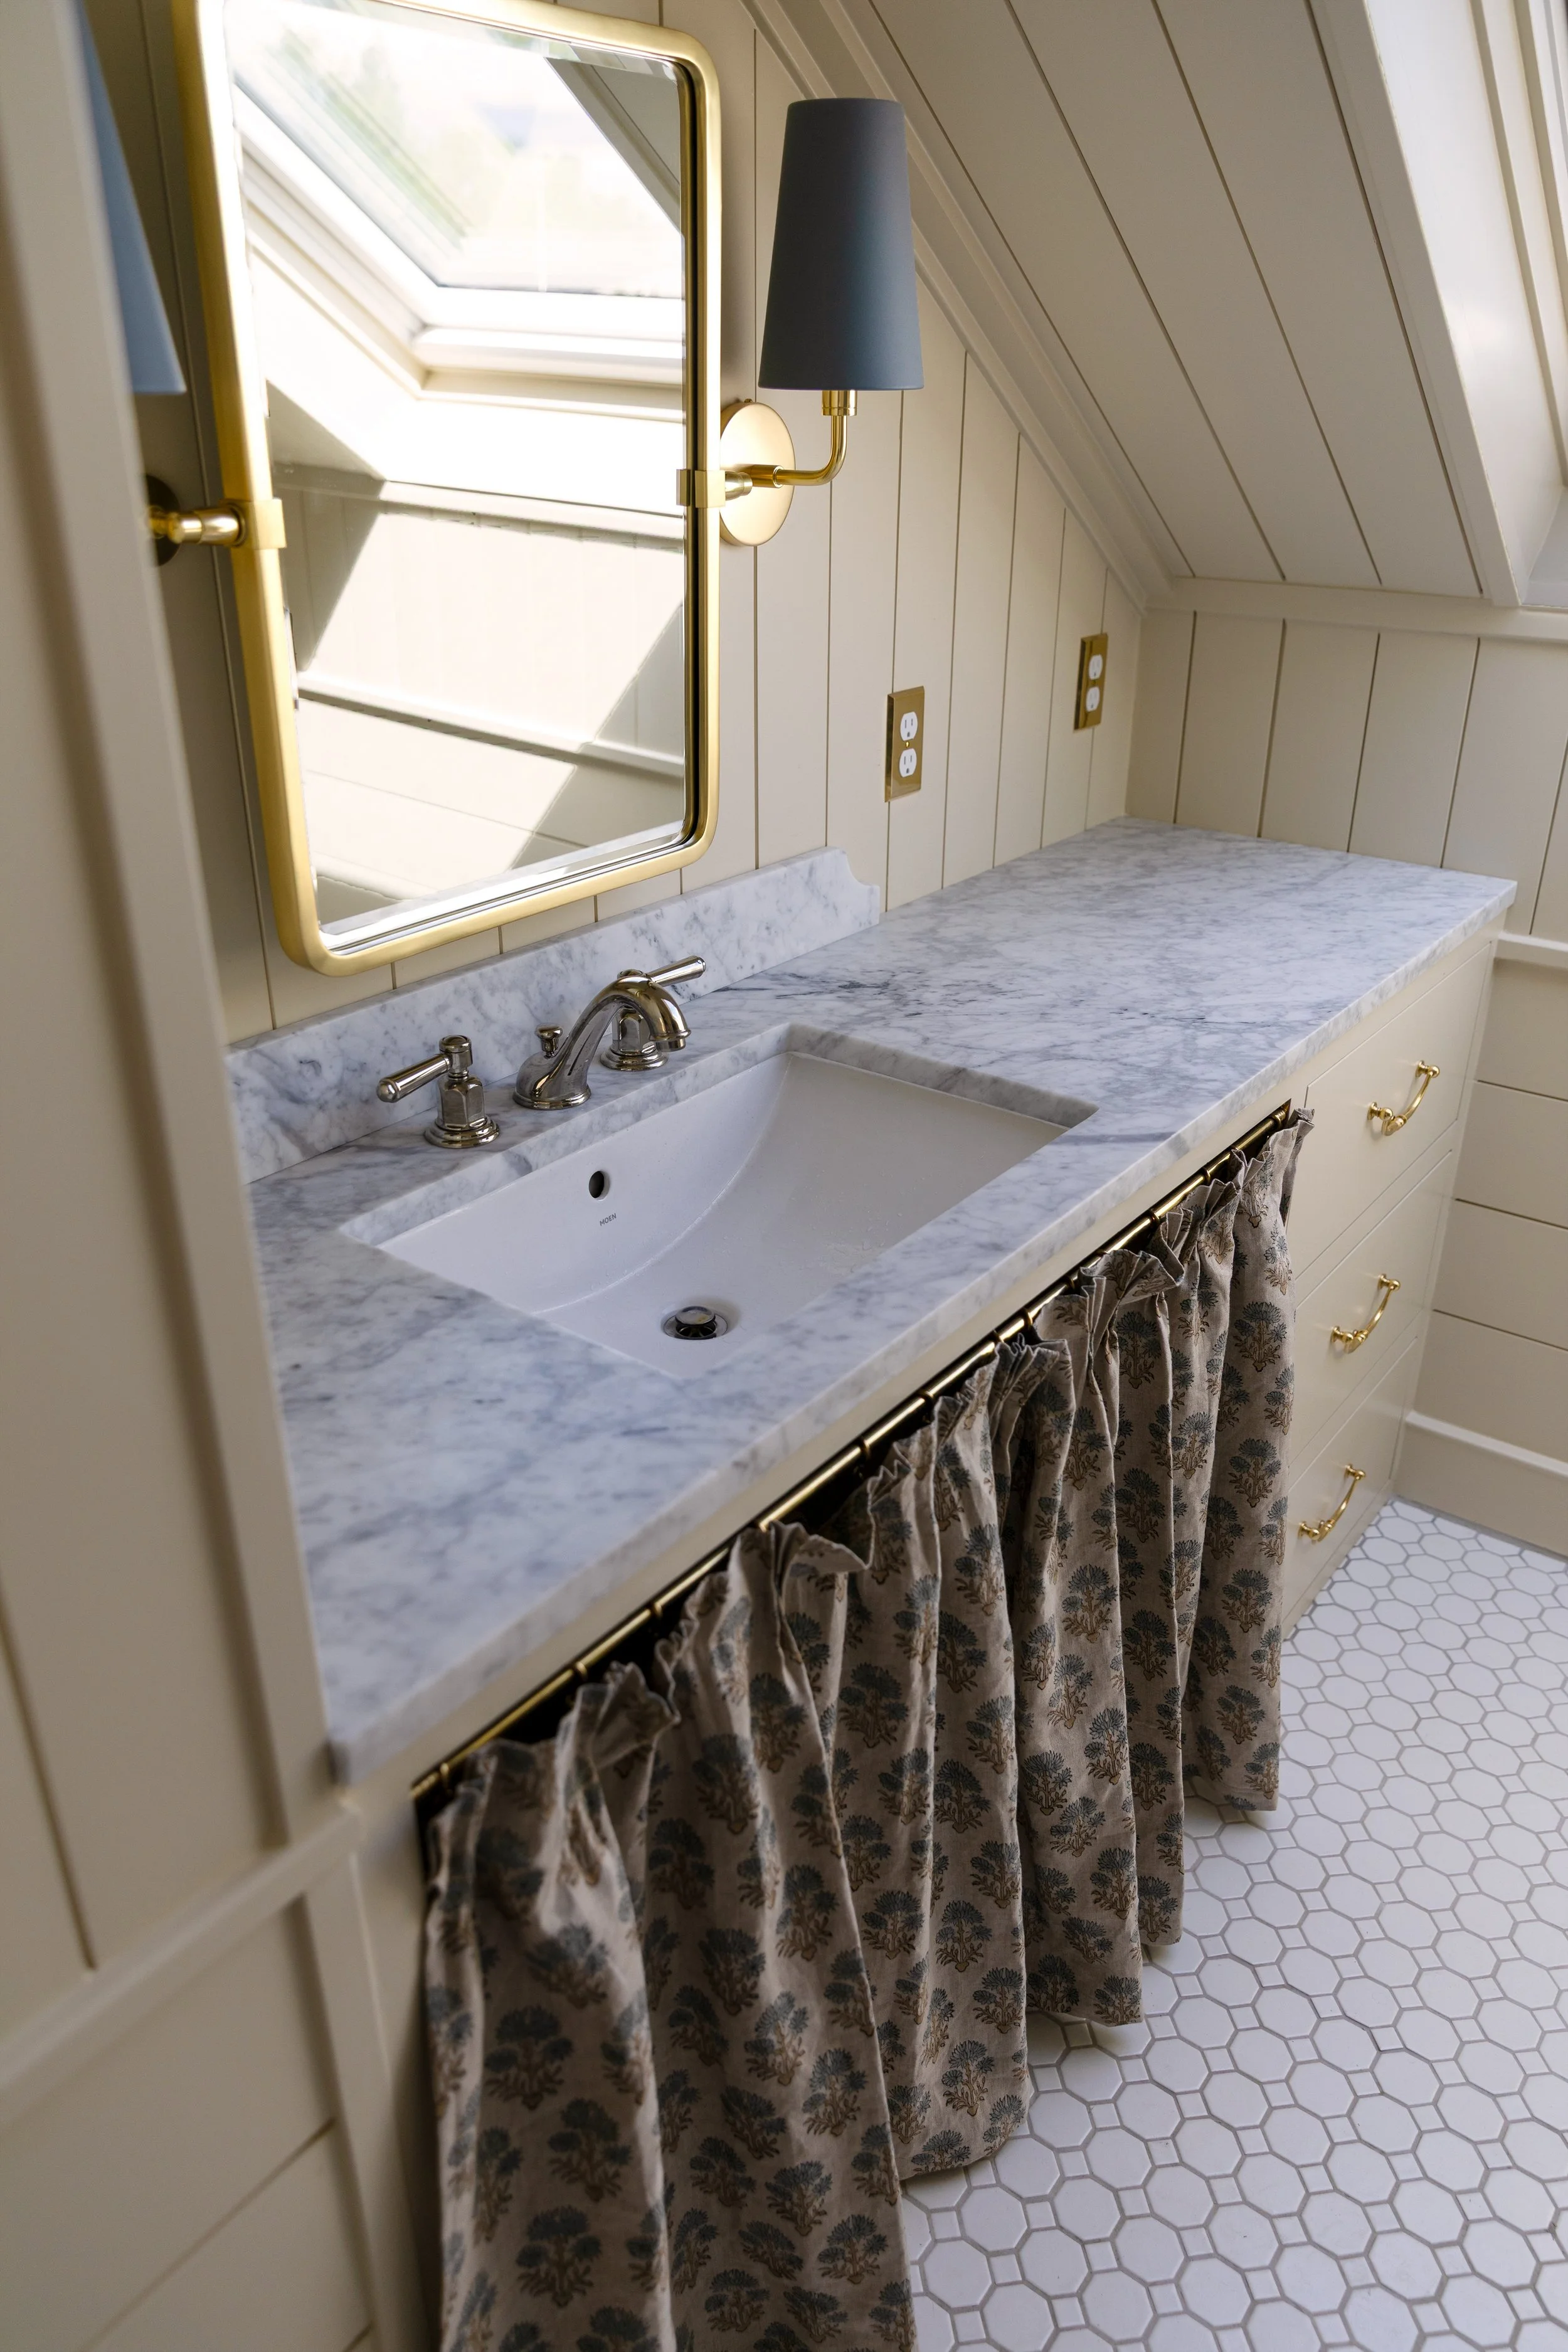
door hardware | floor tile | Marble 12x12 tile | subway tile | shower faucet | door color: FB Stony Ground, wall color: BM Swiss Coffee
Back in the day, pocket doors meant double-thick walls and iron tracks and we just didn’t have that kind of space here. Trip down memory lane…we actually uncovered and restored a century old pocket door buried behind some moulding during the Porch House renovation. It’s still one of my all-time favorite renovation moments! And who can forget the giant and gorgeous wood pocket doors at the Farmhouse? But we needed something a little skinnier for this small old house. Thankfully there are the nifty kits with thin steel framing supports that allow you to put a pocket door into a standard interior 2x4” wall. And this modern construction process can work in old houses and new construction, too. Let’s get into it…
DIY How to frame and hang a pocket door
Materials and tools
Here are the materials and tools we used to put this pocket door together.
Screw driver
Drill and driver
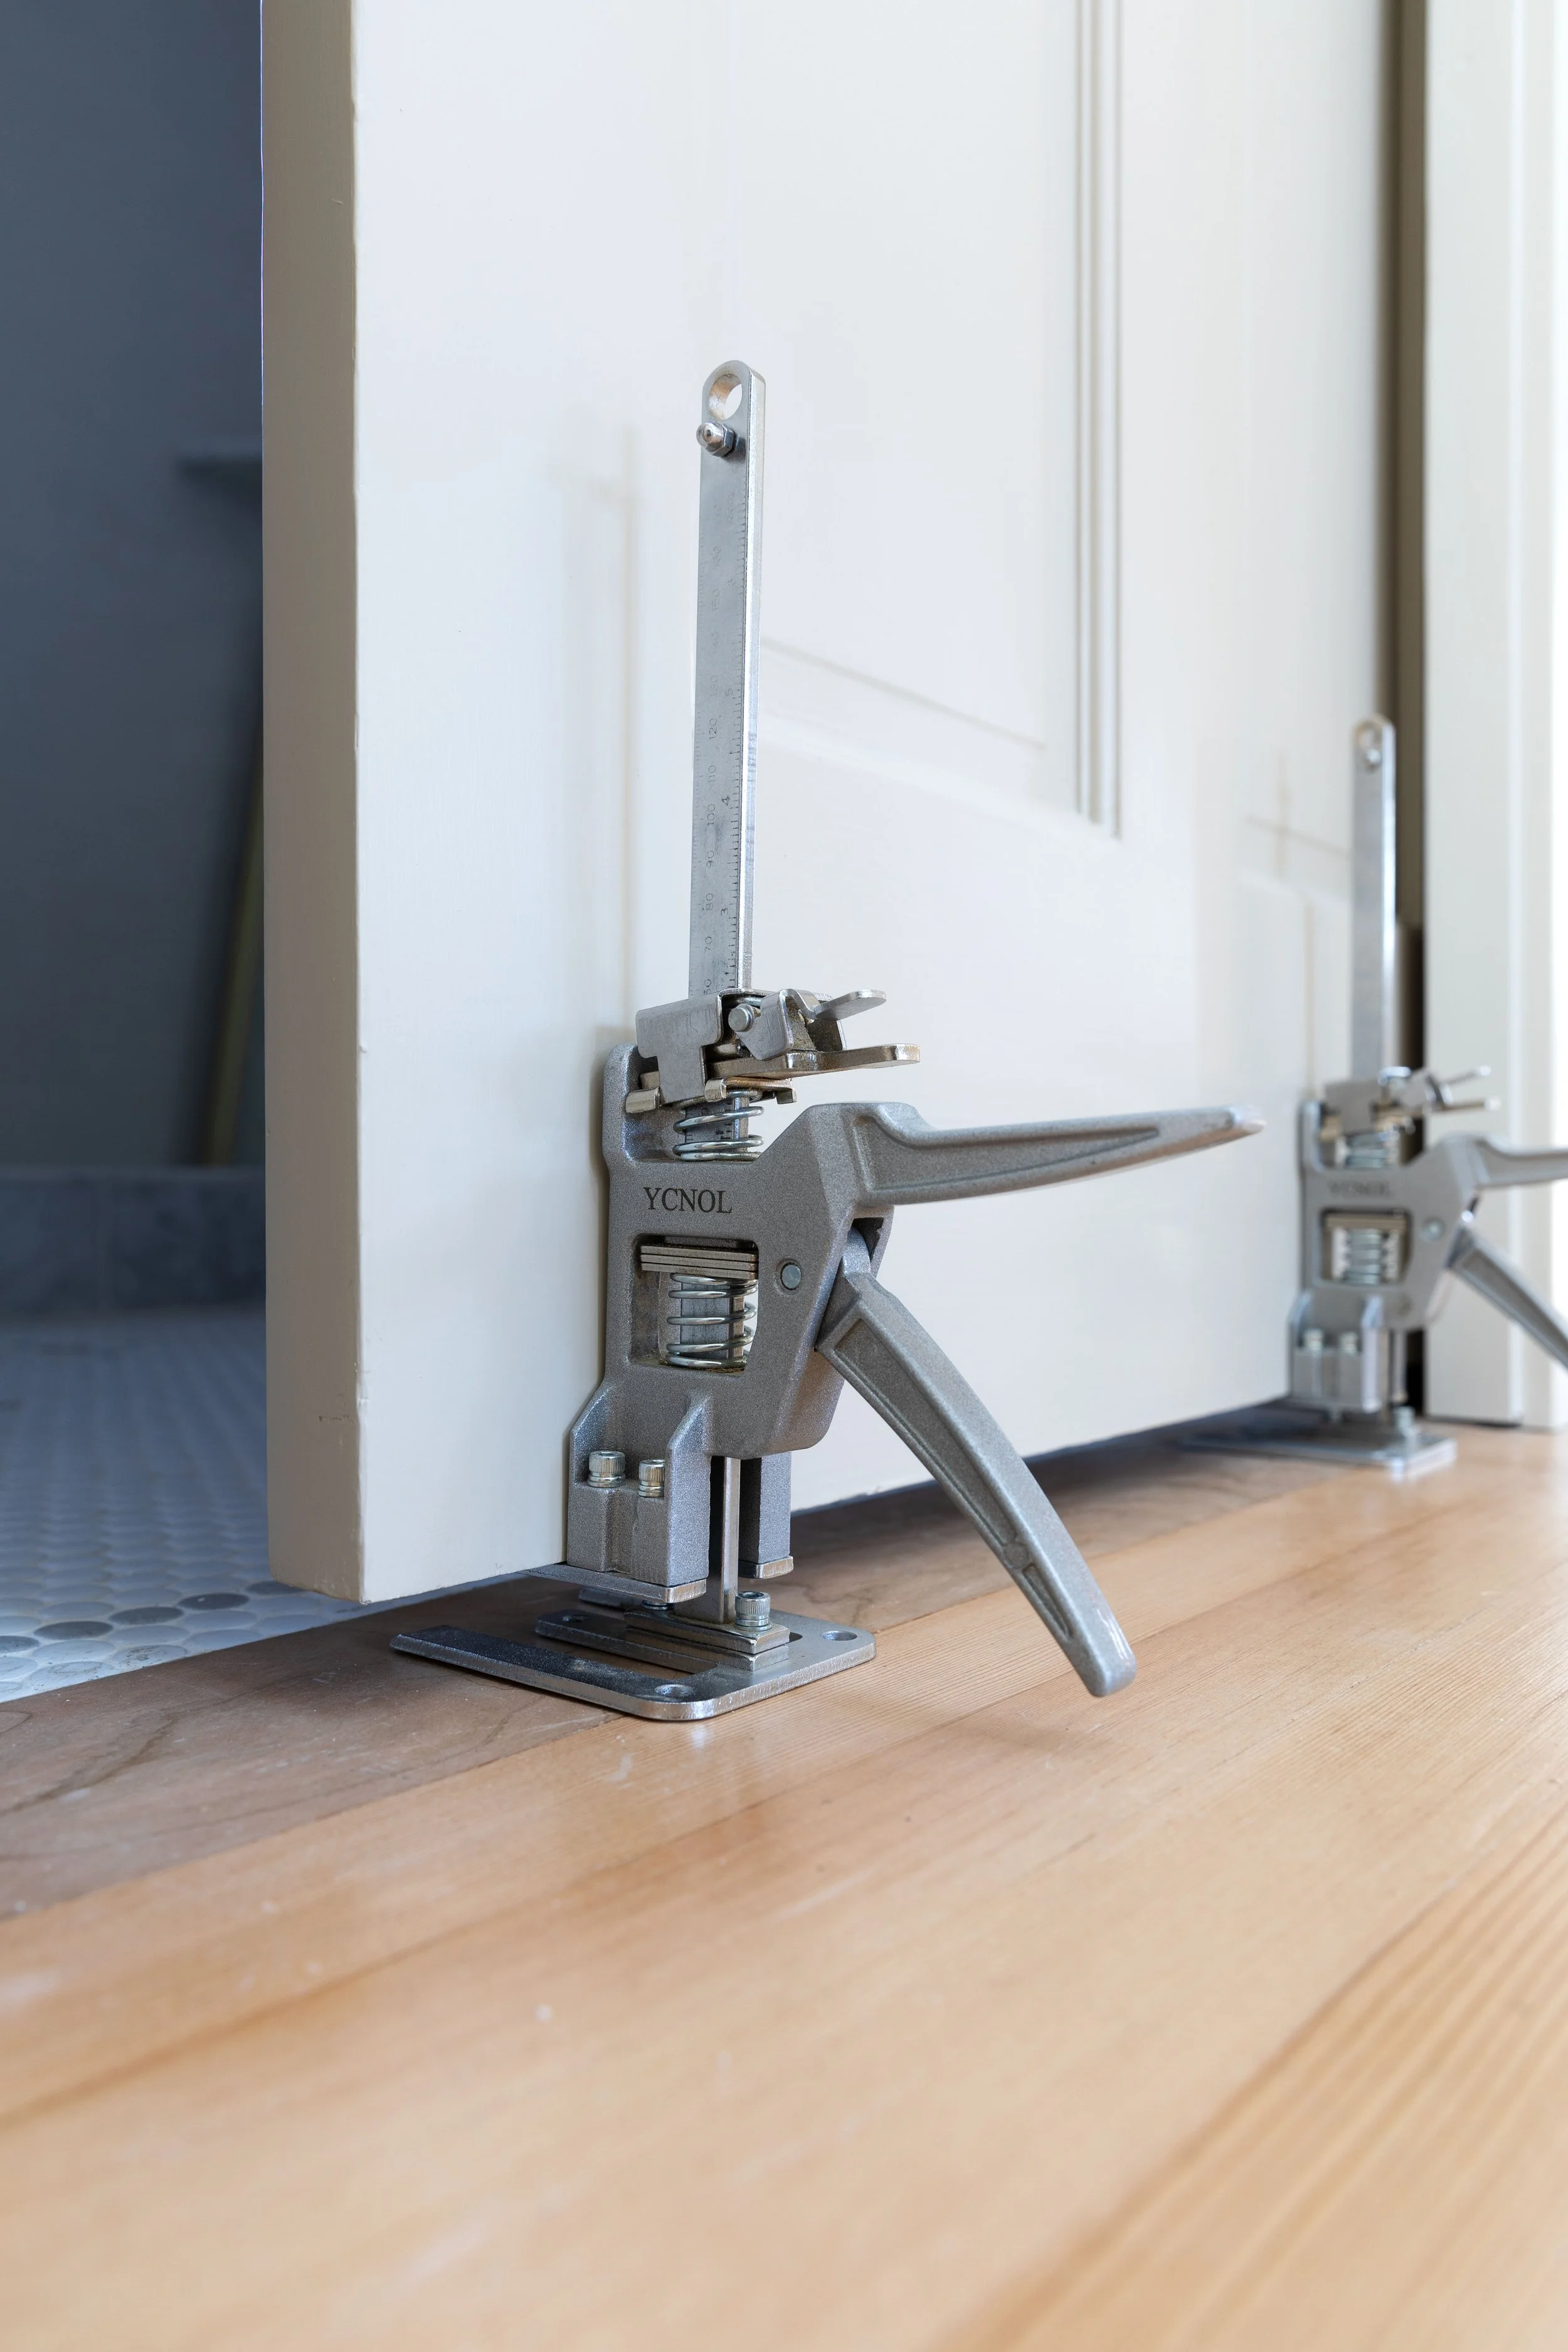
Toe jacks (optional but help lift the door)
Jigsaw (to make the hardware cutout)
Multi tool (optional but helped with hardware cutout)
router (to make whole behind strike plate and cut out for hardware
*We opted for a privacy set (locking) in unlaquered brass
Step 1 pocket door frame for 2x4 stud wall
When you start thinking about your pocket door, the main items to consider are wall width (2x4” or 2x6”), passage width (so the track is the correct length) and passage height (so the framing supports are the correct height). It’s nice to have your kit on site when you frame the wall so that you can place the header at the correct height which will vary depending on your track and door. The tracks and steel supports can be cut down if your door is narrower or shorter than a standard 80” x”32. One thing to keep in mind with the steel supports is that finishing is a little trickier since you can’t use standard finish nails to attach mouldings. However in the kit we used, one of the steel studs has a wood face which gave a spot to land some brad nails. I will also sometimes use glue and clamps to attach moldings if needed.

Here’s a close up of the pocket door kit installed.

After the kit is installed, you can drywall over the wall just like normal. Like so…

Step 2 Prep door
We found this solid door at a salvage shop in Seattle for $60 and then sanded, primed, and painted it. It was originally a pocket door so was easily freshened up to use here.

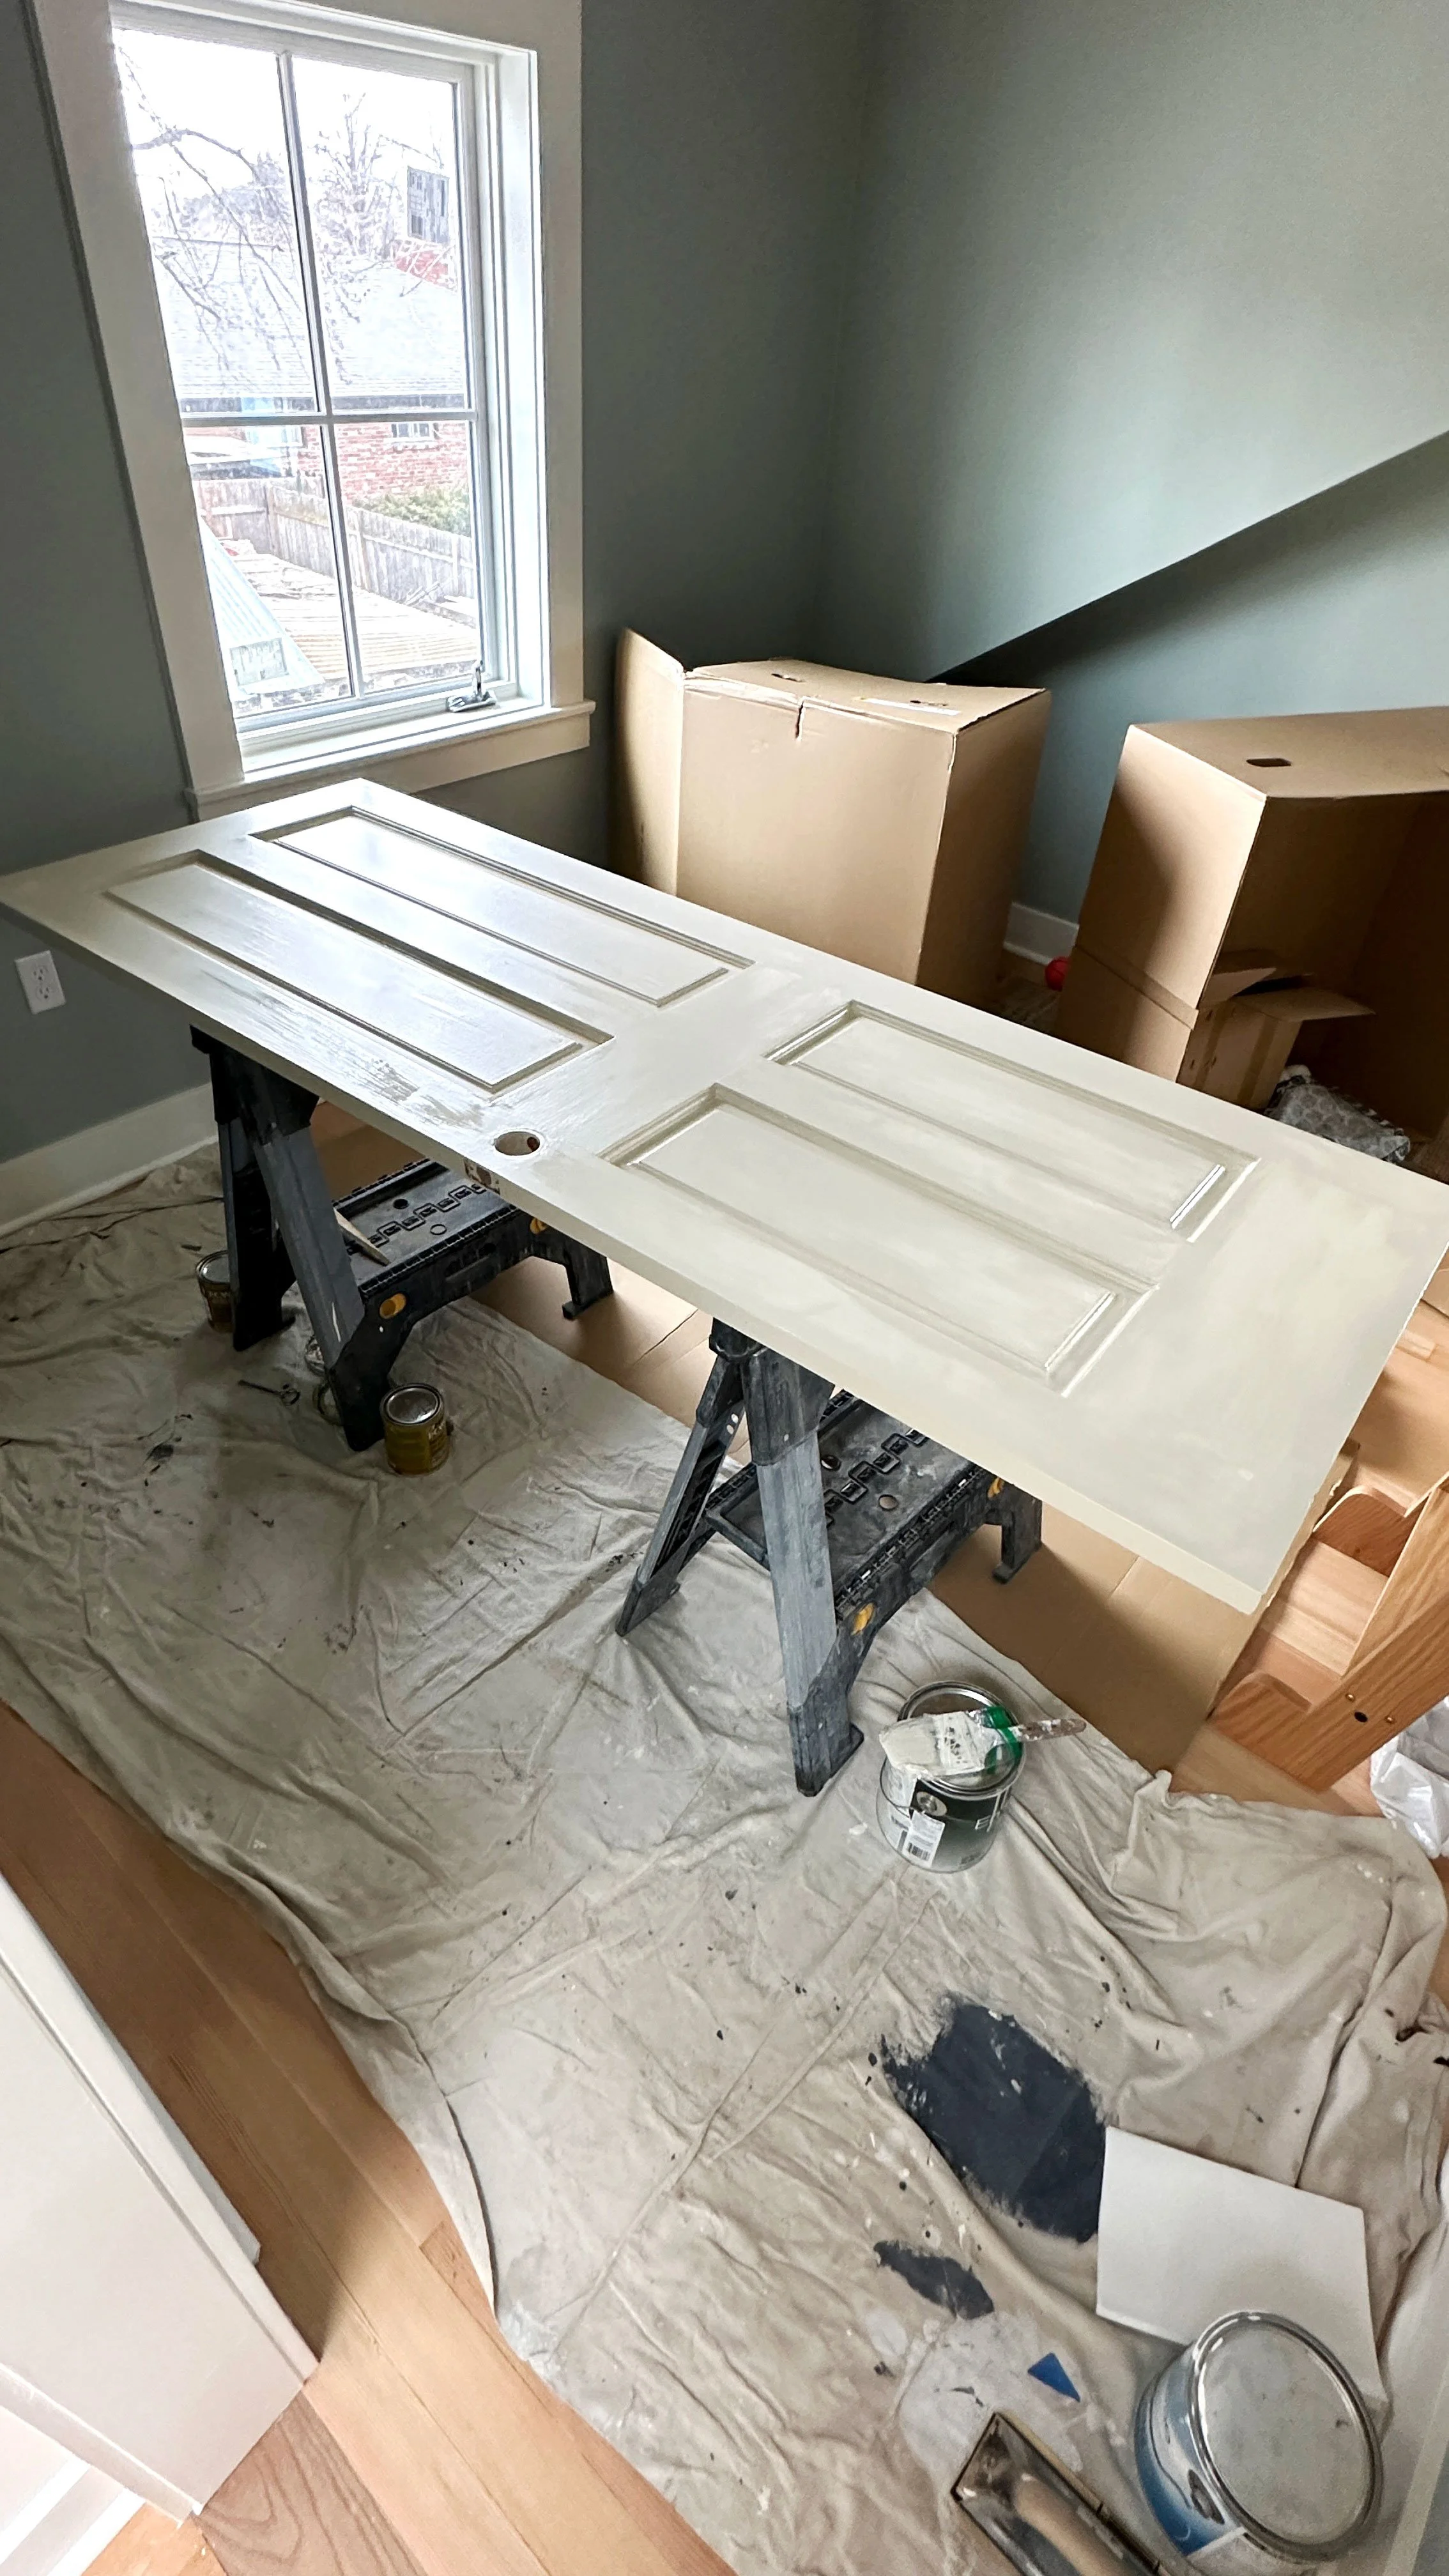
The original circular door handle was patched, filled, and sanded so we could install the new hardware.

We painted the door in Stony Ground by Farrow & Ball (color matched by Shwerwin Williams) in satin finish. Highly recommend opting for a high quality paint, since doors get so much use.
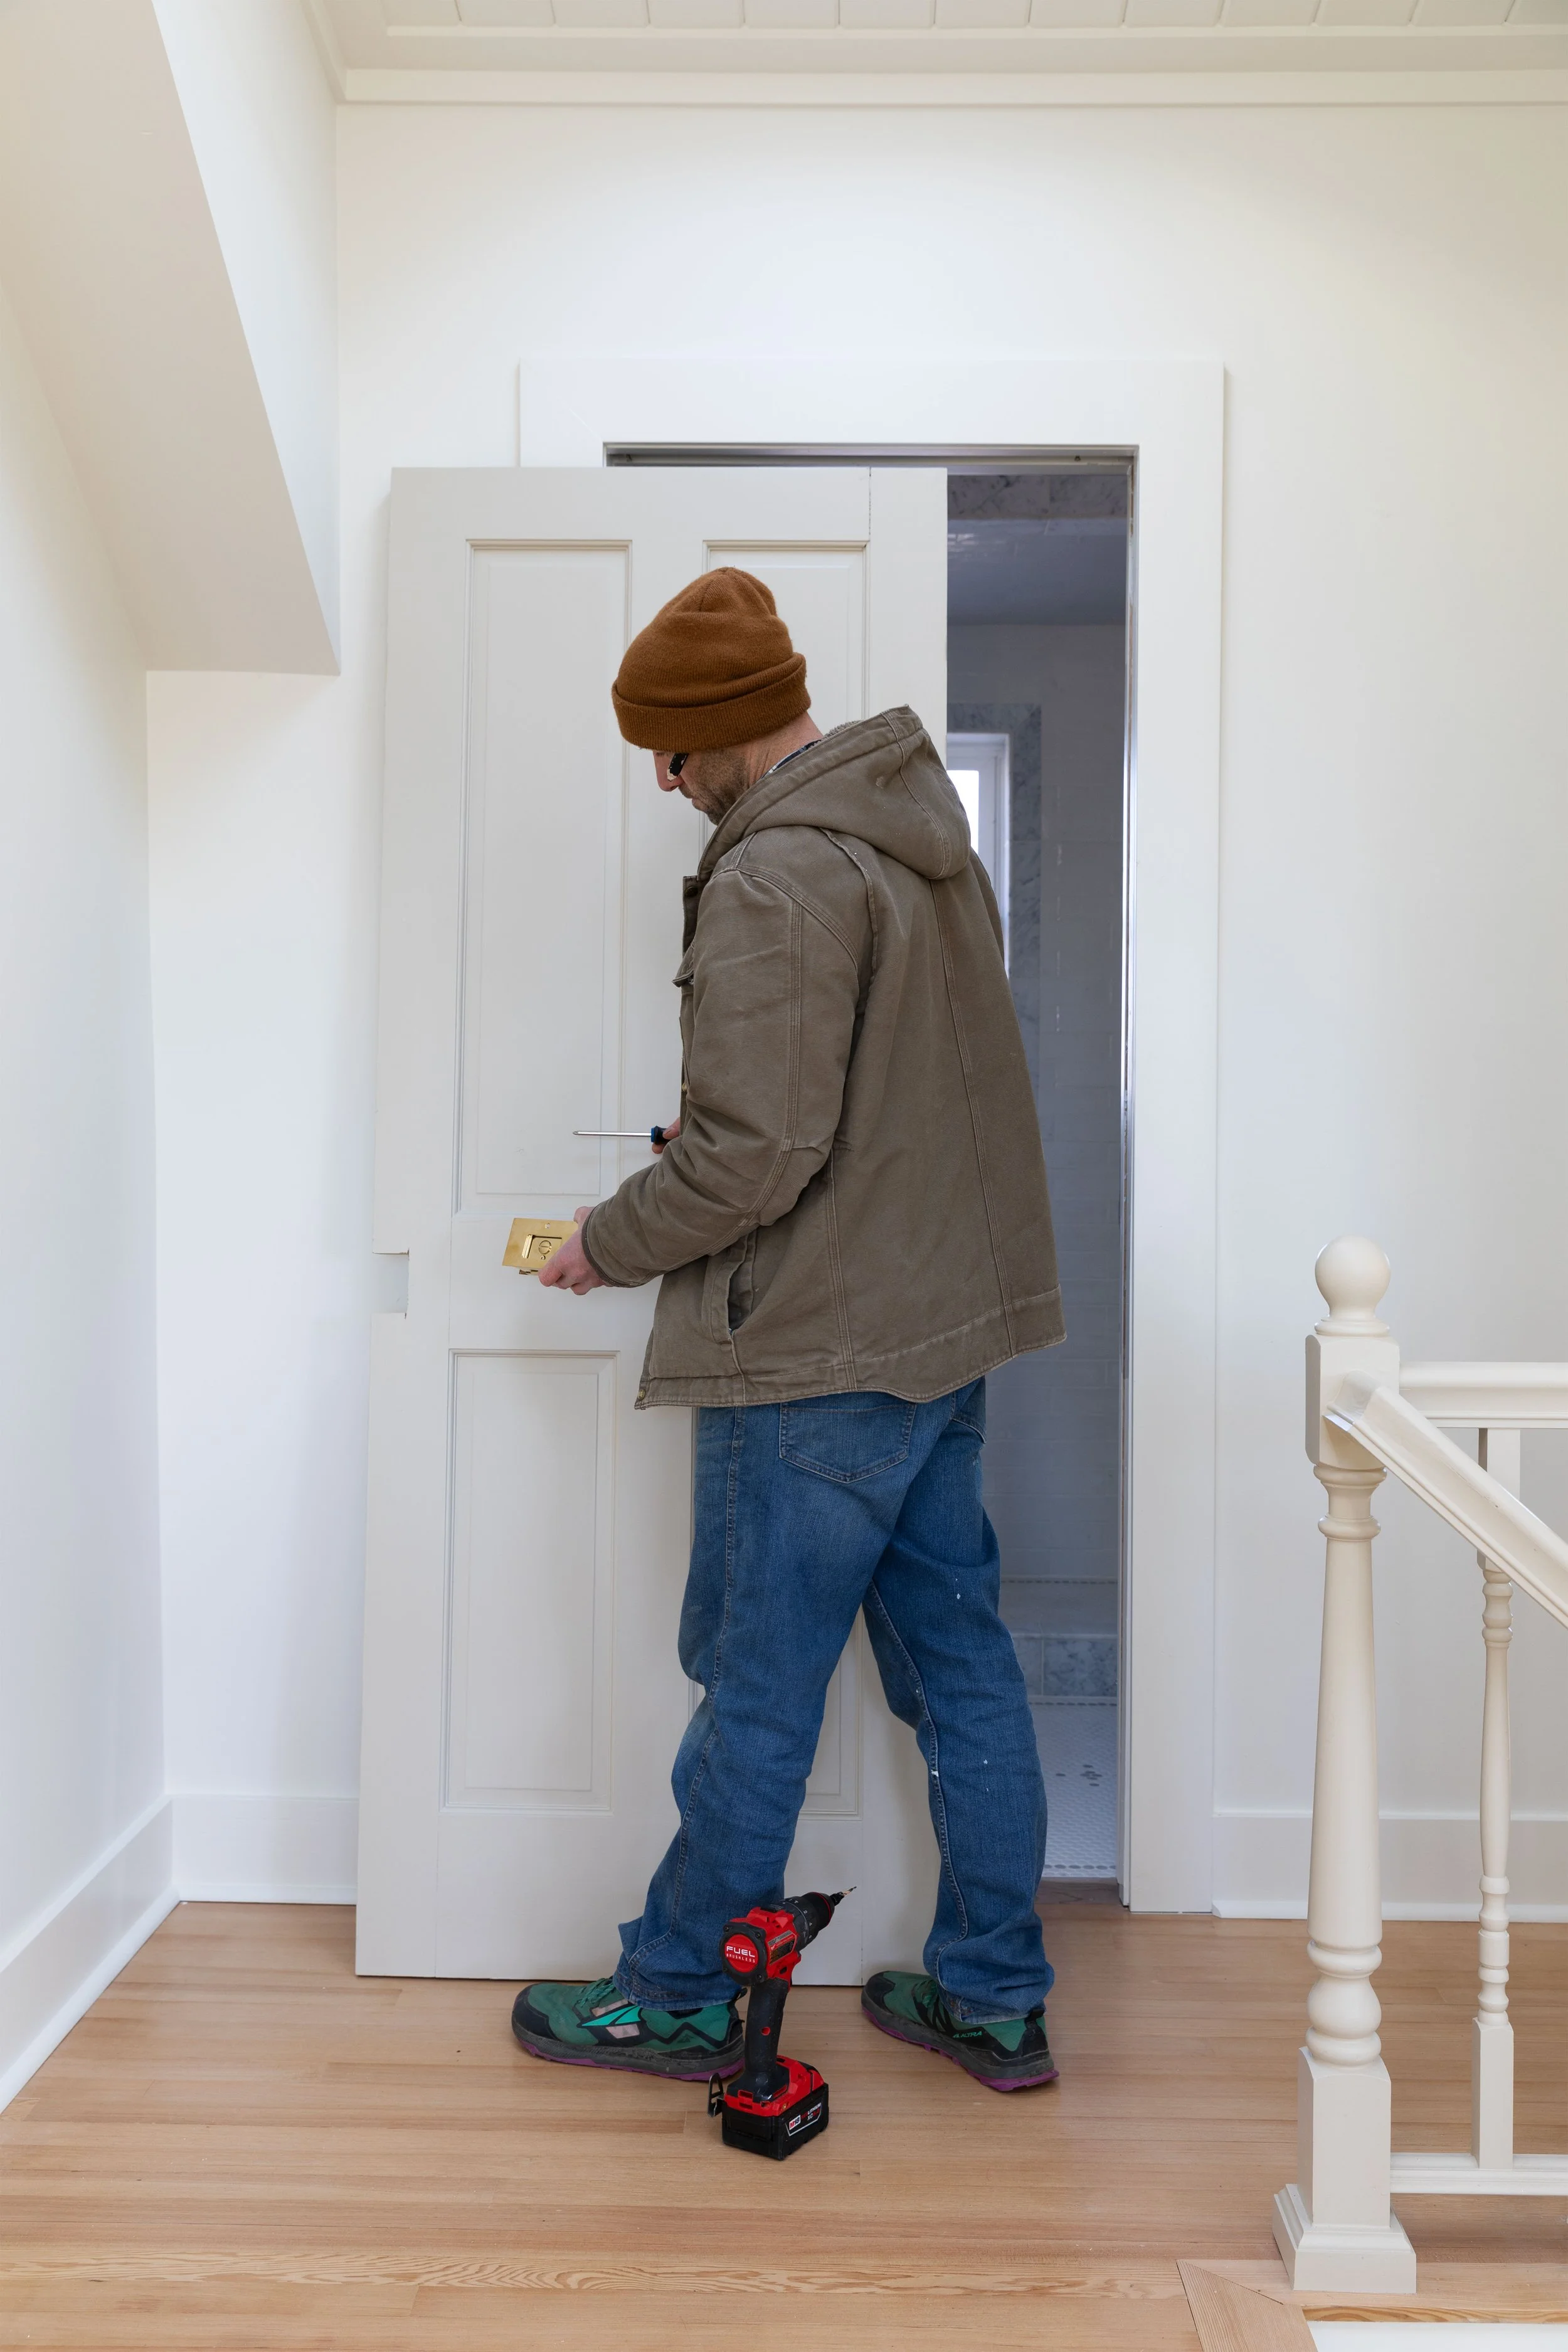
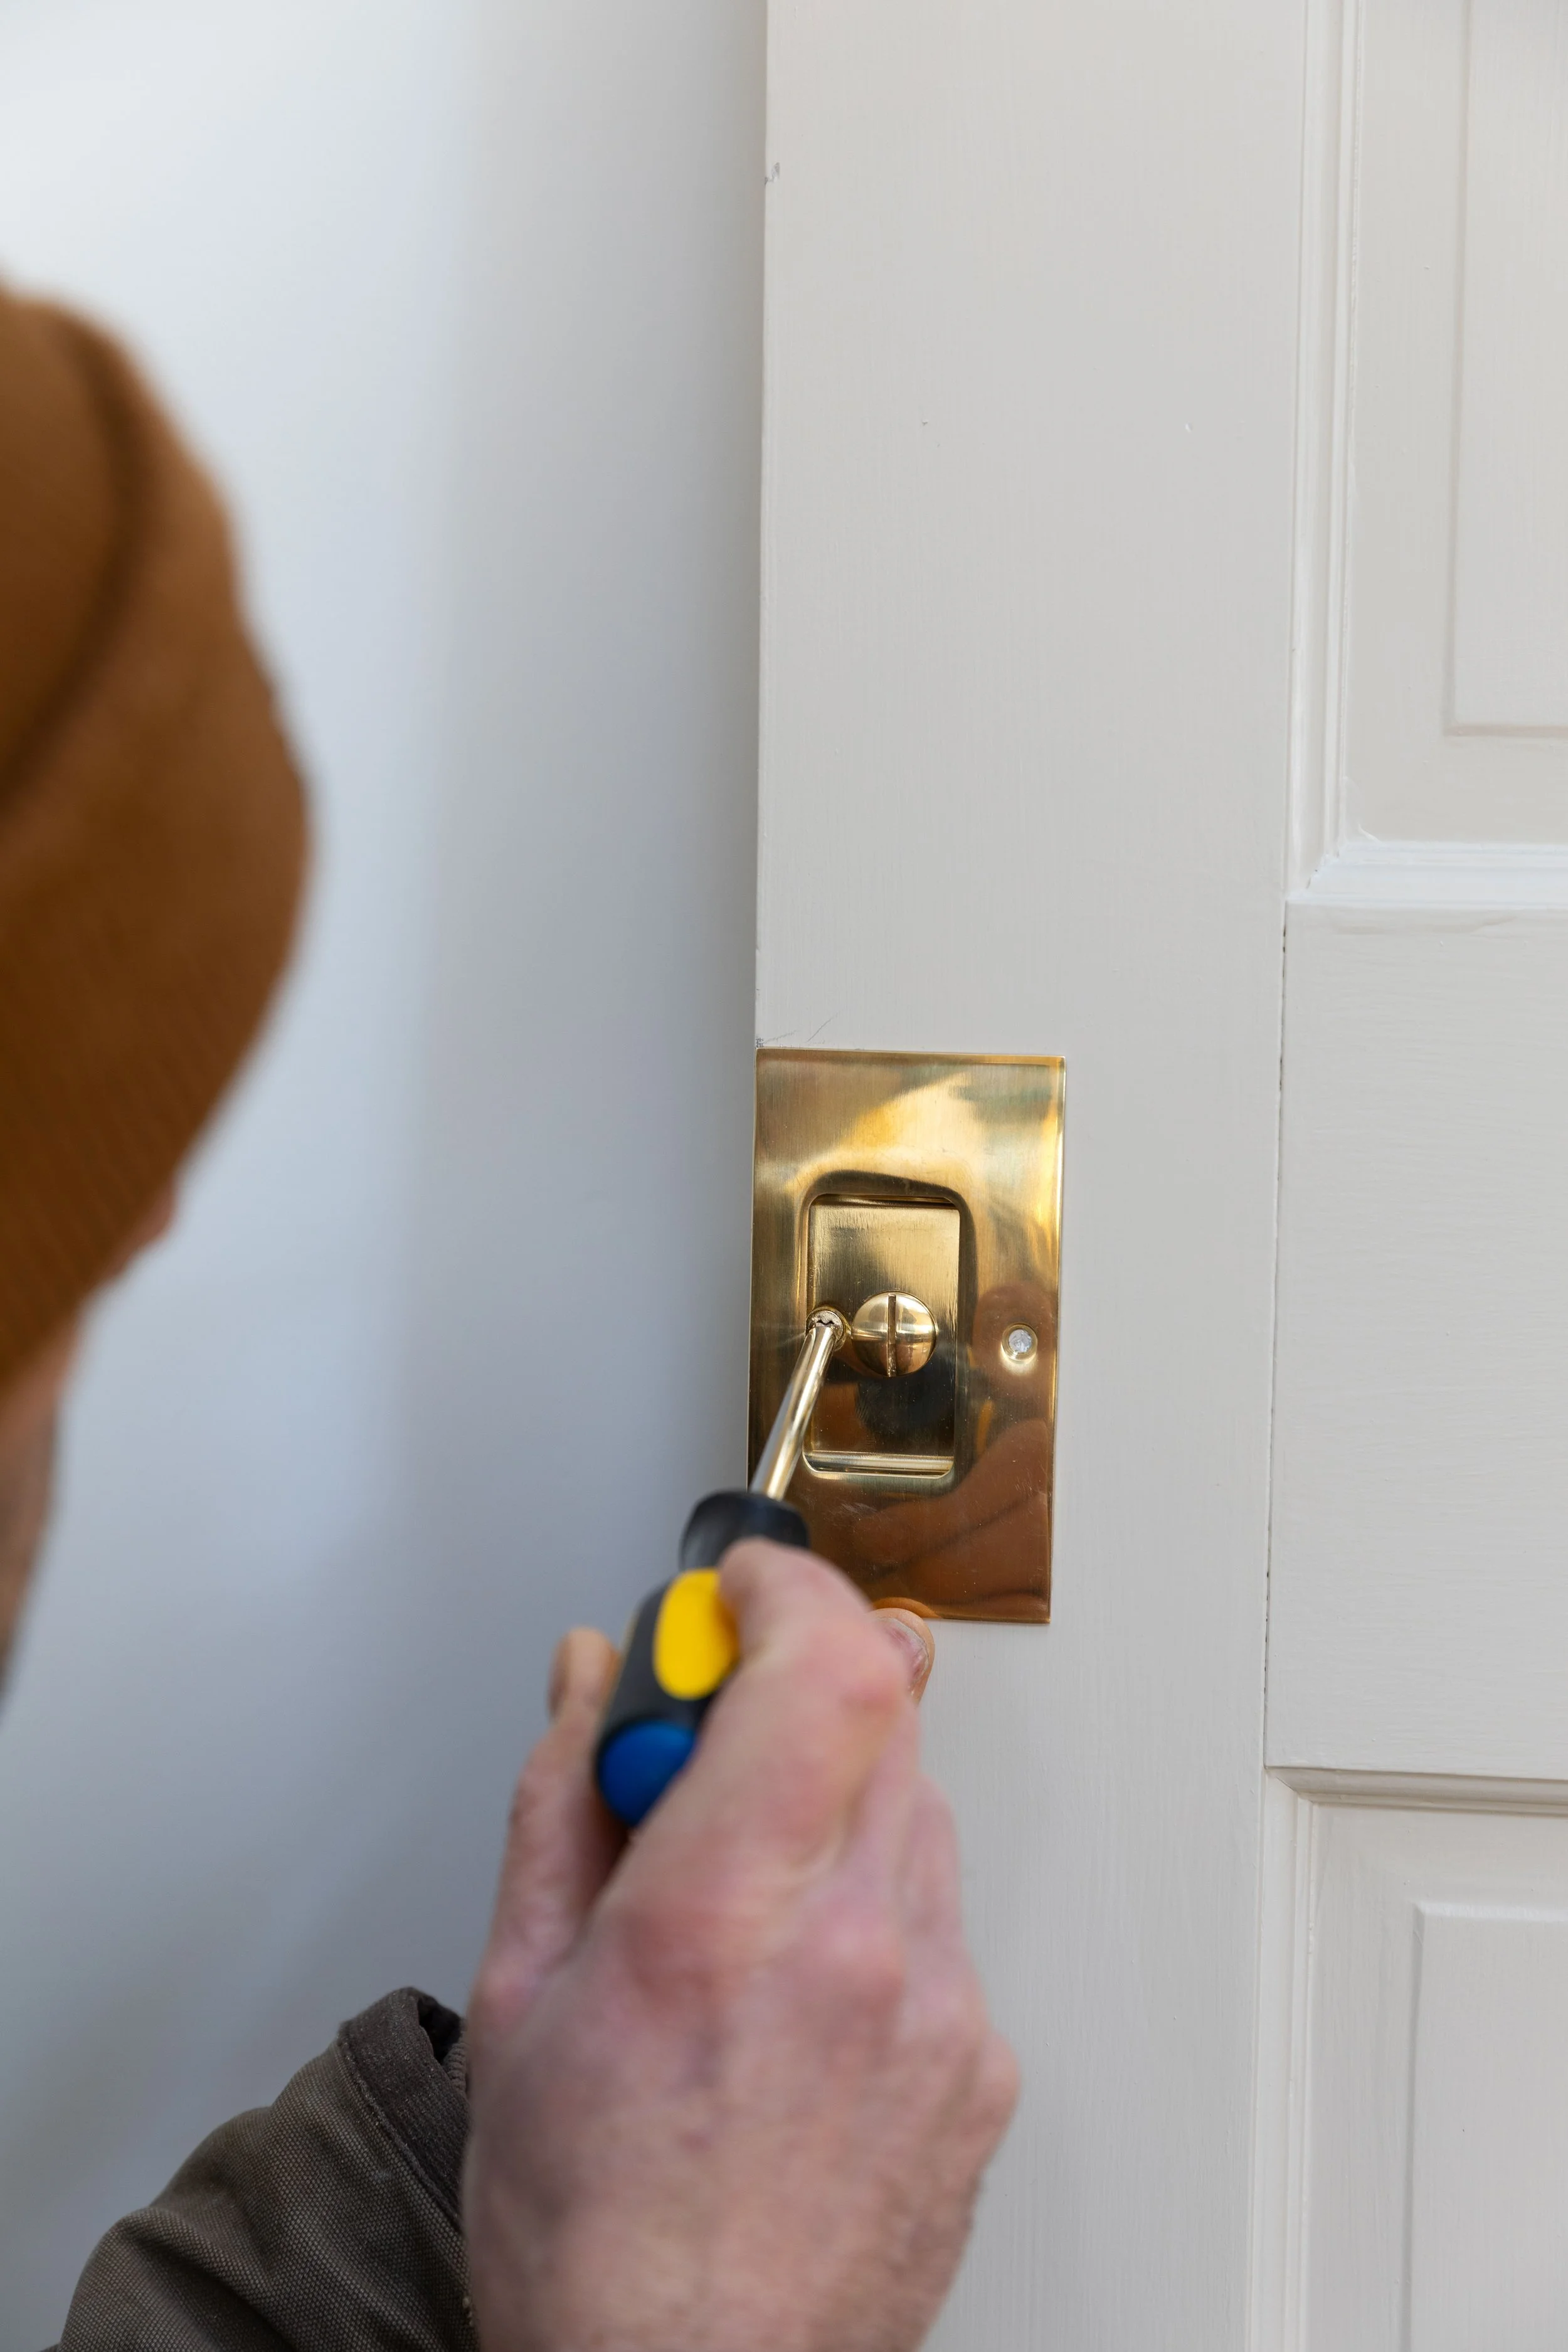
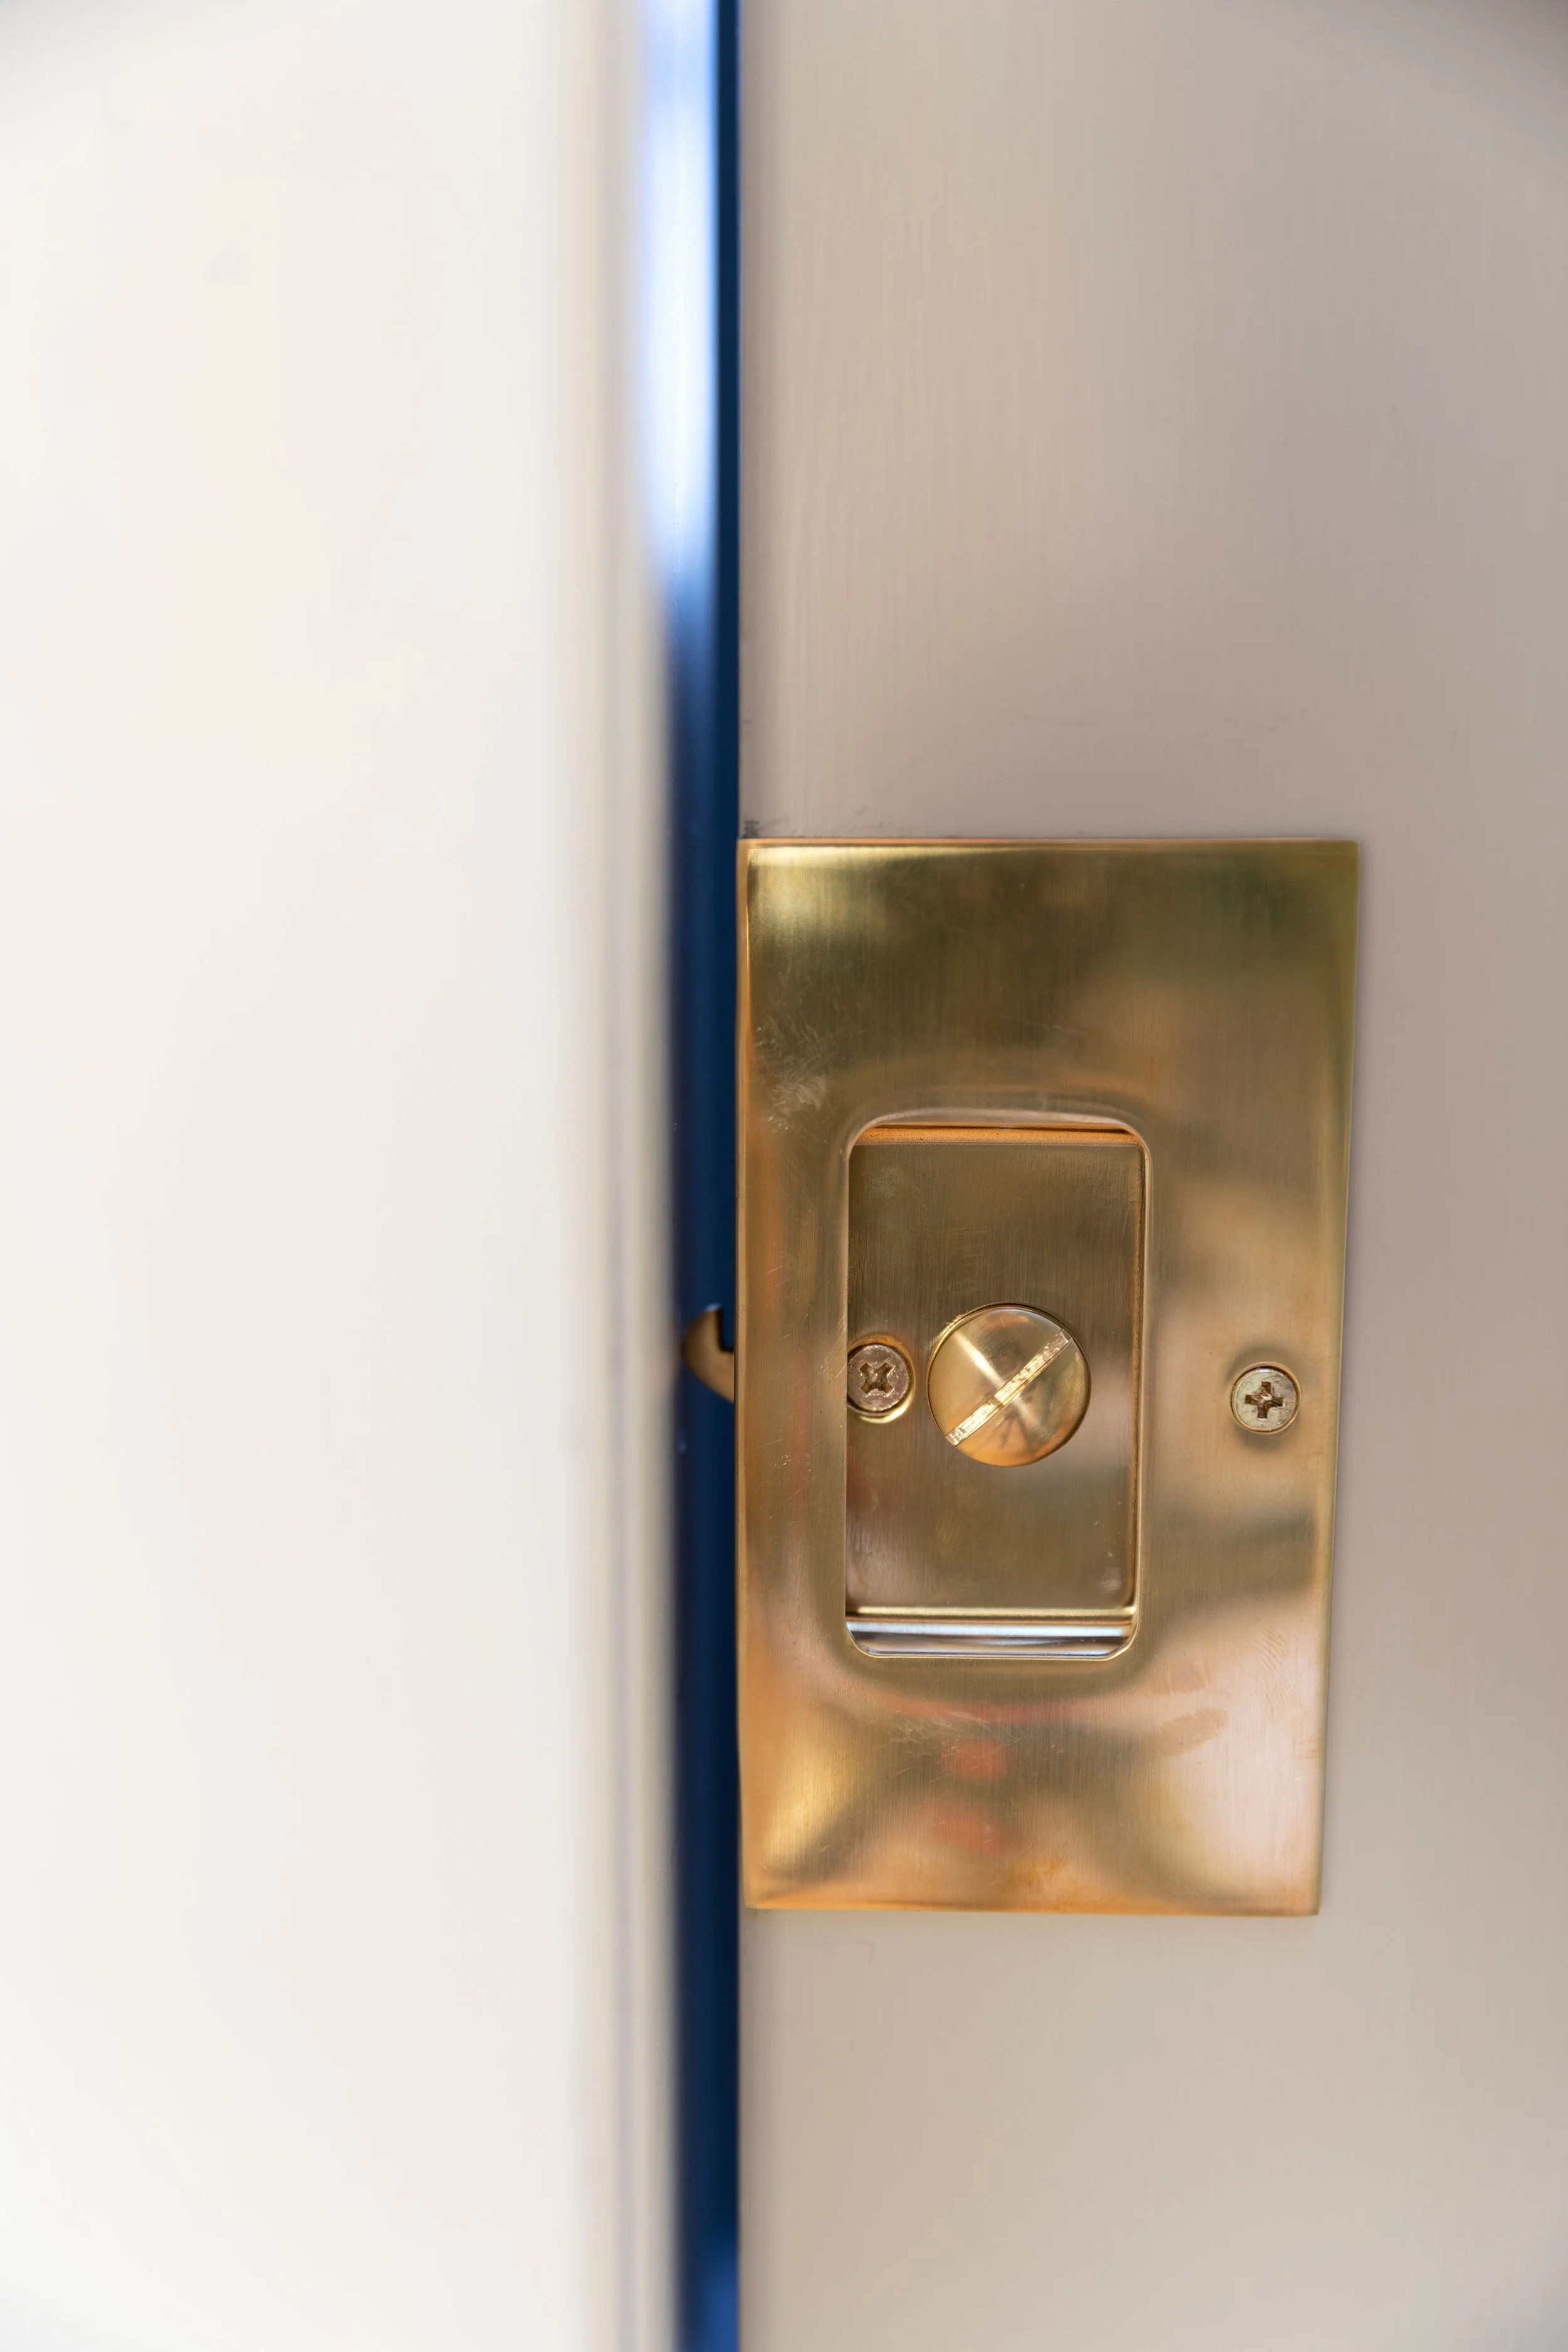
Step 3: Install door handle
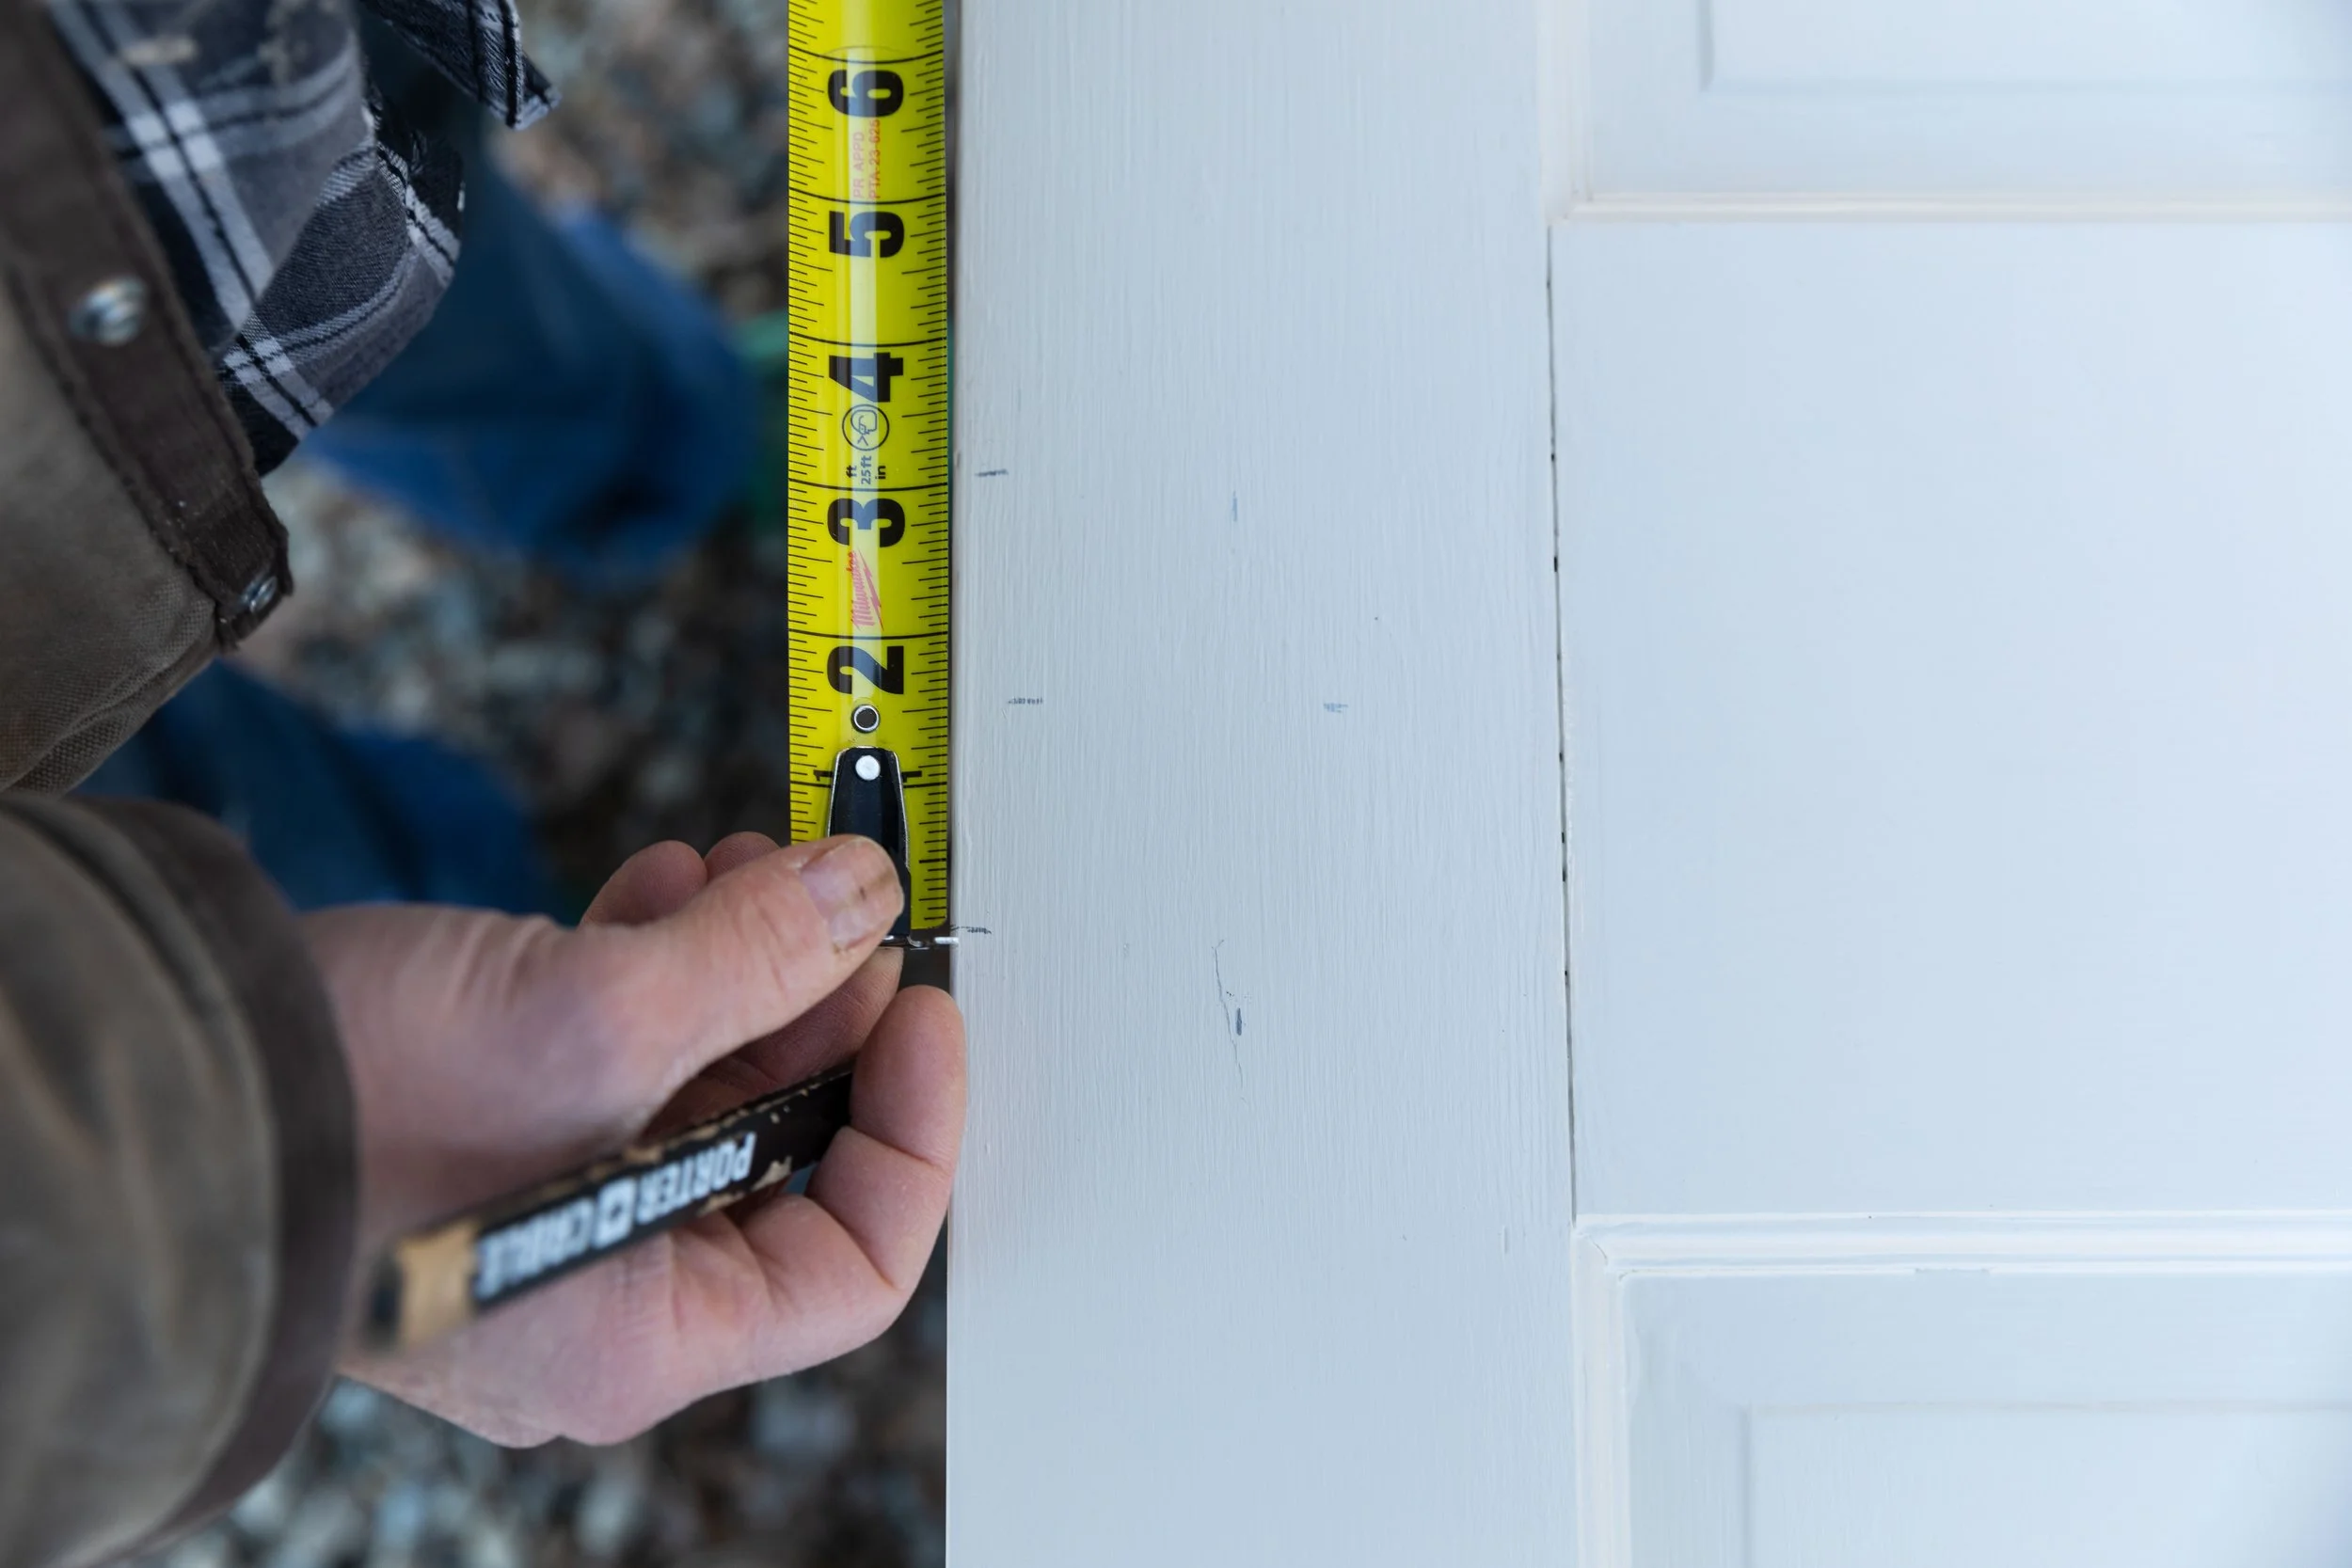
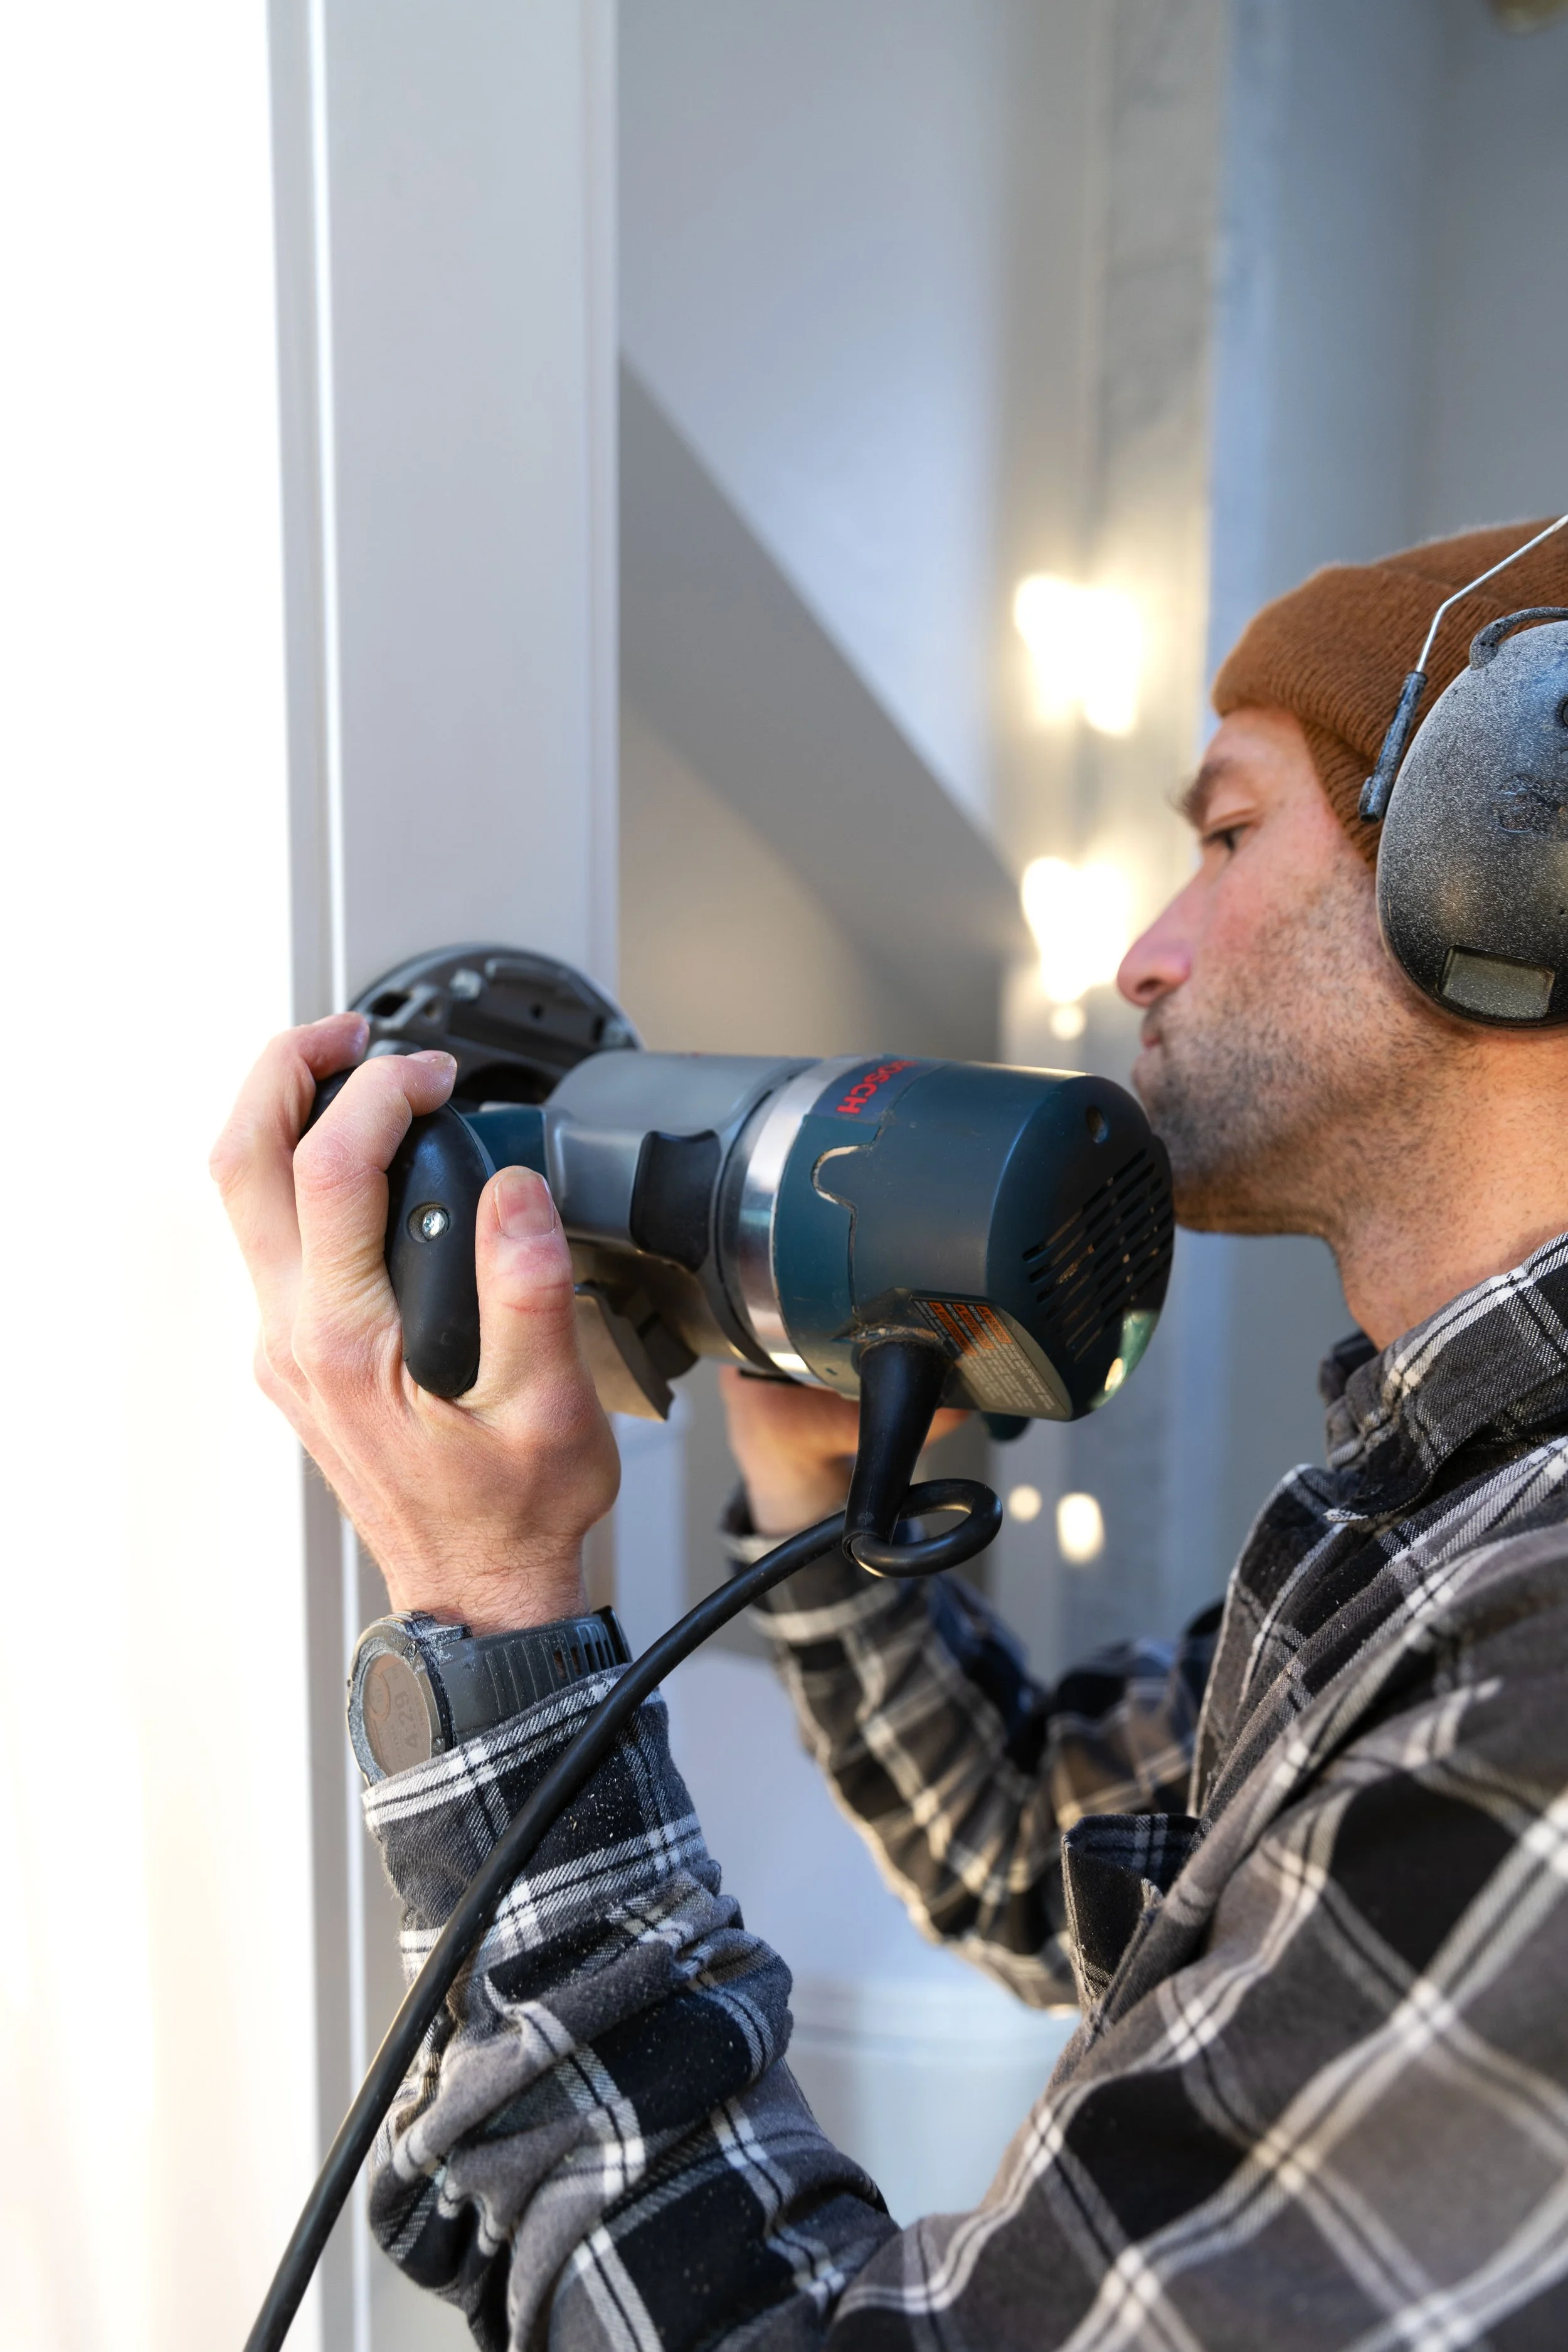
Now that the door is ready, it was time to install the hardware. Cathy fell head over heels for this pocket door set awhile back. It comes in unlaquered brass and is really solid. To install it, we took the door outside and followed the manufacturer’s instructions, which was essentially to cut out a rectangle out of the edge of the door where the hardware will sit. Hot tip: squares are easier to cut out of doors than circles!
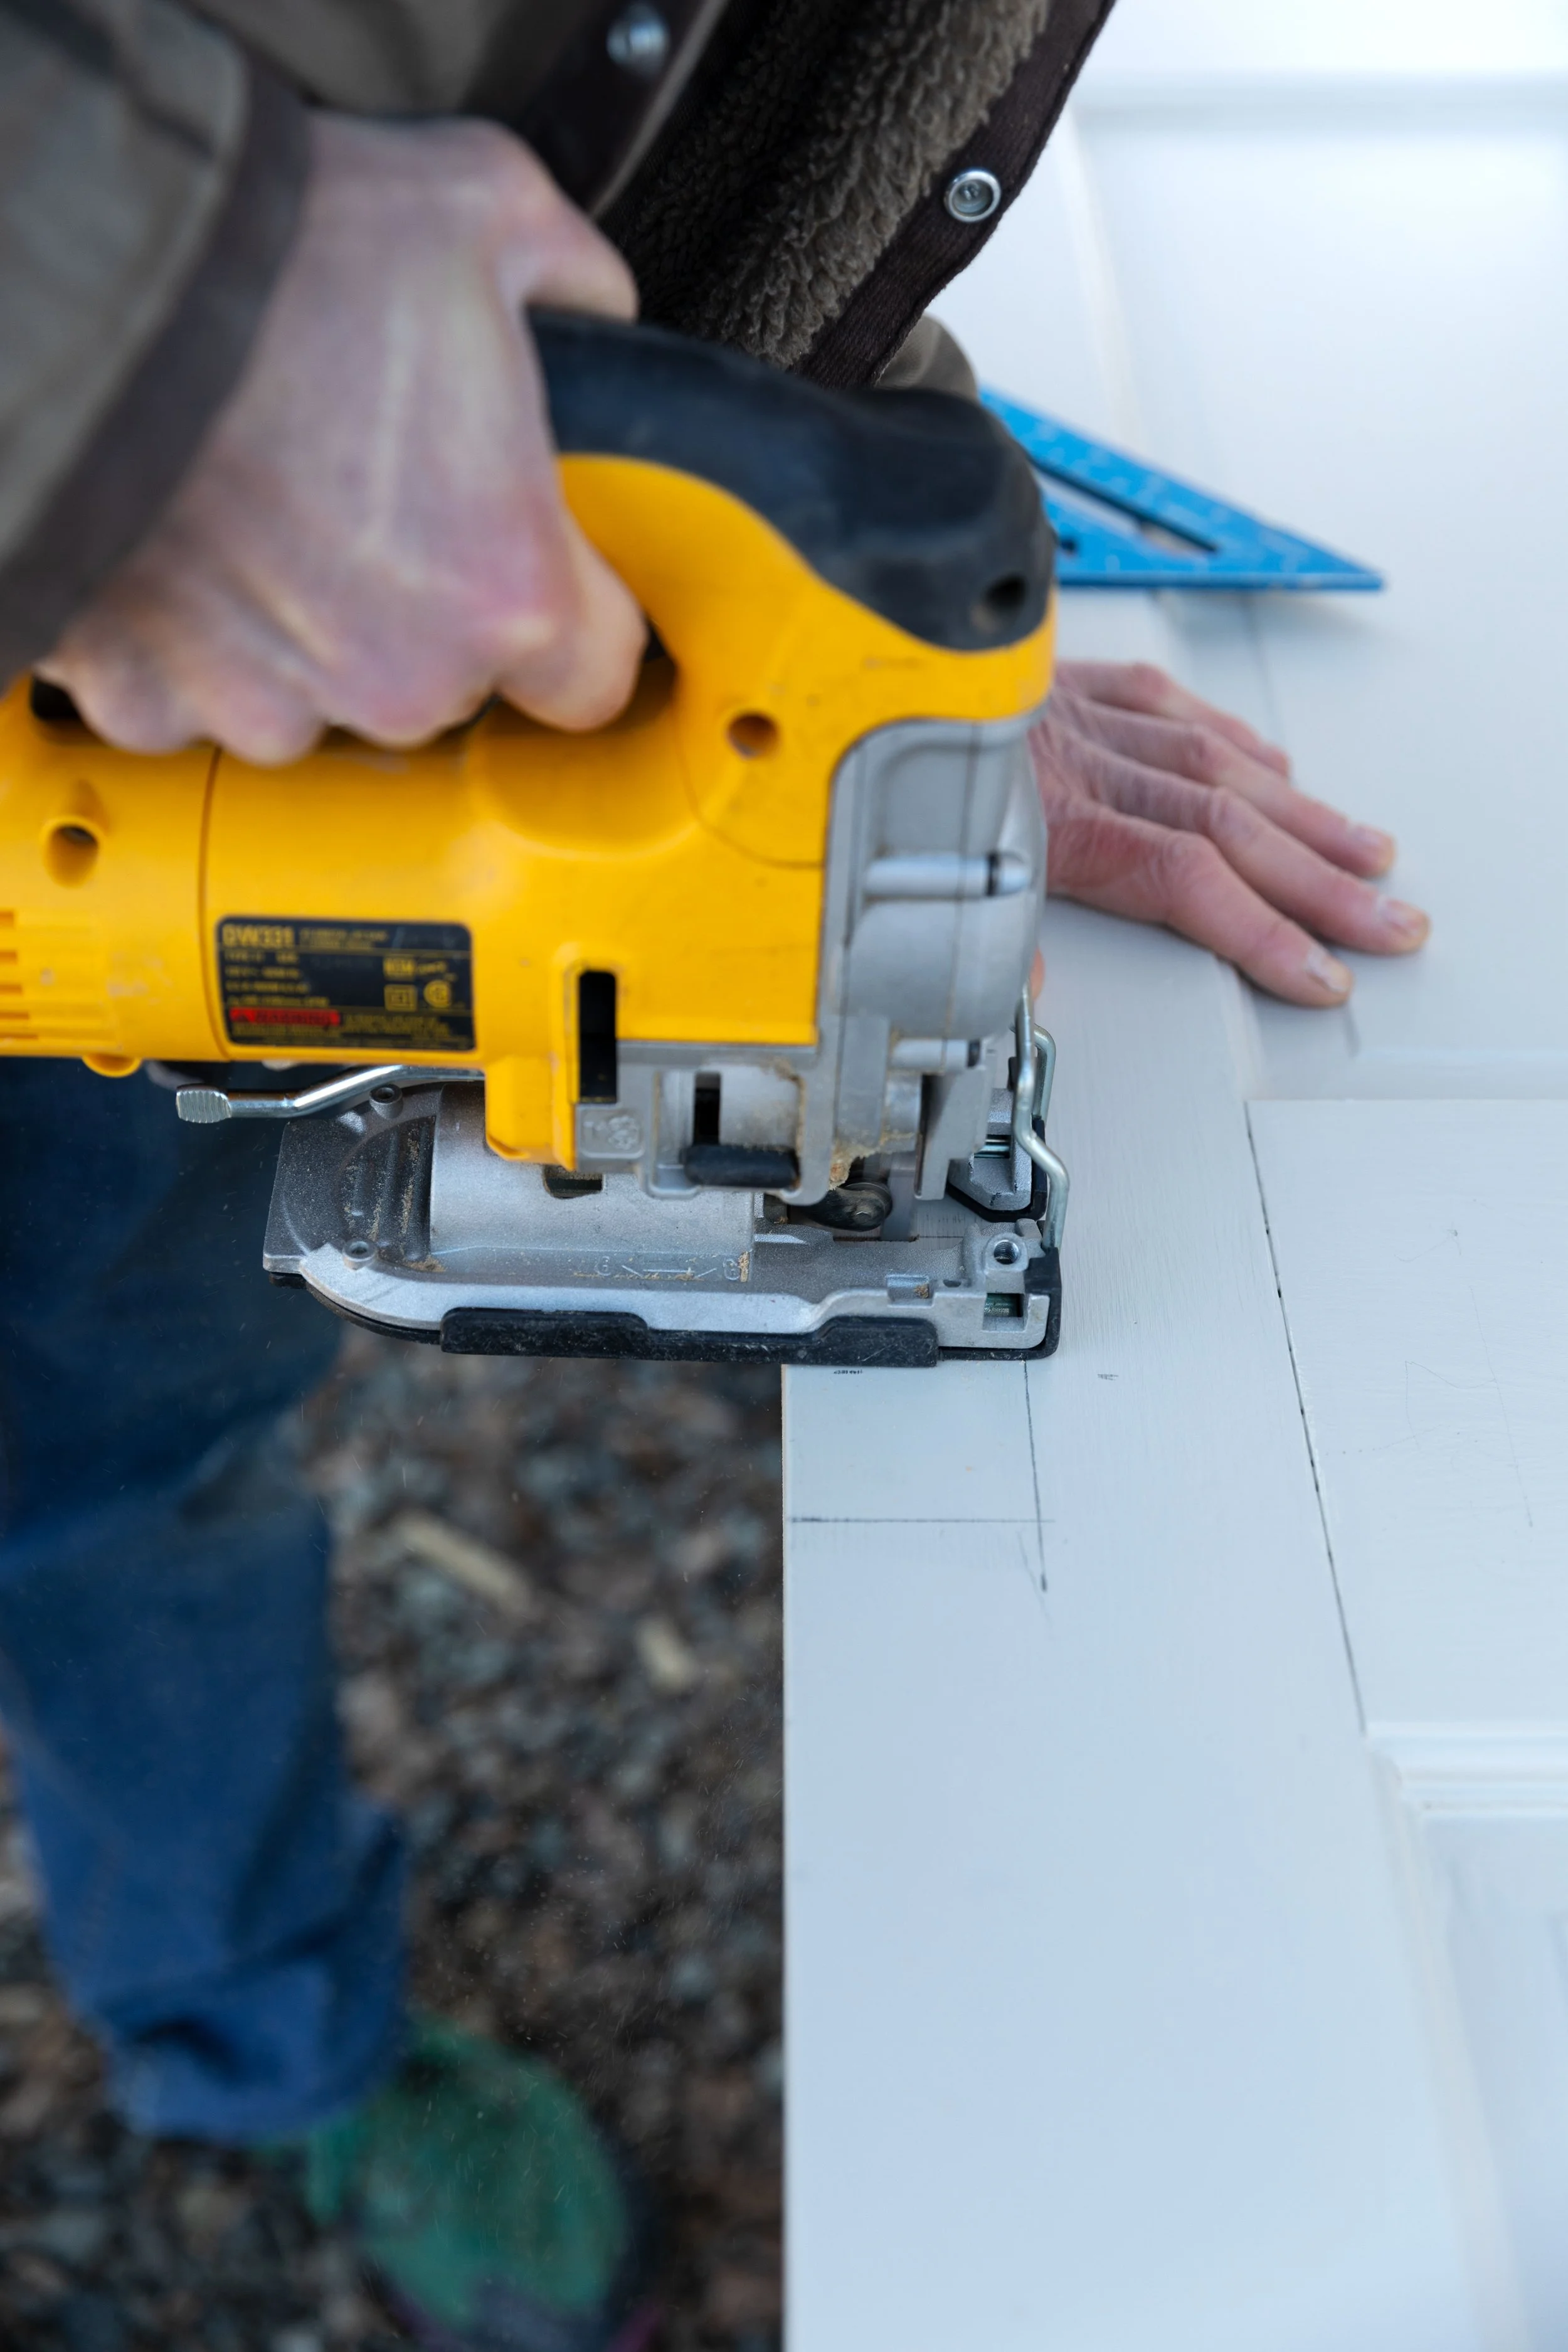
To cut the square I used a router and a multi tool. It was handy to have both, but either would work to get the cutout done.


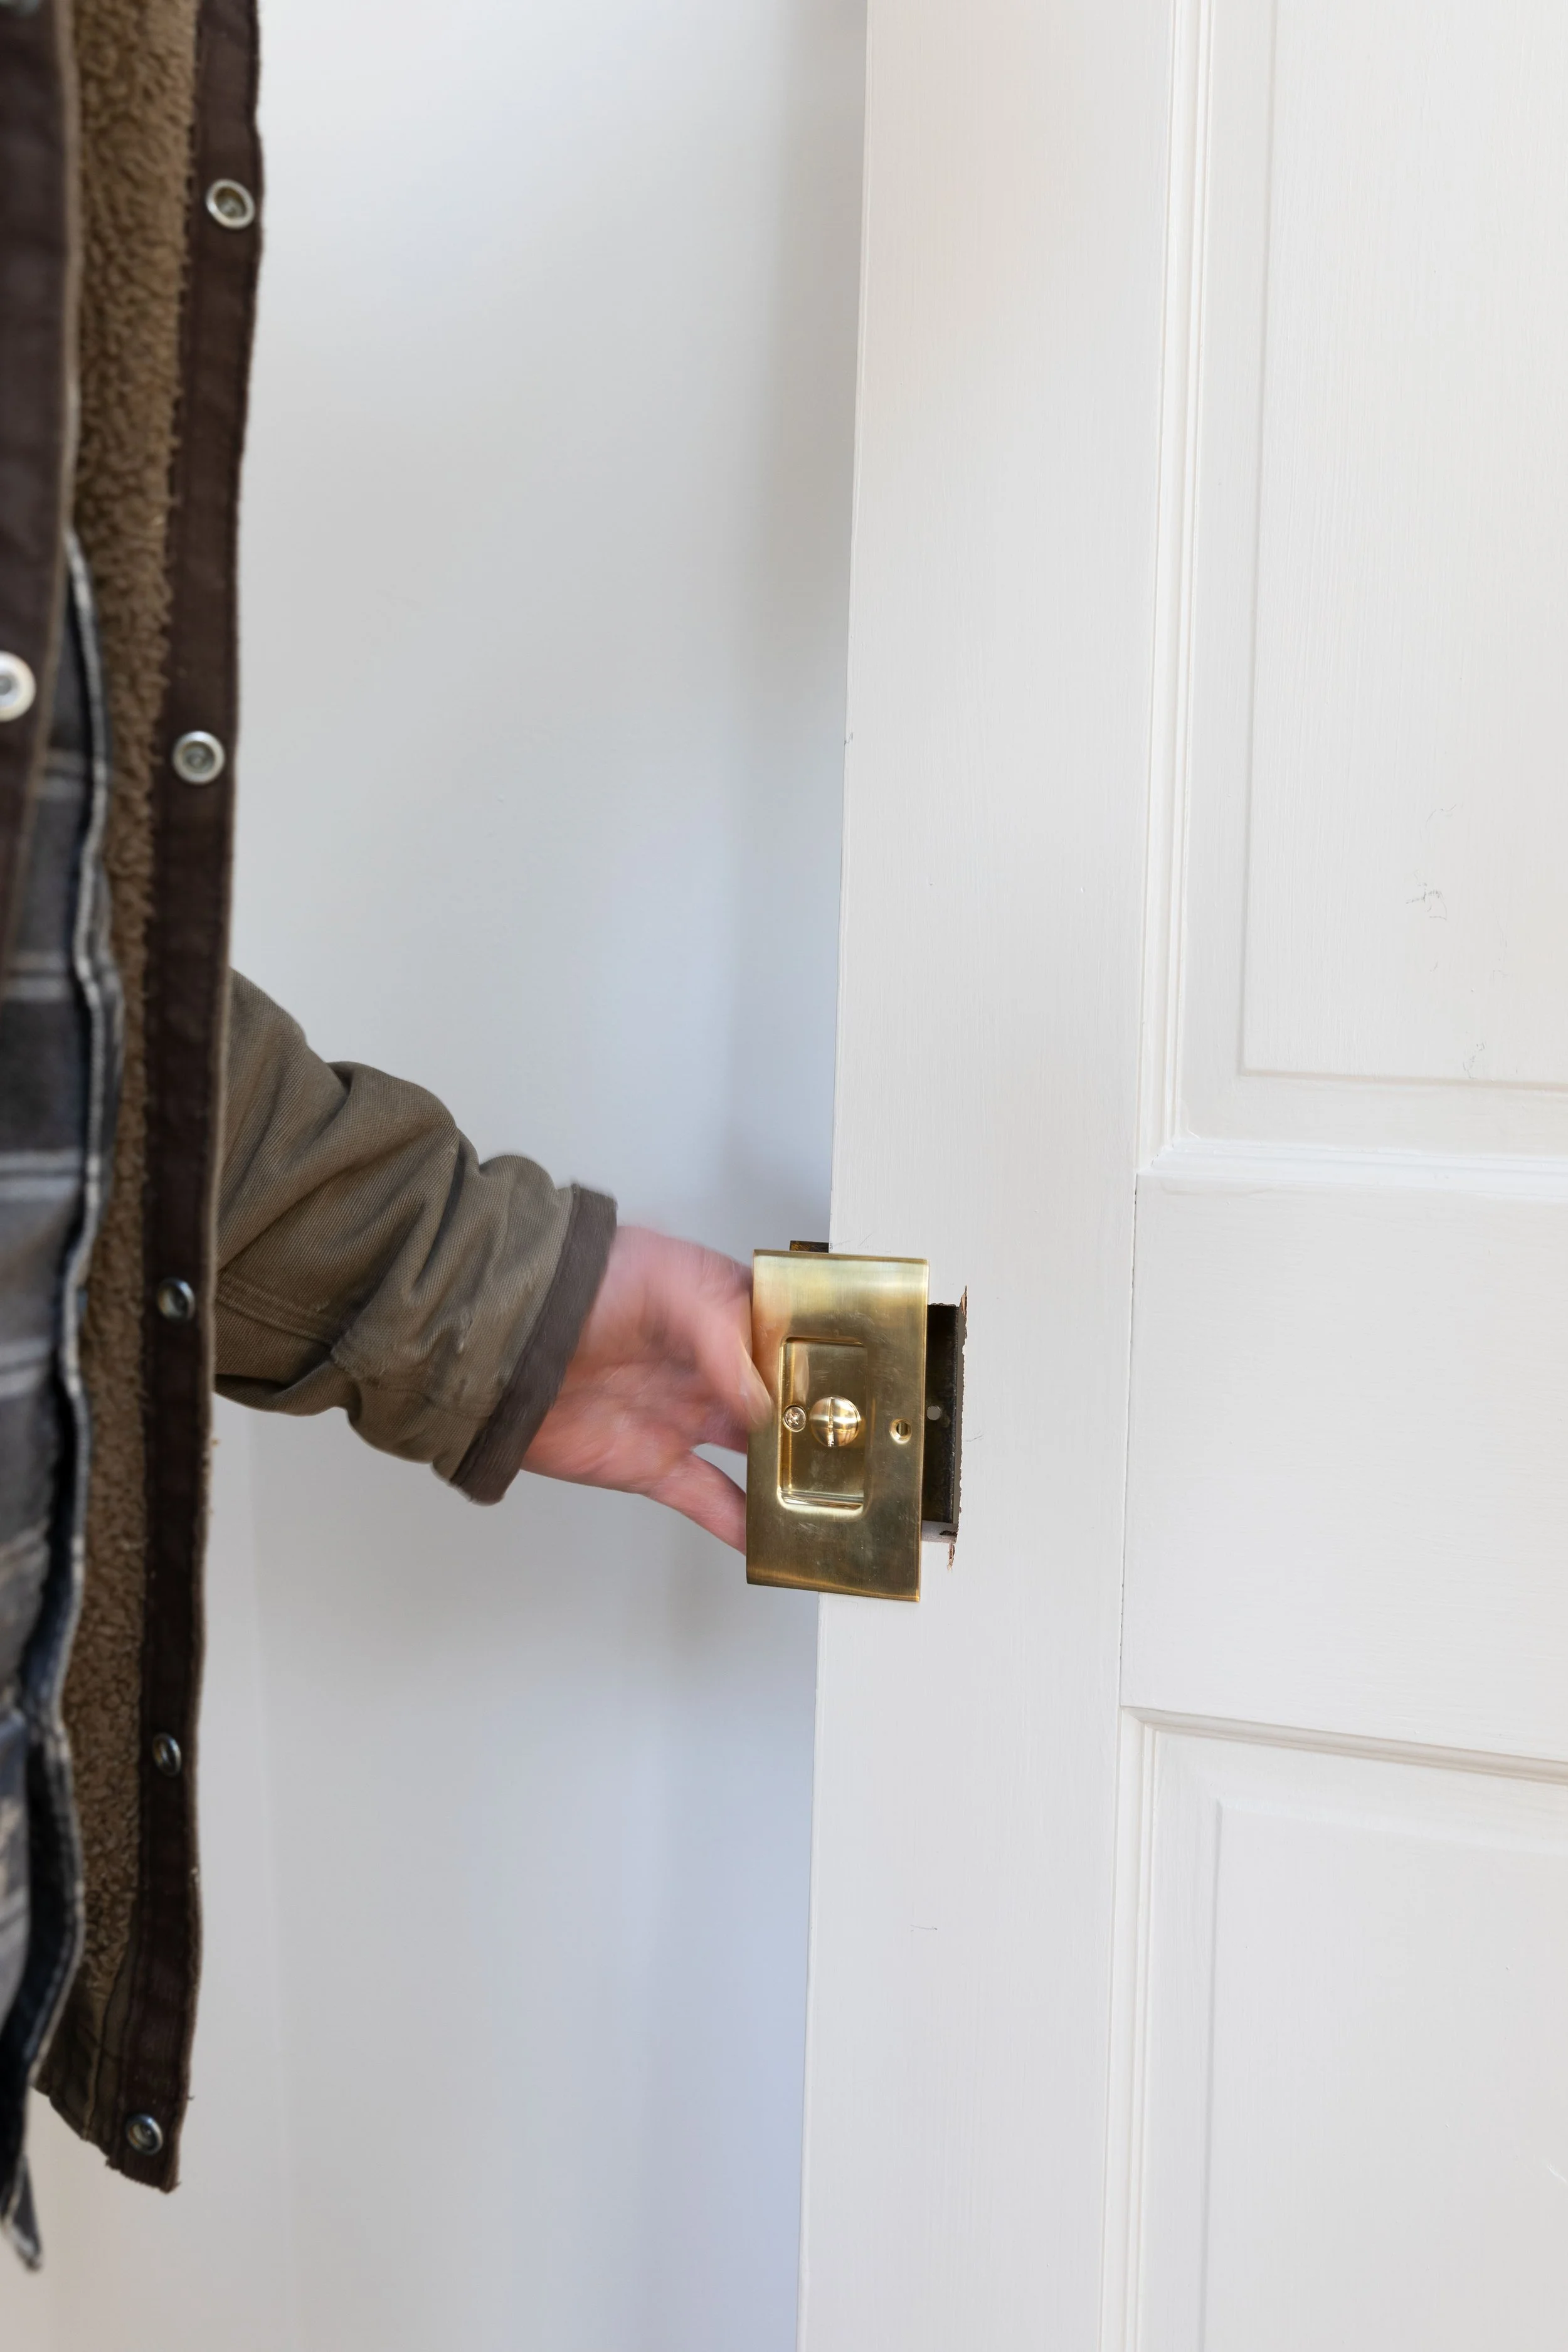
Once the cutout was done, we brought the door back inside to add the hardware. It was easy to install, just requiring a couple of screws, and it was done in less than an hour.
Step 4: Install hanging brackets
To hang the door on the tracks in your wall, you’ll need to install the hanging brackets to the top of the door (that come with the kit). The key here is to center them perfectly on the top of the door so the door hangs straight.

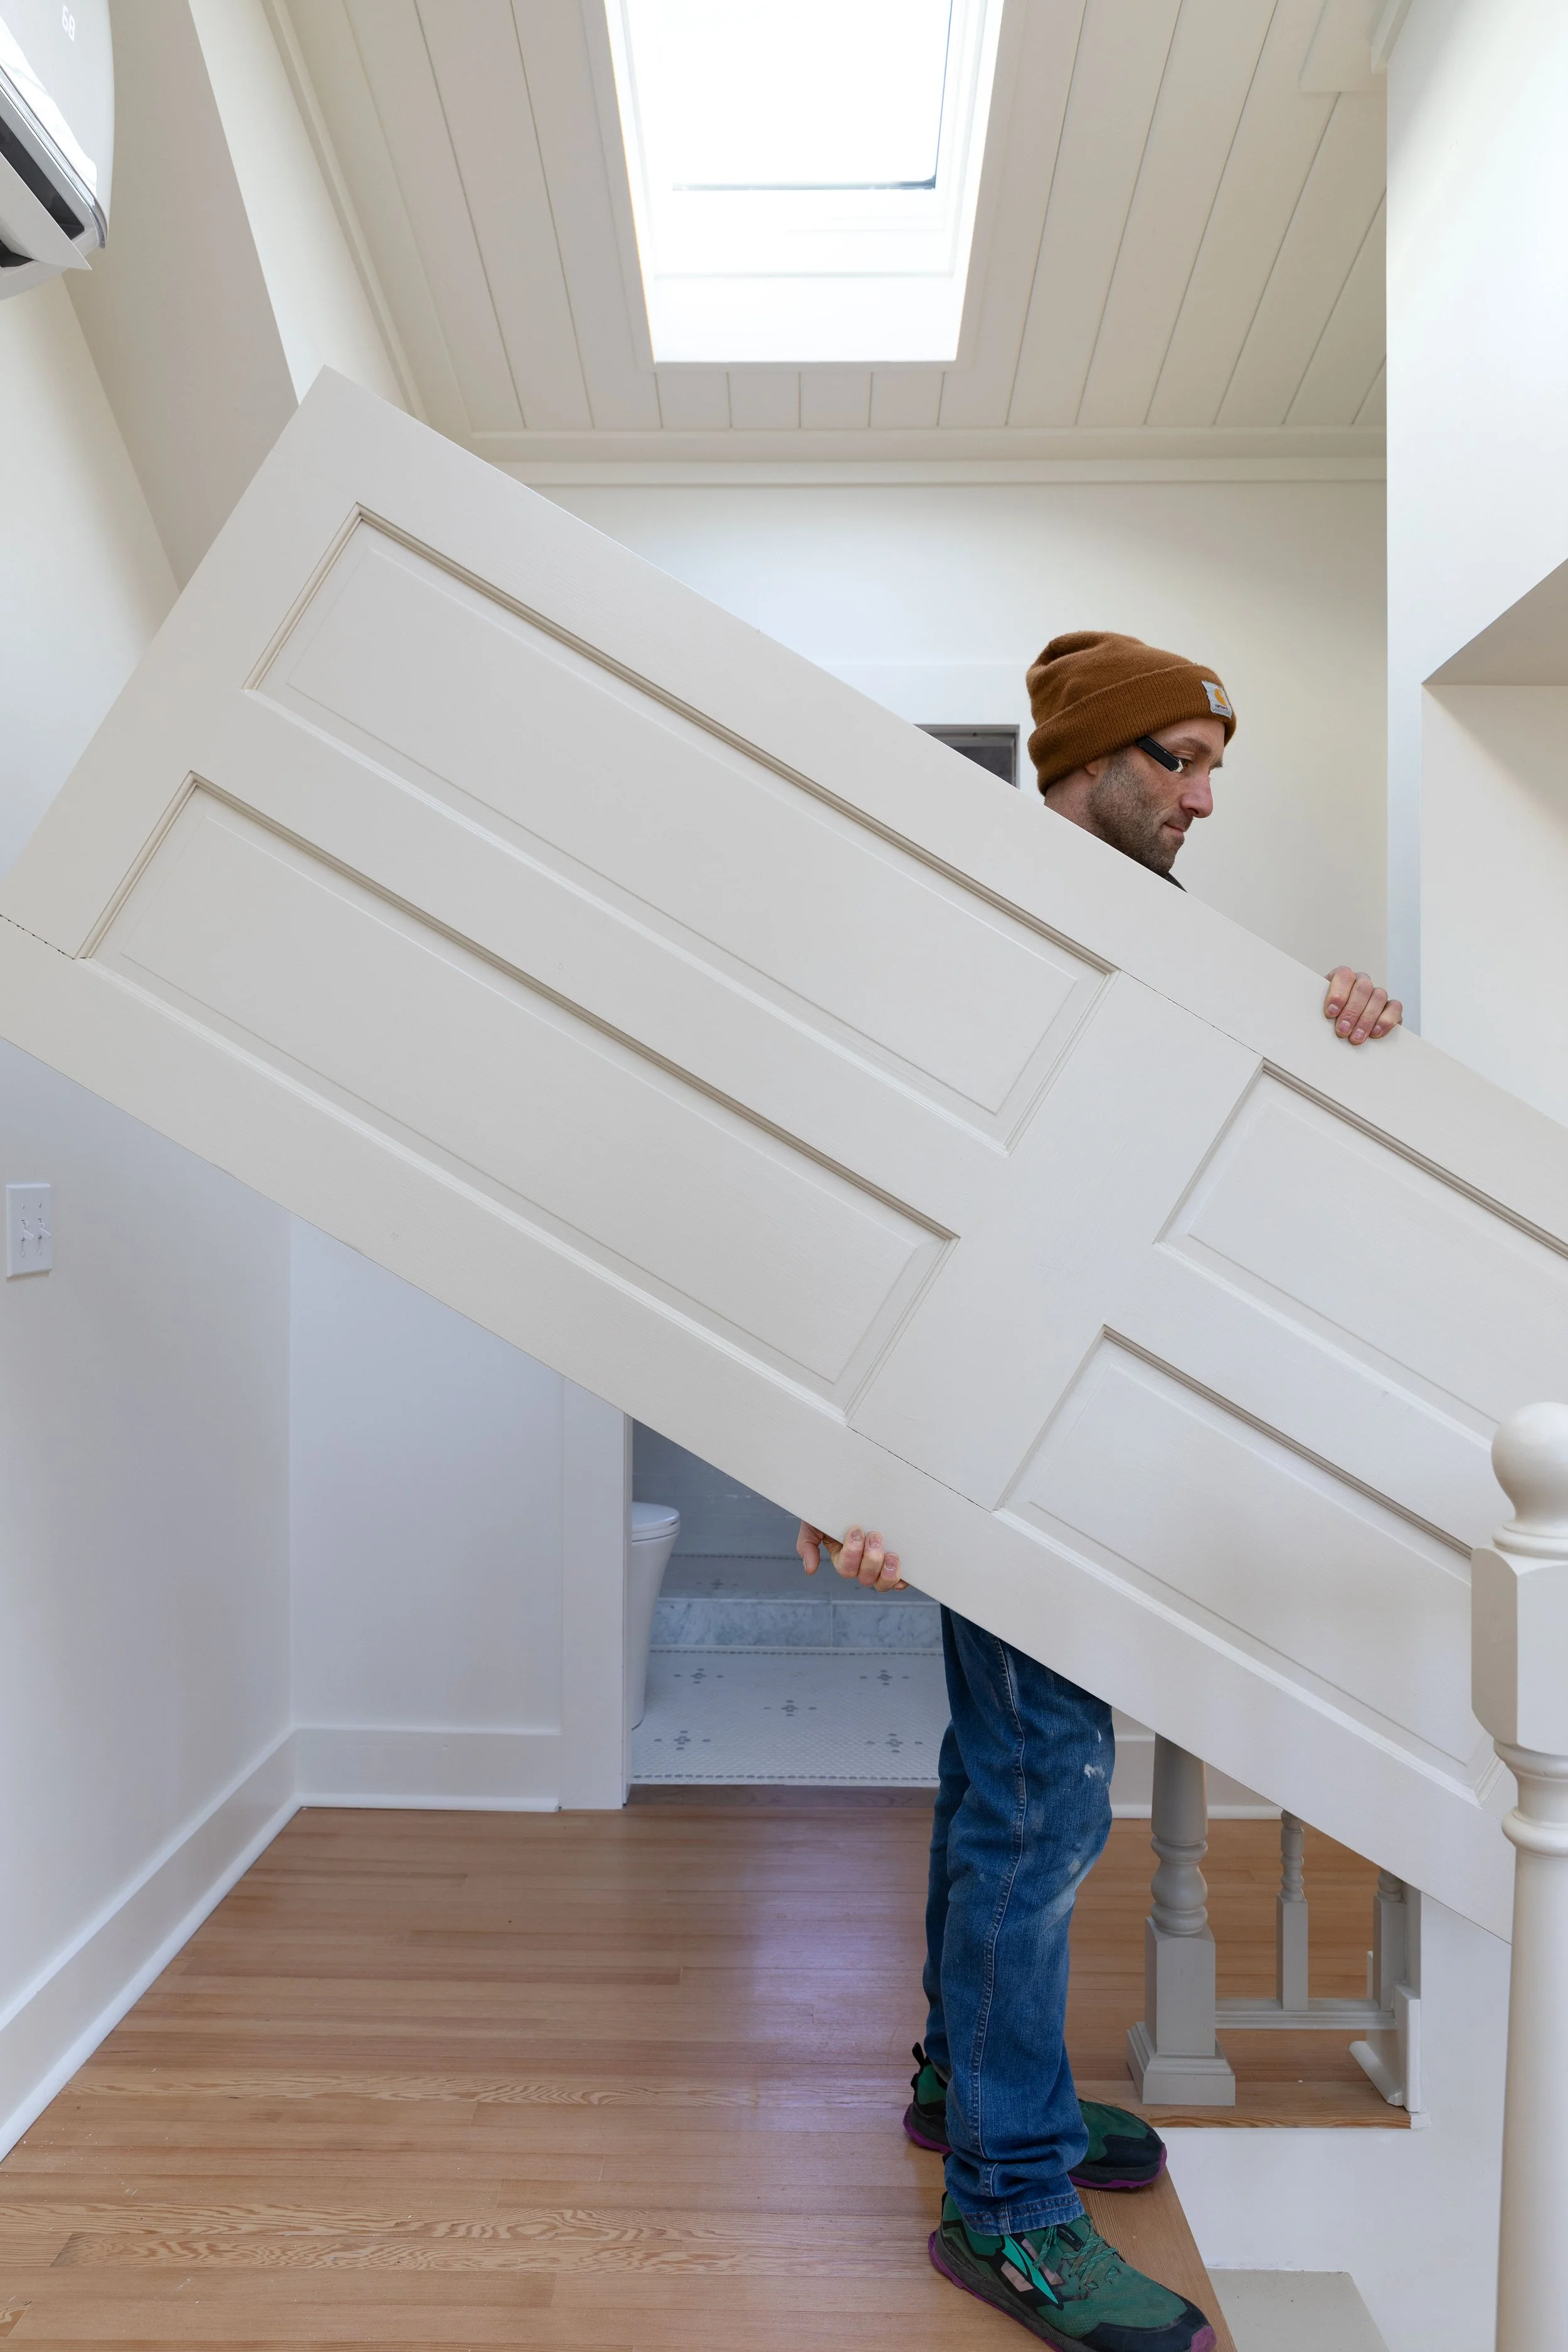
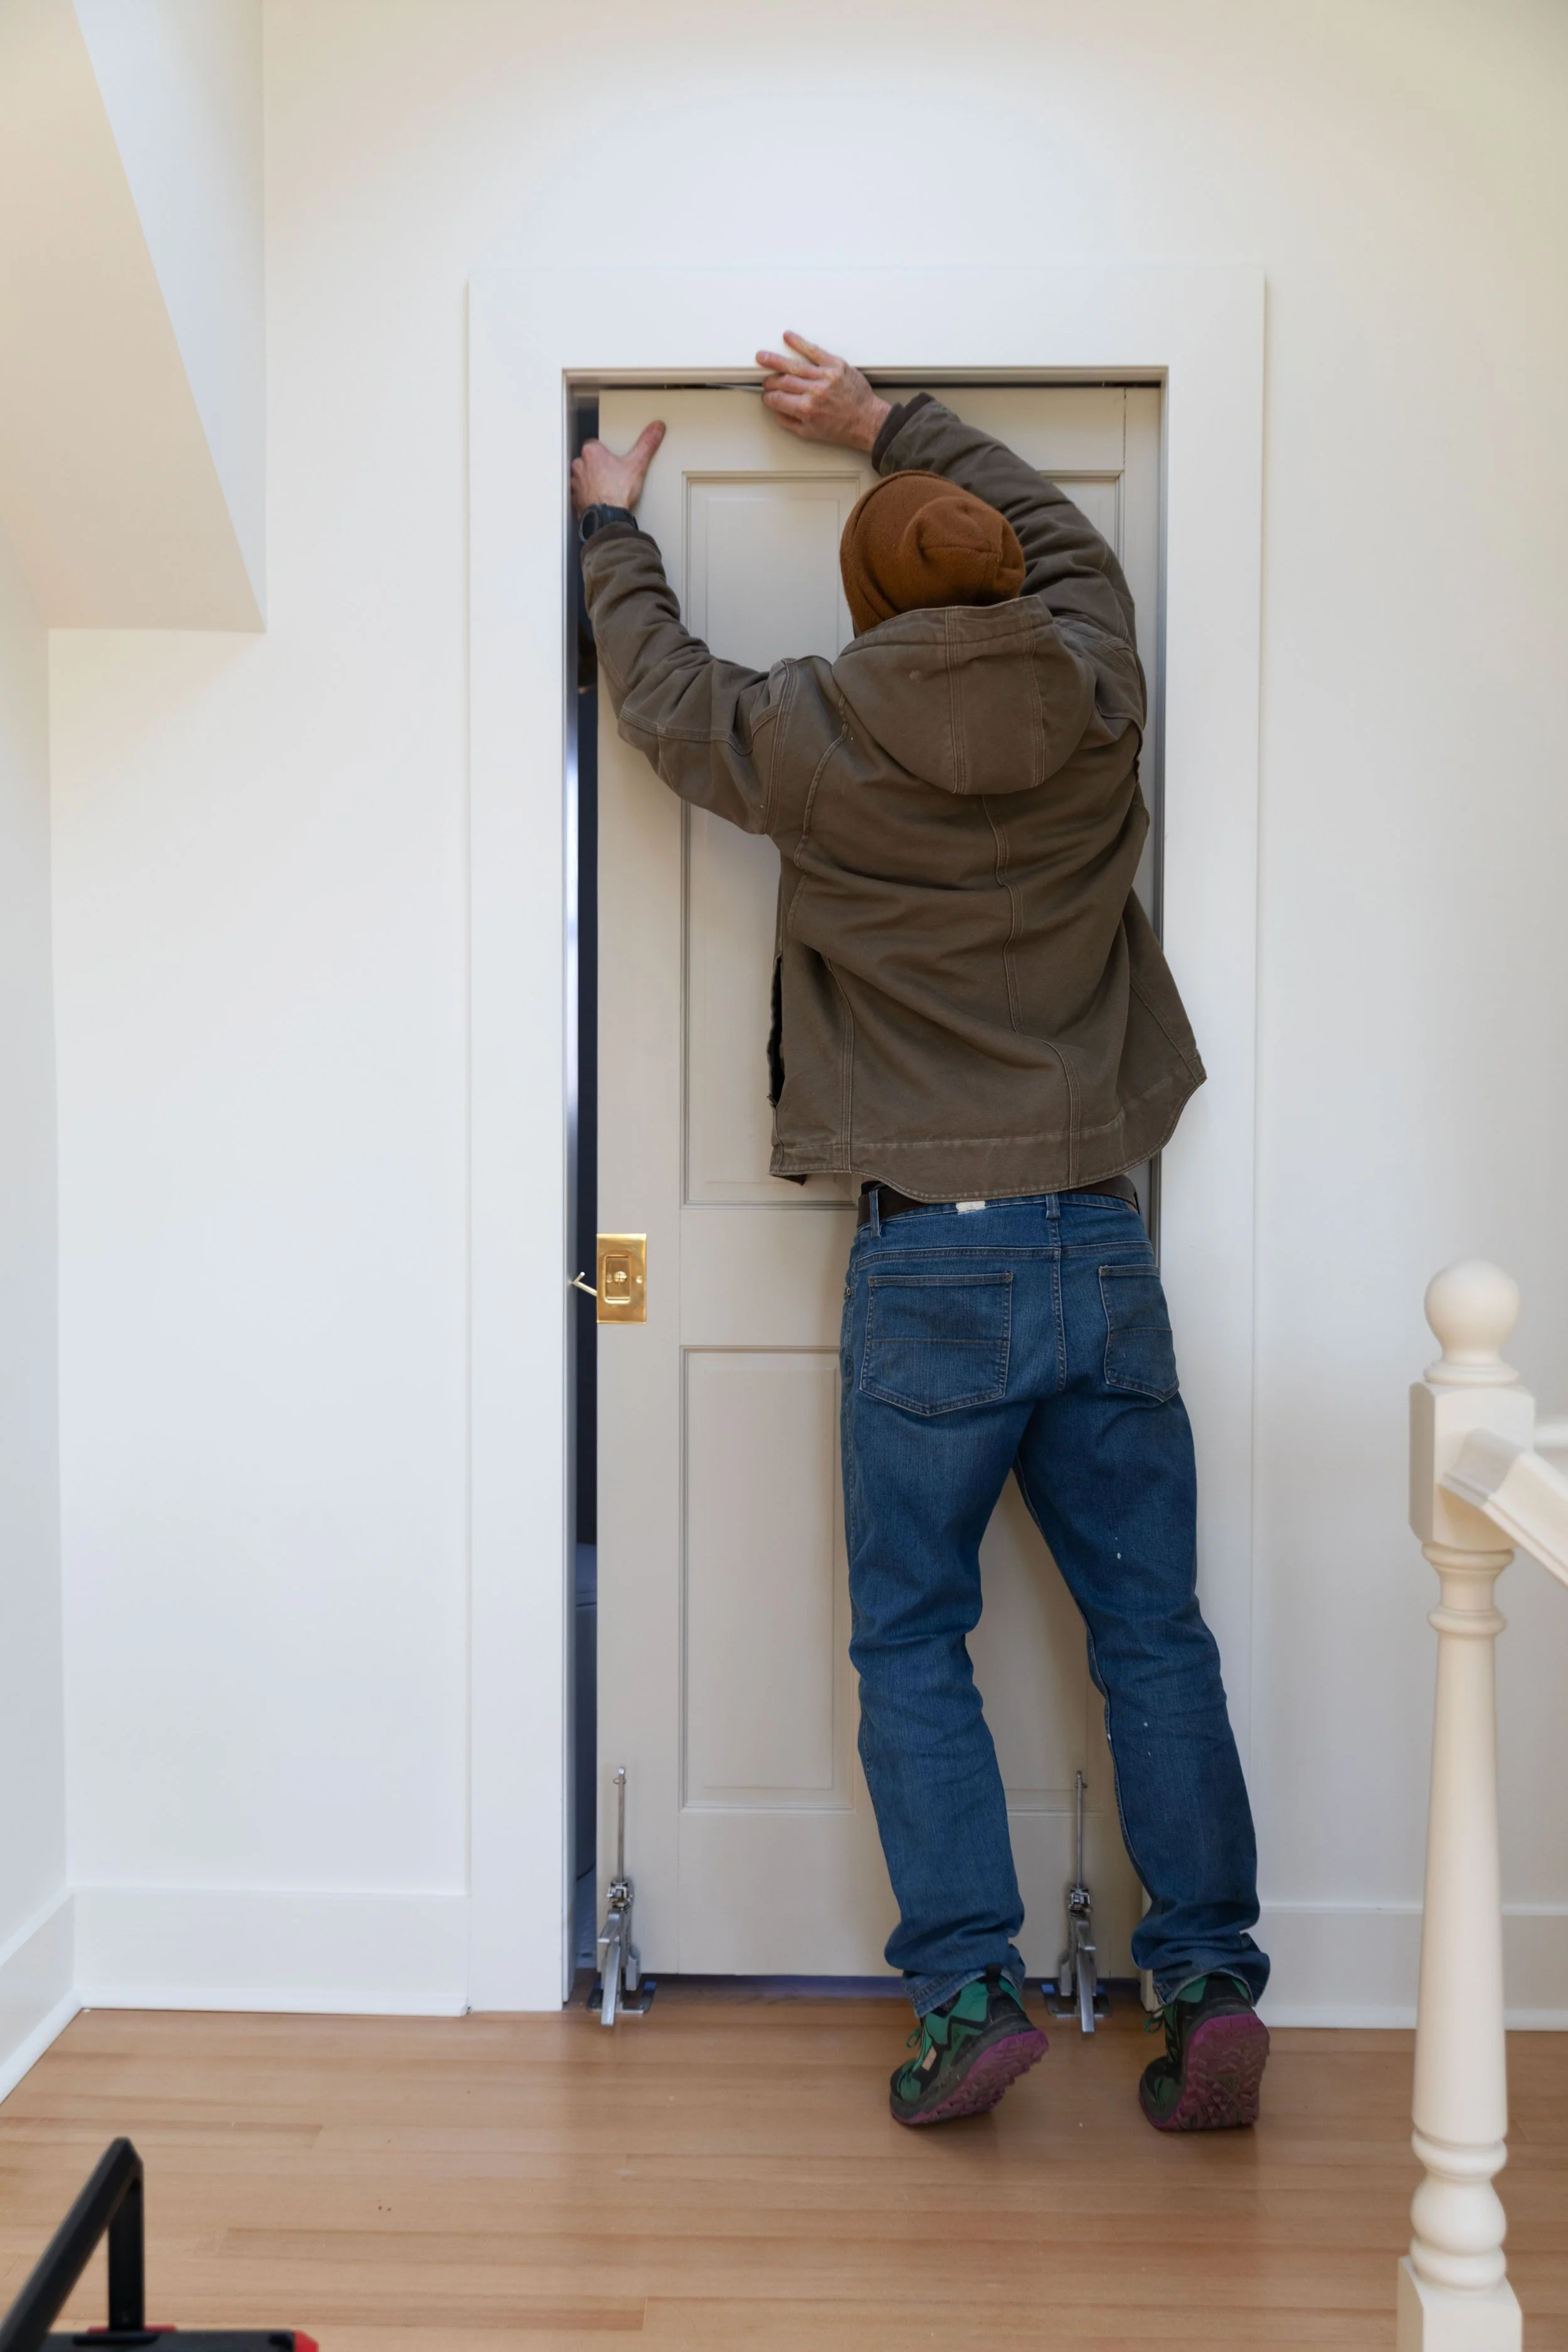
Step 5: Hang the door
Connecting the hanging brackets to the trolley studs can be a little tricky. Highly recommend using a couple toe jacks to easily lift and adjust the door height. Once you get the brackets clicked in, you can dial in the overall height as well as the cant of the door using the special angled wrench to turn the studs. Note that the angled wrench comes with the pocket door kit.

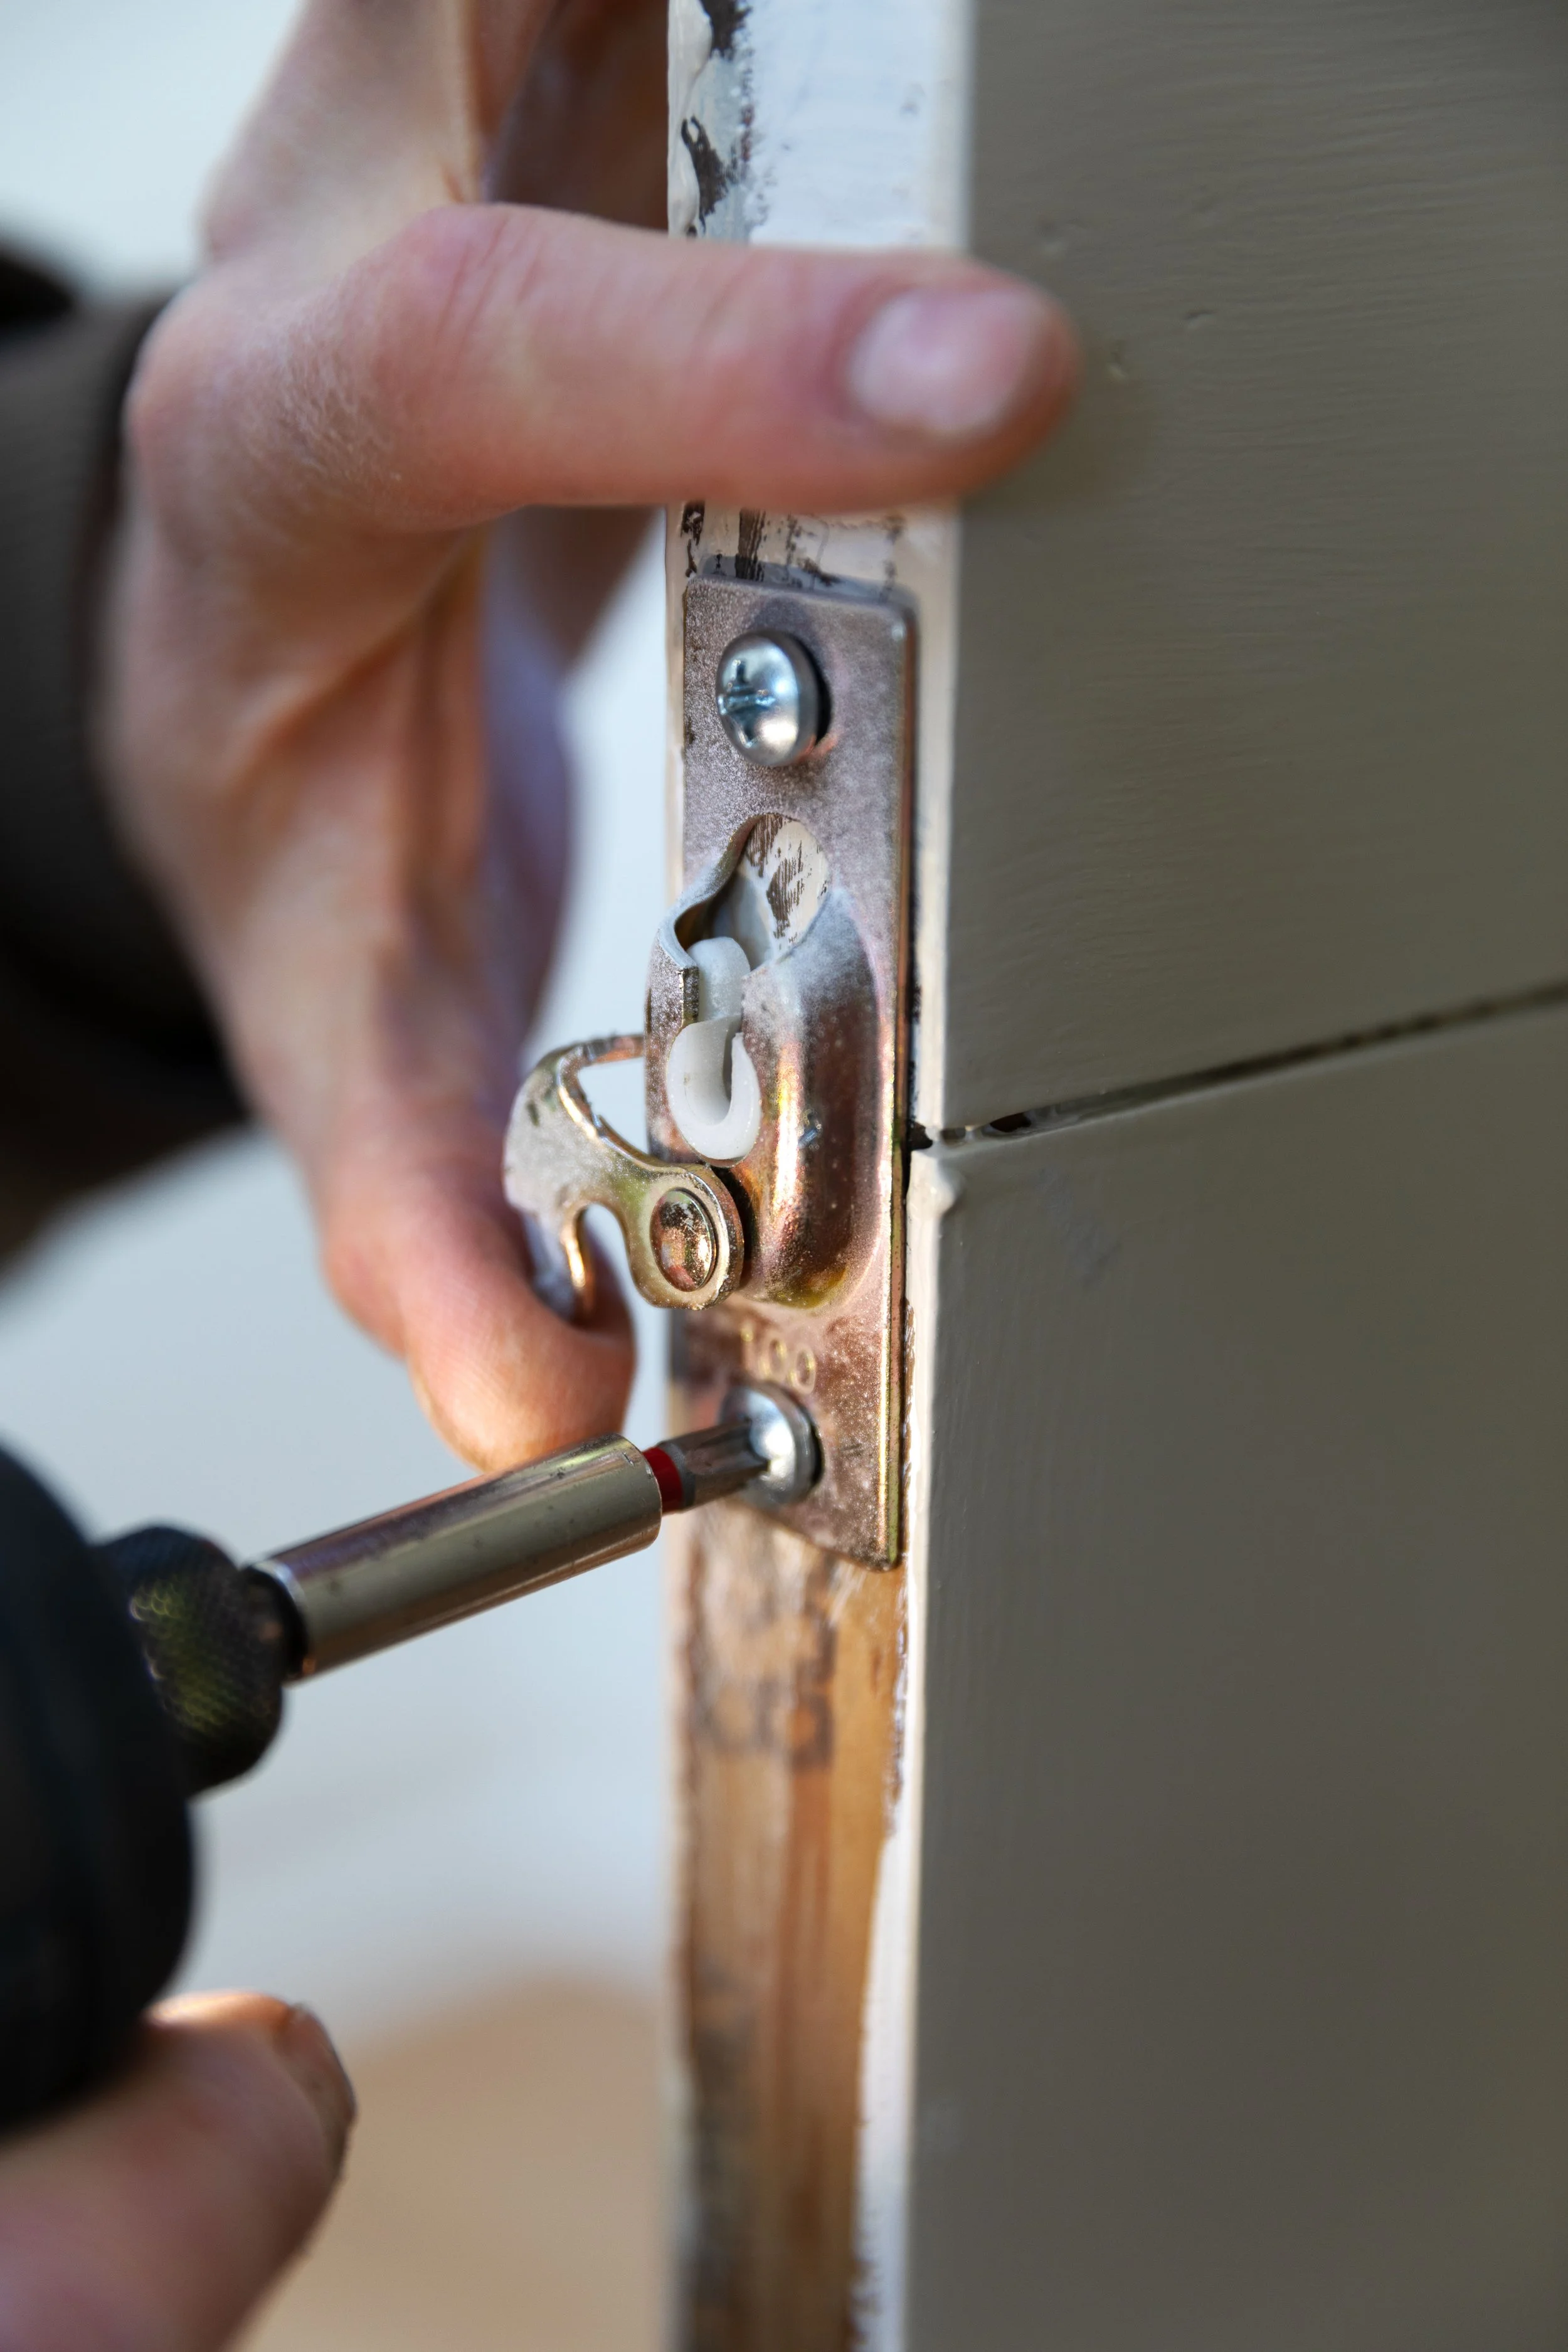
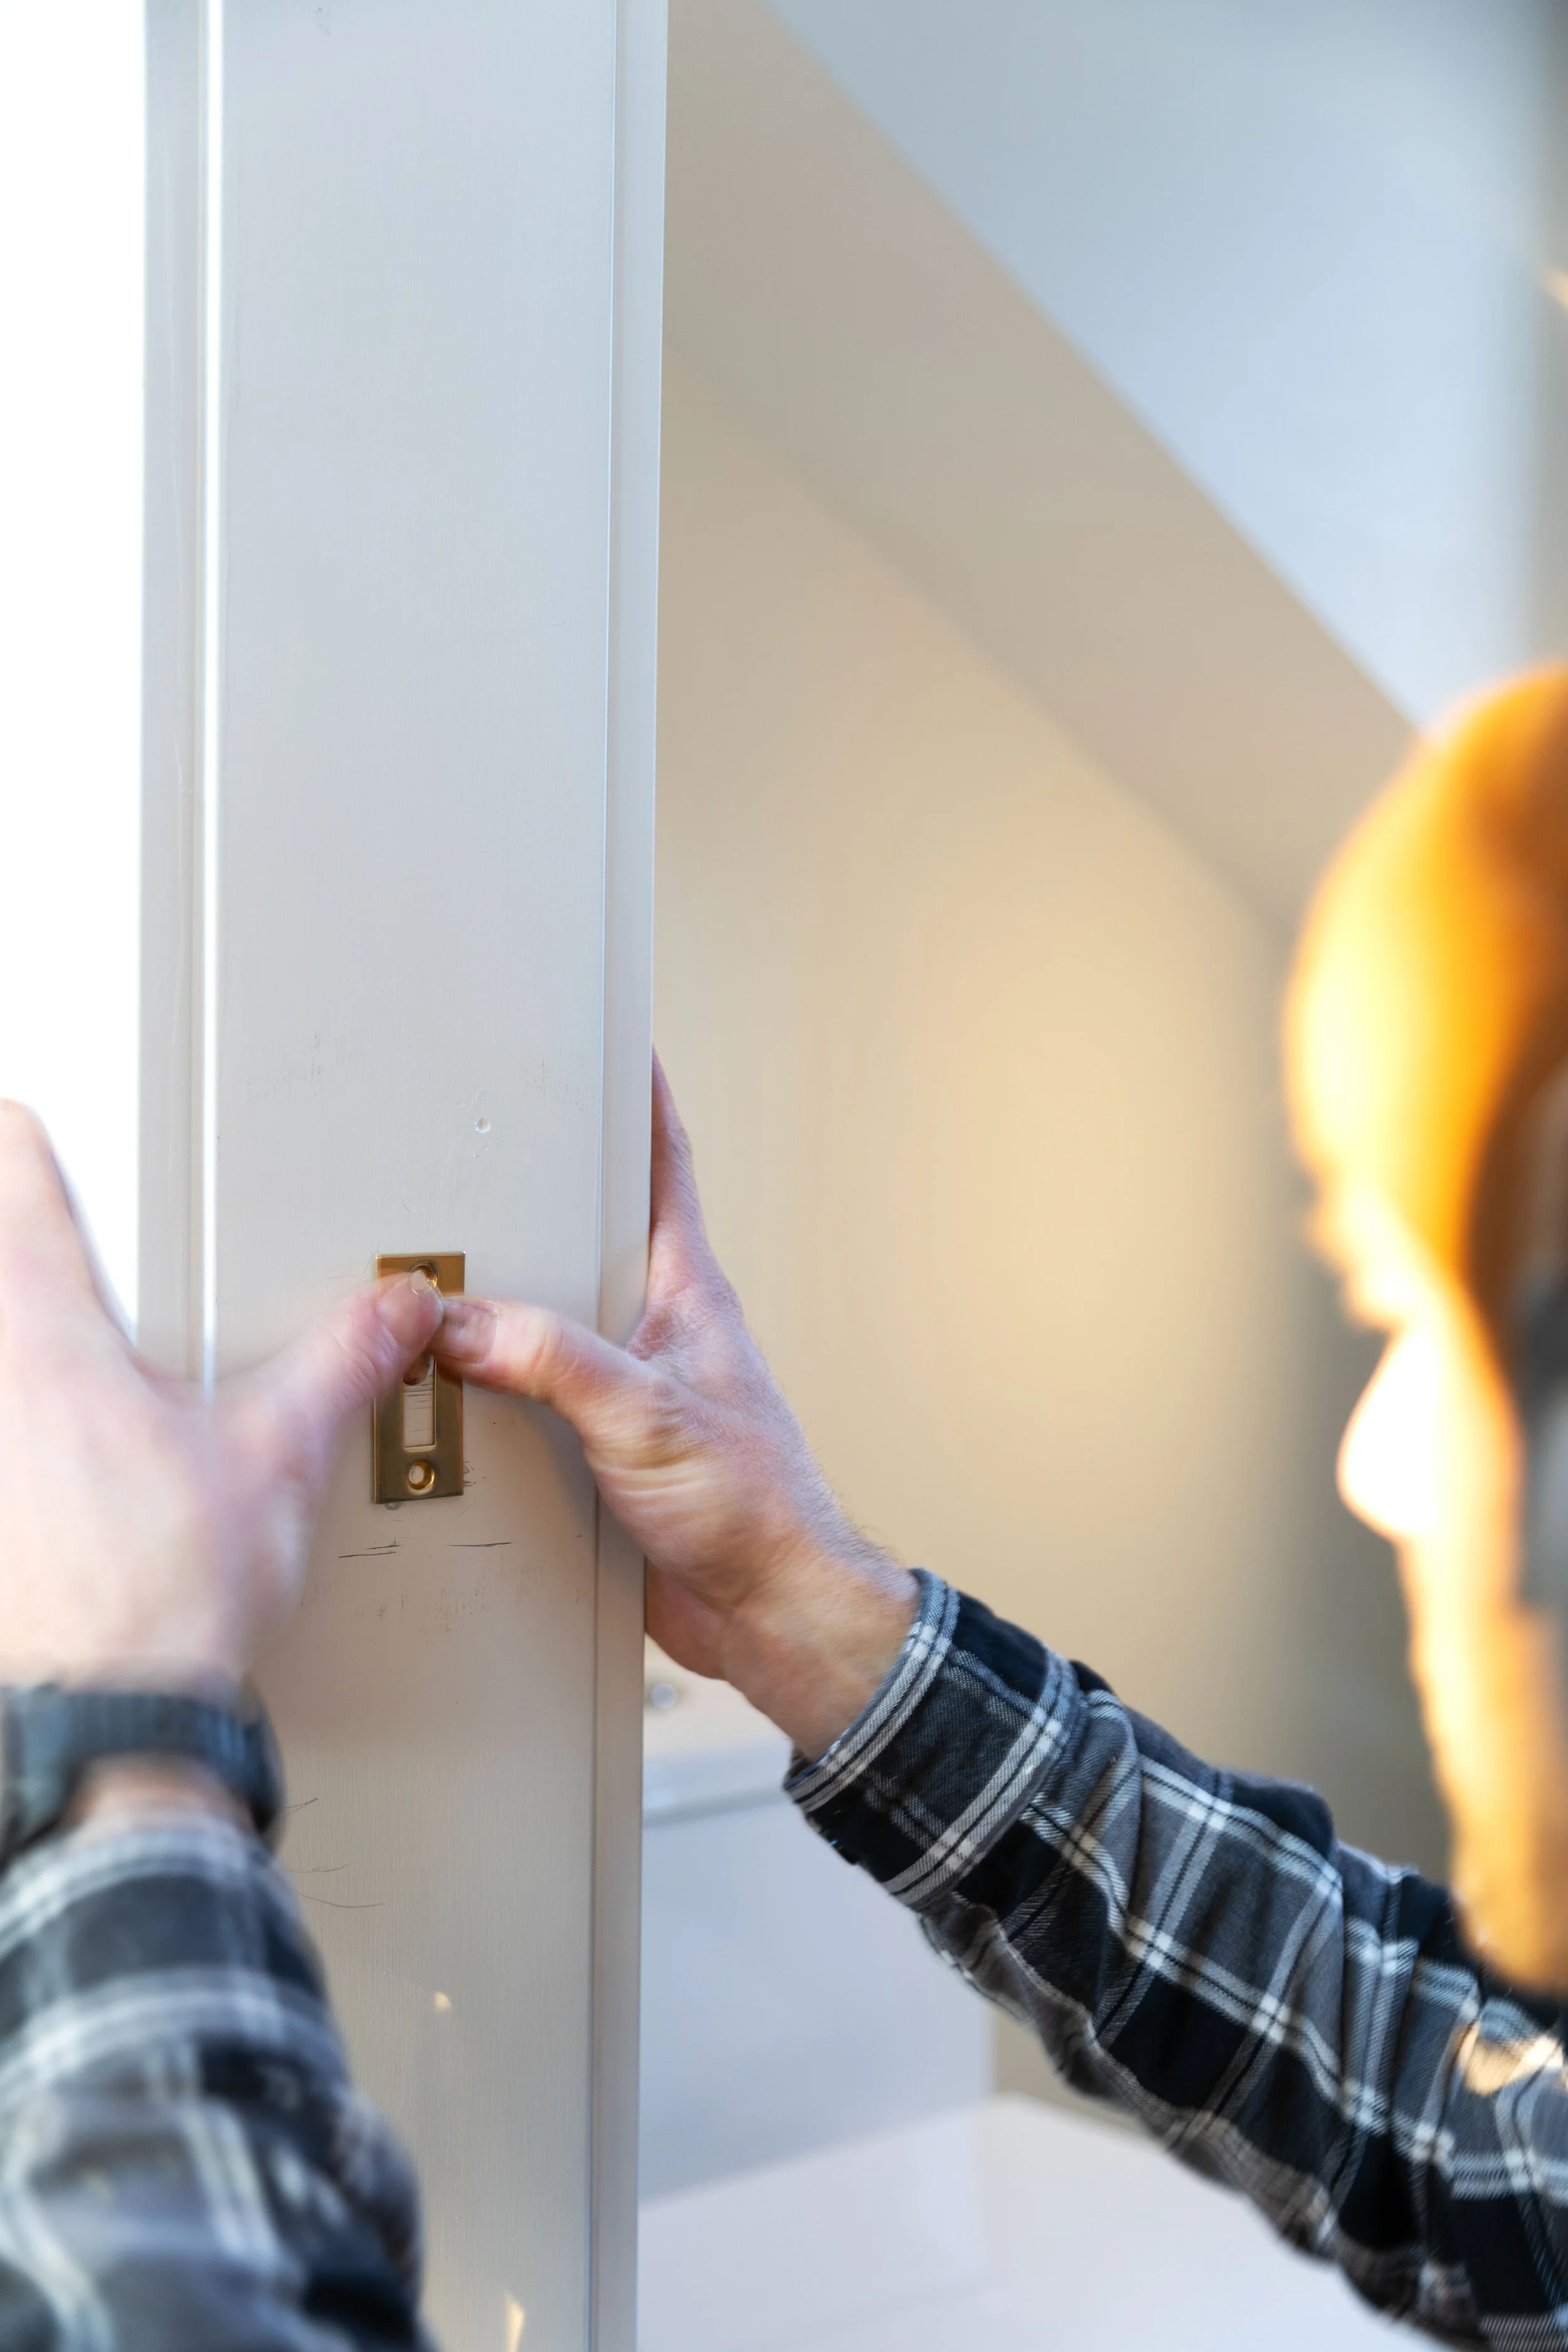
Step 6 Install the strike
Open and close your door a few times with the latch engaged to see where the door hits the jamb. Make sure the door is hanging still and in alignment when you finalize the strike position. Once we had the strike positioned using the door hardware as our guide, we used a router to carve out a divot behind the strike for the catch to swing into. Then the strike was installed with a couple of screws.
And that’s it! A pocket door for the Poplar Cottage upstairs bathroom.


Tips:
Planning is key! Get your kit as soon as possible so you can frame accordingly.
Note that this kit can be used in new construction or renovations.
In the final step, we added moulding to cover the top track as well as on either side of the strike to stabilize the door when it’s closed.
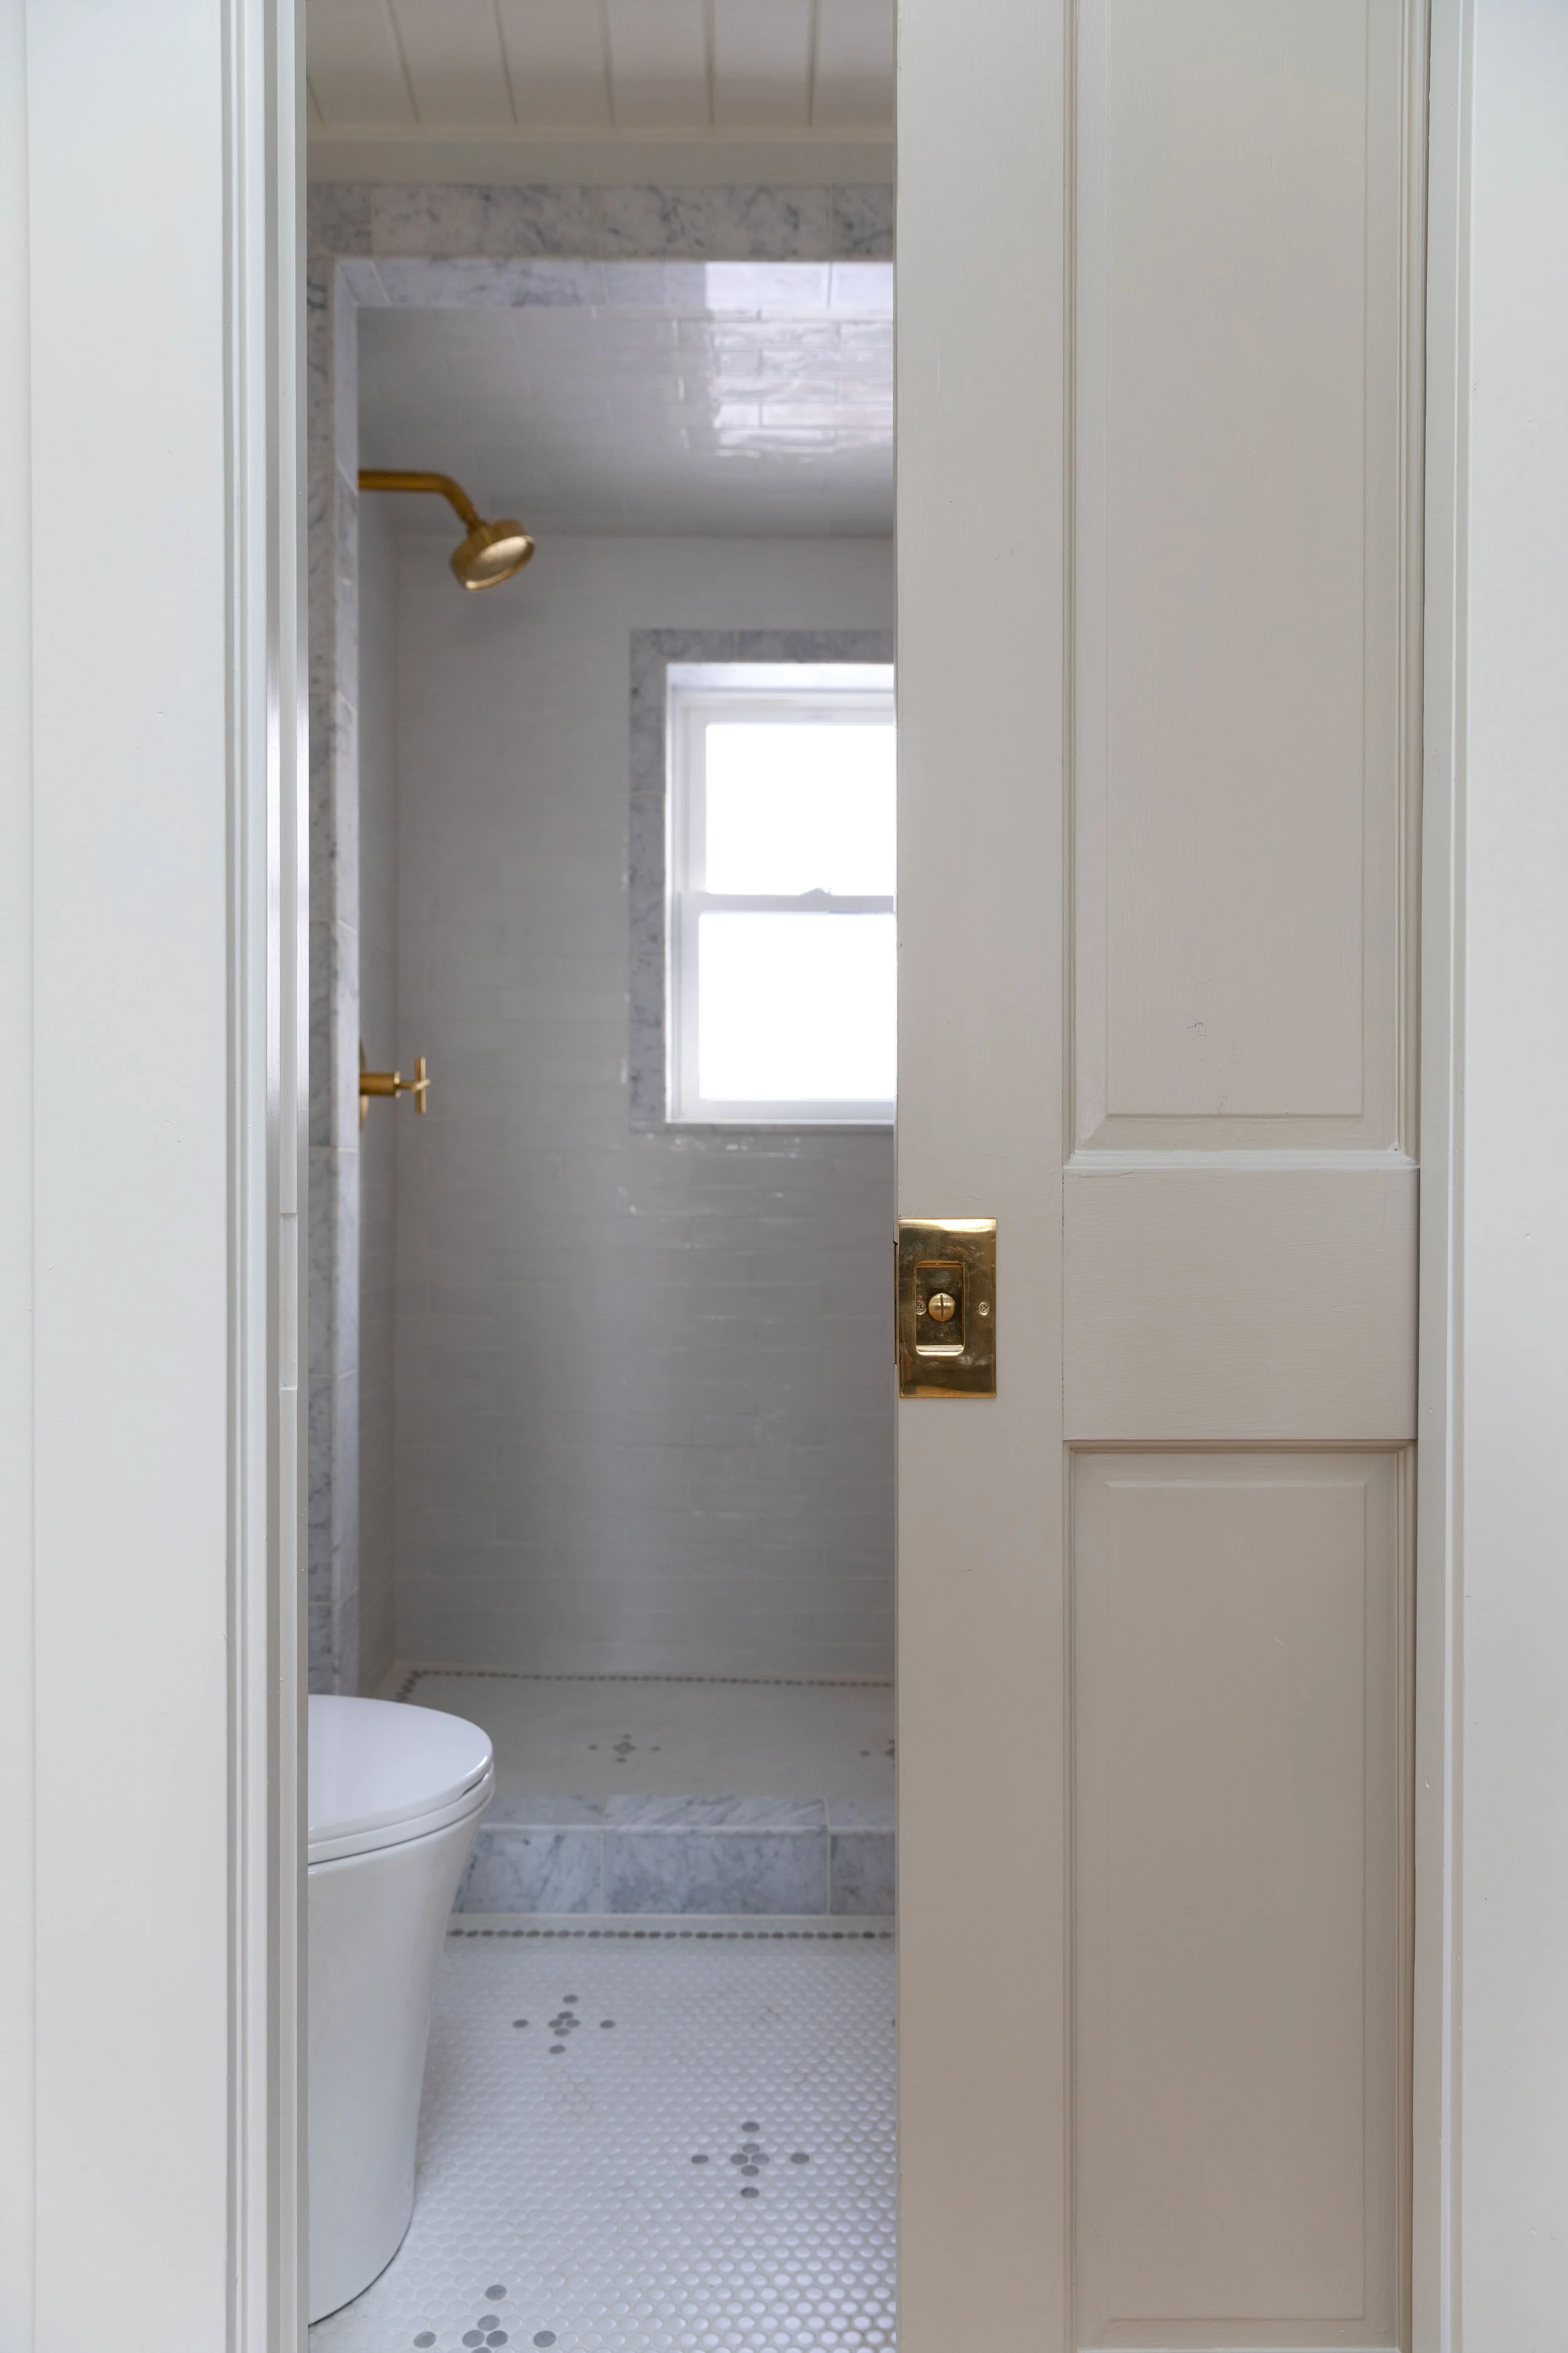
So pleased with how this pocket door turned out!
ps this post may include affiliate links meaning we may receive a small commission if you purchase something through our links, at no cost to you. Thank you for supporting our work by shopping through our links.