How We Phase a Whole-House Renovation
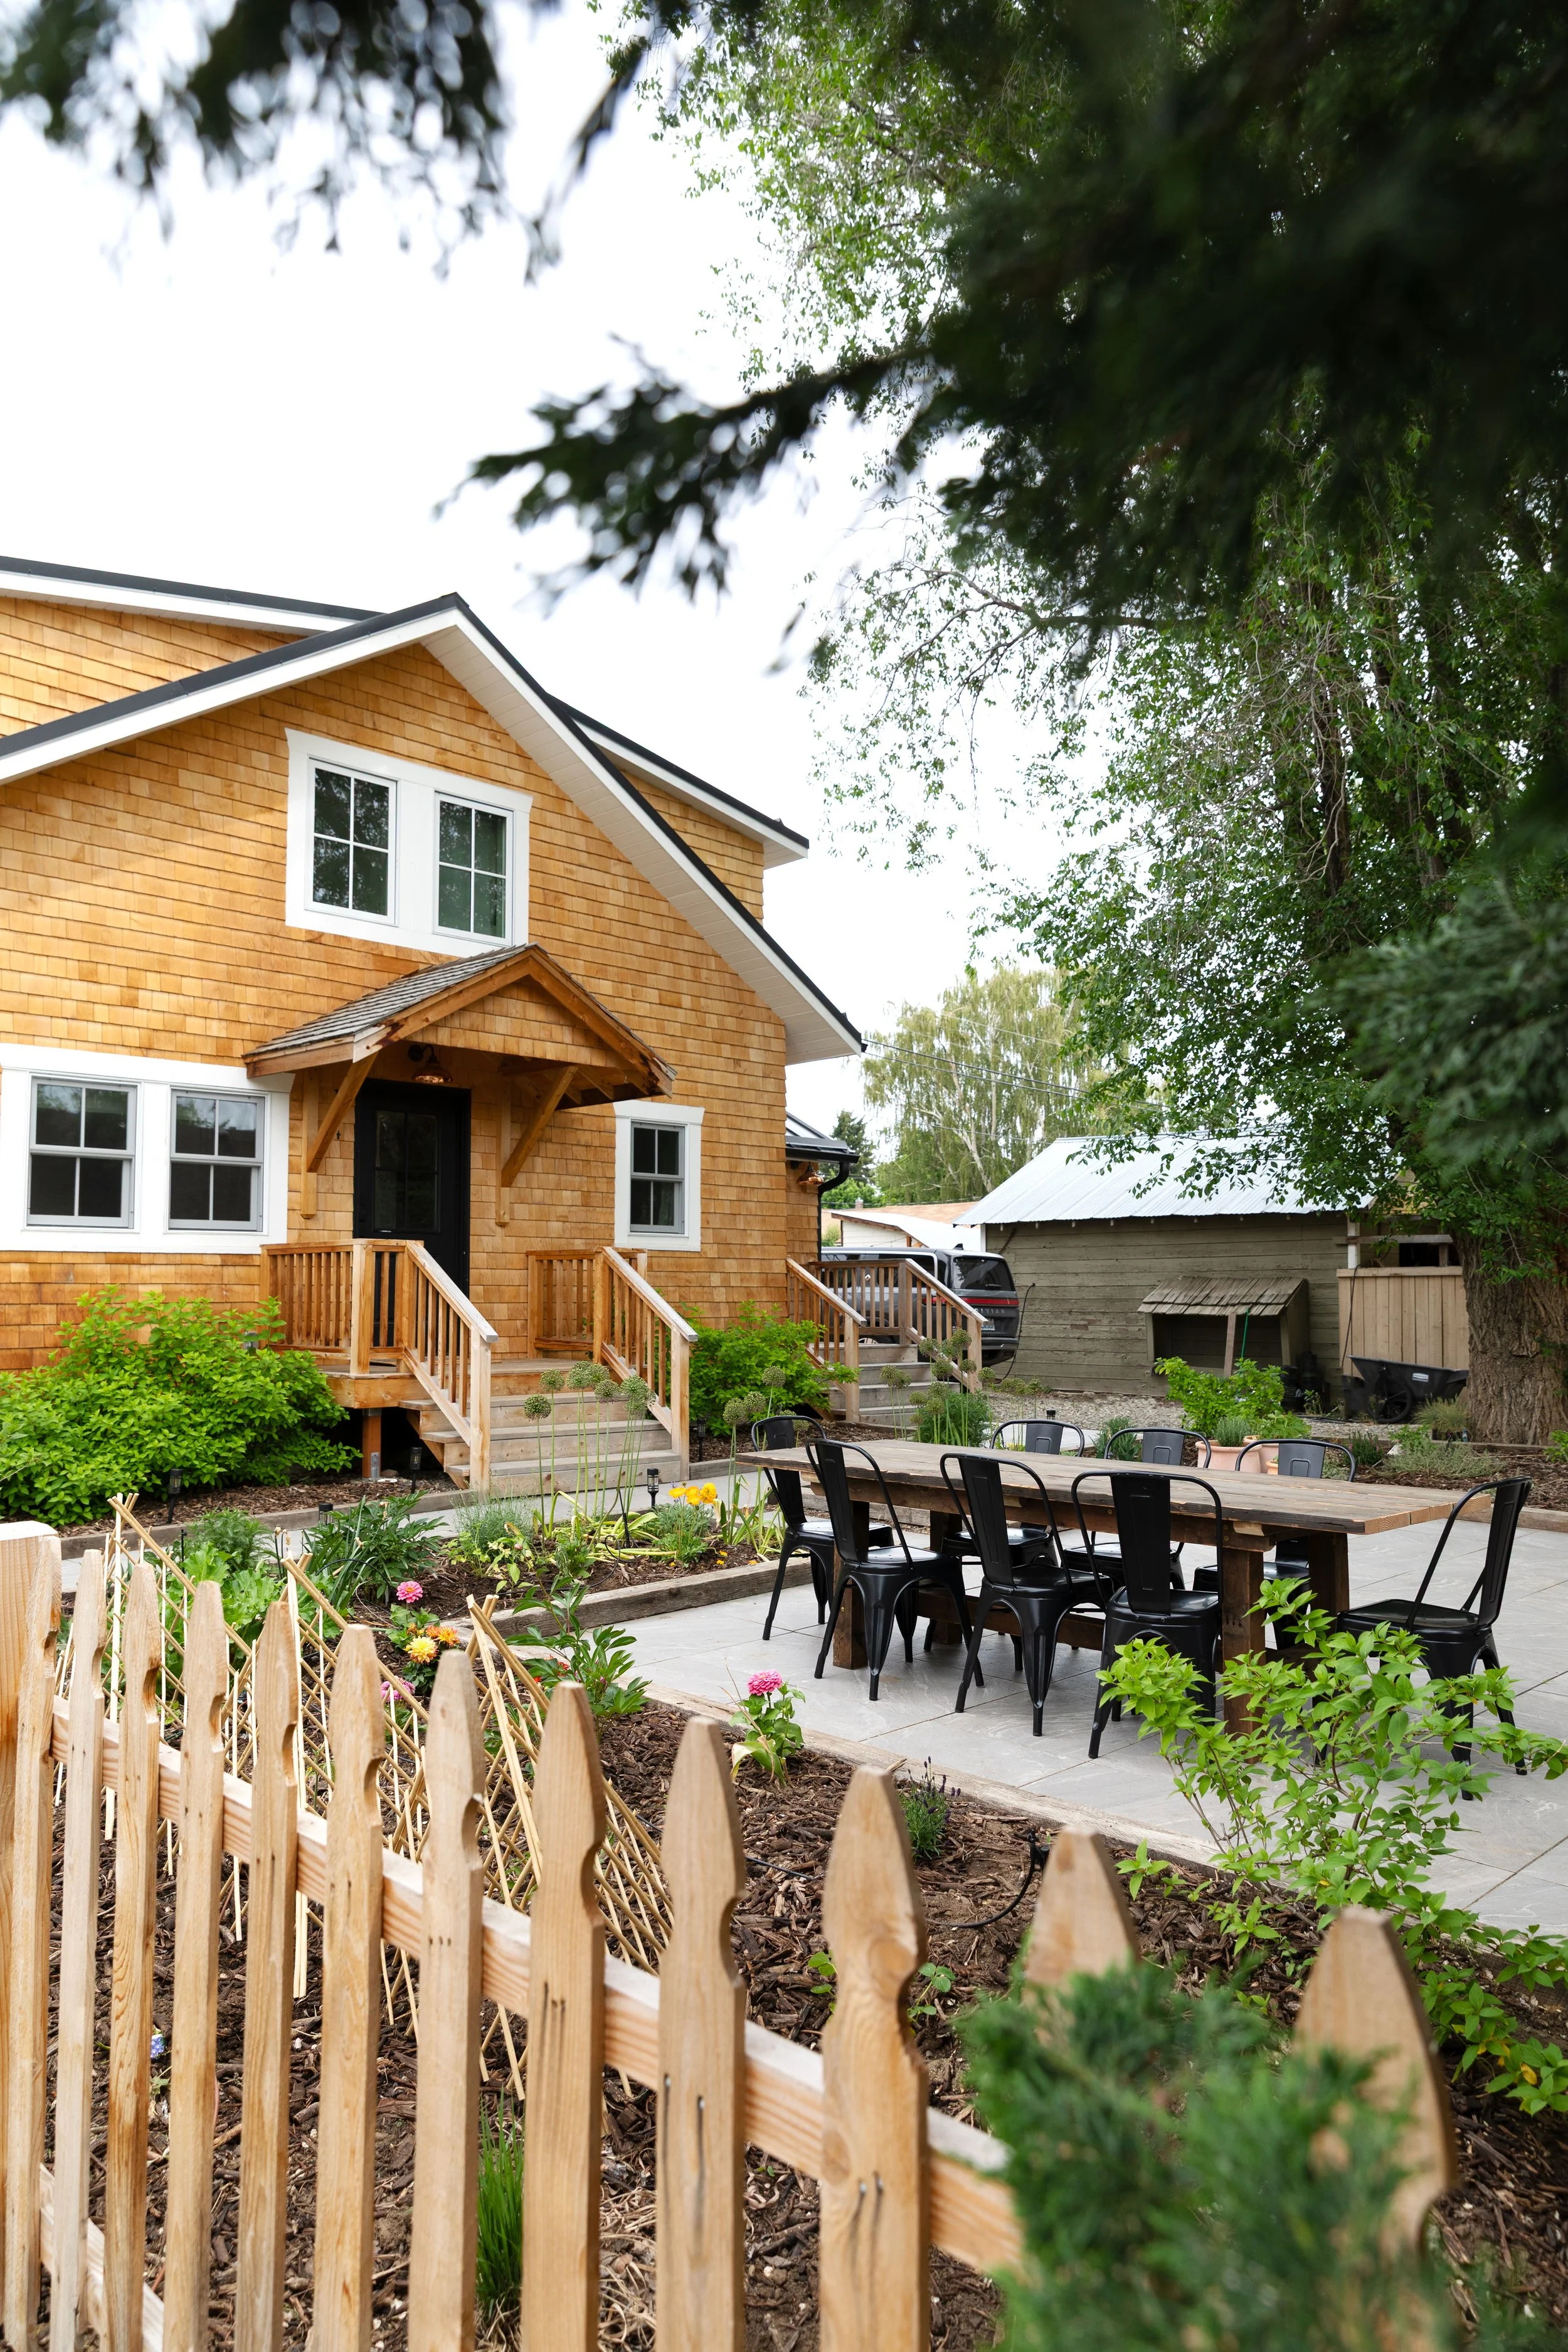
THE HILL HOUSE
Renovating a whole house can feel overwhelming - especially when it’s a 1910 fixer and every square inch needs attention. Awhile ago, we decided that tackling all of the Hill House at once just wasn’t realistic for us financially, logistically, or emotionally. But we’ve been here before (this is our 9th full home remodel) and if there’s one thing we’ve learned from renovating with kids in tow it’s that phasing can keep us sane while still letting us live in the house (albeit a messy, dusty house ;). Today we wanted to walk you through the how and why of our phasing plan for the Hill House renovation. Let’s get into it…
During the year and a half we lived here before starting demo, we got to know the flow of the house, what worked, and what didn’t. We went through countless floor plan sketches (one of my favorite Sunday morning activities is coffee, a mechanical pencil, and a fresh layout 😉). During that process, we nailed down what this house needed, what we could live without, and how to balance function with respect for the home’s character and history. That big-picture vision guided the phasing plan we landed on, and while details may shift - because they always do in old houses - it’s a plan that gives us direction without boxing us in.
But let’s back up and talk a little more about why we phase a renovation.
Why Phasing?
When you’re looking at a 2,000sf home that needs every inch renovated, the dream scenario is to do it all at once. Tear into the walls a single time, update all the plumbing, electrical, and HVAC, and move into a finished home a year later. But in reality, doing everything at once is expensive and disruptive - especially with three kids in tow. And it’s not in the cards for us this time around. Phasing the renovation will give us flexibility and means we can:
Spread out the budget so we’re not carrying the full weight of a whole-house renovation at once
Allows us the time to DIY this renovation (because we are slooowwww!)
Make thoughtful design decisions along the way
Live in the house longer (we’re only planning to move out for phase 1)
Our current phasing plan
Here’s the phasing plan we came up with…
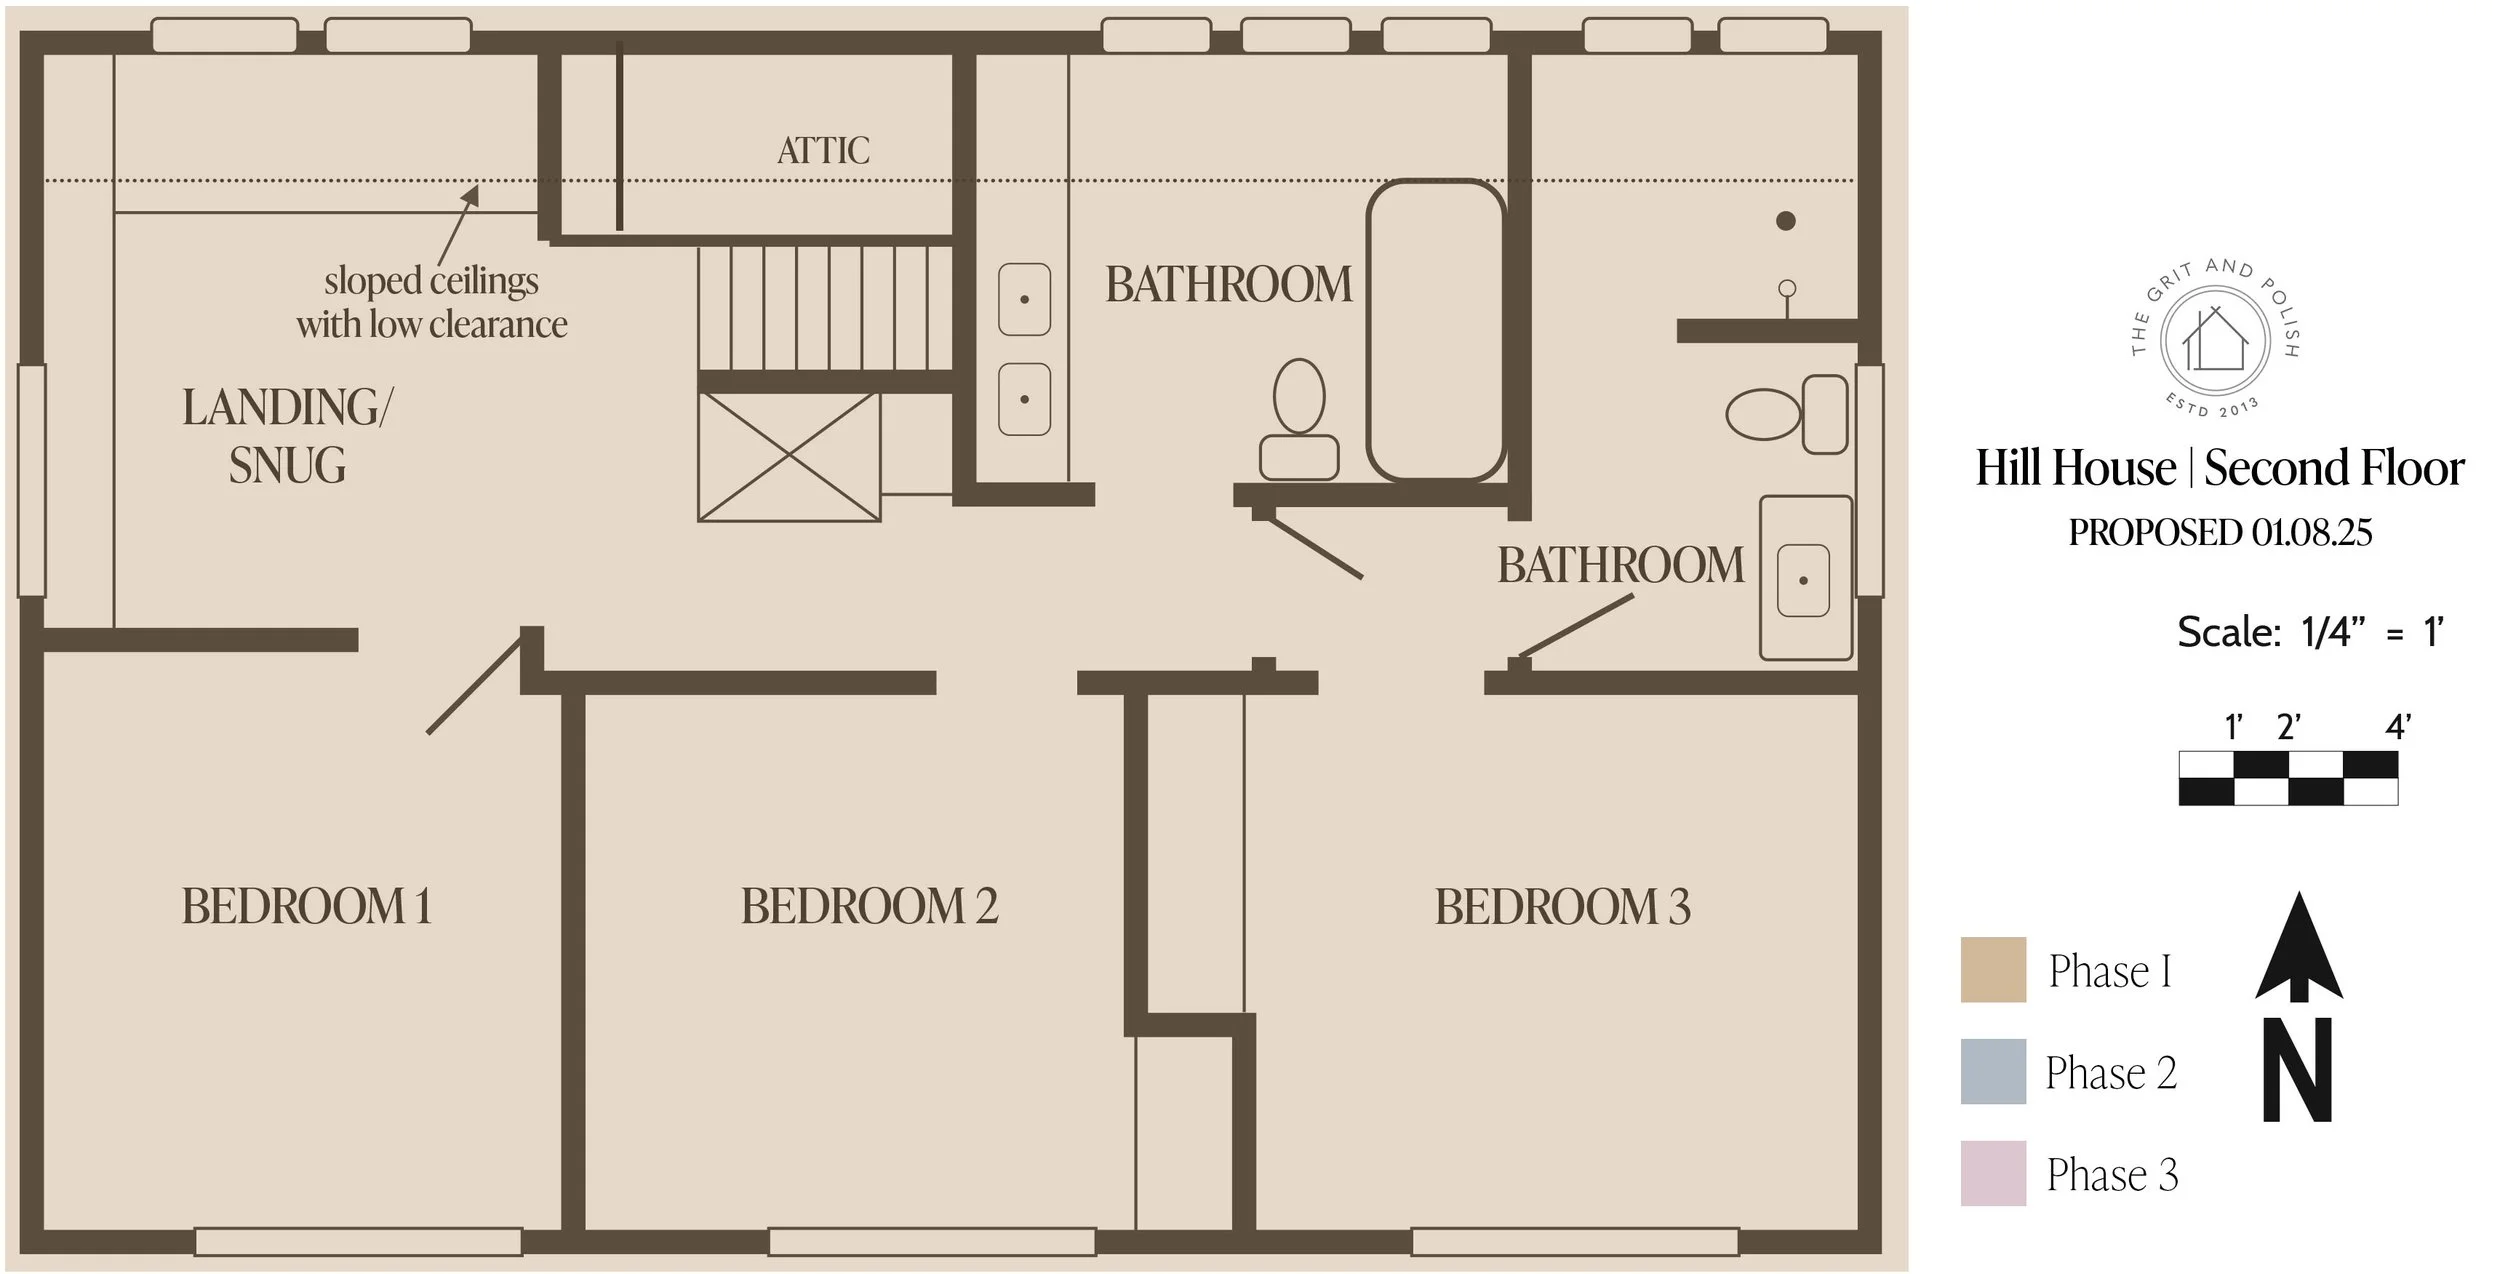

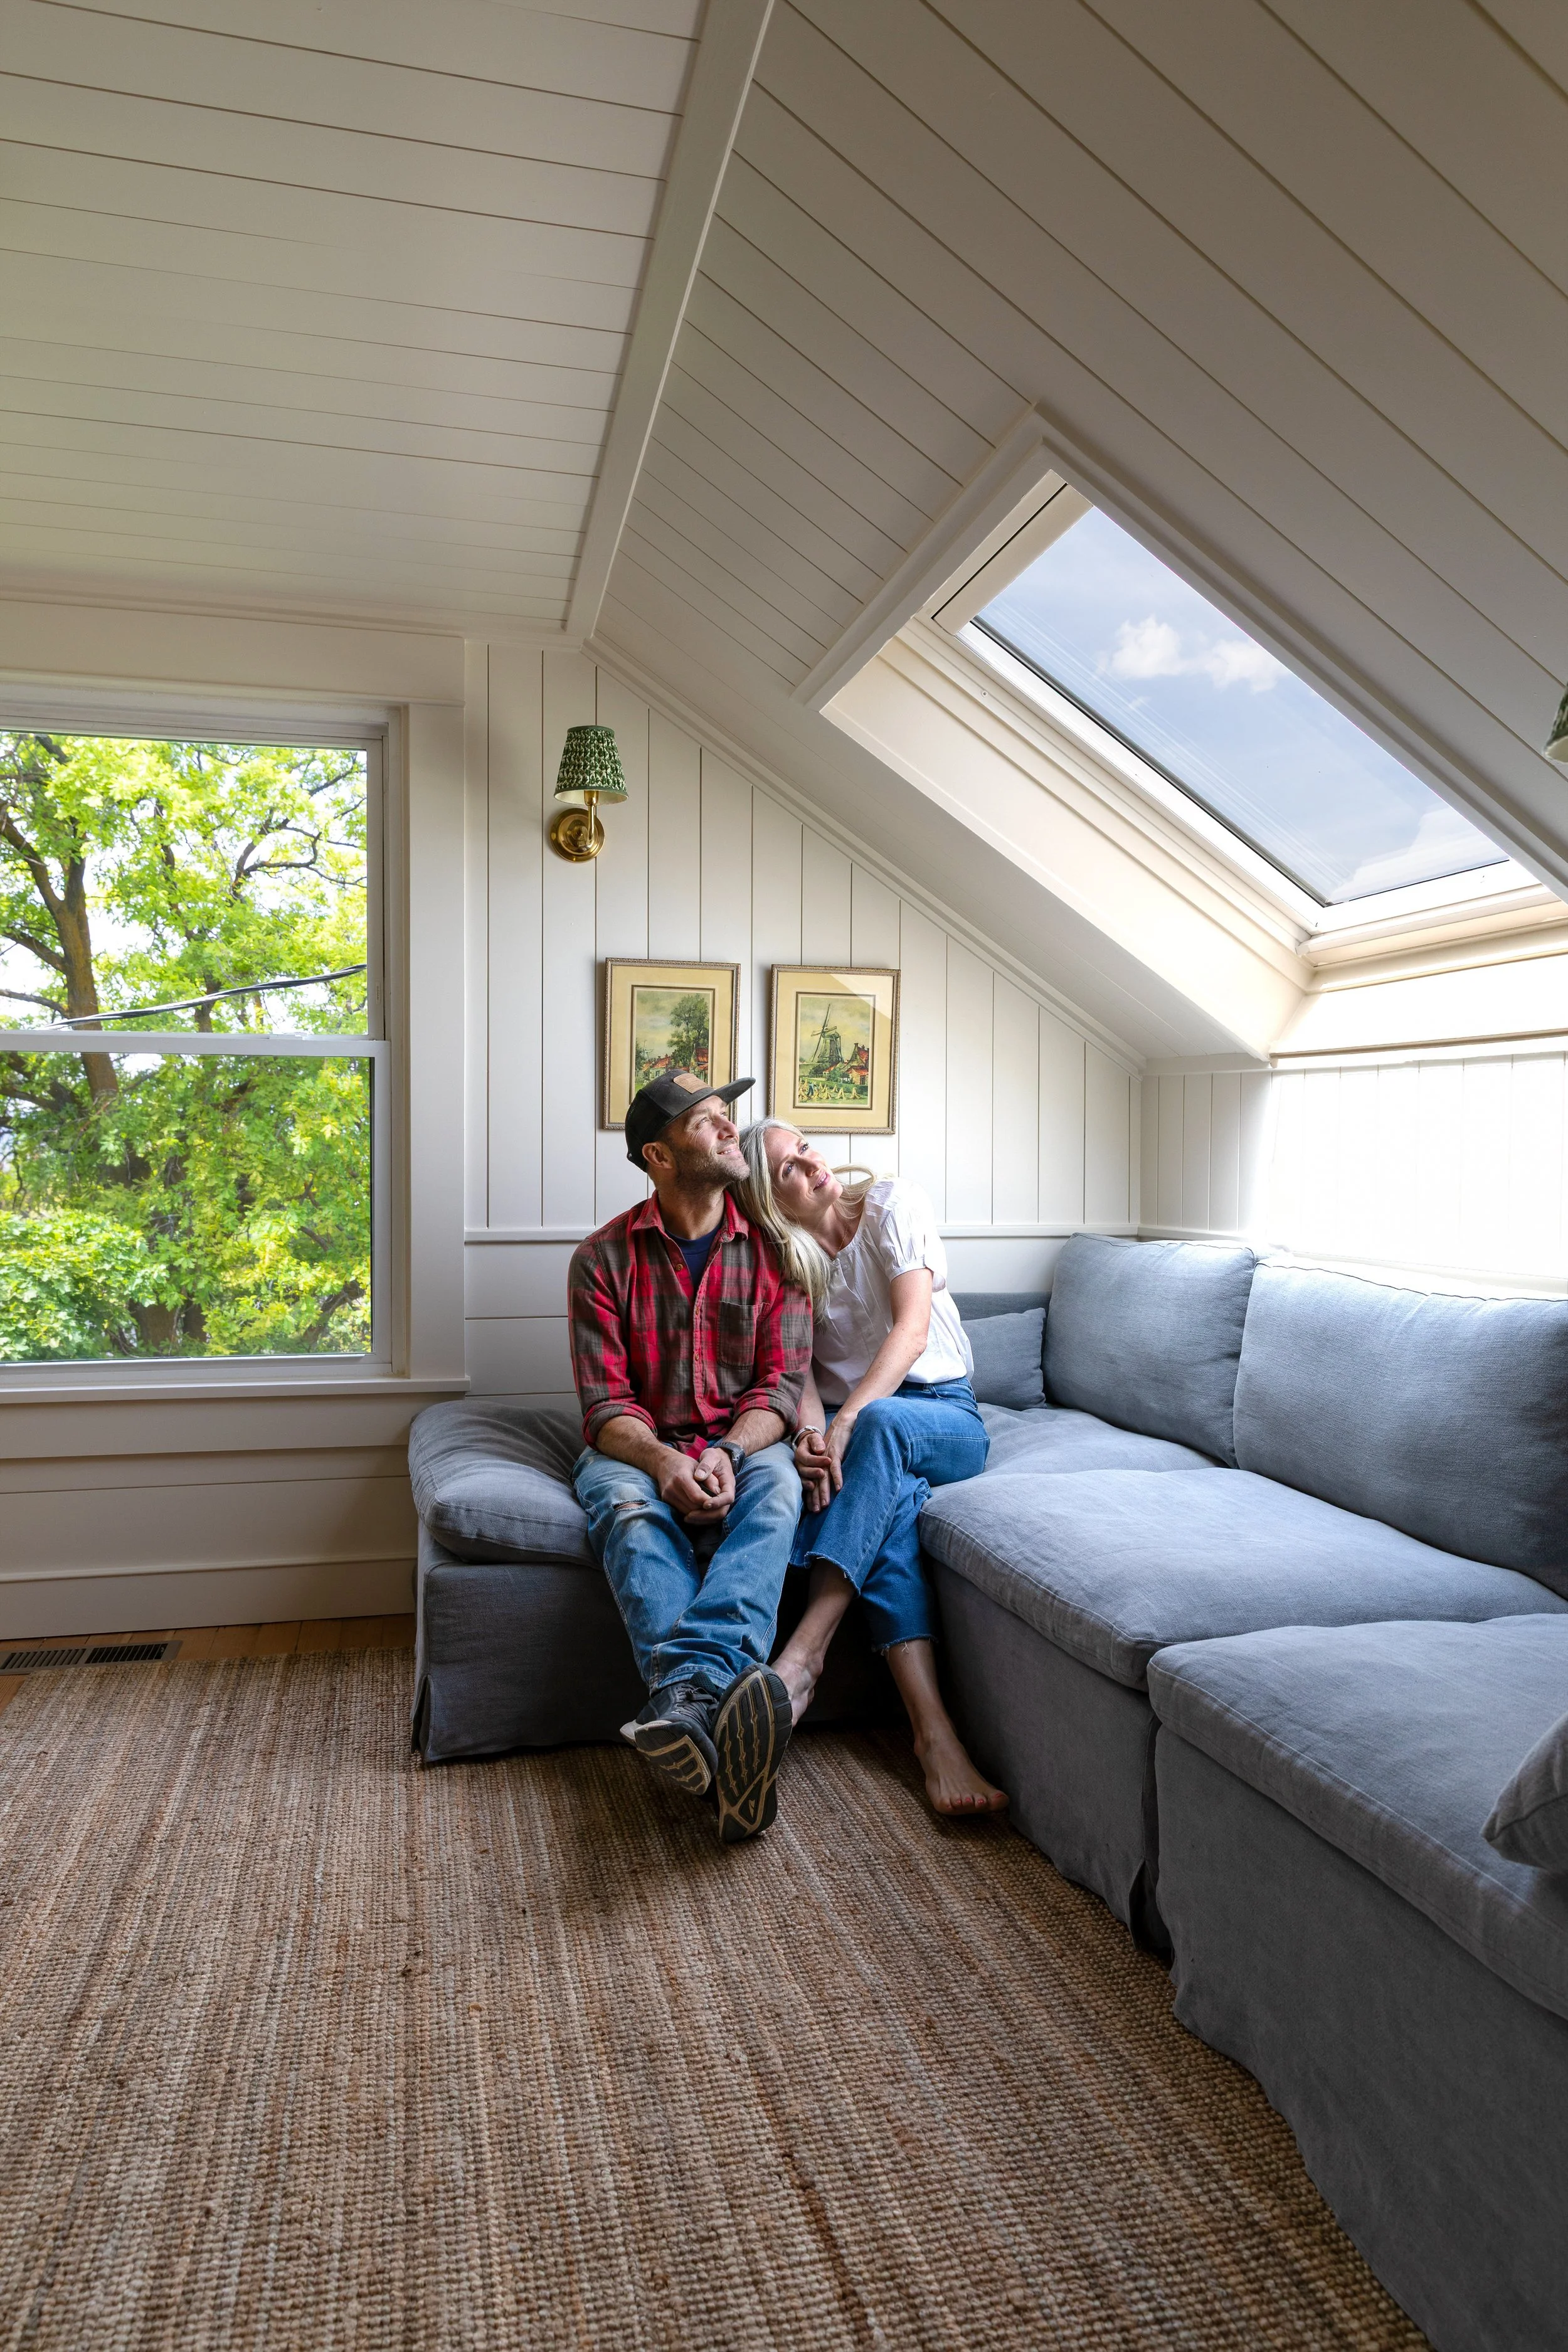
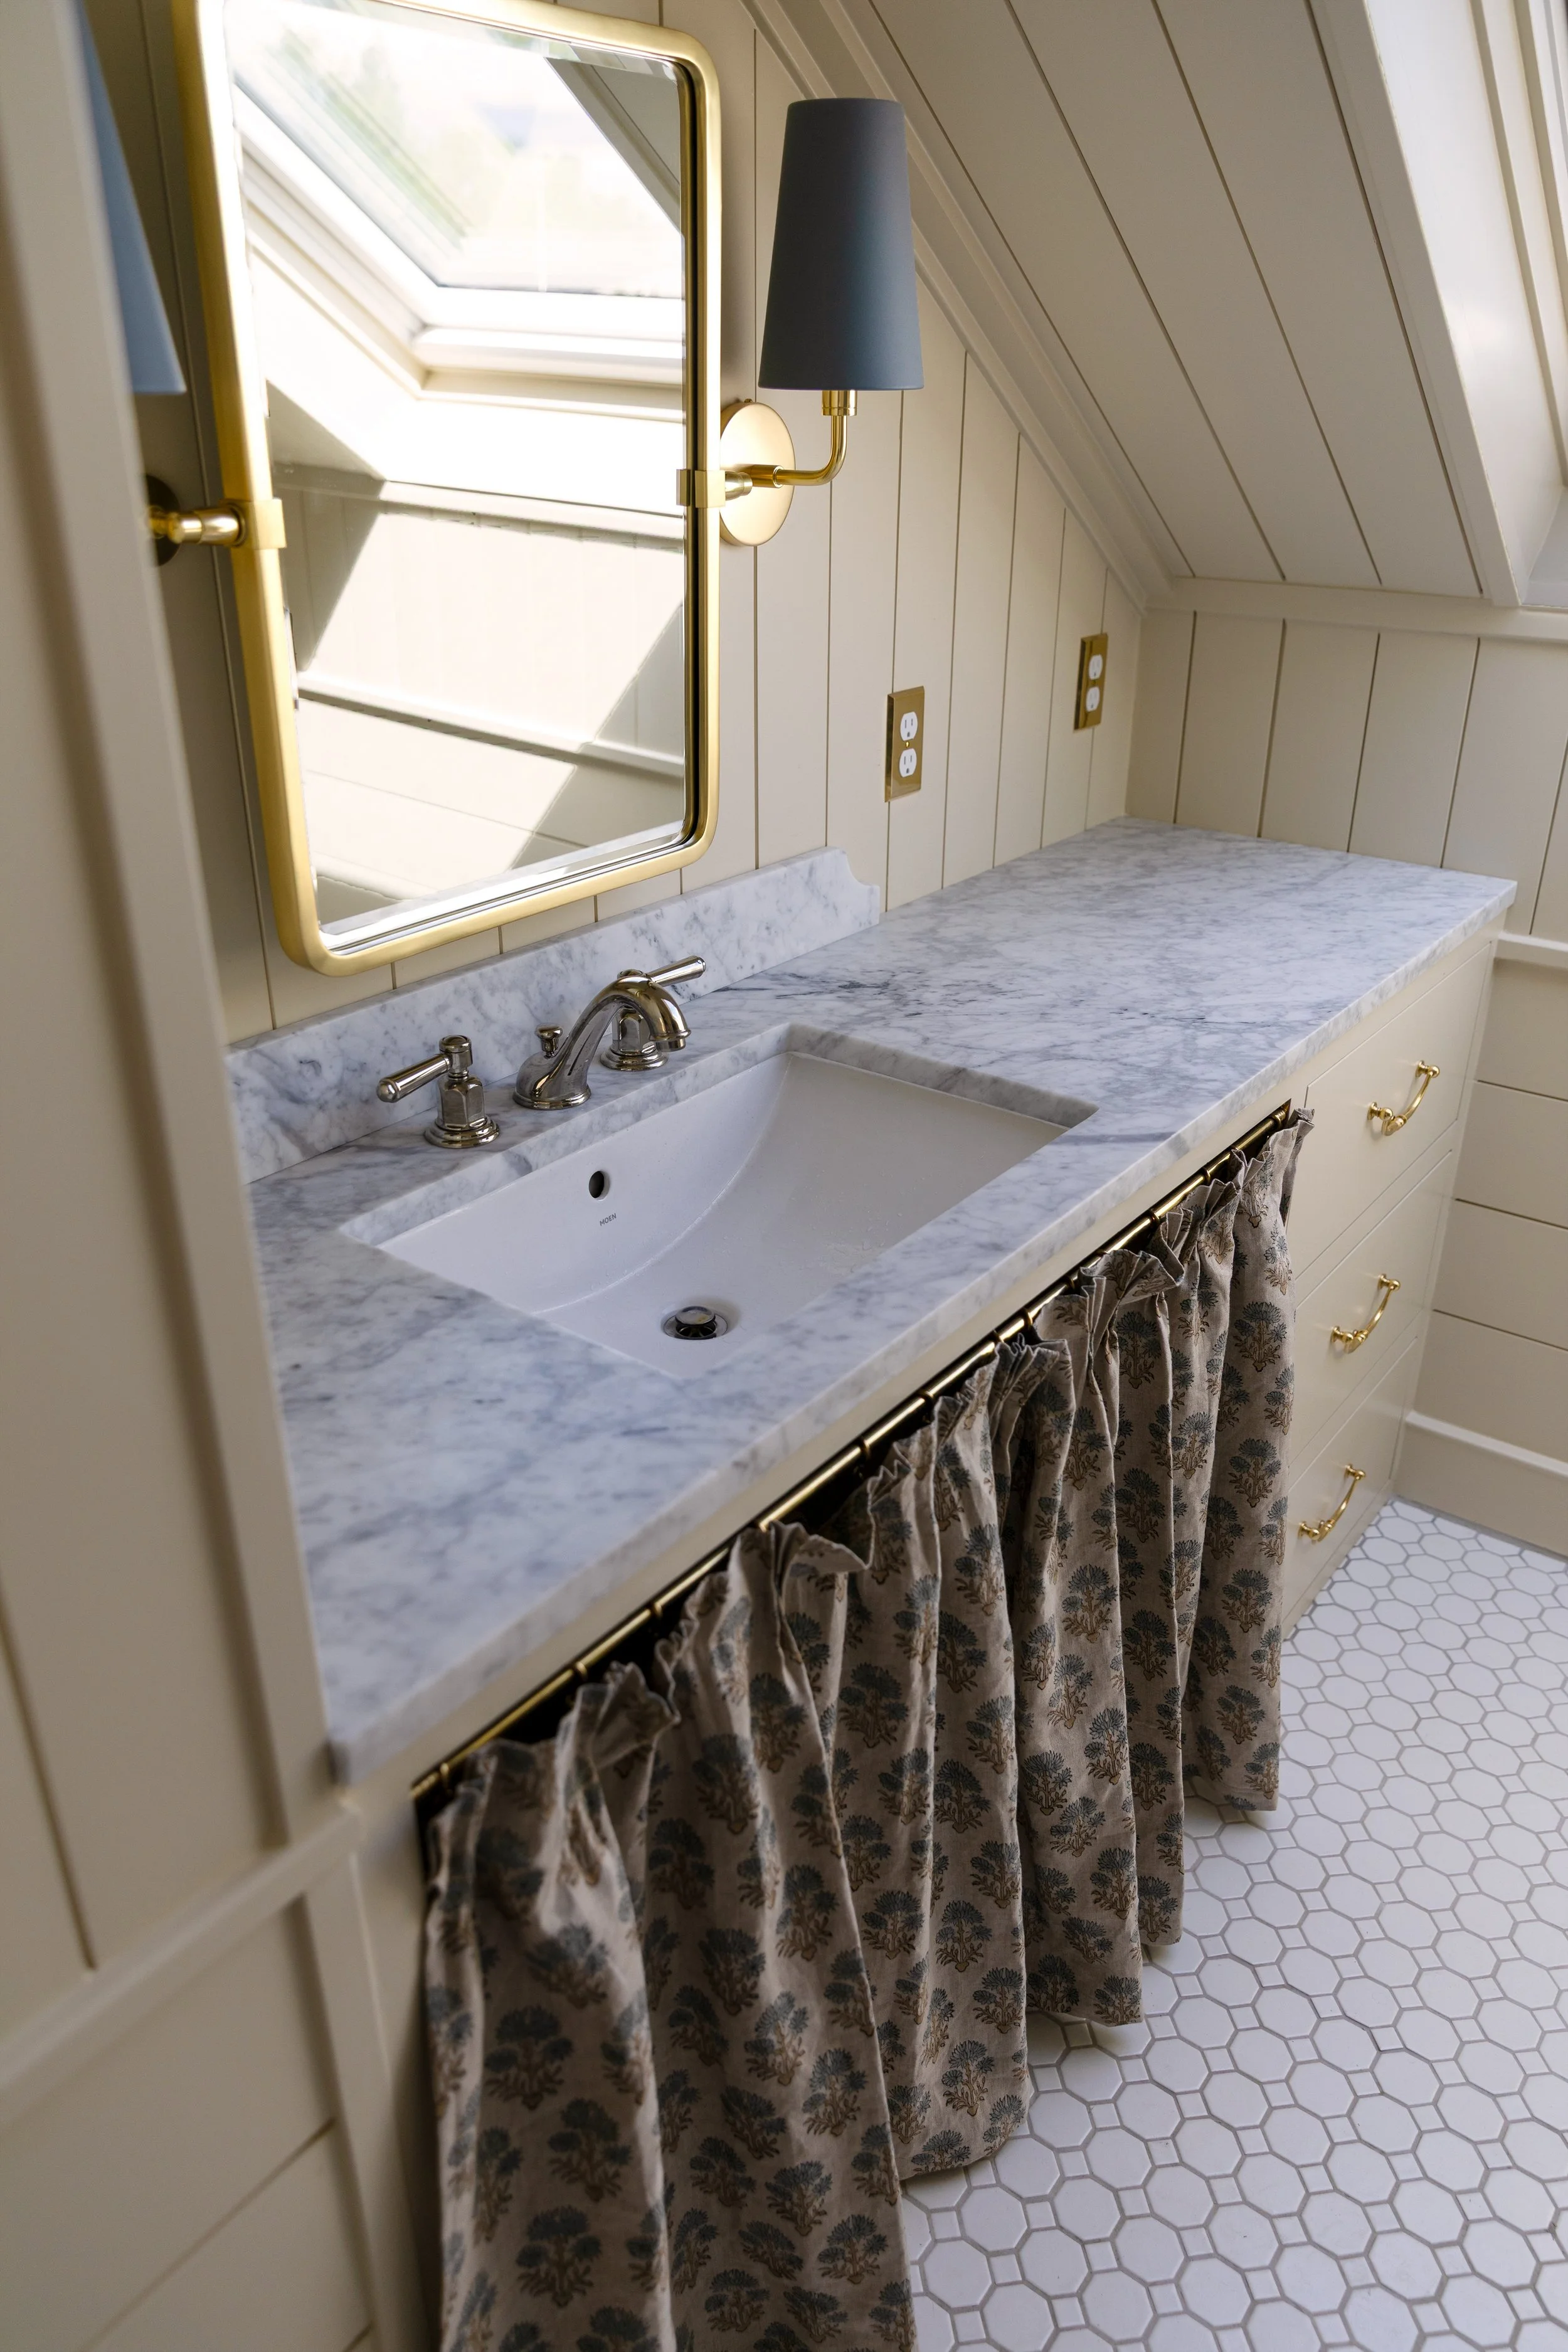
Phase 1: Upstairs Bedrooms + Bathrooms
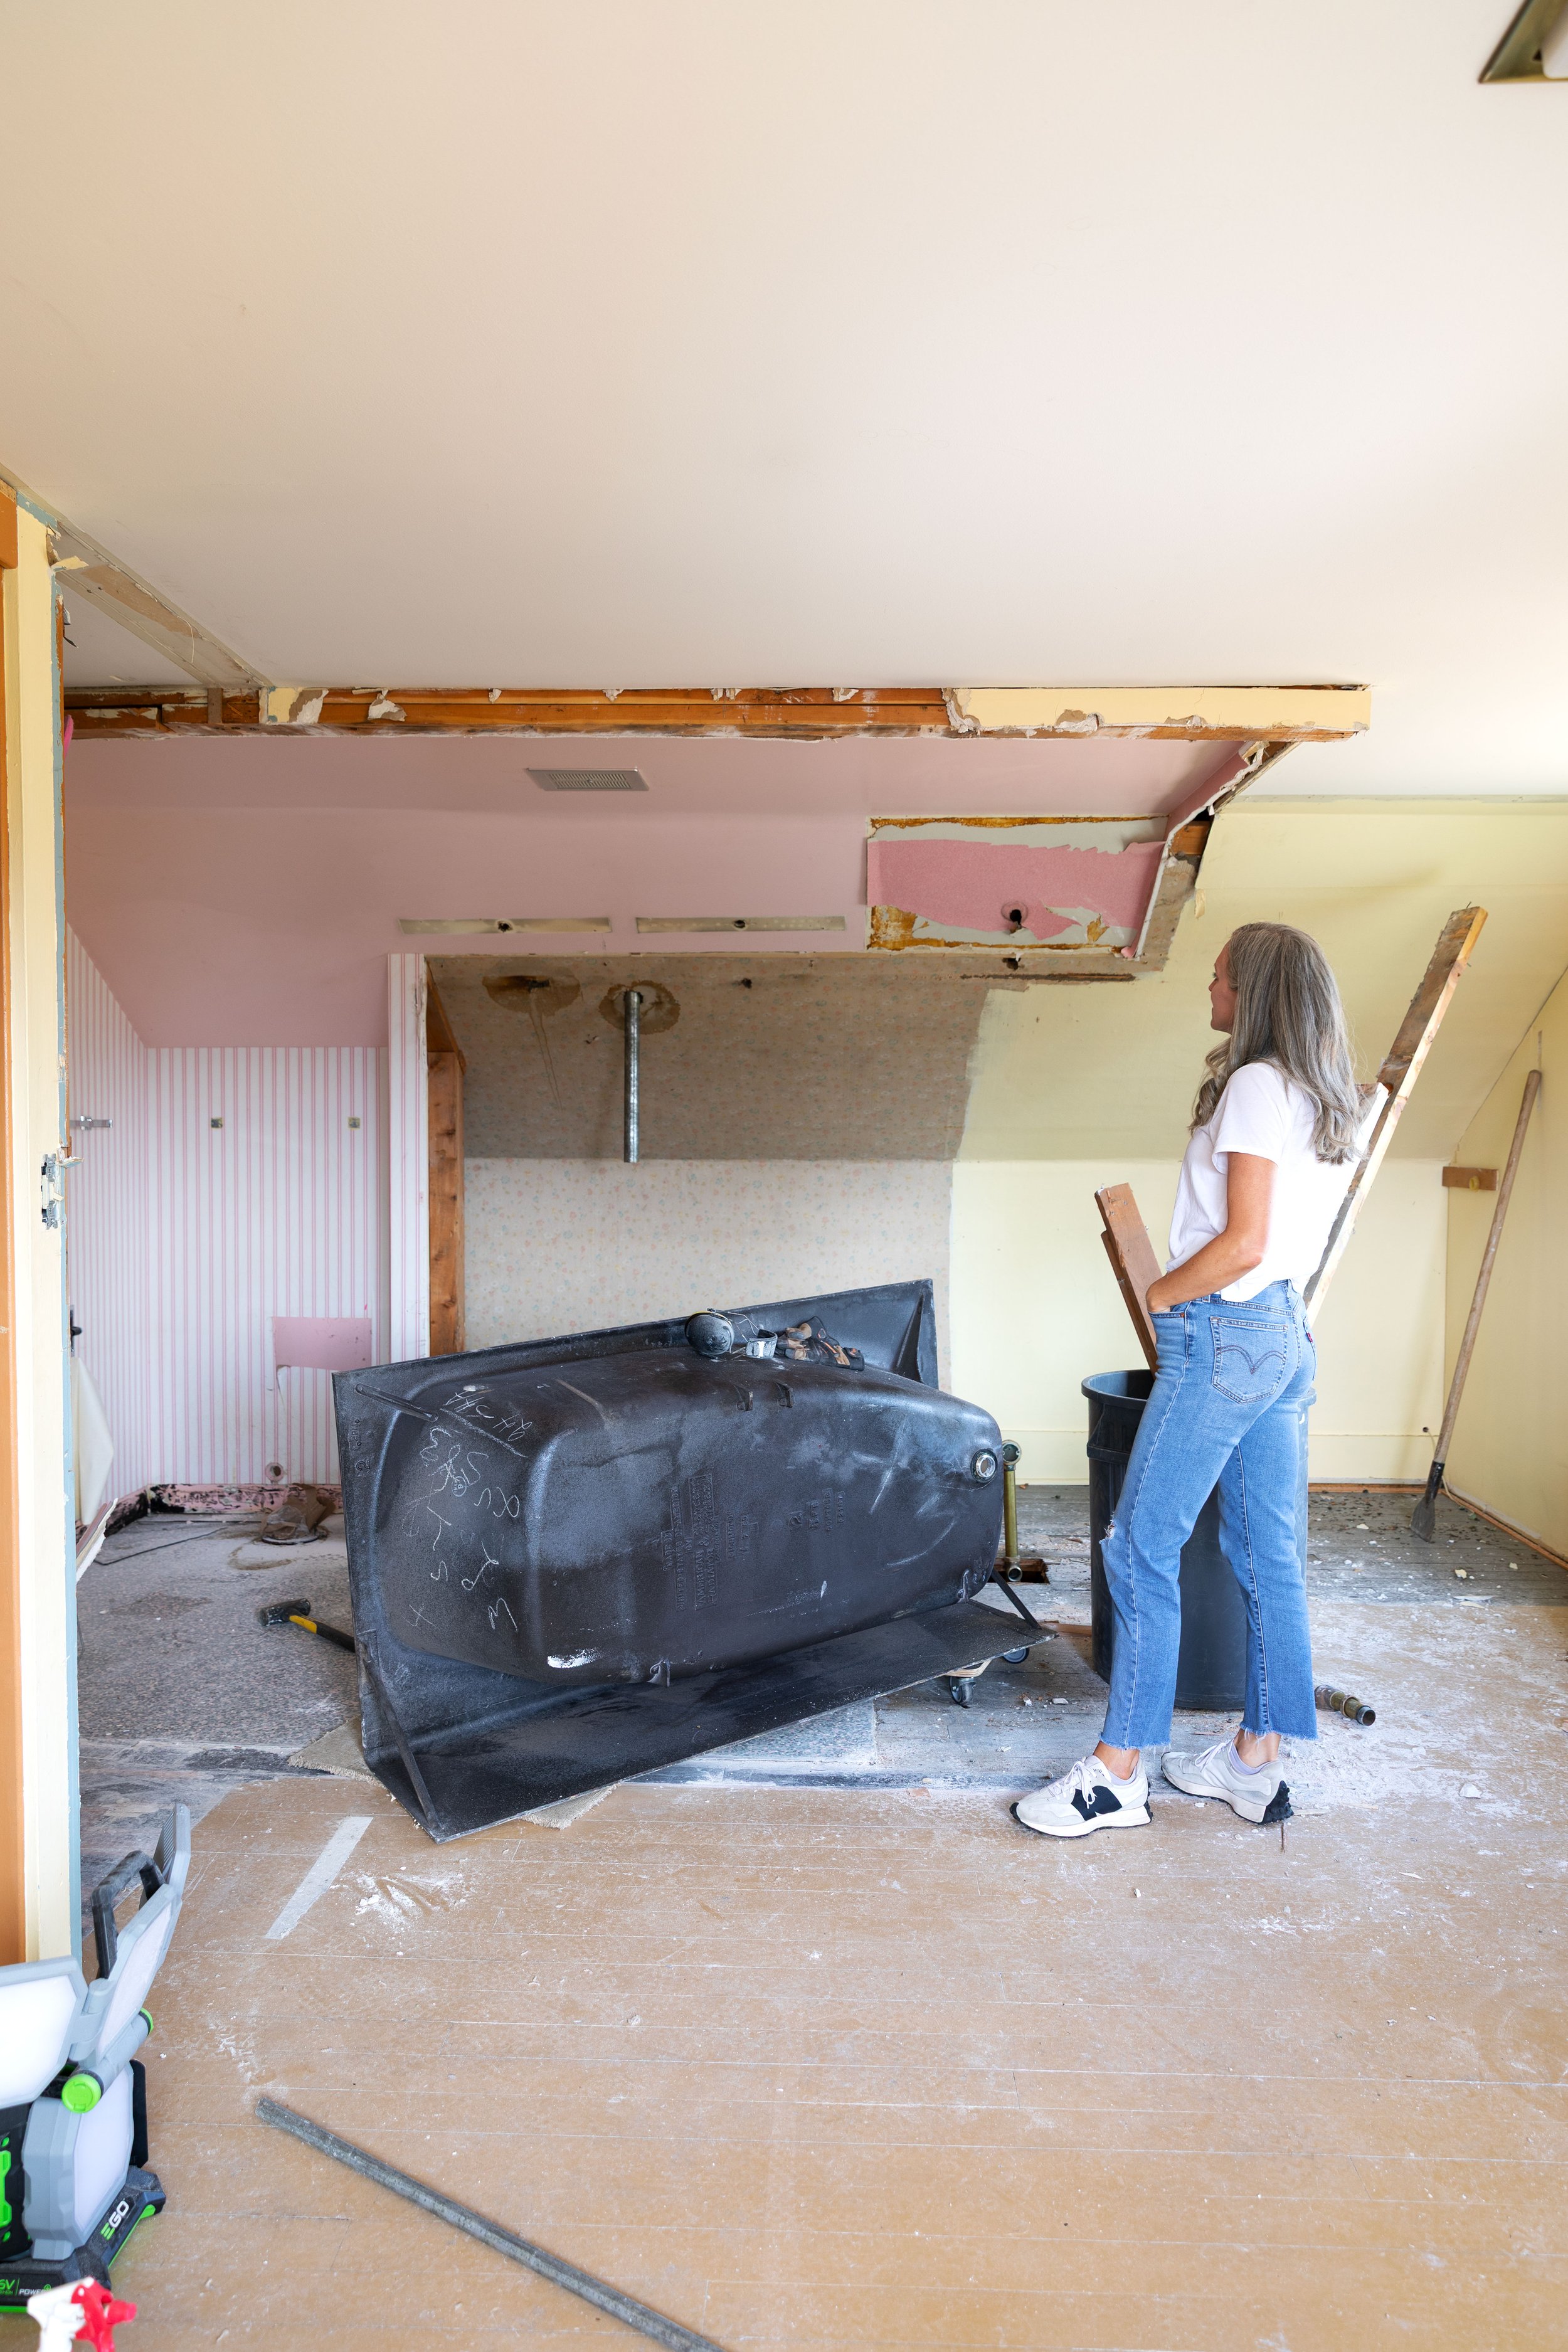
Phase 1 is the upstairs of the house and includes three bedrooms, two bathrooms, and a landing/snug space at the top of the stairs. This will be the future kids’ zone. This phase is our first big push and it’s the phase we moved out for (we’re living in the Poplar Cottage if you missed it). Finishing it first means the kids will have comfortable, functional bedrooms and bathrooms when we move back in and Garrett and I may also live upstairs with them while we tackle phase 2 and 3…we’ll see. Sidenote: It’s worth mentioning that while we are currently moved out of the house for this phase, in the past we would have probably stayed put. Back when it was just Garrett and I (pre-kids or when the kids were really little) we would have all bunked downstairs while we worked on the upstairs and then flip-flopped and moved up there to work on the downstairs. But the bigger the kids get, the less of an option this becomes.
We shared more on the current status of phase 1 last week but demo is already underway, plumbing and electrical rough-ins are complete (and passed inspection 🎉), and we’re slowly bringing these rooms back to life.
Phase 2: Kitchen + Main Floor Living
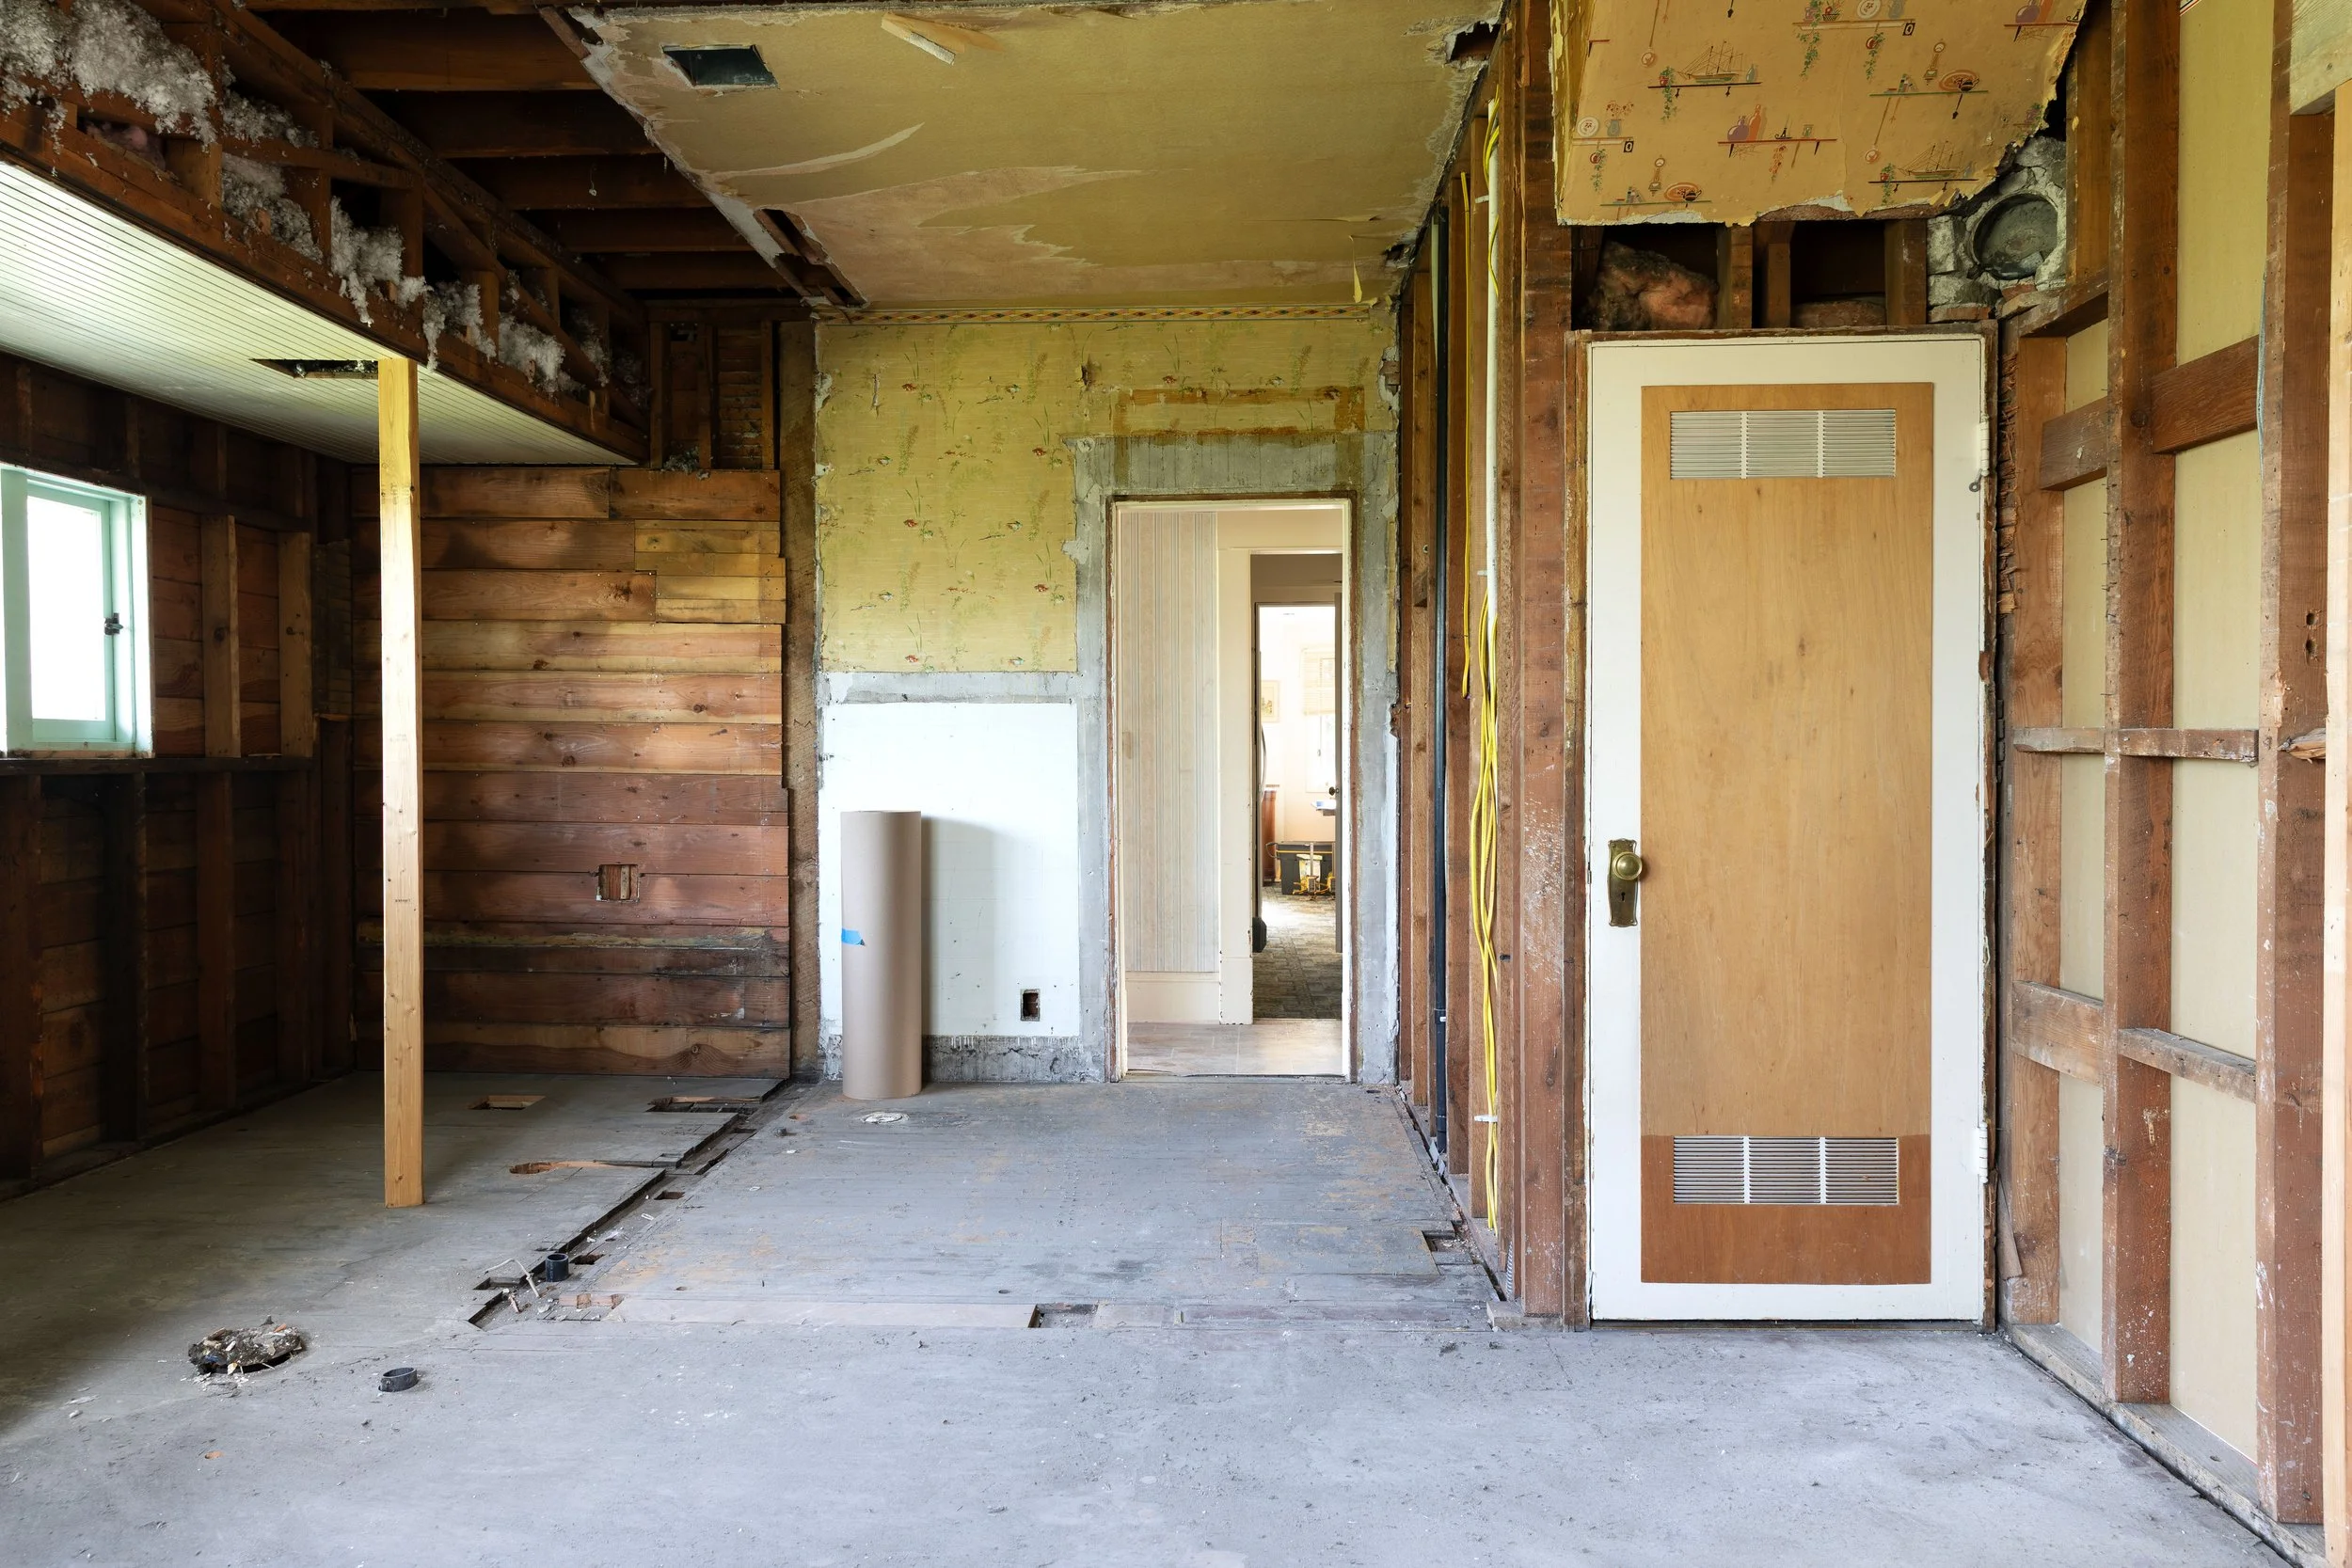
Phasing a kitchen remodel is always tricky. It’s just plain hard to live without a kitchen in a house, more so in the winter (summer bbq’ing makes it easier to be without a kitchen in our experience!). Our original plan was to take on Phase 2 after we moved back into the Hill House. We’d work on the main kitchen while we lived upstairs and use the quirky second kitchen to tide us over. Here’s what the second kitchen looks like:

Kinda cute, right? We have no idea why this house came with two kitchens, but it’ll come in handy.
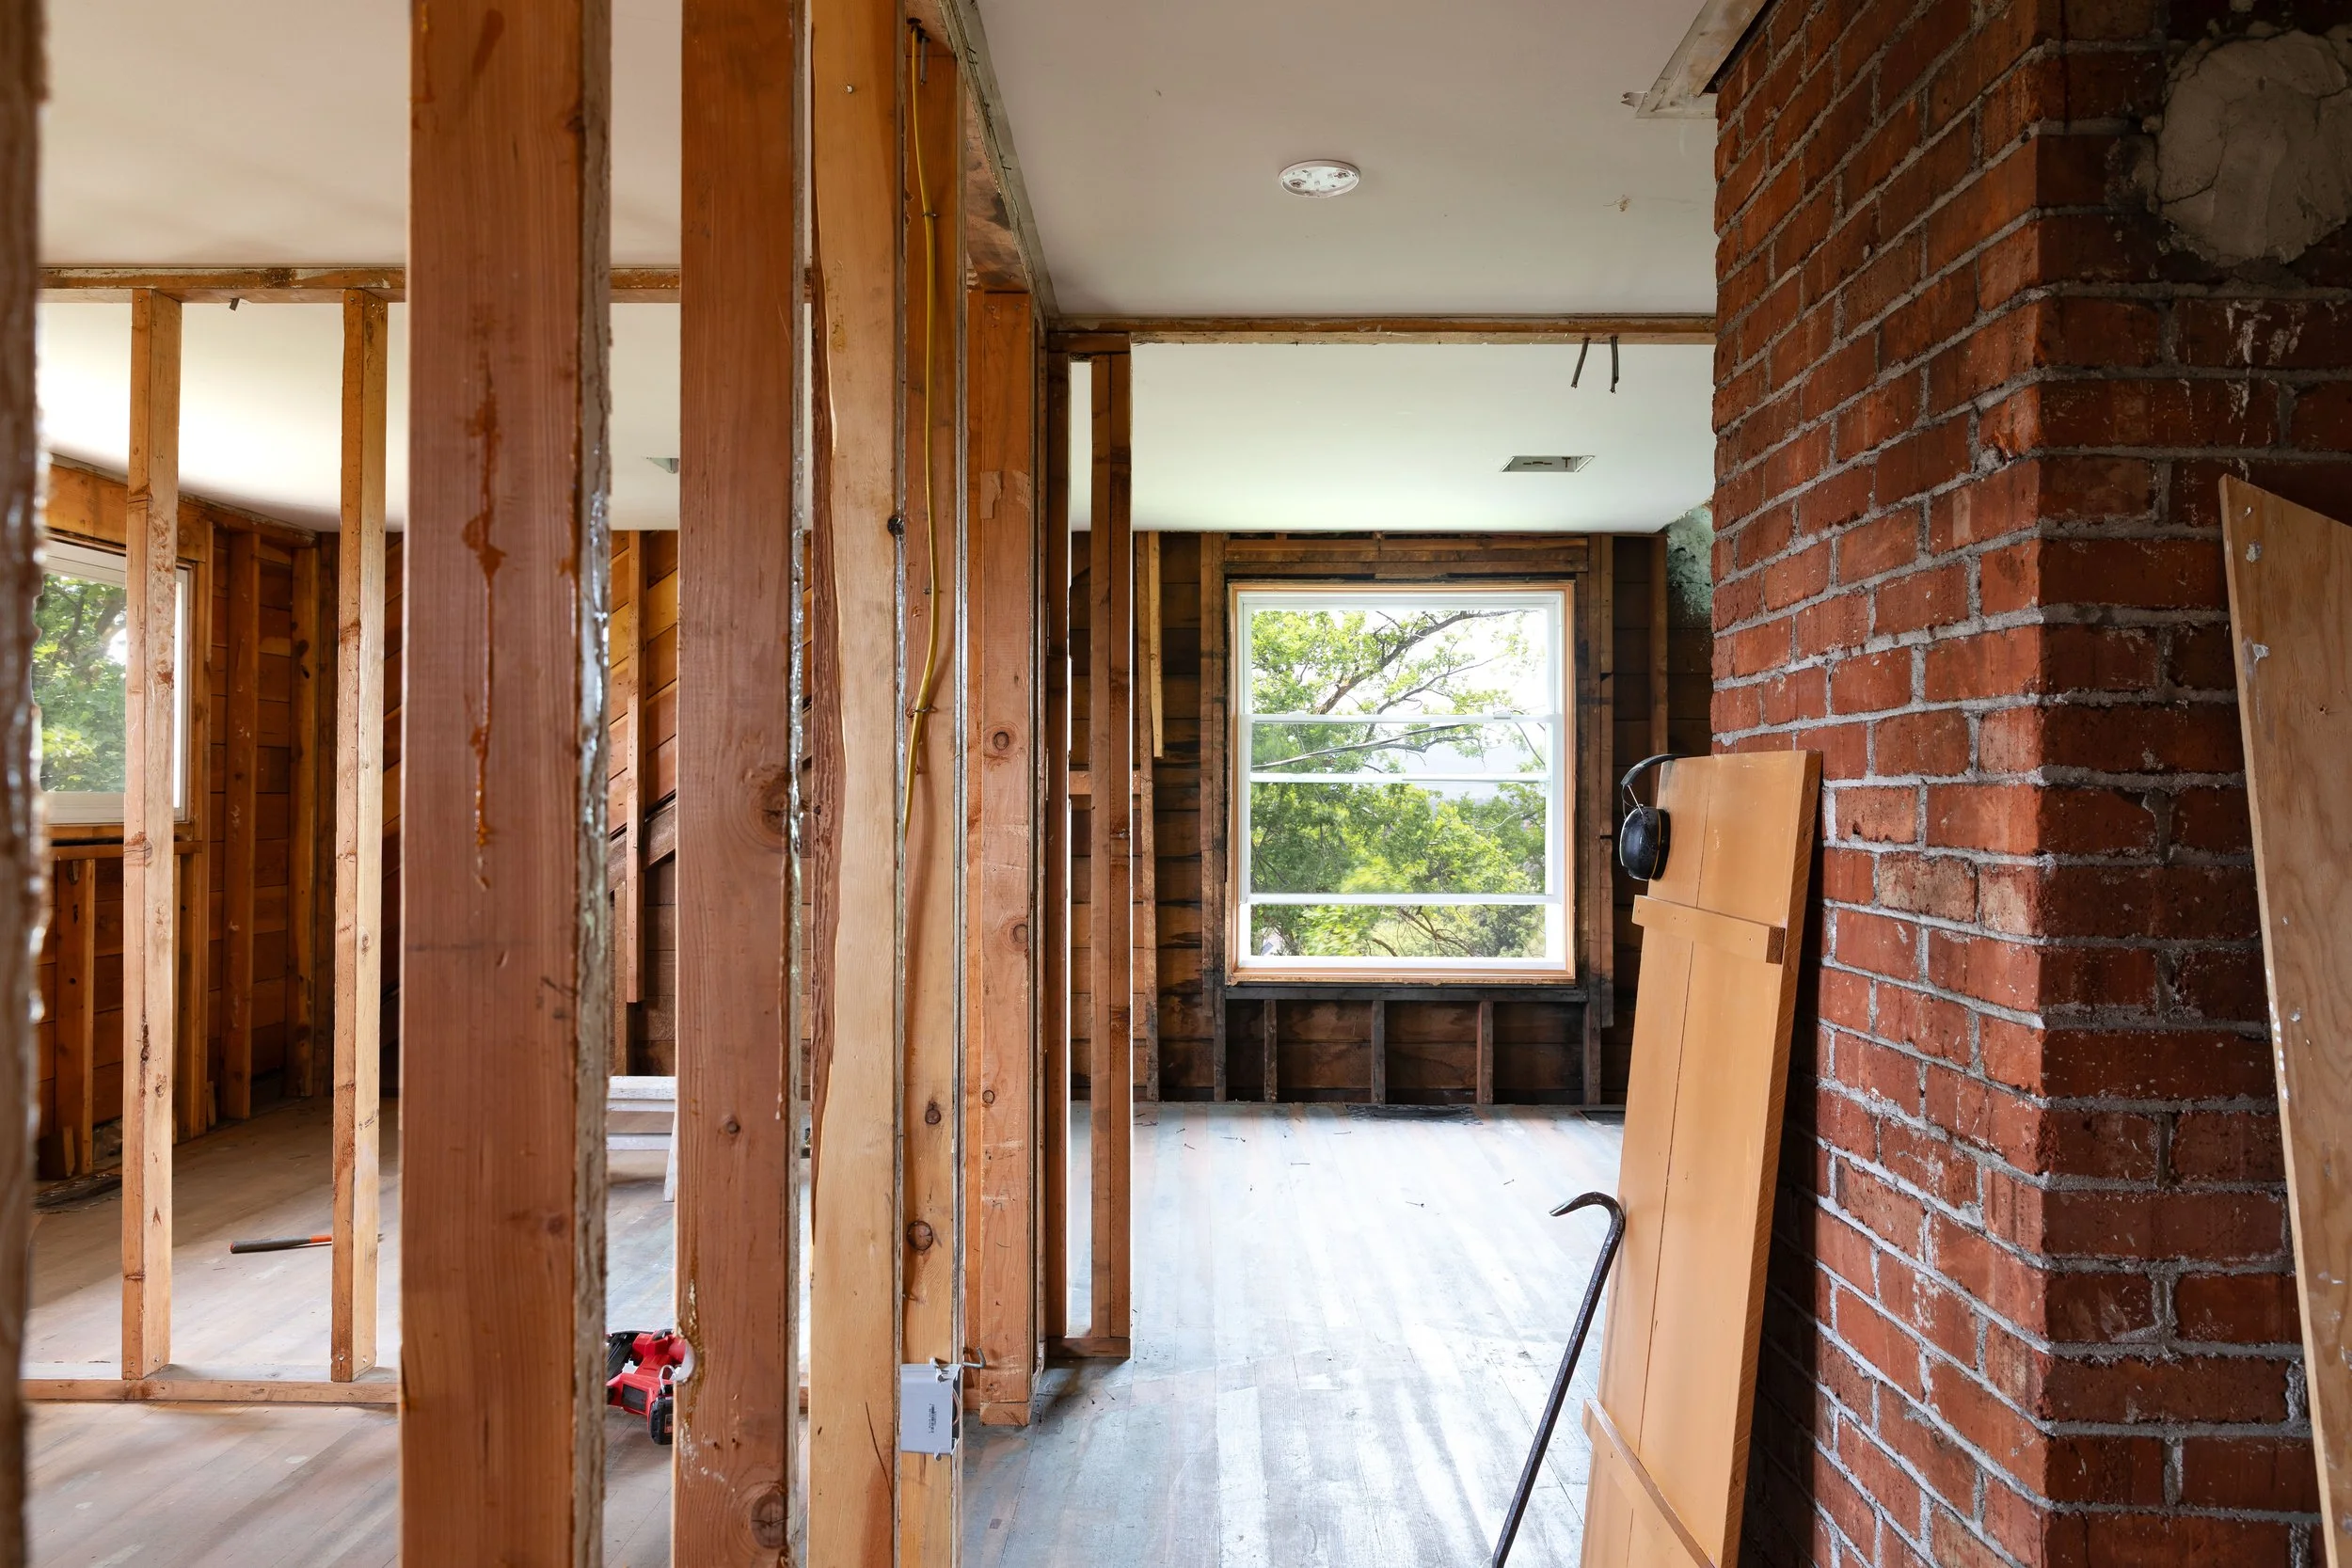
Anywho, while our phasing plan for the kitchen worked great on paper, renovations have a way of trickling down. At first it was just a few holes in the ceiling for the ducting and registers for the new HVAC system and then it was gutting a few walls to provide plumbing and electrical access to the upstairs. Couple that with my impatience to move this house along and then the need to size a structural beam in the kitchen and put together a window schedule (both of which are much easier to do when you can see the framing and structure), we decided to hire a couple of guys to demo the kitchen for us. Here’s what it looks like…
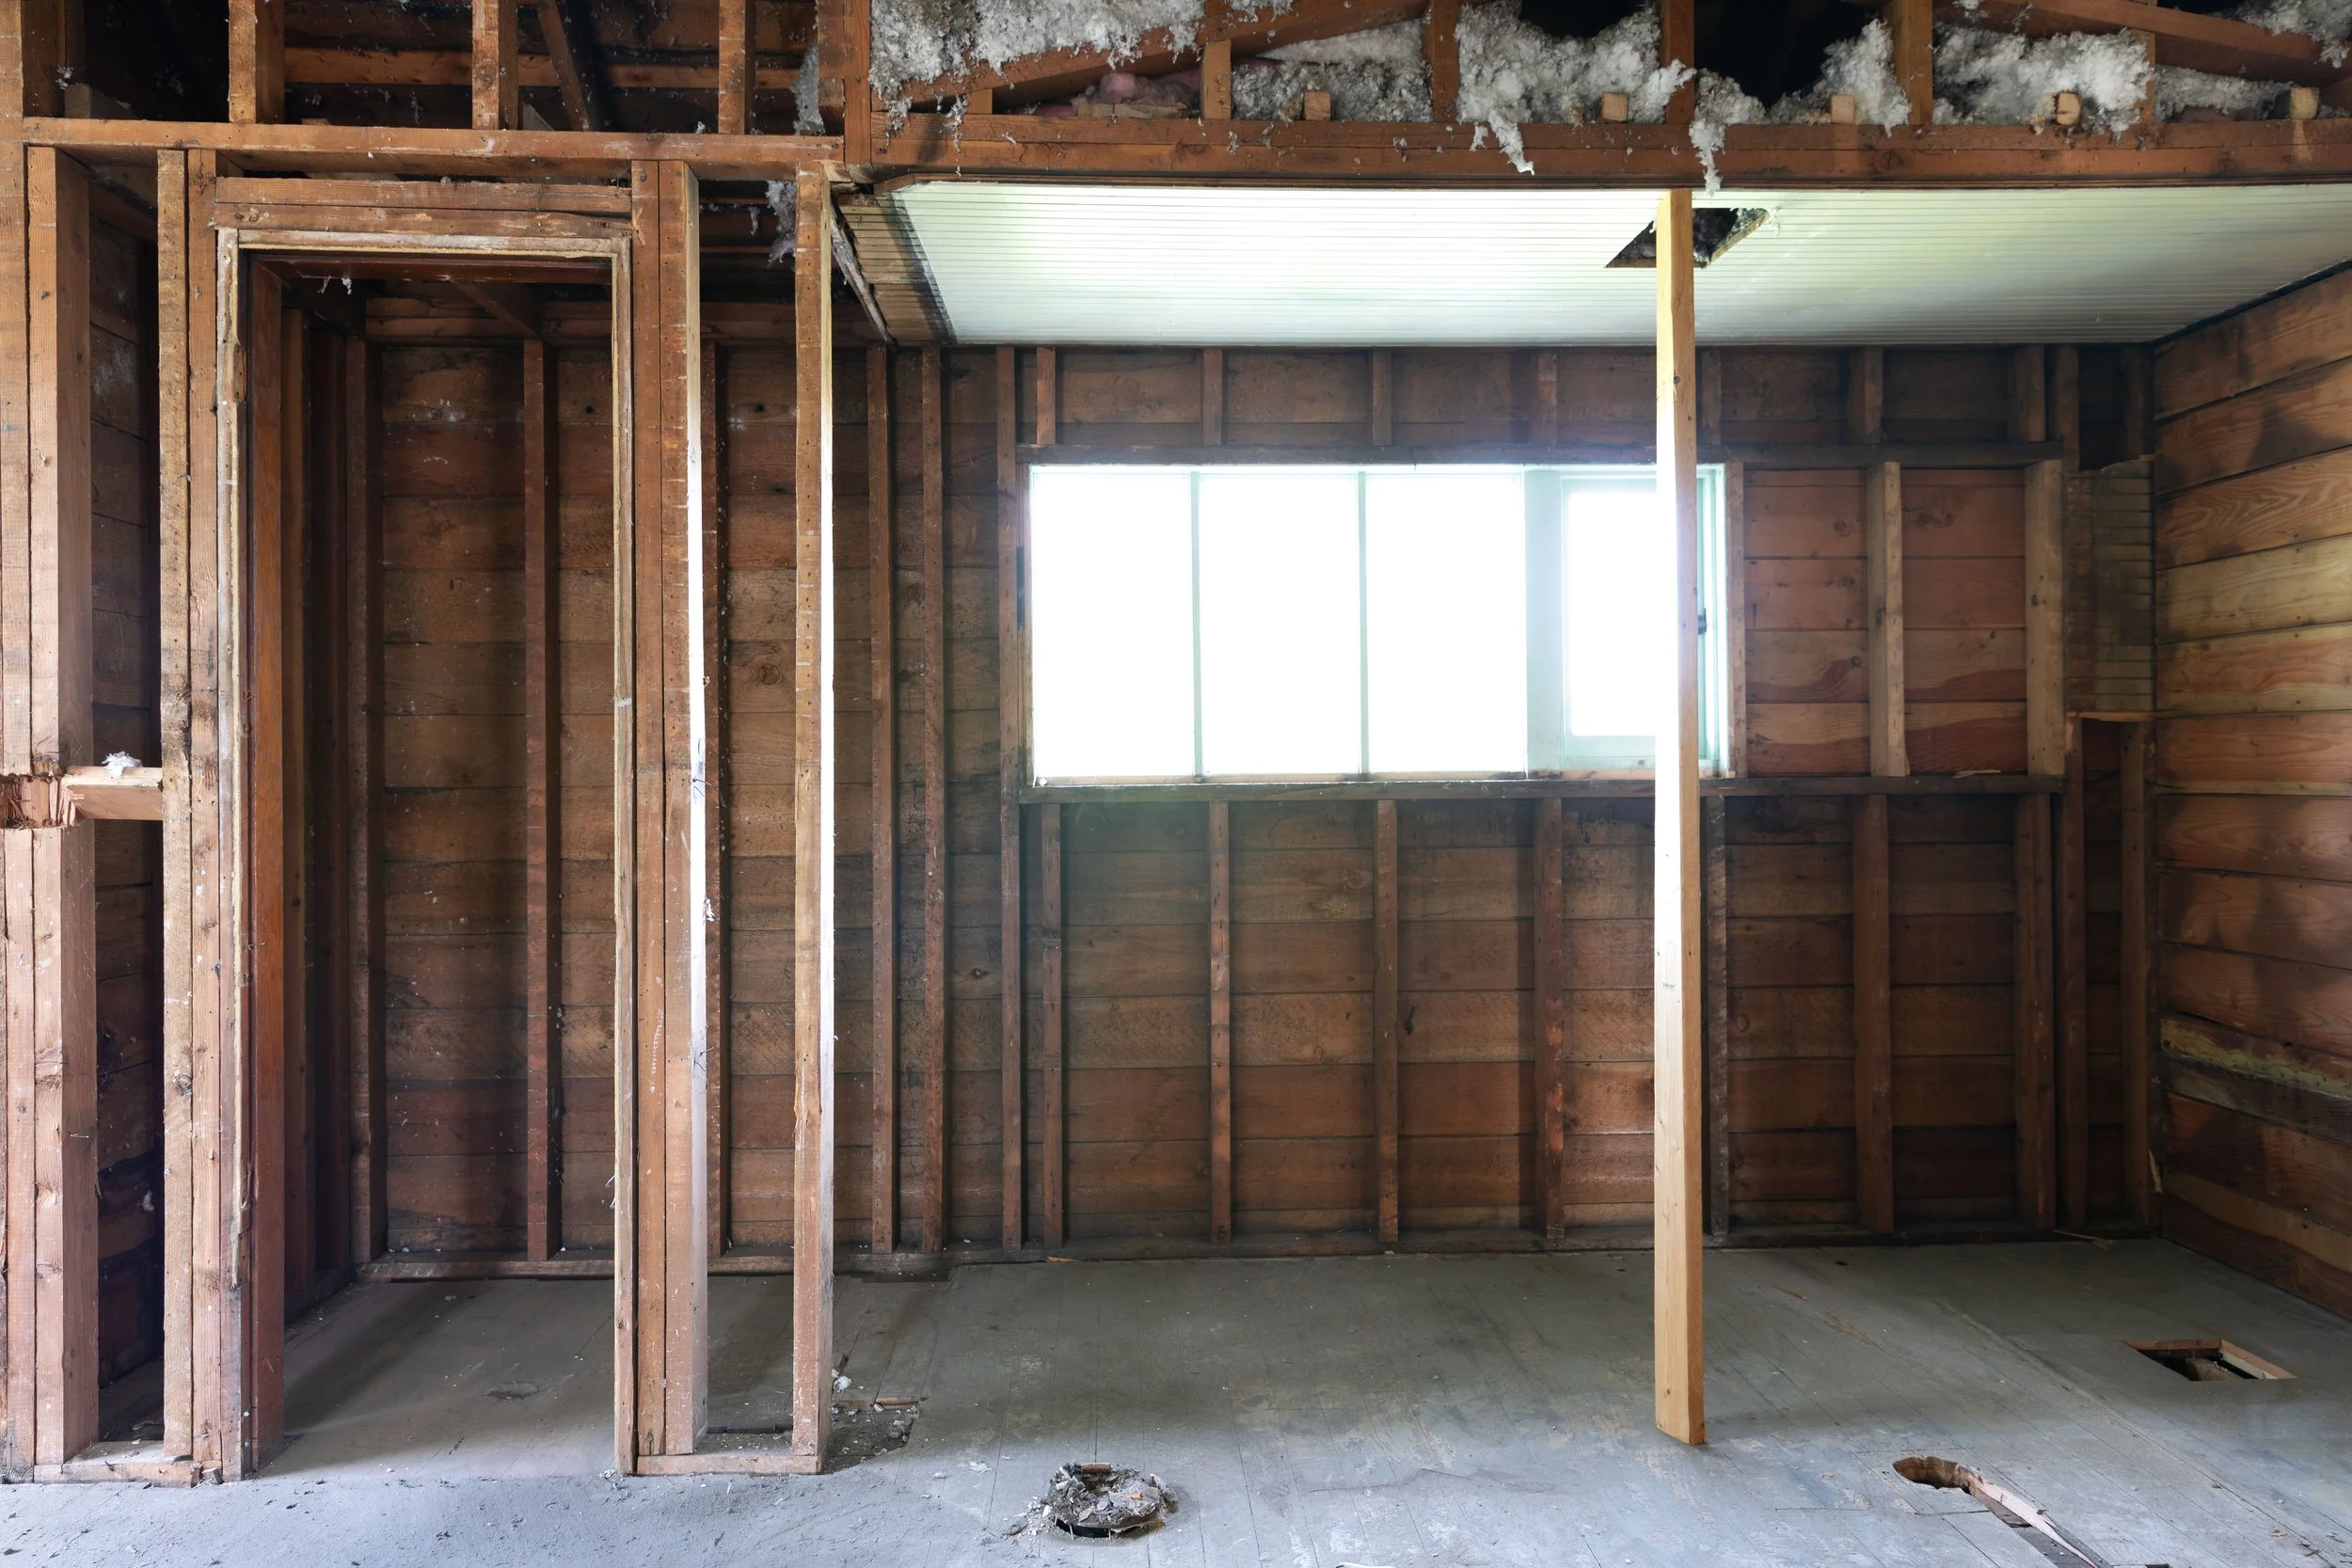
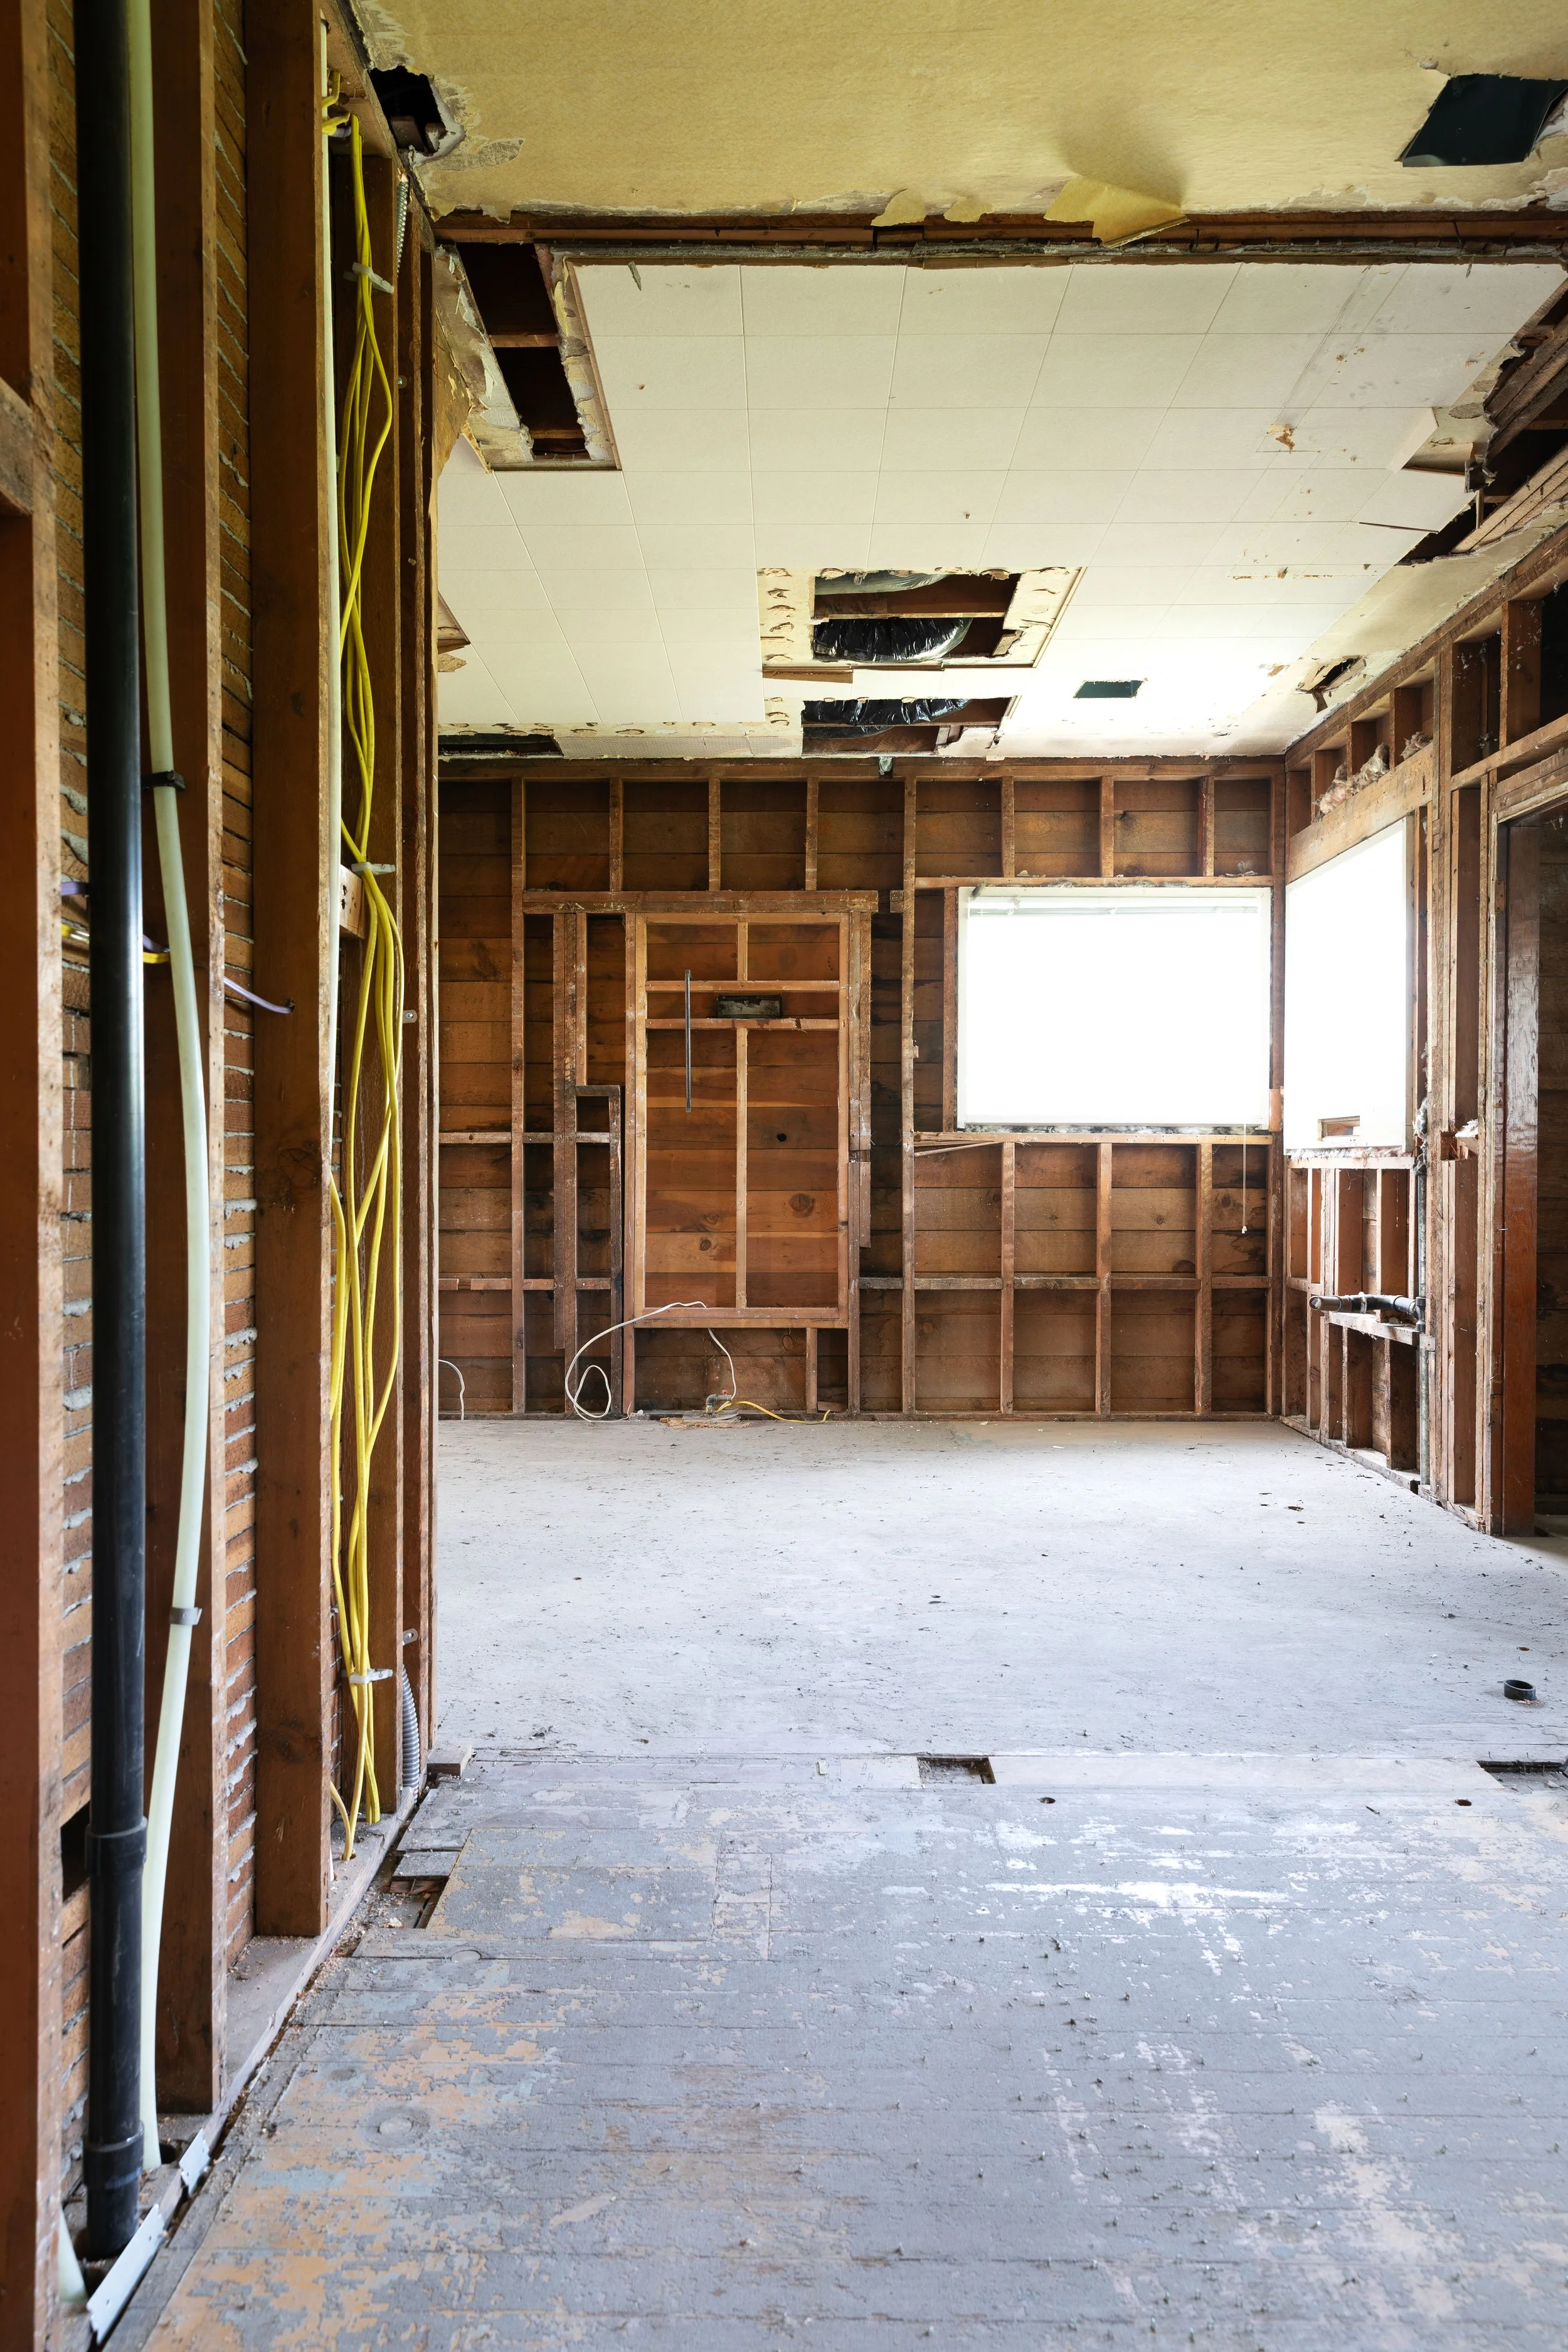
So much potential in these gutted walls! Now that they’re open we’re able to really make plans for the kitchen and bonus: we won’t have to live through that demo later. Now we’re thinking we may demo the living room and dining room carpets and wallpaper before moving in to avoid living through that messy bit too.
Phase 2 now overlaps with phase 1 a bit, but they’re still distinct projects. The heart of this phase is the kitchen - enlarged and reimagined for cooking, gathering, and soaking up those beautiful territorial views to the north. Alongside the kitchen, we’ll also tackle the dining and living rooms: refinishing hardwoods (or laying new ones), smoothing walls, and updating electrical and lighting throughout. And by keeping phase 2 in front of phase 3, we’ll be lucky enough to have the quirky second kitchen to use while the main kitchen is under construction.
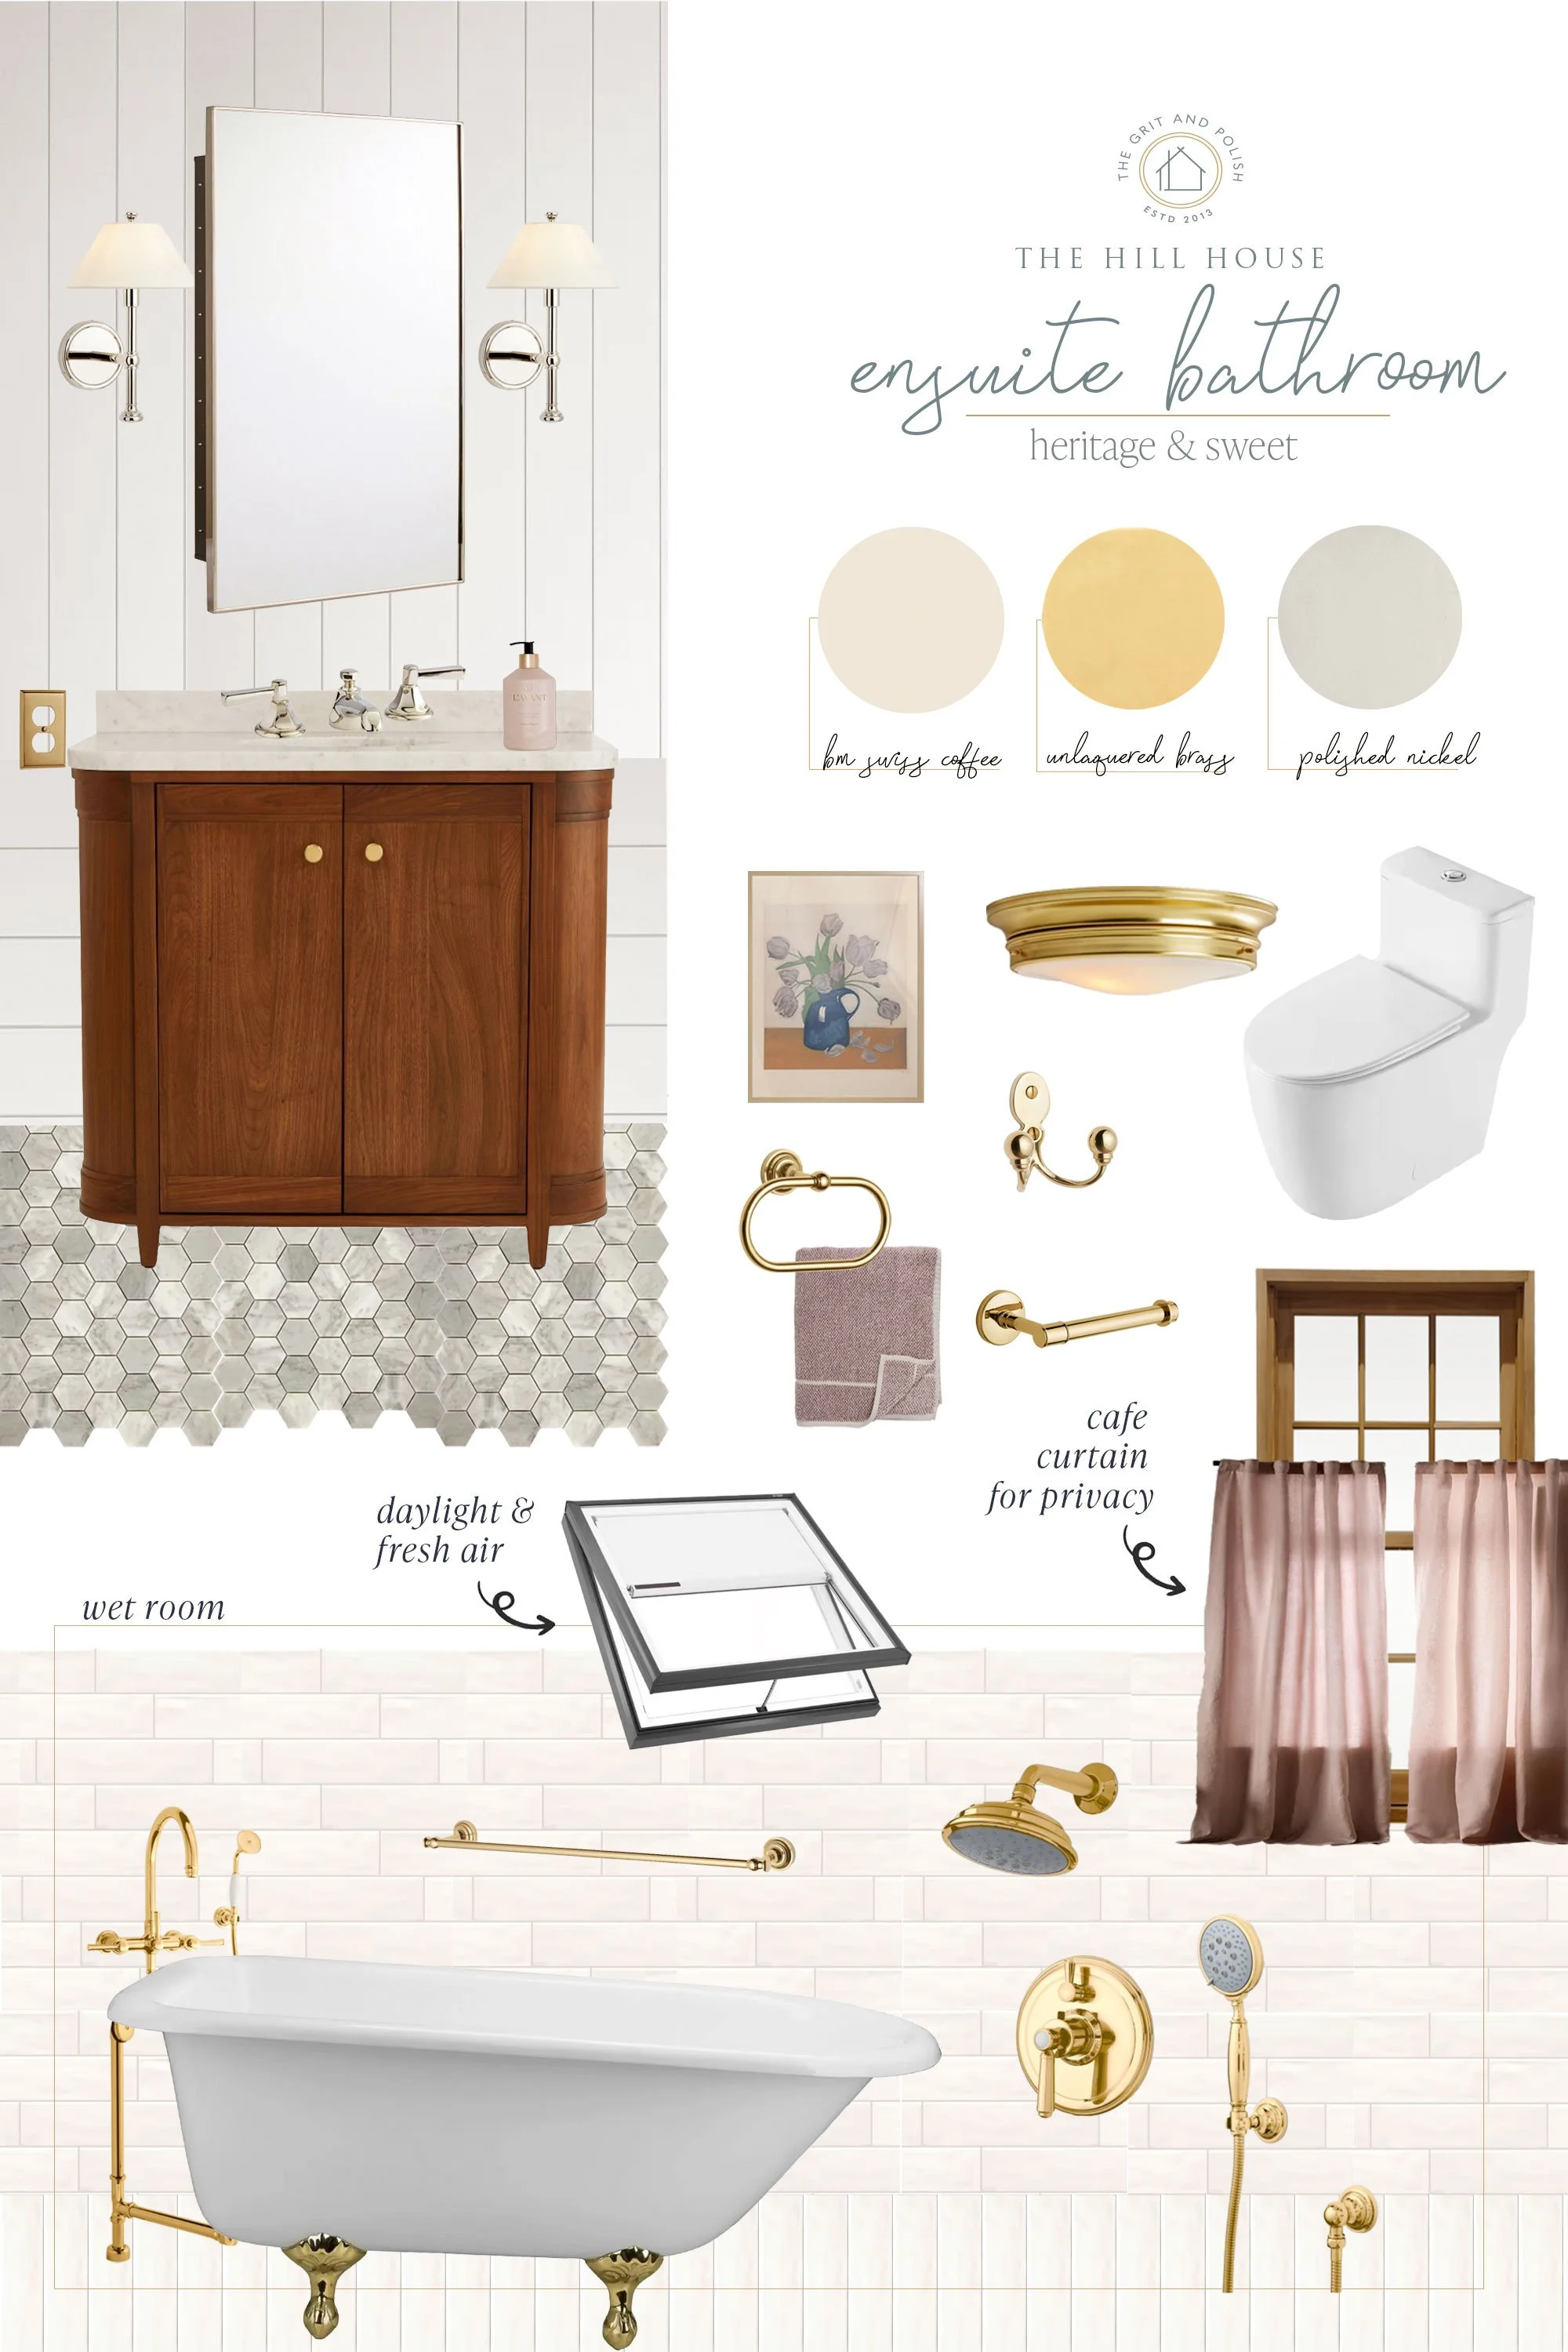
Phase 3: Primary Suite + Mudroom
Last but not least: our primary suite, powder bath, and mudroom/laundry. The primary bath area is carved out of the second kitchen, and that space will be much better utilized as an an ensuite bathroom and a powder bathroom for the main floor. It’s the kind of space that will add long-term comfort and function.


what’s next
For now, our focus is upstairs, but as you can see, we’re inching Phase 2 forward in the background. That’s the thing about phasing: it’s more of a roadmap, rather than a set of stone tablets. Old houses always throw curveballs, and sometimes you need to adjust course. So this is our current phasing plan and we’re exited to see where this renovation takes us.