All About Epoxy Grout (Read This Before You Pick a Color!)
THE FARMHOUSE
Over the years, Garrett and I have grouted a dozen plus showers/kitchens/mudrooms, but last week was our first time using a two-component epoxy grout. Epoxy has a reputation of being difficult to work with and we were a little apprehensive, but turns out we LOVED it!
Today we wanted to share why we went with epoxy, tips on selecting a color (seriously READ THIS BEFORE YOU PICK A GROUT COLOR!), and what you need for install. Let’s get into it…
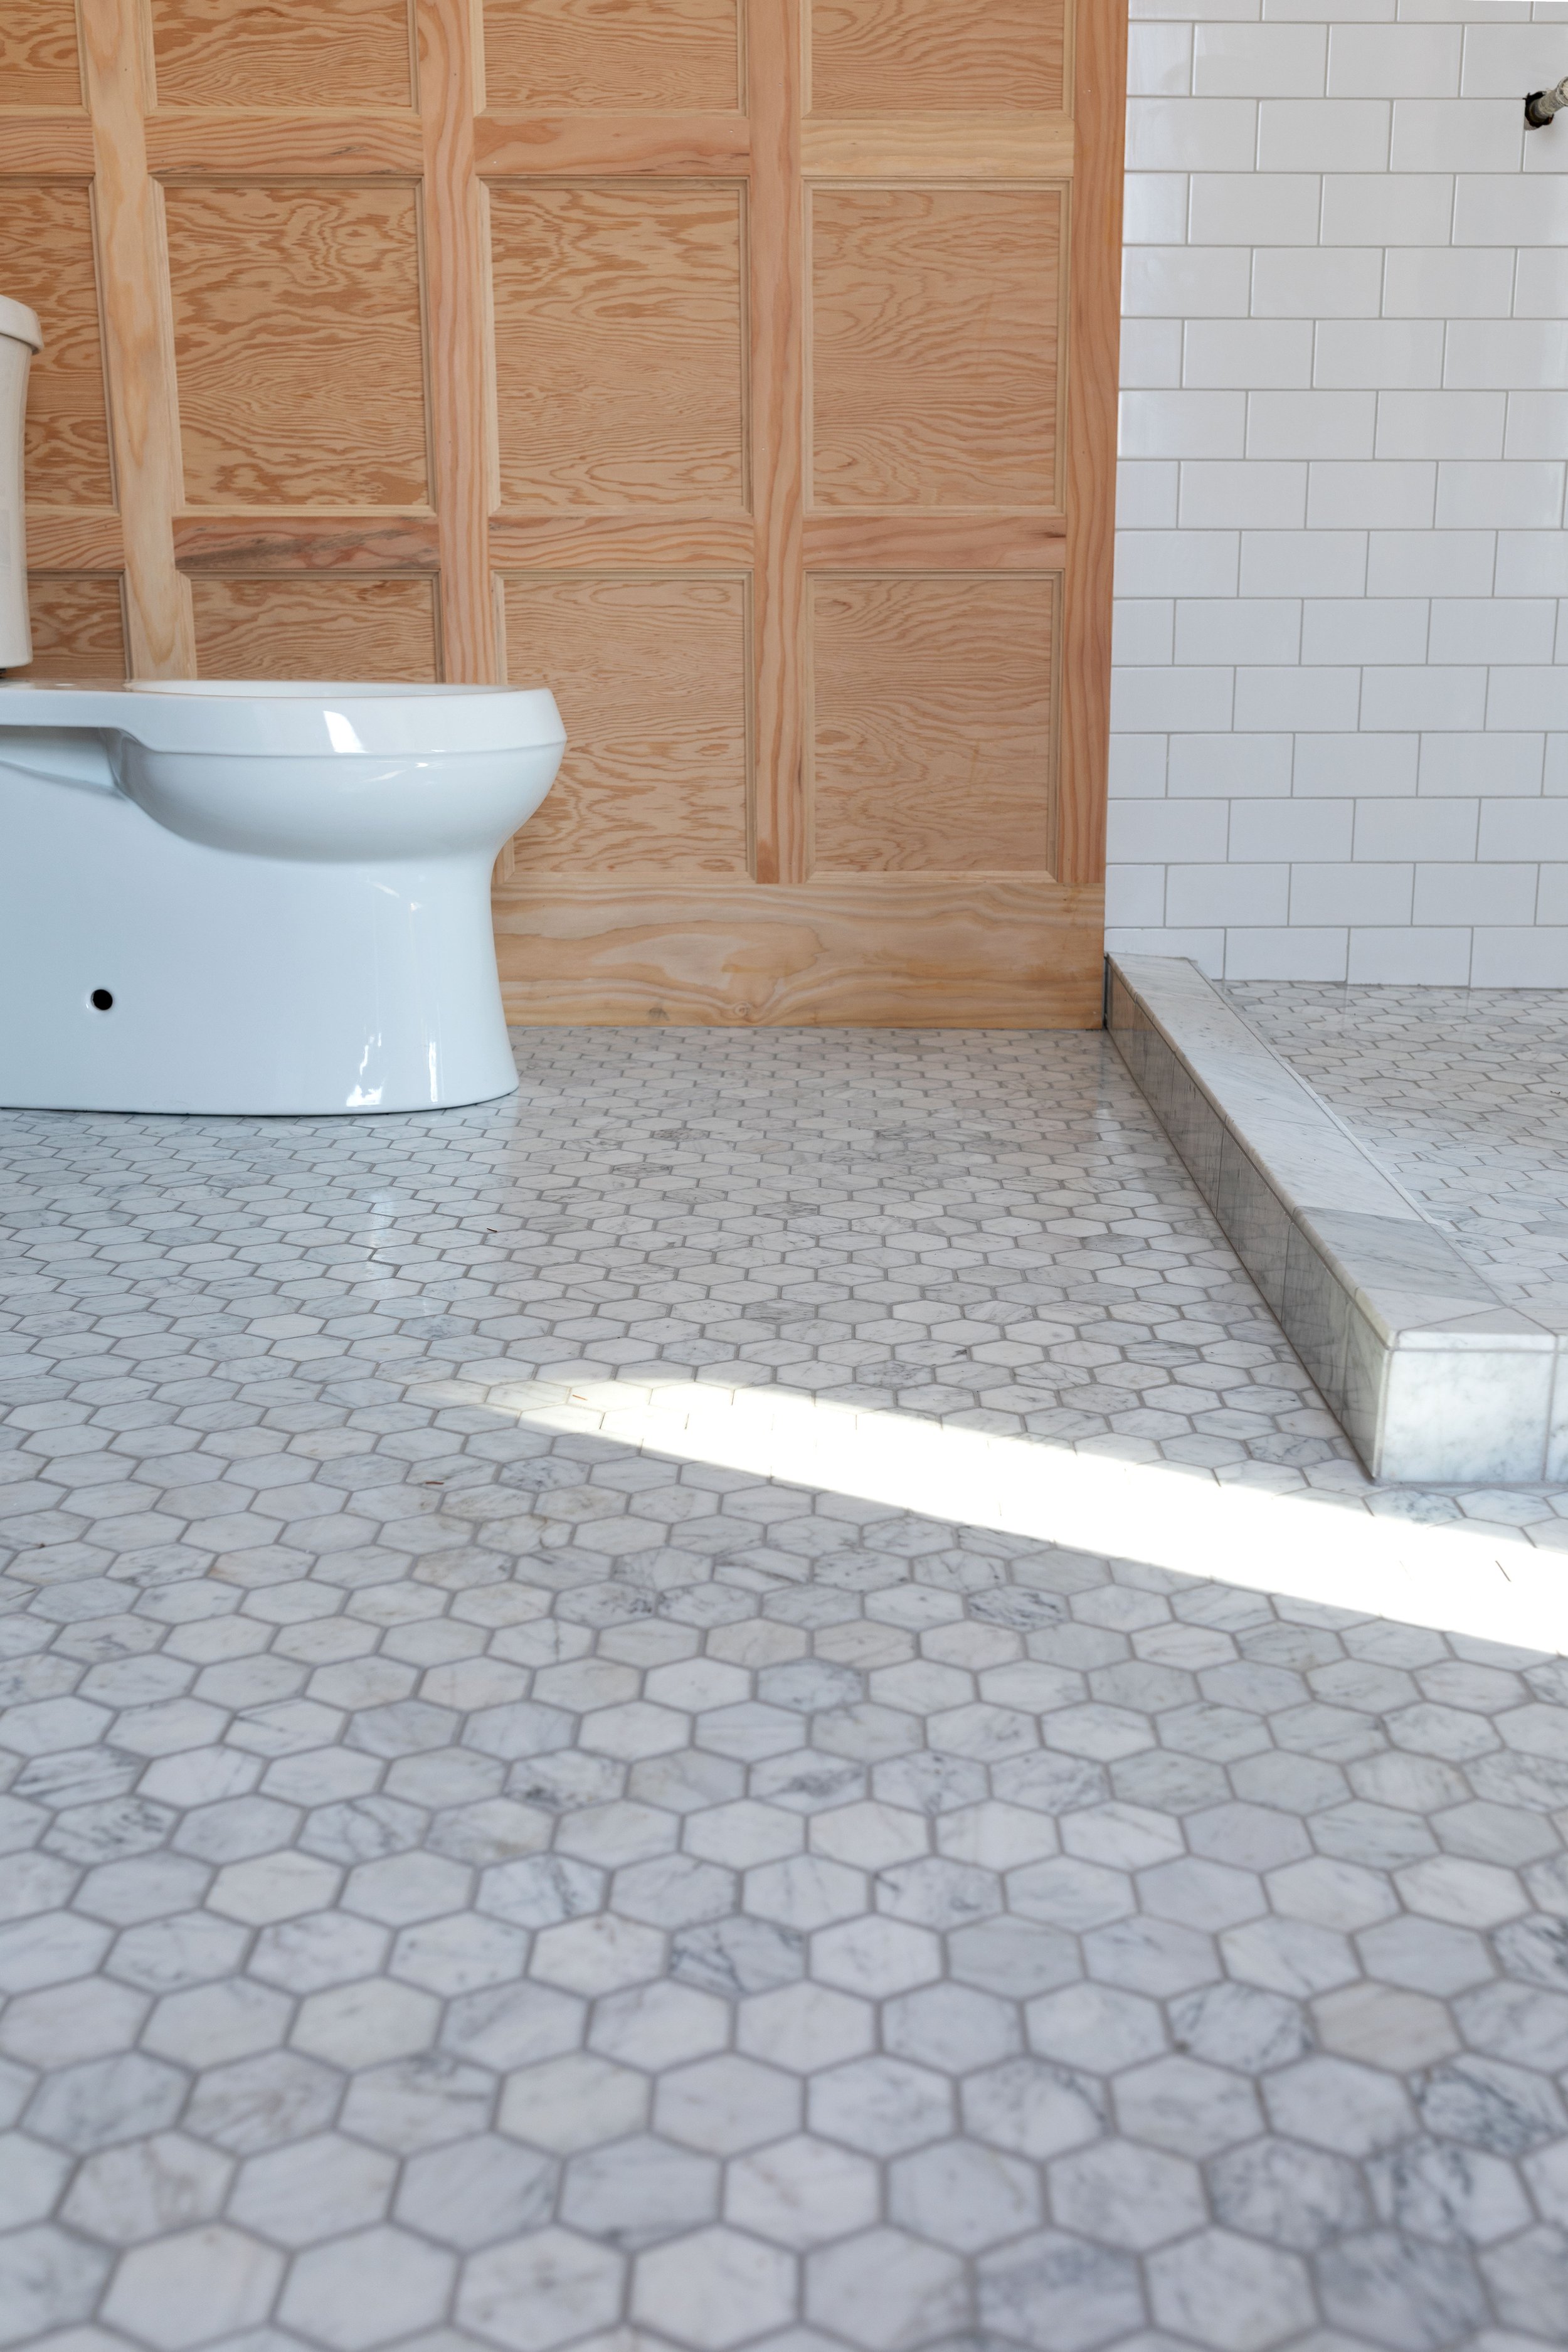

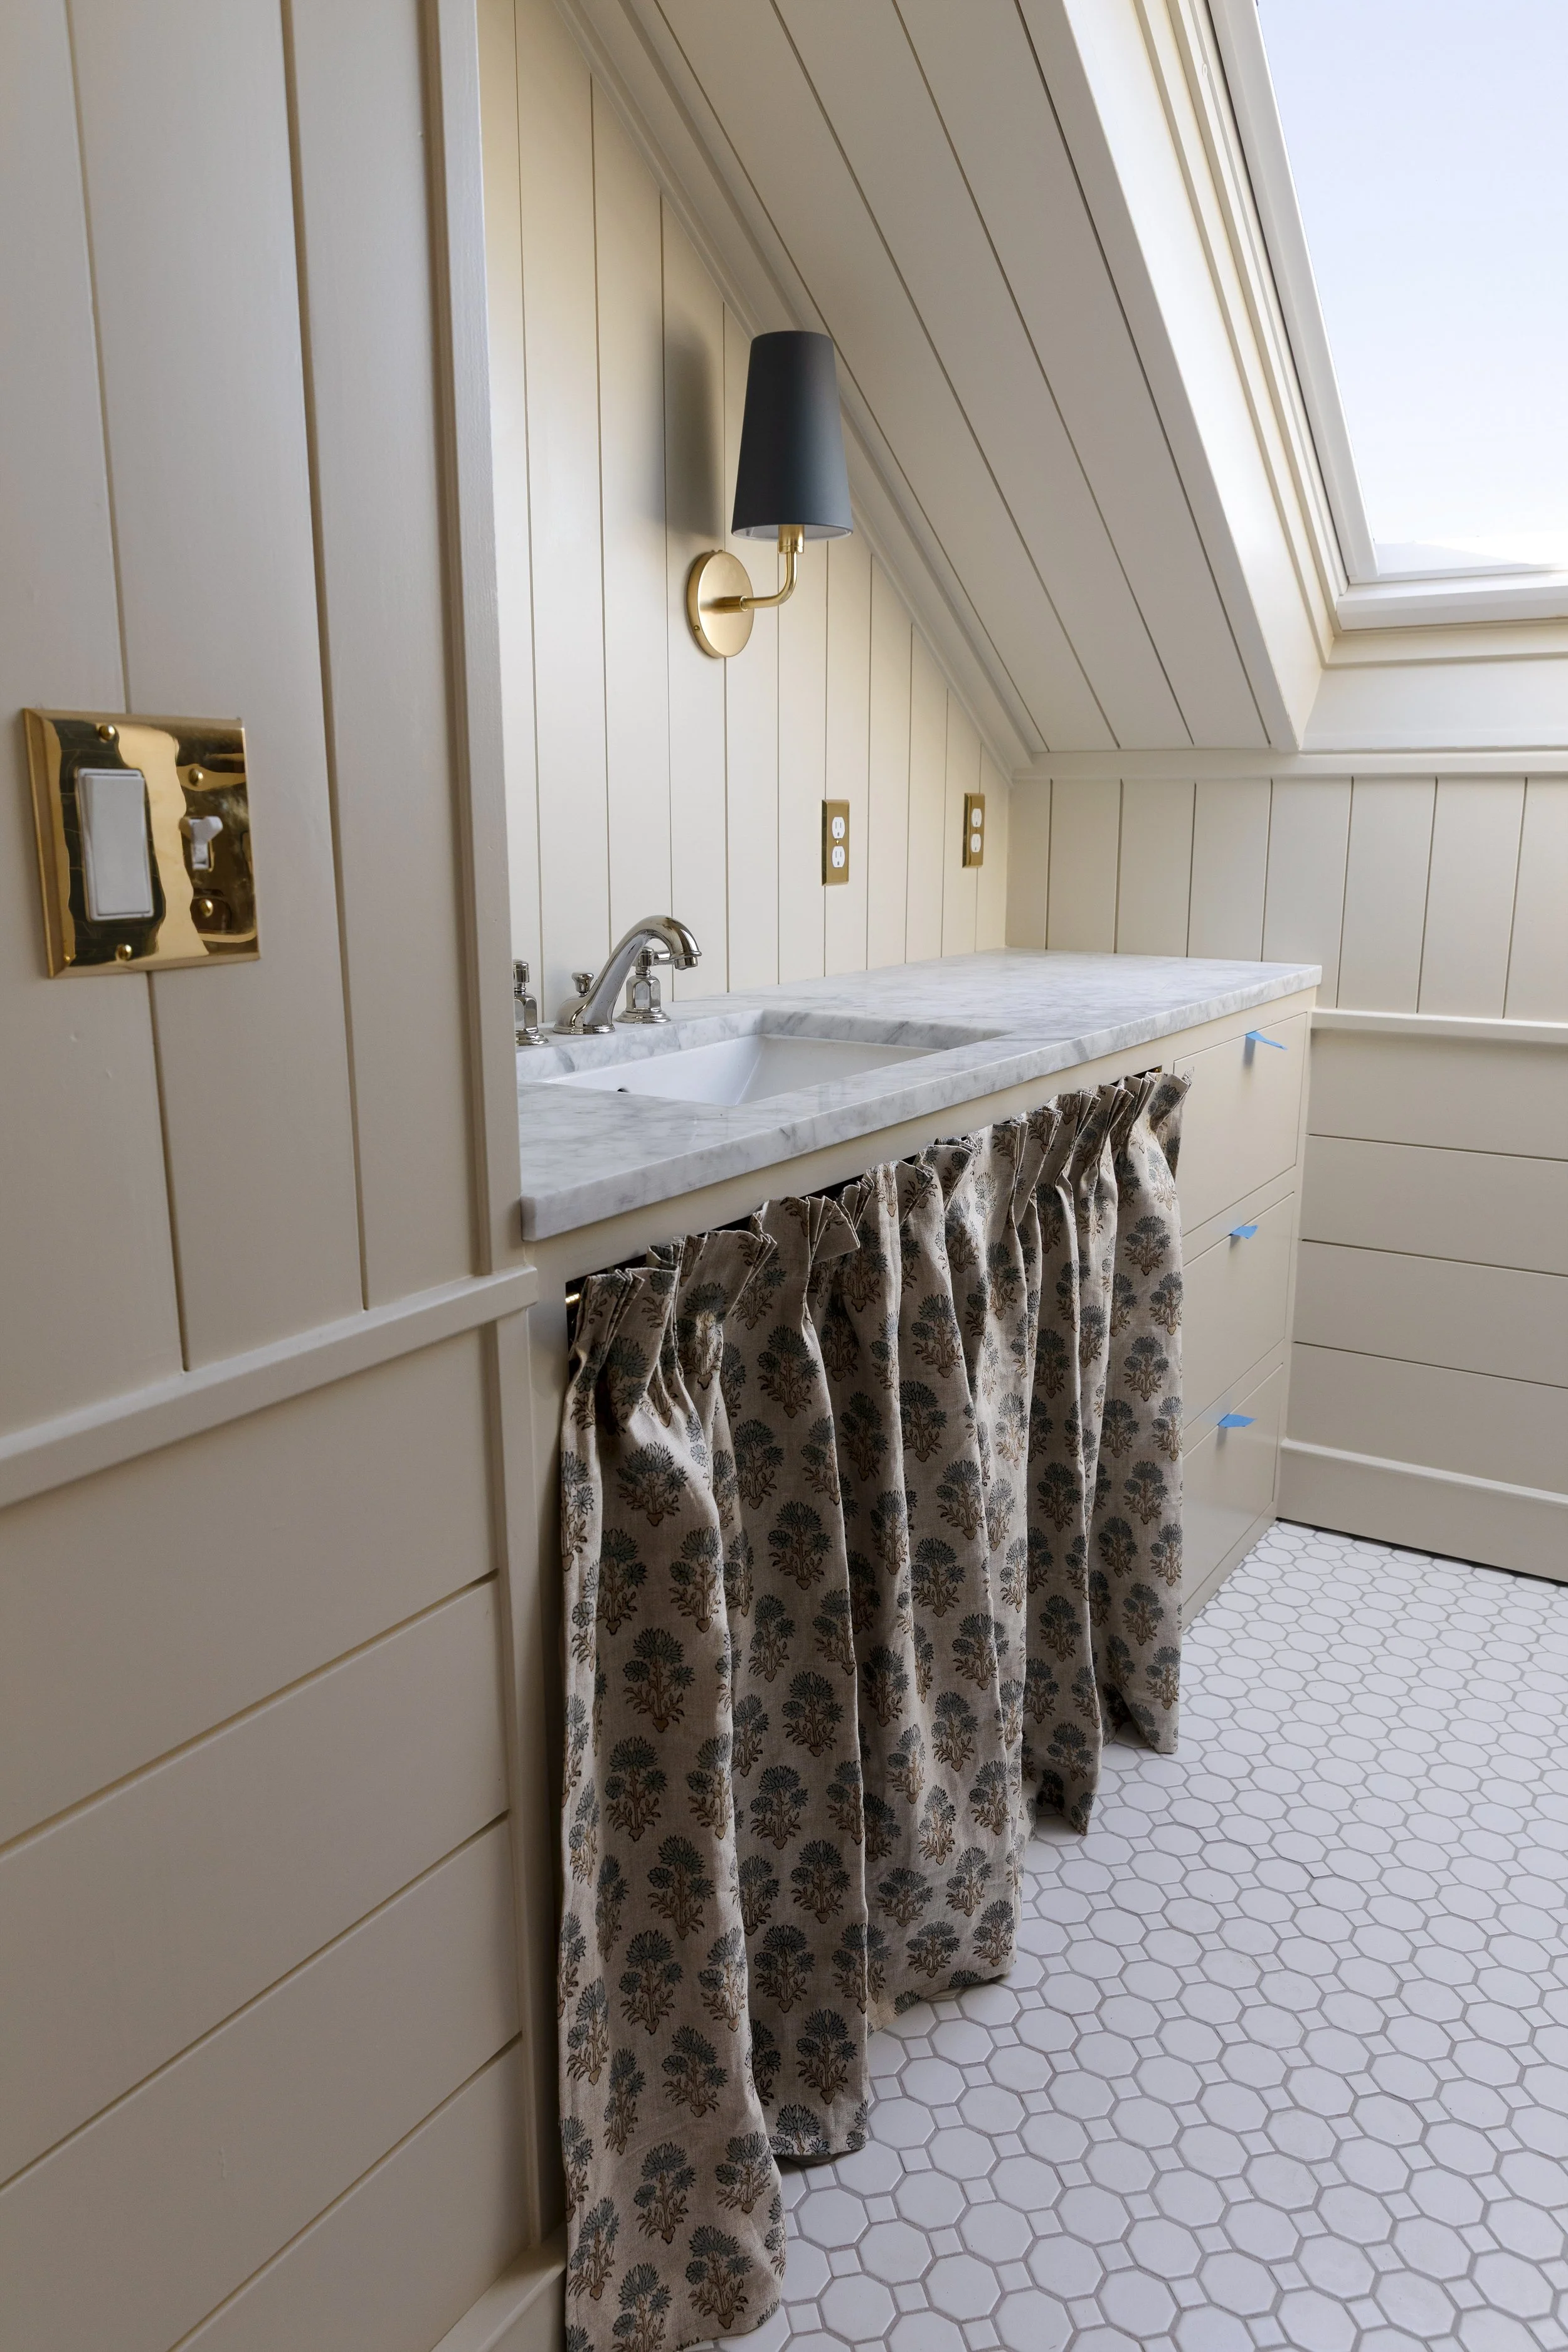
tiles, wainscot, toilet, grout (smoke on floors, fresh lily on walls)
Before starting this project, Garrett researched epoxy grout and was all set to use Laticrete’s Spectralock but then our pals at the Tile Shop messaged us and recommended Ardex’s two component epoxy grout. After getting our hands on Ardex’s color deck and doing some YouTubing on the install, we were in. And we’re so thankful for the recommendation because this was our favorite grout to date. Seriously, from the colors to the install to the cleanup - it’s a 5 star review from us. But let me back up and walk you through the design process…
What is epoxy grout?
Epoxy grout is a new type of grout that's made out of epoxy resin and filler components. The grout comes in two-parts that are mixed when ready to apply, and the resulting reaction gives epoxy some great features like durability, stain resistance, strength, chemical resistance, and low shrinkage. Epoxy is becoming the gold standard in grout.
Where to use epoxy grout
Epoxy grout is a popular choice in commercial and residential construction in bathrooms, kitchens, pools, high-traffic areas, and anywhere that requires regular cleaning (think commercial kitchens).
What tiles can you use epoxy grout on?
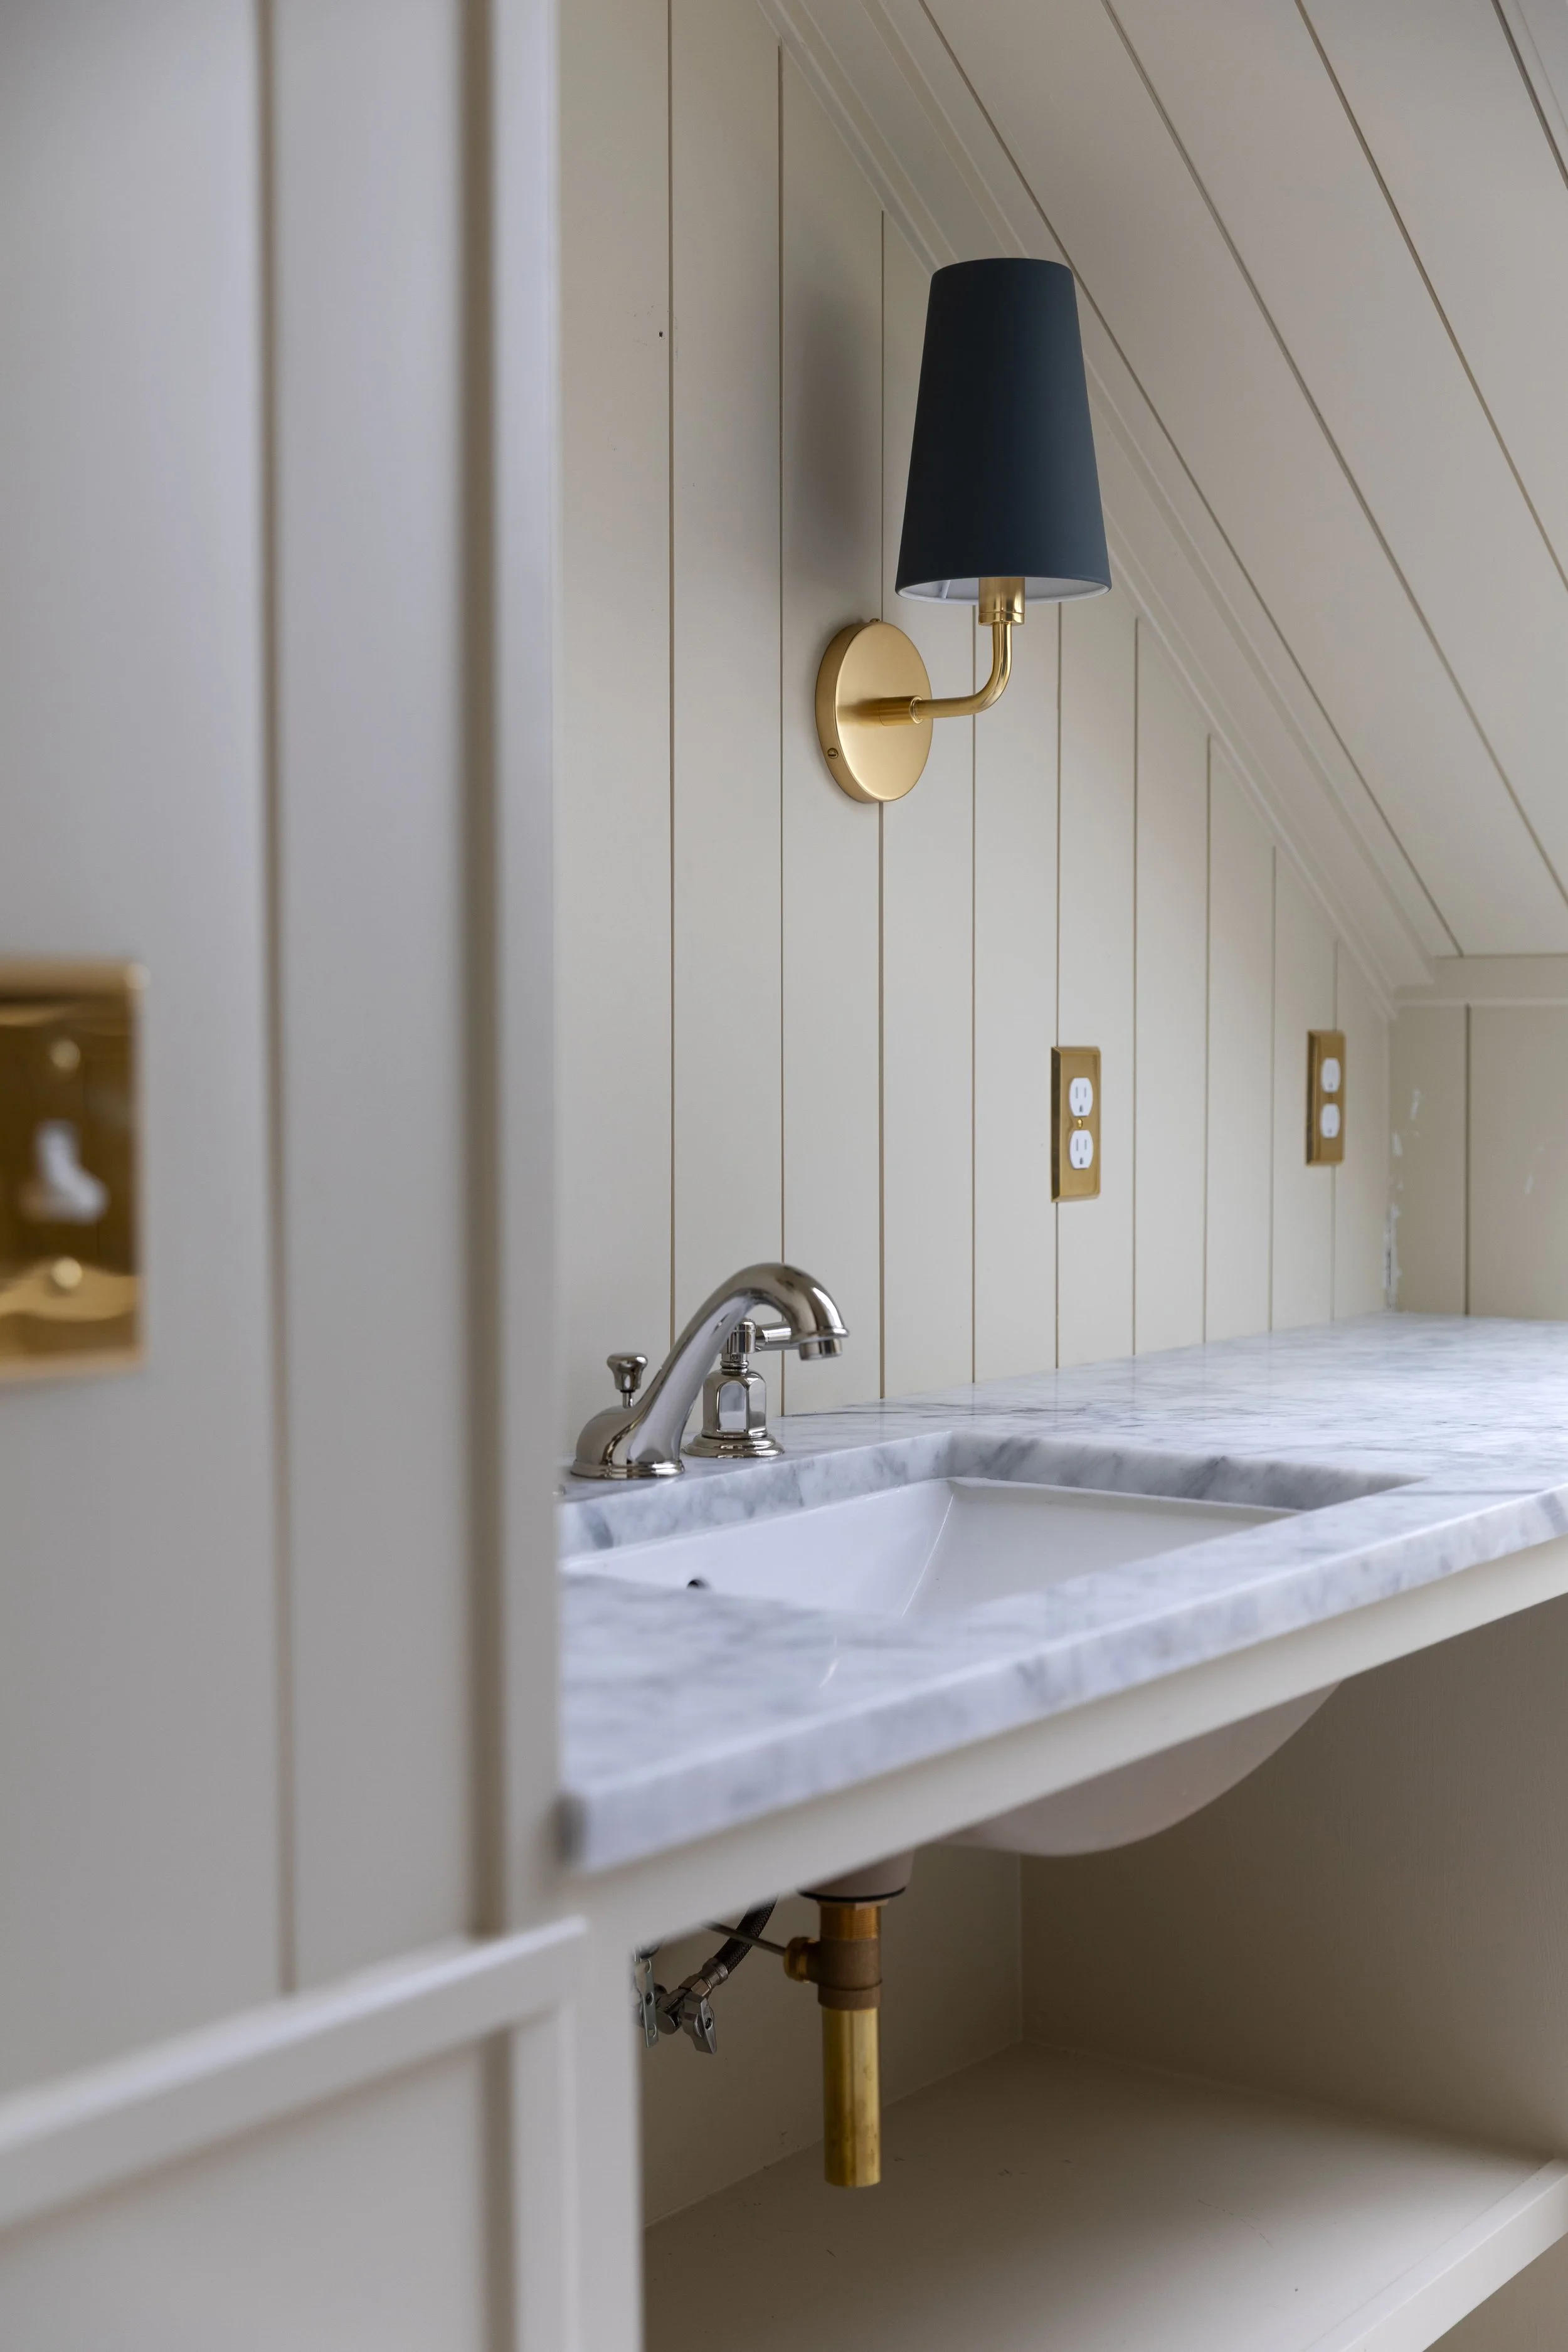
Epoxy grout is really versatile and can be used on most types of tiles including non-porous, like porcelain and ceramic, and porous like natural stone. When using it on porous tiles (like our honed marble ones here) it's important to seal the tiles BEFORE grouting. Just like traditional grout, epoxy can stain absorbent tiles so using a heavy-duty sealer for natural stone is important.
Grout joint size
Most epoxy grouts, including Ardex and Laticrete, can be used on grout joints up to 1/2". Personally, I prefer the look of smaller joints and you'll find cleaning easier with smaller joints as well.
Why use epoxy?
Like all things, there are pros and cons to using epoxy grout.
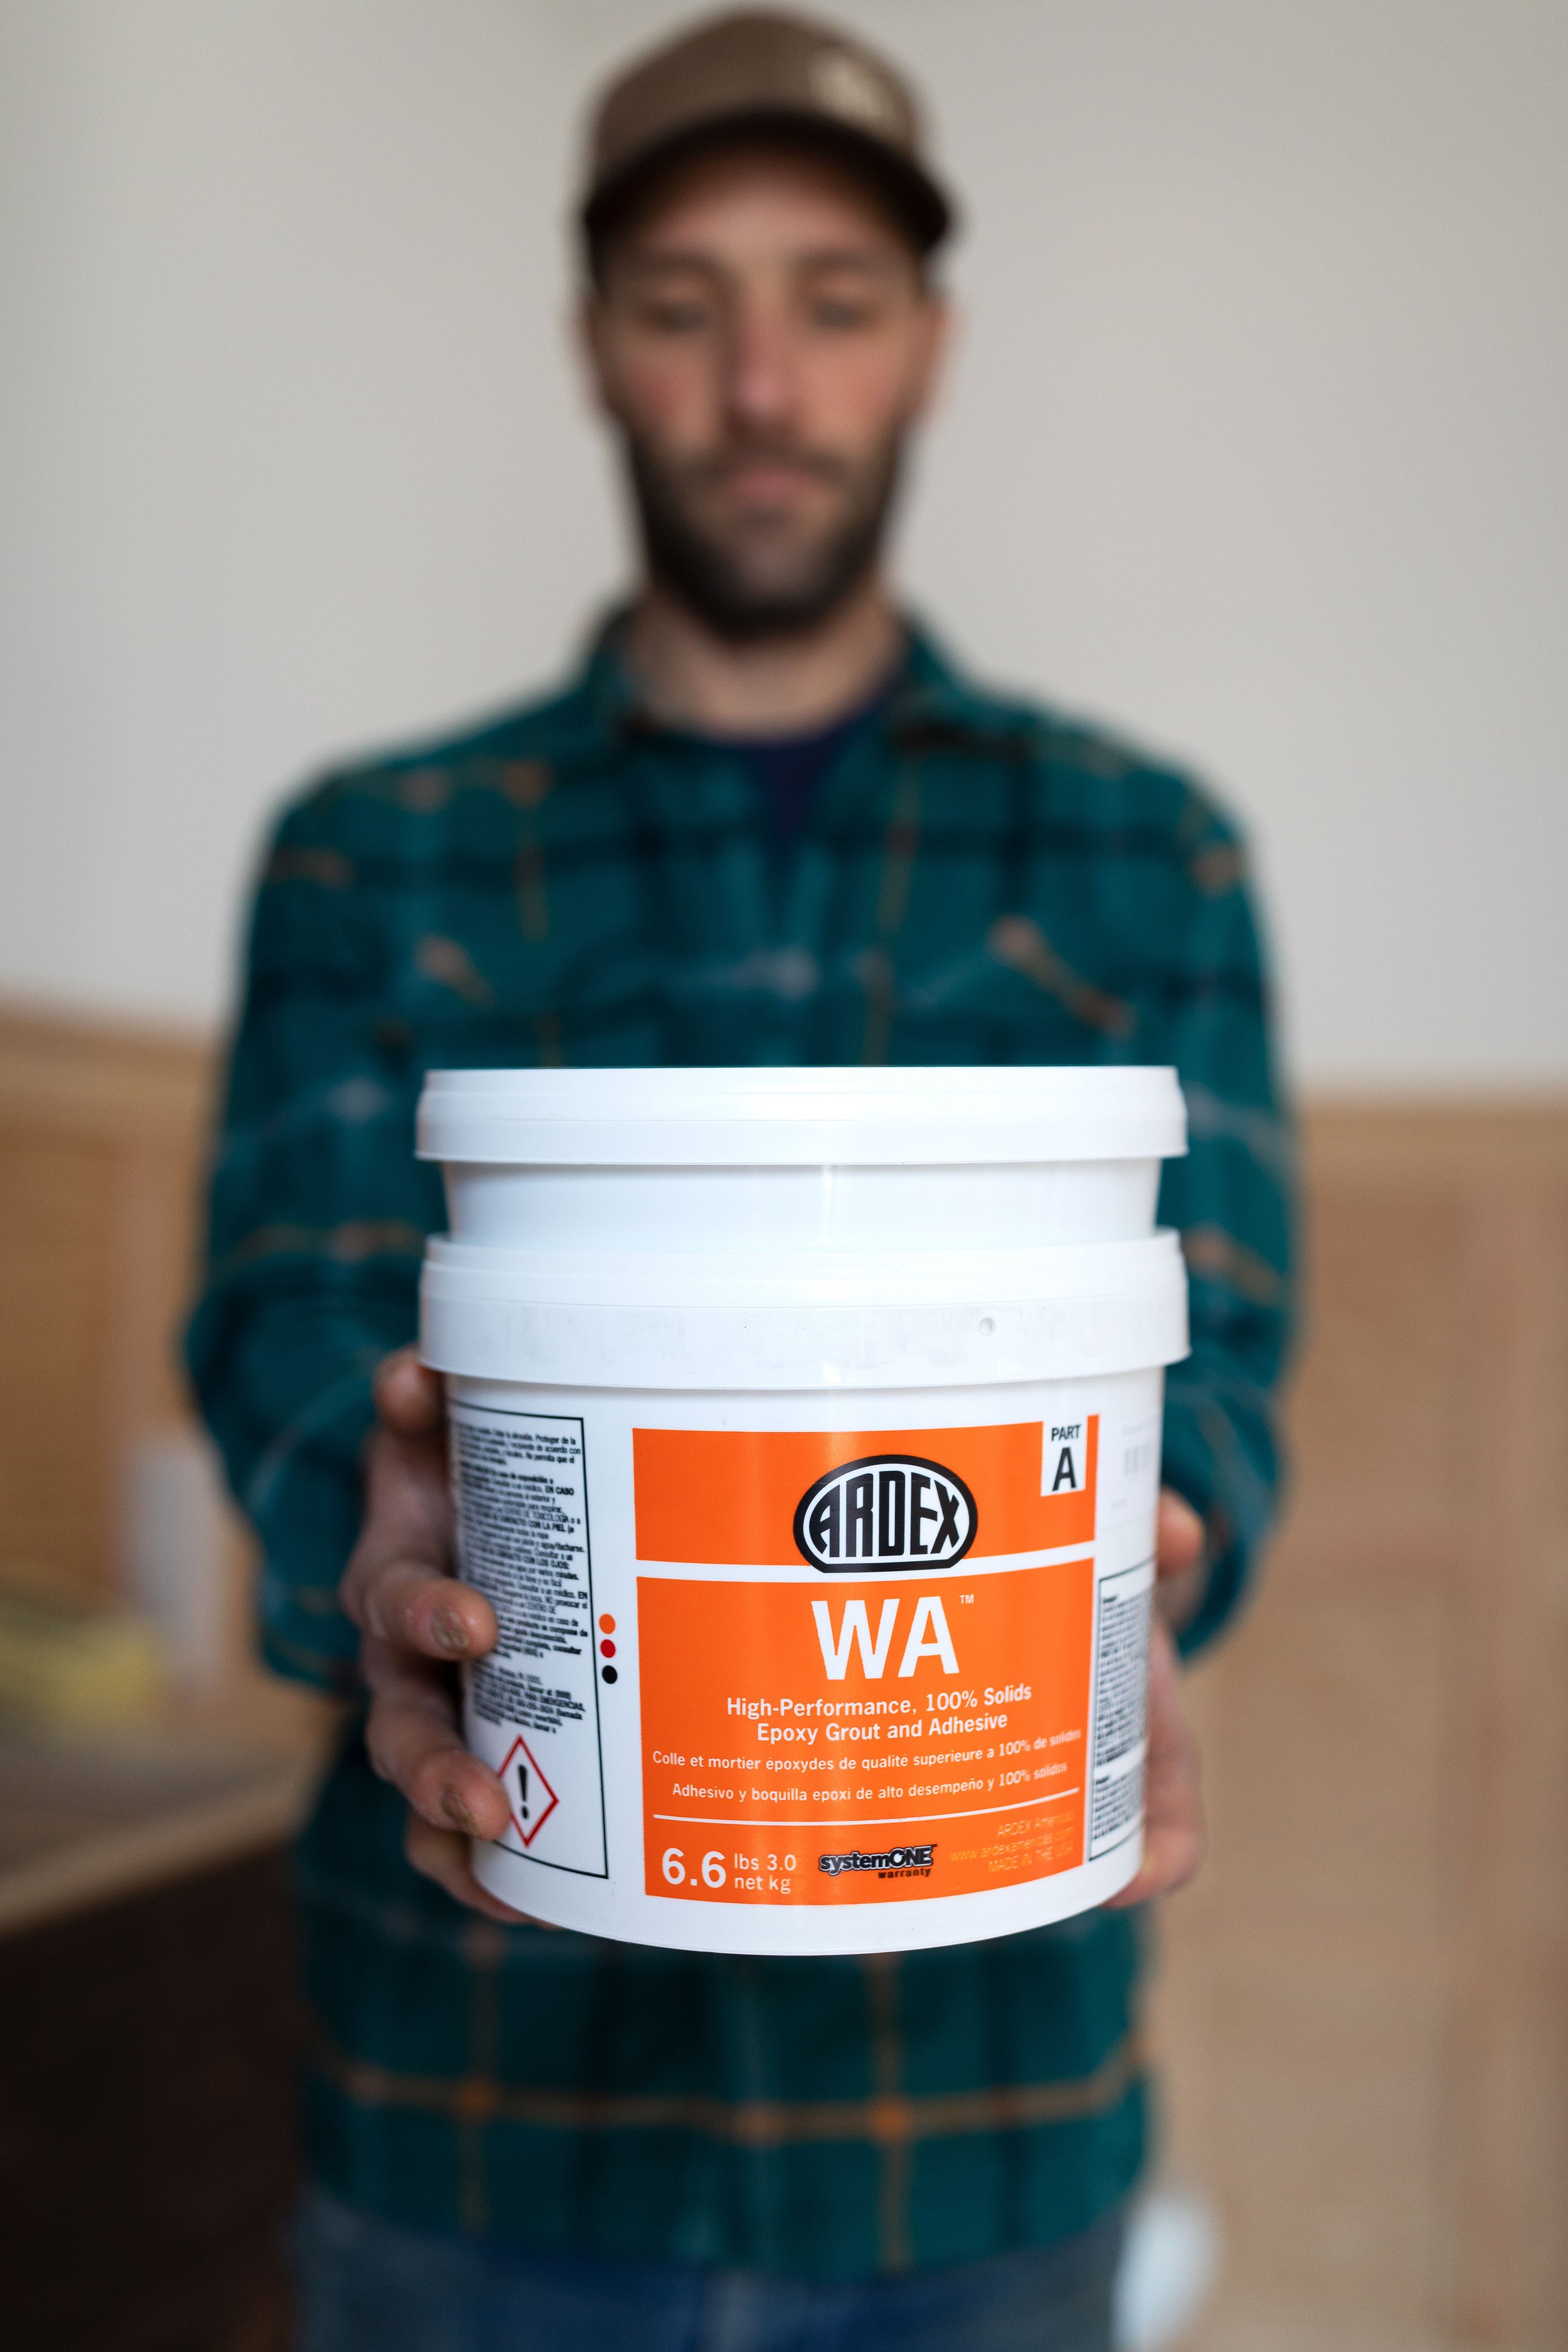
Pros: Epoxy grout is durable and resistant to mildew growth and staining (!!!). It also doesn’t need sealing like a traditional grout. Ardex WA is simple to mix up since it already has the color added, applies evenly, and can be cleaned up with just water. Some epoxy grouts require you to mix in the colorant as a third component. Epoxy grout absorbs about 50x less water and is twice as strong as traditional cement grouts.
Cons: Epoxy is expensive - somewhere around 3x-5x the cost of regular cementitious grout. Epoxy can yellow a bit as it ages and has a reputation for being difficult to install because of it’s thicker consistency and quicker set time (for the record, we didn’t find Ardex difficult to install at all).
For us, the real pros were the lack of staining and long-term durability of epoxy. We liked the idea of installing it and then not needing to do a whole lot after that and those pros outweighed the added cost.

Picking a color
We considered quite a few colors for our grout before settling on two, so let me walk you through the process and all the advice we got…
Originally I wanted to use a white epoxy grout for a seamless, traditional, bright look. But when I asked folks on IG for feedback on using white epoxy grout, man oh man did our DM’s fill up. The general consensus was…DON’T DO IT! Here’s a screenshot from IG stories with everyone’s advice…

The general consensus:
Basically everyone who has white grout hates it with very few exceptions.
Epoxy grout tends to yellow over time so white can turn really creamy and dingy-ish
For the most part, people wish they had gone darker rather than lighter with grout.
Grout lines tend to show traffic patterns on floors because of dirt buildup so white isn’t great there either.
Overall people are happy with the durability of epoxy grout with few exceptions.
Instagram is such a great place to get feedback from experienced folks and it totally changed my thoughts on white grout. Especially helpful were the photos I received from those who have the same tiles as us with different color epoxy grout…

The white grout on the left is gorgeous (!!) but you can see how the dirt/wear/darkening around the drain. A lot of people mentioned this happening with white grout in heavy-traffic areas. The smoke grey grout on the right is also gorgeous and doesn’t show the wear pattern like white grout. (BTW these are both Laticrete colors.)
After seeing photos like these and getting hundreds of don’t-pick-white-grout DMs, I was sold on using a middle-tone grey grout. So I played around with color samples from Ardex and Latricrete and narrowed it down to these (Ardex on the left, Laticrete on the right)…

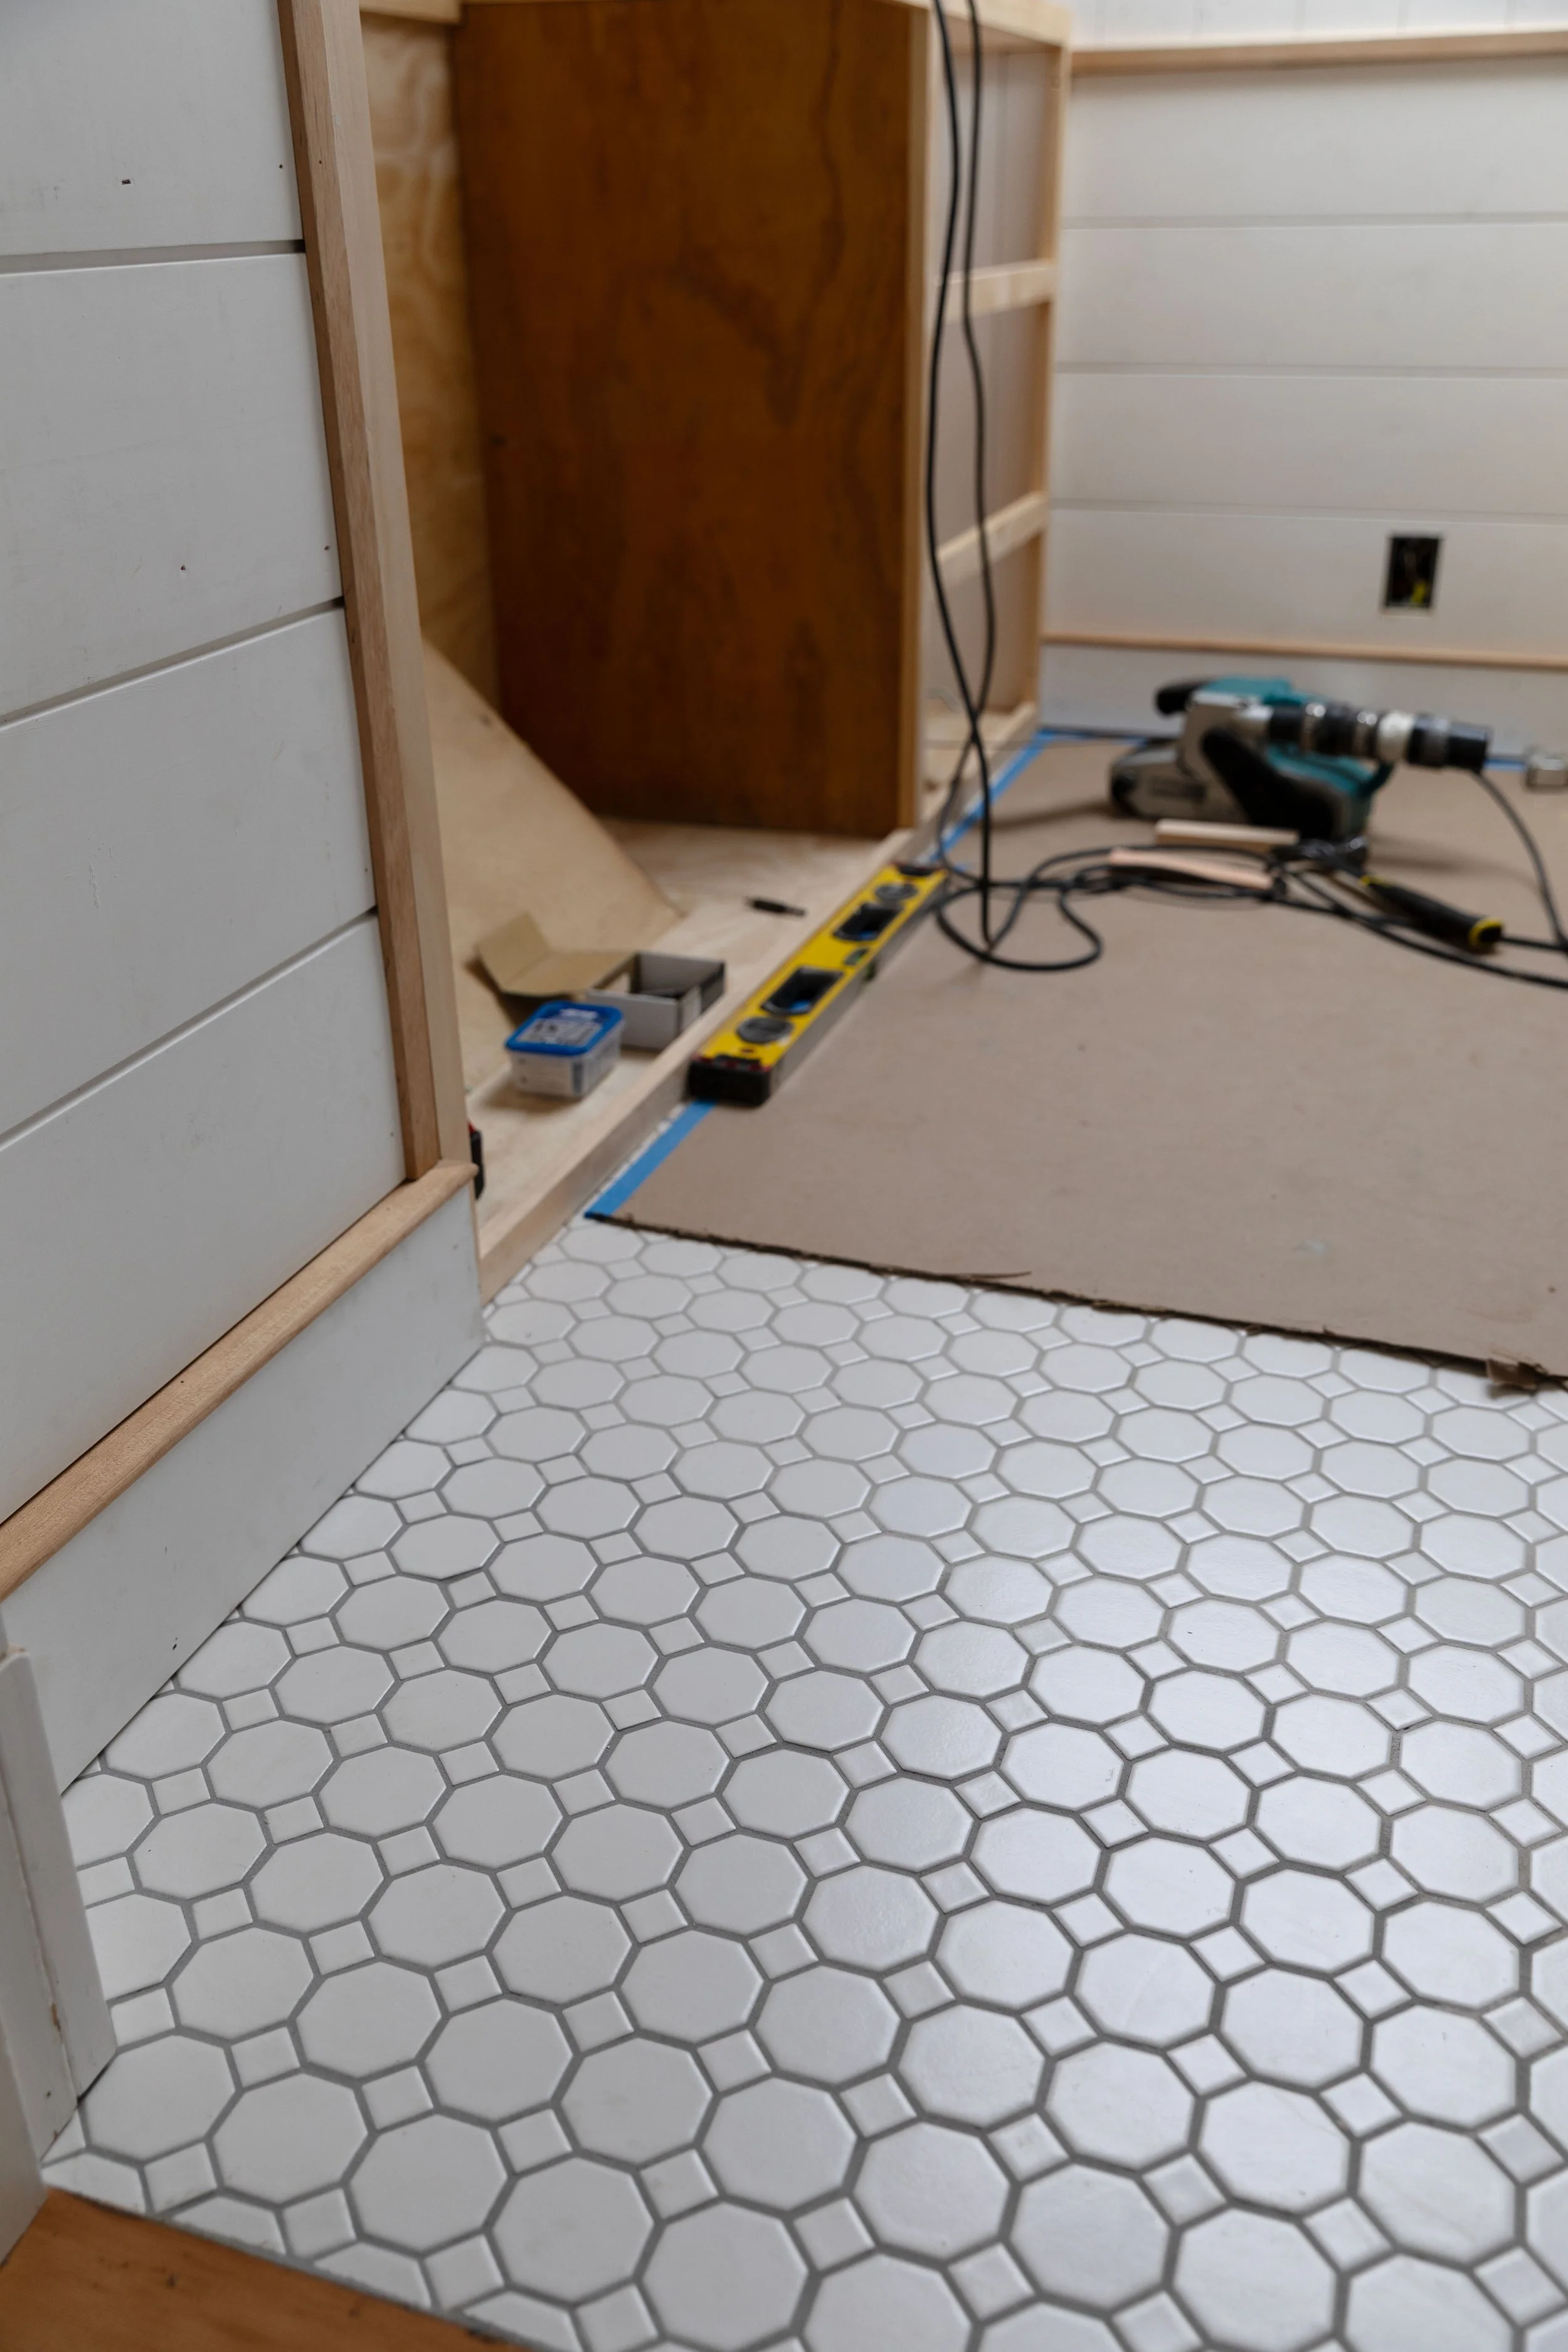
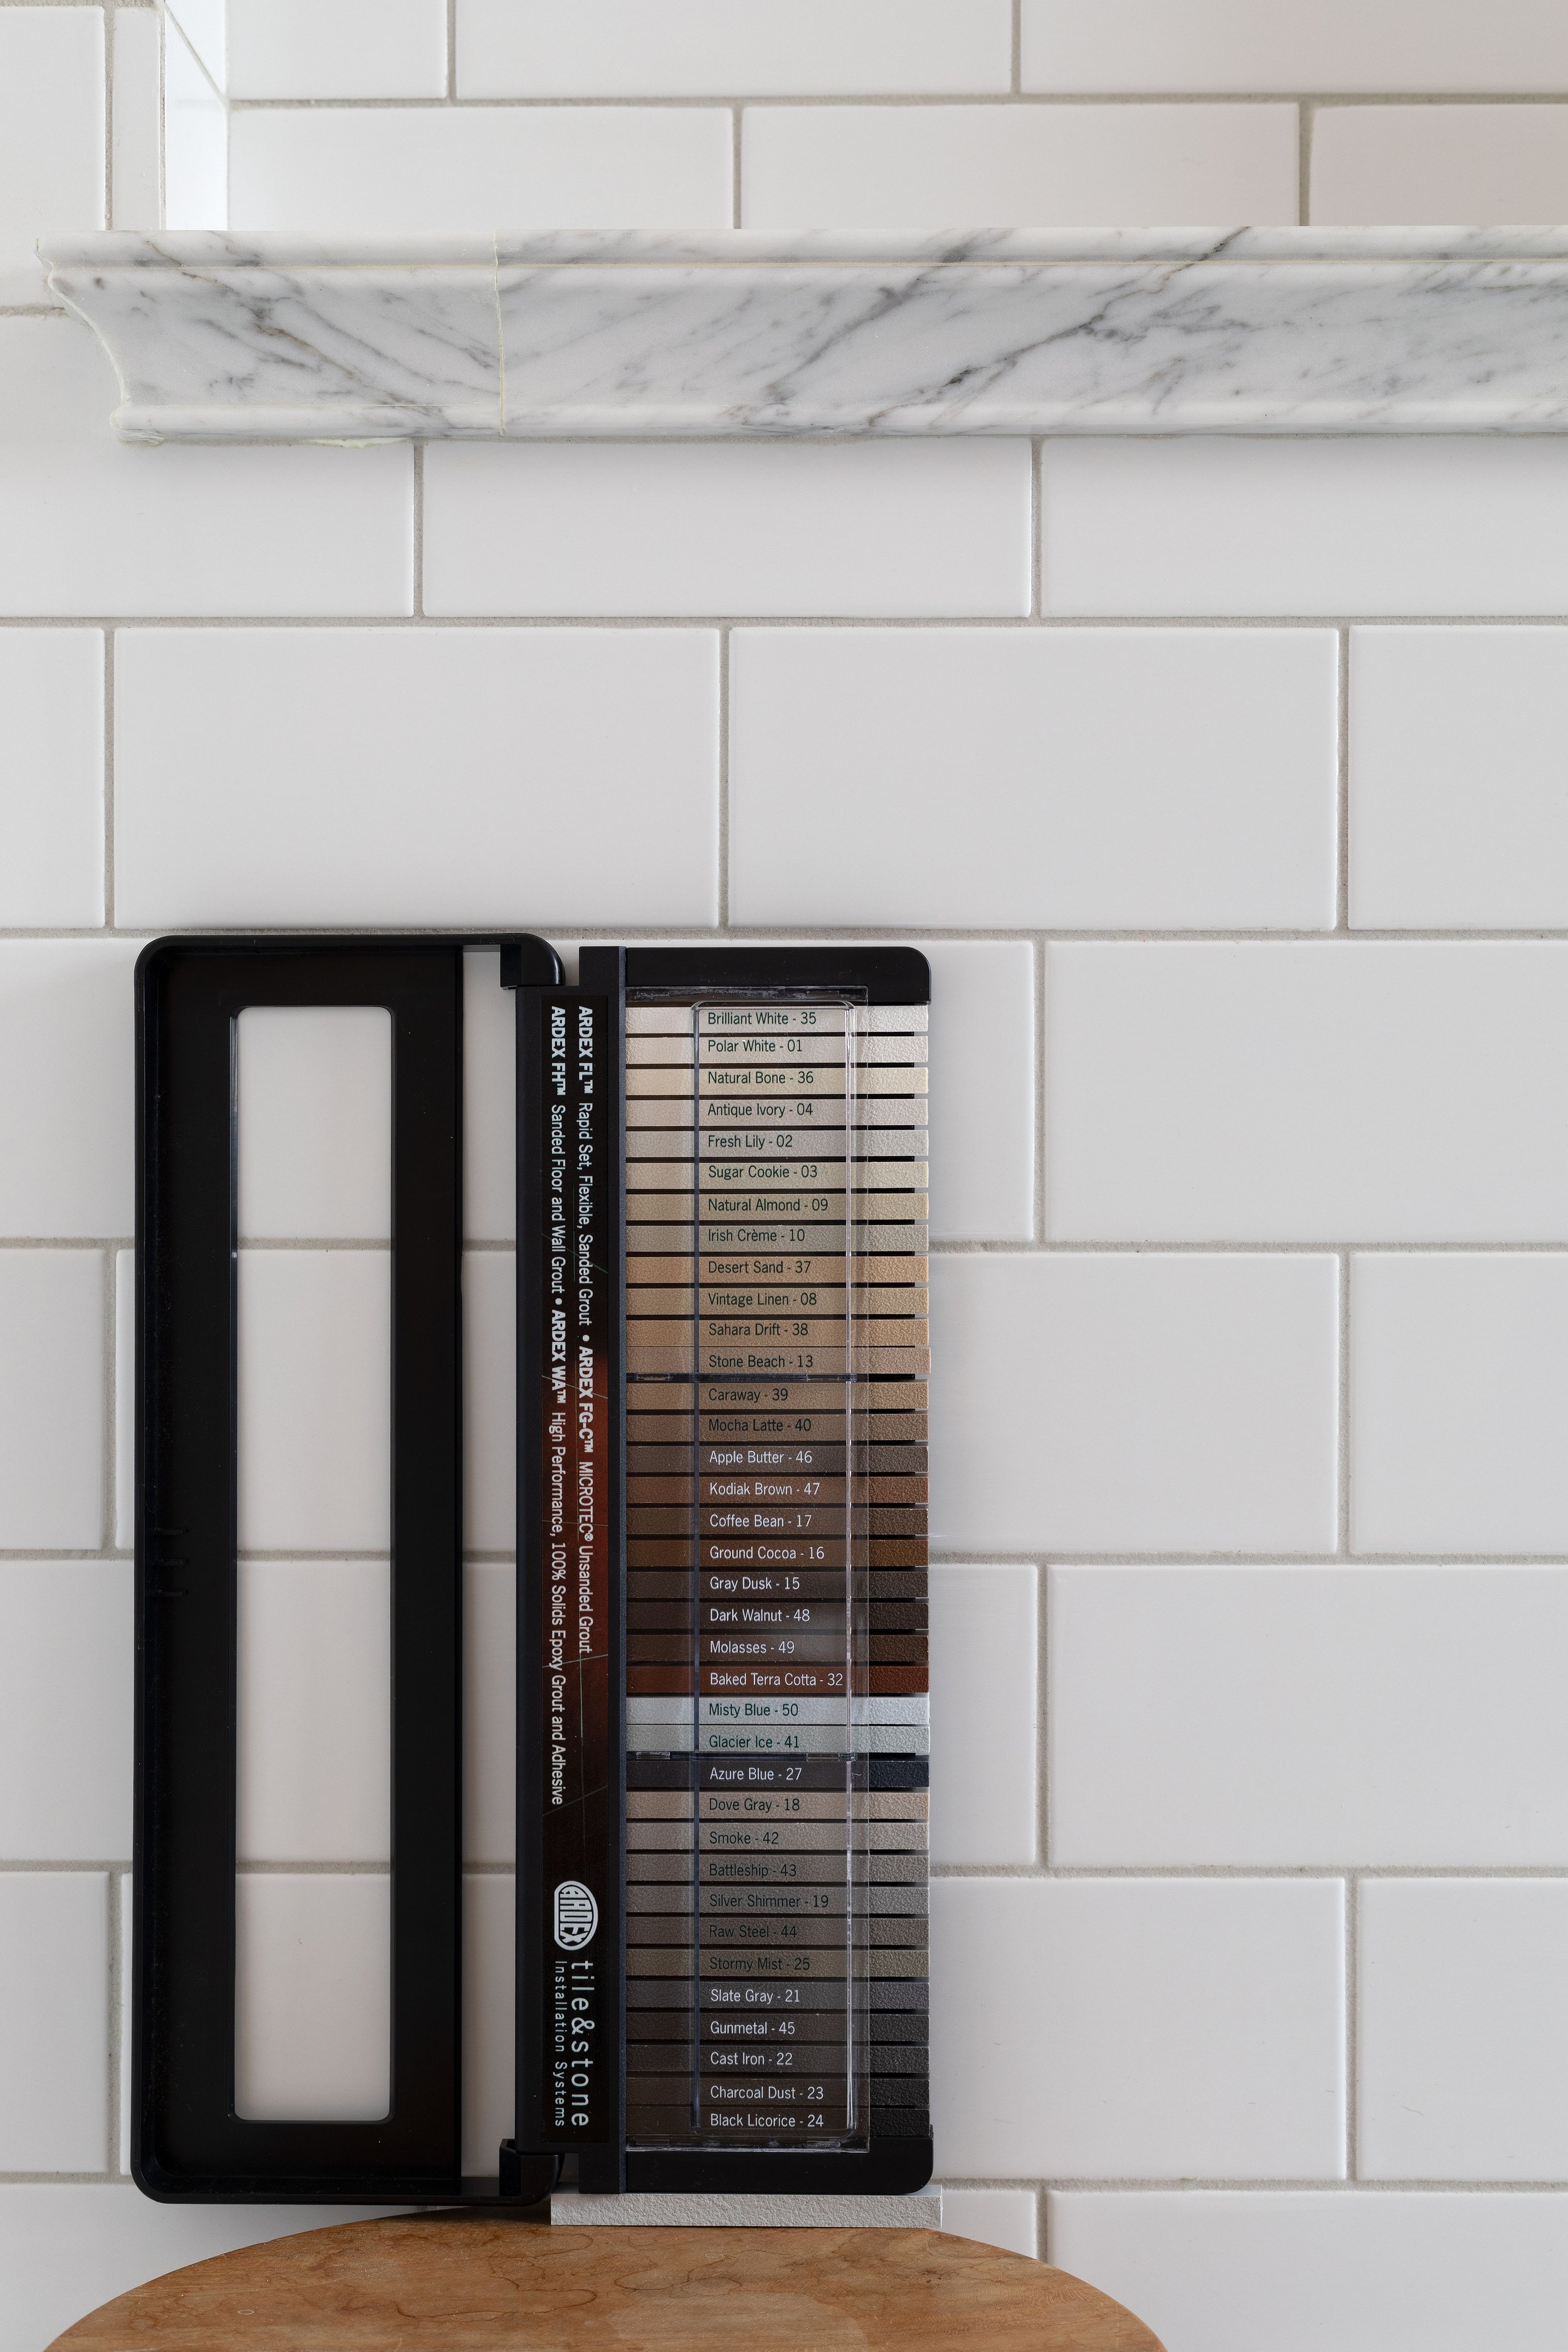
These color samples were SO helpful to take home and try next to the tiles in our space! Highly recommend if you’re looking for a grout color too. BTW we got the full Ardex color deck from the Tile Shop in the mail and picked up the 4 Laticrete samples at our paint store in town. In case anyone can’t get their hands on color samples, I wanted to share the full Ardex color deck against our glazed white subway tiles and honed Carrara marble hex (psst, you can see all of our tiles here)…

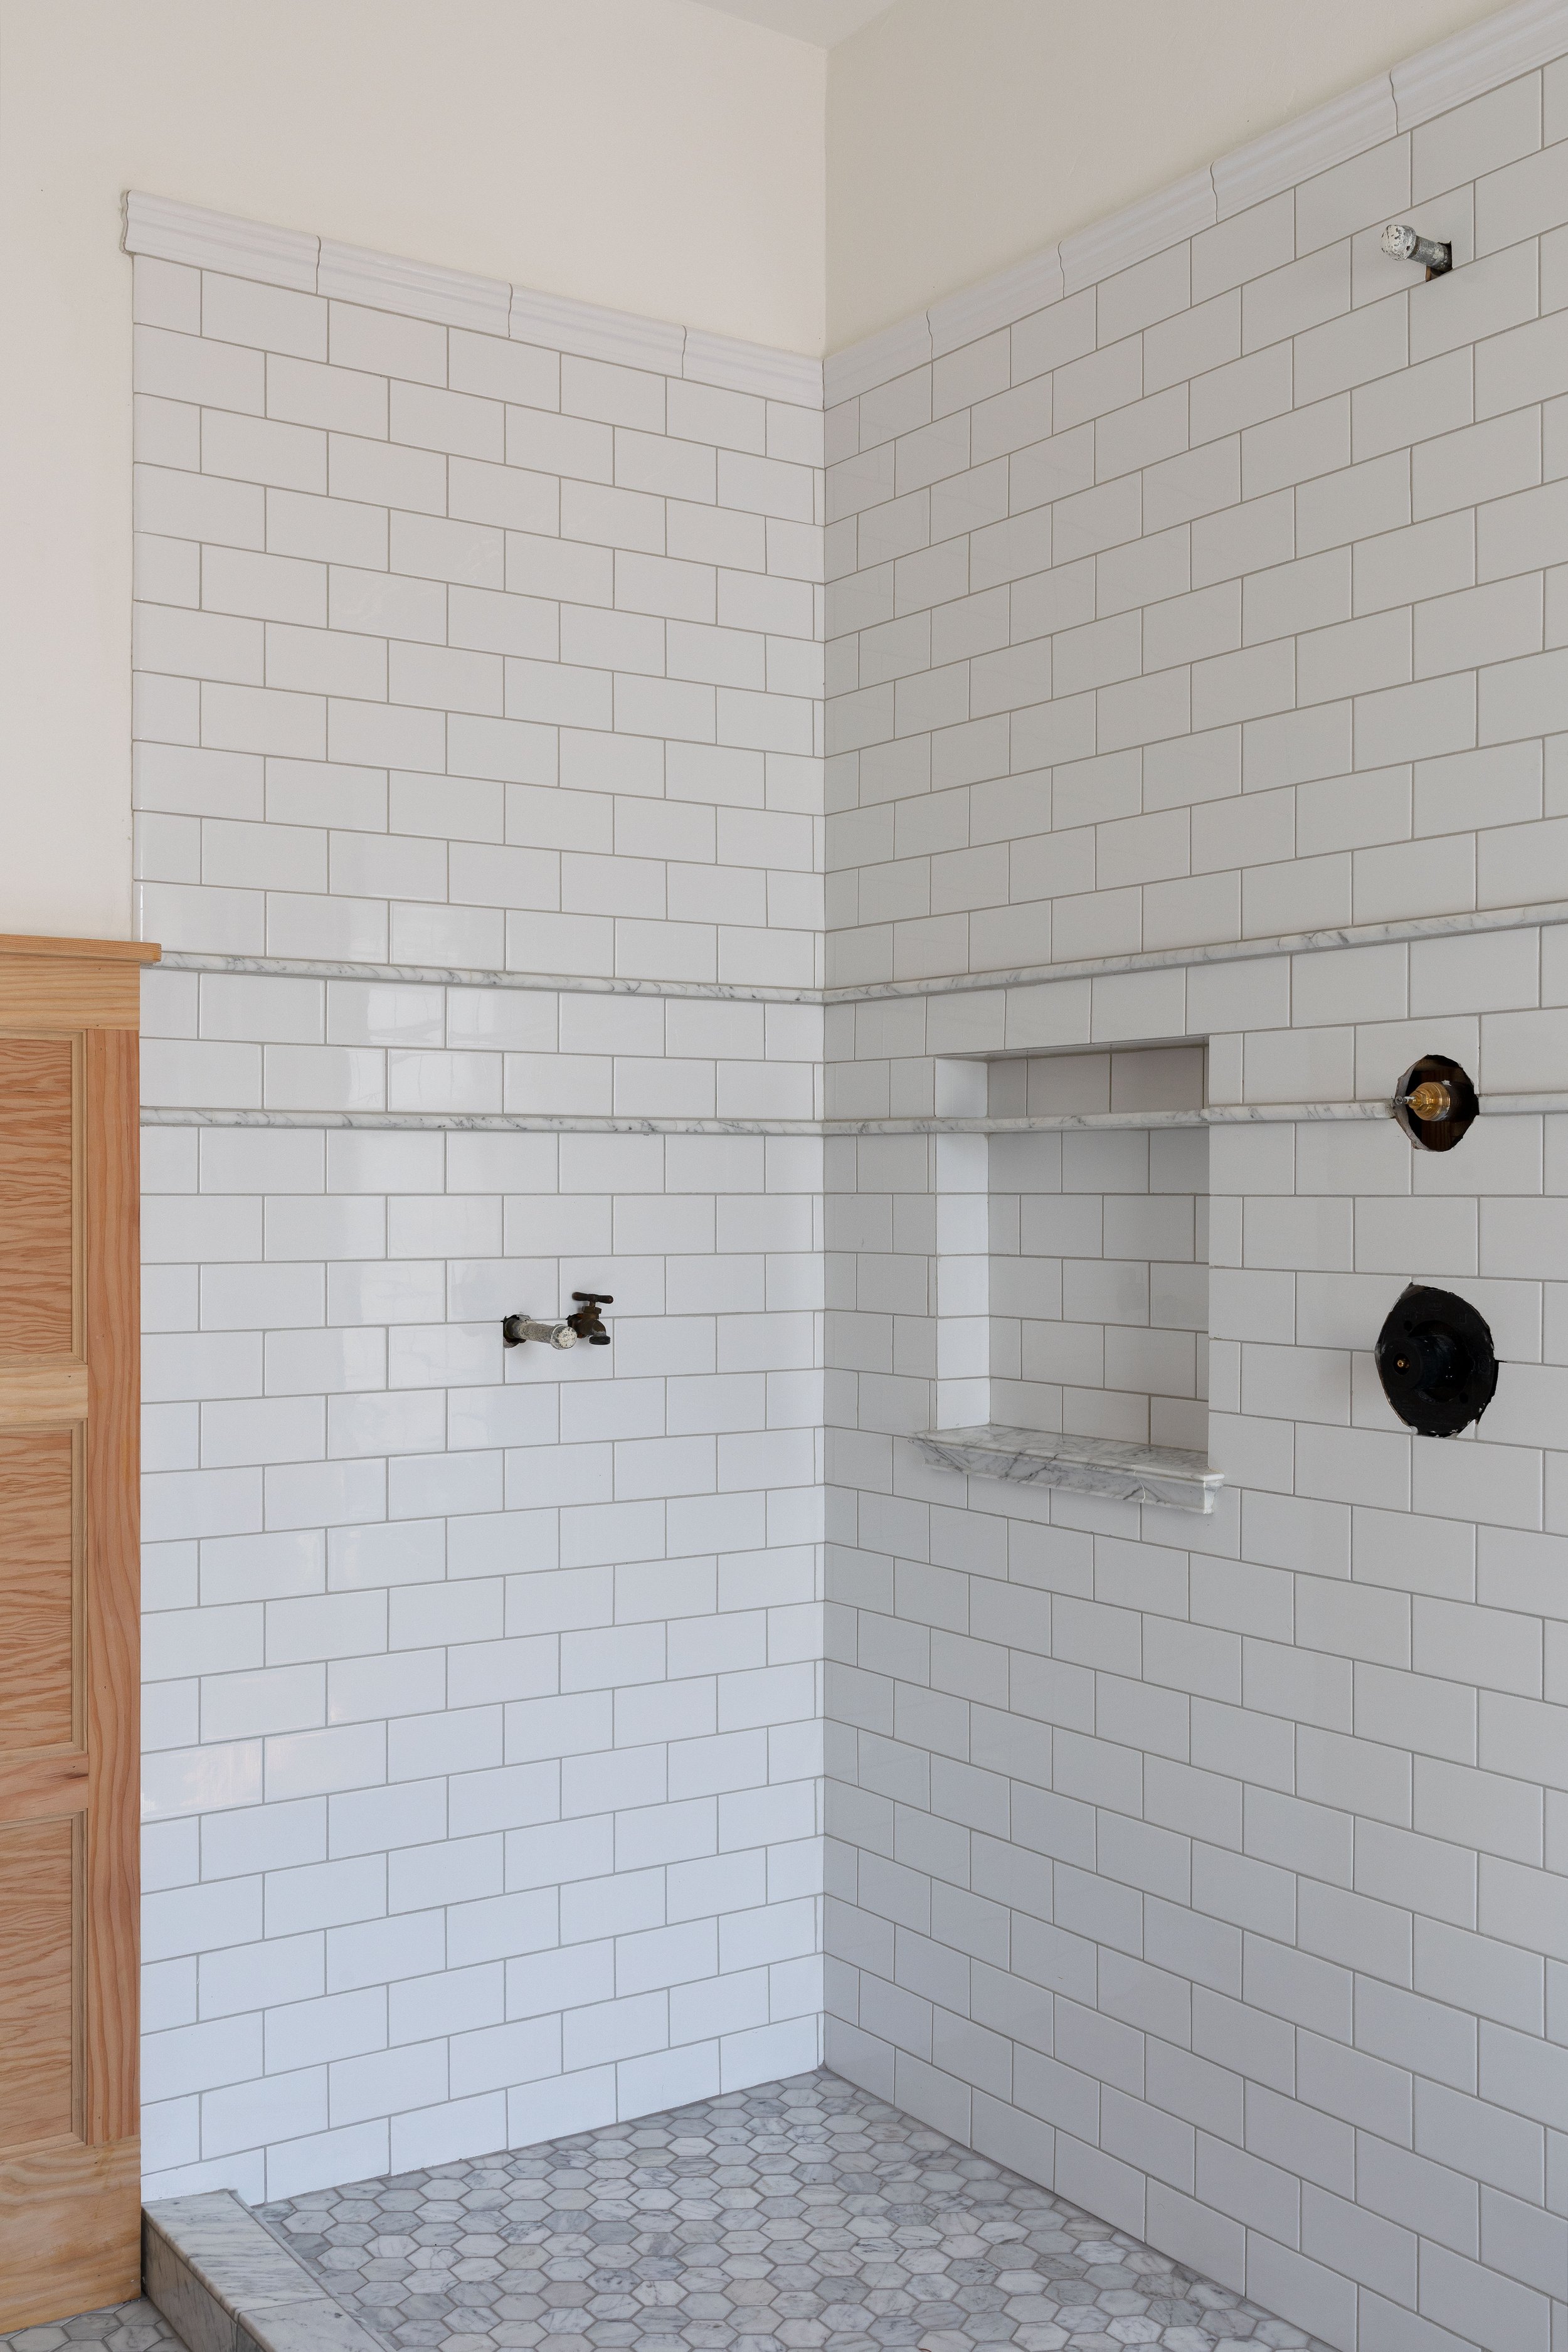
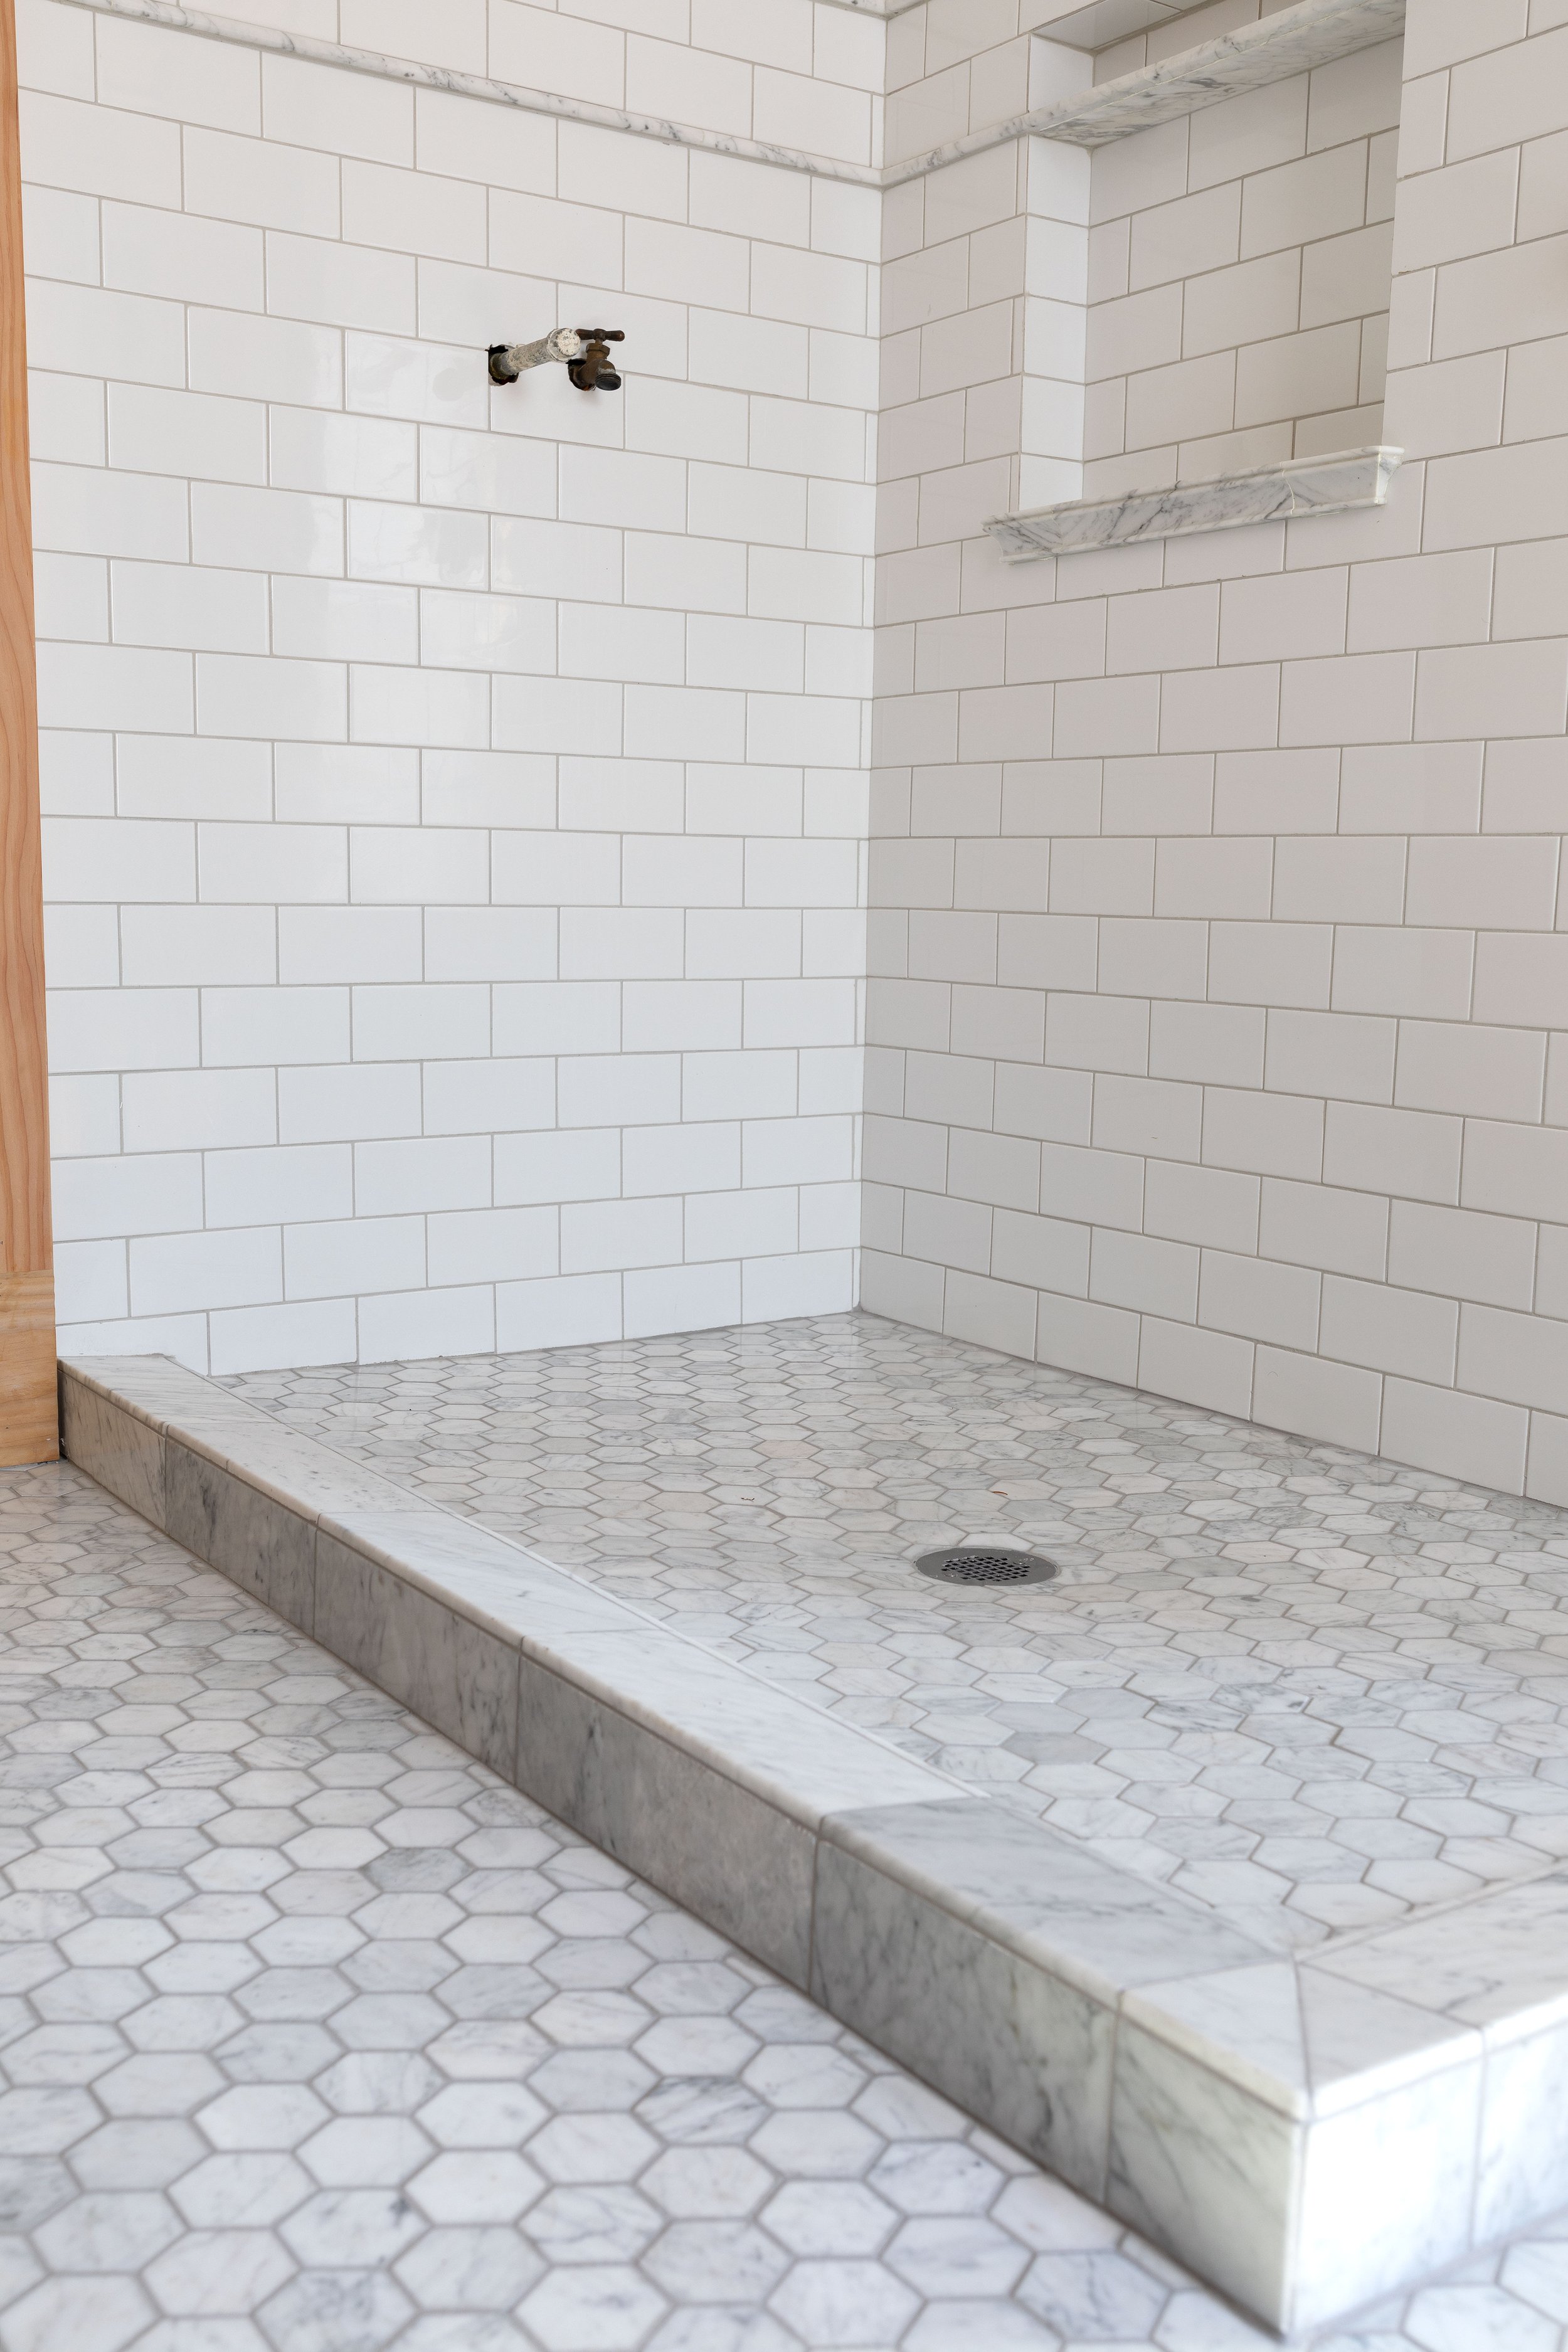
We ultimately picked Ardex’s Fresh Lily for the walls and Smoke for the floors. I liked that they were mid-range colors (not too light, not too dark) and the warm tones felt comfortable and should should play nicely with the wood wainscot we have on the walls in this bathroom.
two grout colors vs one
I had a couple of questions on why we used two different grout colors, and it’s definitely a personal preference. I like both, honestly - one or two colors - but for this bathroom I wanted the floors to be dark enough to hide dirt and wear, but didn’t want a ton of contrast on the walls. Thus I opted for two colors of grout, the walls a few shades lighter than the floors.
going even darker
I will say that even after going multiple shades darker than we originally wanted for all of the grout, I was surprised to see that after the grout set, it wasn’t as dark as I expected it to be. It’s not the color samples aren’t accurate (they are - see below), but more that all the white and lightness of our tiles makes the grout feel lighter. So while I’m super happy with the grout colors we ended up with (!!!), I would have been fine going a shade or two darker. We’ll have to see how the grout ages, but as of right now, I’d say go with your darker choice.
There are issues with going too dark of course - mainly that the grout will show light-colored dirt and water or calcium spots. So in my non-designer, focused-on-durability-and-easy-to-clean opinion, stick with the middle tones for grout. Not white. Not black. Something in between that looks nice with your tiles and other finishes. Just my two-cents :)
how accurate are Ardex’s color samples?
I did want to circle back to the Ardex color deck. How accurate are the color samples??? See for yourself…

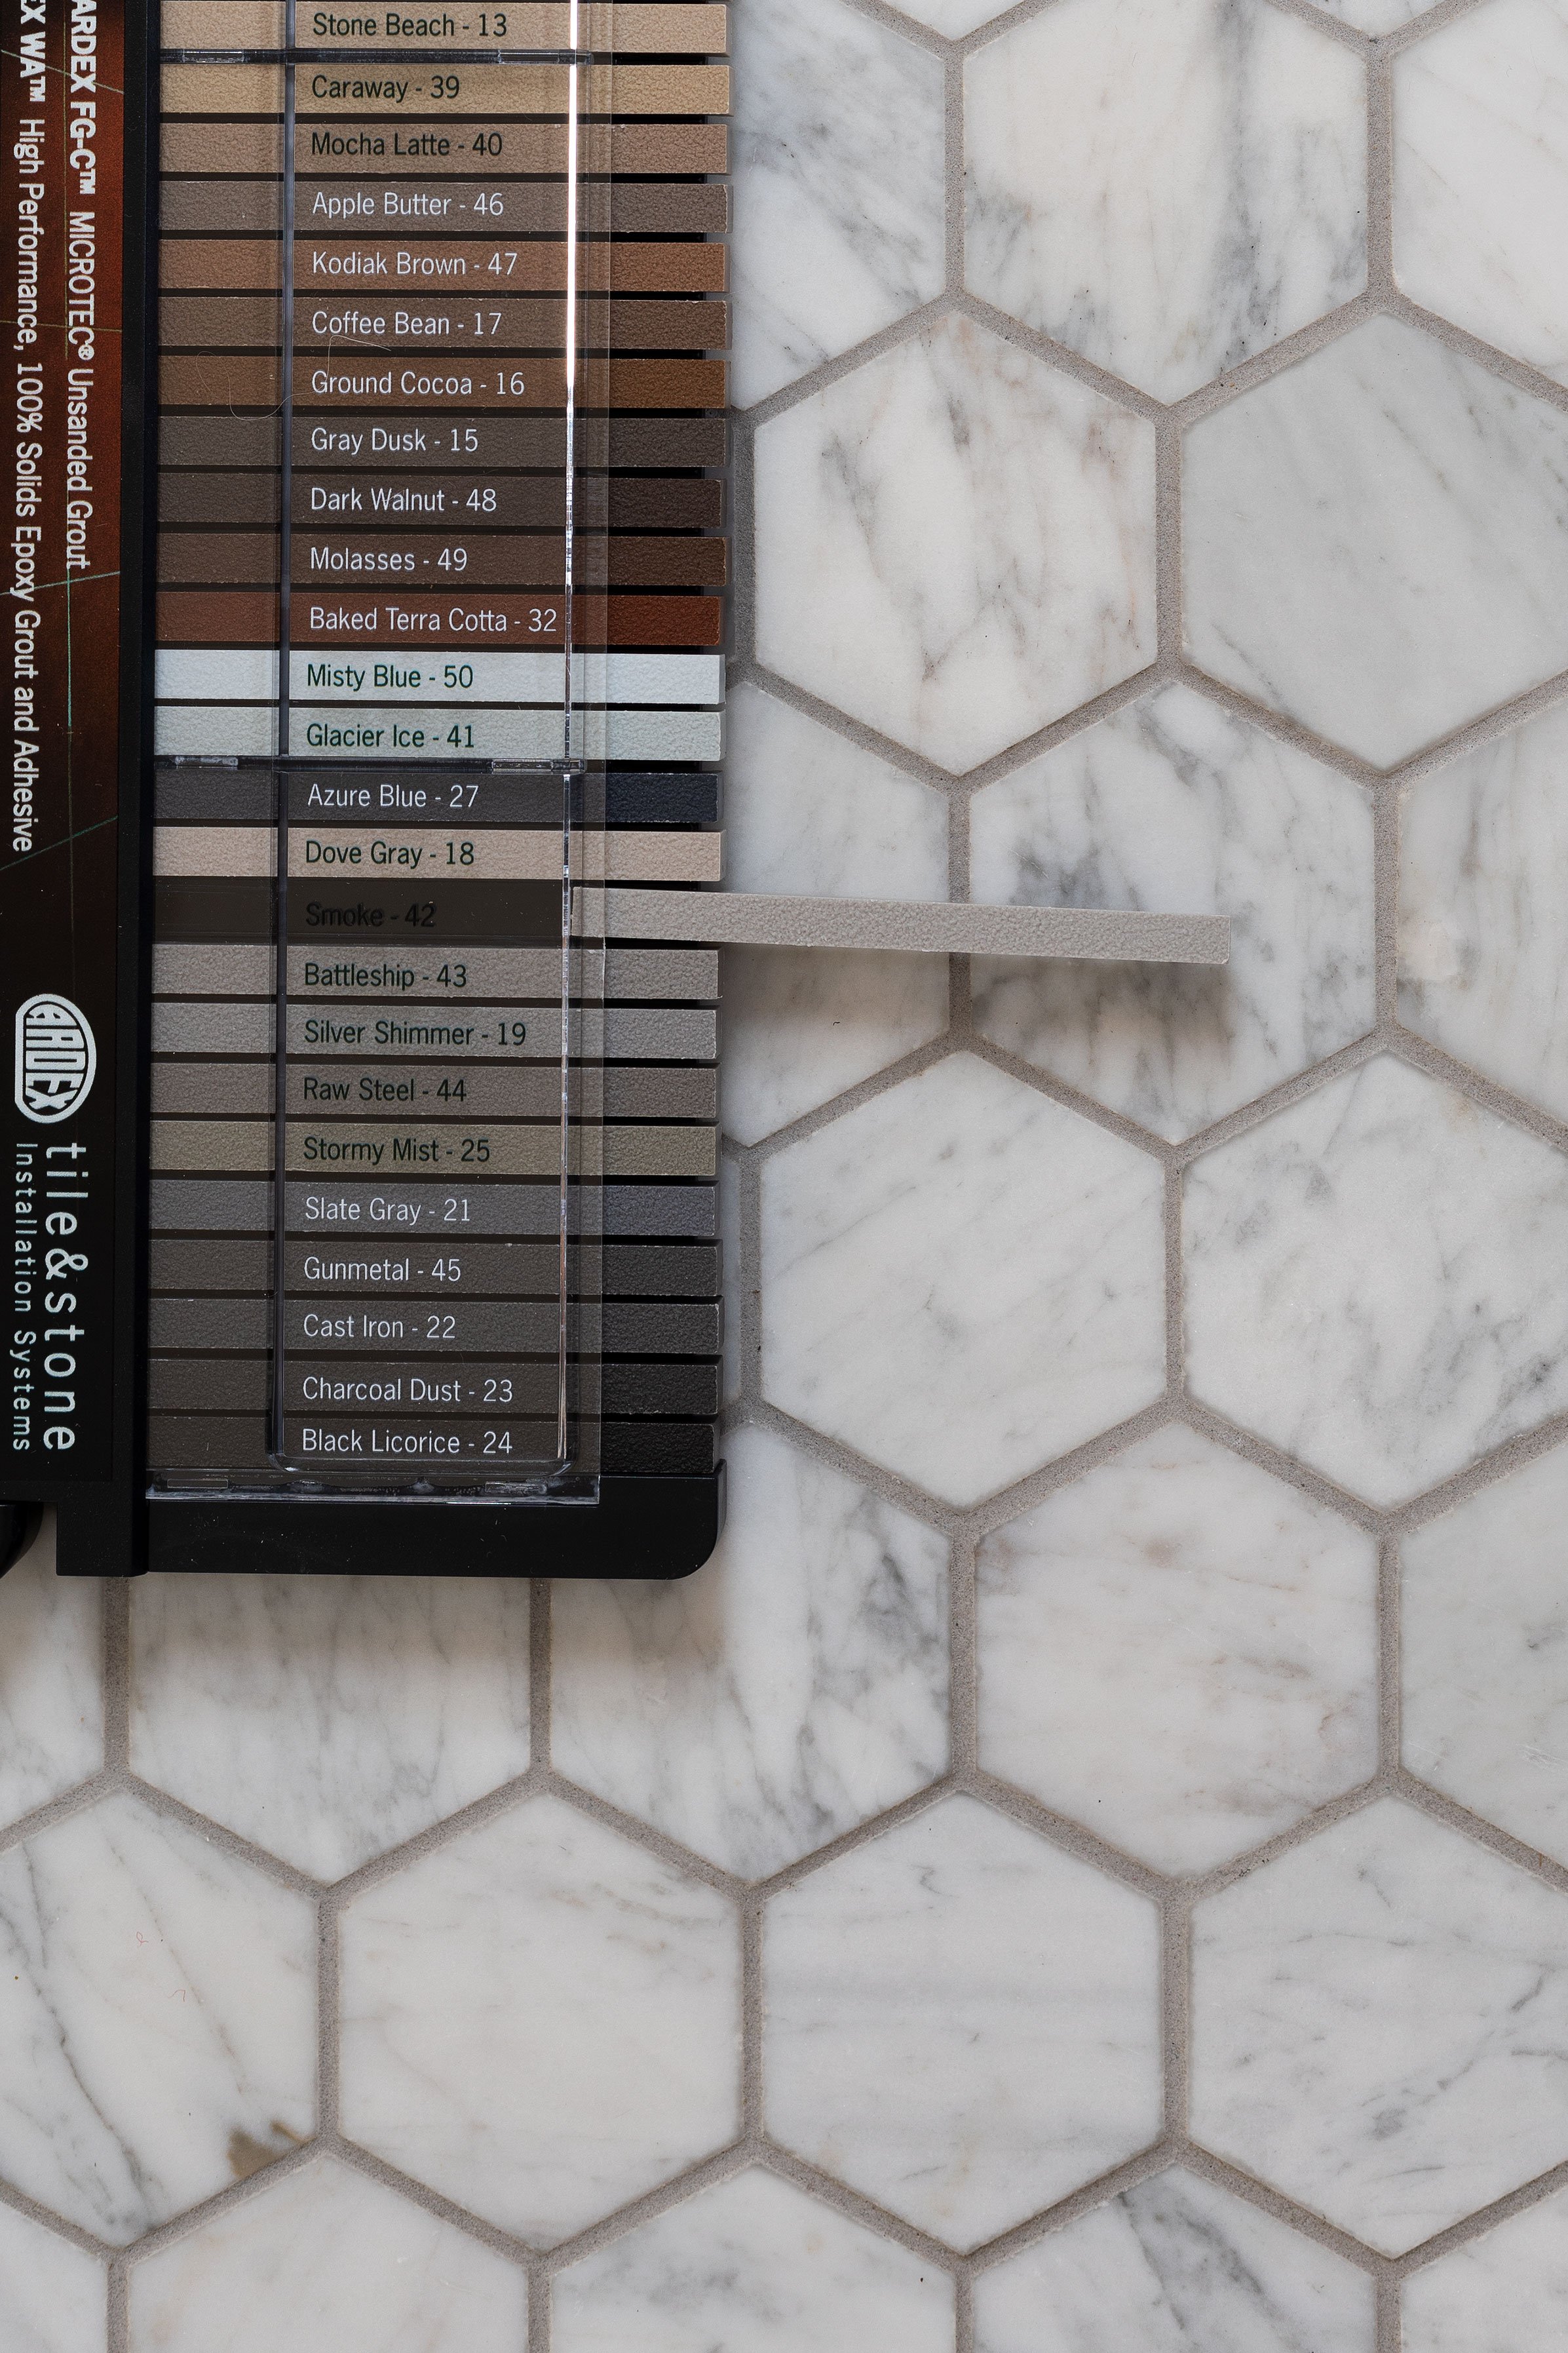
Very similar! The samples in the photo definitely pick up a little more light since they’re sitting above the actual grout, but in person they’re almost identical.
Okay, let’s talk about how we installed the epoxy grout….
Epoxy Grout Install
Installing the Ardex two-component grout took us a couple of half days. Despite having a fair bit of square footage to cover, the grout moved quickly and I’d guess we needed about 8 hours in total.
Prep
Just like traditional grout, epoxy can stain absorbent tiles like honed marble, so you need to seal them before grouting. We used this heavy-duty sealer for natural stone that we picked up in town and put on a couple coats. Right before grout, we did a quick vacuum and wipe on the tiles to make sure they were clean.

Here’s what we used to install our epoxy grout…
What you’ll need…
epoxy grout (we used Ardex)
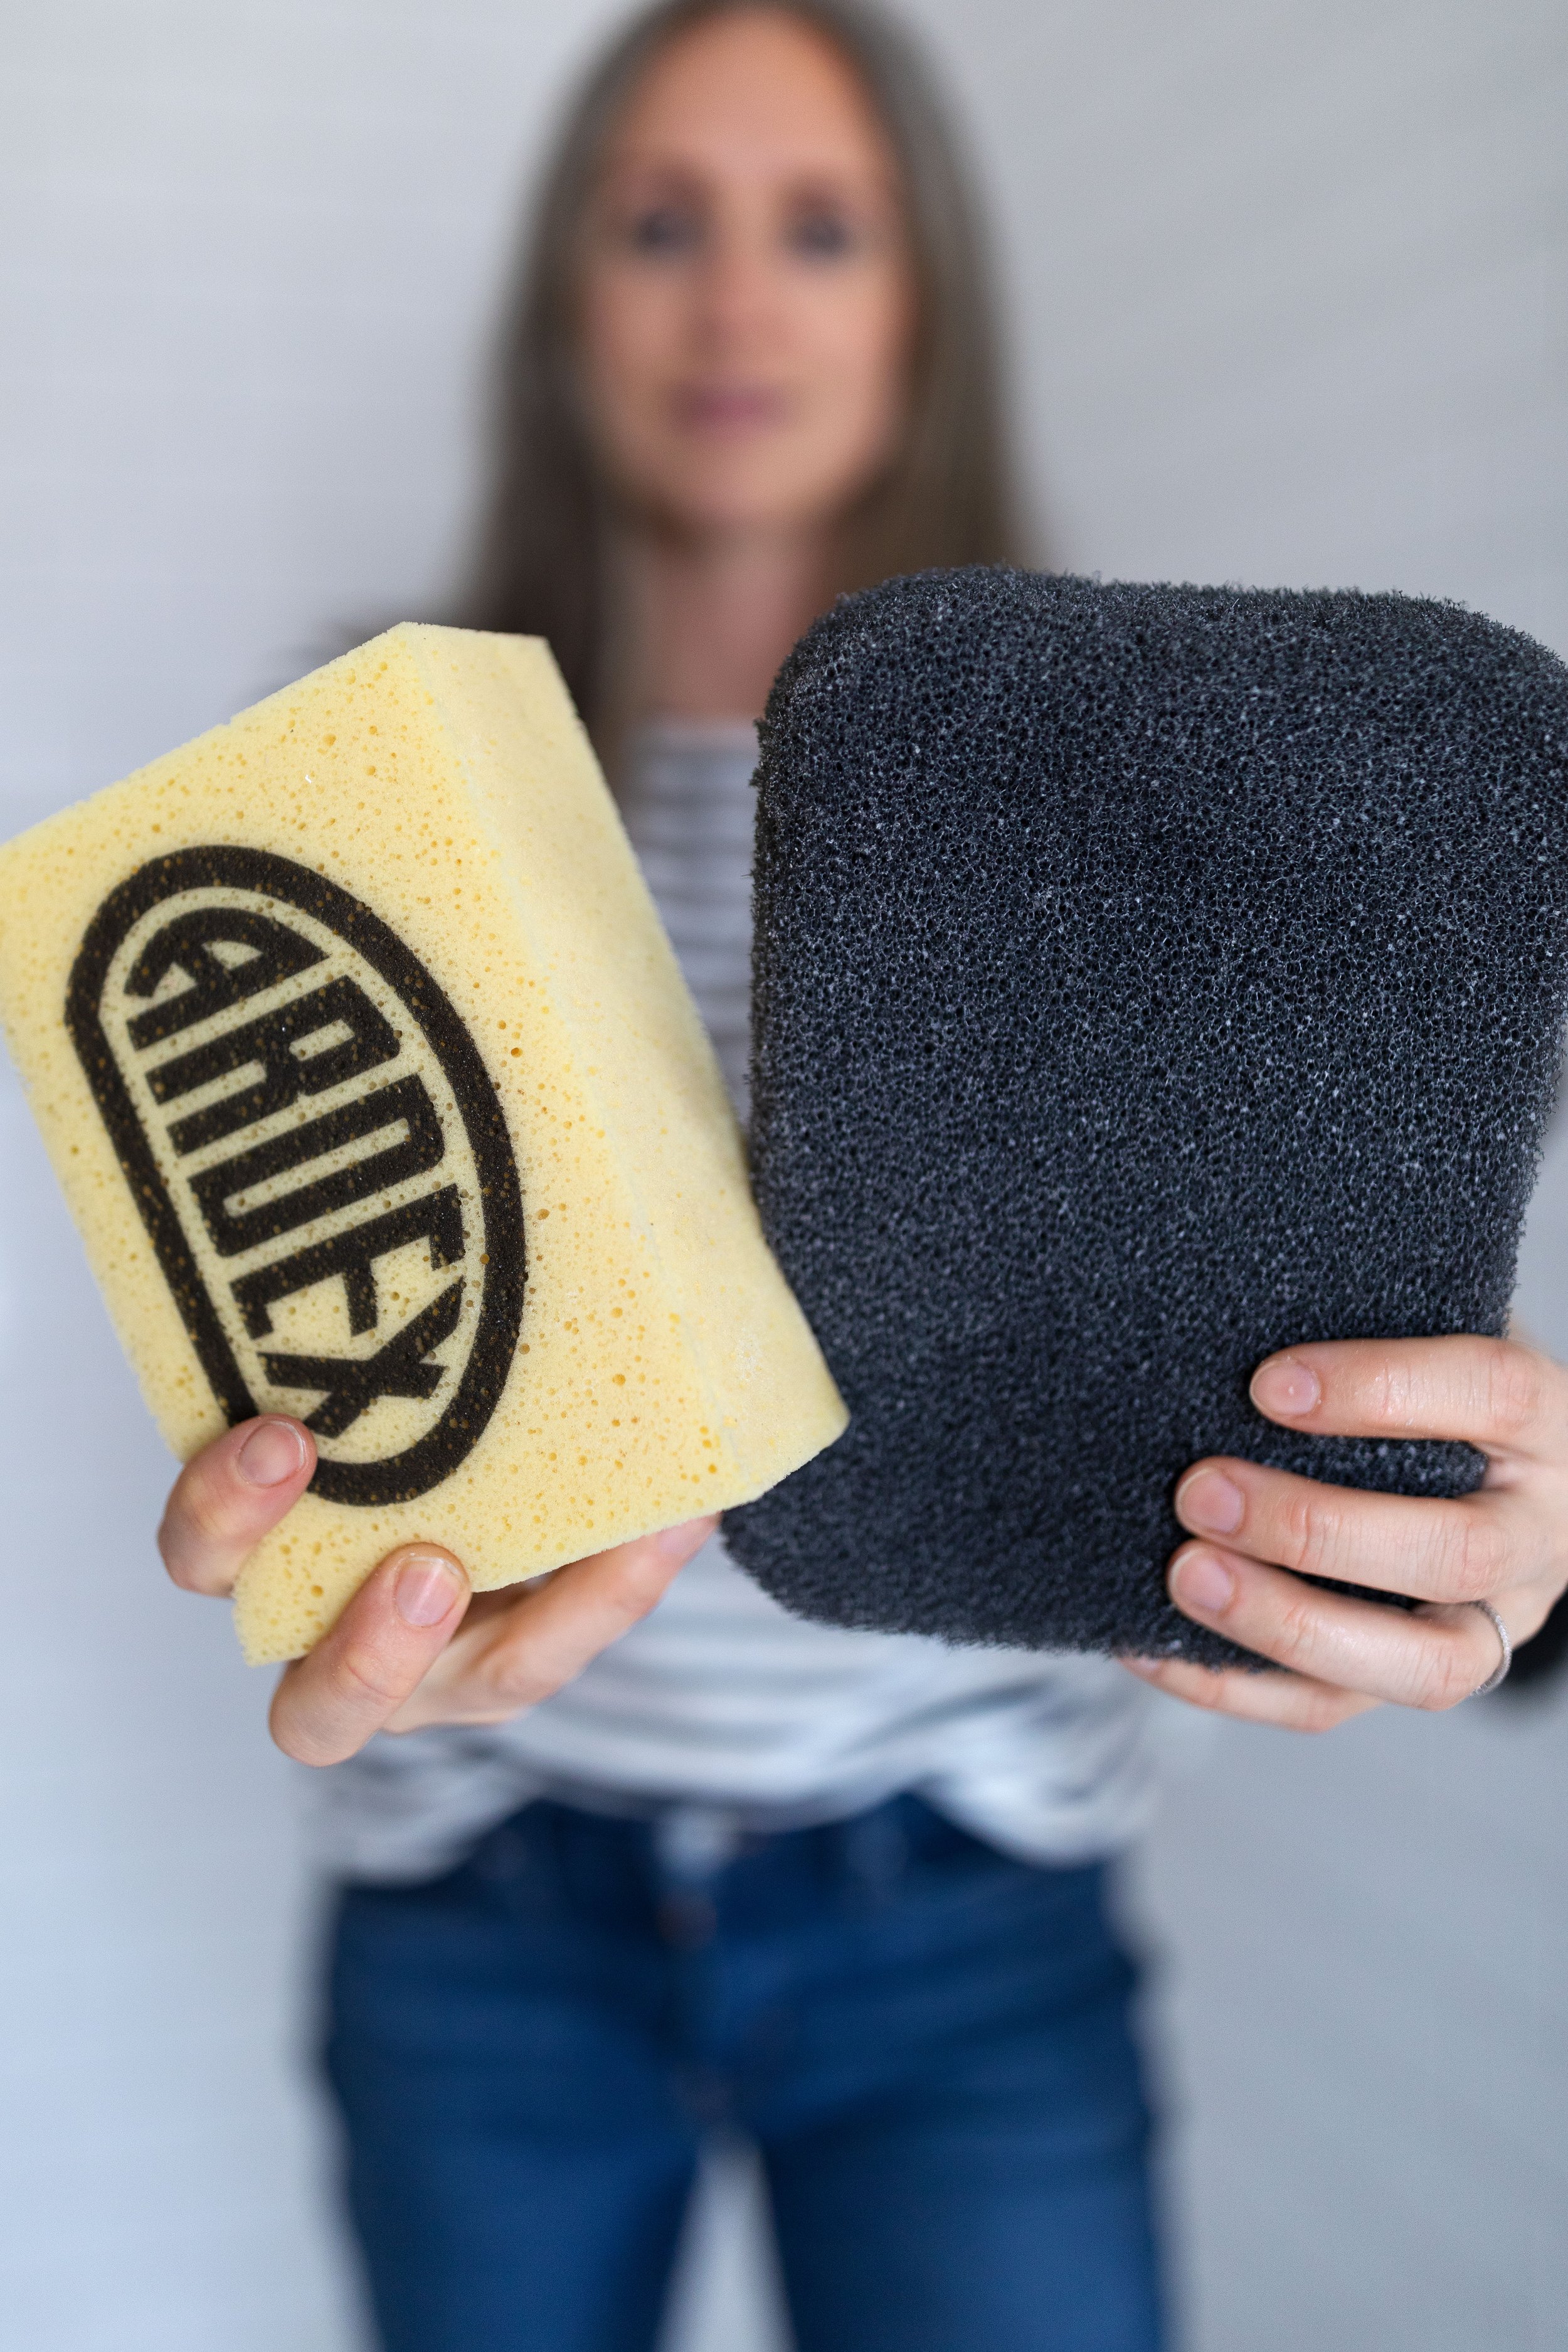
abrasive epoxy sponge (like this)
Gloves with chemical barrier (you’ll want to throw them away after)
old plastic container for mixing the epoxy in
stick or spatula to help with measuring
Scale (we used our kitchen scale)
Calculator ;)
Drill with mixer attachment (or a stir stick and some muscle power)
2 buckets filled with clean water
Safety equipment - eye glasses and a mask for stirring if need be

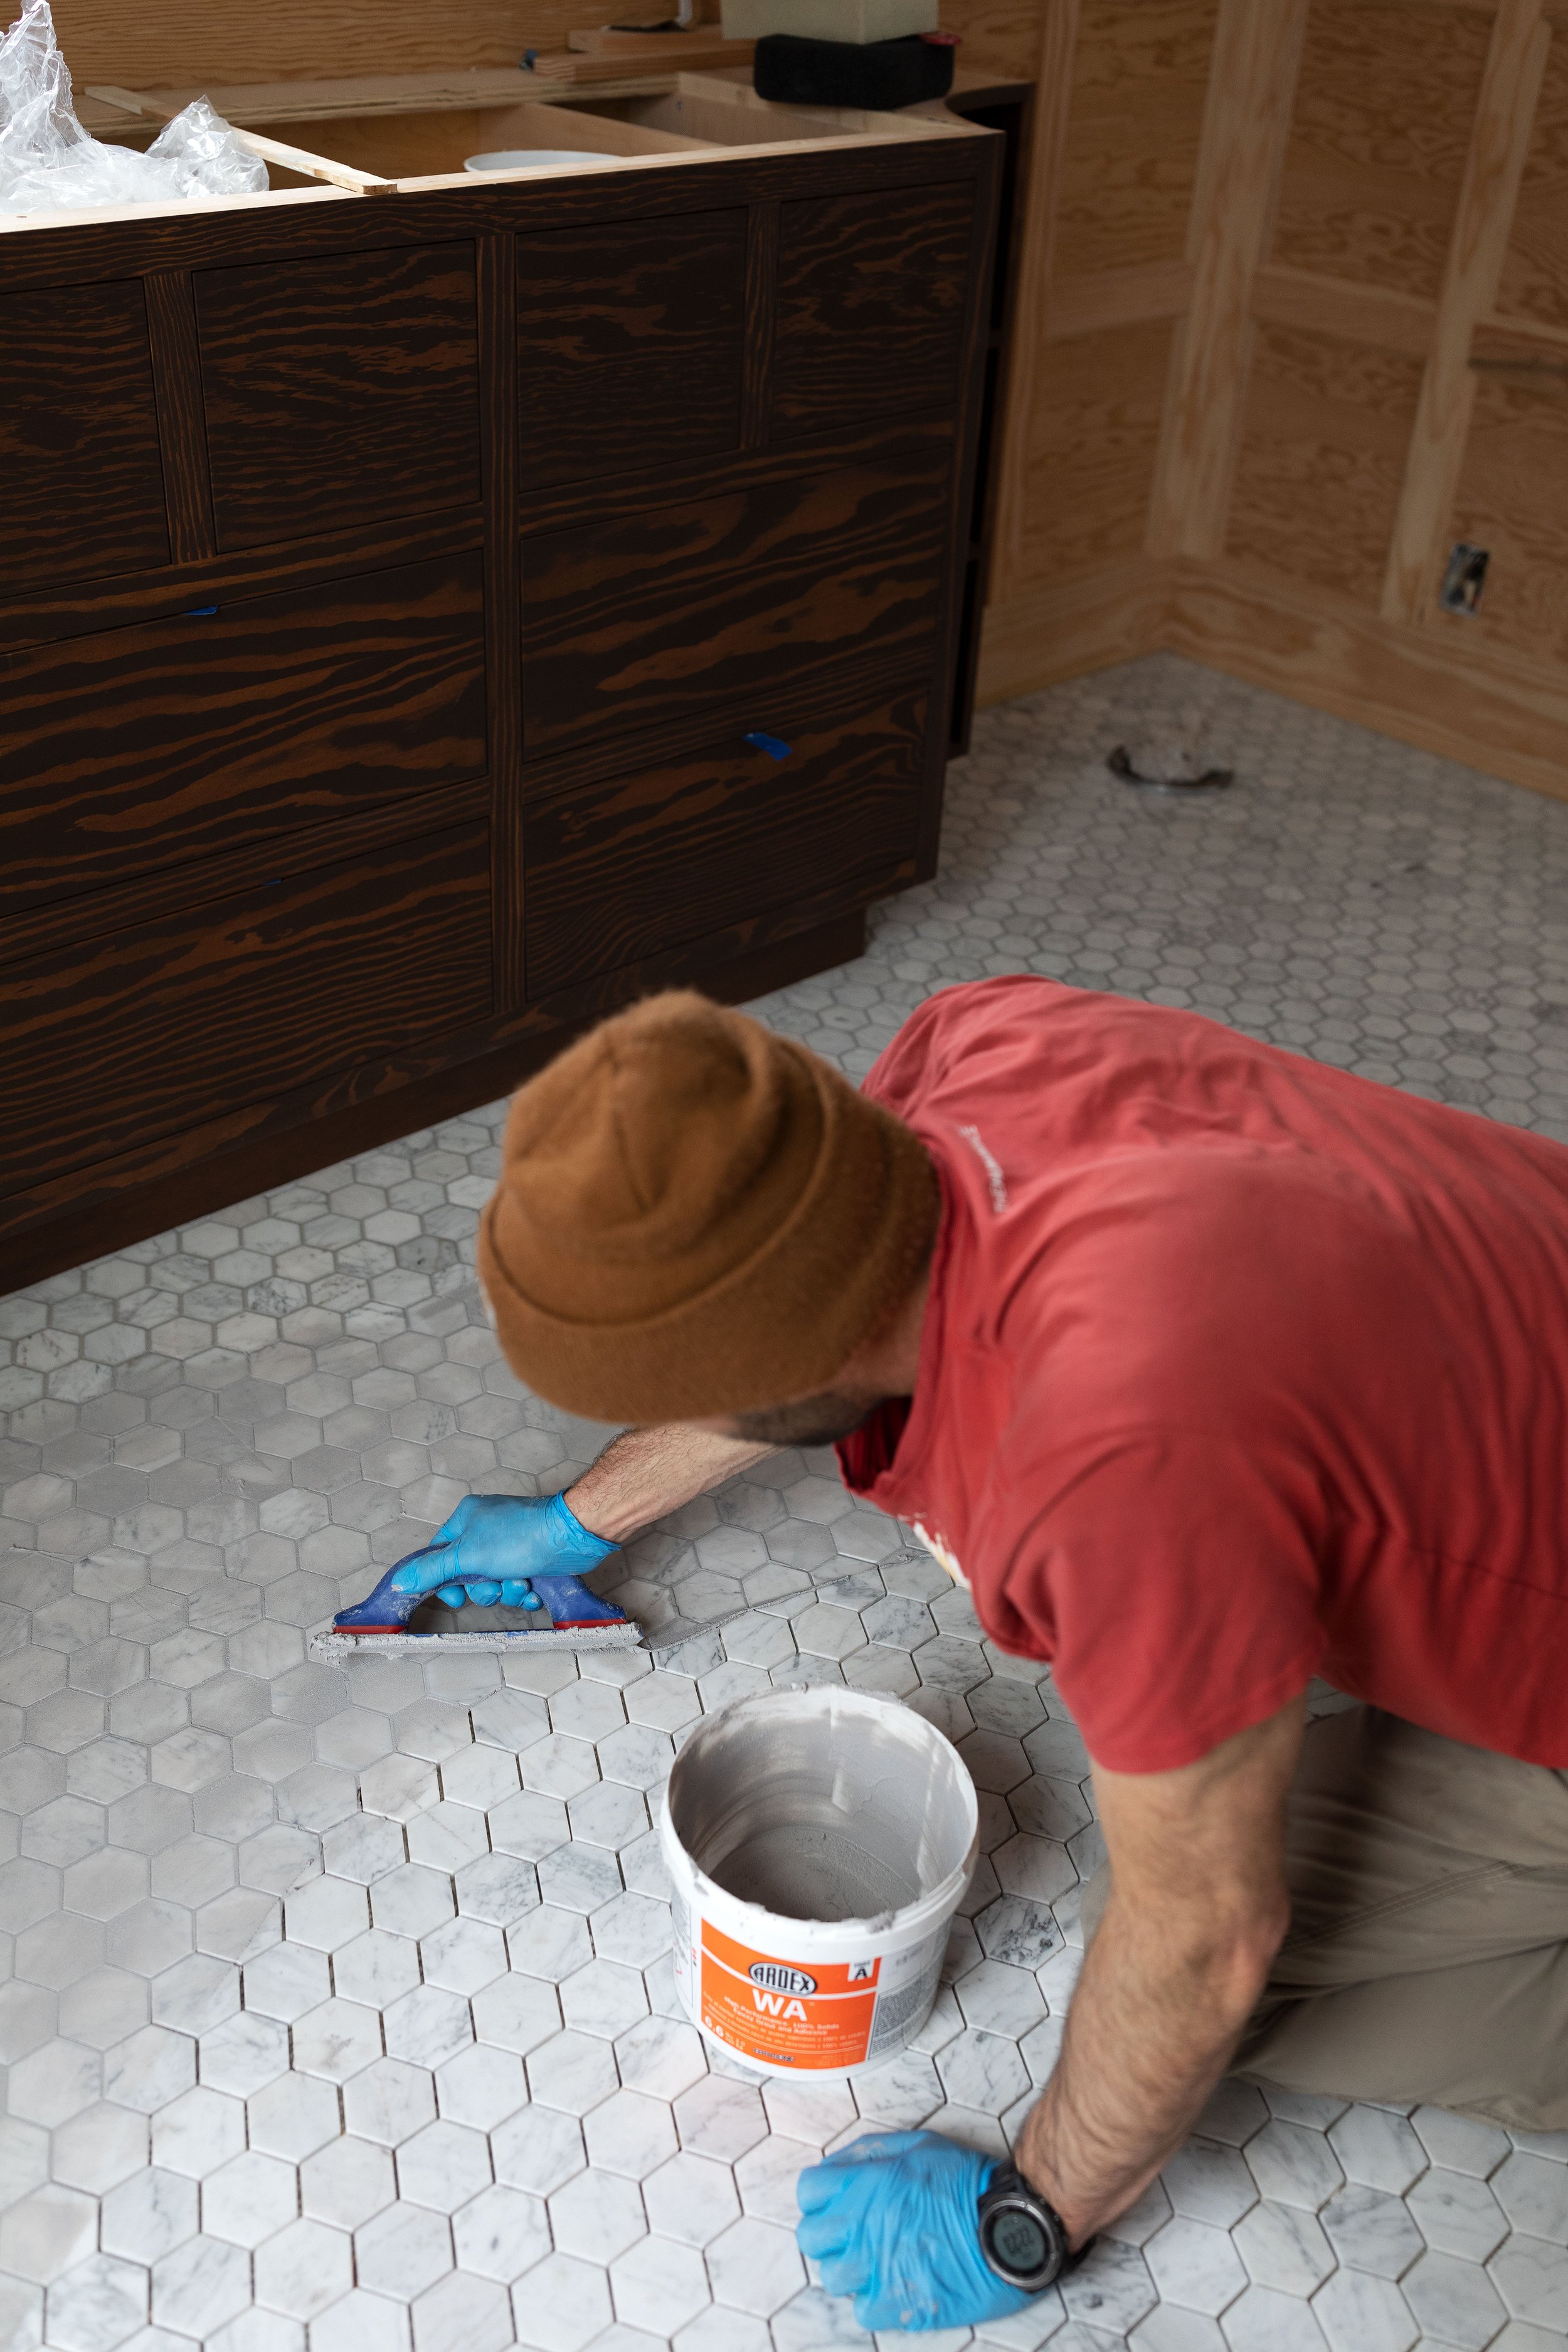
Install
First of all, you’re going to want to wear gloves with a chemical barrier (such as these) that you can throw away afterwards while working with epoxy grout.
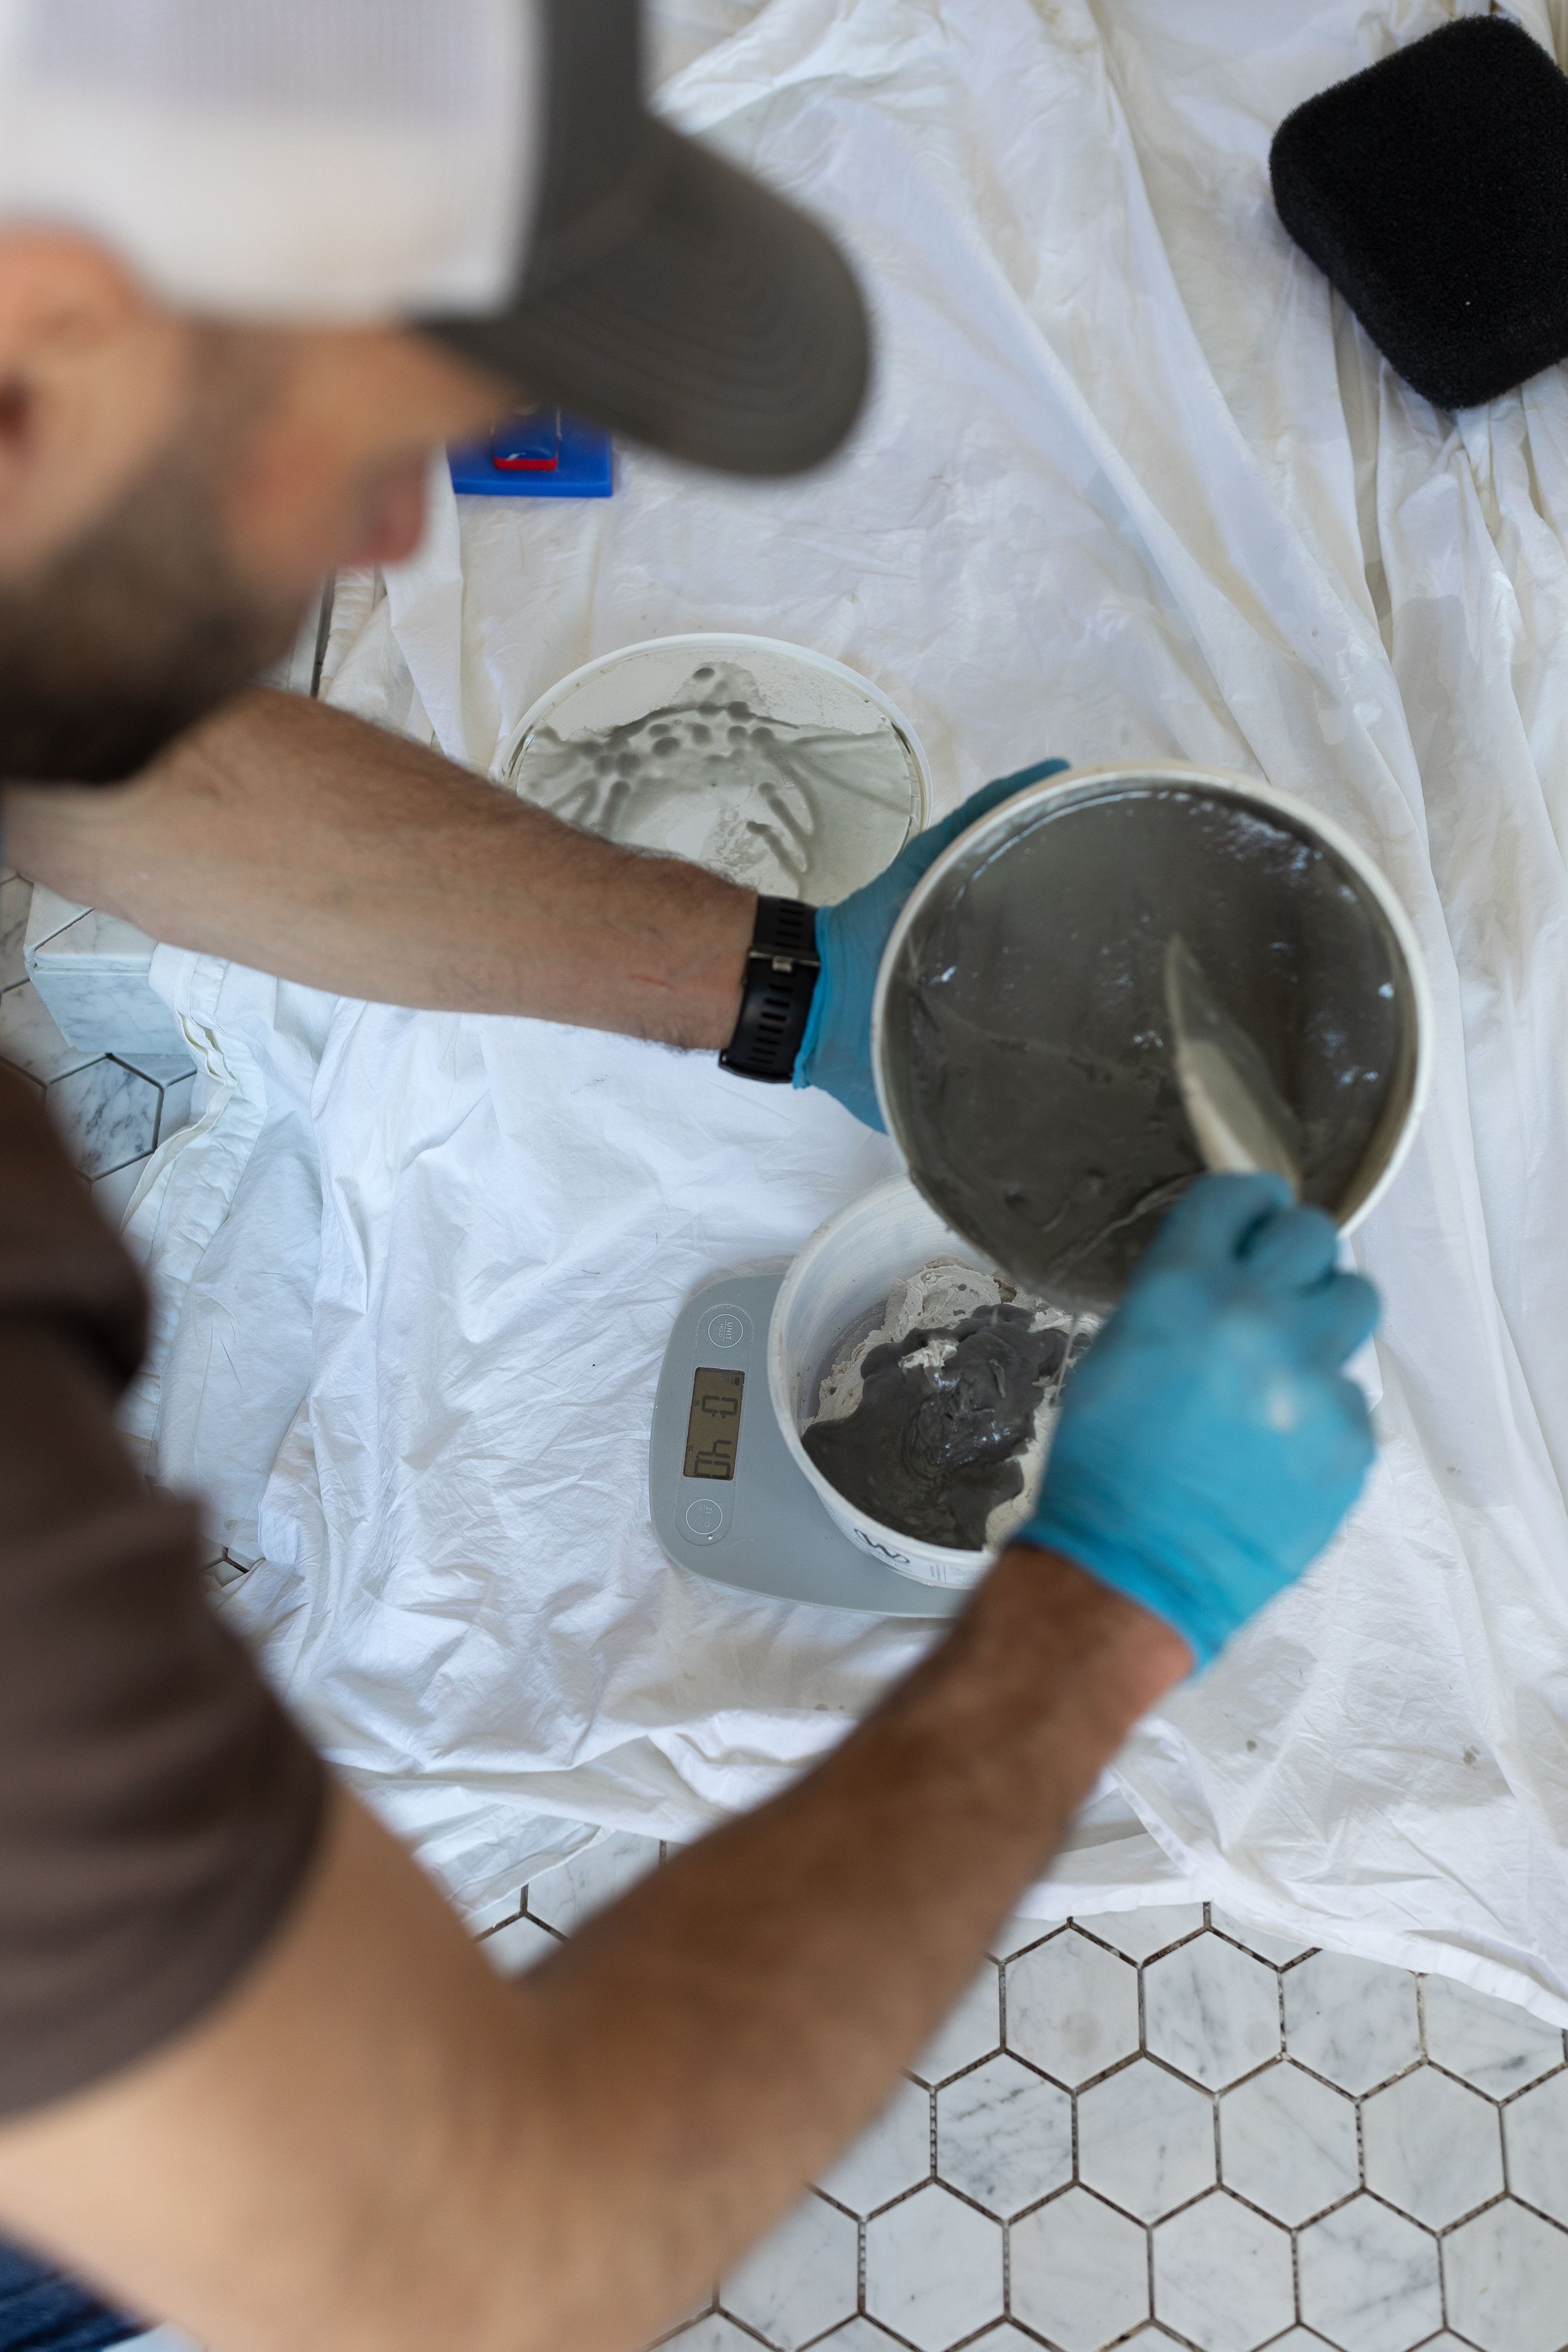
To mix the grout, we measured out a 3:1 ratio of part A and part B (different products have different ratios so be sure to read your product specs!). We used an old ice cream container to mix them in, a phone calculator to double-check our math, and my kitchen scale to get the measurements exact. Then we mixed it up with a cordless drill with a mixer attachment.
I’ve heard epoxy can be pretty smelly, but the Ardex we used had a low-VOC and we used our bathroom fan to circulate air out. Once mixed, I hardly noticed a smell.

Ardex WA epoxy grout has a 40-60 minute set time so you only want to mix enough that you can apply in that time. (One tip to maximize your work time is to get the grout out of the bucket quickly since it’ll set faster when it’s lumped together.) We used the grout float to get grout in all the tile joints, packing it in as necessary, and then coming back with the float at a 45-degree angle to “snow plow” off the excess. Once you’ve “snow plowed” the joints should be full and the tile faces should be pretty clean.
Then you let the grout sit until it’s set and nearing the 45-minute-post-mixing mark.

Once you’re nearing that 45-minute mark, take the damp abrasive epoxy sponge and gently work in small circles to loosen any grout left on the tiles. Rinse the sponge frequently in one of the clean water buckets. We found this sponge collected a lot of grout and made the water in the bucket really dirty, so we recommend having a second bucket with clean water on hand for the next part.
Then take the damp grout sponge and at a diagonal to the grout lines, run the sponge at a 45-degree angle to wipe up the excess grout. Rinse the sponge frequently in clean water and ring the water out so that the sponge is only damp, otherwise you’ll end up with water dripping down your tiles. Repeat until tile faces are clean.
You don’t want to let any haze cure on the tile surface because then it’s a real headache to remove. So we did come back and wash the tiles with water a couple more times (~1-2 hours after install) as we noticed there was a film on them after the initial cleaning. Lots of fresh water and frequent rinsing help lift the residue. You can use an alkaline cleaner to remove the haze but these can damage marble so we just stuck with water and that worked well.
That’s it!

That’s everything we know about epoxy grout. It’s definitely something we’ll use again! Optimistic that these tiles and grout selections will age well!