A Hard Lesson in Epoxy Grout Color Variation at the Hill House (and How to Avoid It!)
THE HILL HOUSE
Epoxy grout is usually considered the gold standard of grout - stain-proof, ultra-durable, and ideal for high-traffic - and we agree! We’ve used epoxy grout many times over the years (three different brands, no less) and have consistently loved the results. Which is why what happened in our Hill House hall bathroom came as such a surprise. After finishing the the tile installation we grouted with Laticrete Spectralock and discovered a dramatic color variation that left our floors essentially two different colors. Eeek! Here’s what to know and how to avoid epoxy grout color variation. If you’re planning to use expoxy grout, this is definitely a lesson you’ll want to learn before you open your first box…

psst: we’re sharing fresh photos of the Hill House hall bathroom reno! Get caught up on this bathroom with these posts:
Key Takeaway:
Epoxy grout is incredibly durable and low-maintenance, but color variation between batches is real. If you’re working near the coverage limit of a unit, the safest approach is to plan ahead, buy extra, and mix batches together from the start. A little extra prep up front can prevent a permanent (and very visible) color difference later.
Why We Use Epoxy Grout (And Still Will)
Before we get into the mistake, I want to make clear that we still prefer epoxy grout over traditional cement grout. Here’s why we use it:
Epoxy grout pro’s:
Extremely durable
Doesn’t require sealing
Highly stain-resistant
Holds up better over time in wet spaces
The downsides:
It’s significantly more expensive (often 4–5x the cost)
Installation is less forgiving
Color consistency requires more planning
That last point is where things went sideways.
Our big epoxy grout mistake
Guys, we’ve tiled a lot of bathrooms. And we’ve grouted just as many. I’d go so far as to say that we’re pretty dang good at it. Which makes this mistake that much more embarrassing. But I’m committed to sharing because I don’t want it to happen again…to us or to you! So here’s what happened…
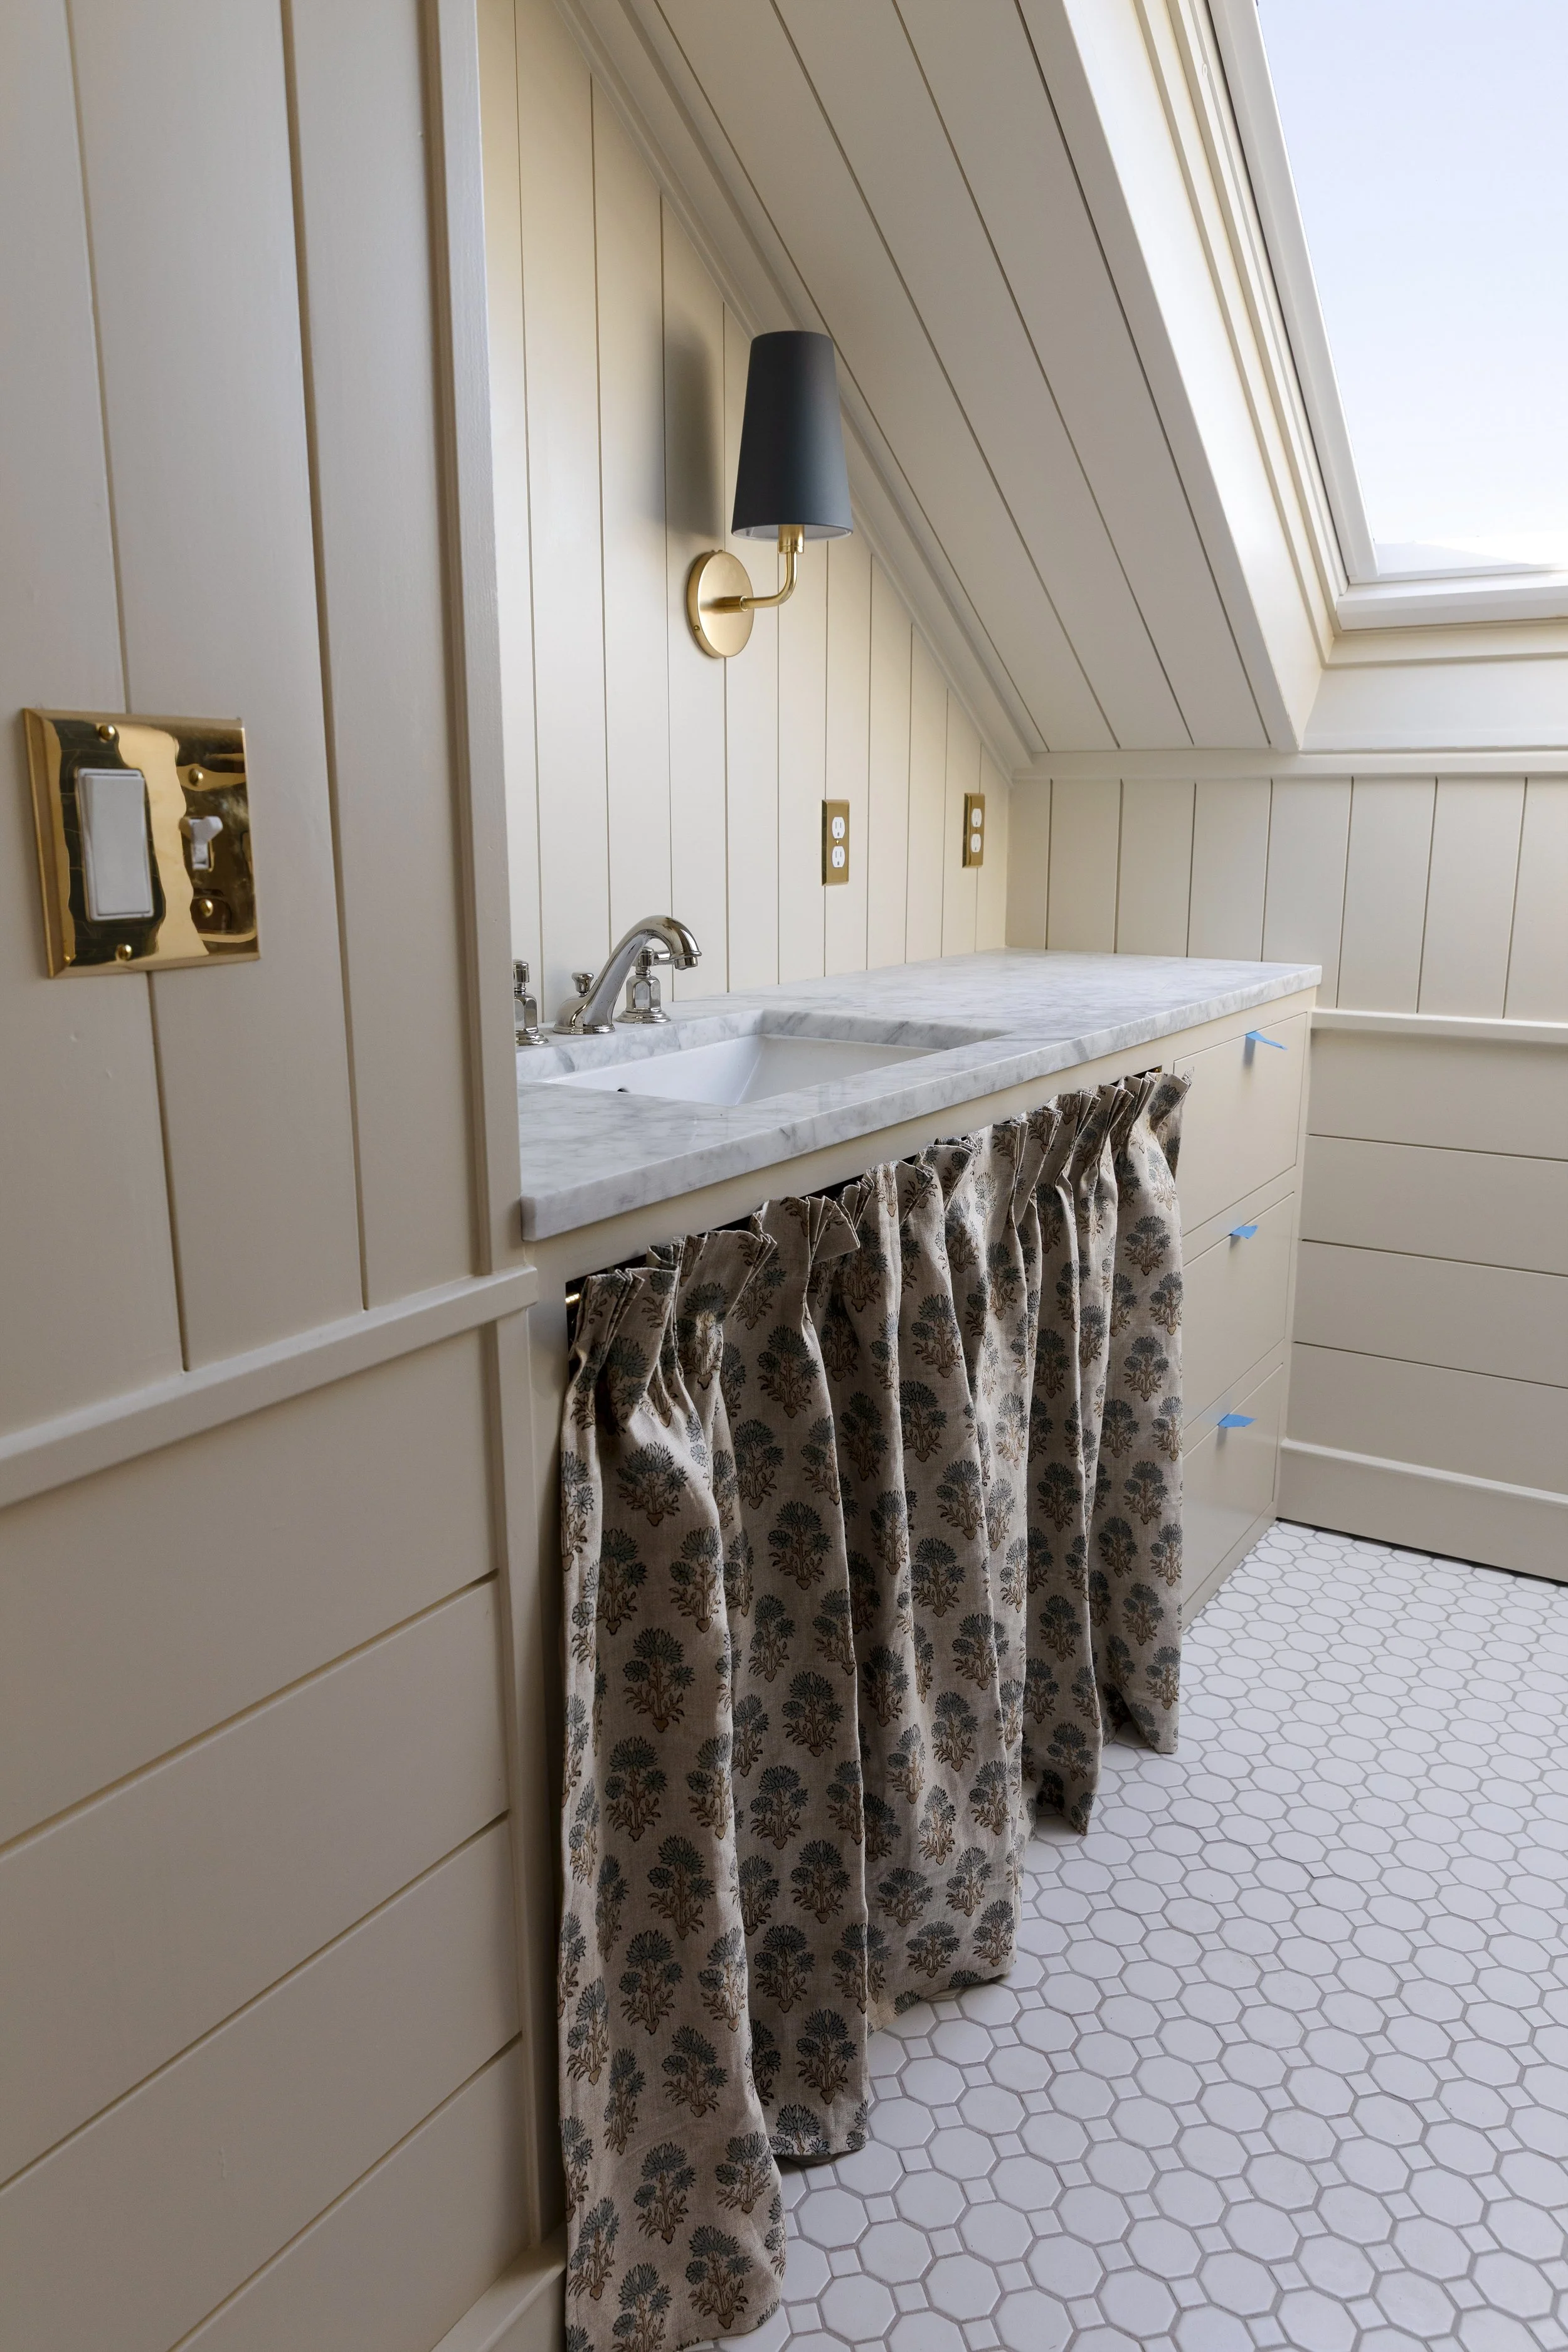
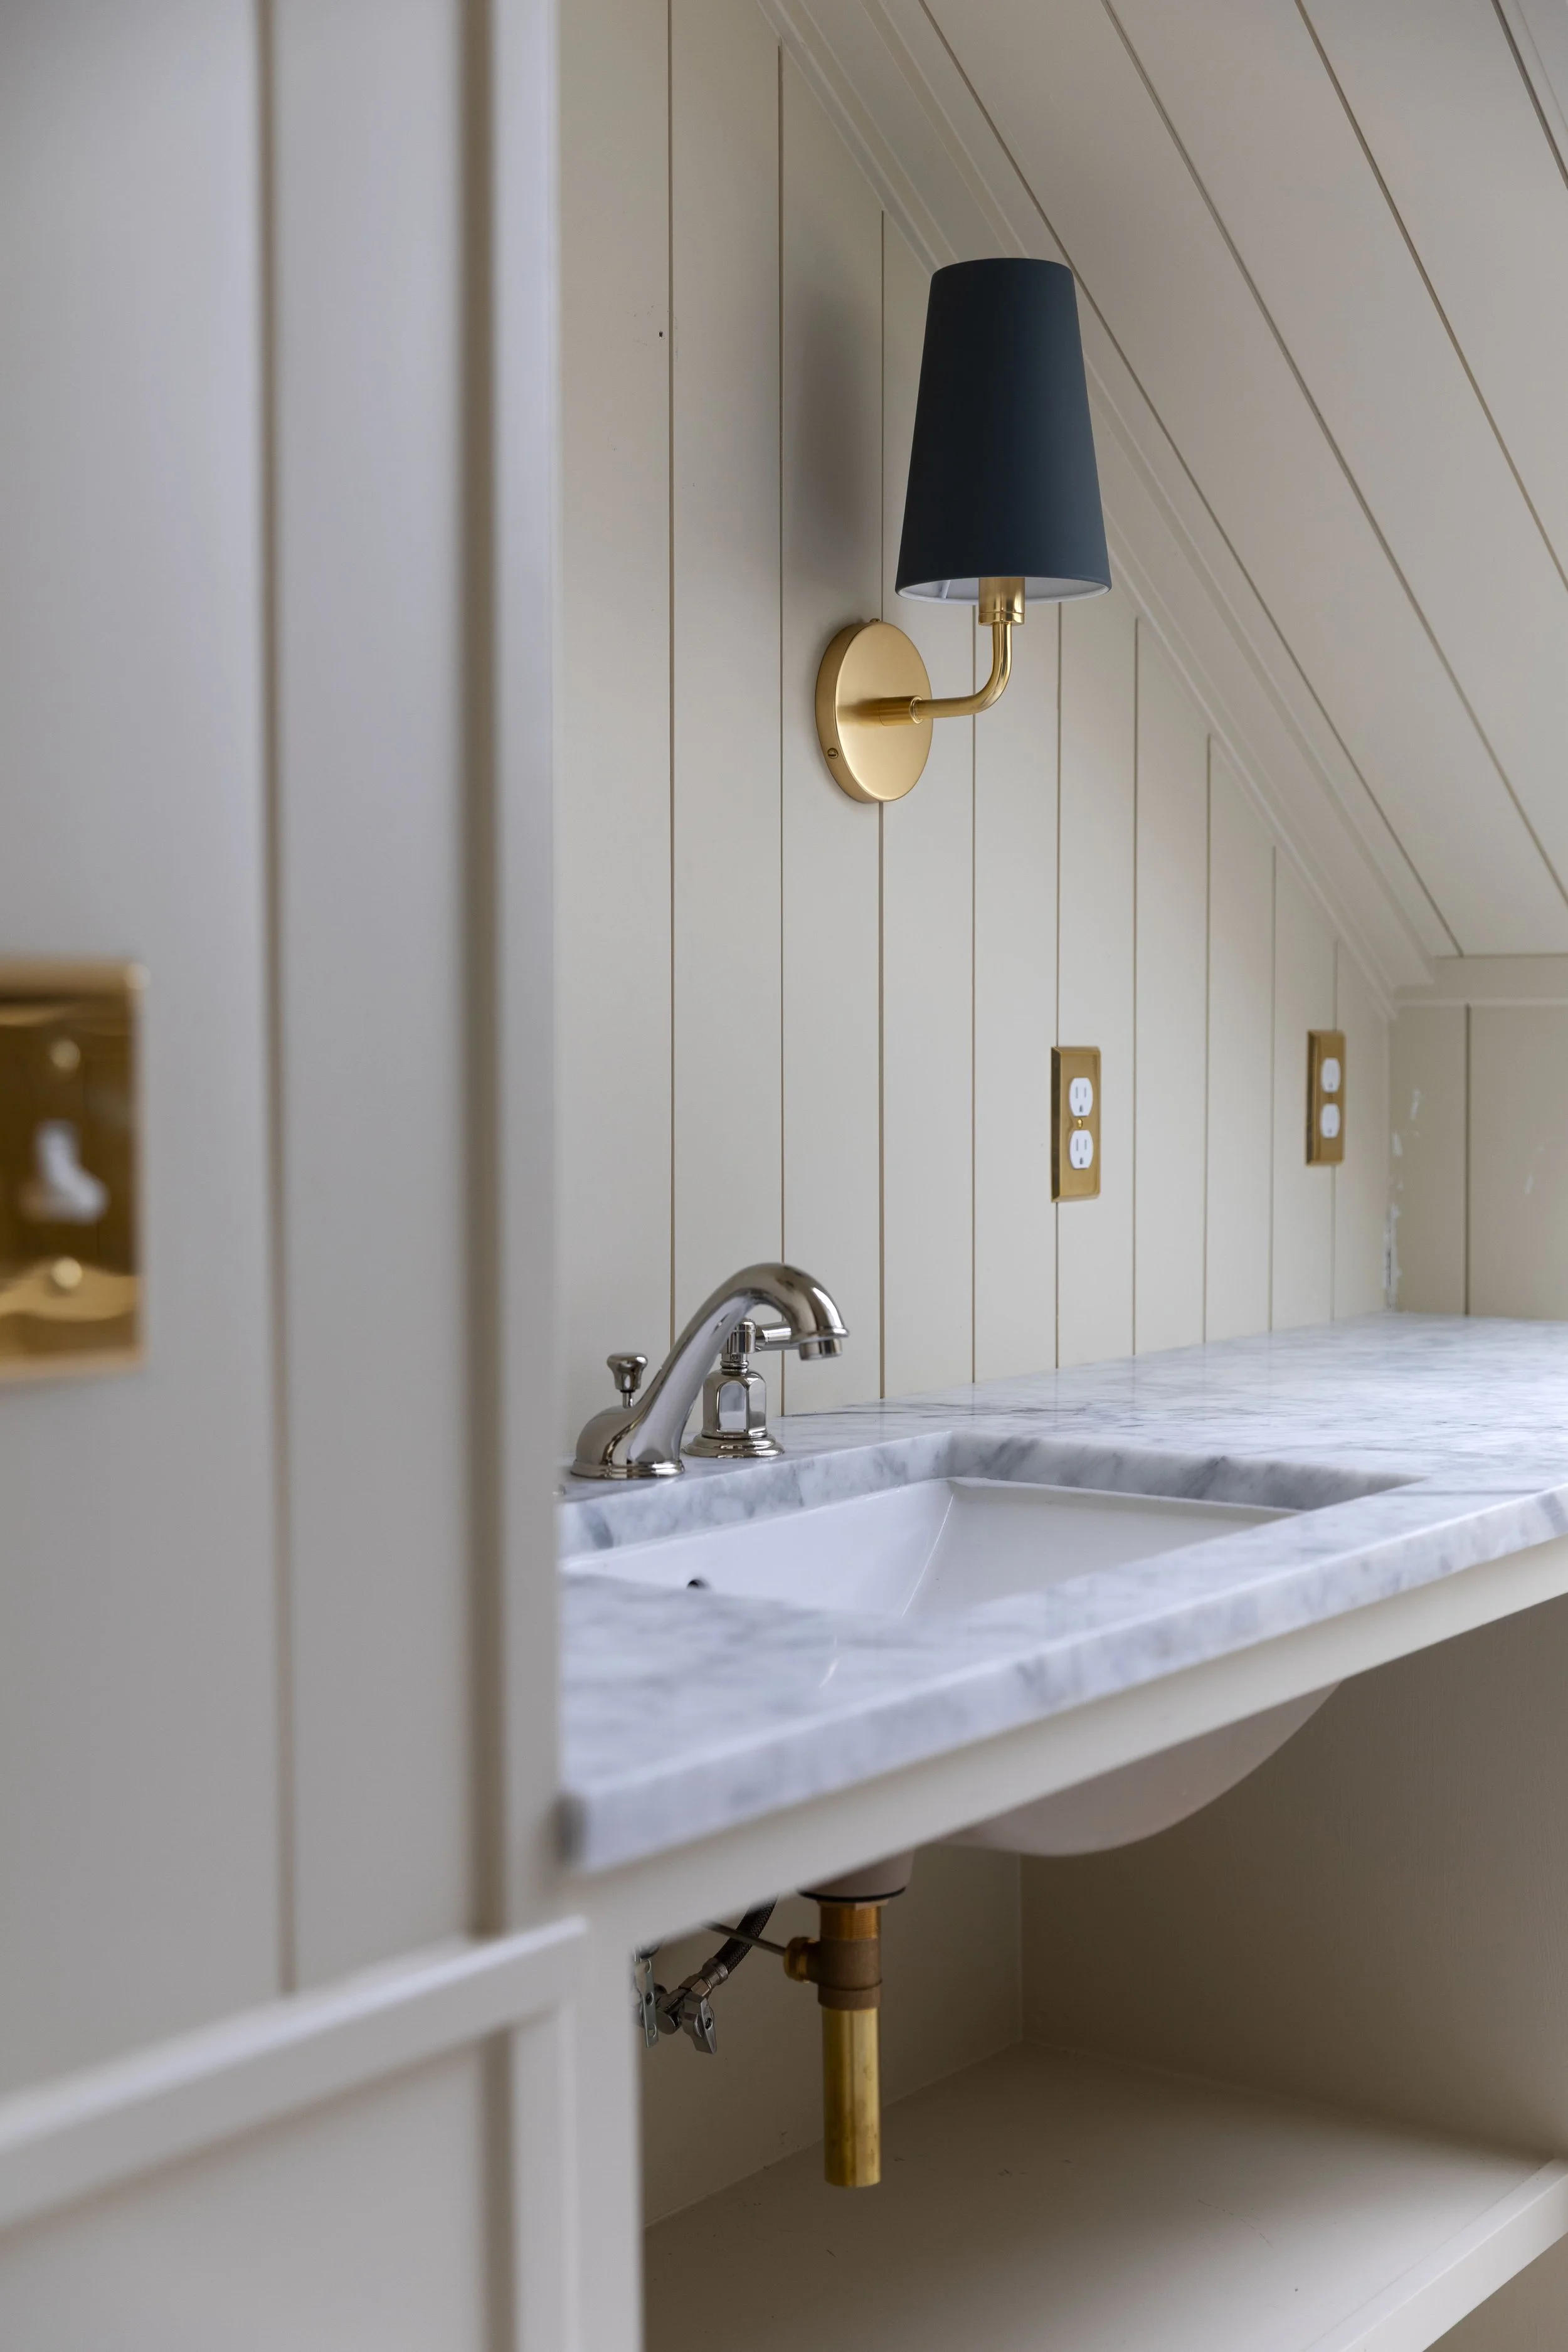
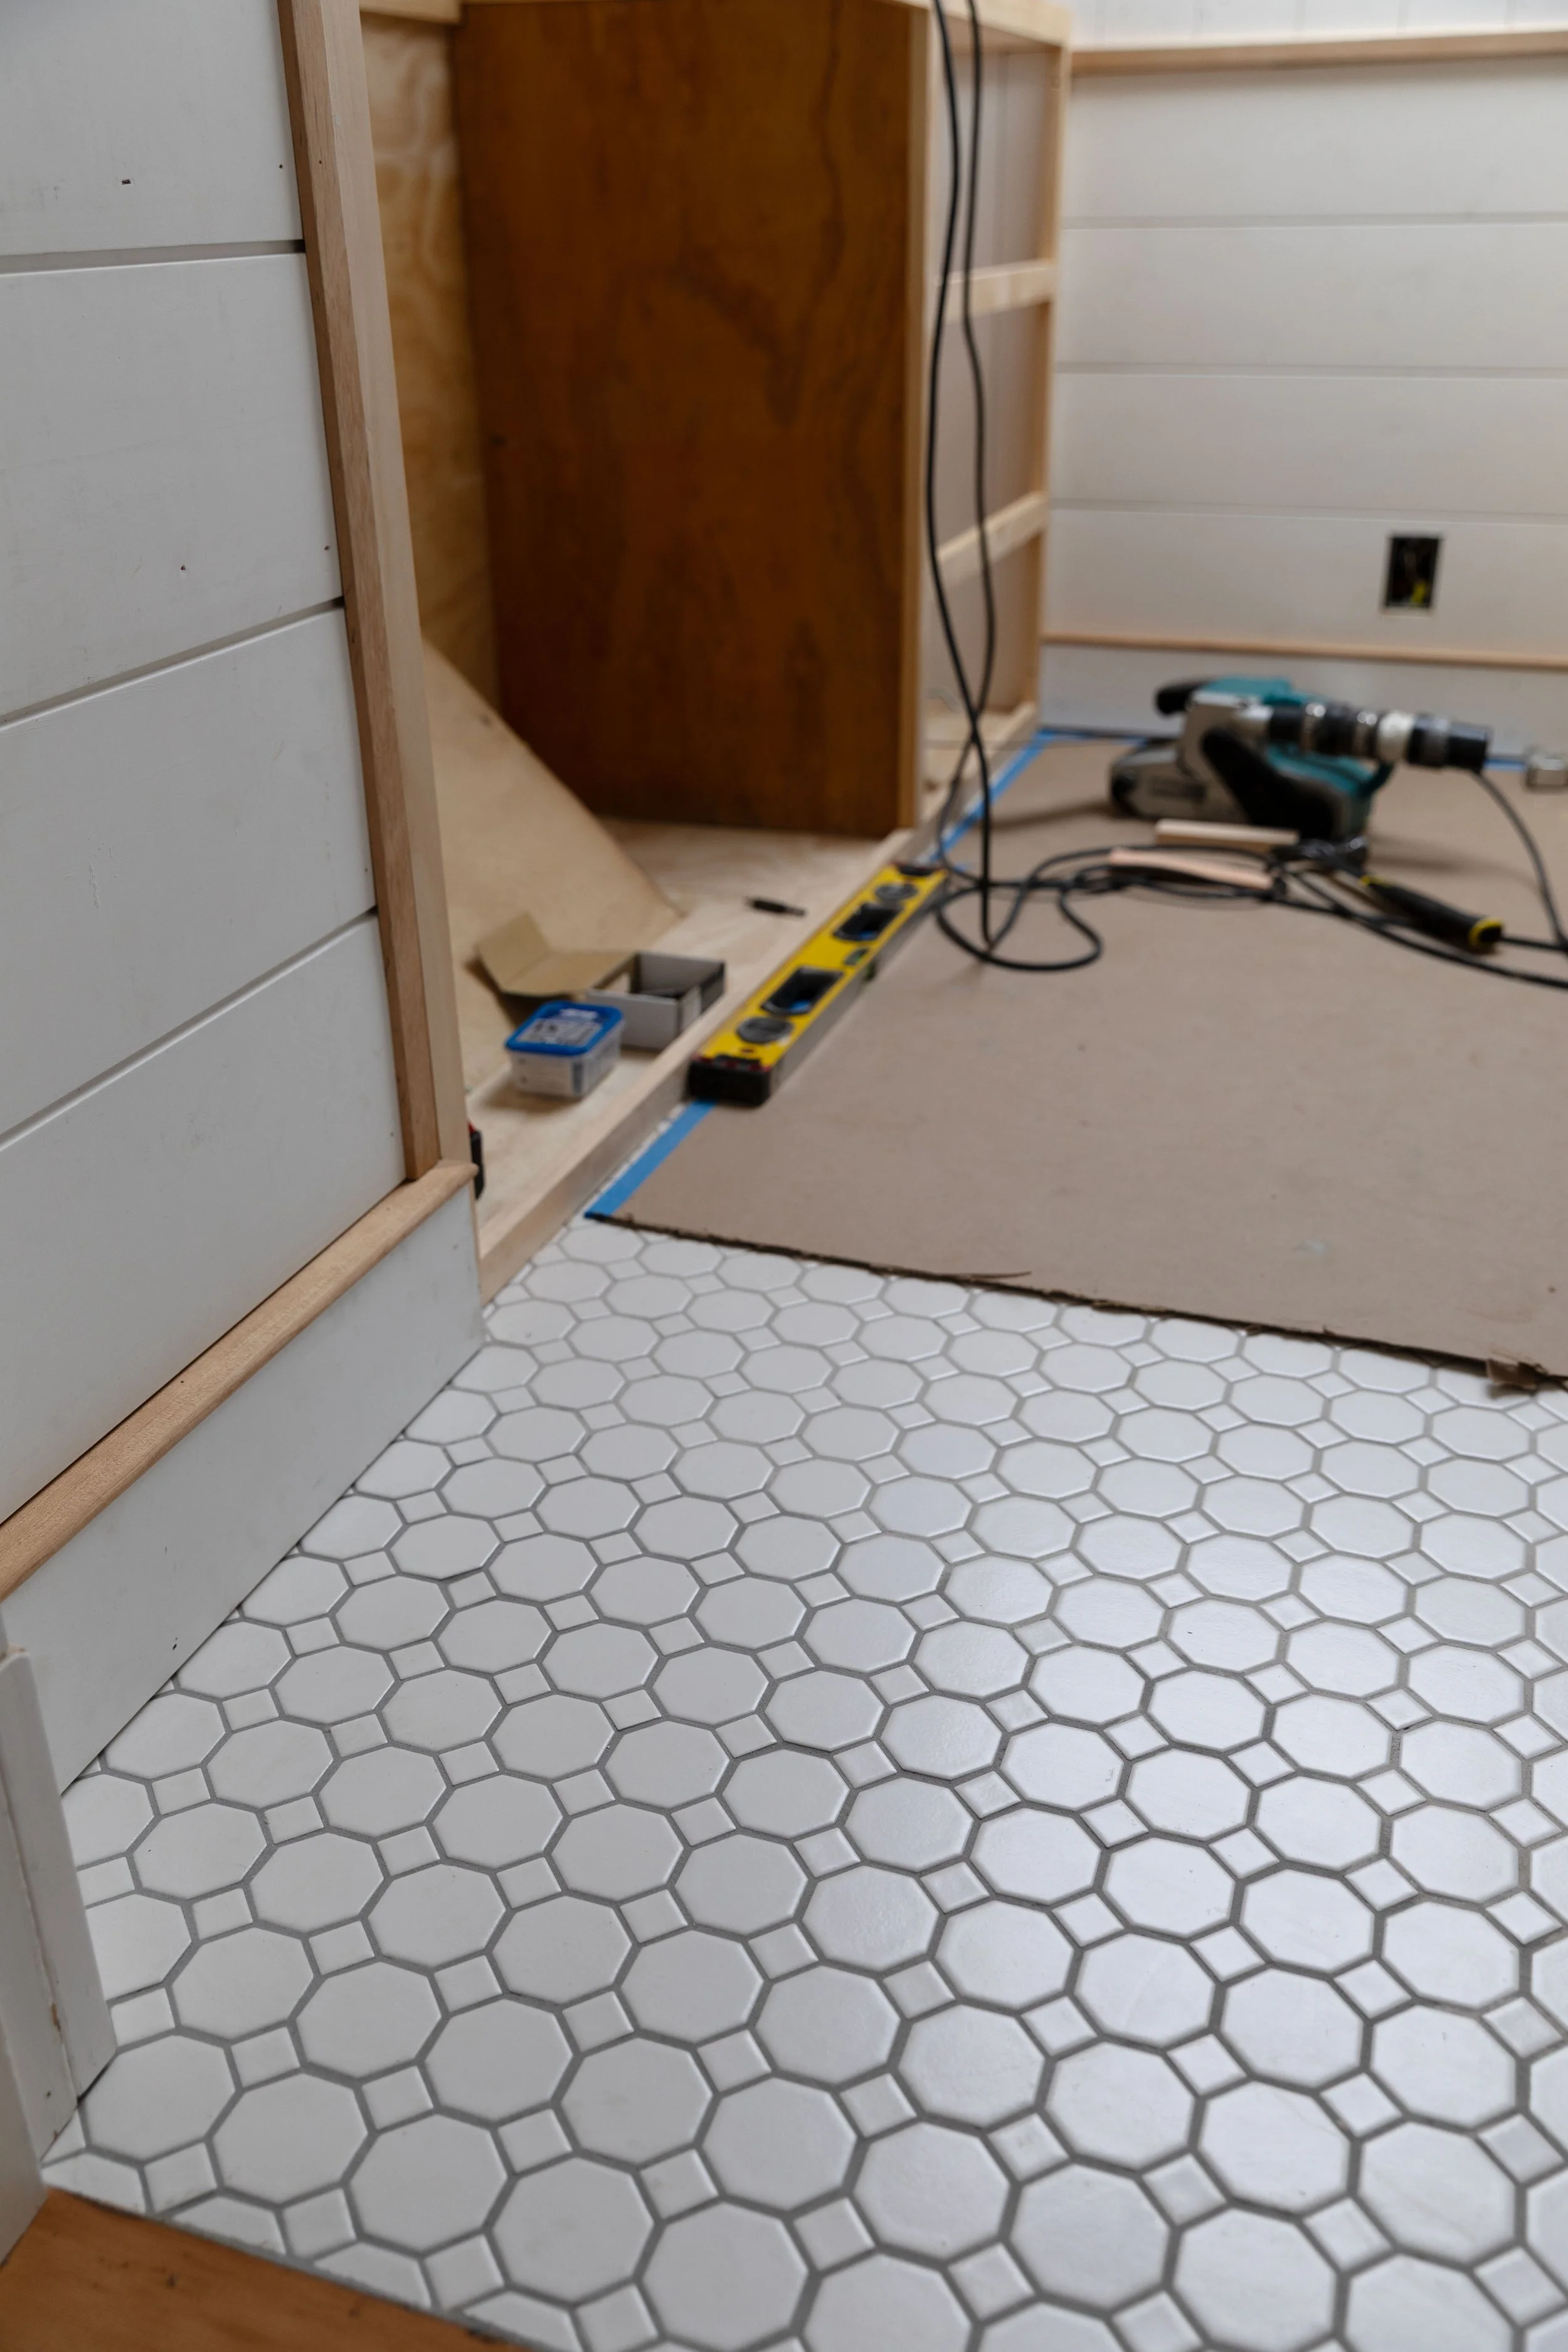
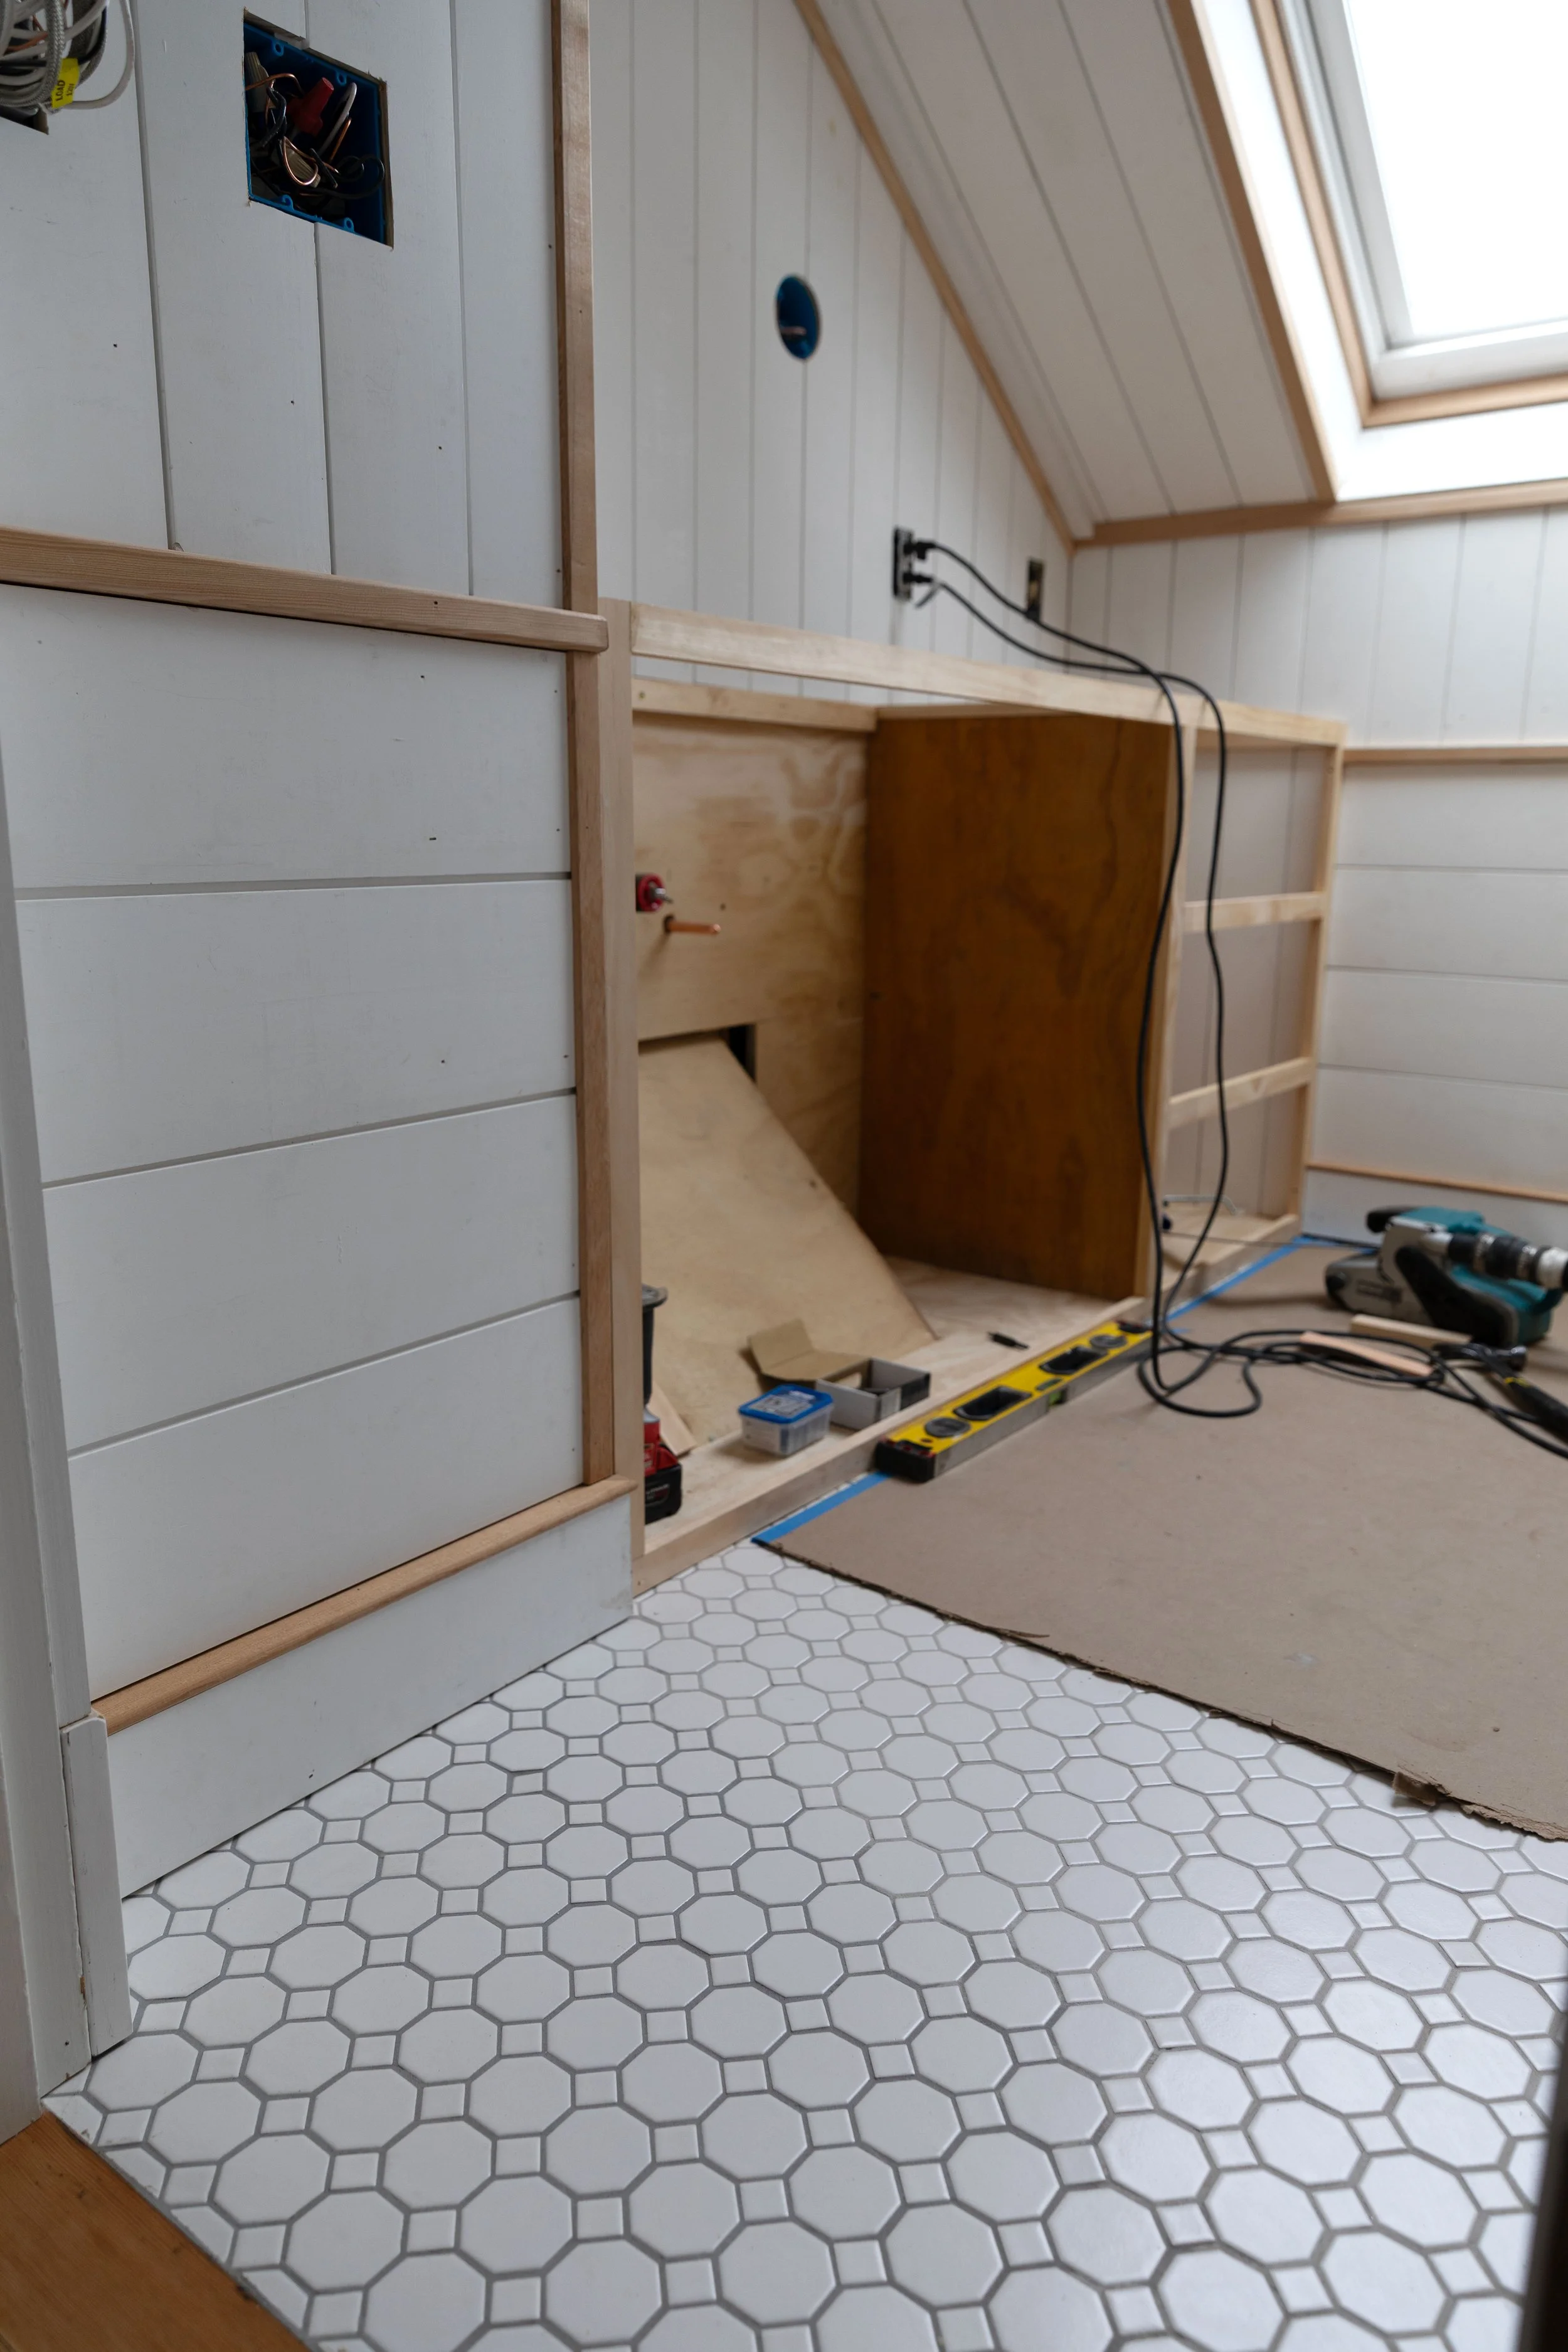
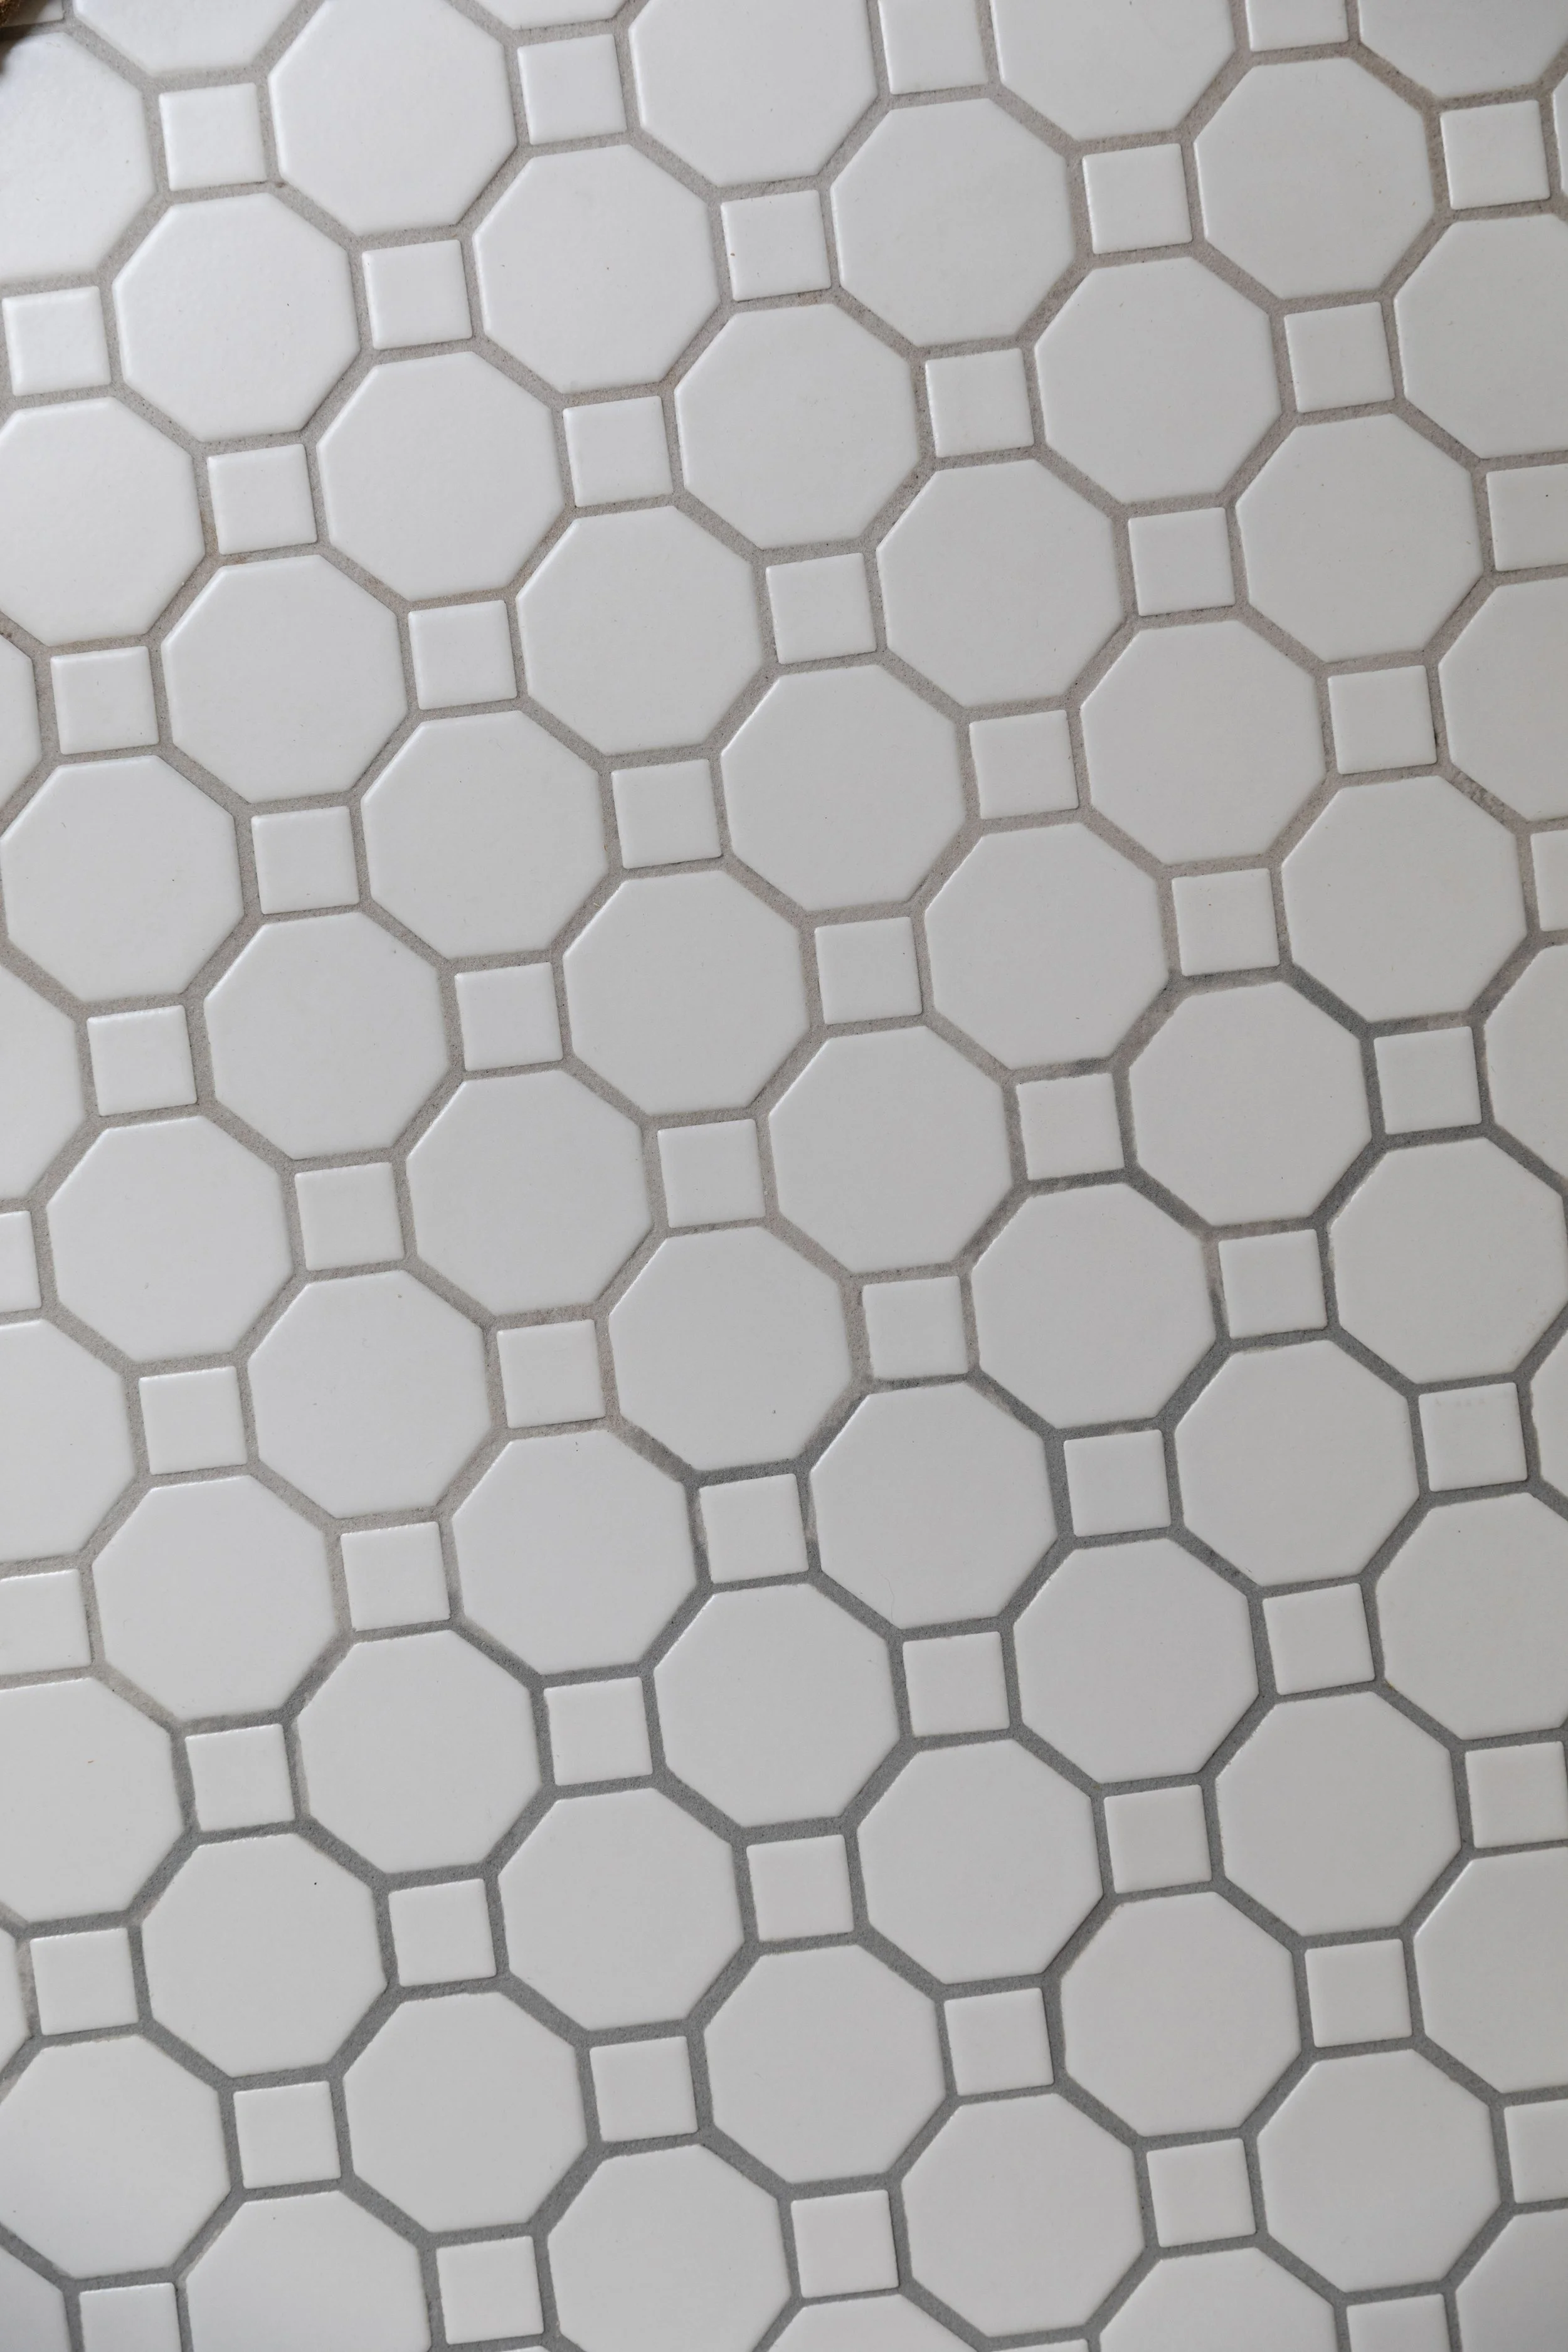
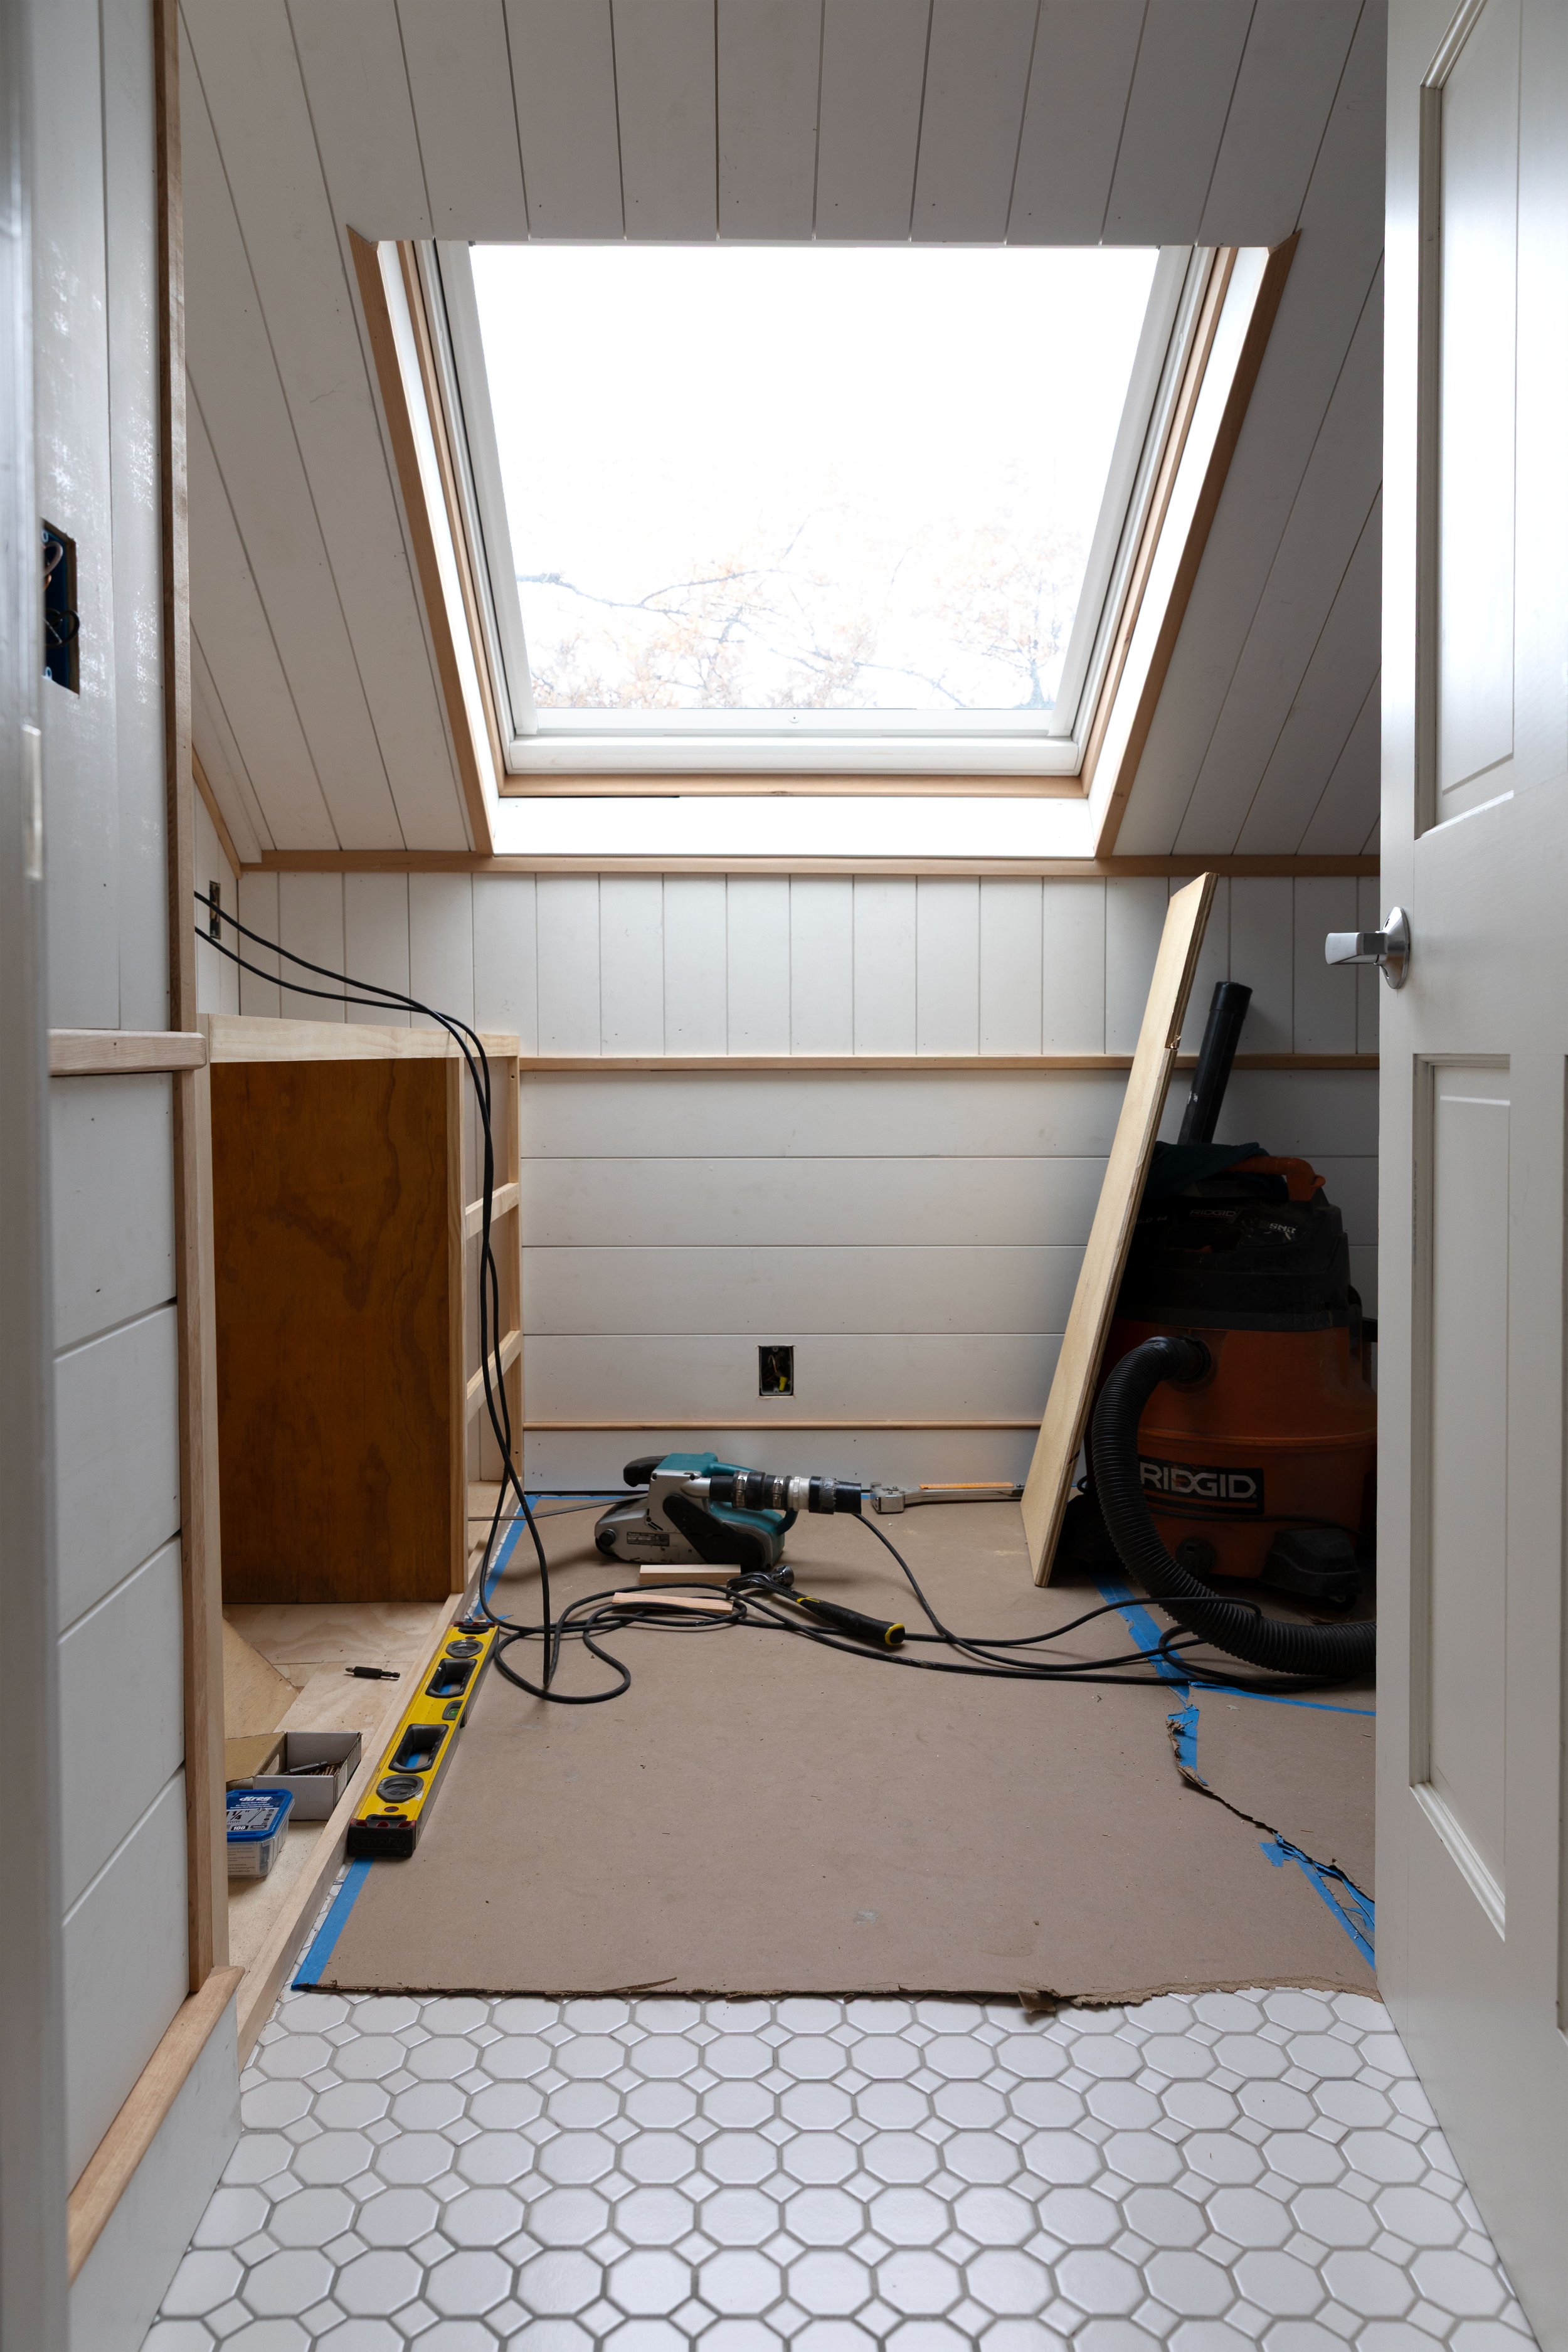
After tiling the Hill House upstairs hall bathroom (blue subway, marble niche, and classic octagon-and-dot floors!), we turned our attention to epoxy grout. This time we decided to use Laticrete Spectralock because it’s well regarded and there’s a supplier in our small town. After getting color samples and comparing them in natural light with the tiles, I picked these colors (psst: read this before you pick an epoxy grout color!):
Frosty for the wall tile
Smoke Gray for the floor tile
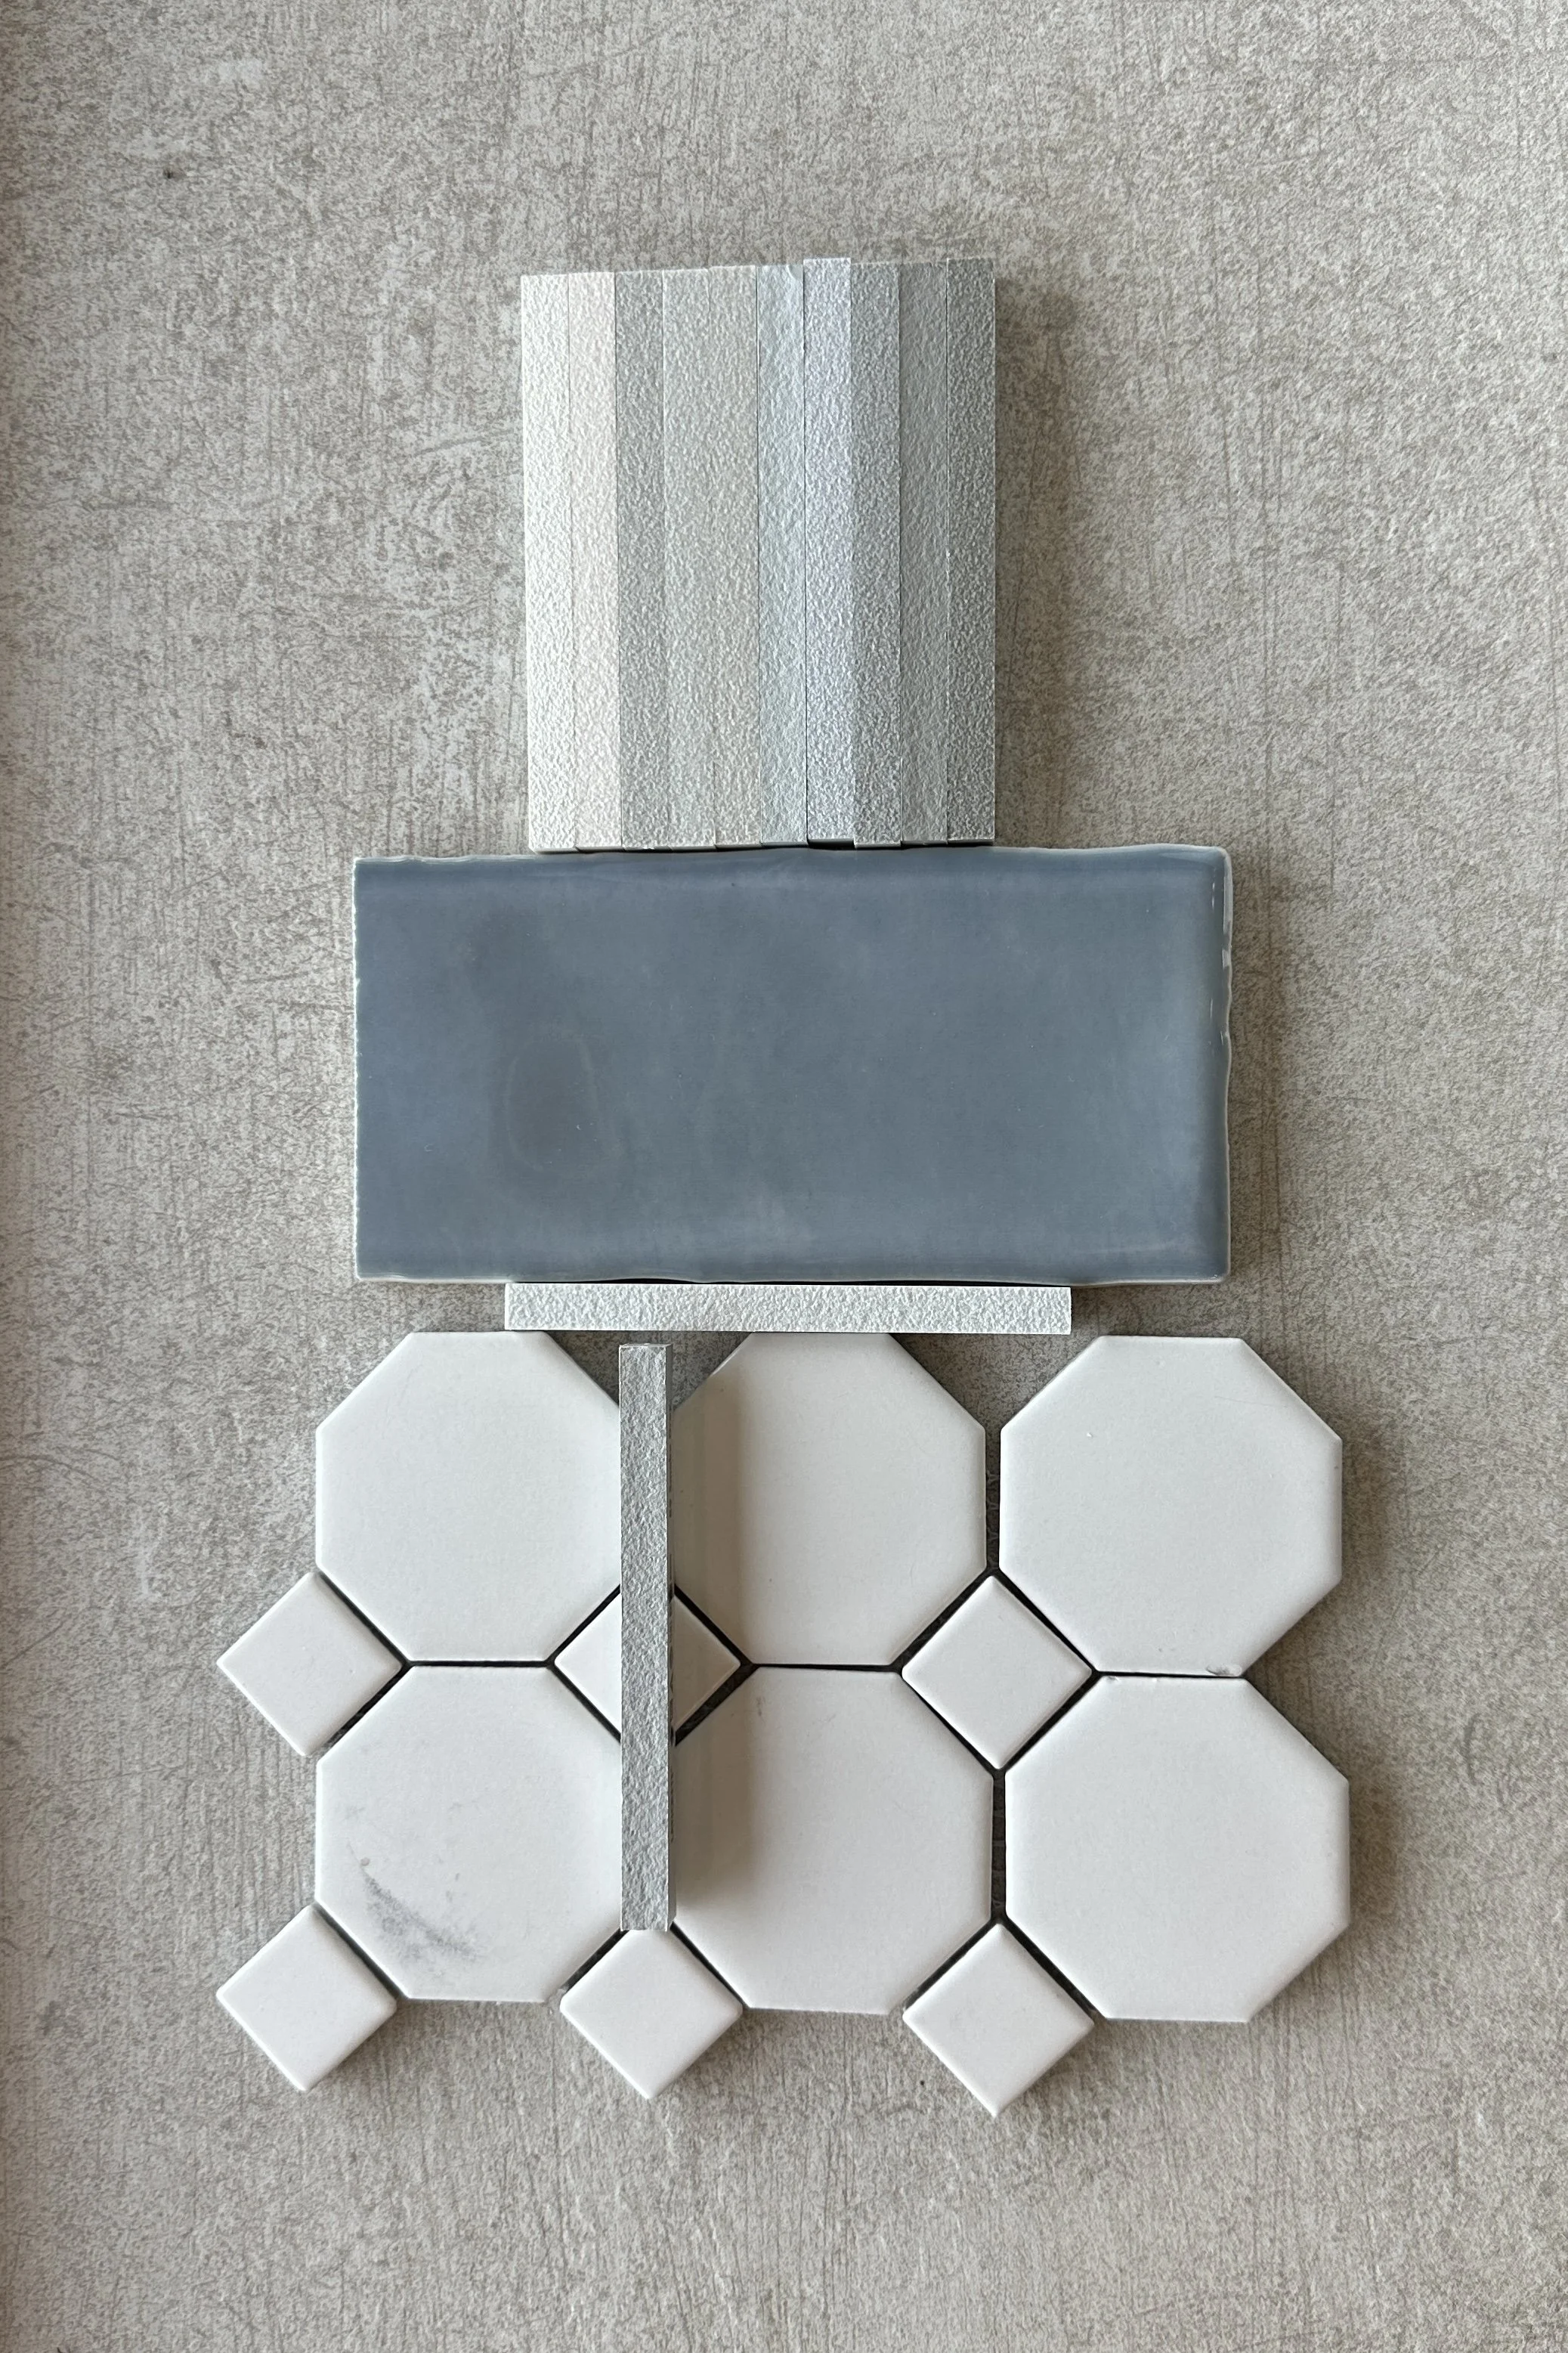
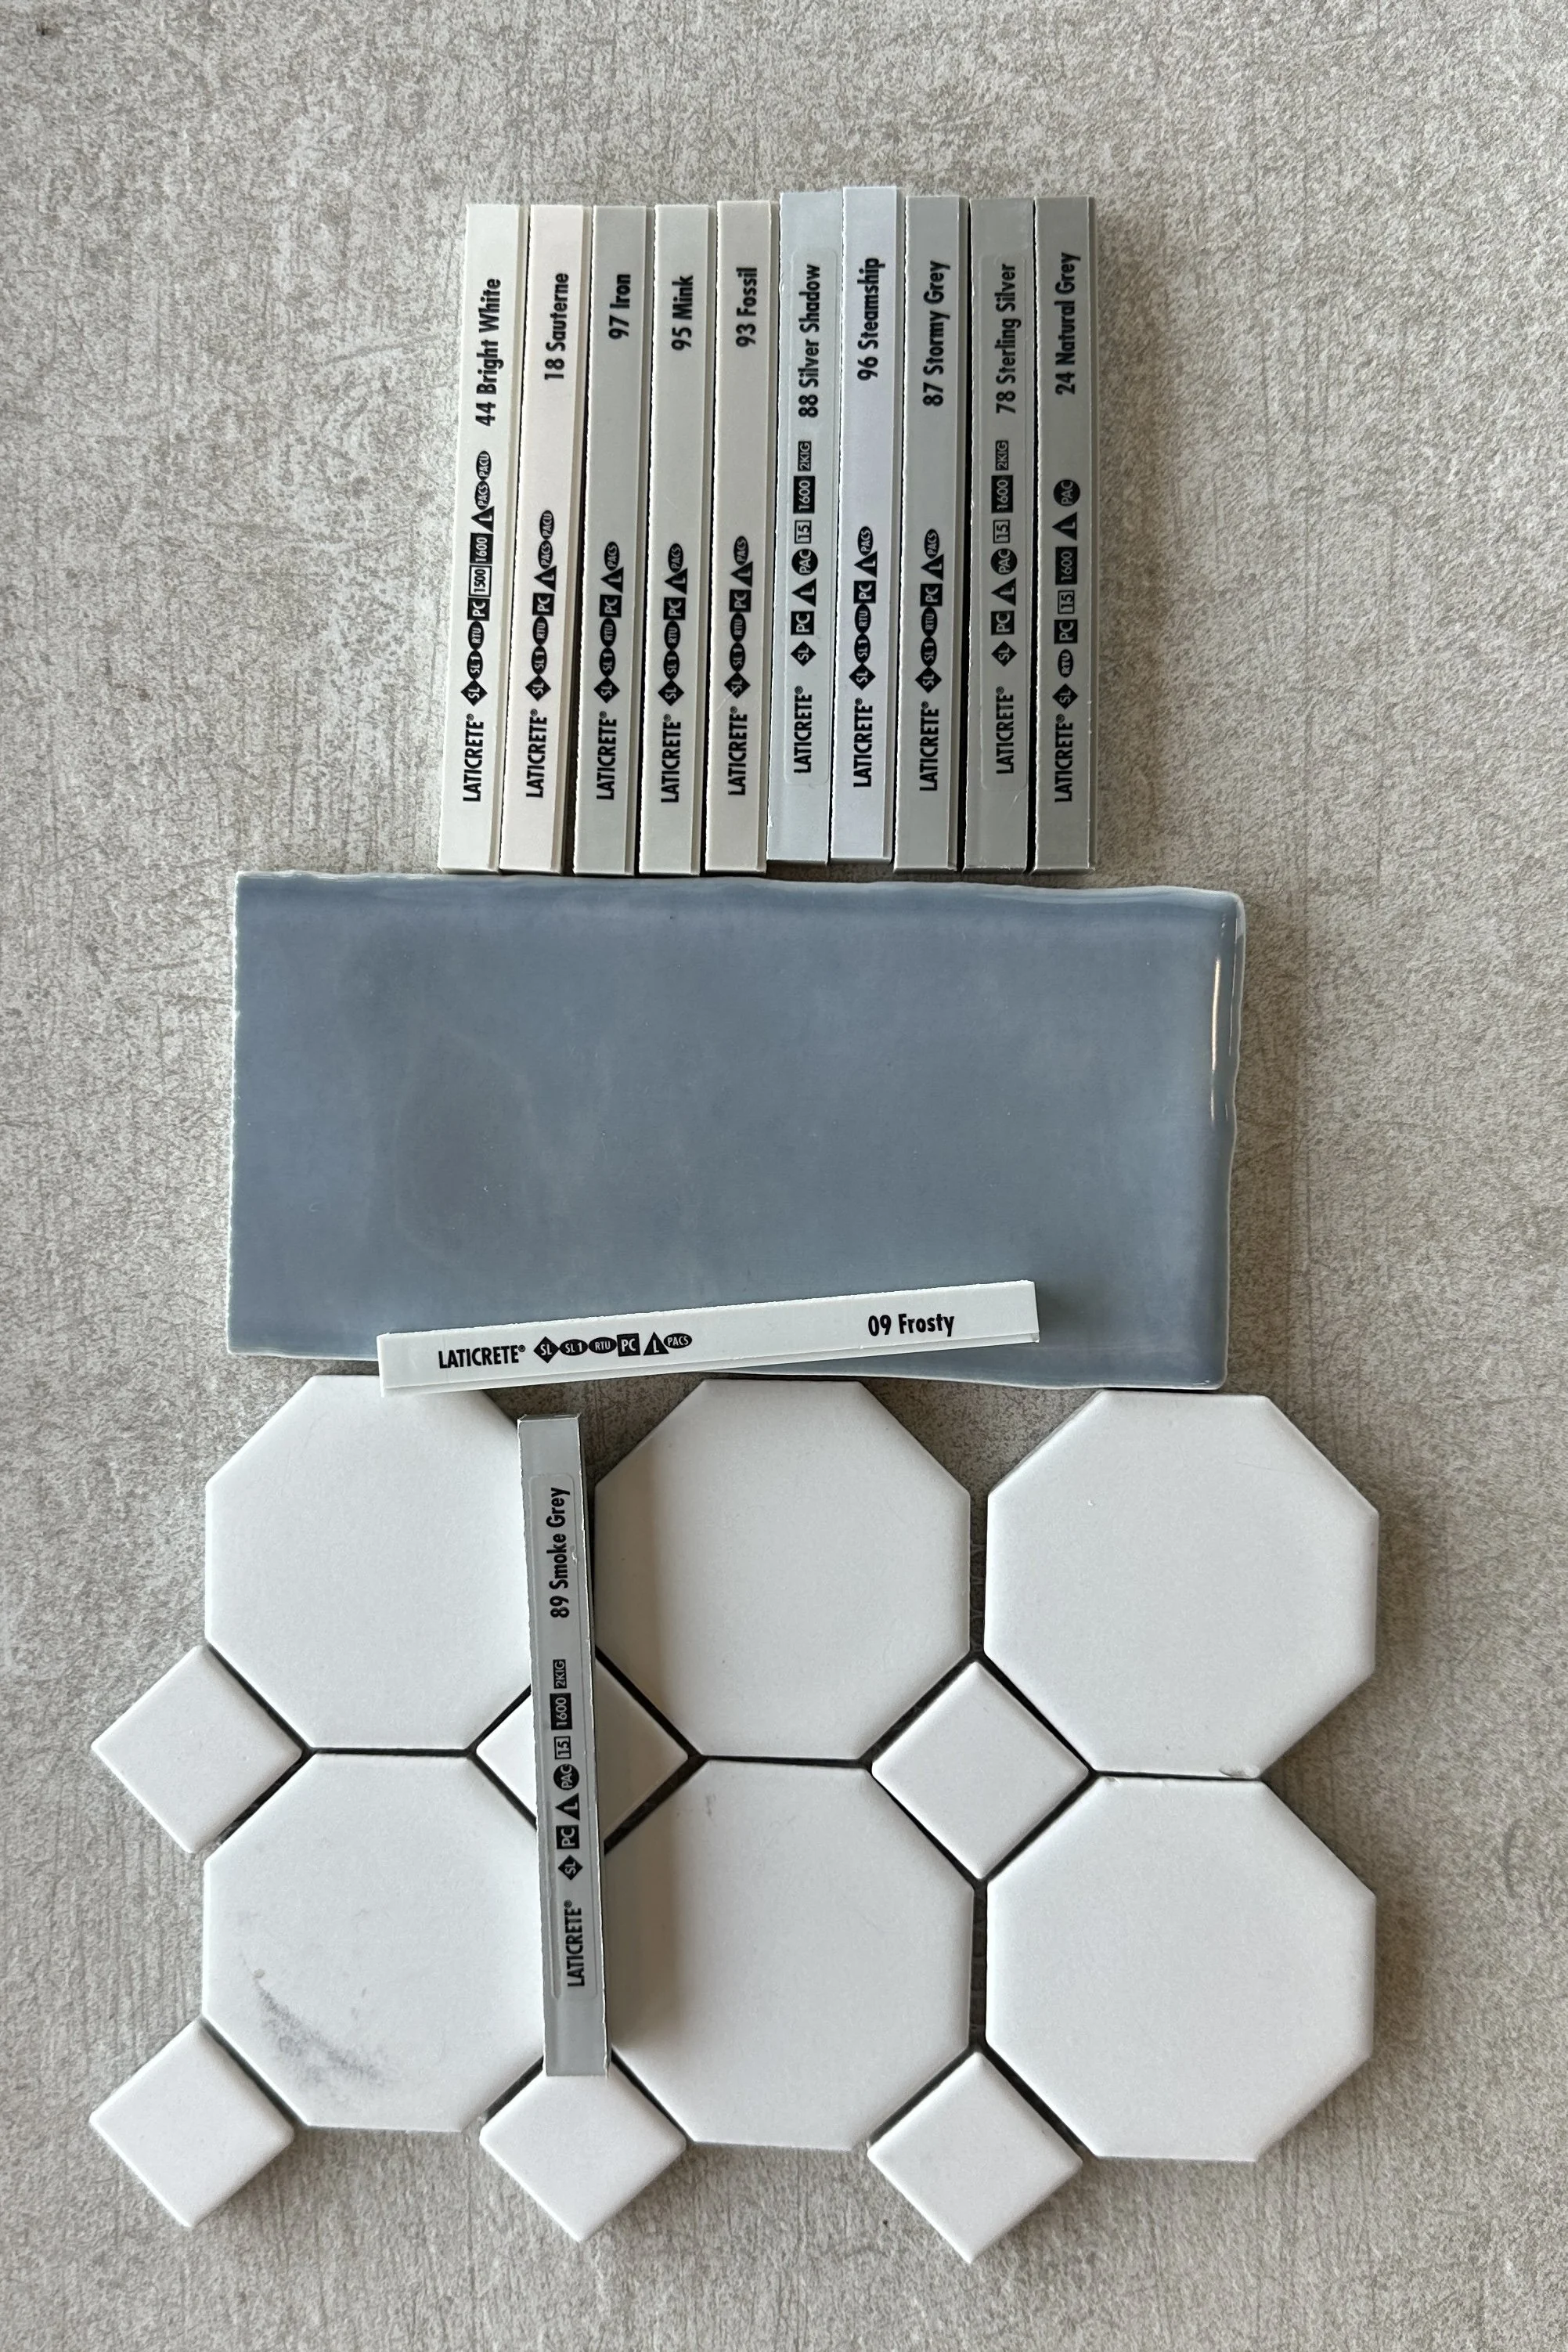
Octagon-and-dot tile (white & matte), 3×12 Ceramic Subway Tile (Daydream)
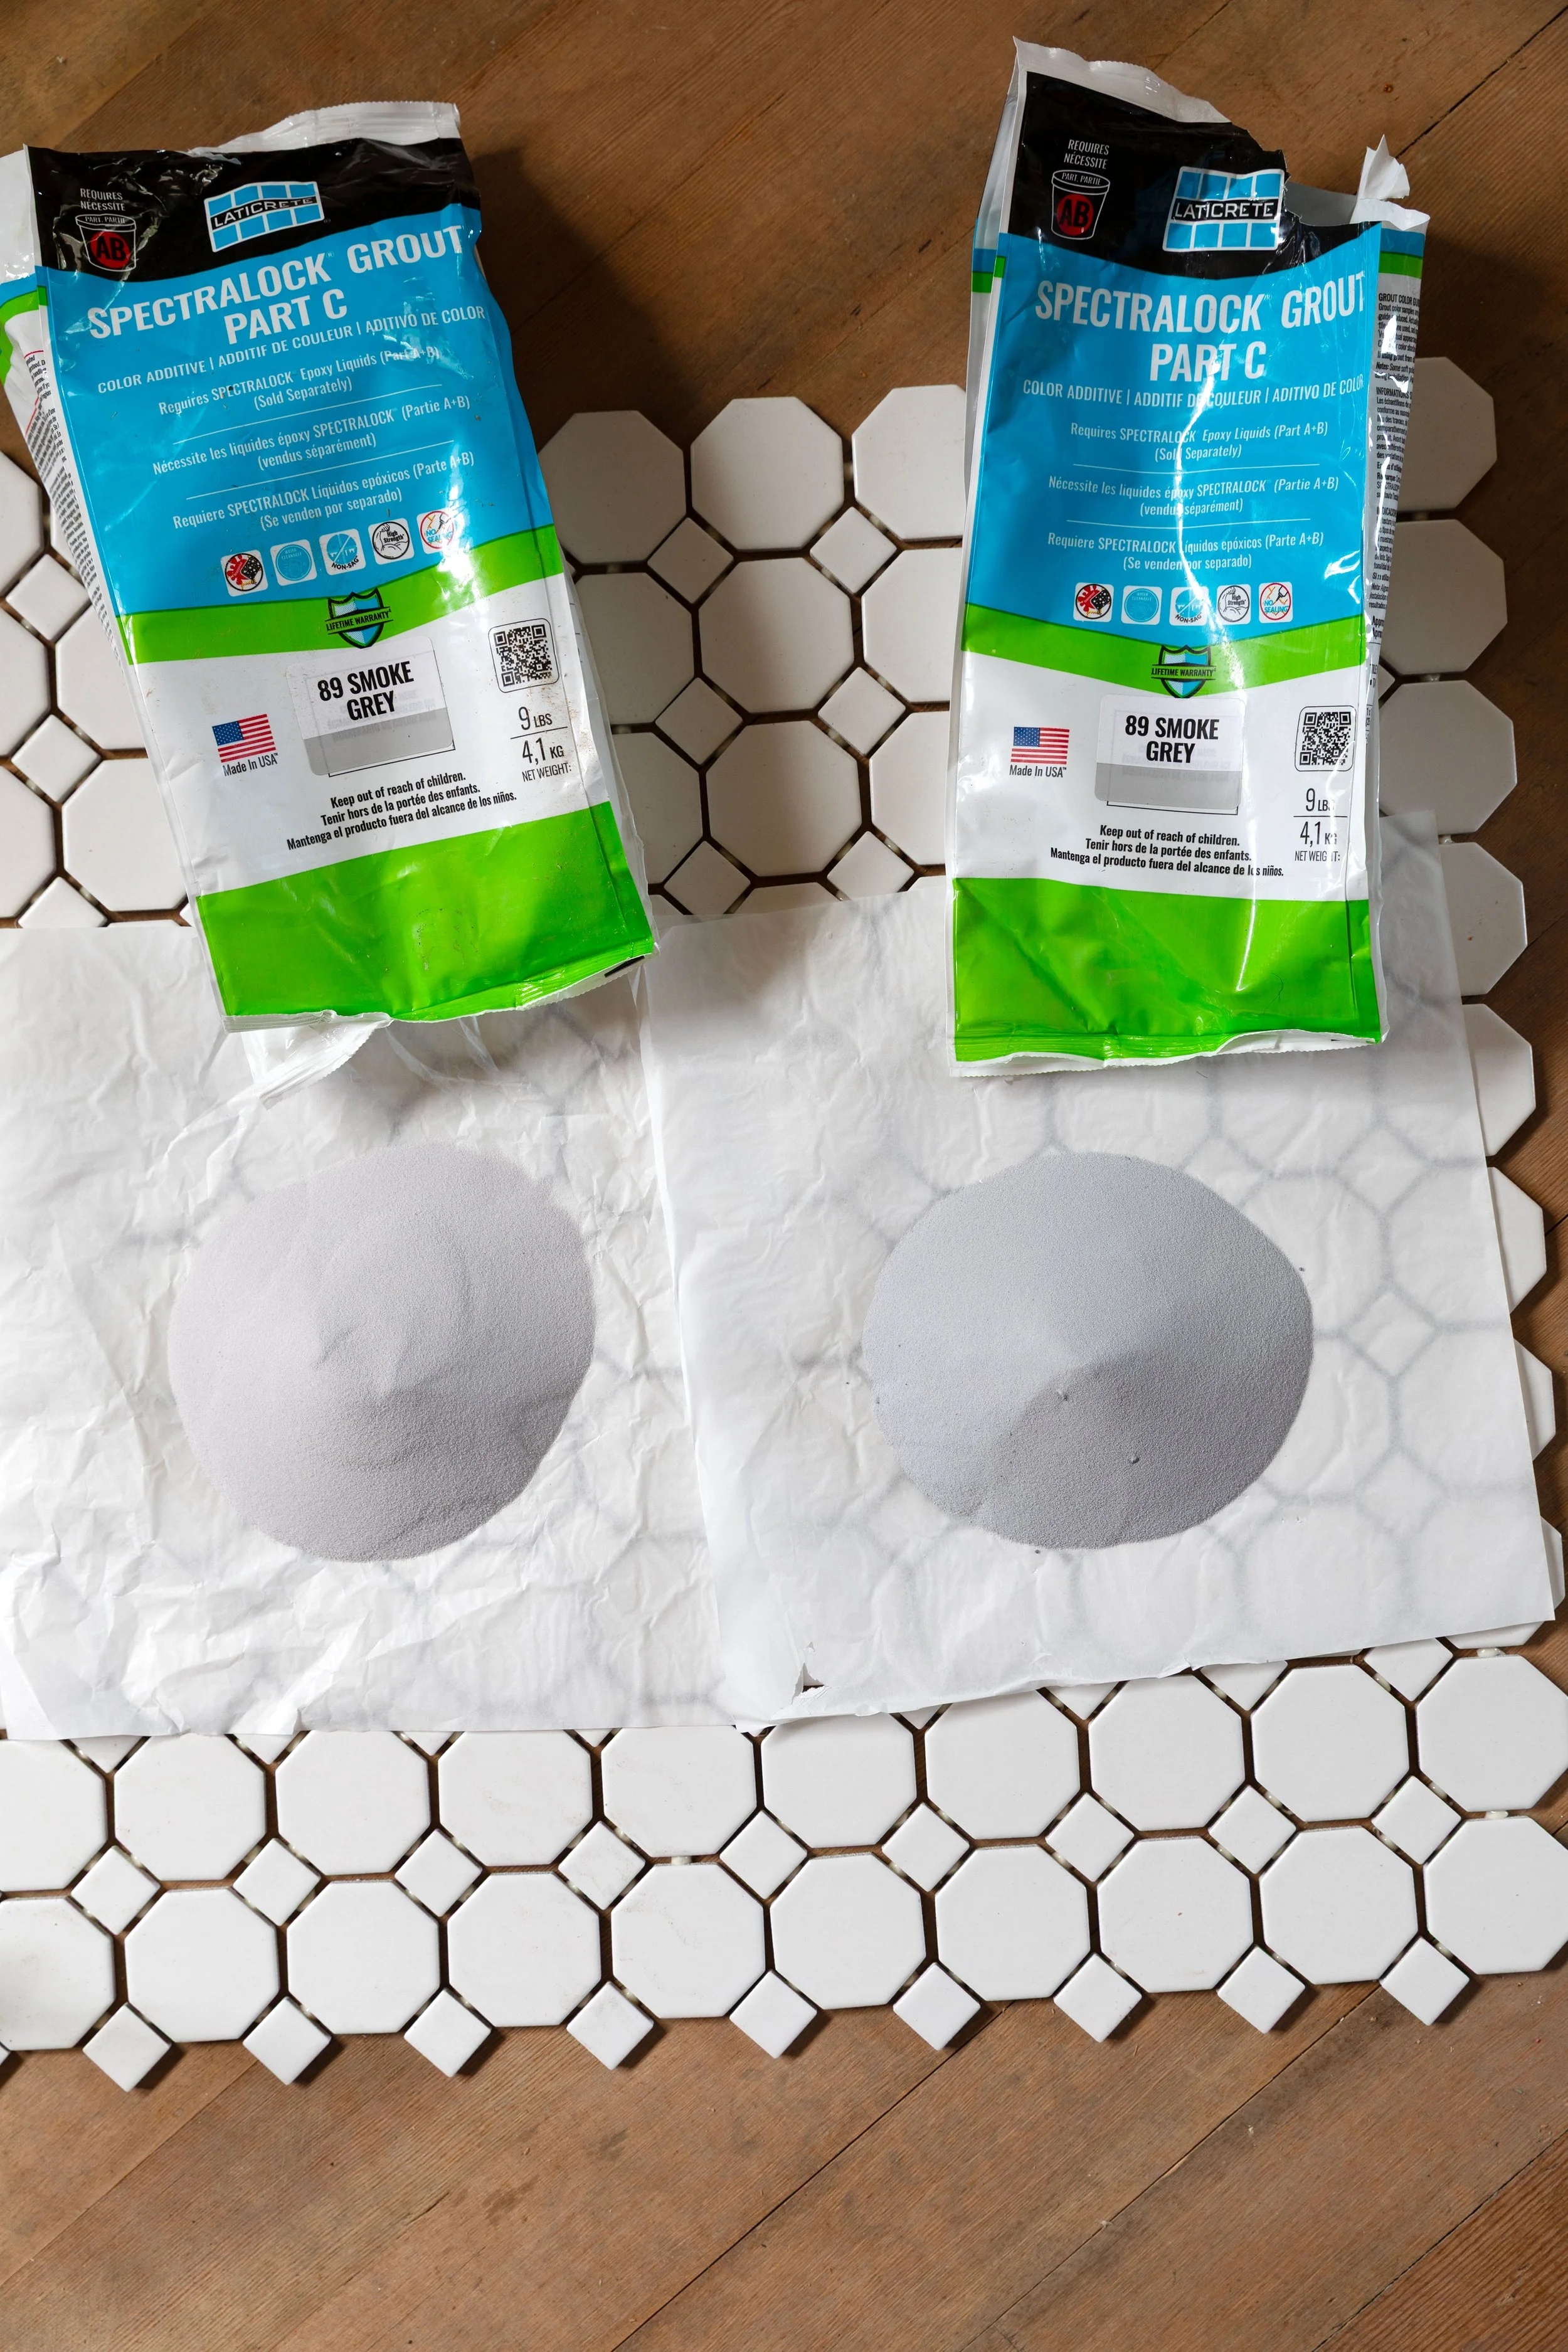
All grout was purchased from the same local supplier. We bought one box of the Frosted for the walls and bought one box of the Smoke Grey for the floors.
The bathroom floor square footage fell right on the edge of what one full unit of grout would cover. Since epoxy grout is expensive (over $100 per unit), we bought one unit and planned carefully: start grouting near the doorway and finish in the far back corner, that way, if we came up short, we’d just buy a second unit and have a transition where it would be least noticeable.
Solid plan.
Except… we didn’t stick to it.
Where It Went Wrong
In practice, best tiling habits kicked in. When grouting, you naturally work yourself out of a space so you don’t have to walk on your finished work, which meant finishing near the doorway. And sure enough, when Garrett got to the doorway, he came up about 2 square feet short on grout.
So we bought a second unit of the same grout in Smoke Gray from the same store. The batch number was even the same as the first unit of we bought. That night, Garrett mixed up the entire second unit of Smoke Gray and filled in the remaining grout lines.
The next morning, I walked in and immediately freaked!
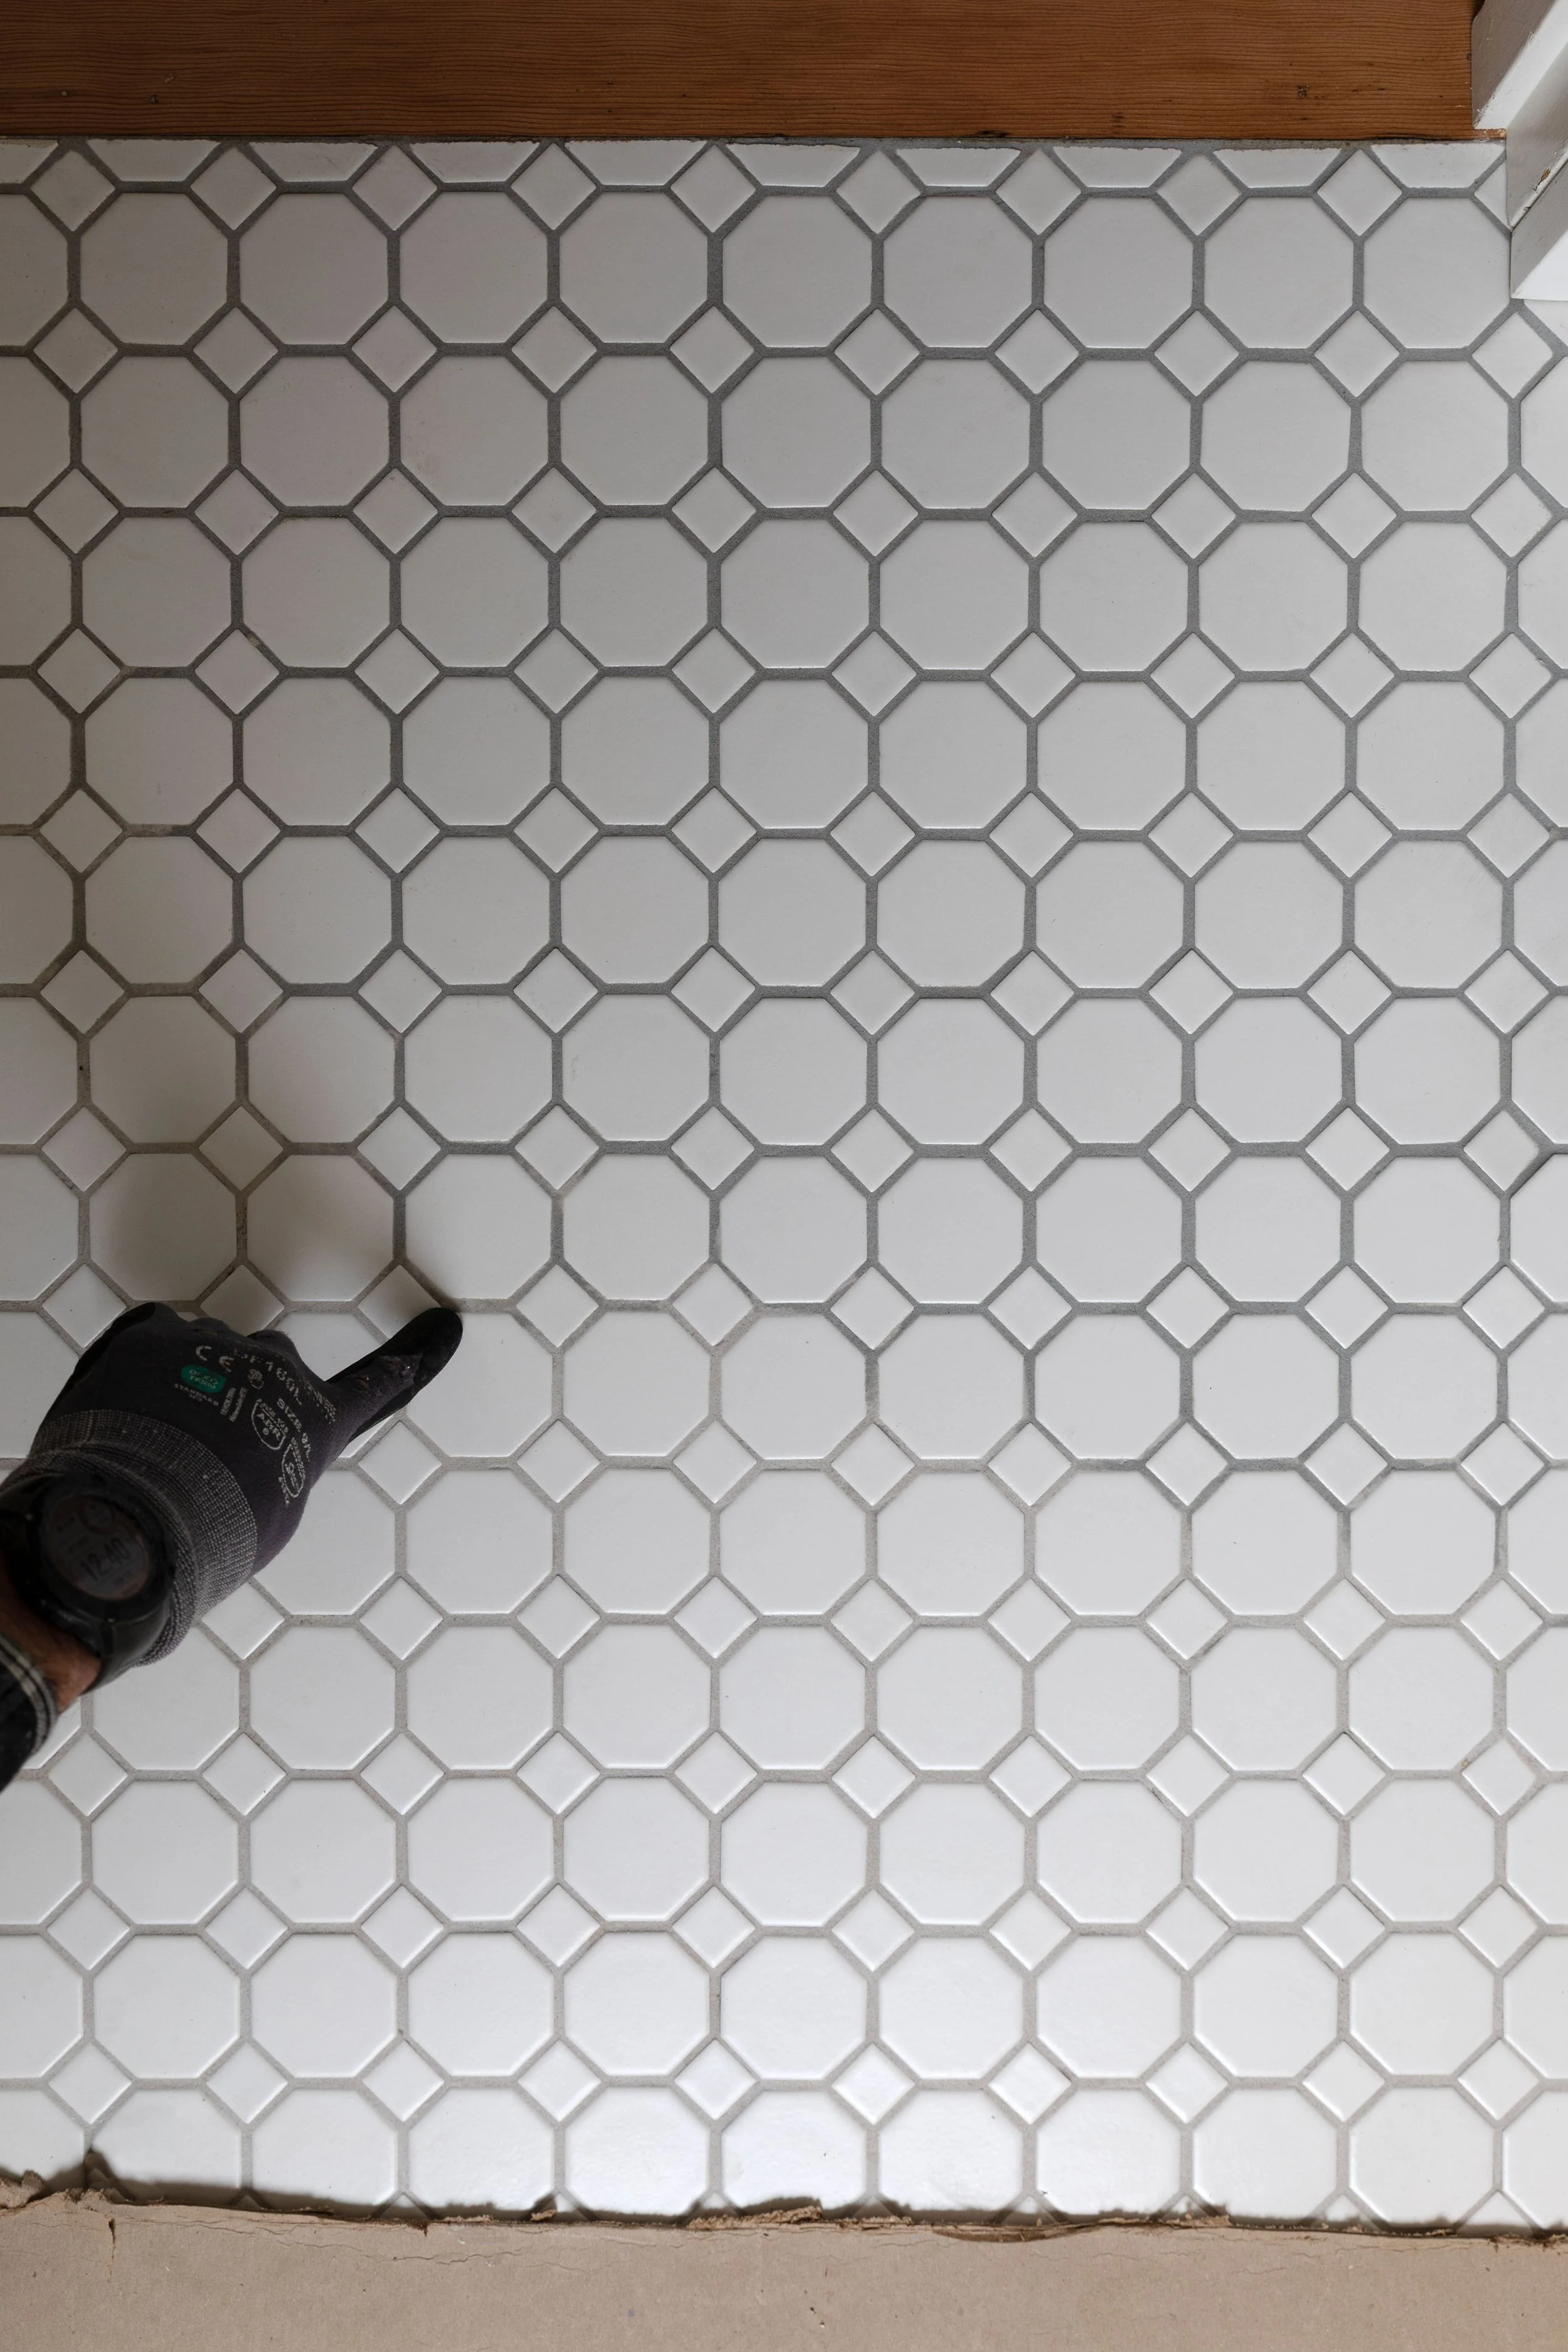
Eeek! A Visible Epoxy Grout Color TRANSITION
Despite everything being “the same,” the two batches of Smoke Gray epoxy grout dried to noticeably different colors. The original section was lighter than the new grout. We decided to give it another day before fully freaking out, thinking maybe the color just took awhile to cure. But sure enough, the grout was still two different colors. And unfortunately, the transition was right in the doorway, probably the most visible spot in the whole bathroom. Eeek!
I think the transition is obvious in the photos (and it’s definitely obvious to the naked eye) but I’ll share a few aspects so you can see what the transition looks like in different lights/angles.
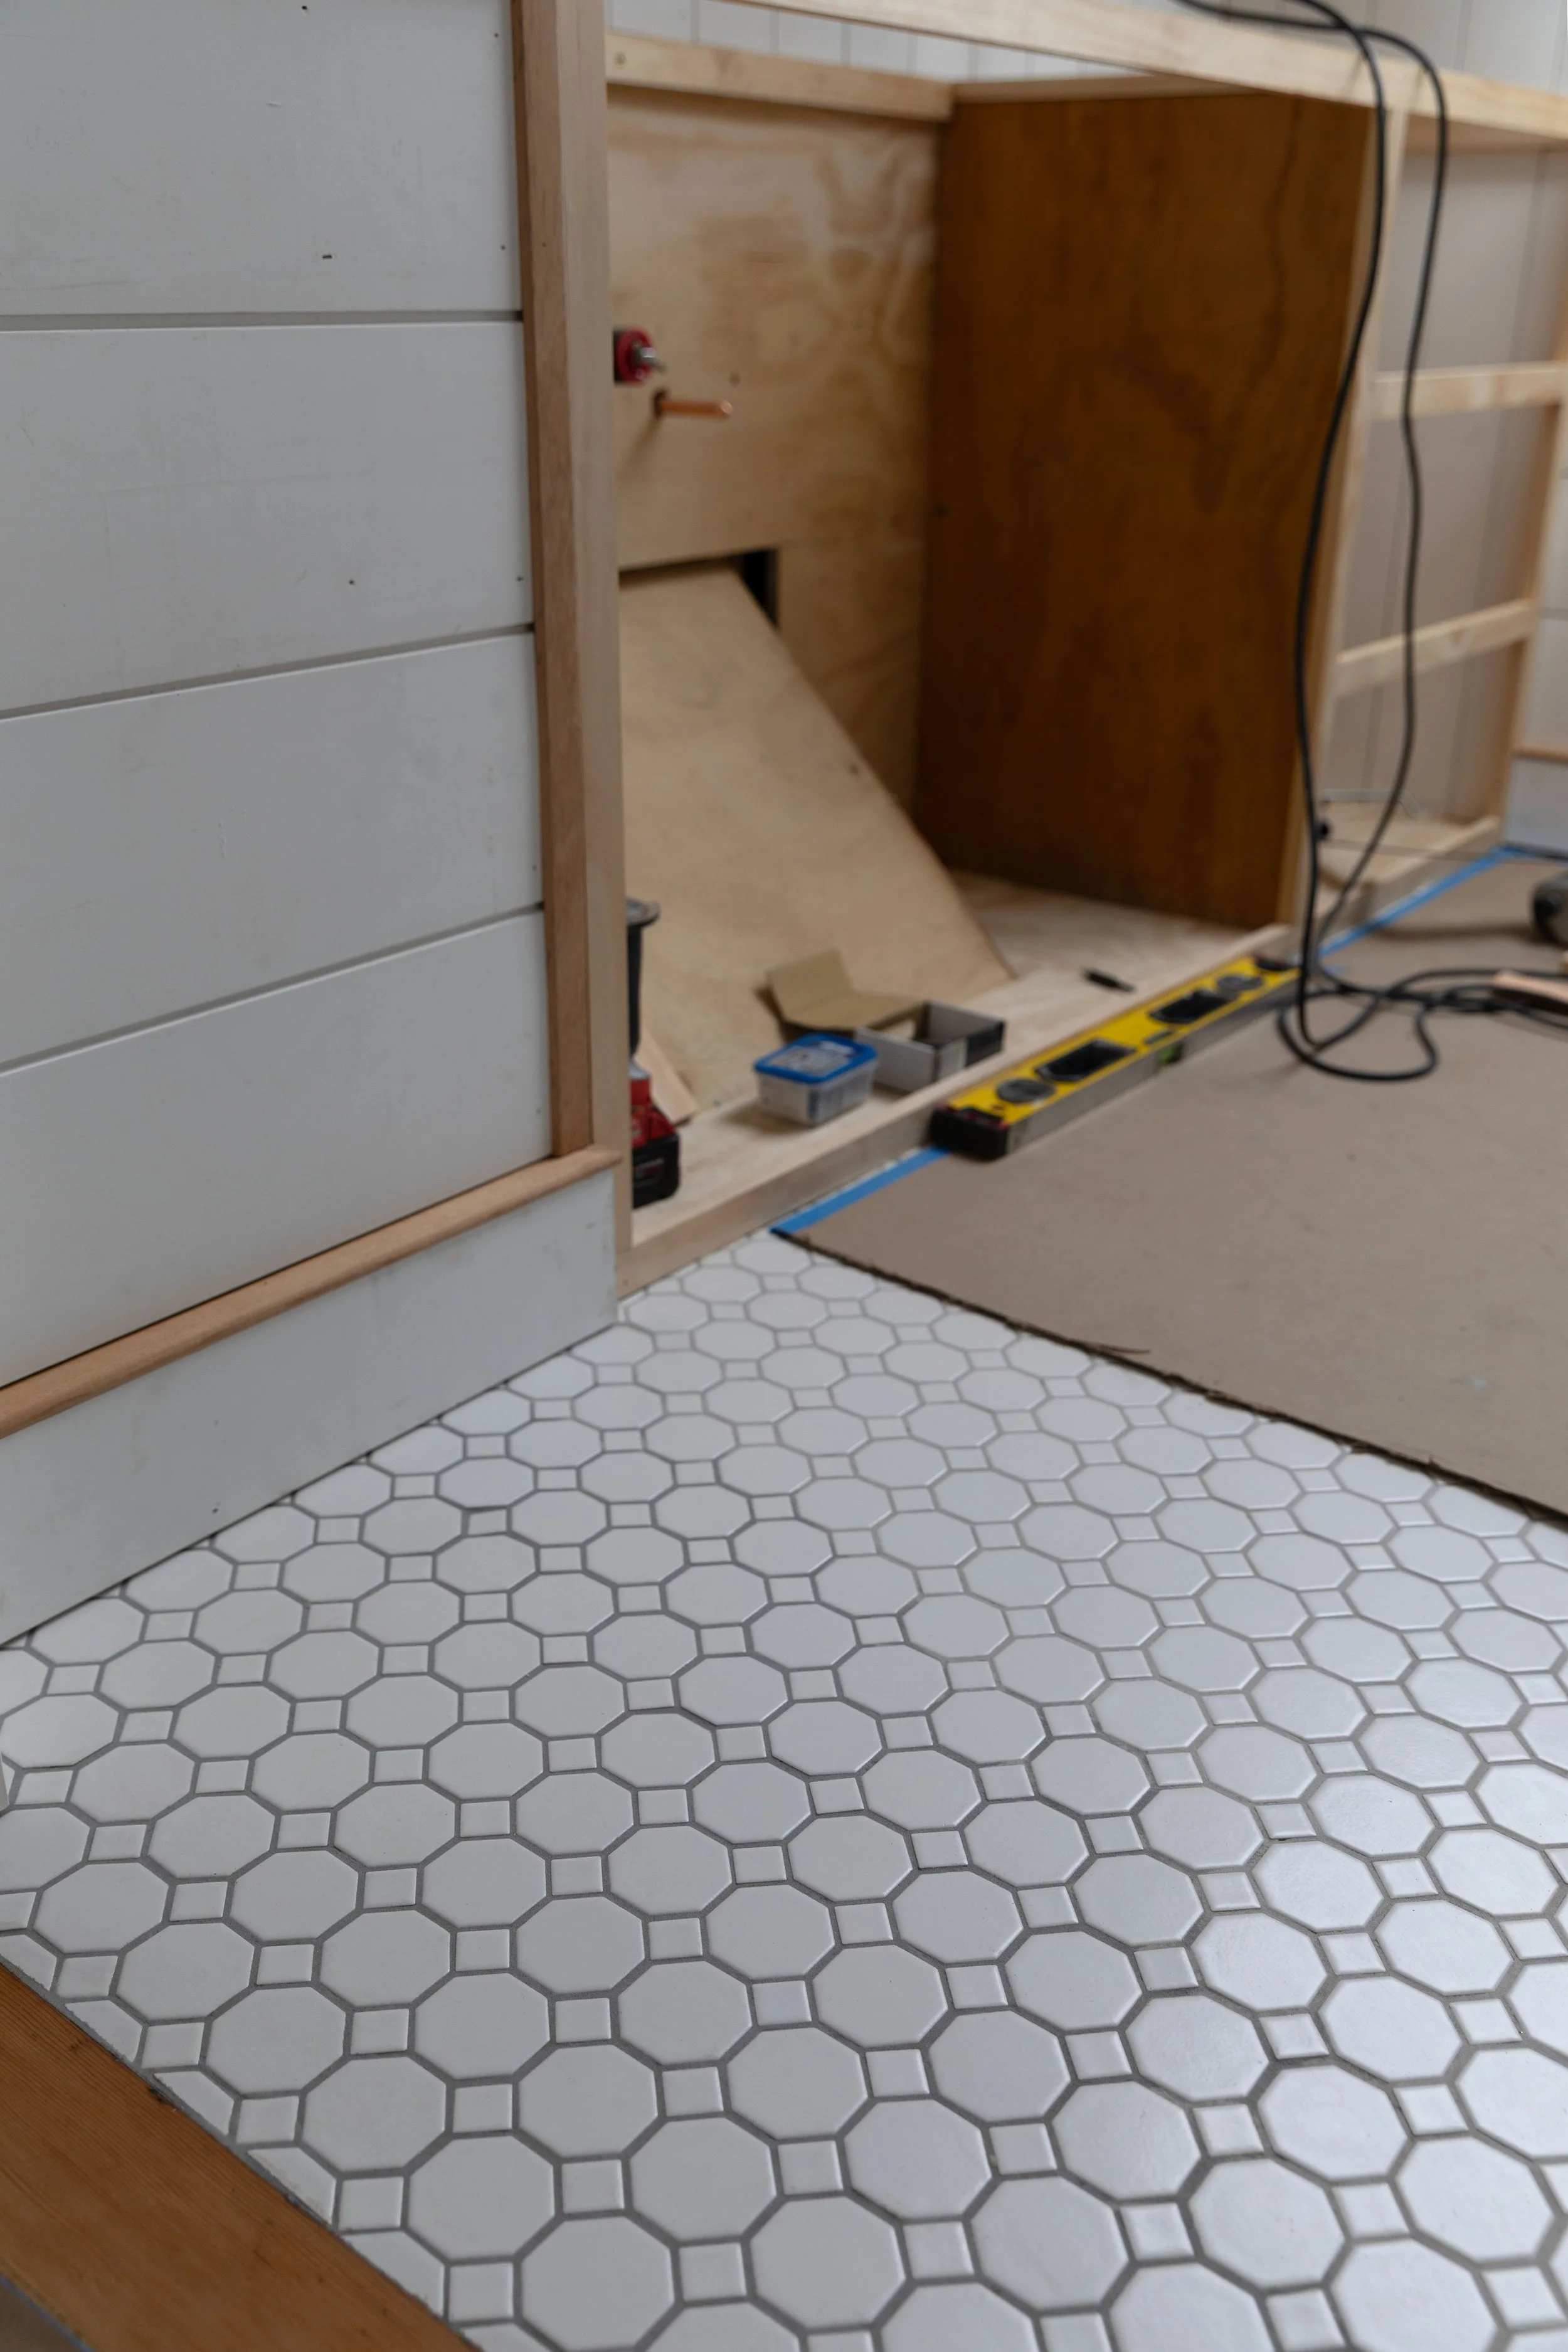
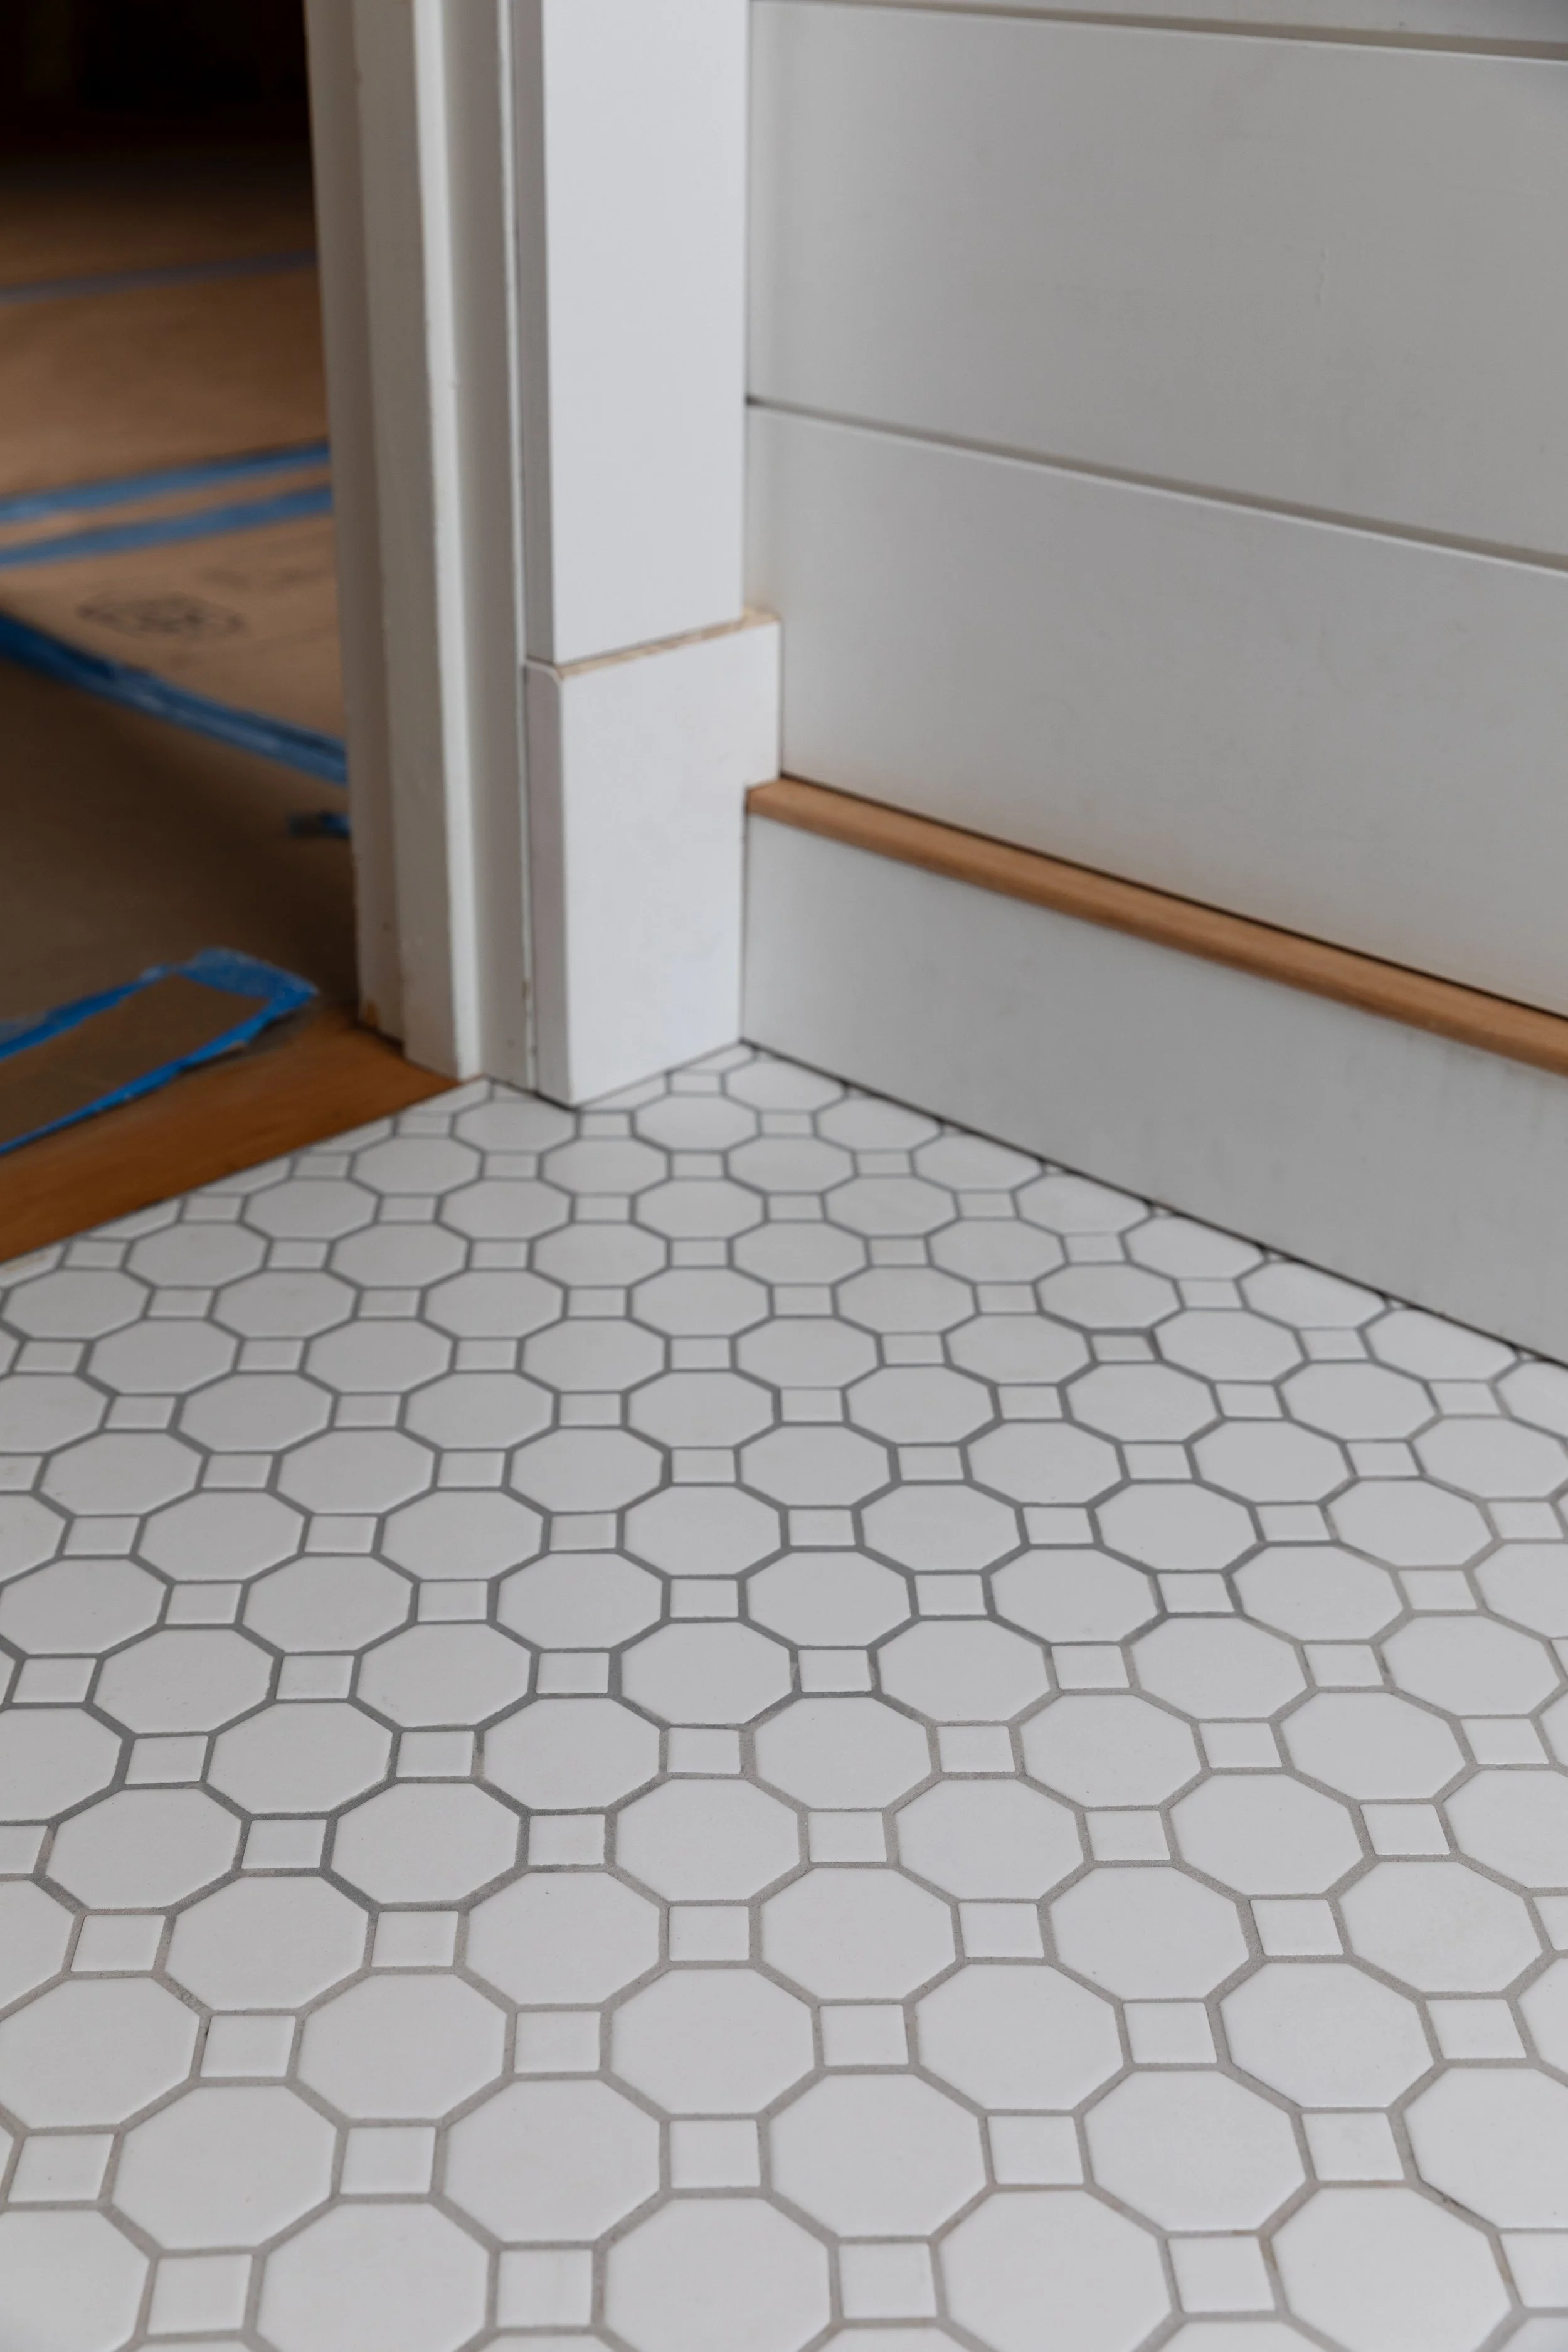

Yeah, it’s not good.
We knew it wasn’t user error, at least not in mixing the product - Garrett was very careful to weigh and measure and follow the instructions to the letter (he’s a scientist by trade so this is where he shines!). We compared the leftover Part C color powder from both units (the directions allow for retaining 10% of the powder to create a wetter mixture that’s easier to spread, so we had some left from each bag), and even dry, the color difference was visible to the naked eye.
Why This Happened (And Why It’s So Frustrating)
Epoxy grout is mixed in multiple parts, and color consistency depends on perfect ratios and full unit mixing. But, even if you do all that right, there can still be color variation between the product (in the part C powder as shown above). Ugh!
In hindsight, there are ways to assure uniform color and we’ll definitely be doing this in the future…
How to Avoid Epoxy Grout Color Variation (what we’ll do next time!)
If you’re considering epoxy grout for a tile project, here’s what we learned from this mistake and how we’ll adjust our process going forward. Follow these steps to avoid repeating our mistake!
1. Buy All Grout at Once - and Verify Color Consistency
To increase your odds of color consistency, purchase all grout units at the same time and from the same supplier whenever possible. This isn’t foolproof, but it’s the best place to start.
When buying multiple units, look for matching batch numbers
But don’t stop there: open the boxes and visually compare the Part C powder between units before installing. If the powder looks noticeably different, take them back to the supplier and exchange
2. Buy More Than You Think You Need
Epoxy grout coverage is tight, and running short is where problems usually start.
Purchase enough grout to cover the entire space plus a buffer (just like tile)
The cost of an extra unit is far less than the cost of a permanent mistake
3. Mix All Units Together From the Start (Best Case Scenario)
If your project requires more than one unit, don’t install one batch at a time - that’s how visible transitions happen. Instead…
Mix multiple units together in a large bucket
This eliminates transitions and ensures color consistency across the entire floor
This is the most foolproof method
That said, epoxy grout has a working time, and very large batches aren’t always practical. If that’s the case…
4. OR Dry-Blend Part C Powder Before Mixing (Most Practical for Larger Jobs)
Even “batch-matched” epoxy grout can vary slightly in pigment.
Before adding liquids, dry-mix all Part C powders together in a clean container
Then divide the blended powder back into equal portions
Mix and install one batch at a time
This step alone can dramatically reduce color variation and is our preferred method for multi-unit installs.
5. Follow Mixing Ratios Exactly
Epoxy grout is chemistry, not art.
Measure carefully (we use a kitchen scale)
Don’t eyeball
If adjusting consistency (for example, holding back ~10% of Part C), follow the manufacturer’s instructions precisely
Be consistent across every batch
6. Start in the Most Visible Area (If All Else Fails)
If you do end up needing a second batch mid-install and didn’t plan ahead with steps 3 or 4, there’s still hope…
Start grouting in the most visible area first and work toward out-of-view areas like closets, behind doors, or less noticeable corners
Place any transition where it will be least seen and avoid them in high-traffic or highly visible areas (like right in front of the door!)
Can Epoxy Grout Color Variation Be Fixed?
Short answer: not easily.
Once epoxy grout cures, your options are limited:
You cannot recolor it
You cannot spot-fix it
Removal requires grinding out grout (which risks damaging tile)
Or tear up the tile and start over
In our case, fixing it would mean tearing out the entire floor and starting over, which was not happening.
So instead, we’re choosing to live with it. The transition is right by the door, so maybe it’ll look like a trick of the eye - more like lighting than grout color variation. And if not, we can always throw a rug on it!
Update: there’s also a product called GroutRenew that can color grout after installation. It appears to be “compatible with most epoxy grout”. This wouldn’t be a spot fix but rather a whole floor re-color, but it could be an option!
Is Epoxy Grout Still Worth It?
For us? Yes. We’ll still pick it over traditional grout every single time. The durability and low maintenance still outweigh the risks, as long as you follow the steps above!
And honestly? This floor is still beautiful. The variation is noticeable because we know it’s there. But we’re hoping that most people will never spot it in real life - they’ll be too enamored with the wall paneling and skylight and vanity and all the pretty details to look down at their feet!
Old houses are full of imperfections. And sometimes the best renovation lesson is learning when to let one be ;)
Wishing you epoxy grout color consistency in all your future projects!
xx
This post contains affiliate links. We may earn a small commission if you purchase through our links, at no cost to you. Thank you for supporting The Grit & Polish!