The shower fixtures are in...
THE FARMHOUSE
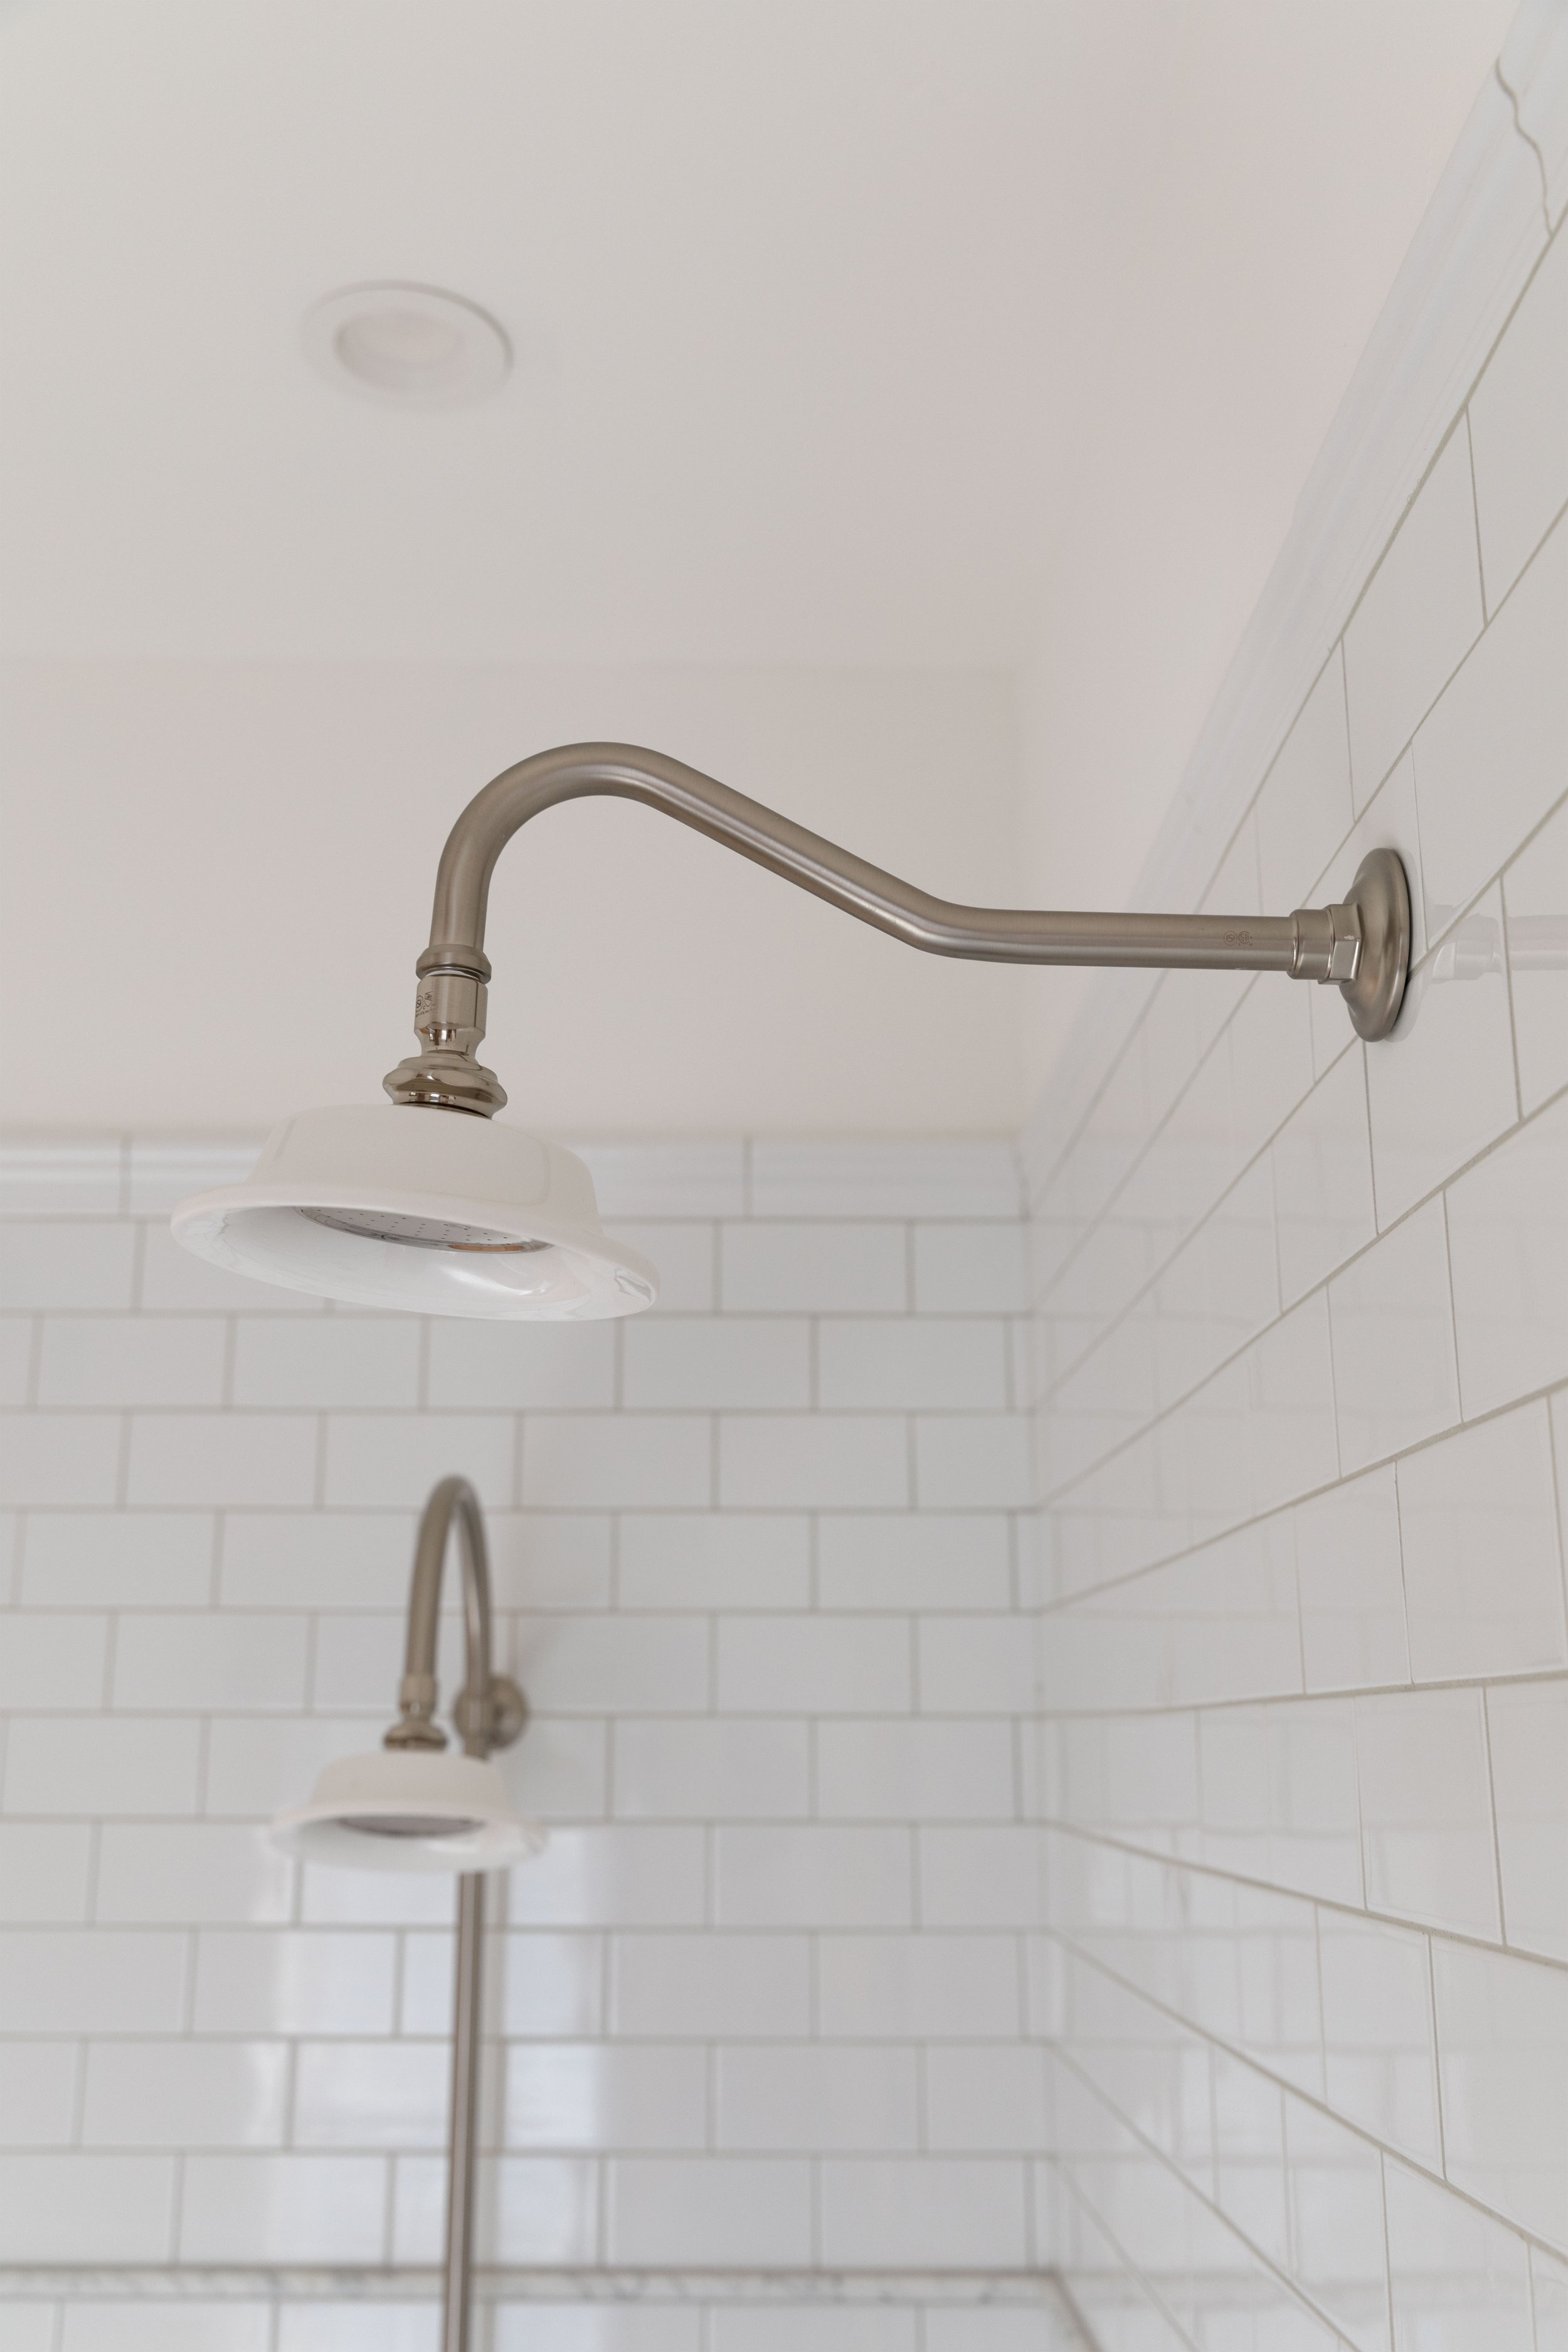
Garrett installed our shower fixtures the other day and I wanted to share and answer a few shower-related questions we’ve gotten lately. Like…”why didn’t we take the shower tile to the ceiling?” Let’s get into it…

tile, epoxy, wainscot / shower fixtures (below)
Our shower is 3’x5’ and the ceiling is 9.5’ tall. We finished the tilework last month and cannot wait to take a shower in here! But we’ll wait until our wood board and batten is finished and a shower glass surround is installed (we’re still debating whether to hire it out or DIY, but currently thinking the former). But back to the plumbing fixtures…
Metal Finish
We opted to use brushed nickel fixtures. I personally prefer the warmth of nickel to chrome and brushed finishes seem better at hiding water marks and what not. We definitely considered using brass fixtures and they would have looked lovely, but good brass finish is generally more expensive, harder to find, and difficult to match. So all of the plumbing fixtures in here - shower, bathtub, faucet - will be brushed nickel. We’ll bring plenty of brass into the space through the light fixtures, drawer hardware, and hooks.


“Why didn’t you take the shower tile to the ceiling?”
Back when I worked on commercial remodels, I was told it’s easier/cheaper to take shower tile to the ceiling rather than terminate it mid-wall. But for us, it came down to a design decision. Our ceilings are 9.5’ in here and taking the tiles all the way up, seemed too modern for this space. That’s definitely a personal opinion and I wouldn’t always make that call, but for this house with this traditional tile work, terminating it with a decorative trim felt right to me. I think once the shower glass is up, especially, the height of the tile will feel purposeful. psst: you can see all the tiles we used here.

Fixtures
Here’s a breakdown of our shower fixtures…

1 Sunflower shower head, brushed nickel
2 Exposed shower system with hand shower, brushed nickel
3 12” Victorian shower arm, brushed nickel
4 In-wall shower volume control trim, bushed nickel
5 Volume control rough-in valve, 1/2”
6 Thermostatic shower valve, brushed nickel
7 Pressure balance rough-in valve, 1/2”
How we made 2 different shower fixtures match
Just wanted to share an easy tip on how to make 2 different shower fixtures look like they match… Swap out the shower heads! The exposed shower we have (#2 above) came with its own shower head, but instead of using that, we bought two of the porcelain heads you see here.
One last decision…
We’ve never had a handshower/sprayer before and I’m so excited! Planning to use it to bathe Silvi and whatever else we find ourselves needing to spray down. But I’m feeling a little indecisive on where to hang it. Do we drill into our tiles and attach it next to the shower (the set came with that mount) or do we look for a hook to hang it off of the shower riser? Does it matter? Is there a “best spot” for a shower sprayer?


That’s all for today!