Paint, Floors, and a Mirror in the Primary Closet
THE FARMHOUSE
We’ve been making progress in the primary closet and it’s time I shared it here! Honestly, the closet has been a bit of an afterthought. The primary bathroom and nook have taken all of our attention over the last 9 months or so, and the closest is just now coming together as we go. Let me show you what we’ve gotten done so far…


psst: catch up on tile and epoxy, wainscot, our DIY marble countertop, a roundup of extension makeup mirrors, are 2 sinks better than 1?, and demo.
Those pictures are just peeks…I’ll show you more! But first, let’s talk about the floor plan changes to this space. Originally our primary suite had a big closet, inefficient bathroom with angled fixtures and no doors, and a hallway along the side of the house. Like so…

During this renovation, we wanted to move the hallway over (to make room for a clawfoot tub), thereby shrinking the closet. Here’s the new floor plan…

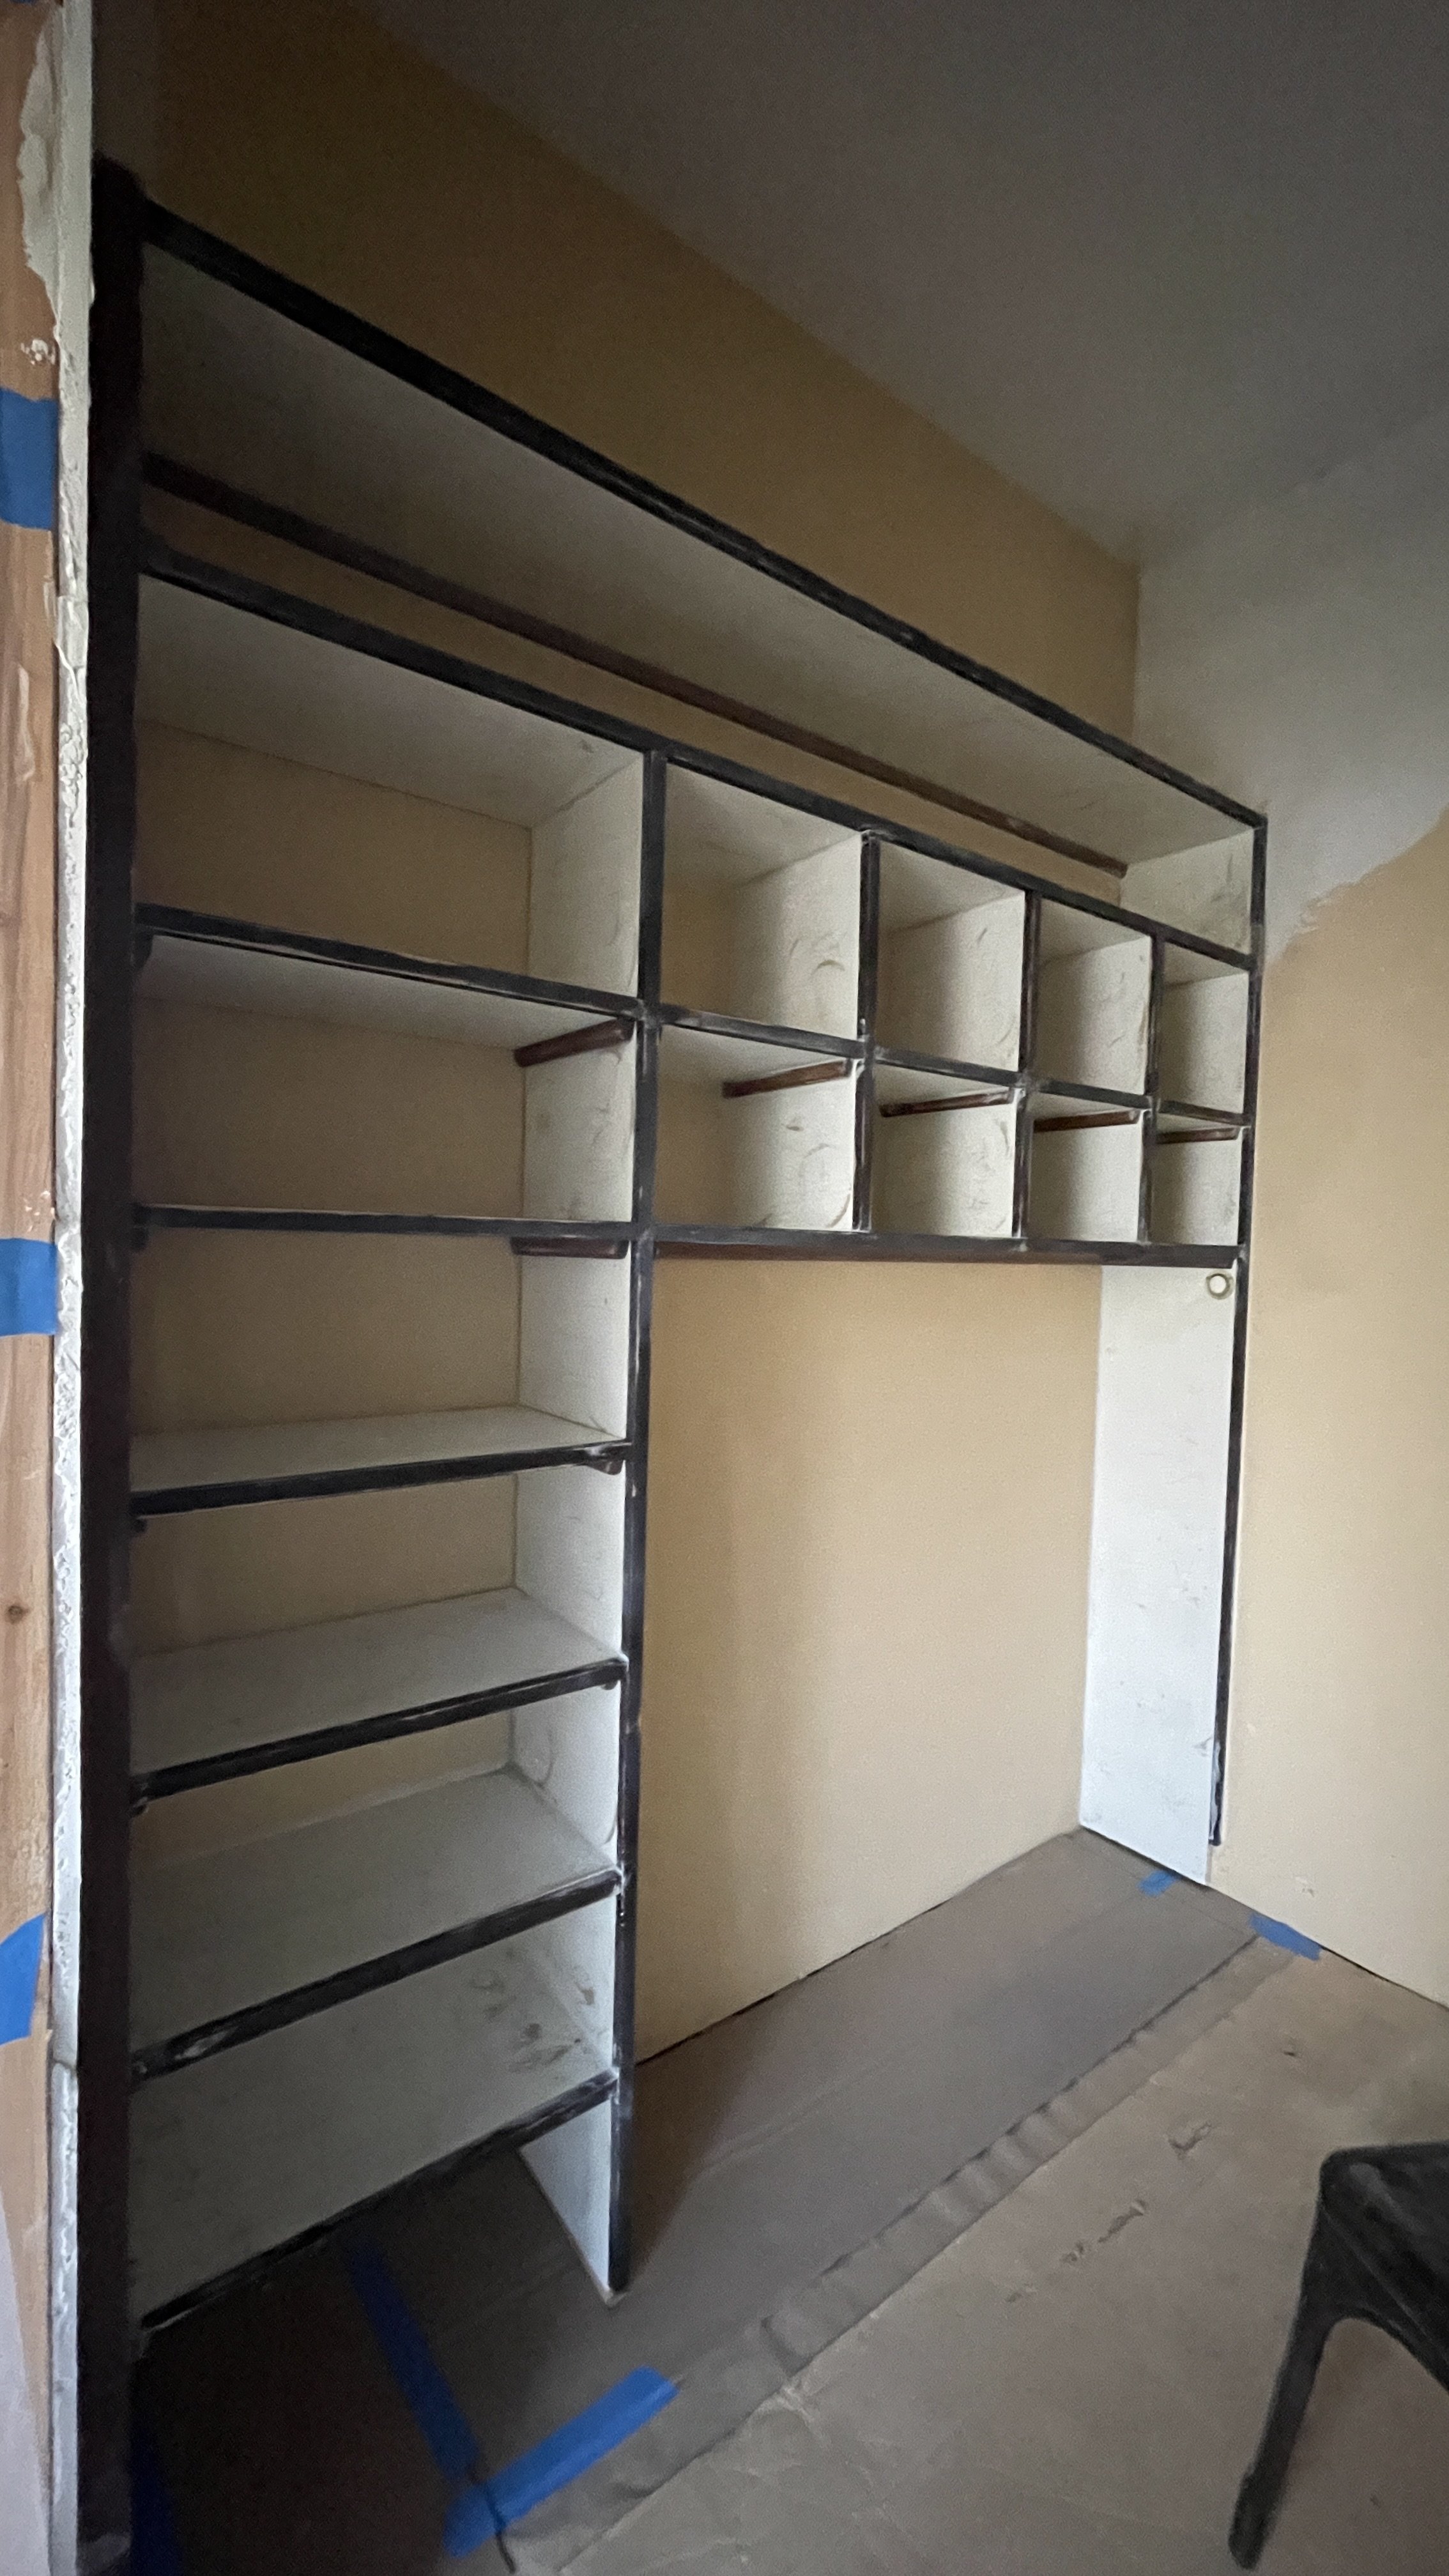
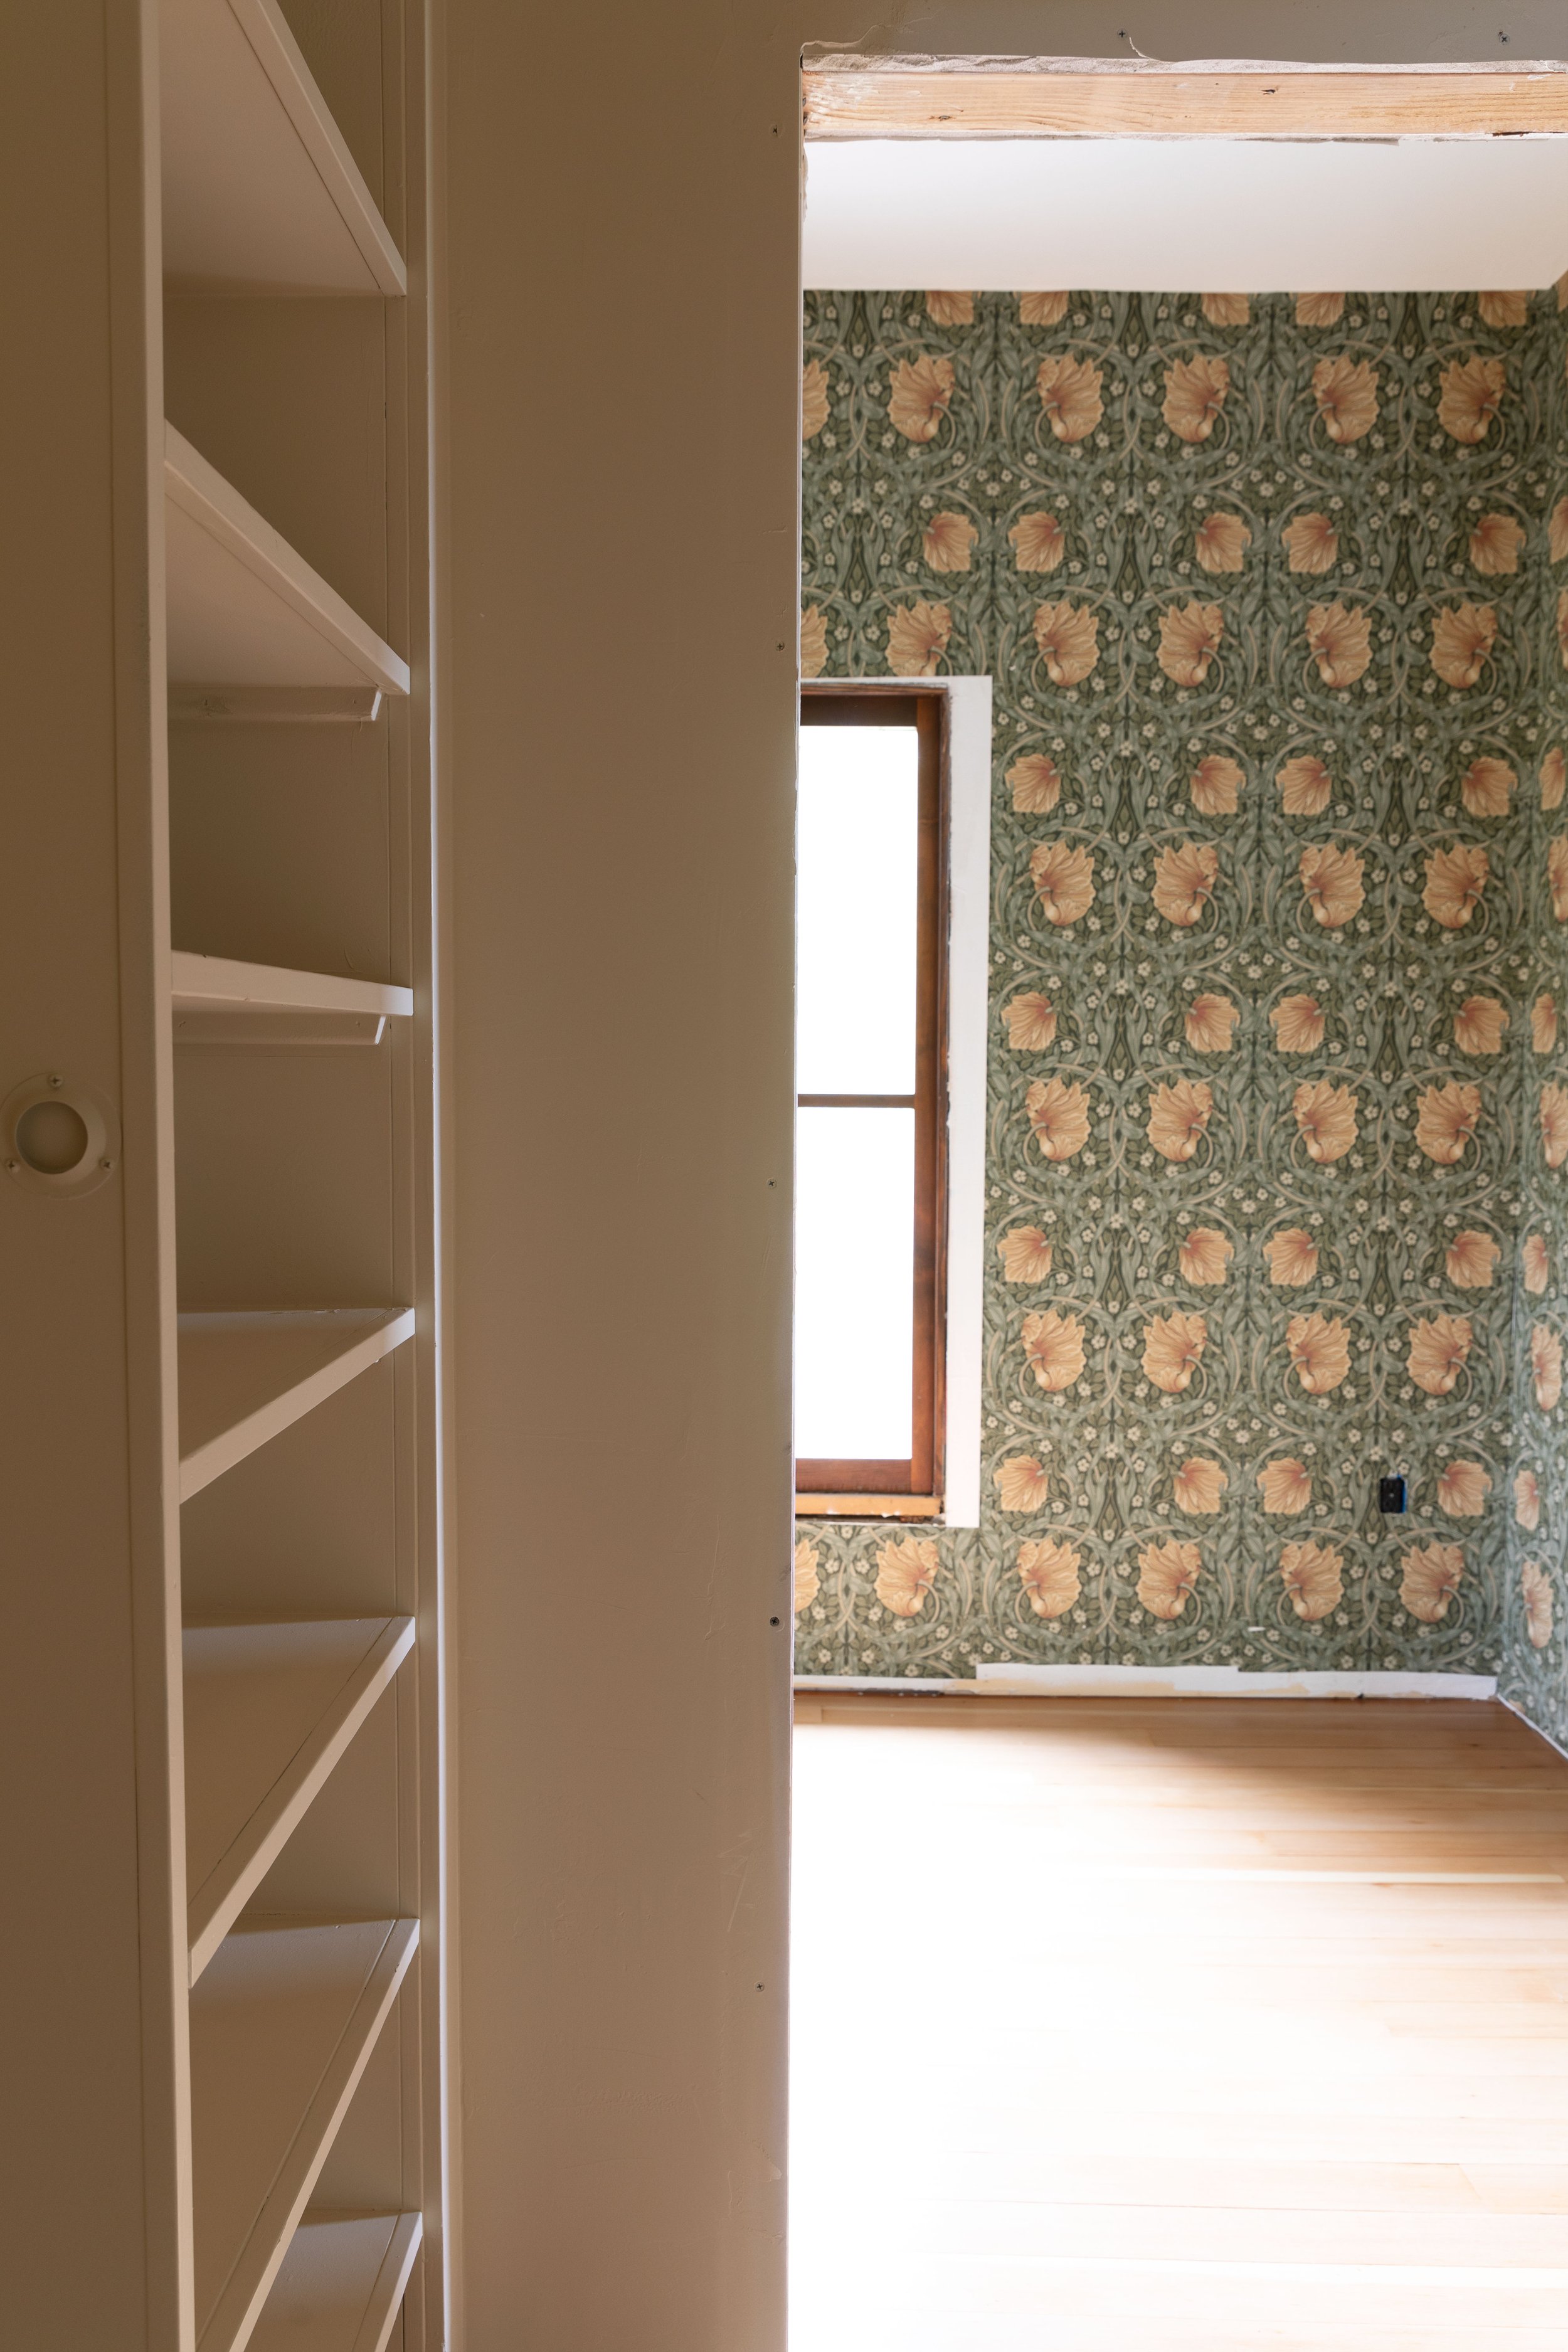
We were able to leave most of the existing built-ins in the closet but removed a section for the new hallway. I didn’t get before photos, but these were taken after the closet was shrunk down and prepped for primer.


Ok, let’s talk about the paint.
Paint!
We’ve never liked the shelves in here particularly, but we decided to dress them up a bit with paint. We thought painting them the same color as the wall would give them a higher-end look (spoiler: it totally did!).
Garrett started by sanding and caulking. A light scuff with the orbital sander helps the primer adhere to the melamine and the stained wood trim. And filling the seams and nail holes gives a seamless, built-in feeling. We opted to spray since the closet is a contained space and it was all one color. Spraying shelving like this goes way faster than brushing!!
While I was tempted to use white paint like in the bathroom (BM Simply White), the closet doesn’t have any natural light so something a little warmer and cozier seemed better.
Here are the three products we used…
Peel Bond Primer for melamine shelves
Superpaint, primer + paint, F&B Off-White (matched by Sherwin)

While I was tempted to use white like in the bathroom (BM Simply White), the closet doesn’t have any natural light so something a little warmer and cozier seemed better. I opted for this F&B color…


I’ve wavered back and forth on this color, and Garrett has too. At first he thought it was too “beige box” and I felt like it was fine, but then I thought it read too yellow in the afternoon sun and he thought it was fine. We both settled on okay…maybe even good…and pulled up the masking.


Can we talk about that mirror for a sec? I saw it at a salvage shop in Seattle back in 2018. The sales guy told me that it came out of a mansion on Capital Hill in Seattle. It’s made of oak and the dark stain seems to fit in our house perfectly. I paid $295 for it, which isn’t exactly cheap, but not bad for a large-scale mirror and intricate woodwork. The mirror is about 6’ tall and we’re planning to mount it on a 12”-ish plinth to give it a little more height and a built-in feel. Here are a few details…


Isn’t it pretty?! Okay, let’s move on to the floors.
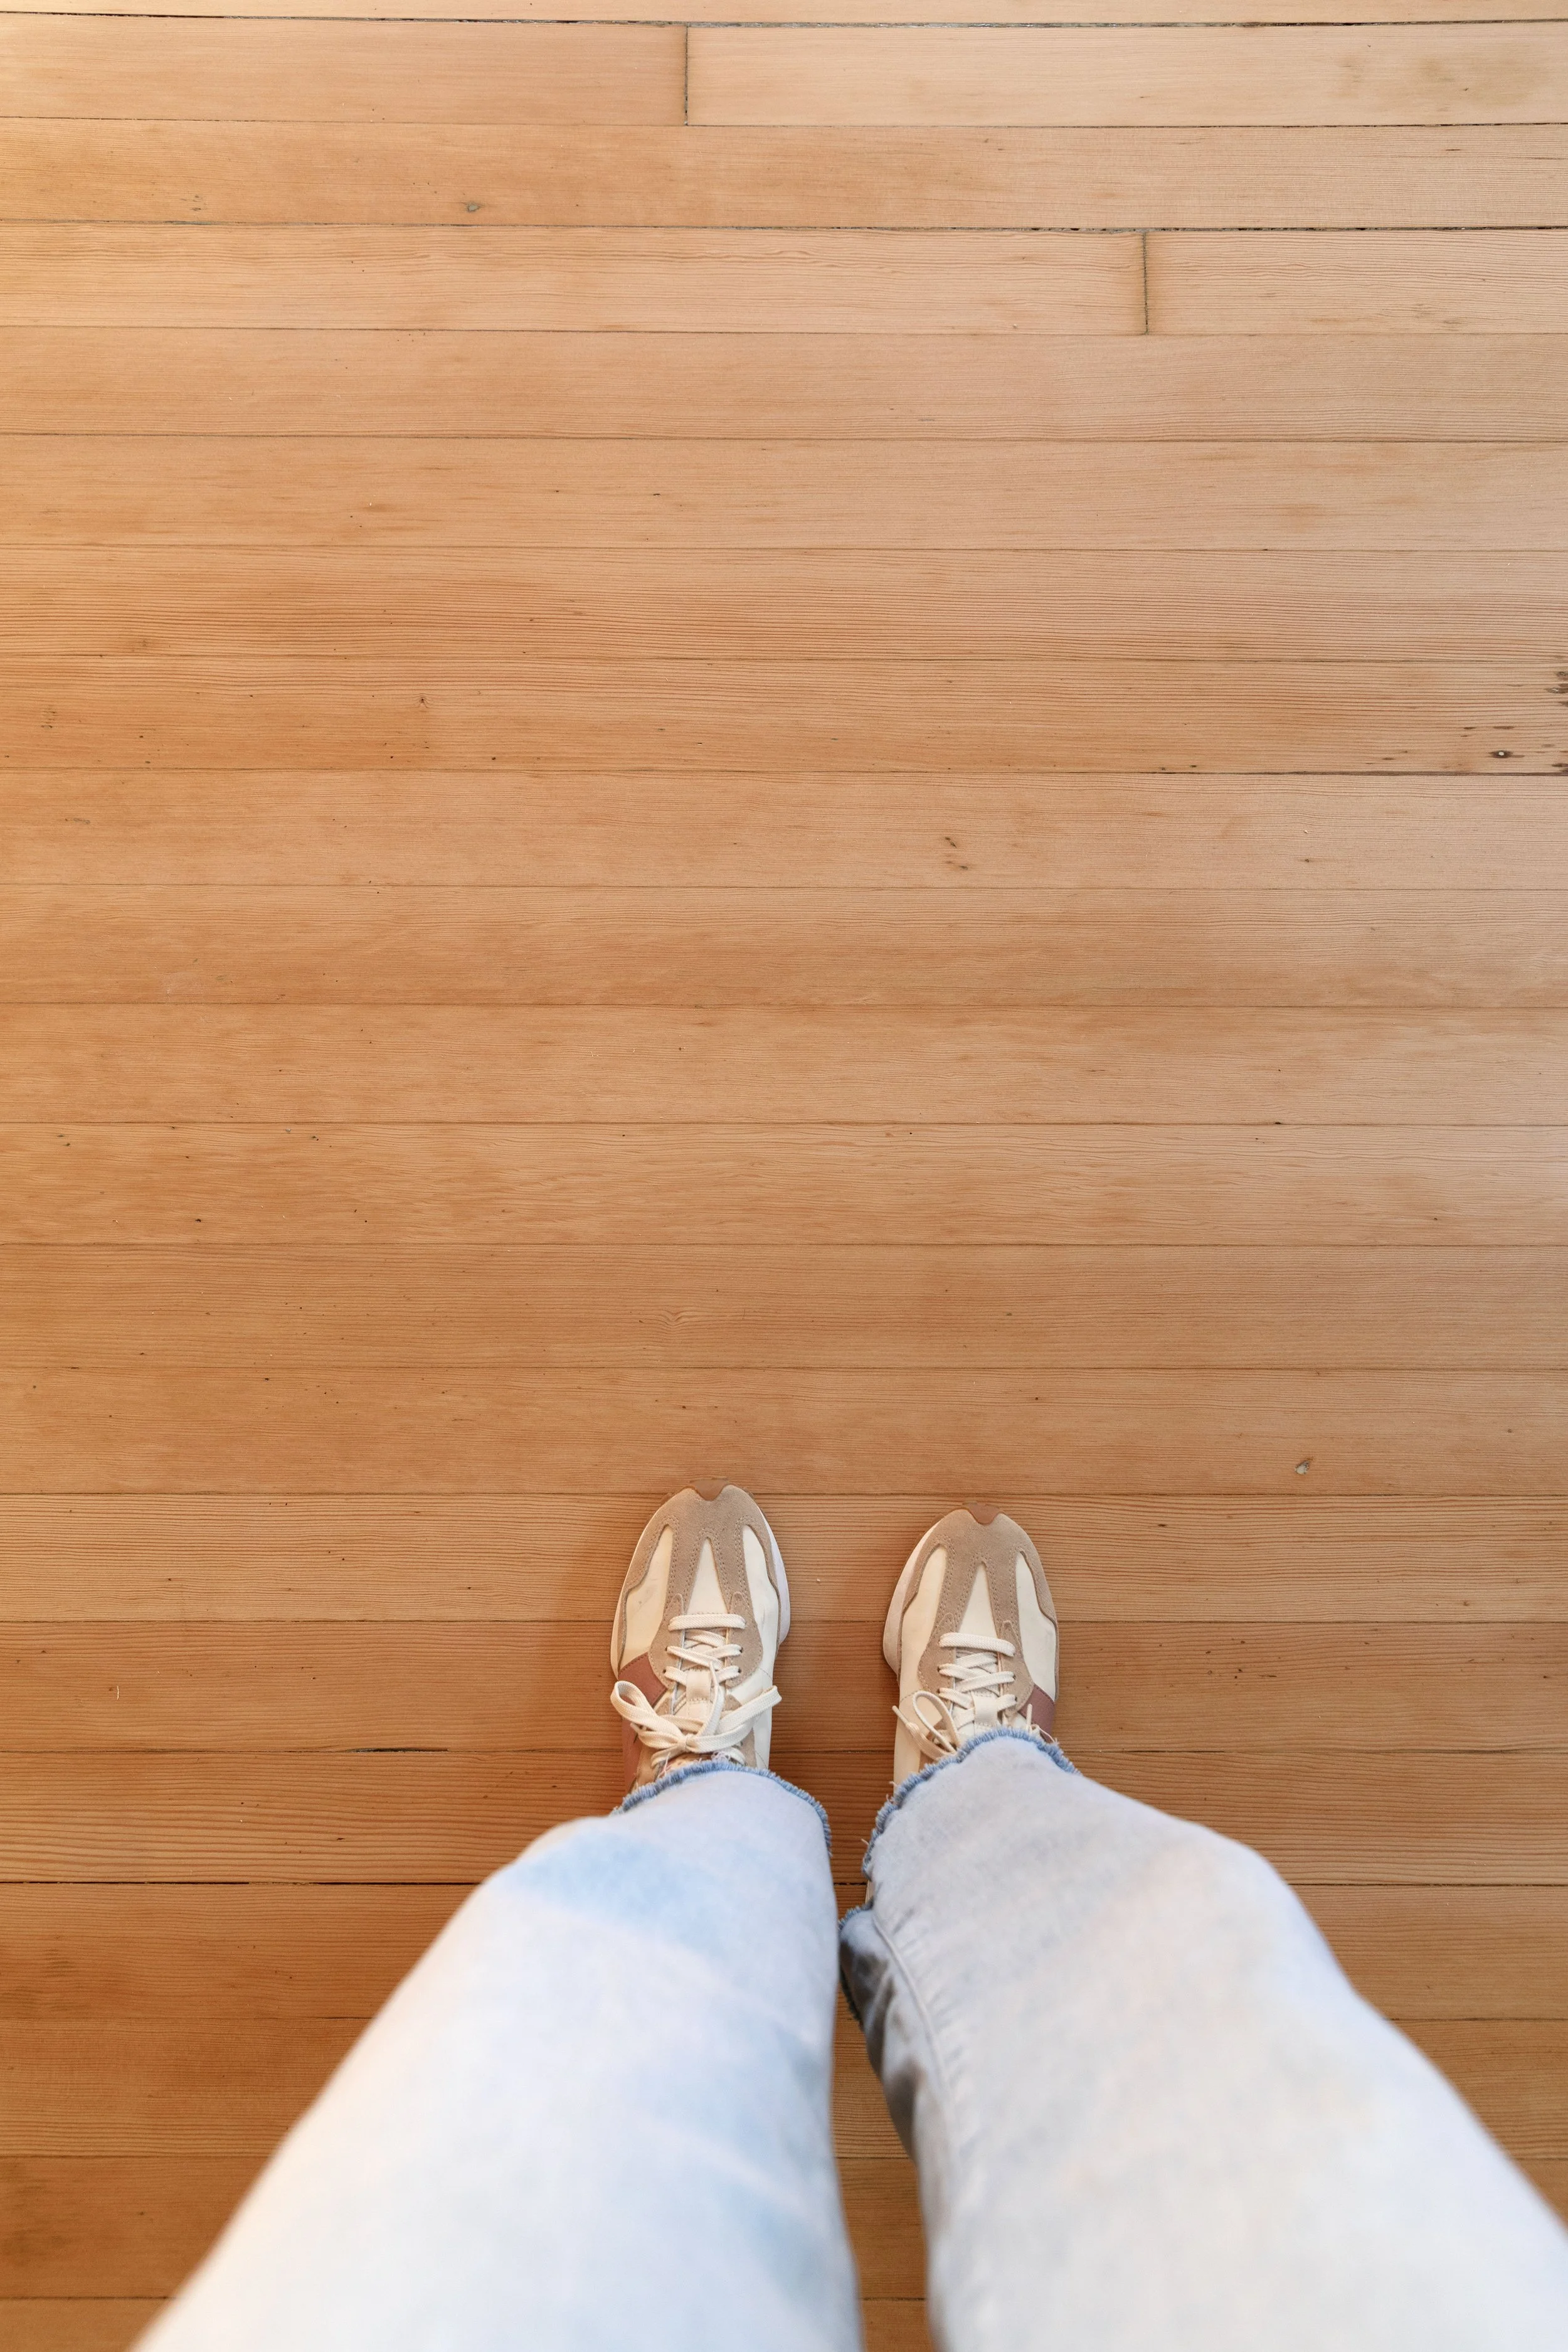
Floors
We decided to put fir floors in the closet and nook, which are basically continuous throughout the house. We were able to use salvaged floors in the nook (the ones we pulled up from the bathroom) and found new fir flooring at a salvage shop for the closet. We refinished it using this general process to match what we have in the adjacent bedroom.


It’s interesting to see the 110-year-old fir floors laid next to the new. Can you tell the difference?

The new floors are lighter and have a wider grain. Dare I say, they just don’t have the same beauty of the old? They’re still great, but just don’t have the same magic as the old IMO. They should warm up and darken as they age and I think they’ll look pretty continuous.


It feels good to see progress! Next up, trim!