Finishing the Bathroom Millwork
THE FARMHOUSE
We finally did it! We stained our bathroom wainscot dark! We usually aren't shy about taking on hard DIY’s but this one had us super nervous since we didn’t want to mess up the beautifully crafted woodwork! Full disclosure, we did try to hire a finisher but were never able to connect so we stained, we urethaned, and thankfully we’re super happy with how it came out. Take a look…

wall color, wallpaper, wainscot
I took that photo after 3 coats of stain. And I think the dark, rich color fits our house perfectly, which was the goal. We want someone to walk in here and think the wainscot is original to our 1912 house. To achieve that we matched the dark stain elsewhere in the house and also used flat-sawn fir and custom plywood. More on the wainscot install and materials here.
Today I wanted to share the products we used for finishing the woodwork and show you a peek at how it turned out.

Stain
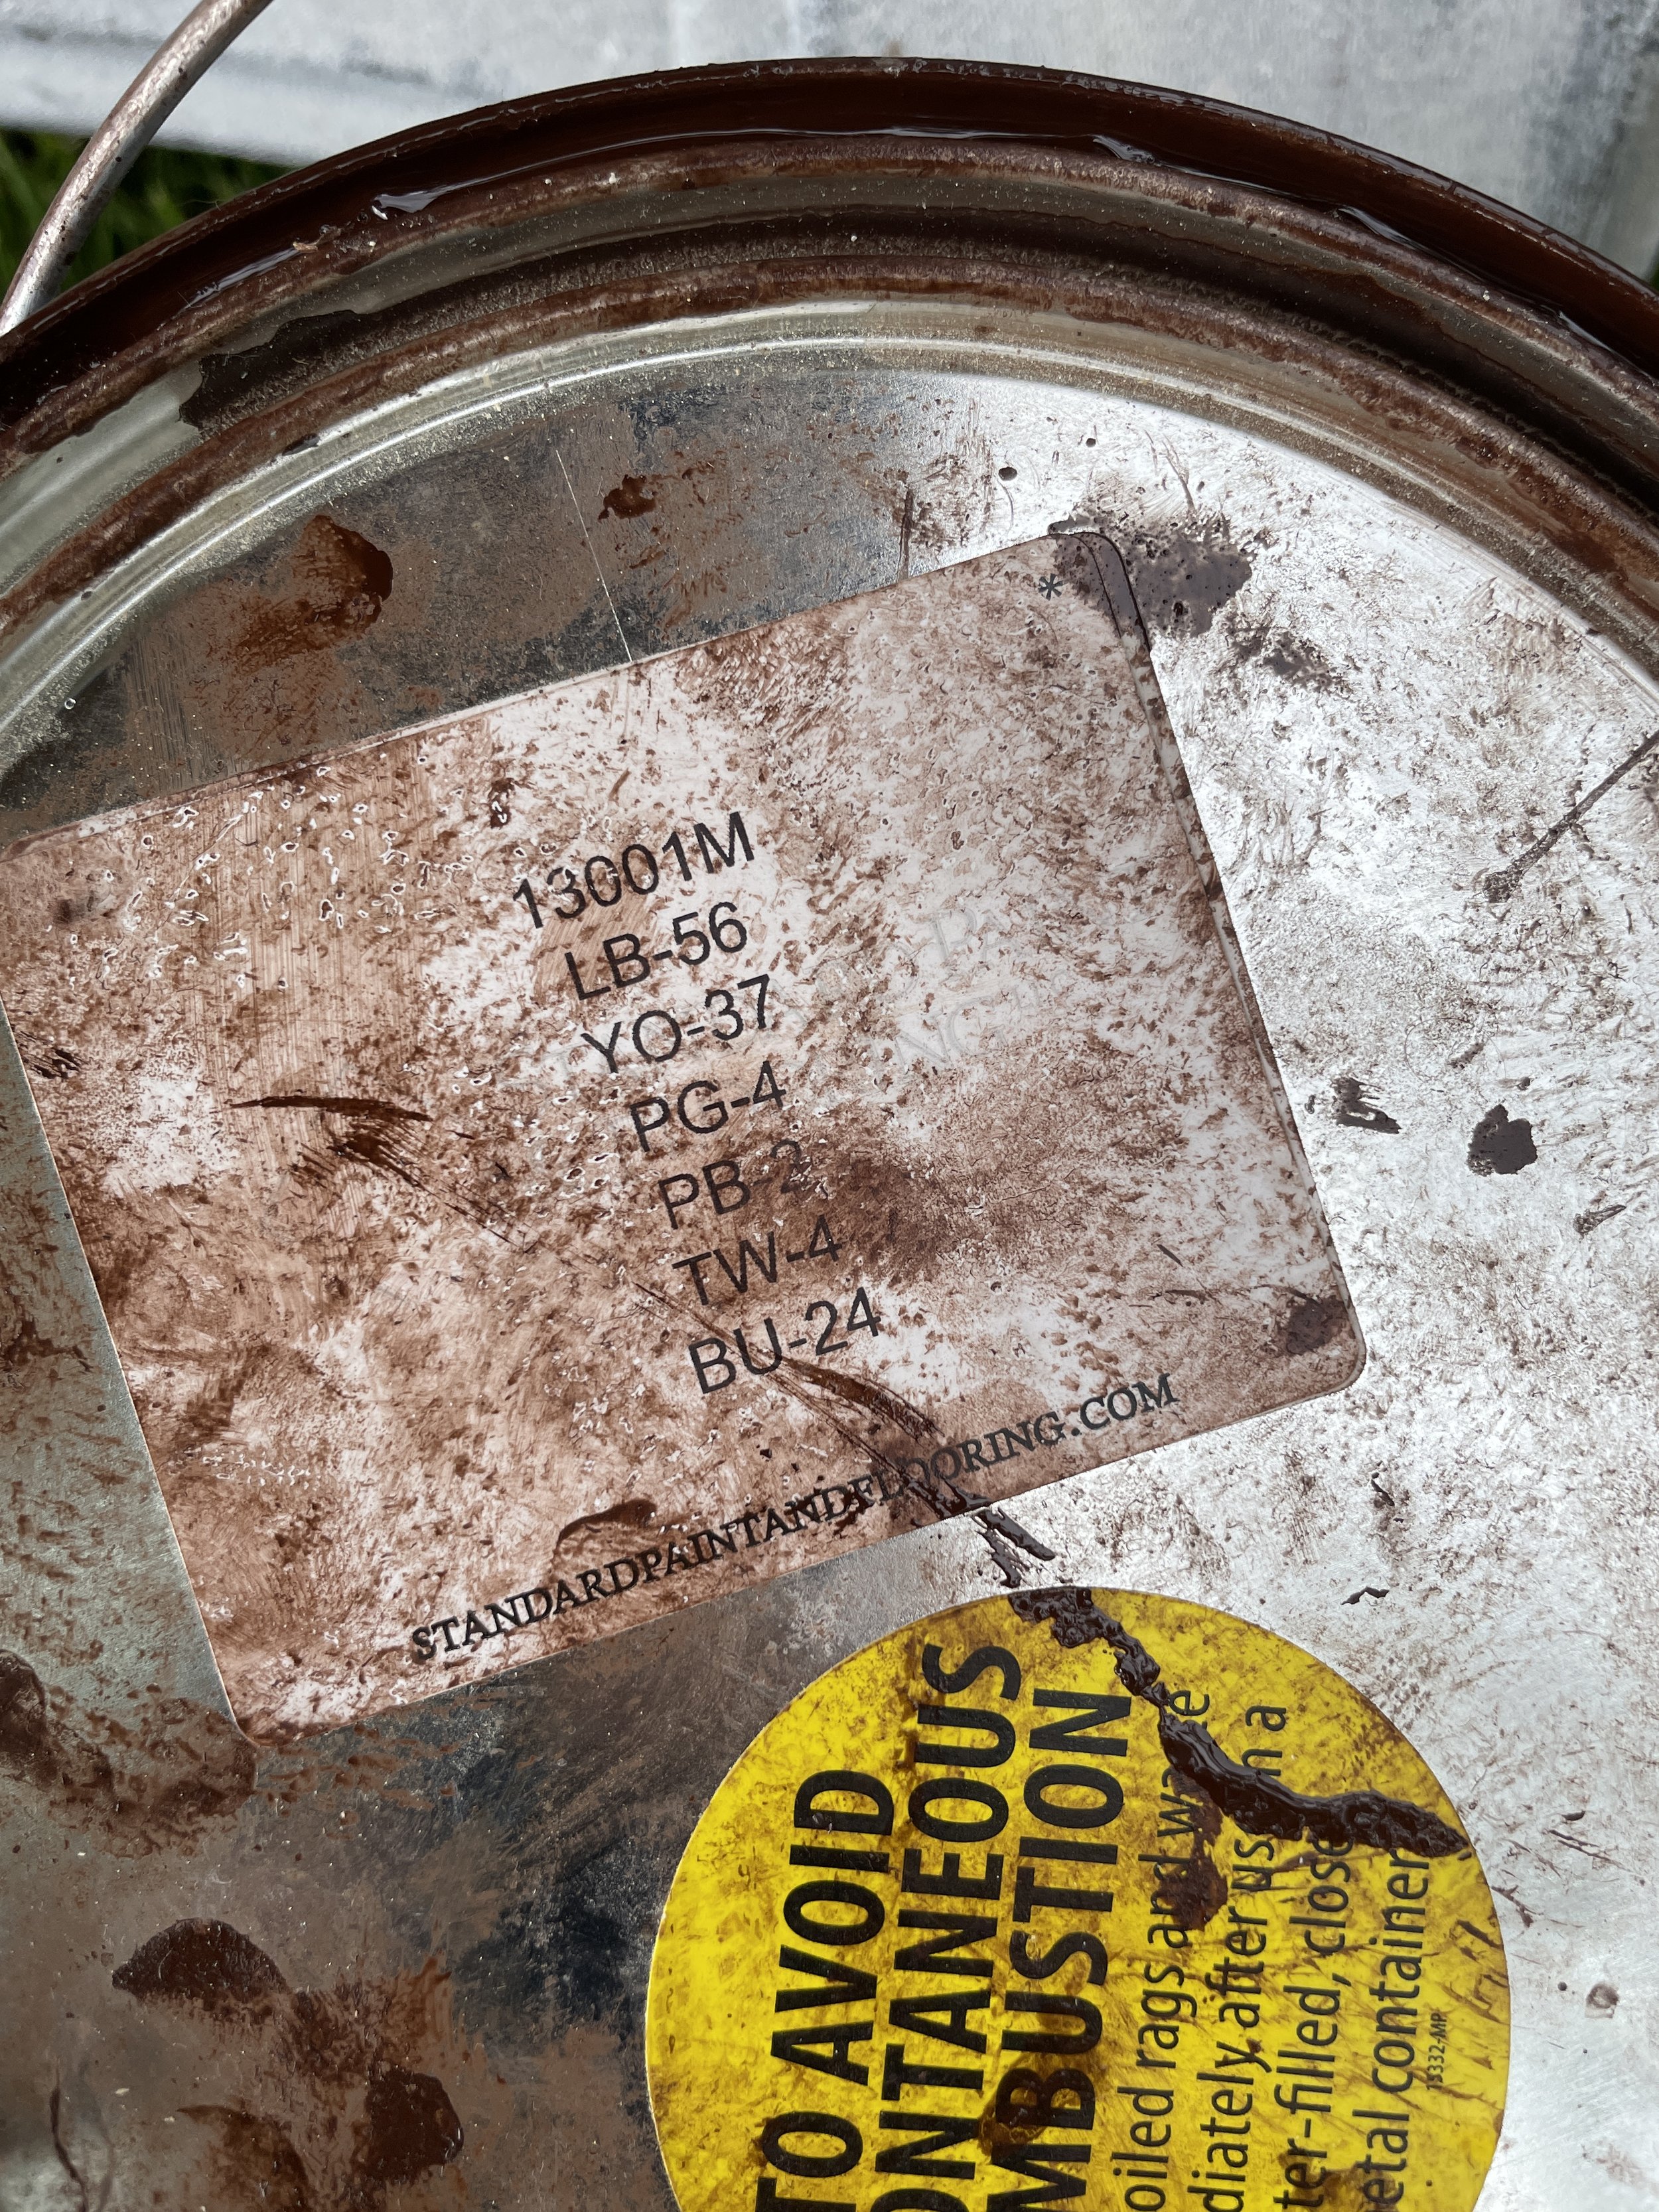
For the stain we used an Old Masters Wiping Stain in a custom color. Back in December, Aaron, who built the vanity and wainscot, worked on matching the stain color from elsewhere in our house for the vanity (he doesn’t finish wood on site, so only stained the vanity) and he opted for this brand and product so it has to be good ;) Stain matching is a tricky business (!!!) and Aaron spent a fair bit of time making samples and trying to get it jussstttt right. In the pic below, you can see an old piece of millwork from our house (top piece of wood) and all the samples we tried to match to it.


Ultimately this is the custom color he used:
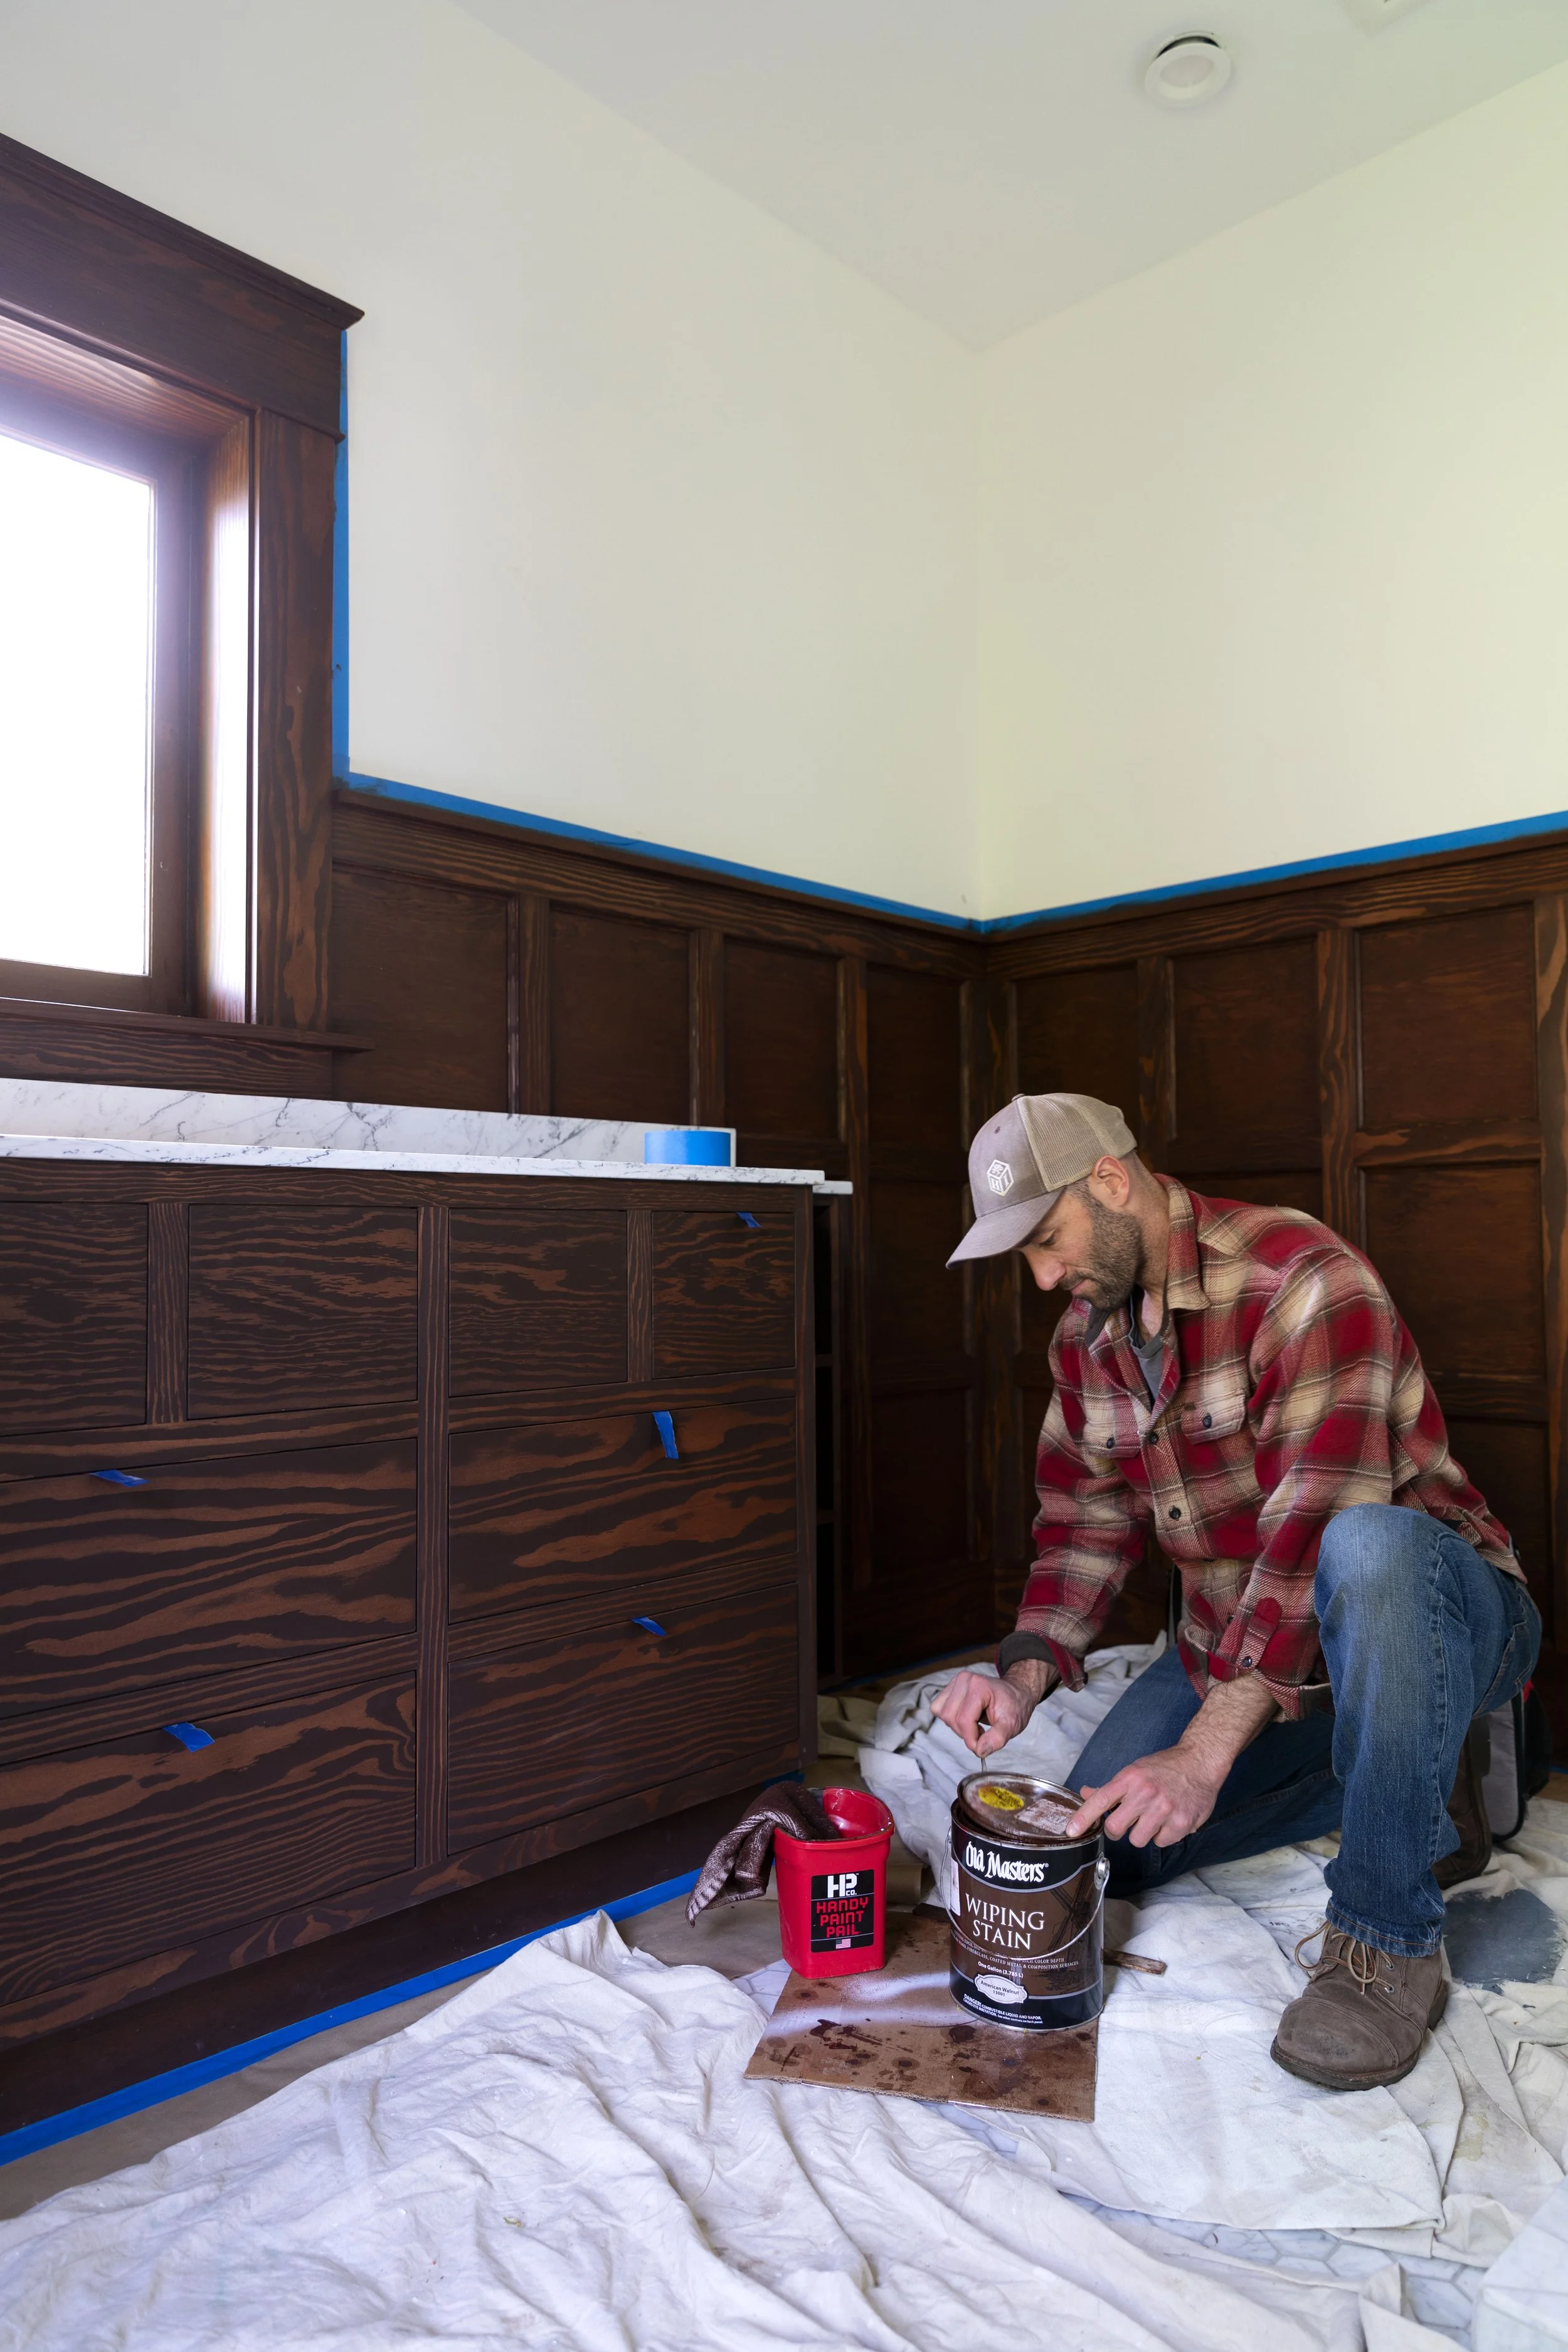
A few notes about the stain application. We used old cotton cloths and this worked quite well. We applied it liberally and then came back through with a clean cloth to wipe off any stain remaining on the surface. Wiping lightly left just enough stain on the surface to get a dark appearance without leaving so much that it had trouble drying. Fortunately the stain was really forgiving and easy to work with. I would definitely use this product in the future since it gave a relatively uniform color and there was no need to worry about keeping a wet-edge or about drops or splashes.
Top Coat
Since this is a bathroom, Garrett opted to use Spar Urathane in semi-gloss for the top coat. It should hold up to the moisture really well. We applied 3 coats of this using foam brushes and applicator pads, making sure to get thin coats. According to Garrett, if you apply the coats within 12 hours, you get the best results and don’t need to sand in between coats. But if it’s completely cured, then you need to sand to make sure your coats bond.


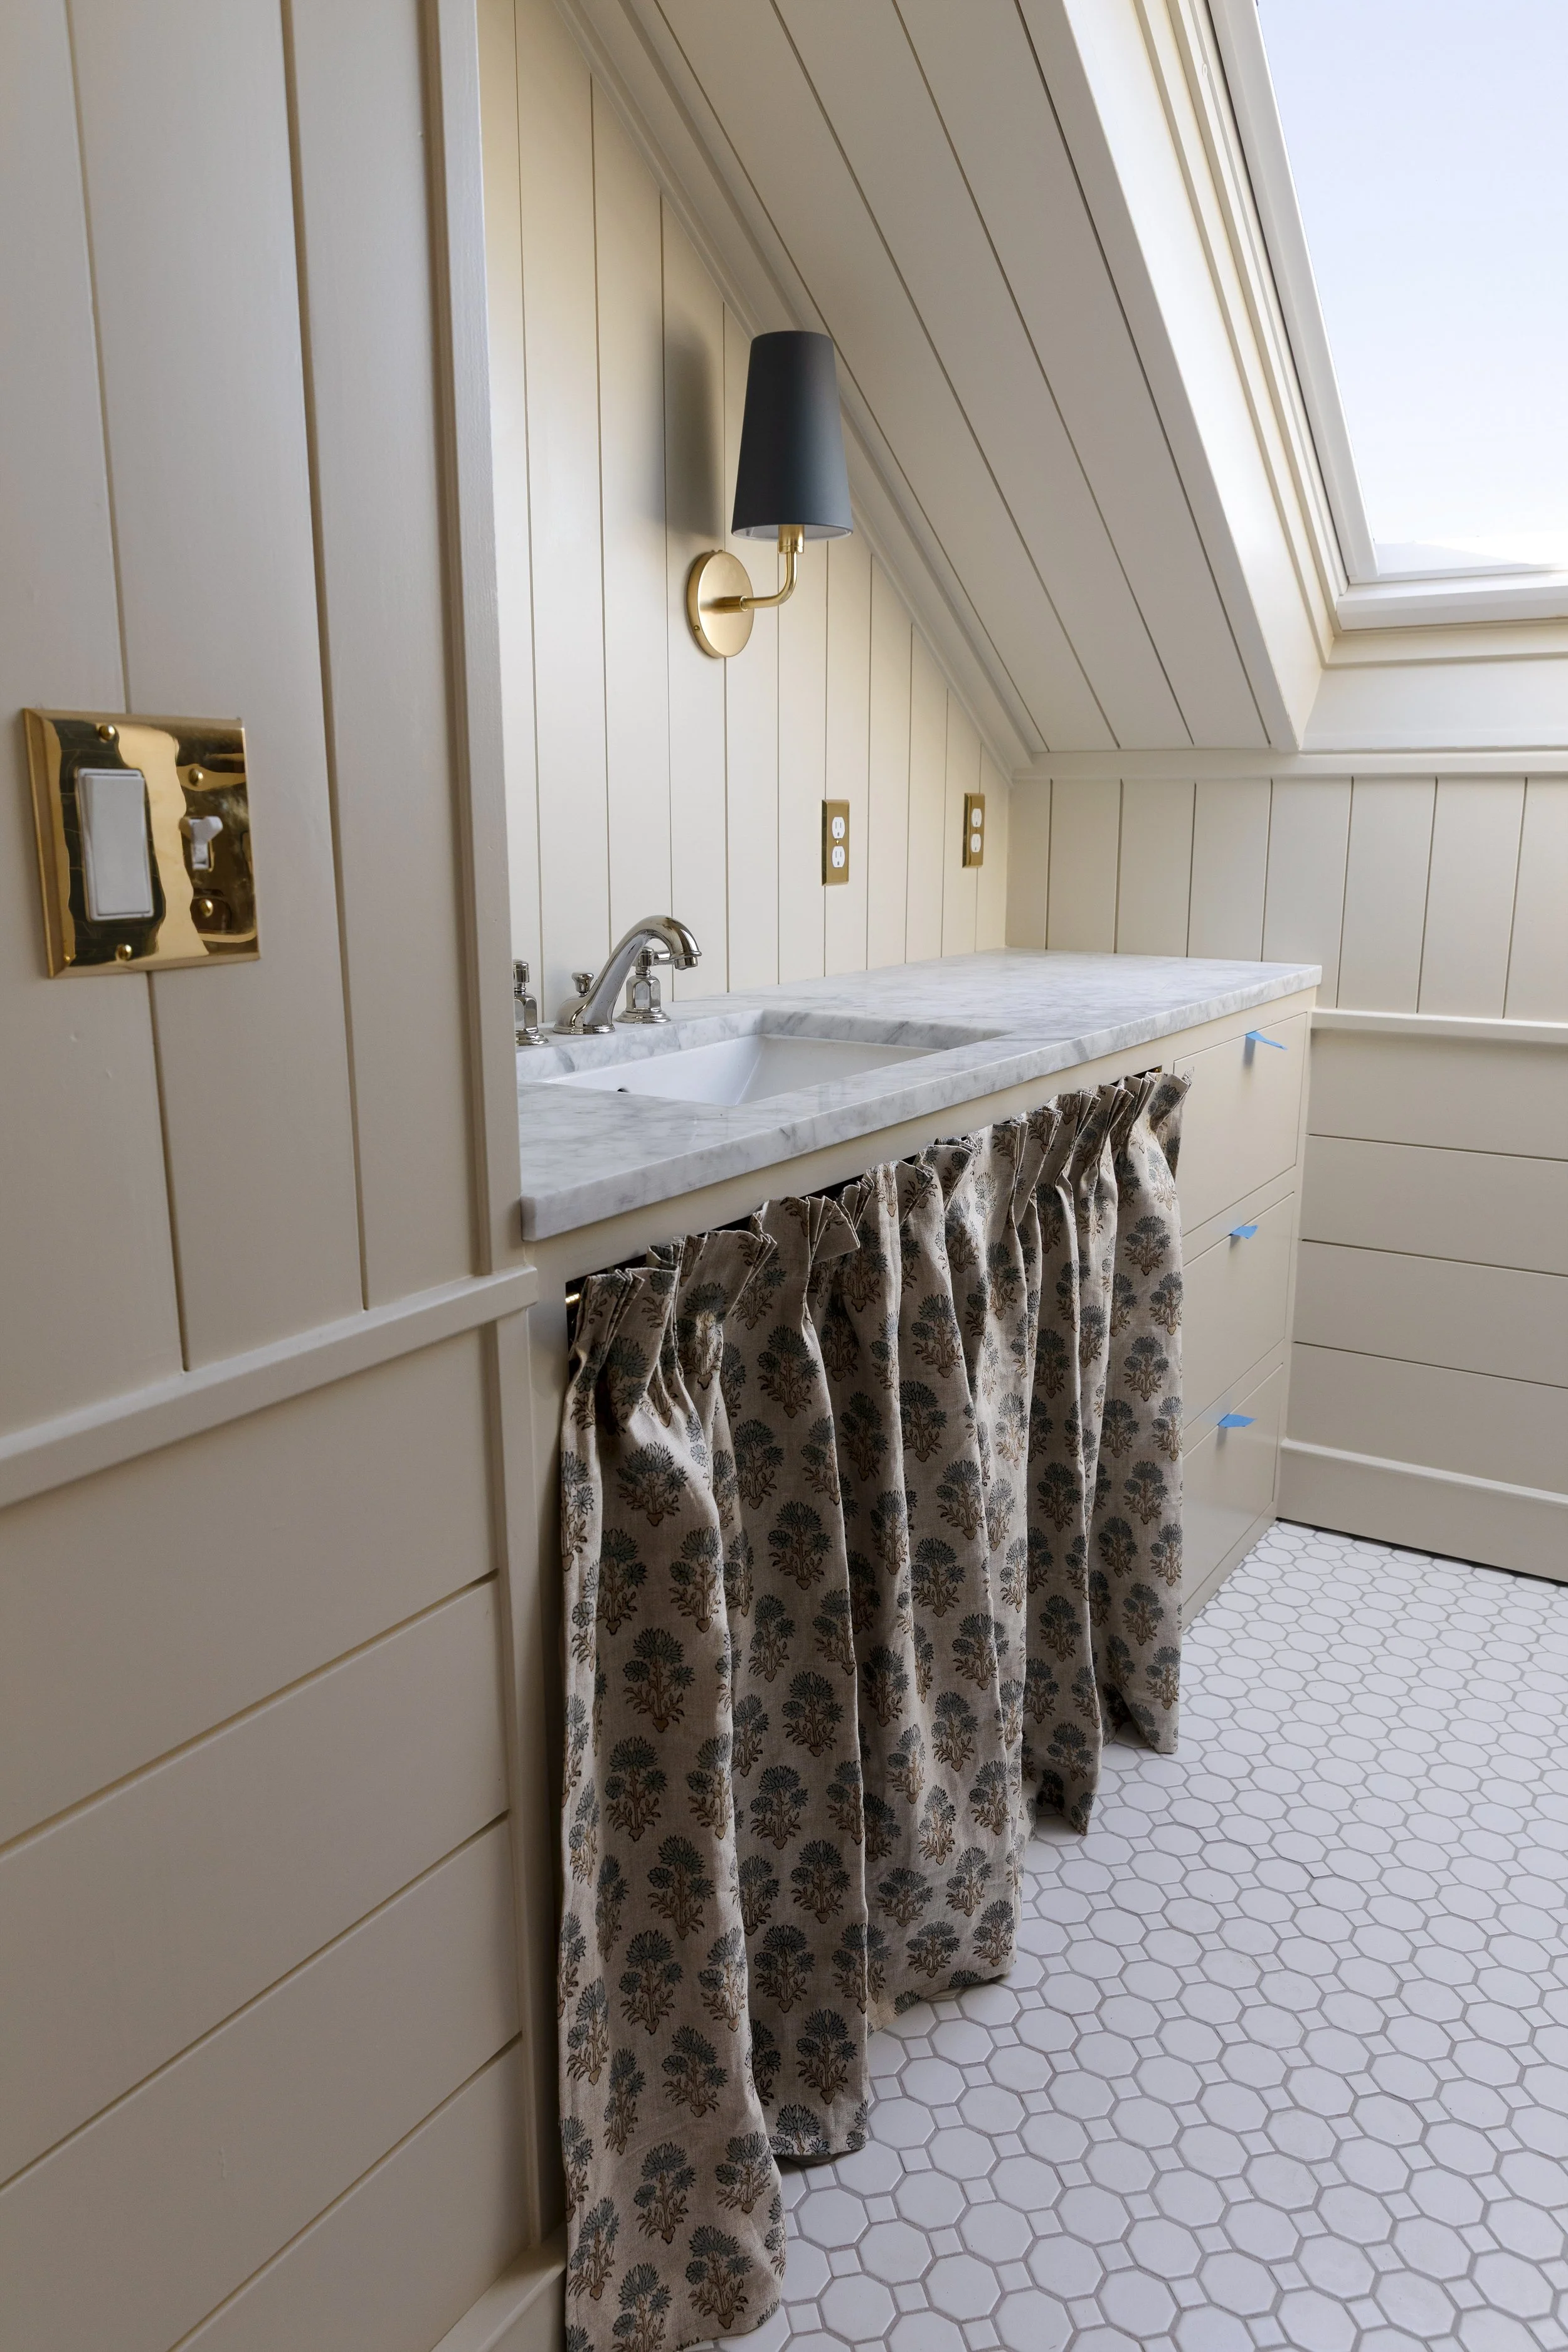
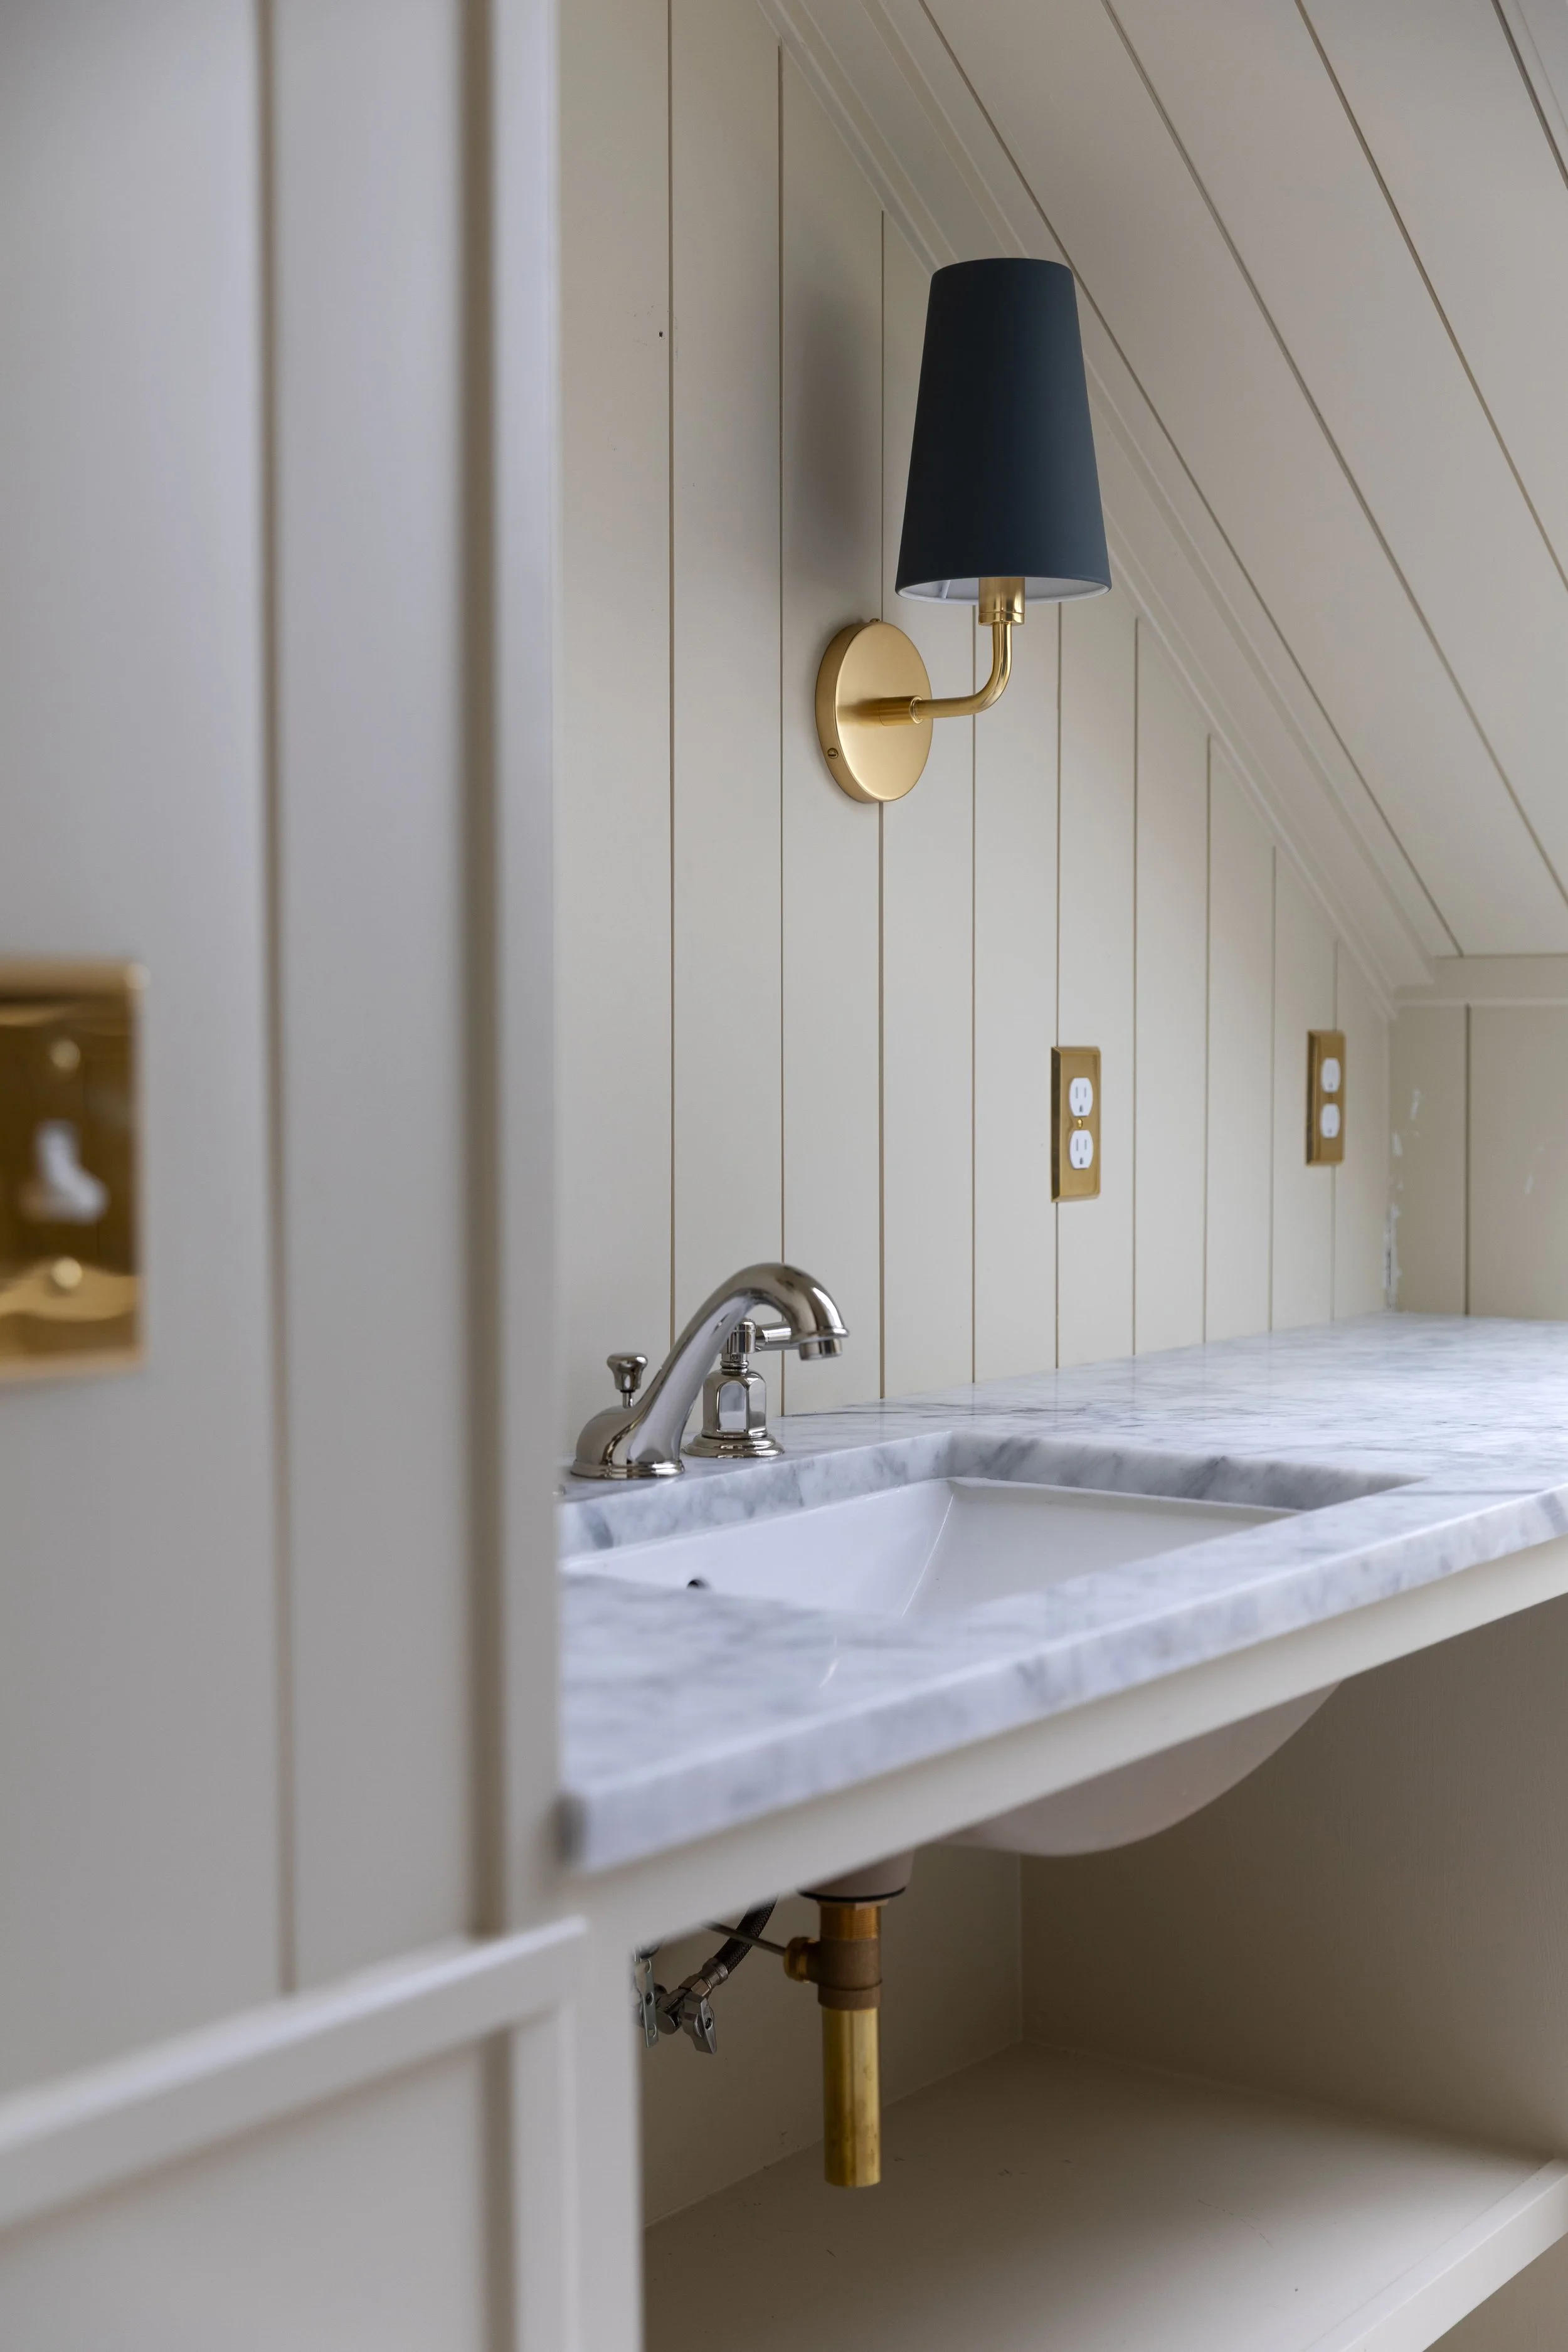
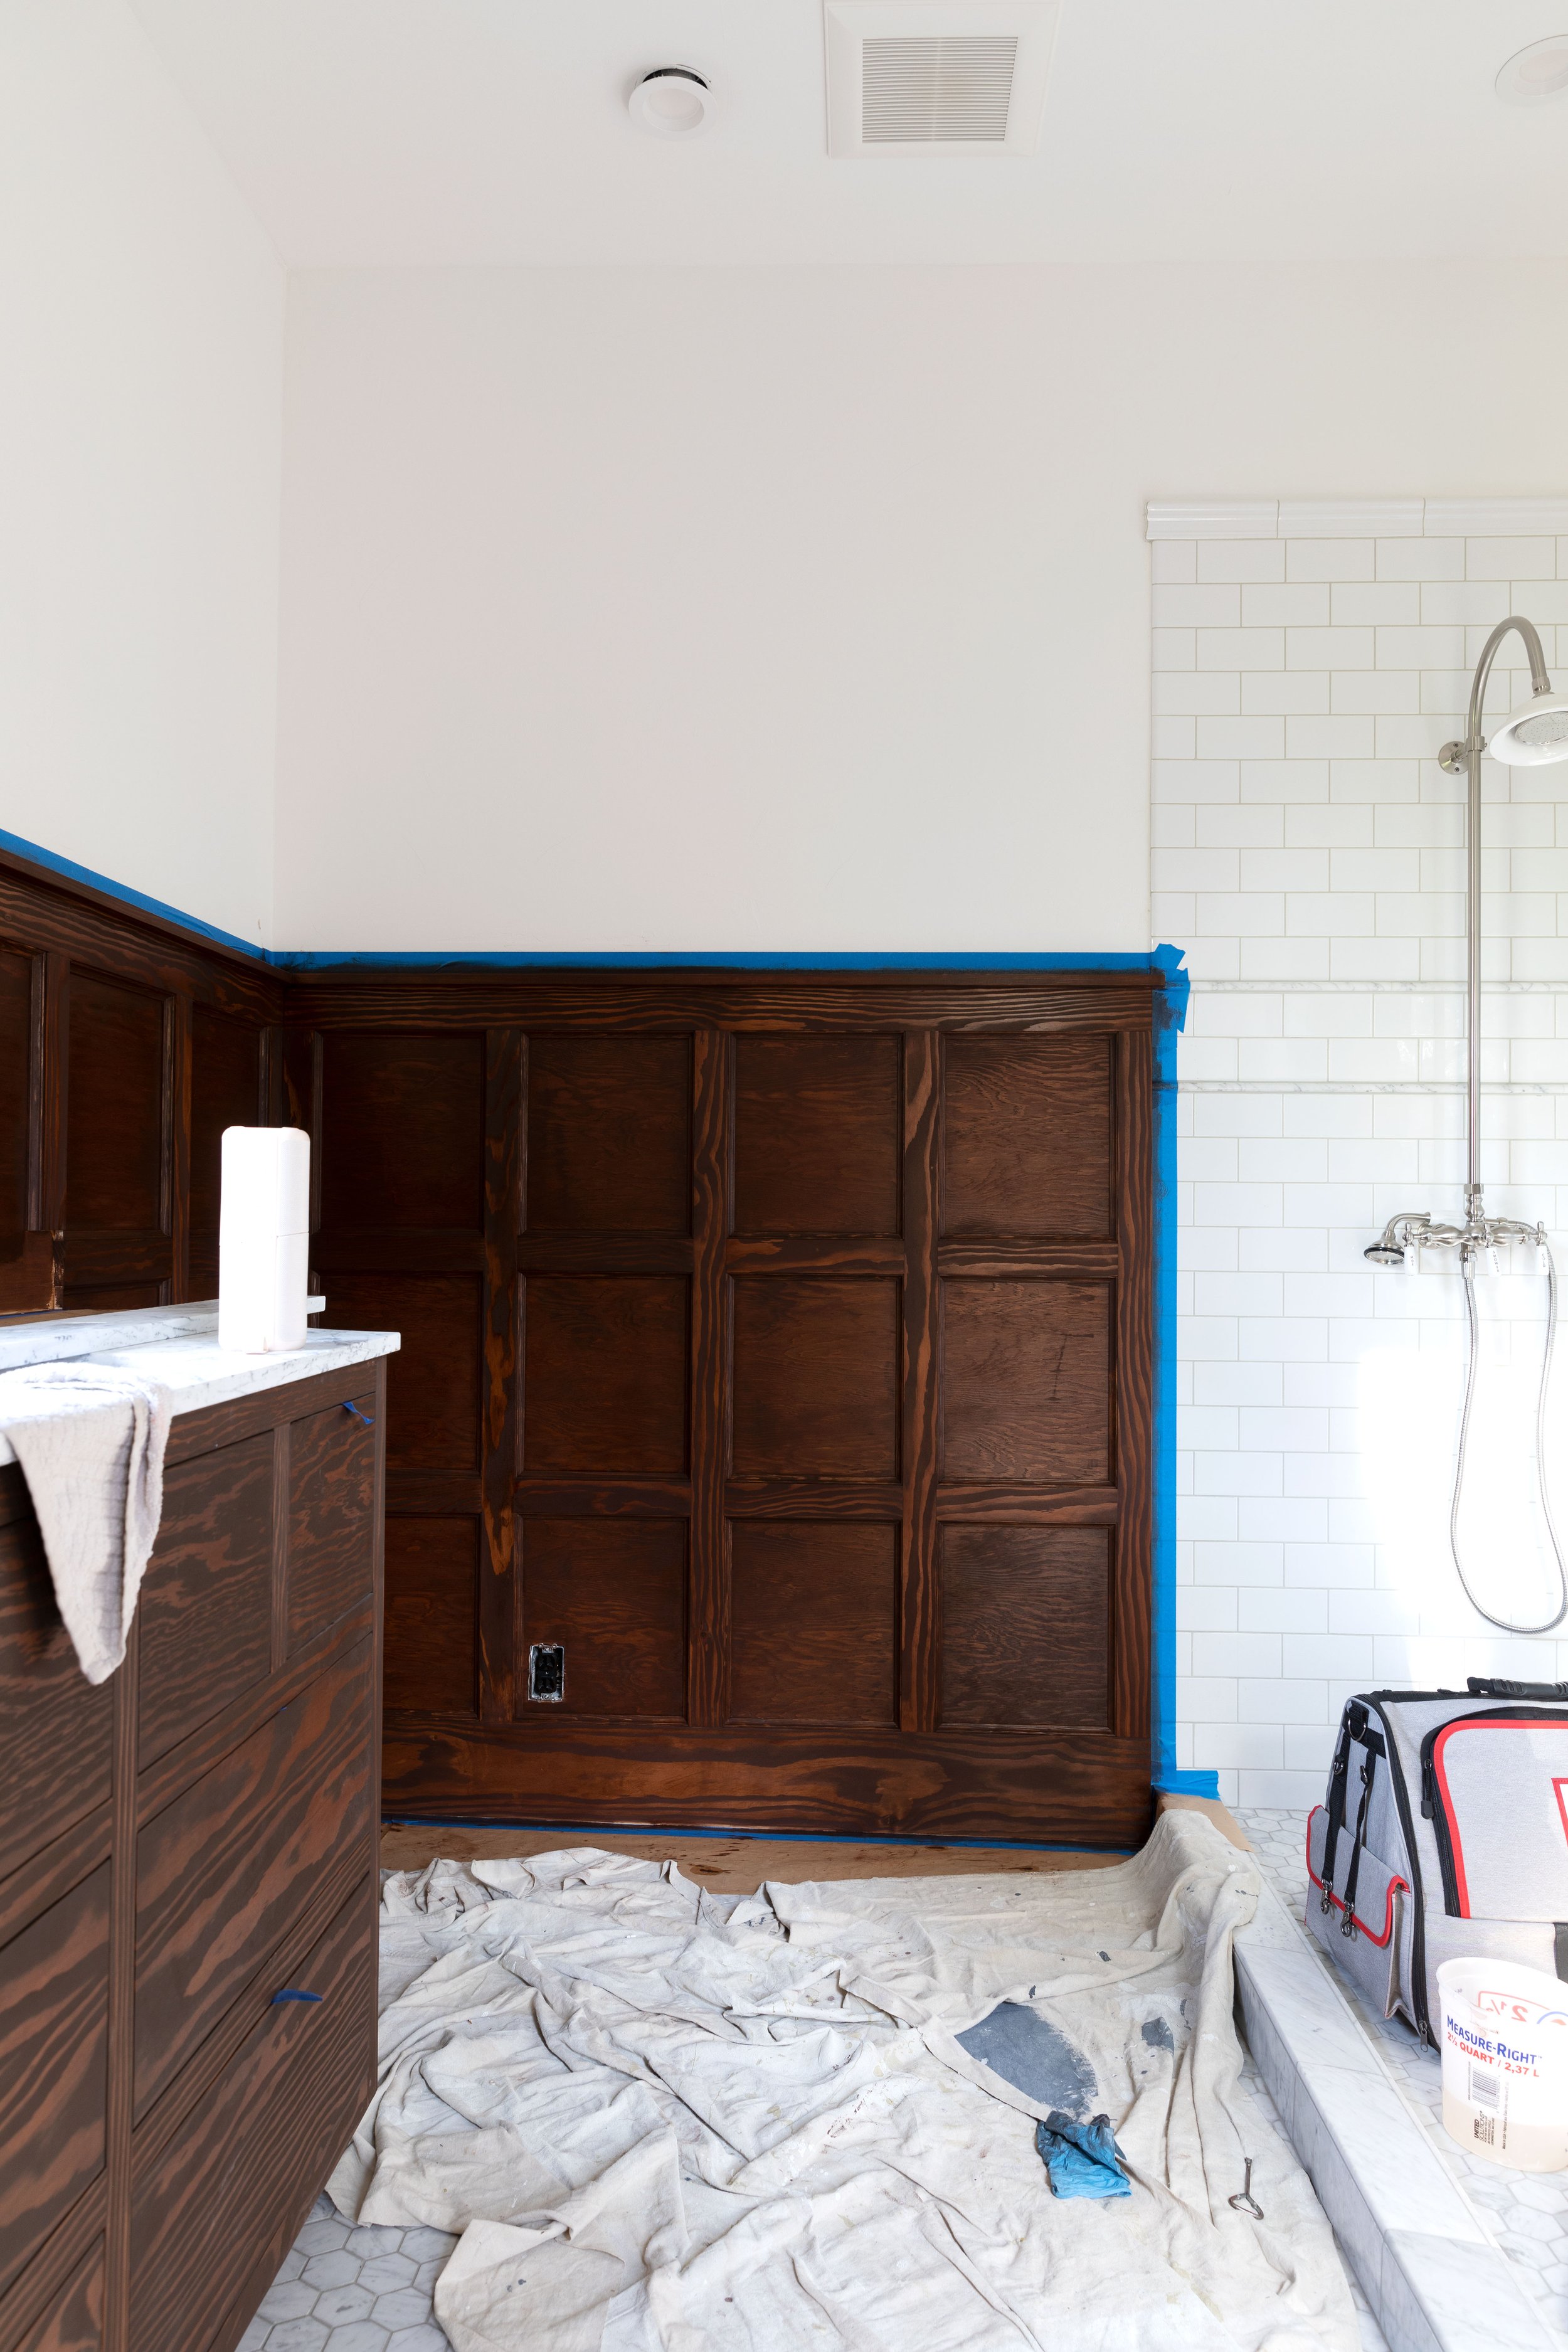
Getting in all the folds of the woodwork took some patience, but it was well worth it. Here’s a peek at how it turned out…

What do you think? To be honest, I wasn’t sure if I’d like the dark stain because I had grown to love the soft warmth of the light fir on the walls and was worried the dark stain would end up too varied (aka the flares in the wood would be too prominent). But I’m thrilled with how it turned out! It just feels right for this house.