
Can You Restore Unlacquered Brass Back to New? We Tried It on Our Hill House Doorknob
THE HILL HOUSE
It’s probably no surprise, but we’re big fans of unlacquered brass around here. We've picked it for doorknobs, hinges, plumbing, and hardware for a decade now, and we've documented how it ages at the one-year mark and again at three years. We're pretty deep into this stuff at this point :)
But one thing we didn’t have an answer for is whether you can reverse the patina on unlacquered brass if you ever change your mind and want that shiny, new look back. I’d read that the answer was yes, but I’d never actually tested it myself. So I decided it was time to do a little experiment on the doorknobs in our hall bathroom. Today I’m sharing exactly what I did and the products I used to bring the brass back to its original bright finish. Let’s get into it…
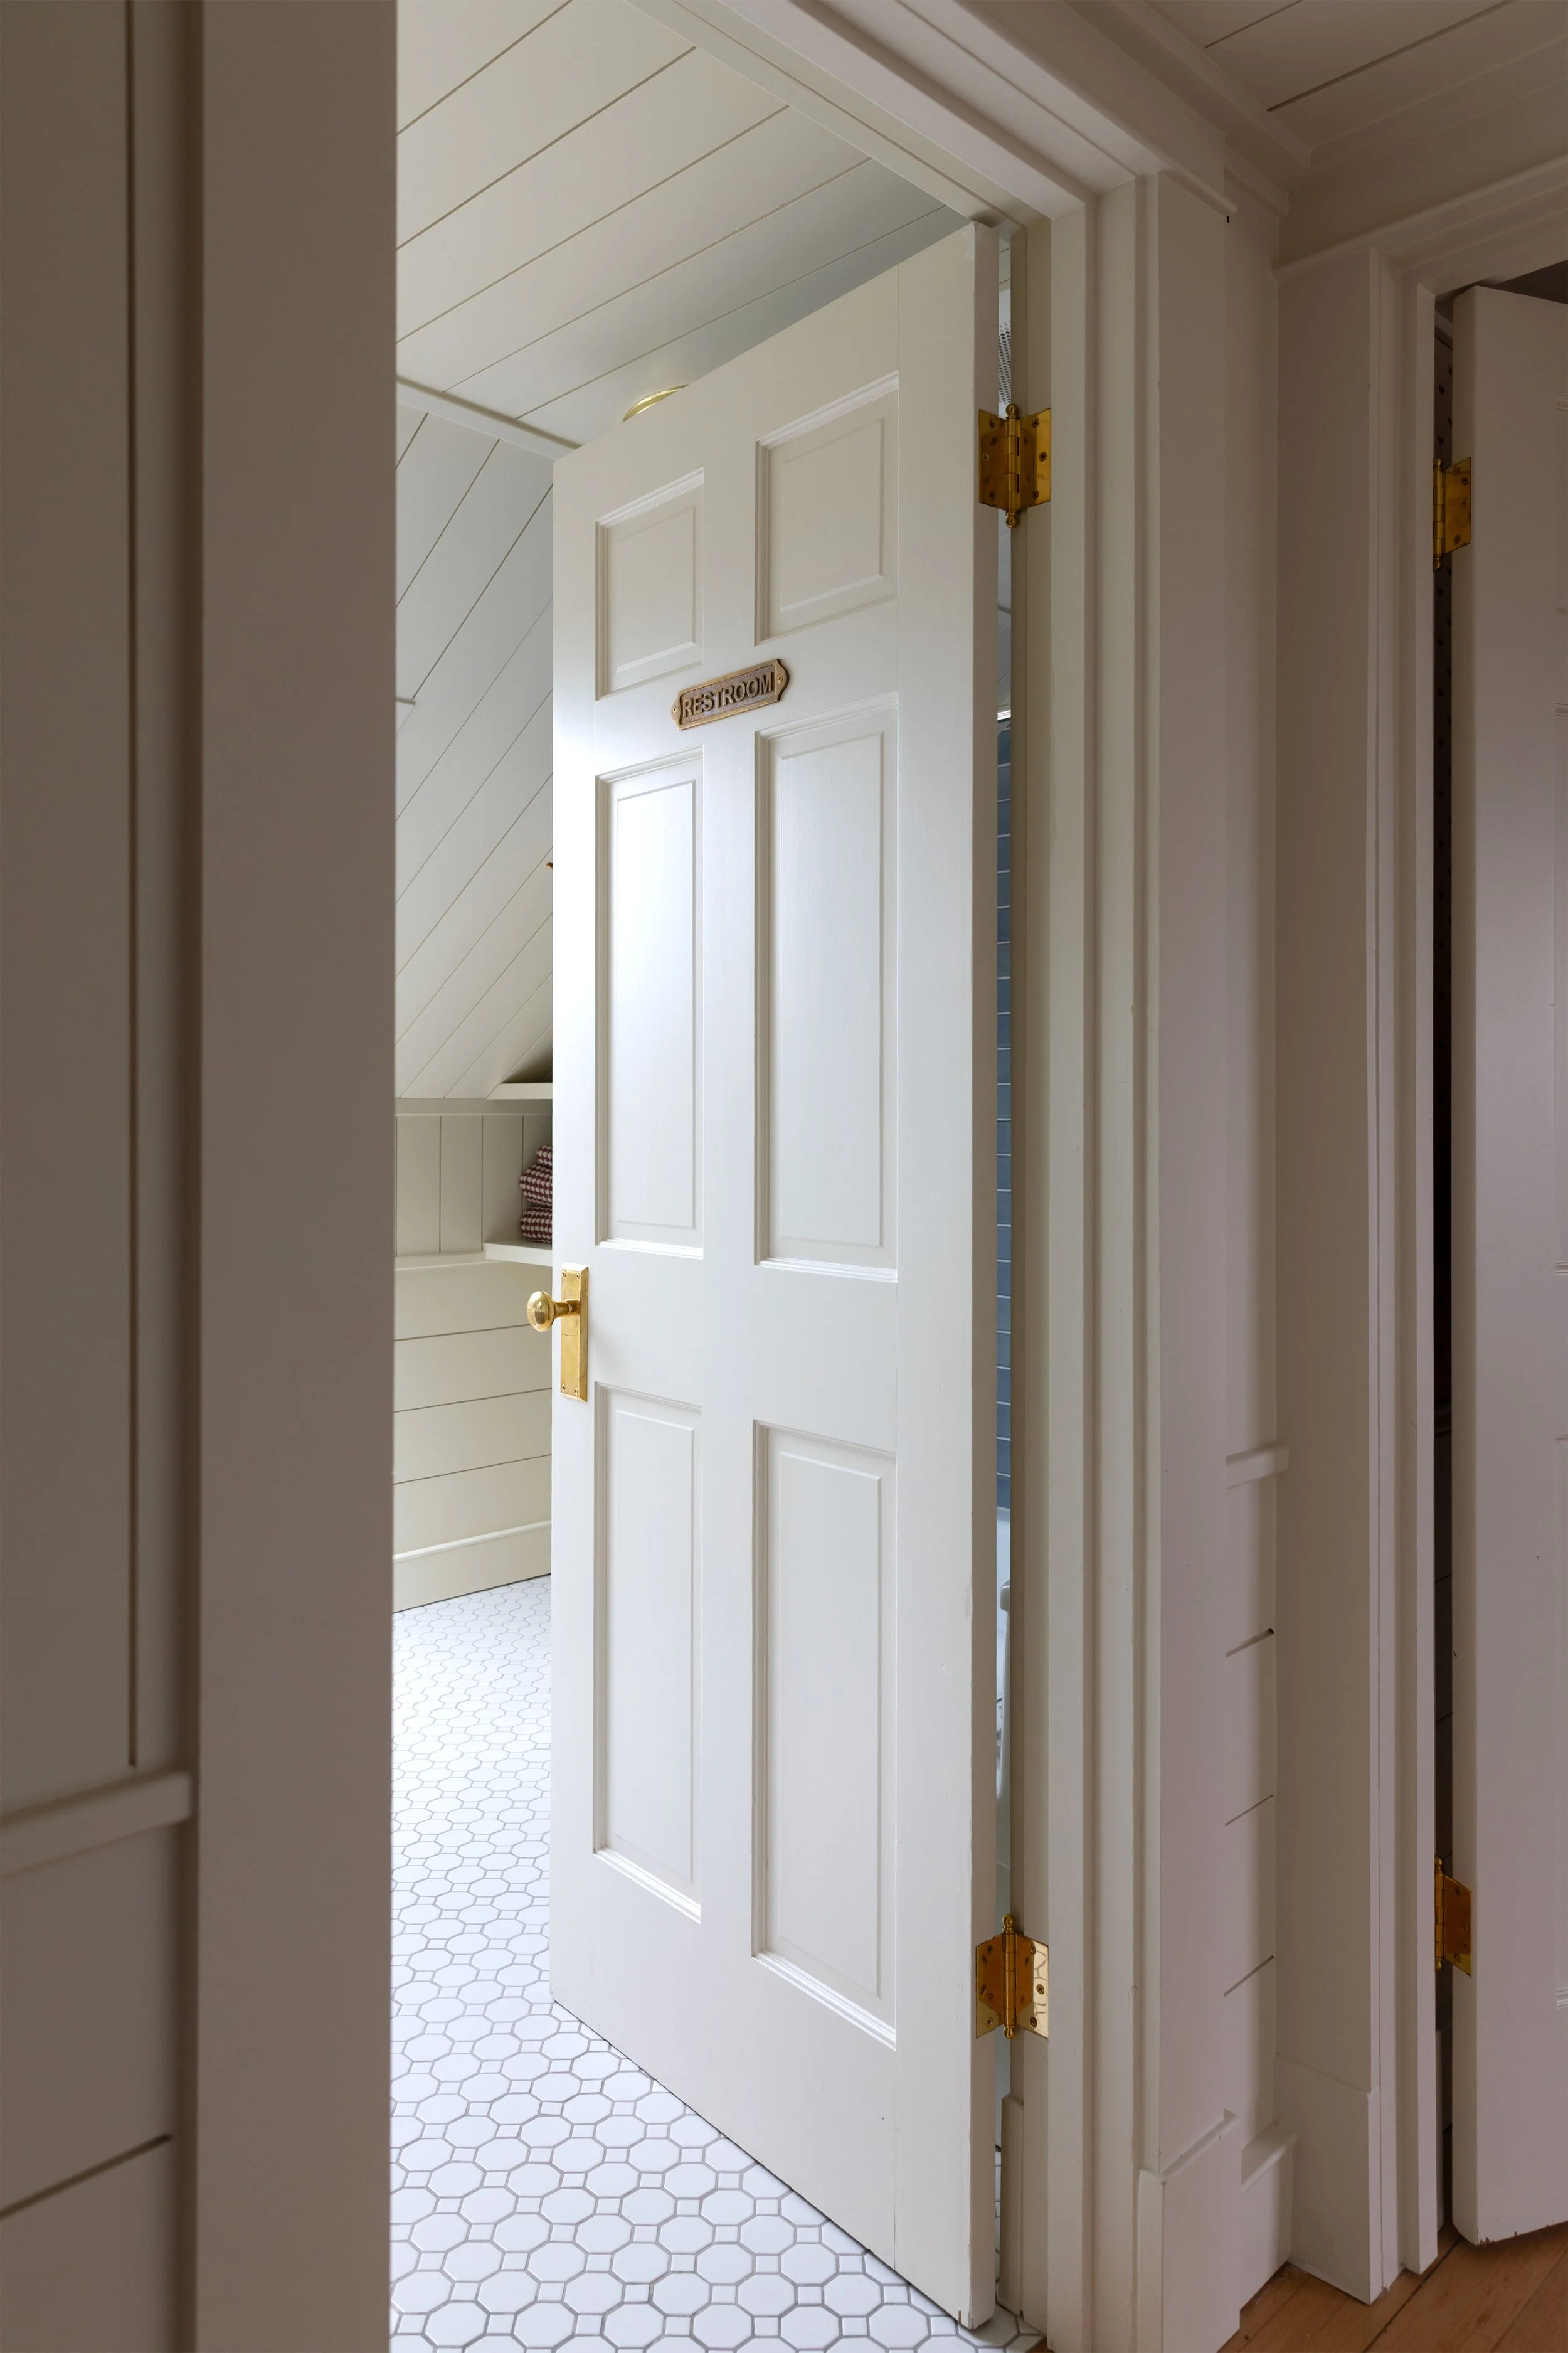
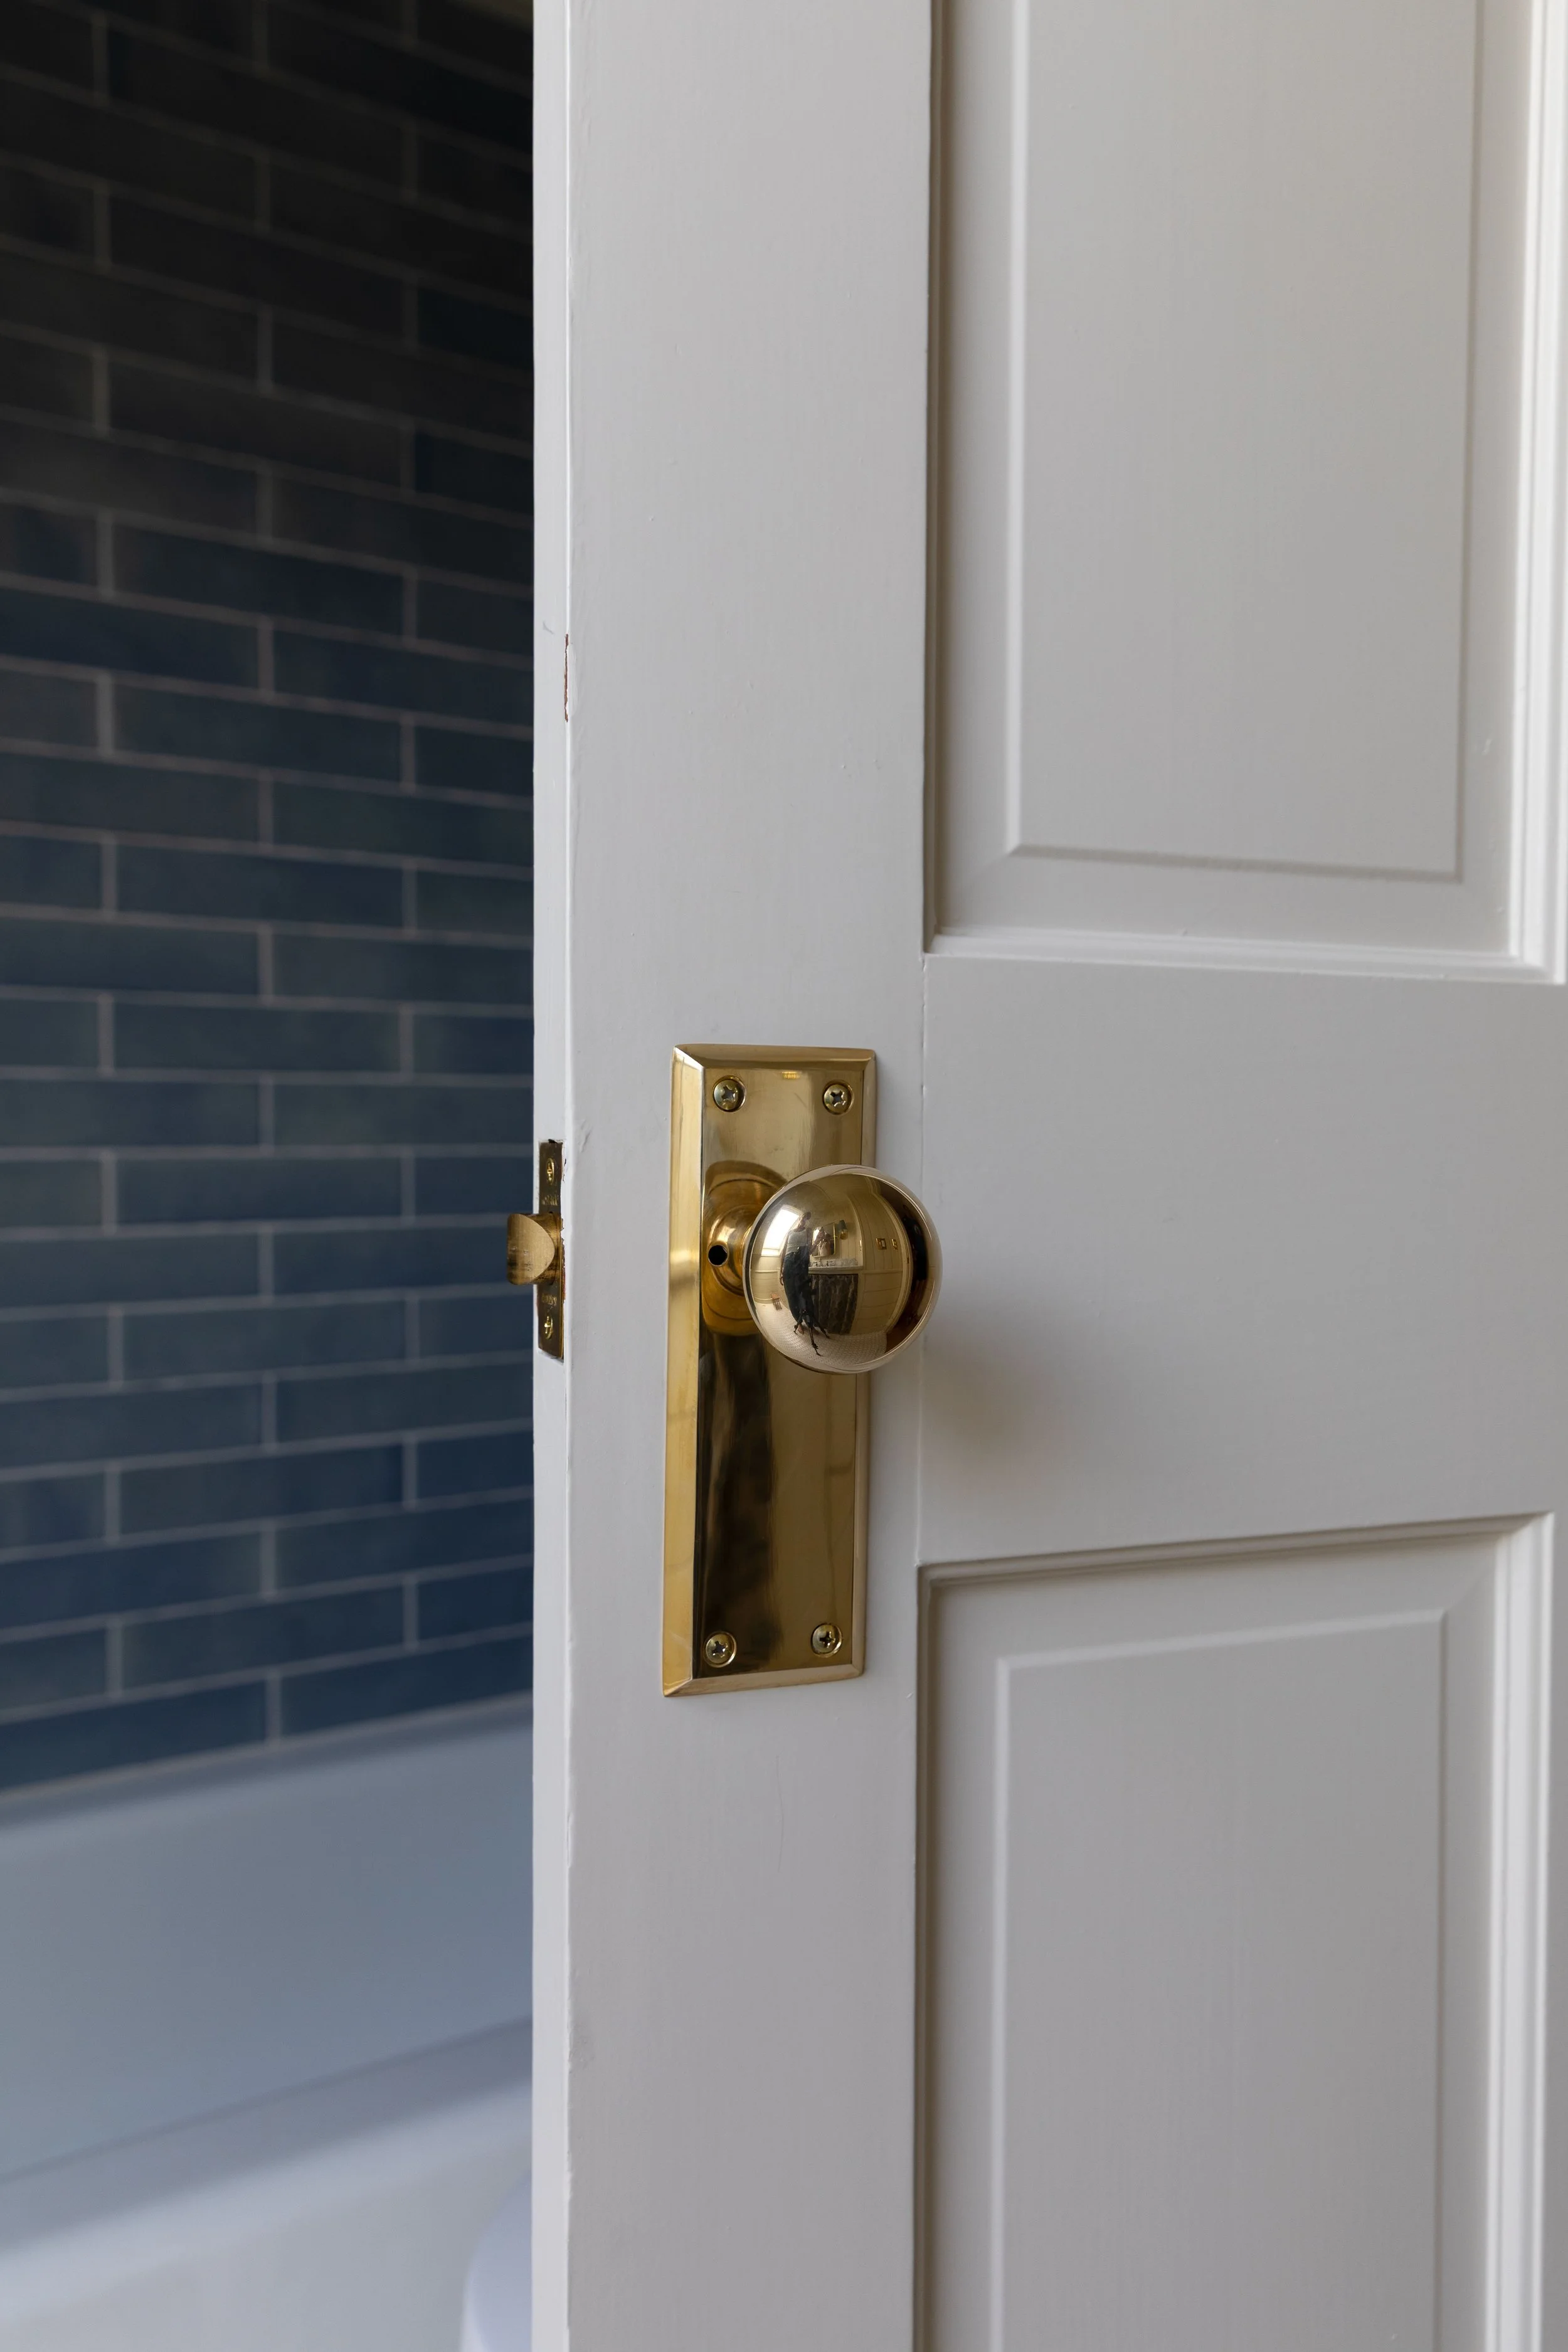
doorhandle, floor tile, blue tile, grout, tub, door color: FB slipper satin
Quick Refresher - What Is Unlacquered Brass?
Unlacquered brass is a brass that has no clear coat or lacquer sealing the surface. Most polished brass has a thin lacquer on it so it stays bright and shiny forever - no darkening, no patina, no character. Depending on the shade, it can feel very 70s. Unlacquered brass is completely bare so it reacts to air, moisture, and the oils on your hands. Over time, it will develop a warm, worn-in patina, with gentle marks in the spots you touch most. It keeps getting better with age, and I find it very beautiful.
The Doorknob We Used for this experiment
When we bought the Hill House, the upstairs came with a previous owner’s 70s renovation, complete with hollow-core doors. So we hunted down five matching vintage wood doors at an architectural salvage store, and added these solid unlacquered brass doorknobs. The plate size matches the original hardware on the doors downstairs and I love the heft and presence of these. We opted for privacy knobs (so they can lock) for the bathroom and bedroom doors.
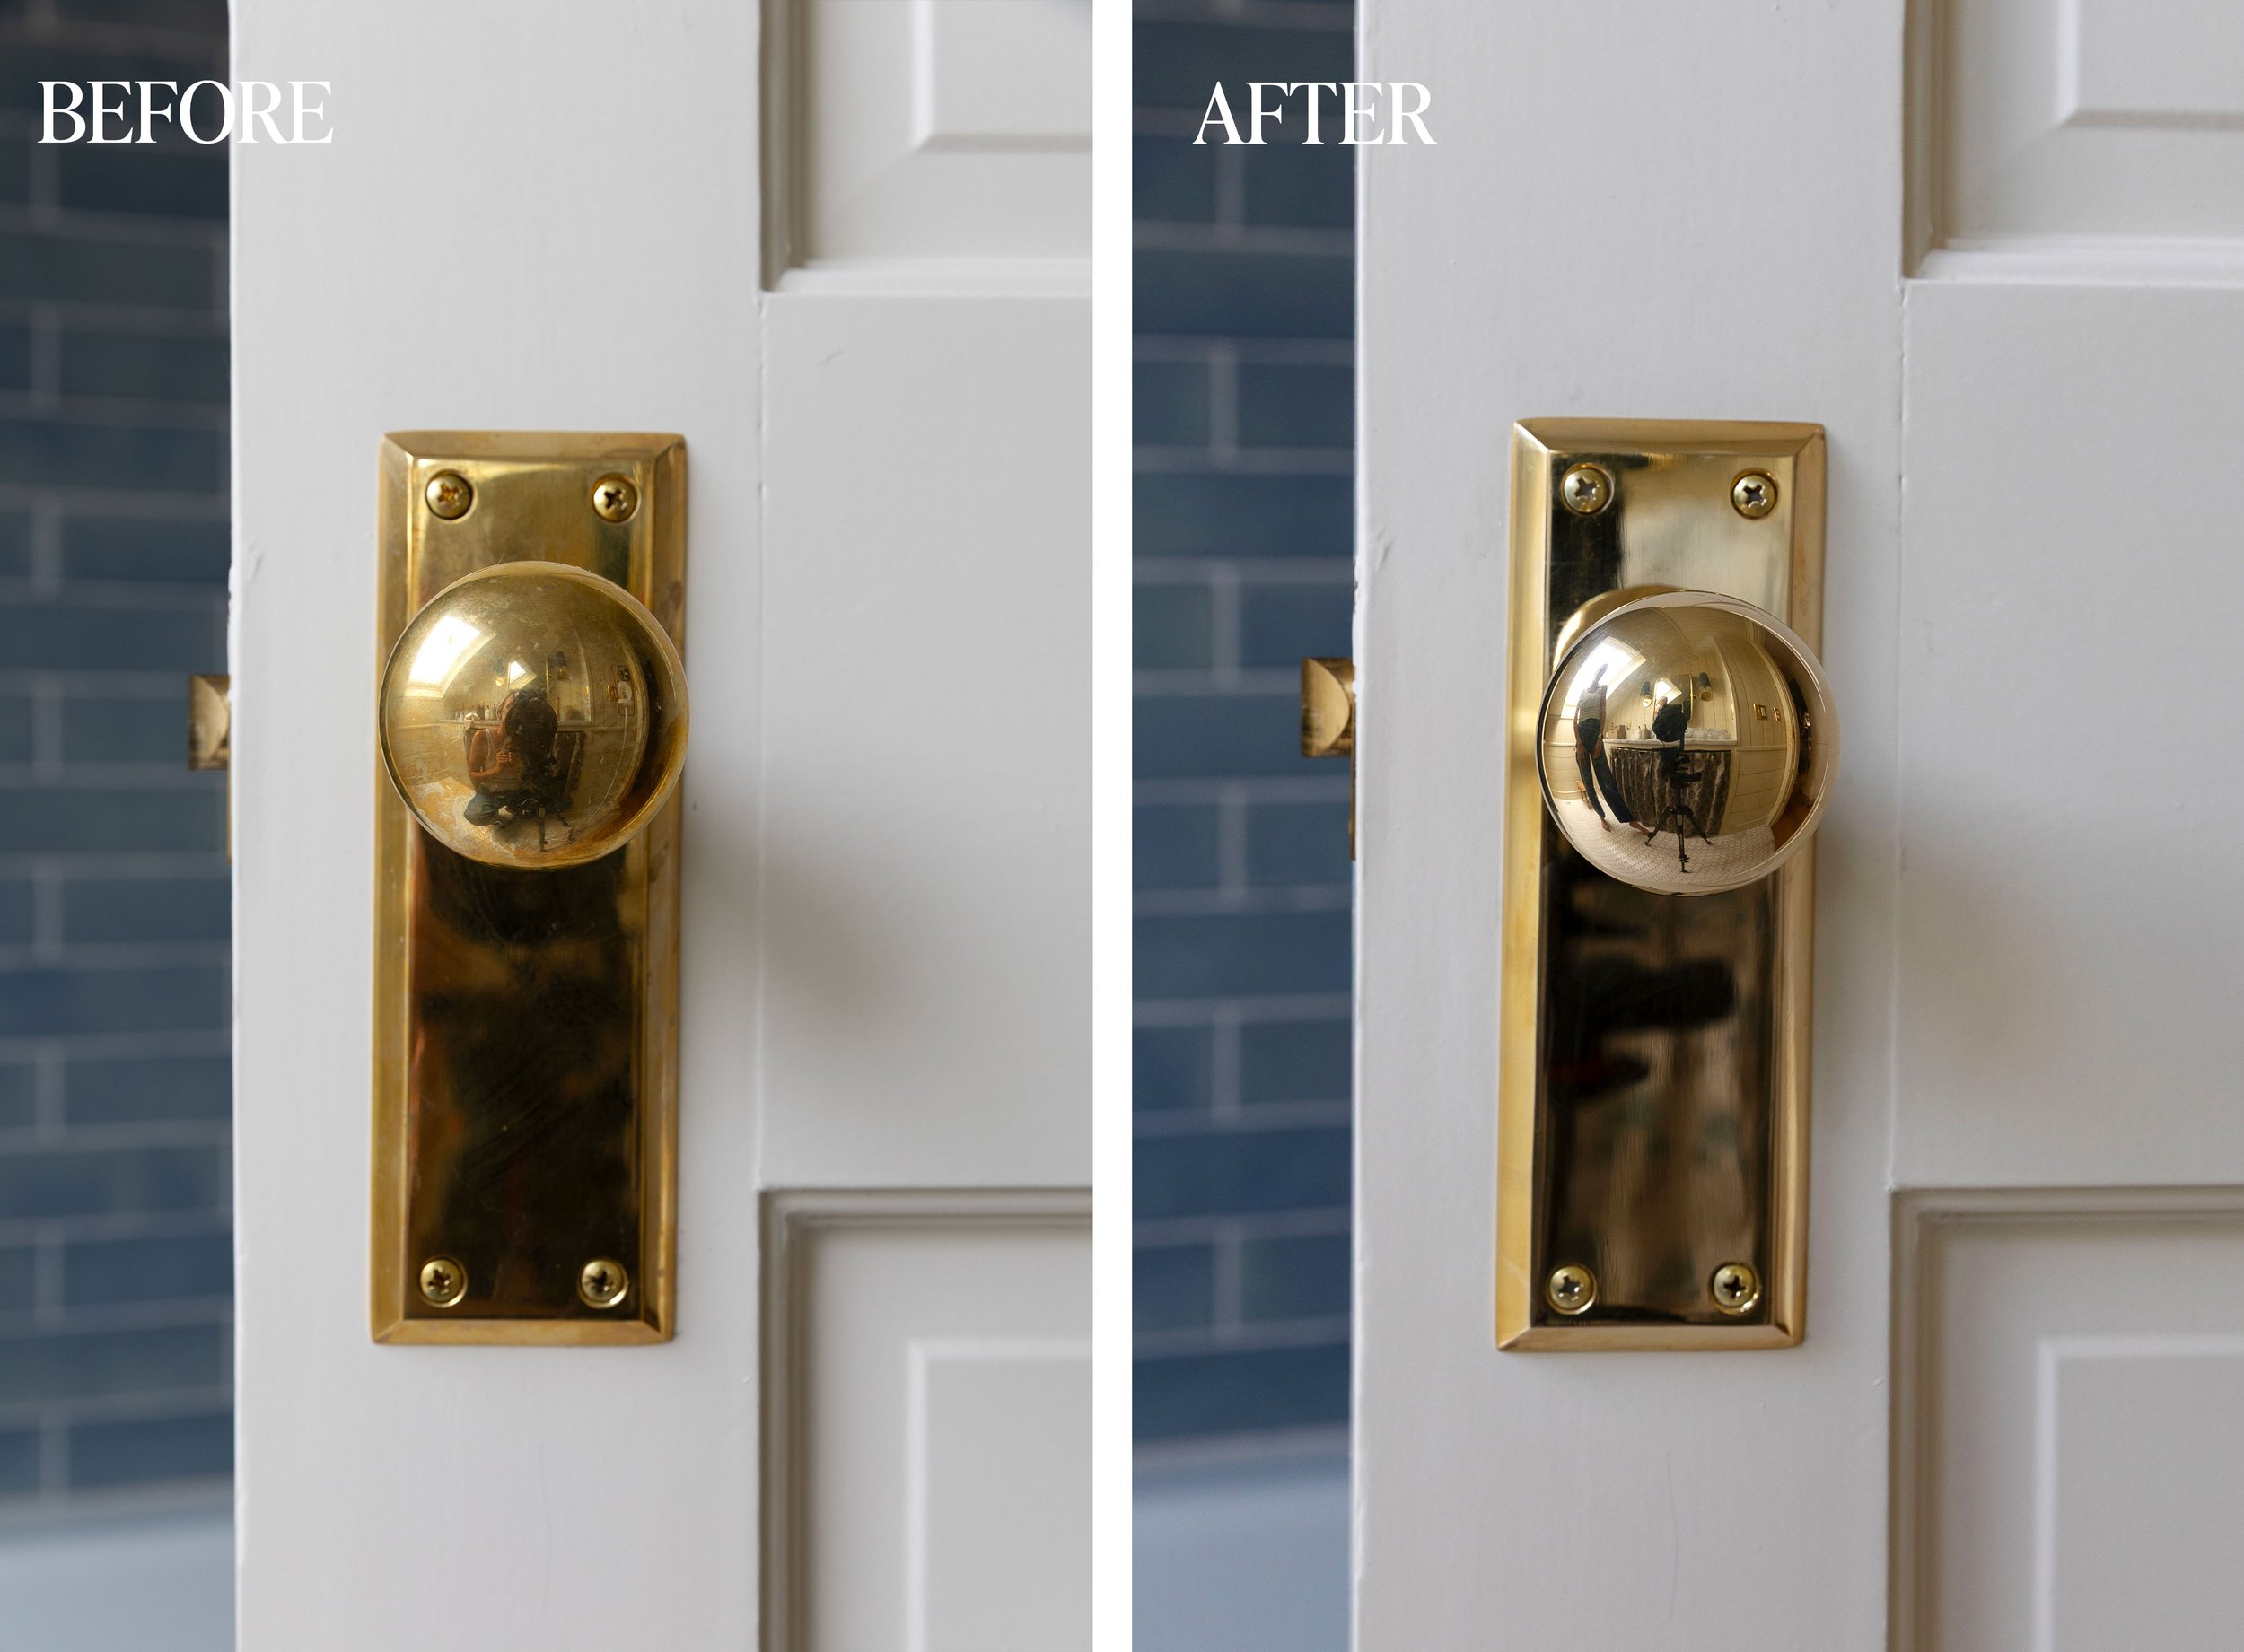
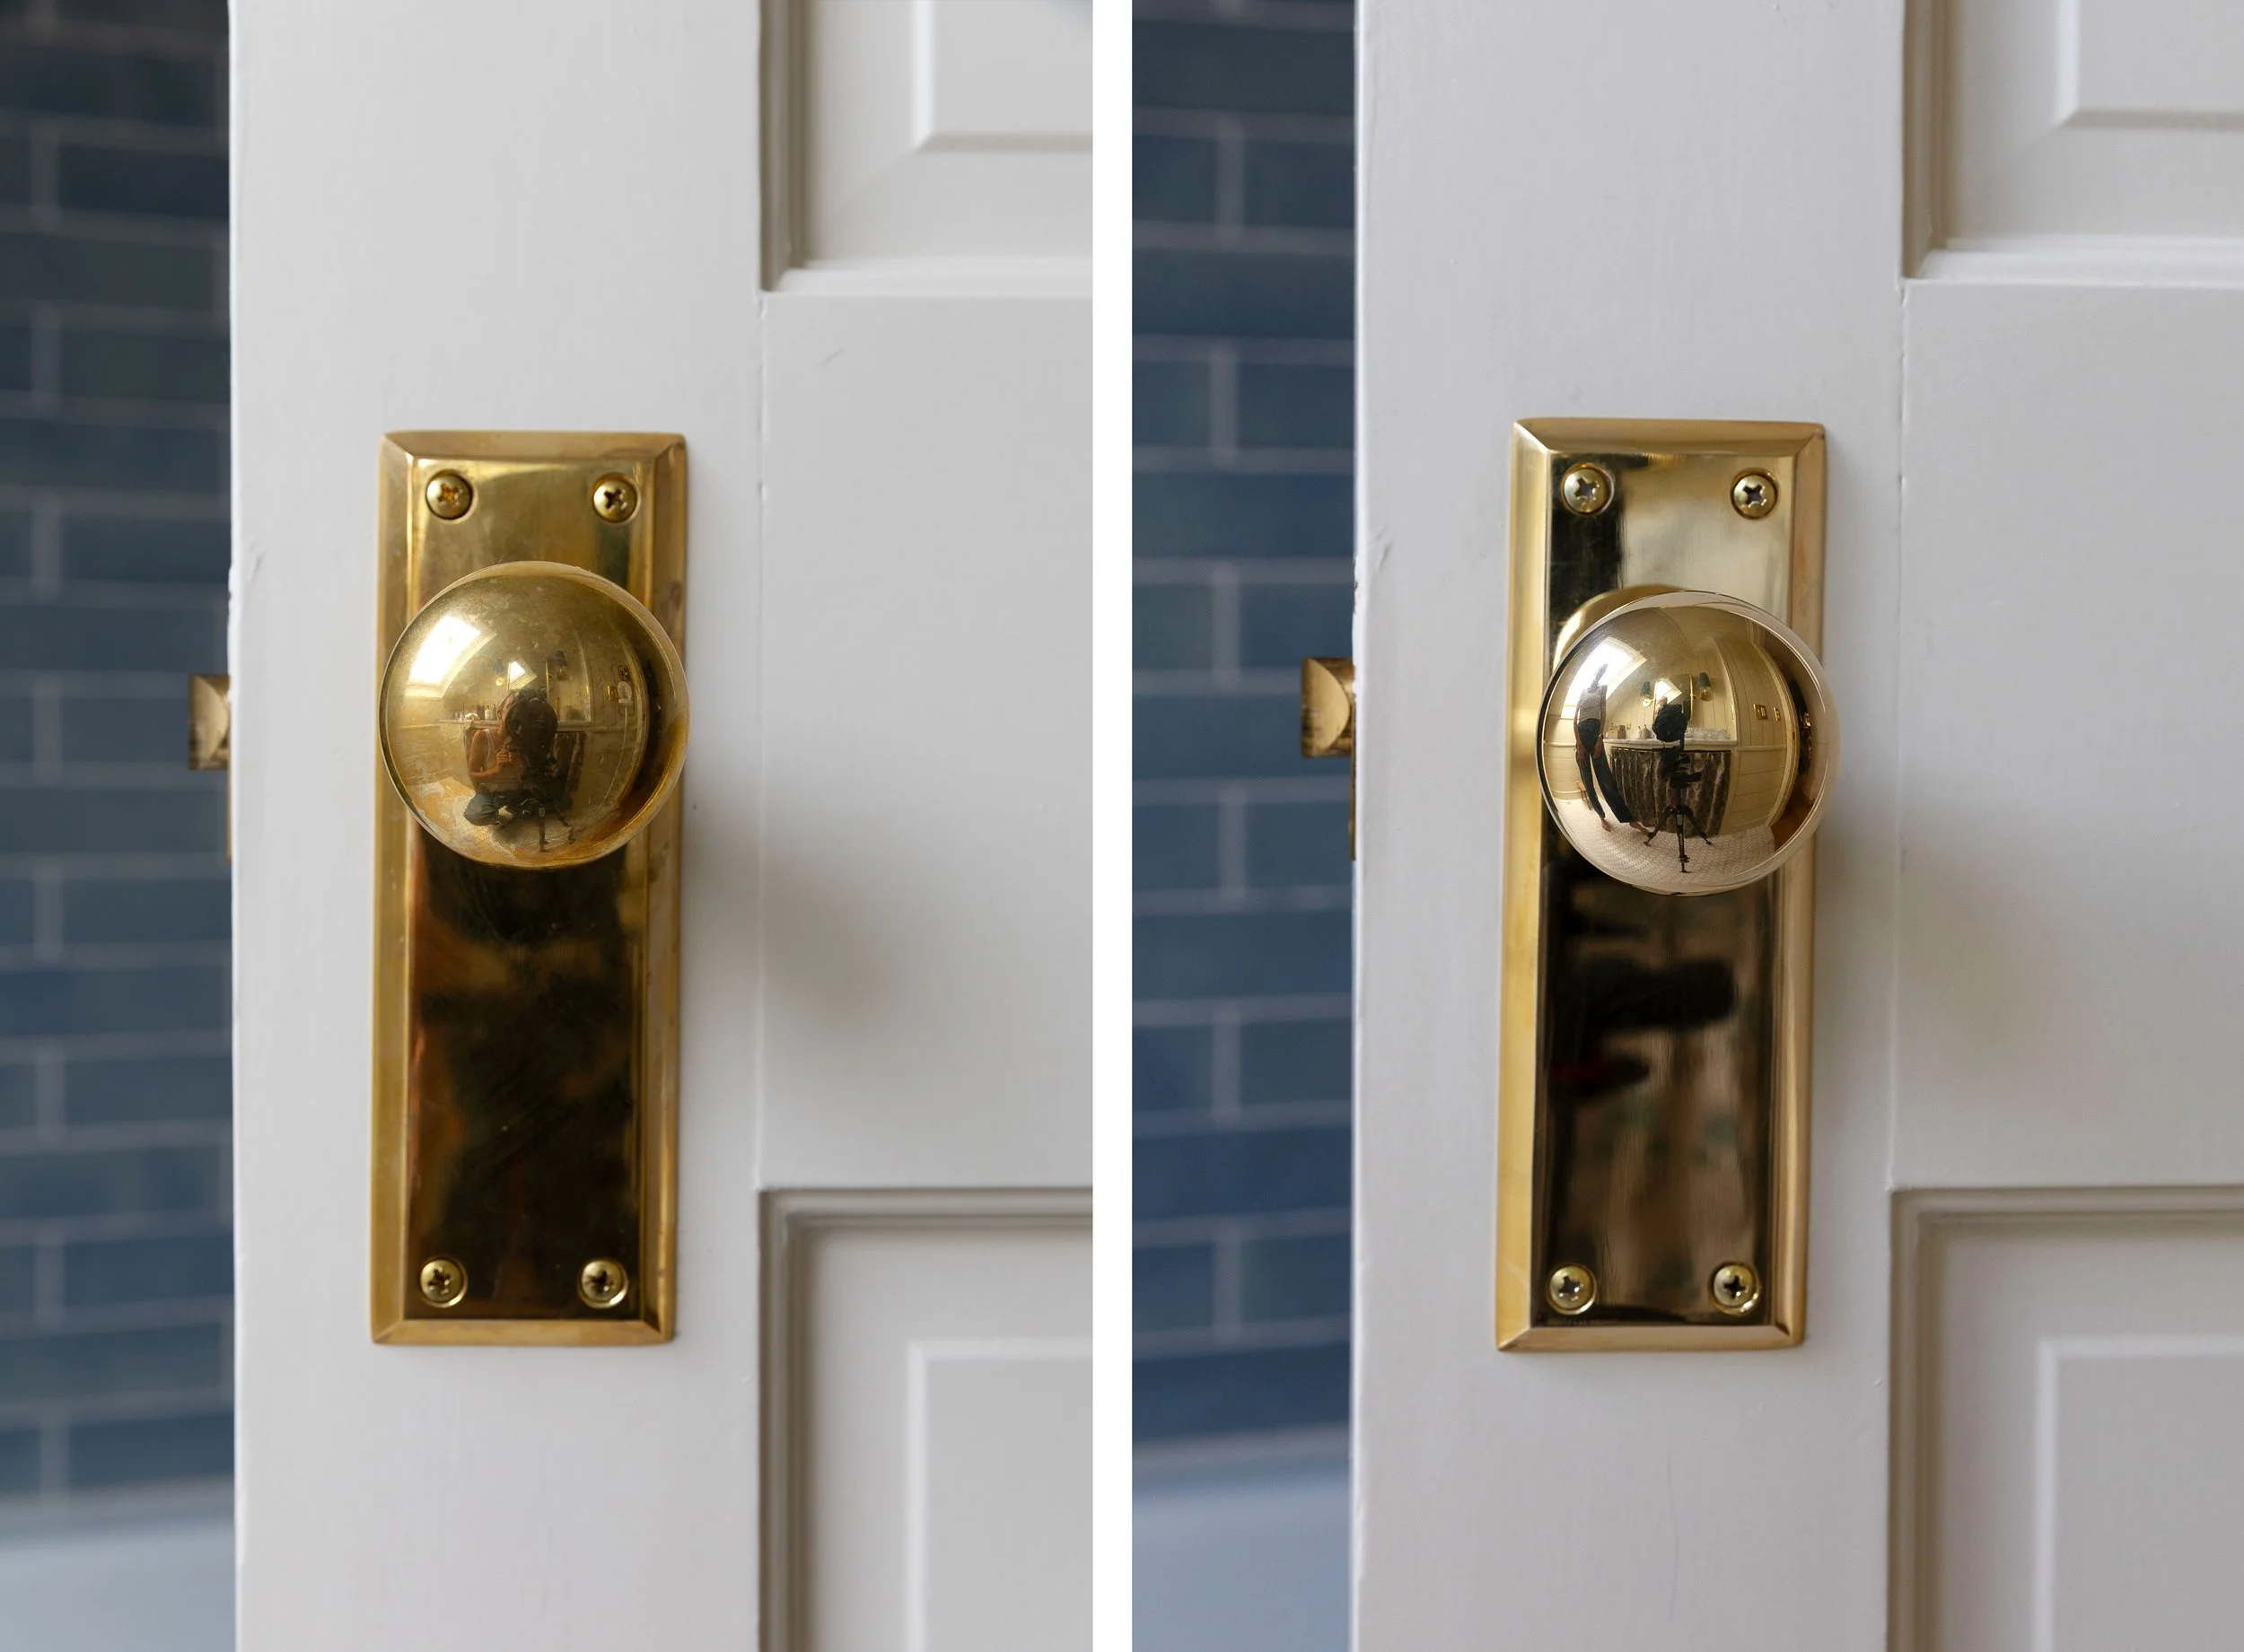
Our doorknobs have already been installed for a few months and have a nice patina going. They are noticeably warmer in color than when we installed them and there’s a gentle wear pattern going on each. Nothing dramatic, but enough to actually test whether it could come back.
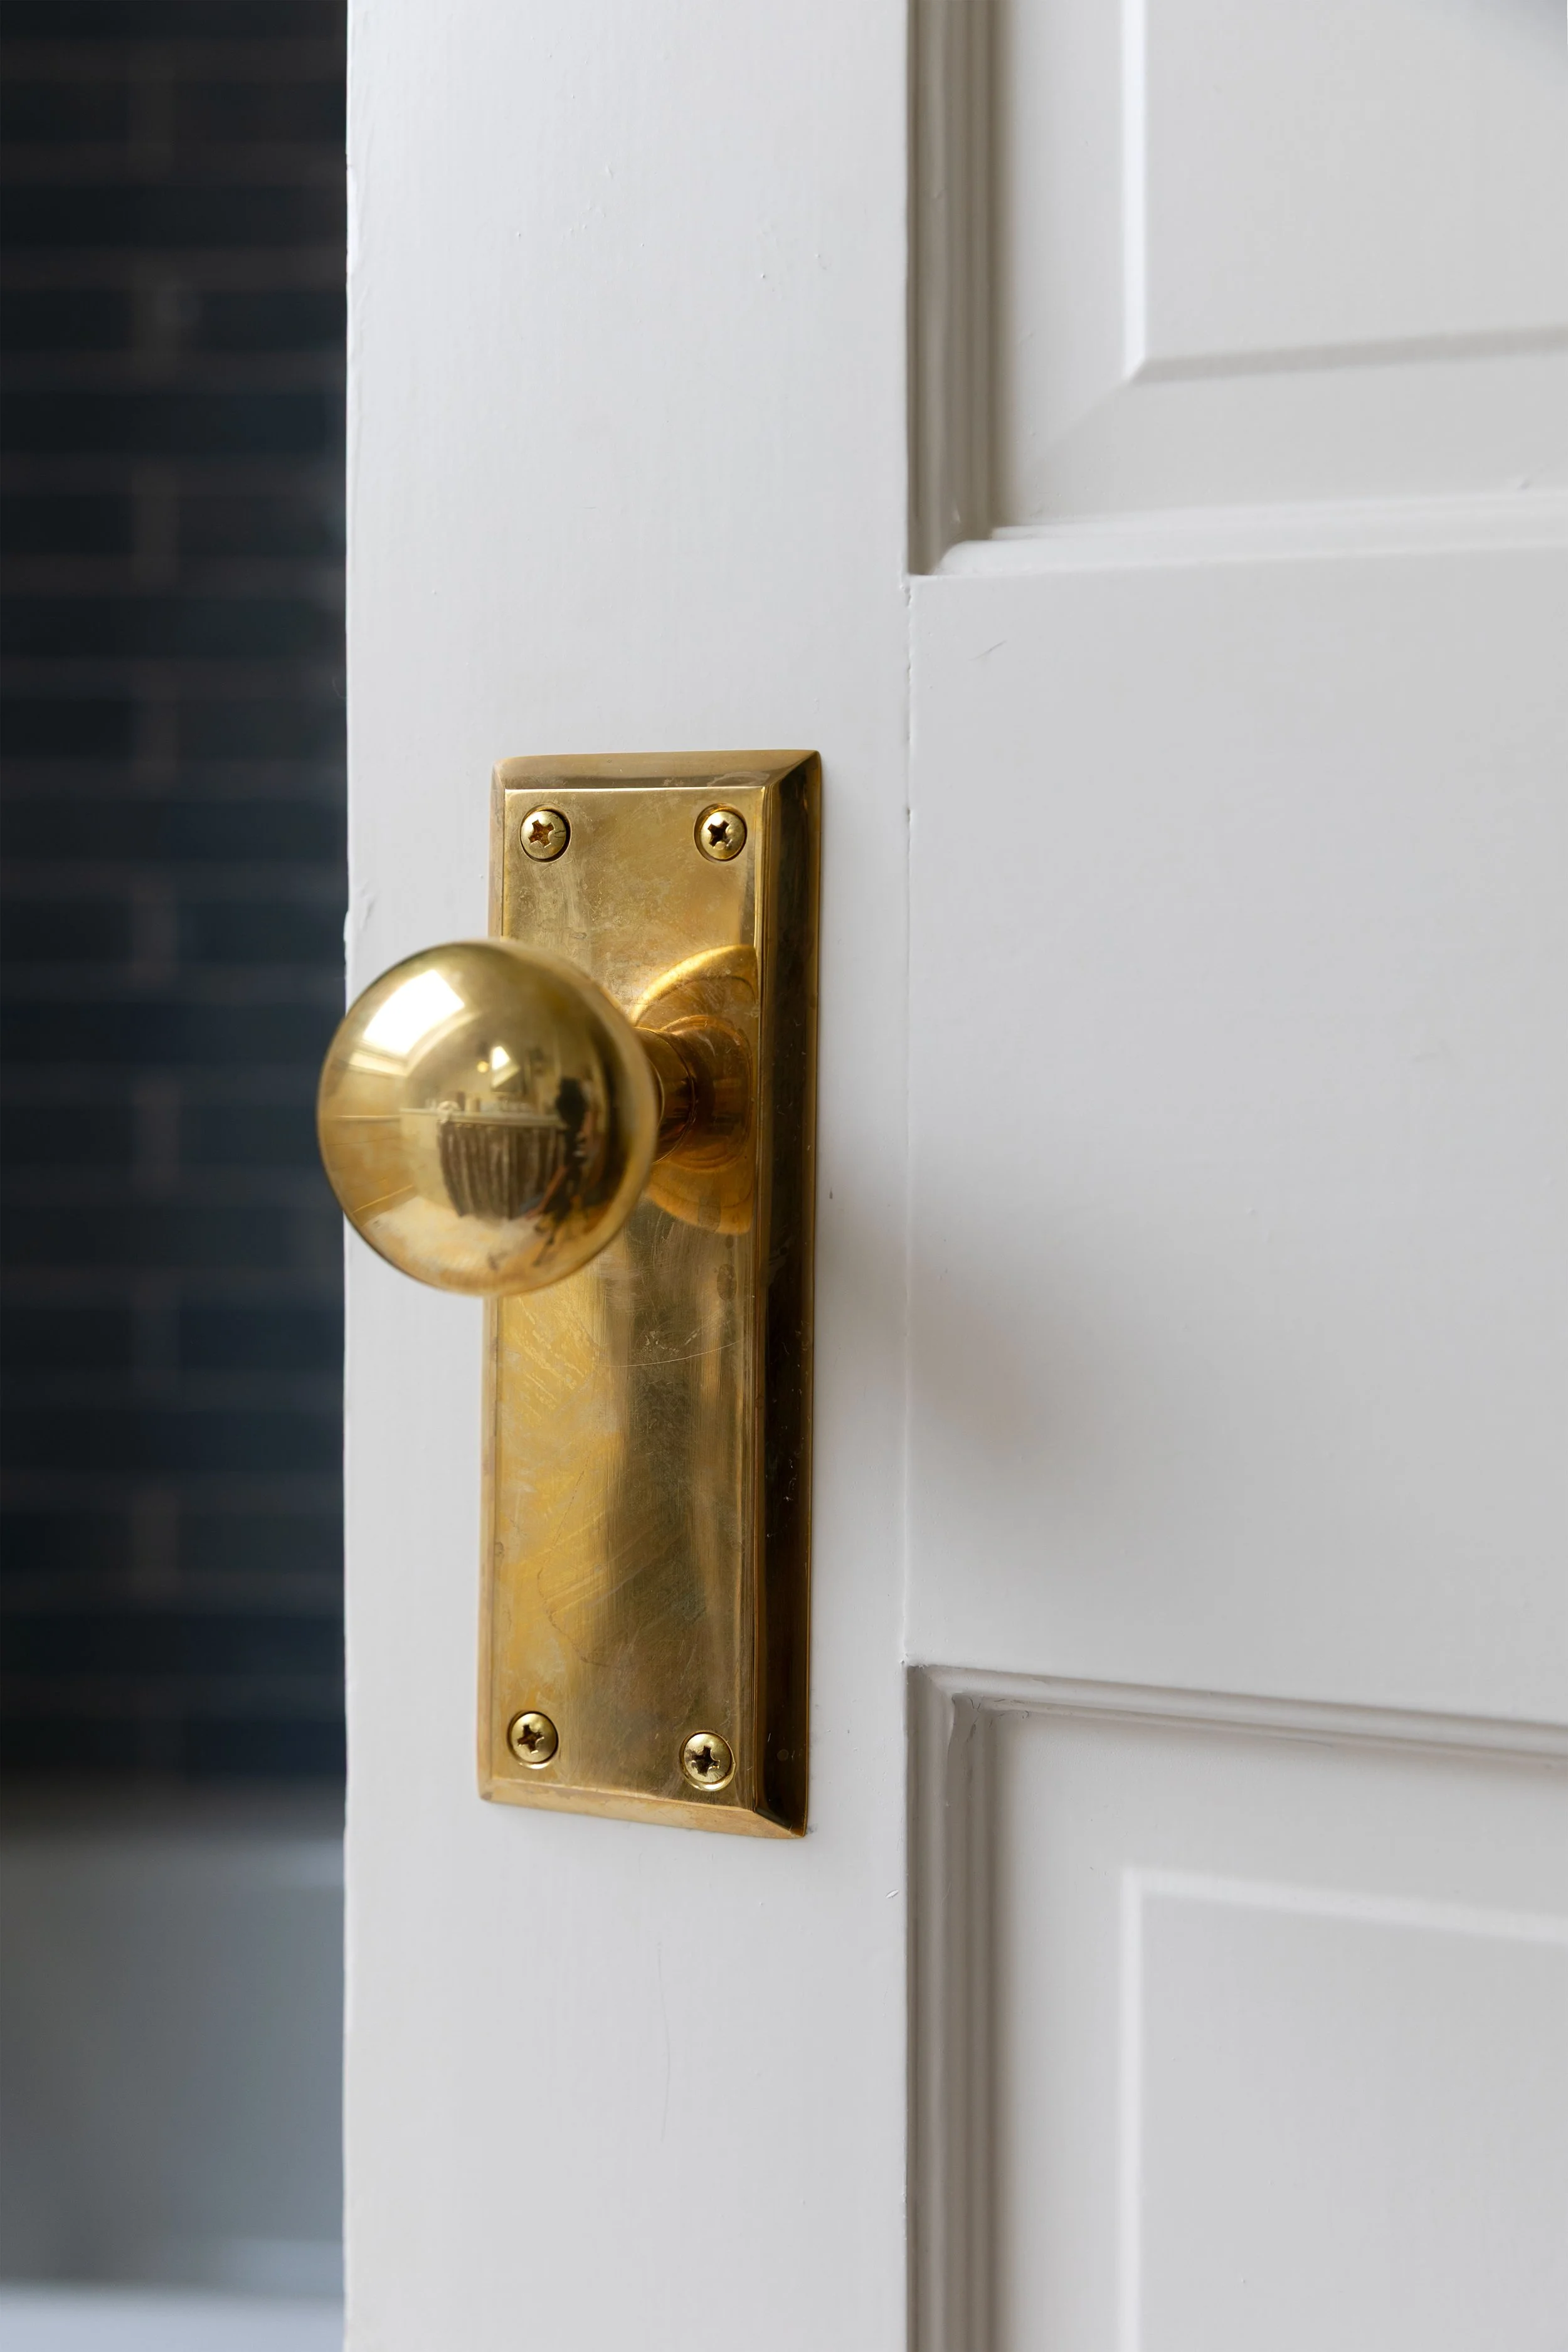
And yes, I know our new doorknob plate ended up a little wonky (tilted a bit). That’s just how it goes sometimes when you’re working with old doors ;) Honestly, I think it’s kind of charming.
One important caveat before you start: this is the method we used on our solid unlacquered brass Nostalgic Warehouse doorknobs, and I wouldn’t automatically use it on every fixture labeled “unlacquered brass” or “living finish.” Some manufacturers have much more specific care instructions. Our California Faucets/Rejuvenation uncoated brass plumbing, for example, calls for Renaissance Wax and a soft cloth only - no abrasive cleaners or polishing pads. So always check the manufacturer’s care instructions first.
How to Restore Unlacquered Brass
Here’s exactly what we used to bring our unlacquered brass doorknobs back to their original bright finish. And one small thing I’d do differently next time.
What We Used
We used three things:
Brasso metal polish
Renaissance Wax for protection
Our Renaissance Wax came bundled with Pixiss polishing pads. Those are optional, and after doing a little more digging, you really don’t need both Brasso and a polishing pad. They’re both doing some version of the same job: removing tarnish and polishing the metal. I’d start with Brasso and only use the Pixiss pad lightly if stubborn tarnish remains. More on that below.
What We Did
A quick note before you start: your brass should be clean and dry before applying either the Brasso or wax. We used water and a microfiber cloth, but if yours needs a little more cleaning, use a small amount of gentle soap and warm water, then dry it thoroughly.
Step 1: Polish With Brasso
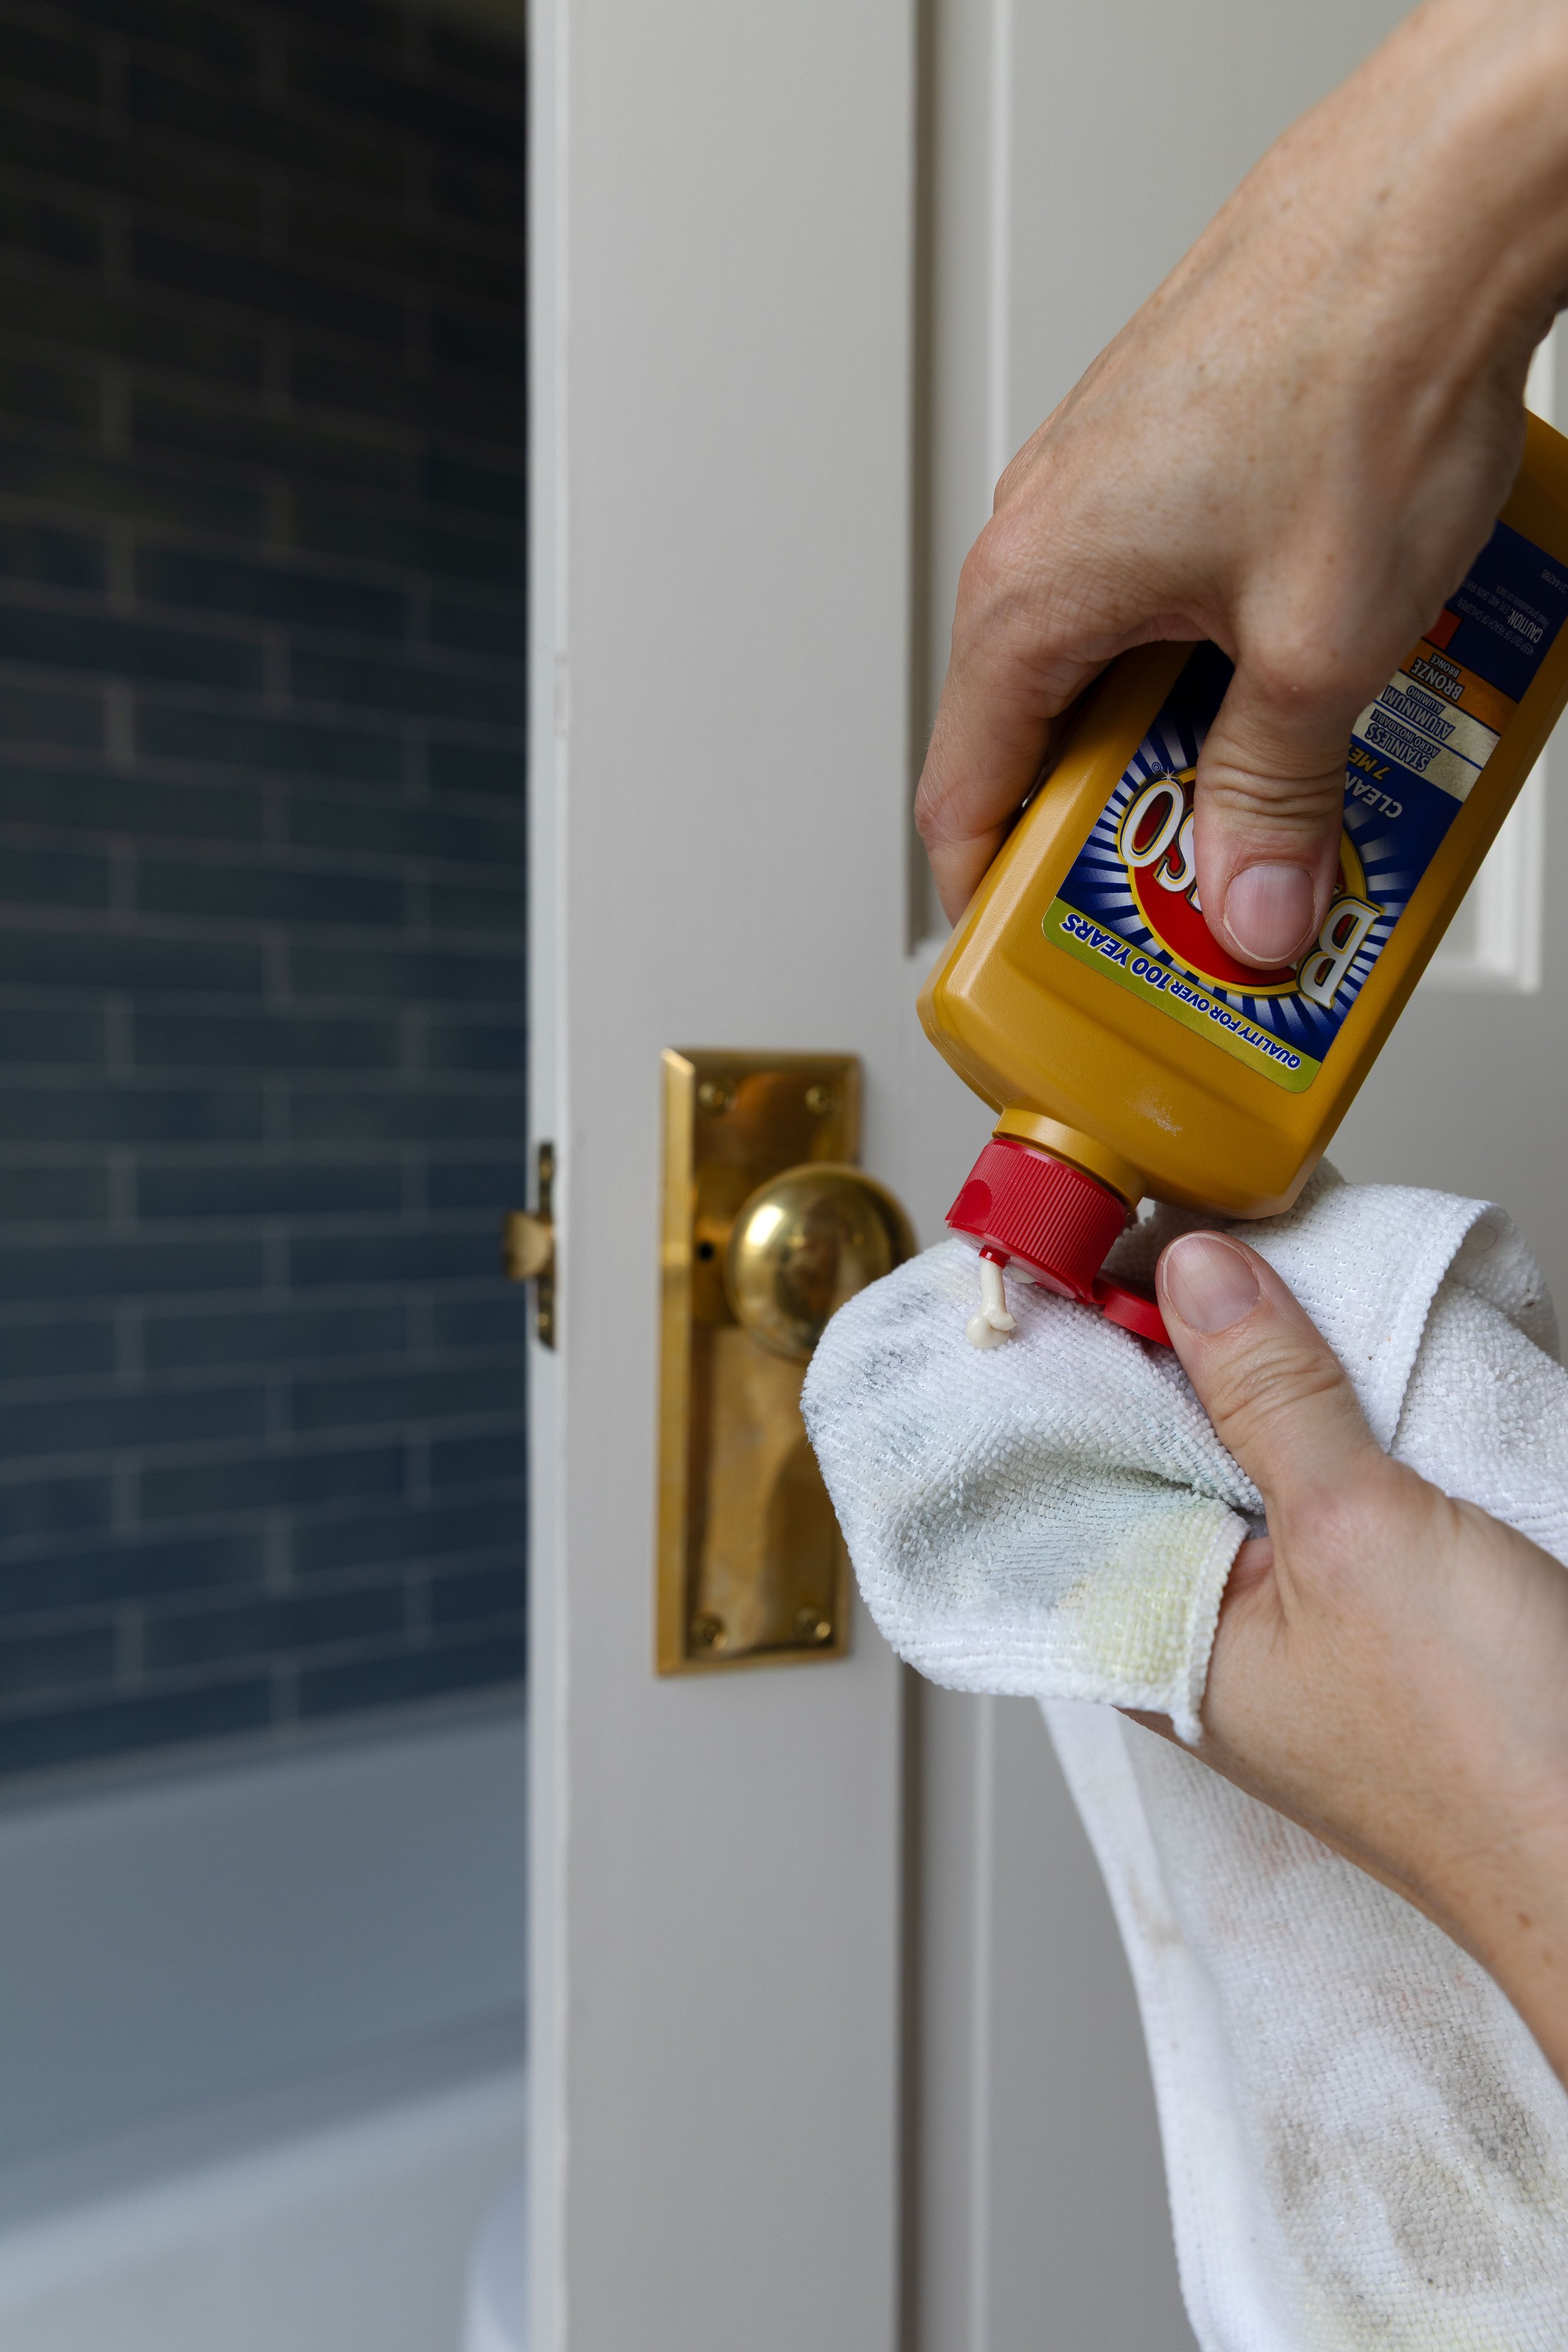
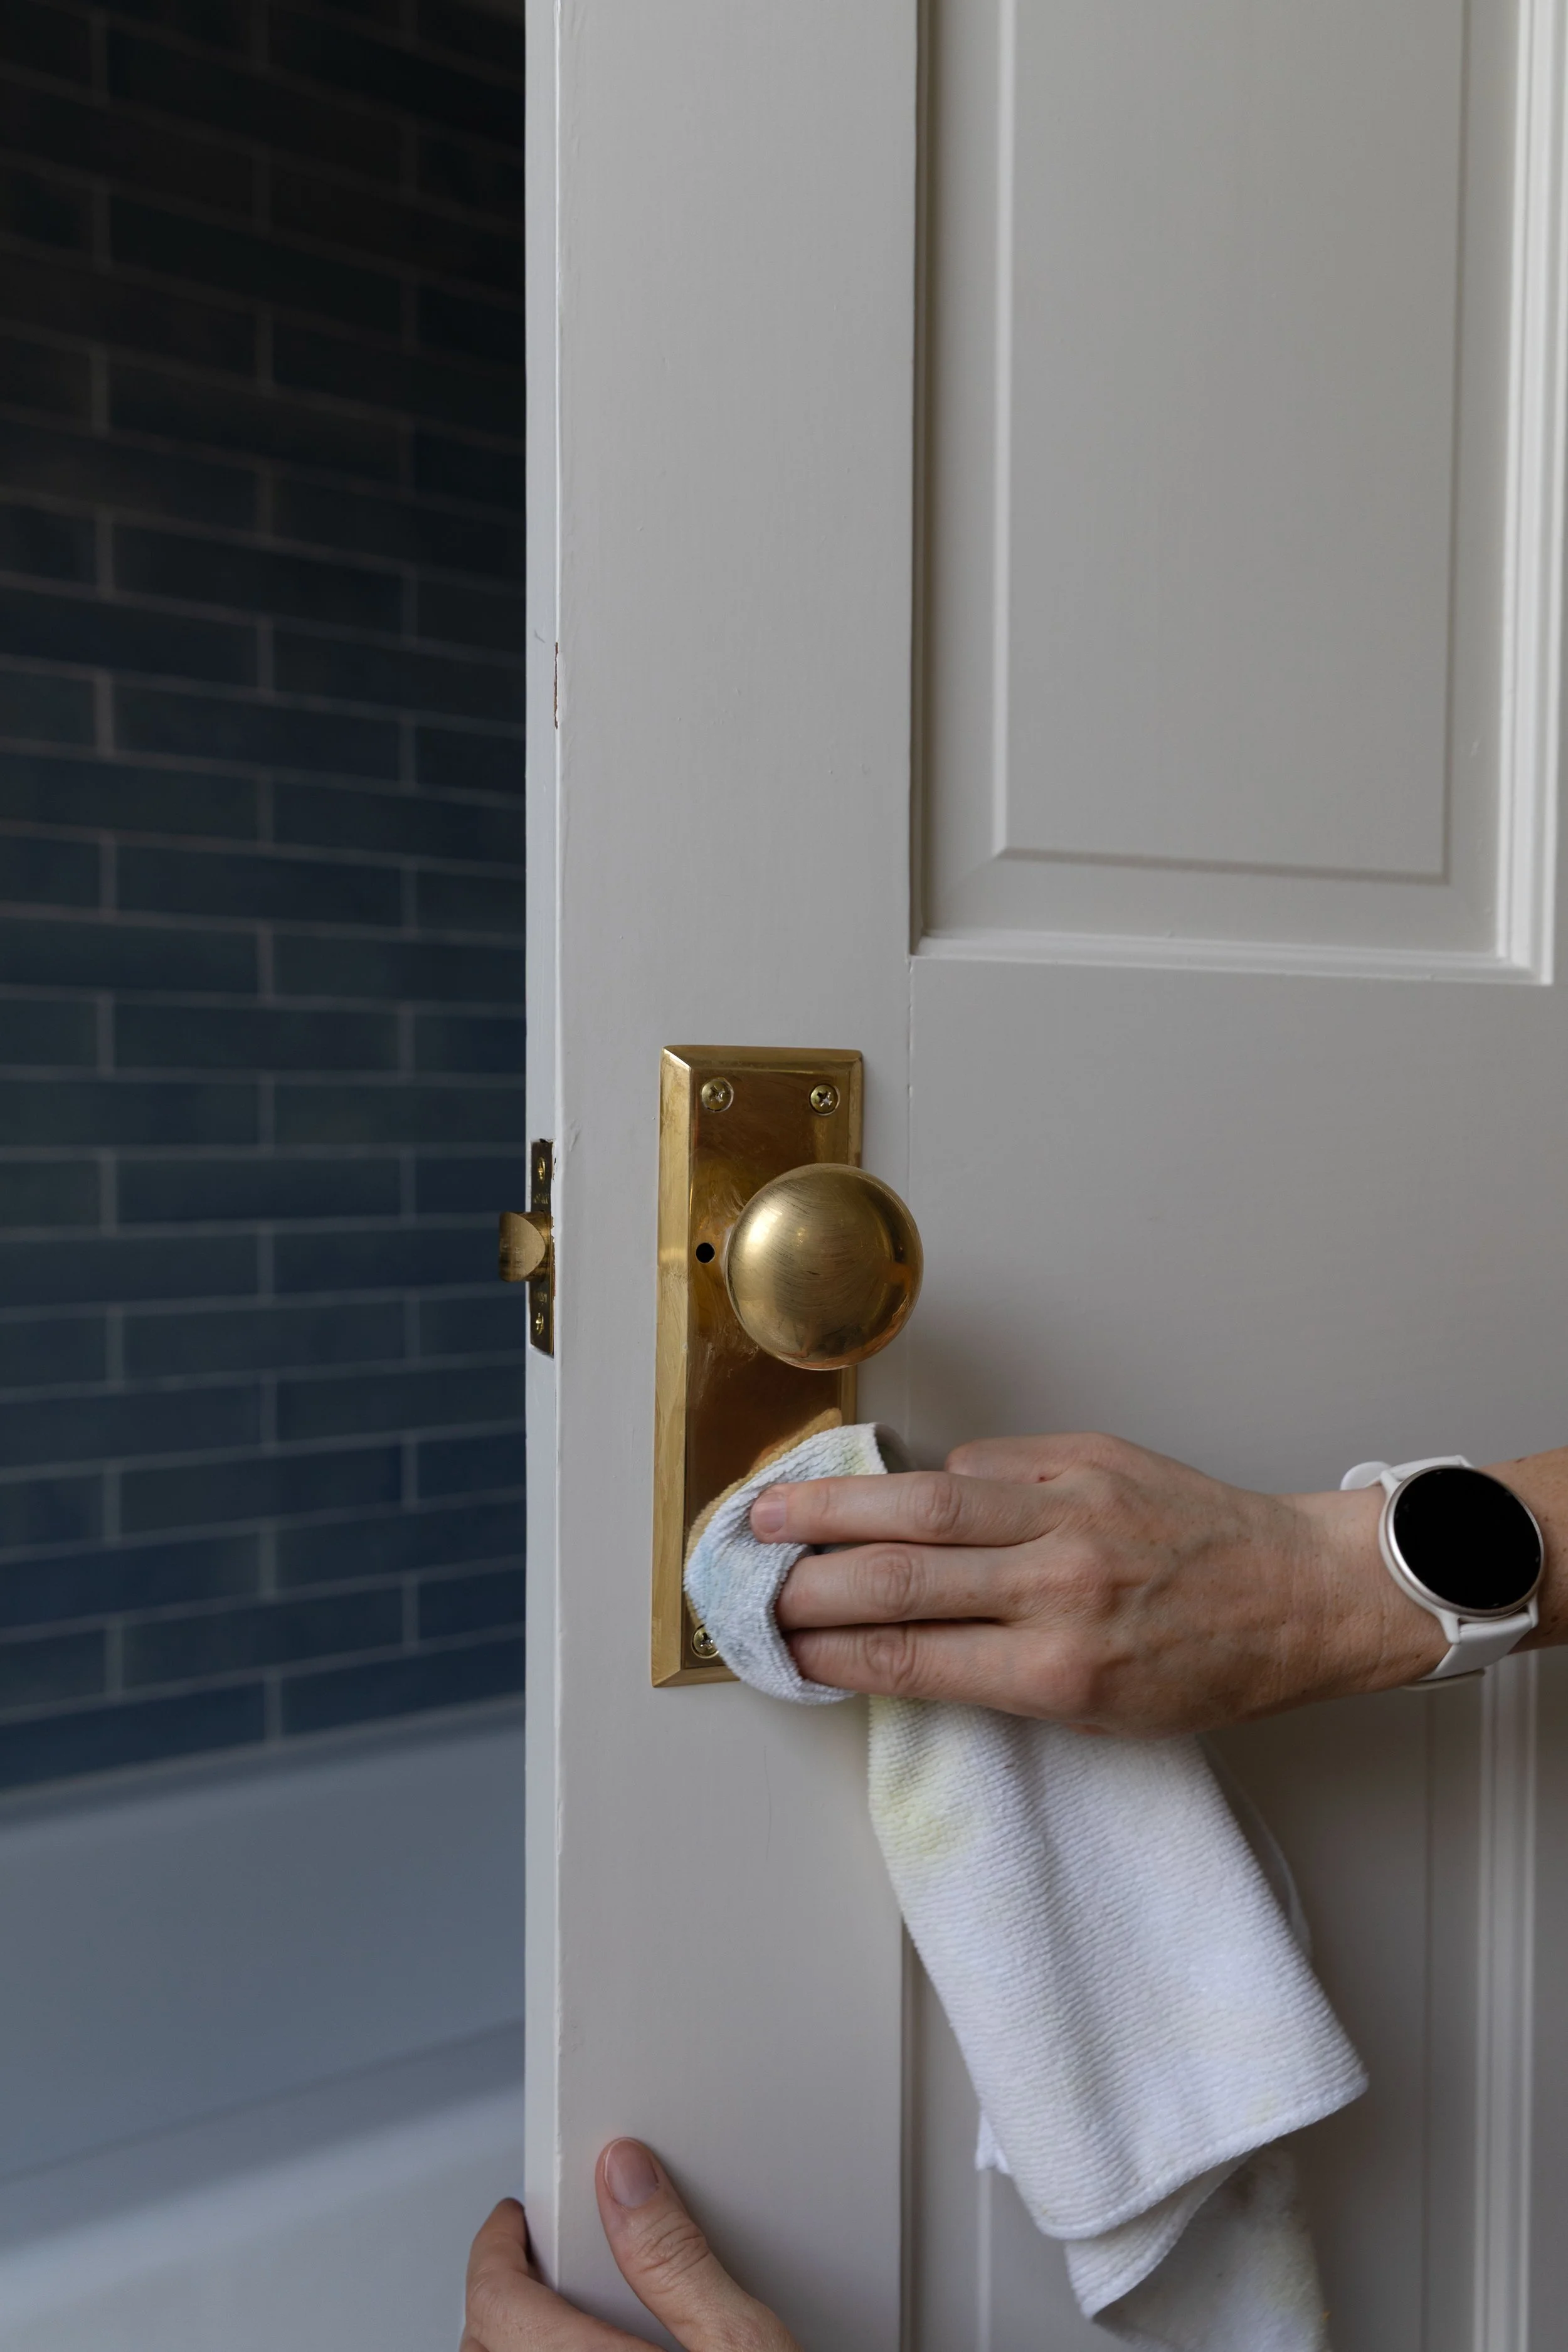
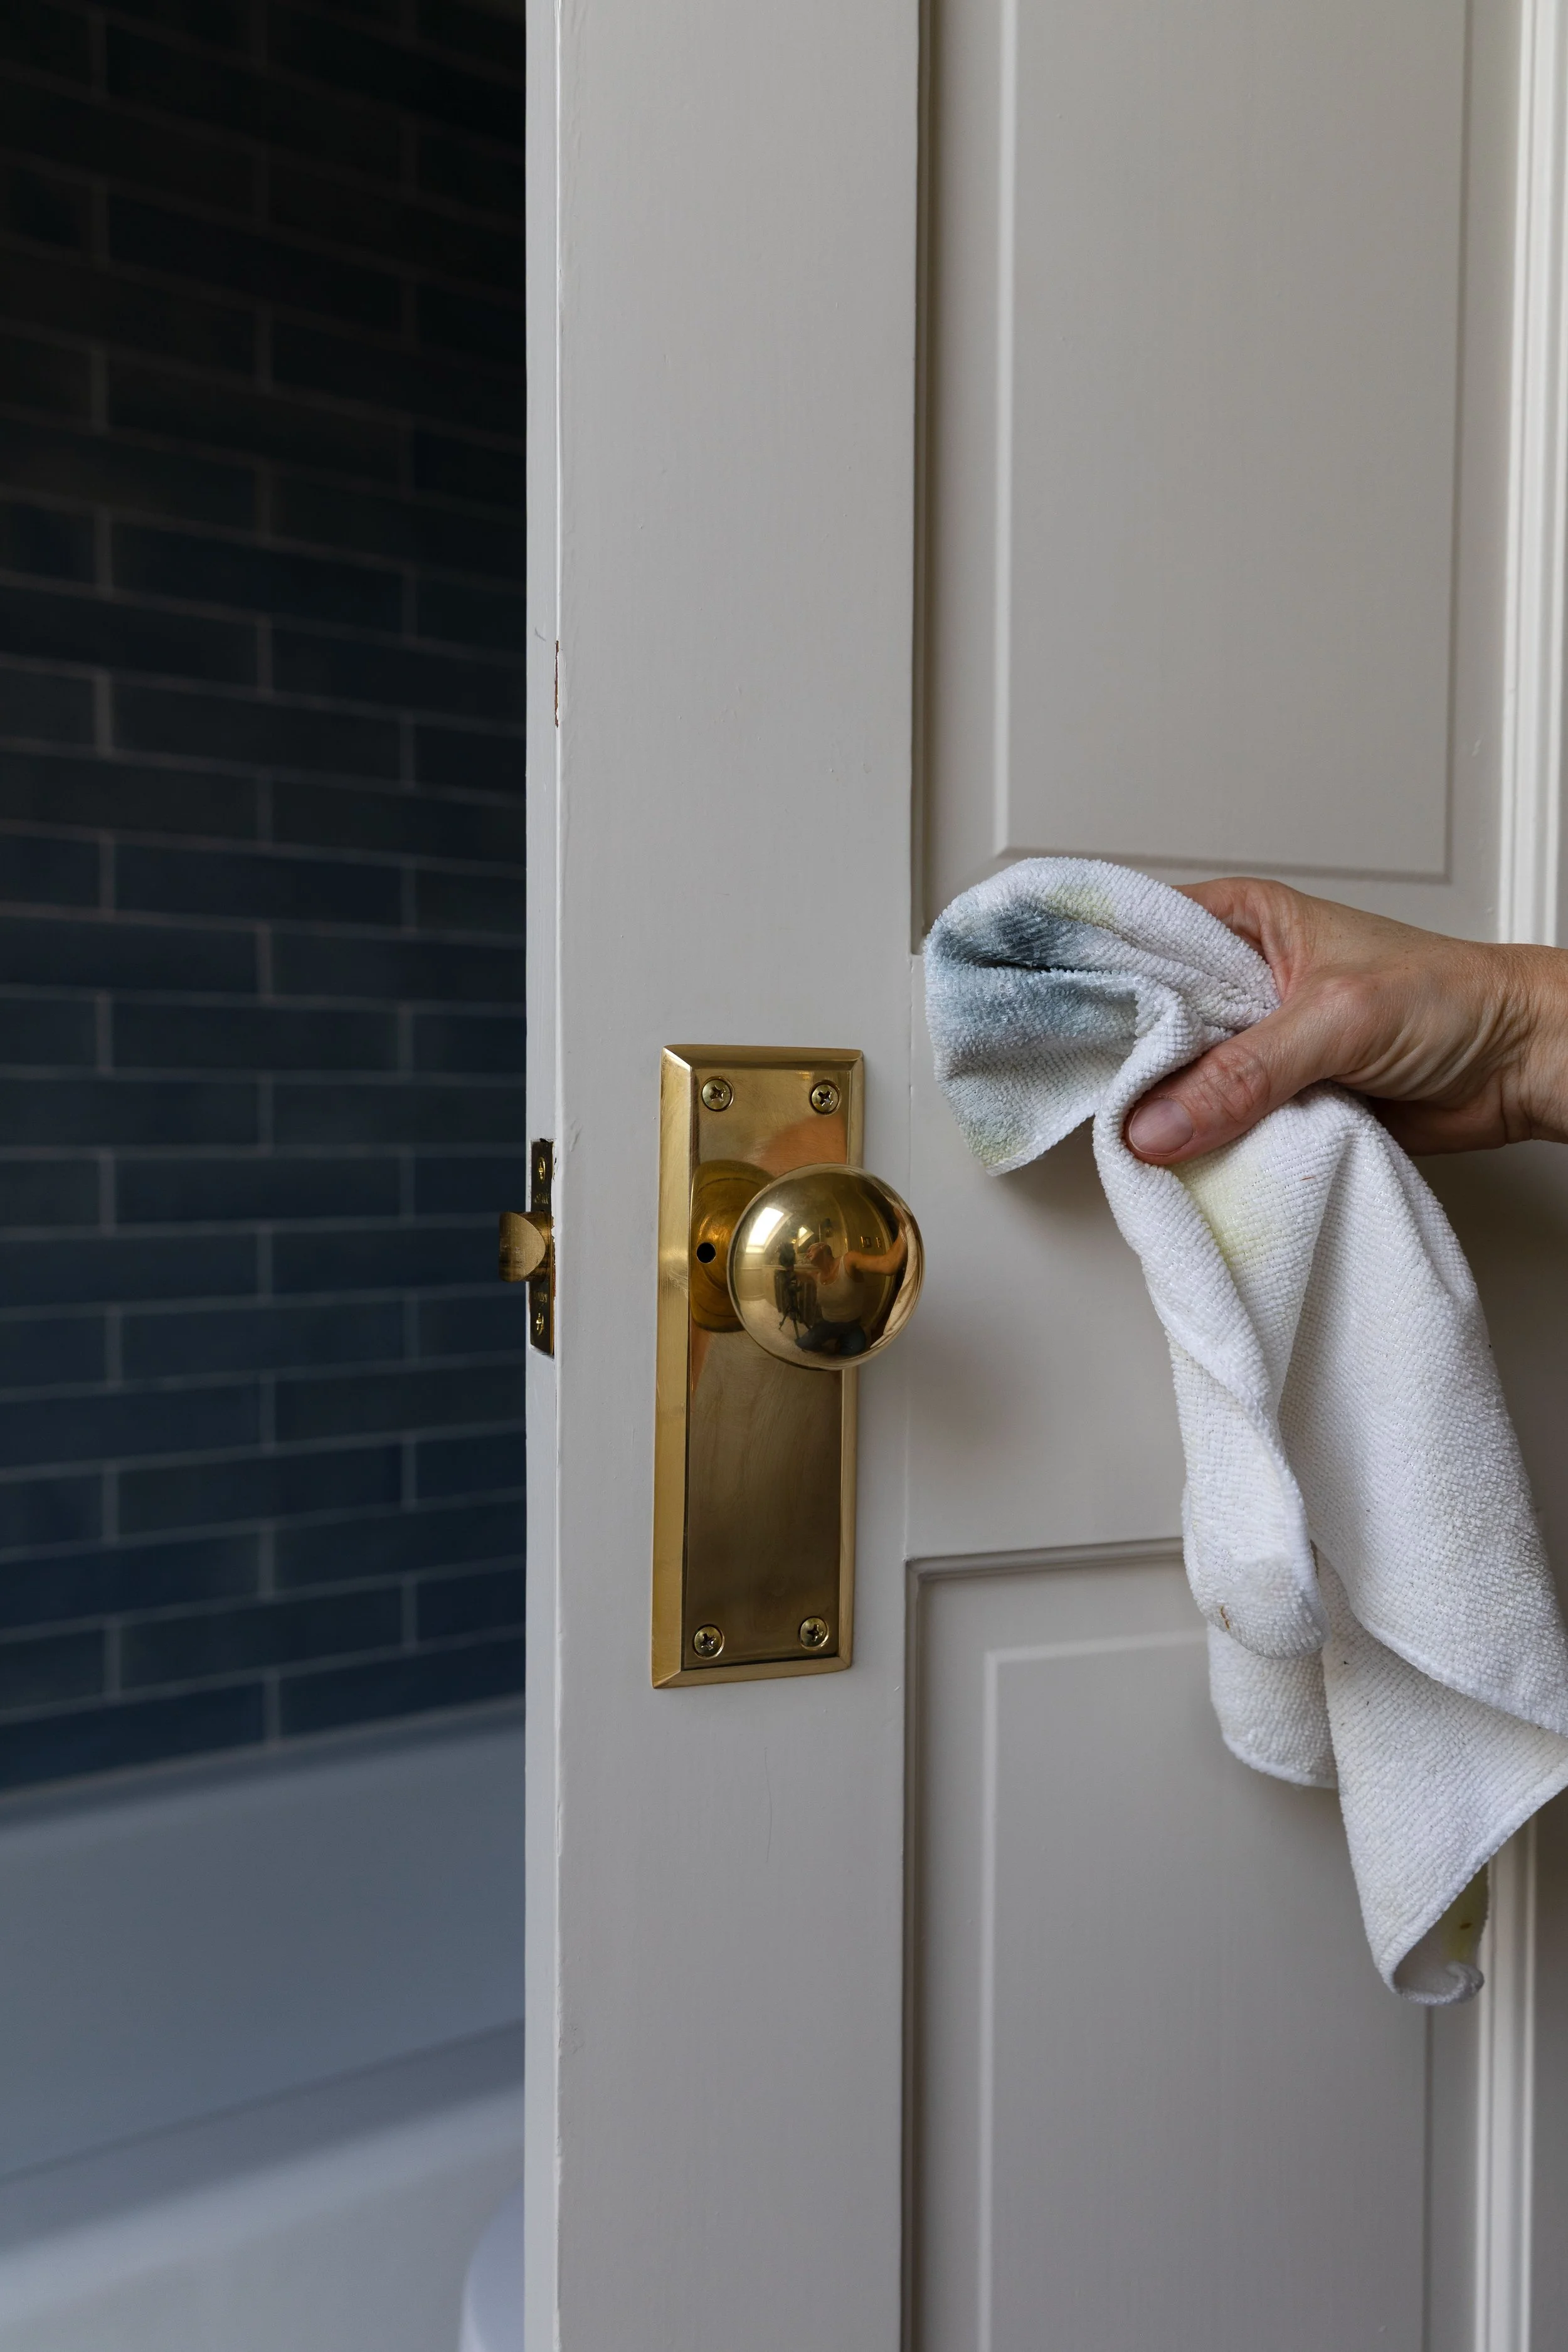
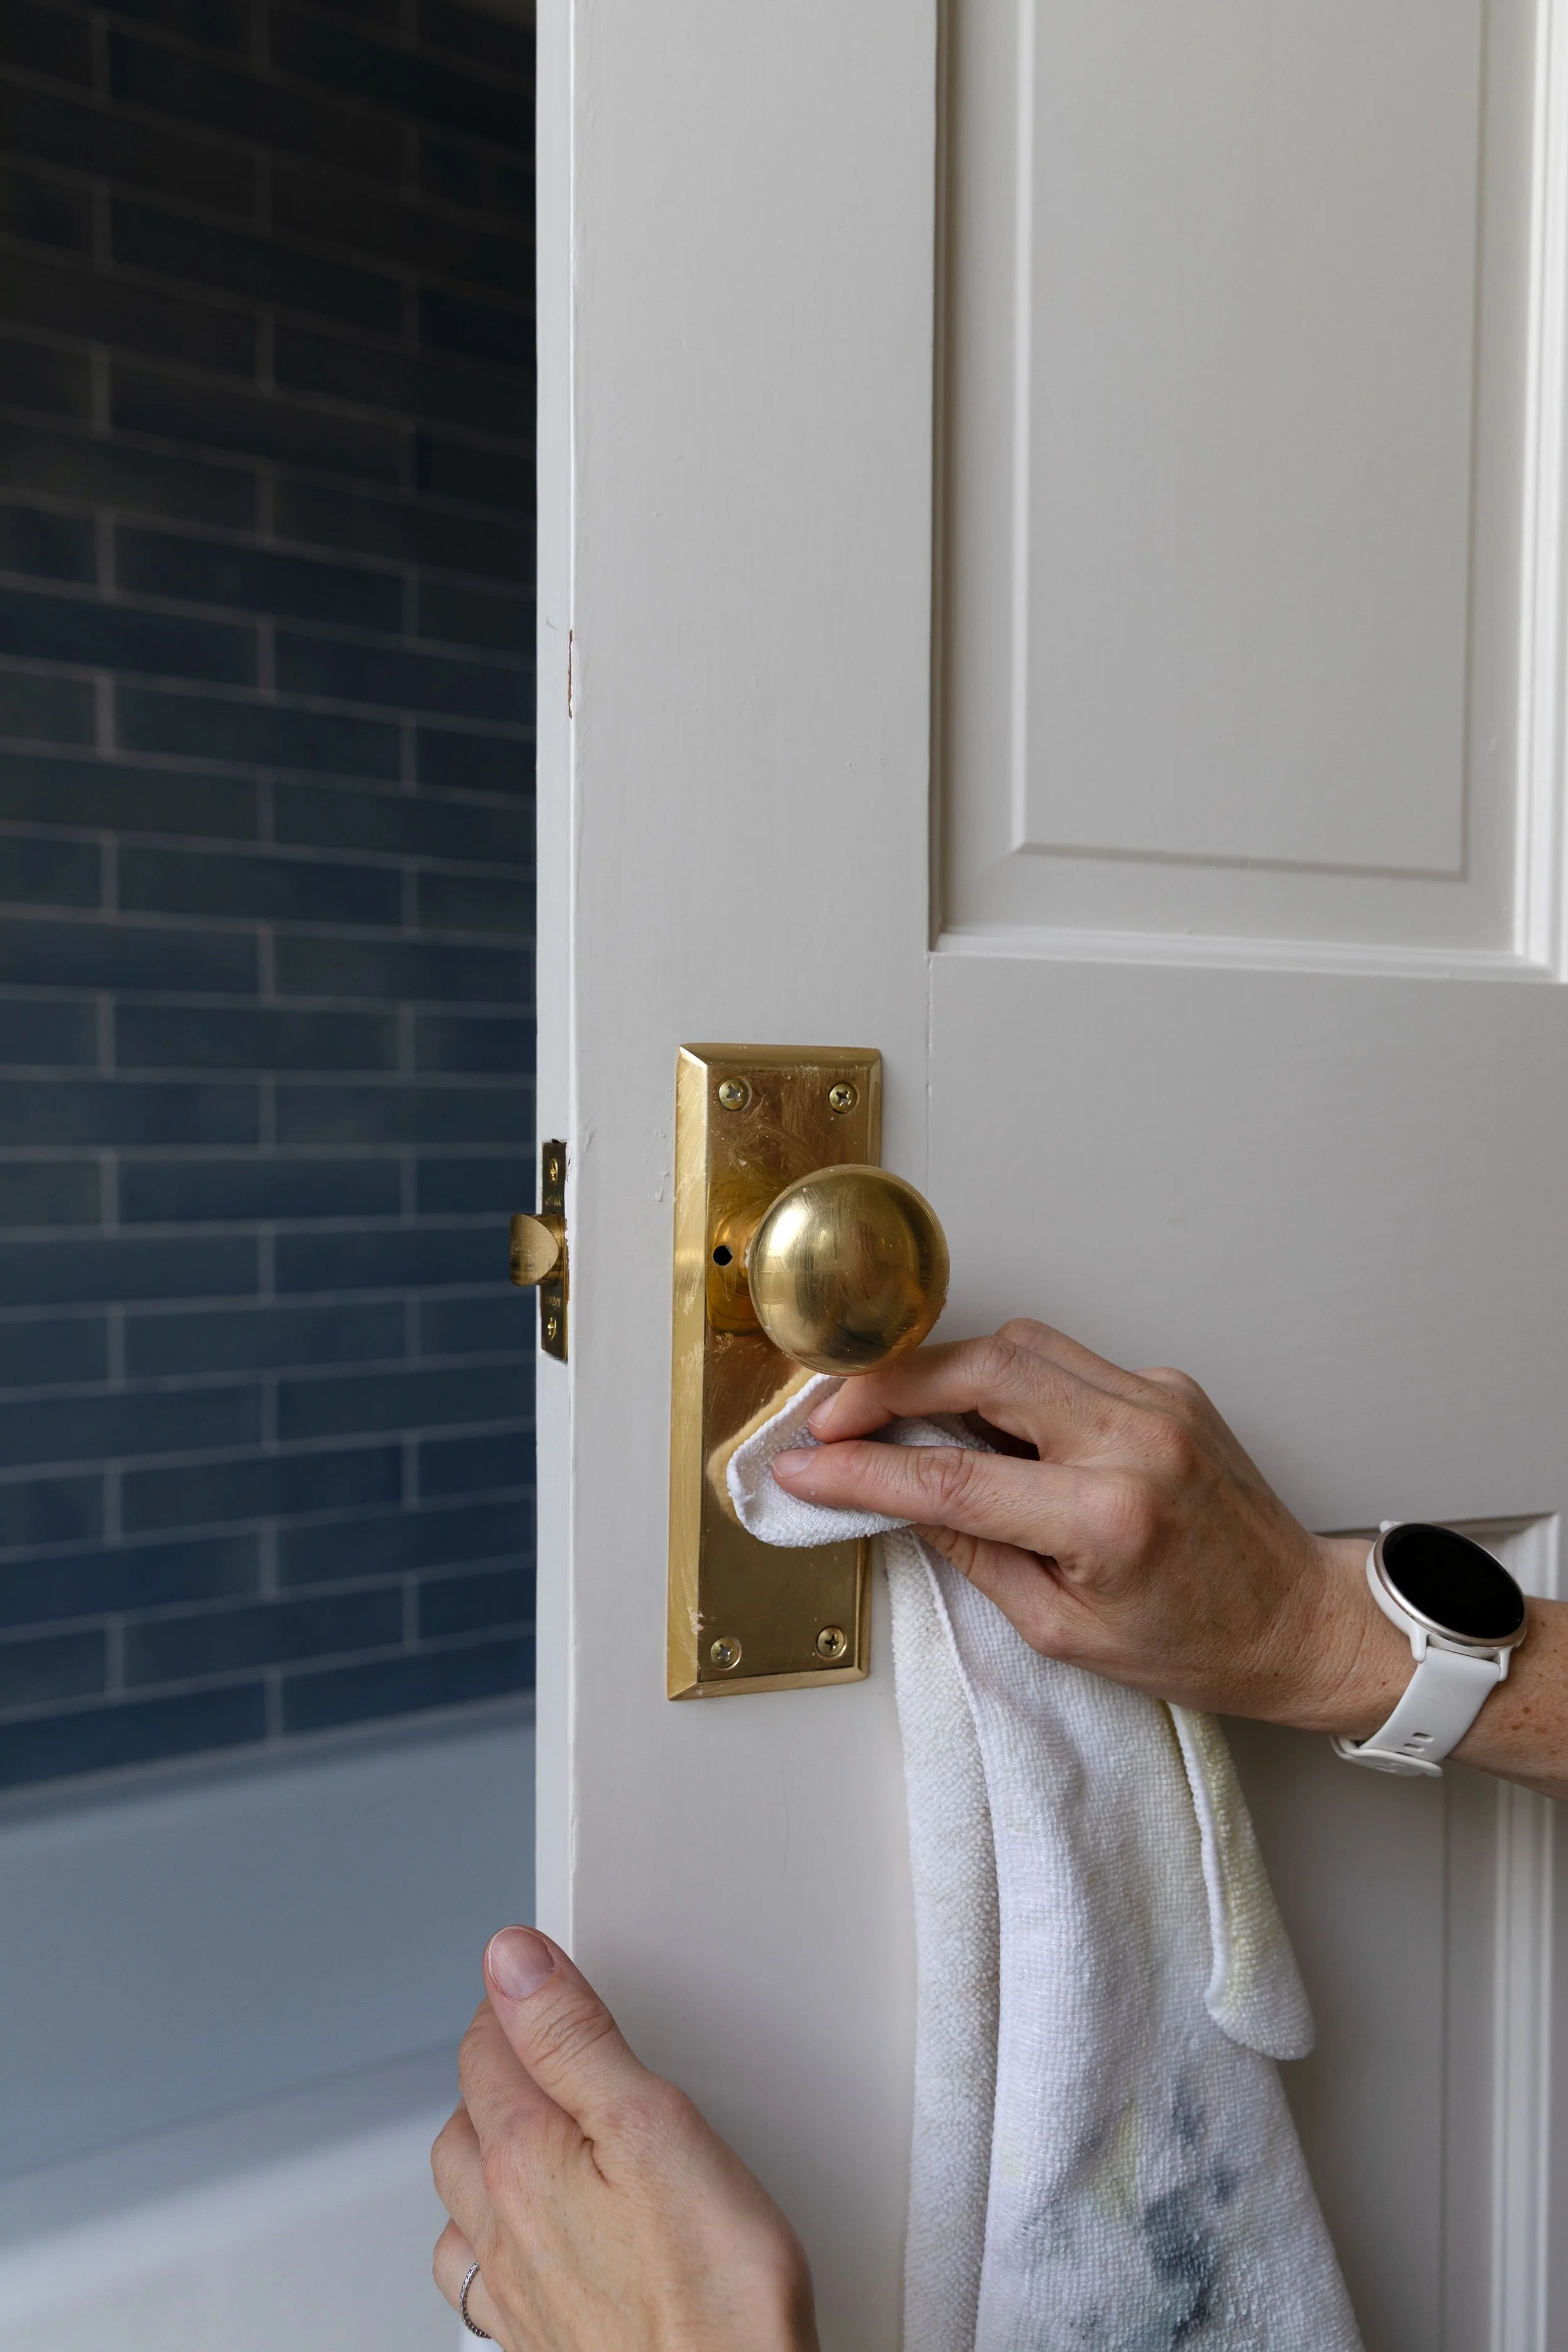
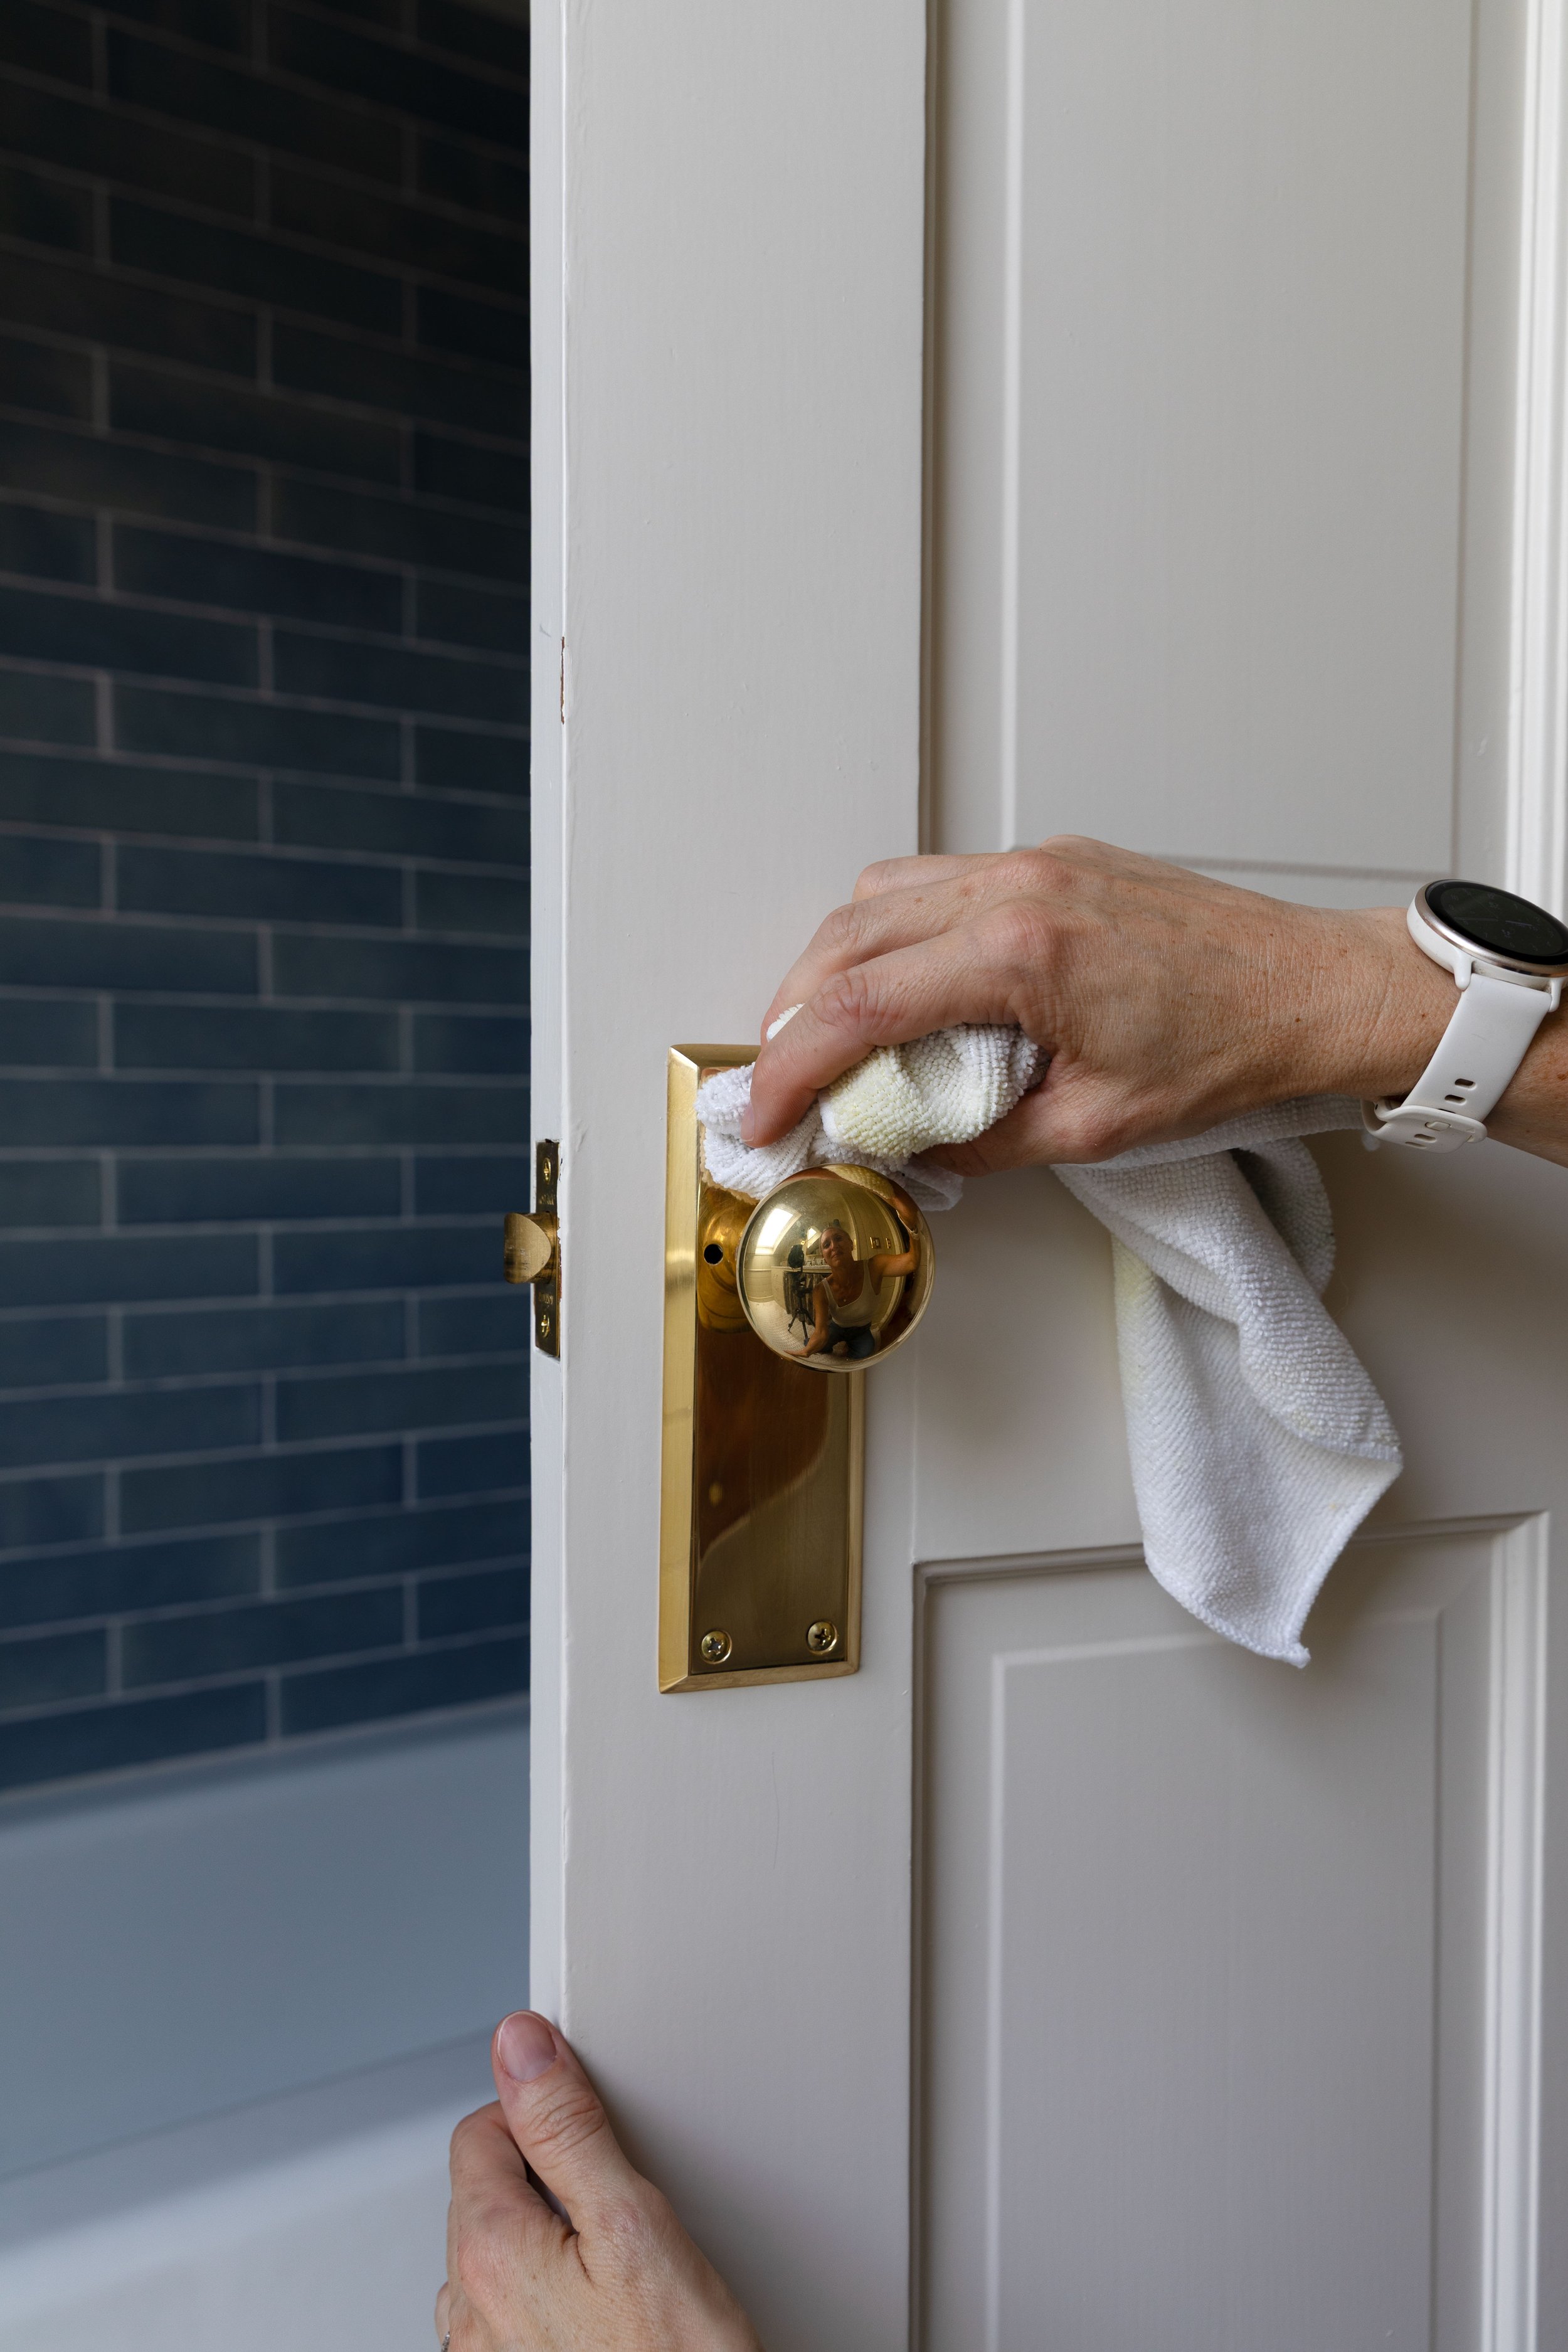
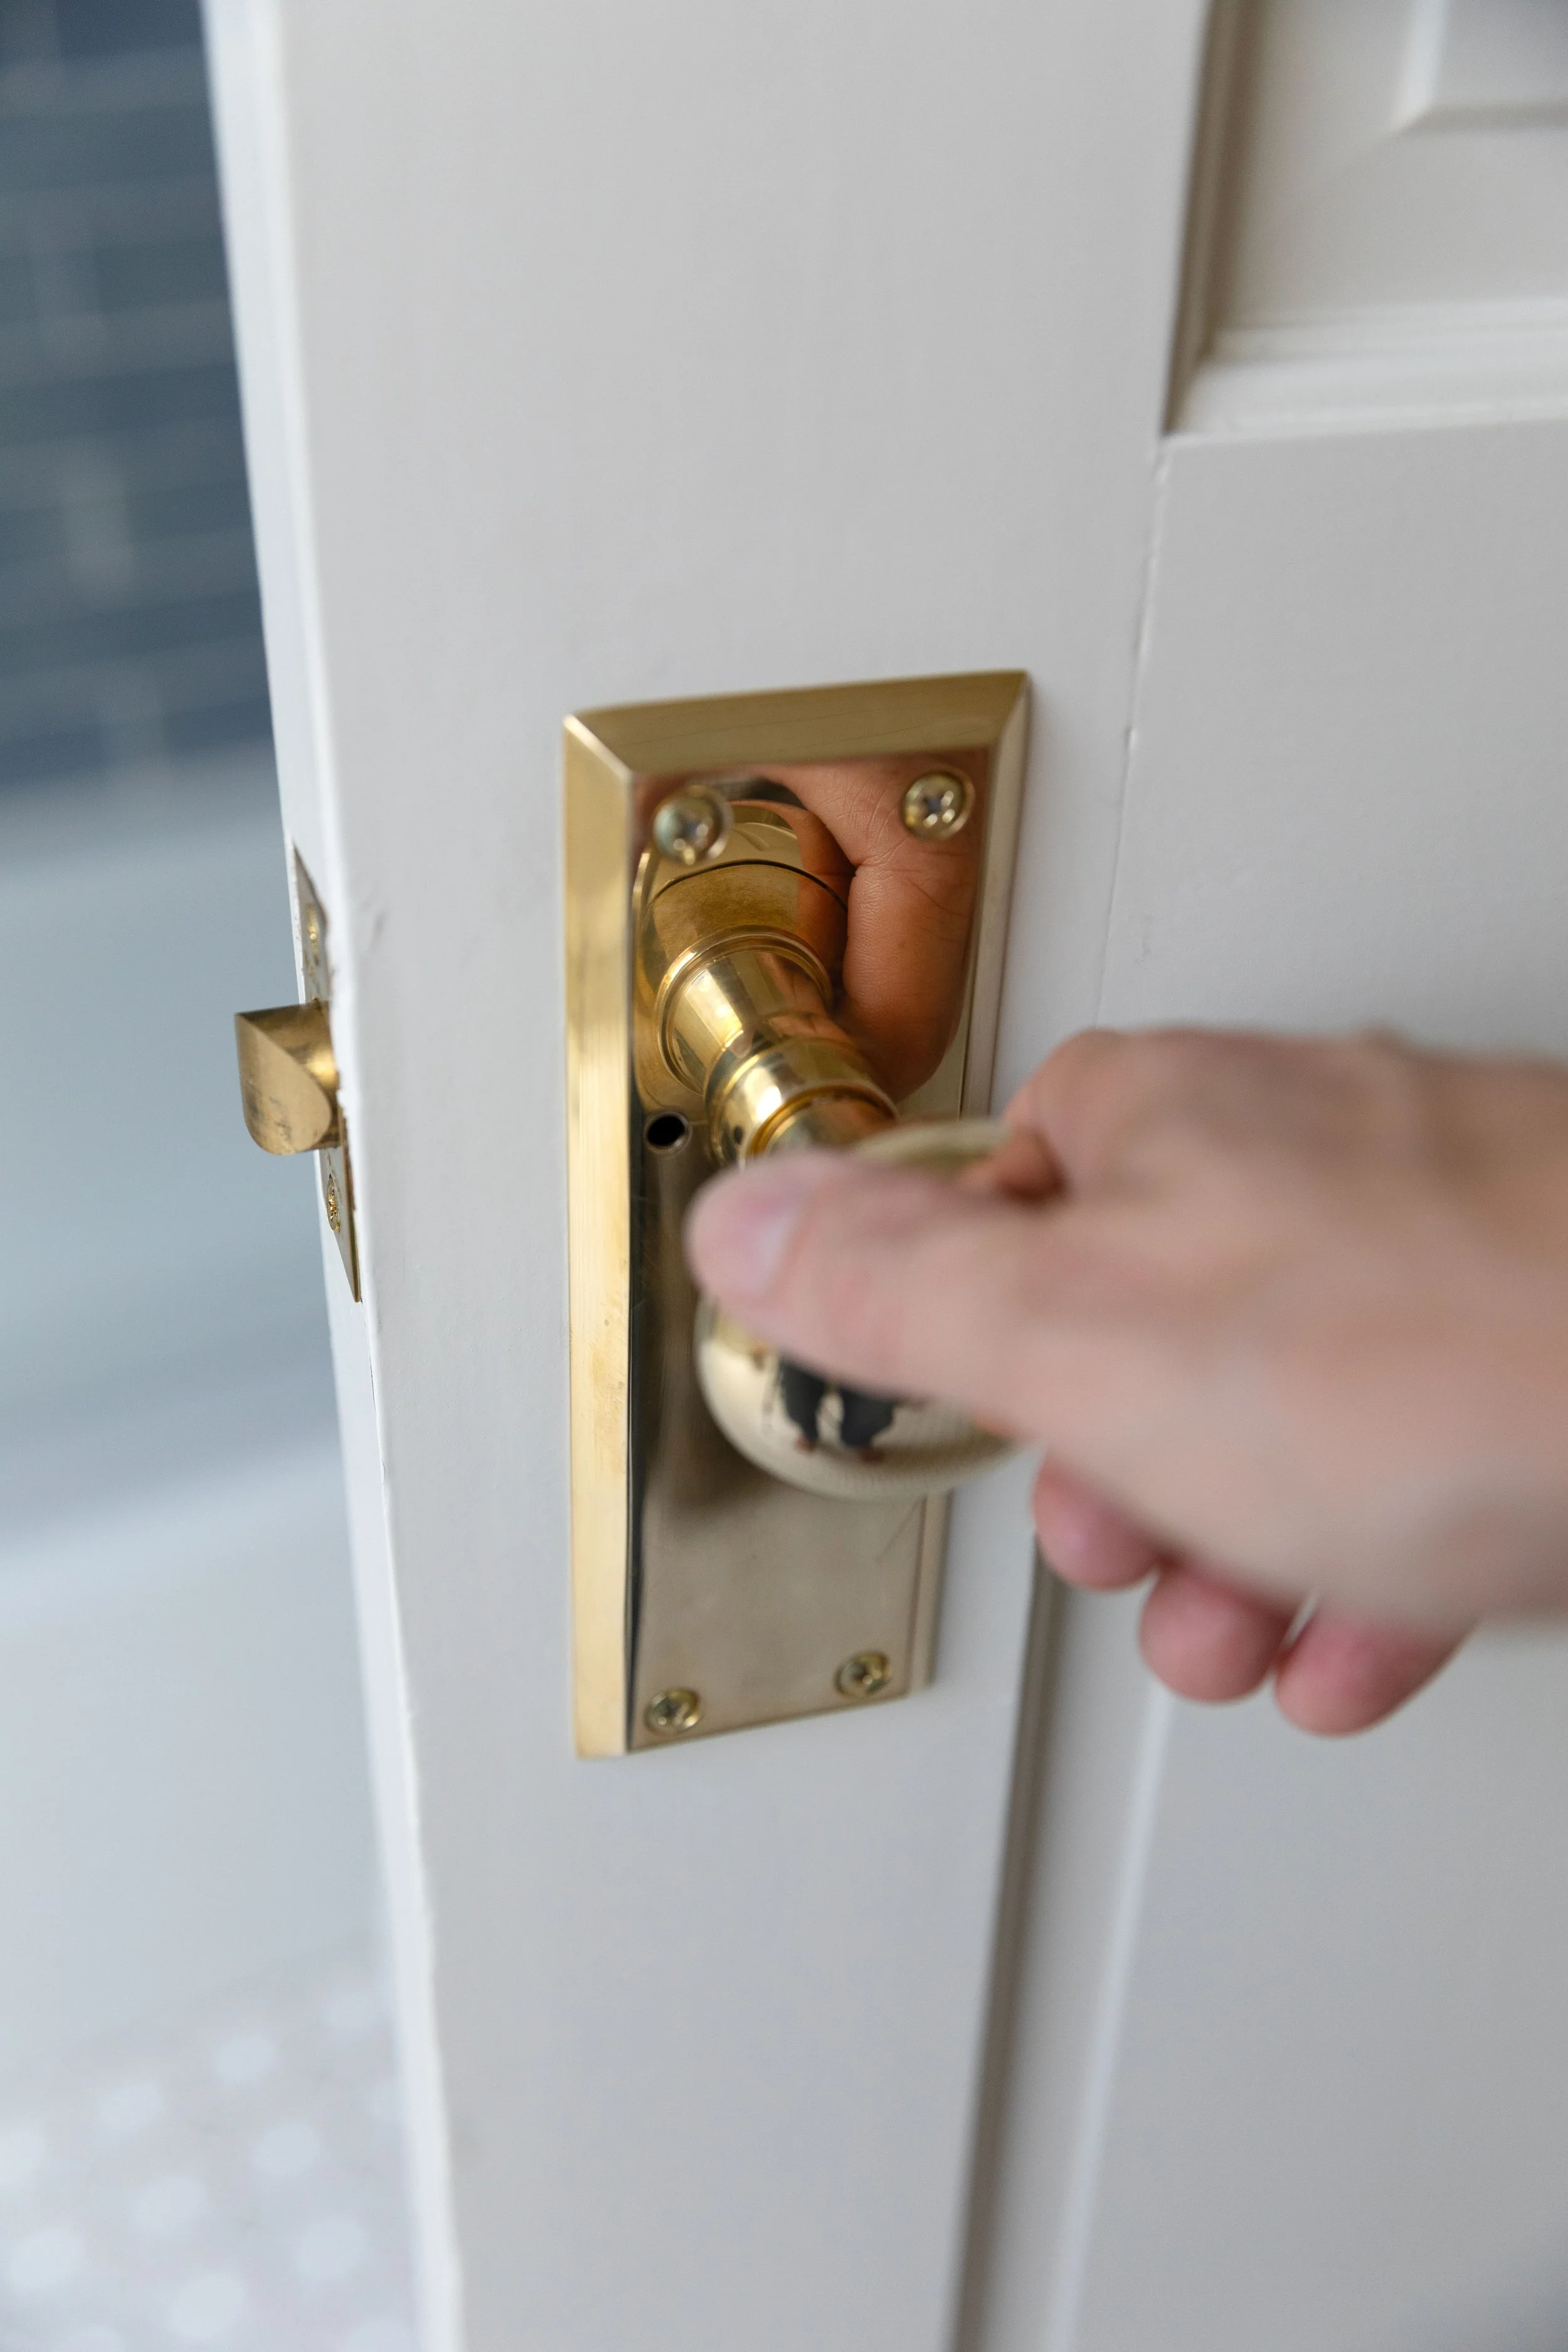
First, I applied Brasso with a microfiber cloth, gently rubbing it over the brass. I let it sit for about a minute, at which point it looked like a hazy film sitting on the surface (you can see that in the second photo below).
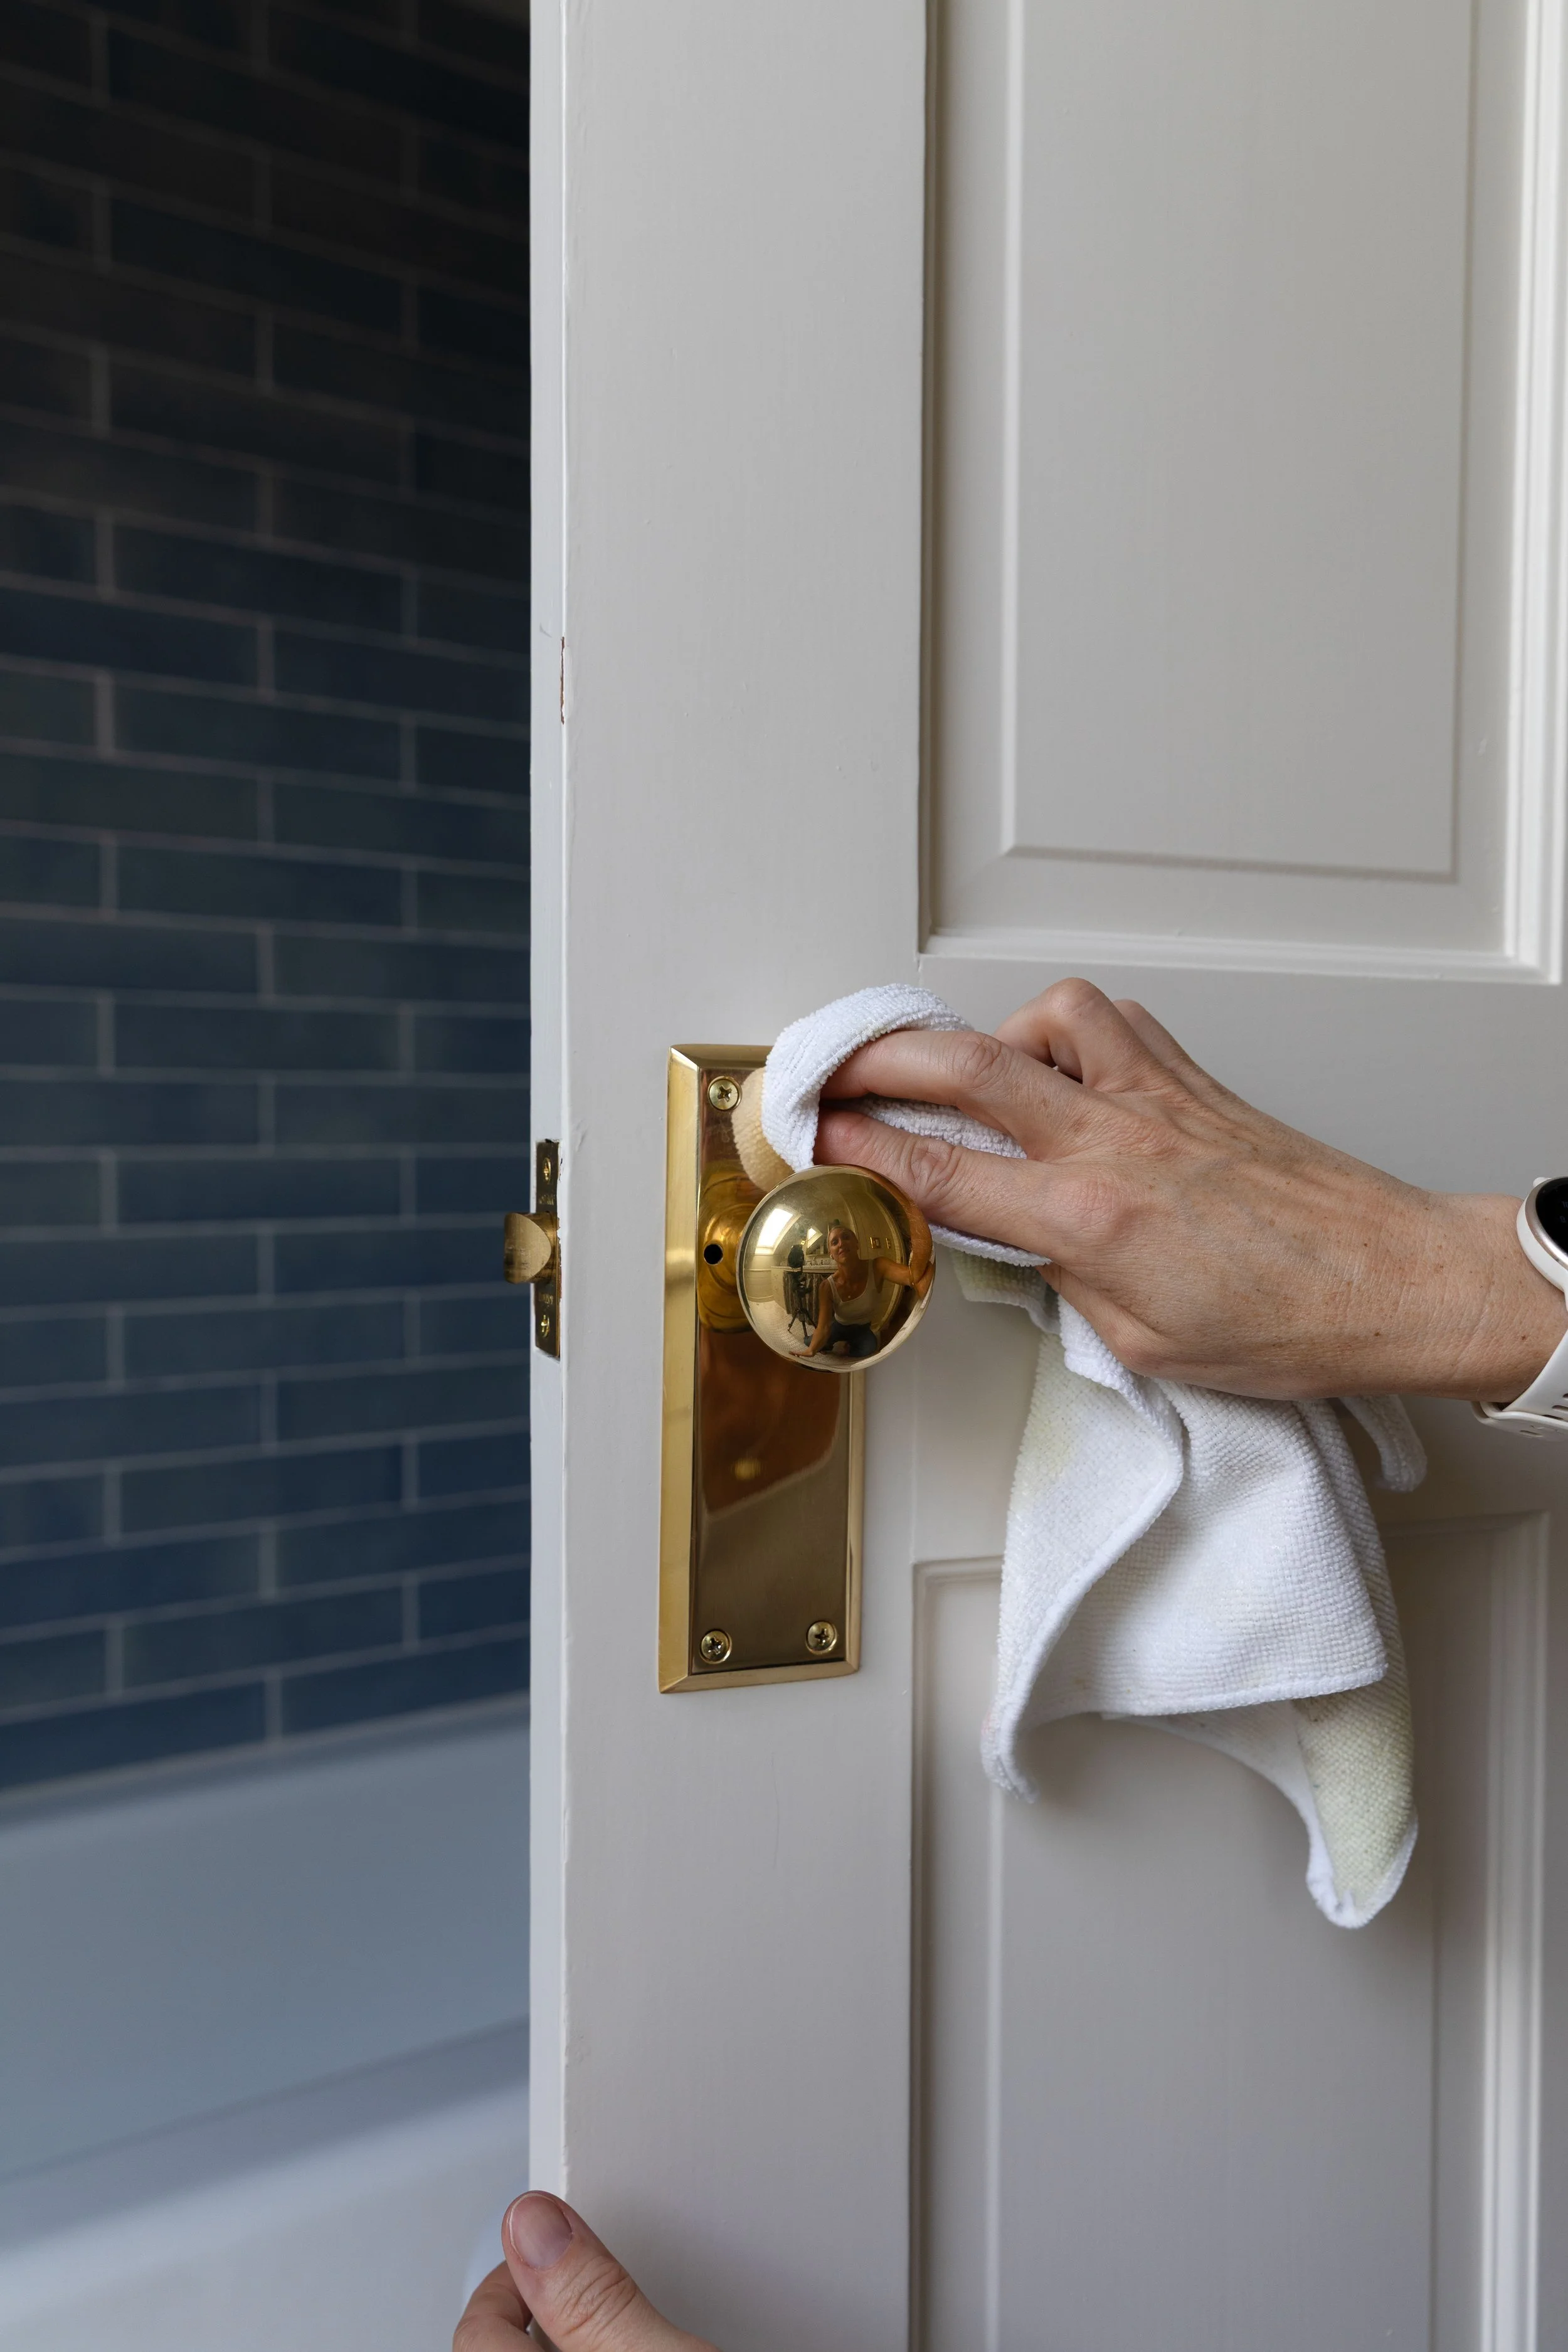
Then I rubbed the Brasso off with a clean section of the cloth. I spent a little extra time on the areas with the heaviest patina and wear, reapplying Brasso where needed and polishing until the finish looked even.
You guys! It worked so well.
Within a few minutes, the brass was bright and shiny again and most of the age and patina had disappeared. It looked remarkably close to the way these knobs looked when we first installed them.
Optional Step: a Polishing Pad
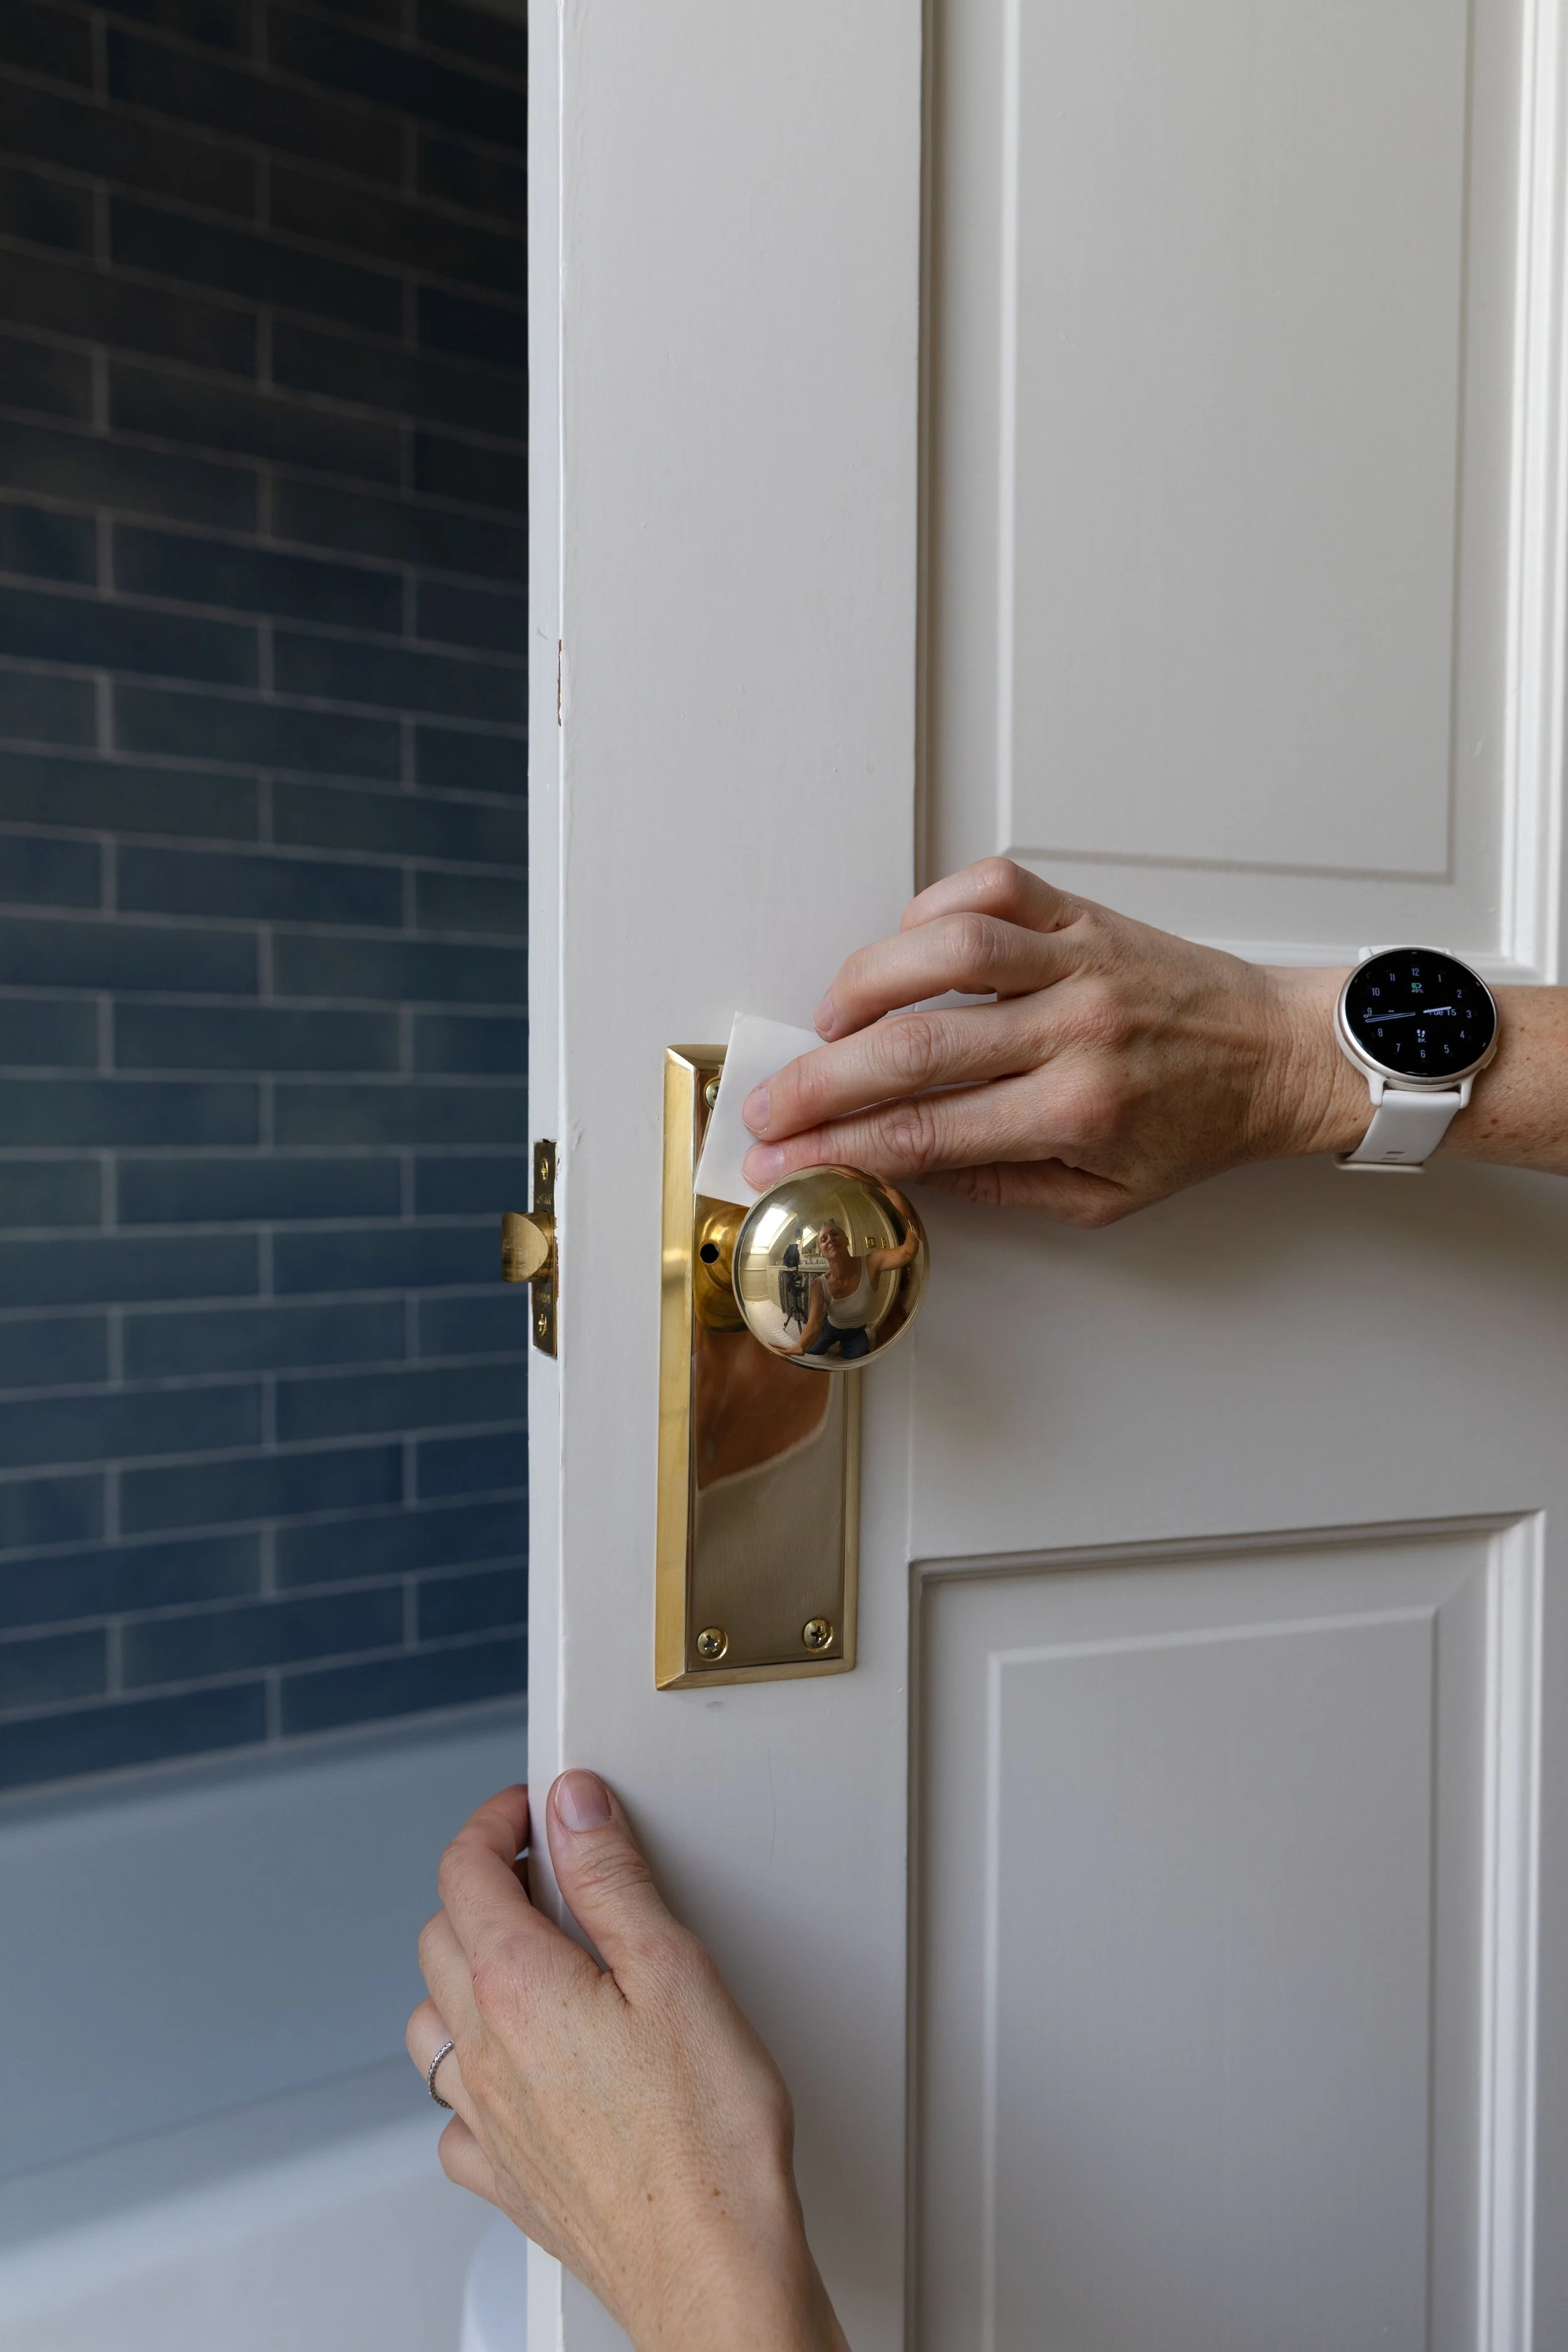
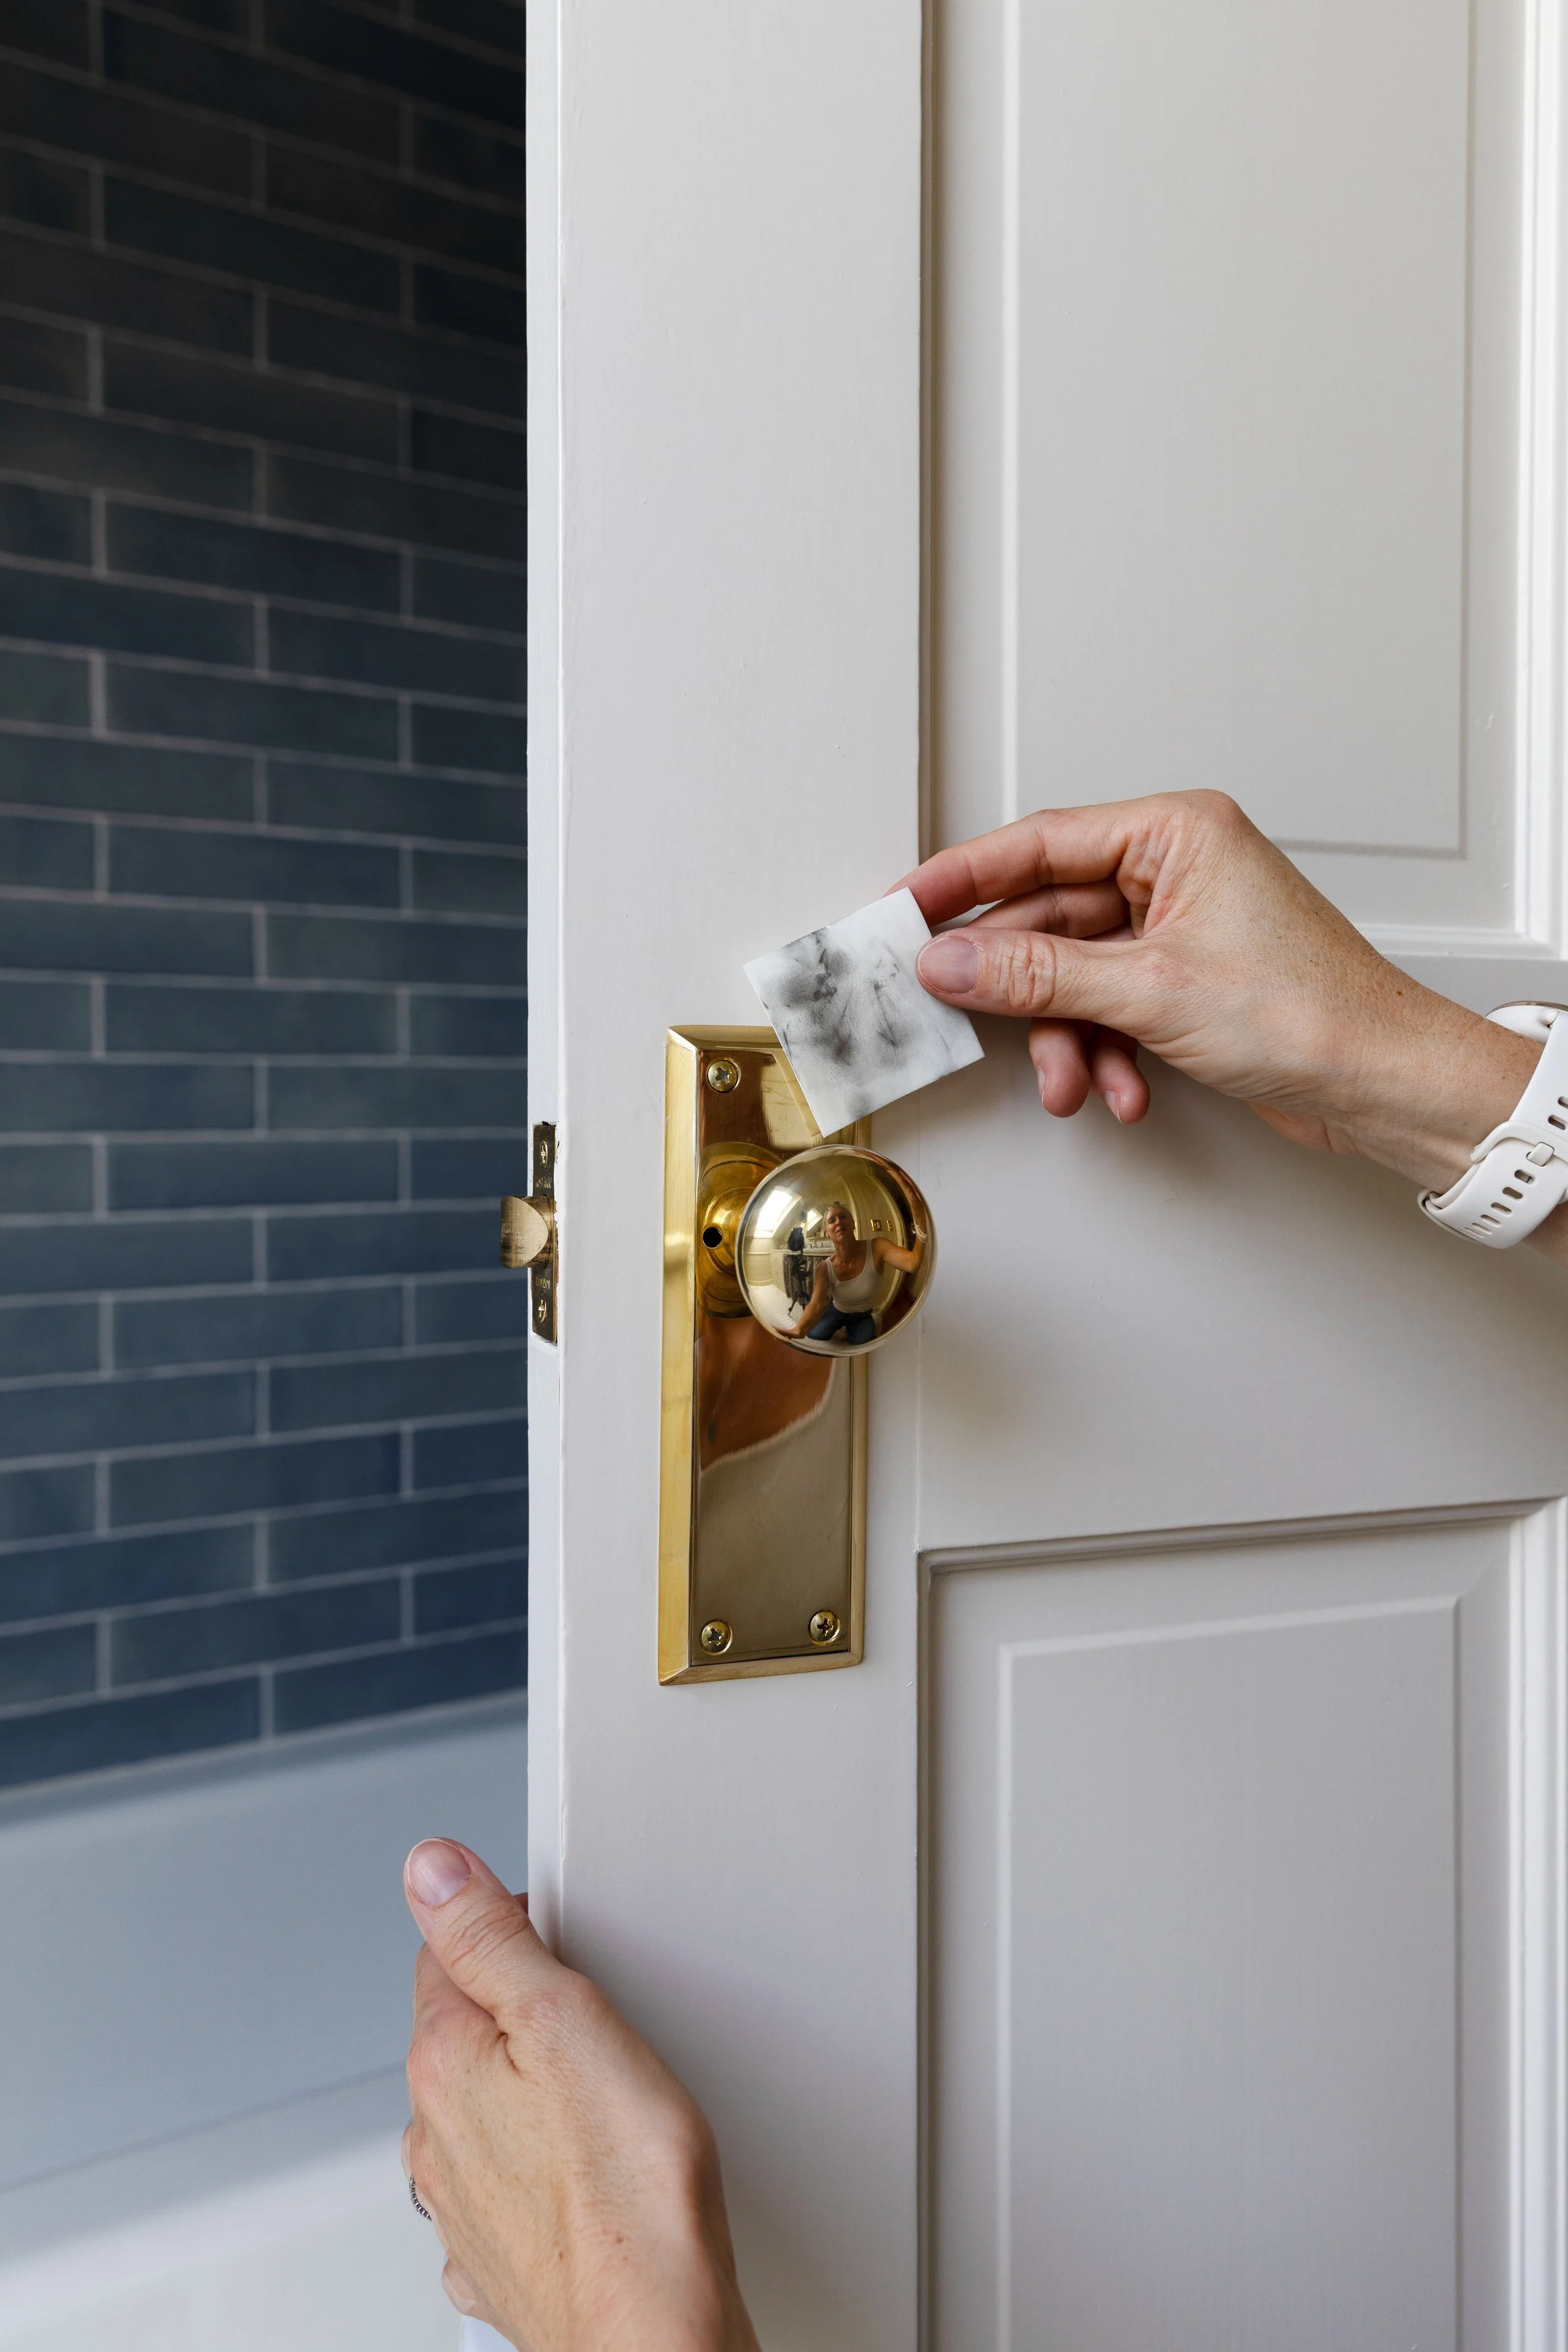
The Pixiss pads that came with our Renaissance Wax are actually mild abrasive polishing pads, not wax-buffing pads (like I originally thought - oops!). If Brasso leaves any stubborn tarnish behind, you can gently use one lightly after the Brasso and before the wax. If the brass already looks good, which it usually will, skip it.
The pad may turn black as it lifts oxidation and polishing residue (mine sure did) and that’s the point. Wipe the brass clean before moving on to the wax.
Step 2: Protect With Renaissance Wax
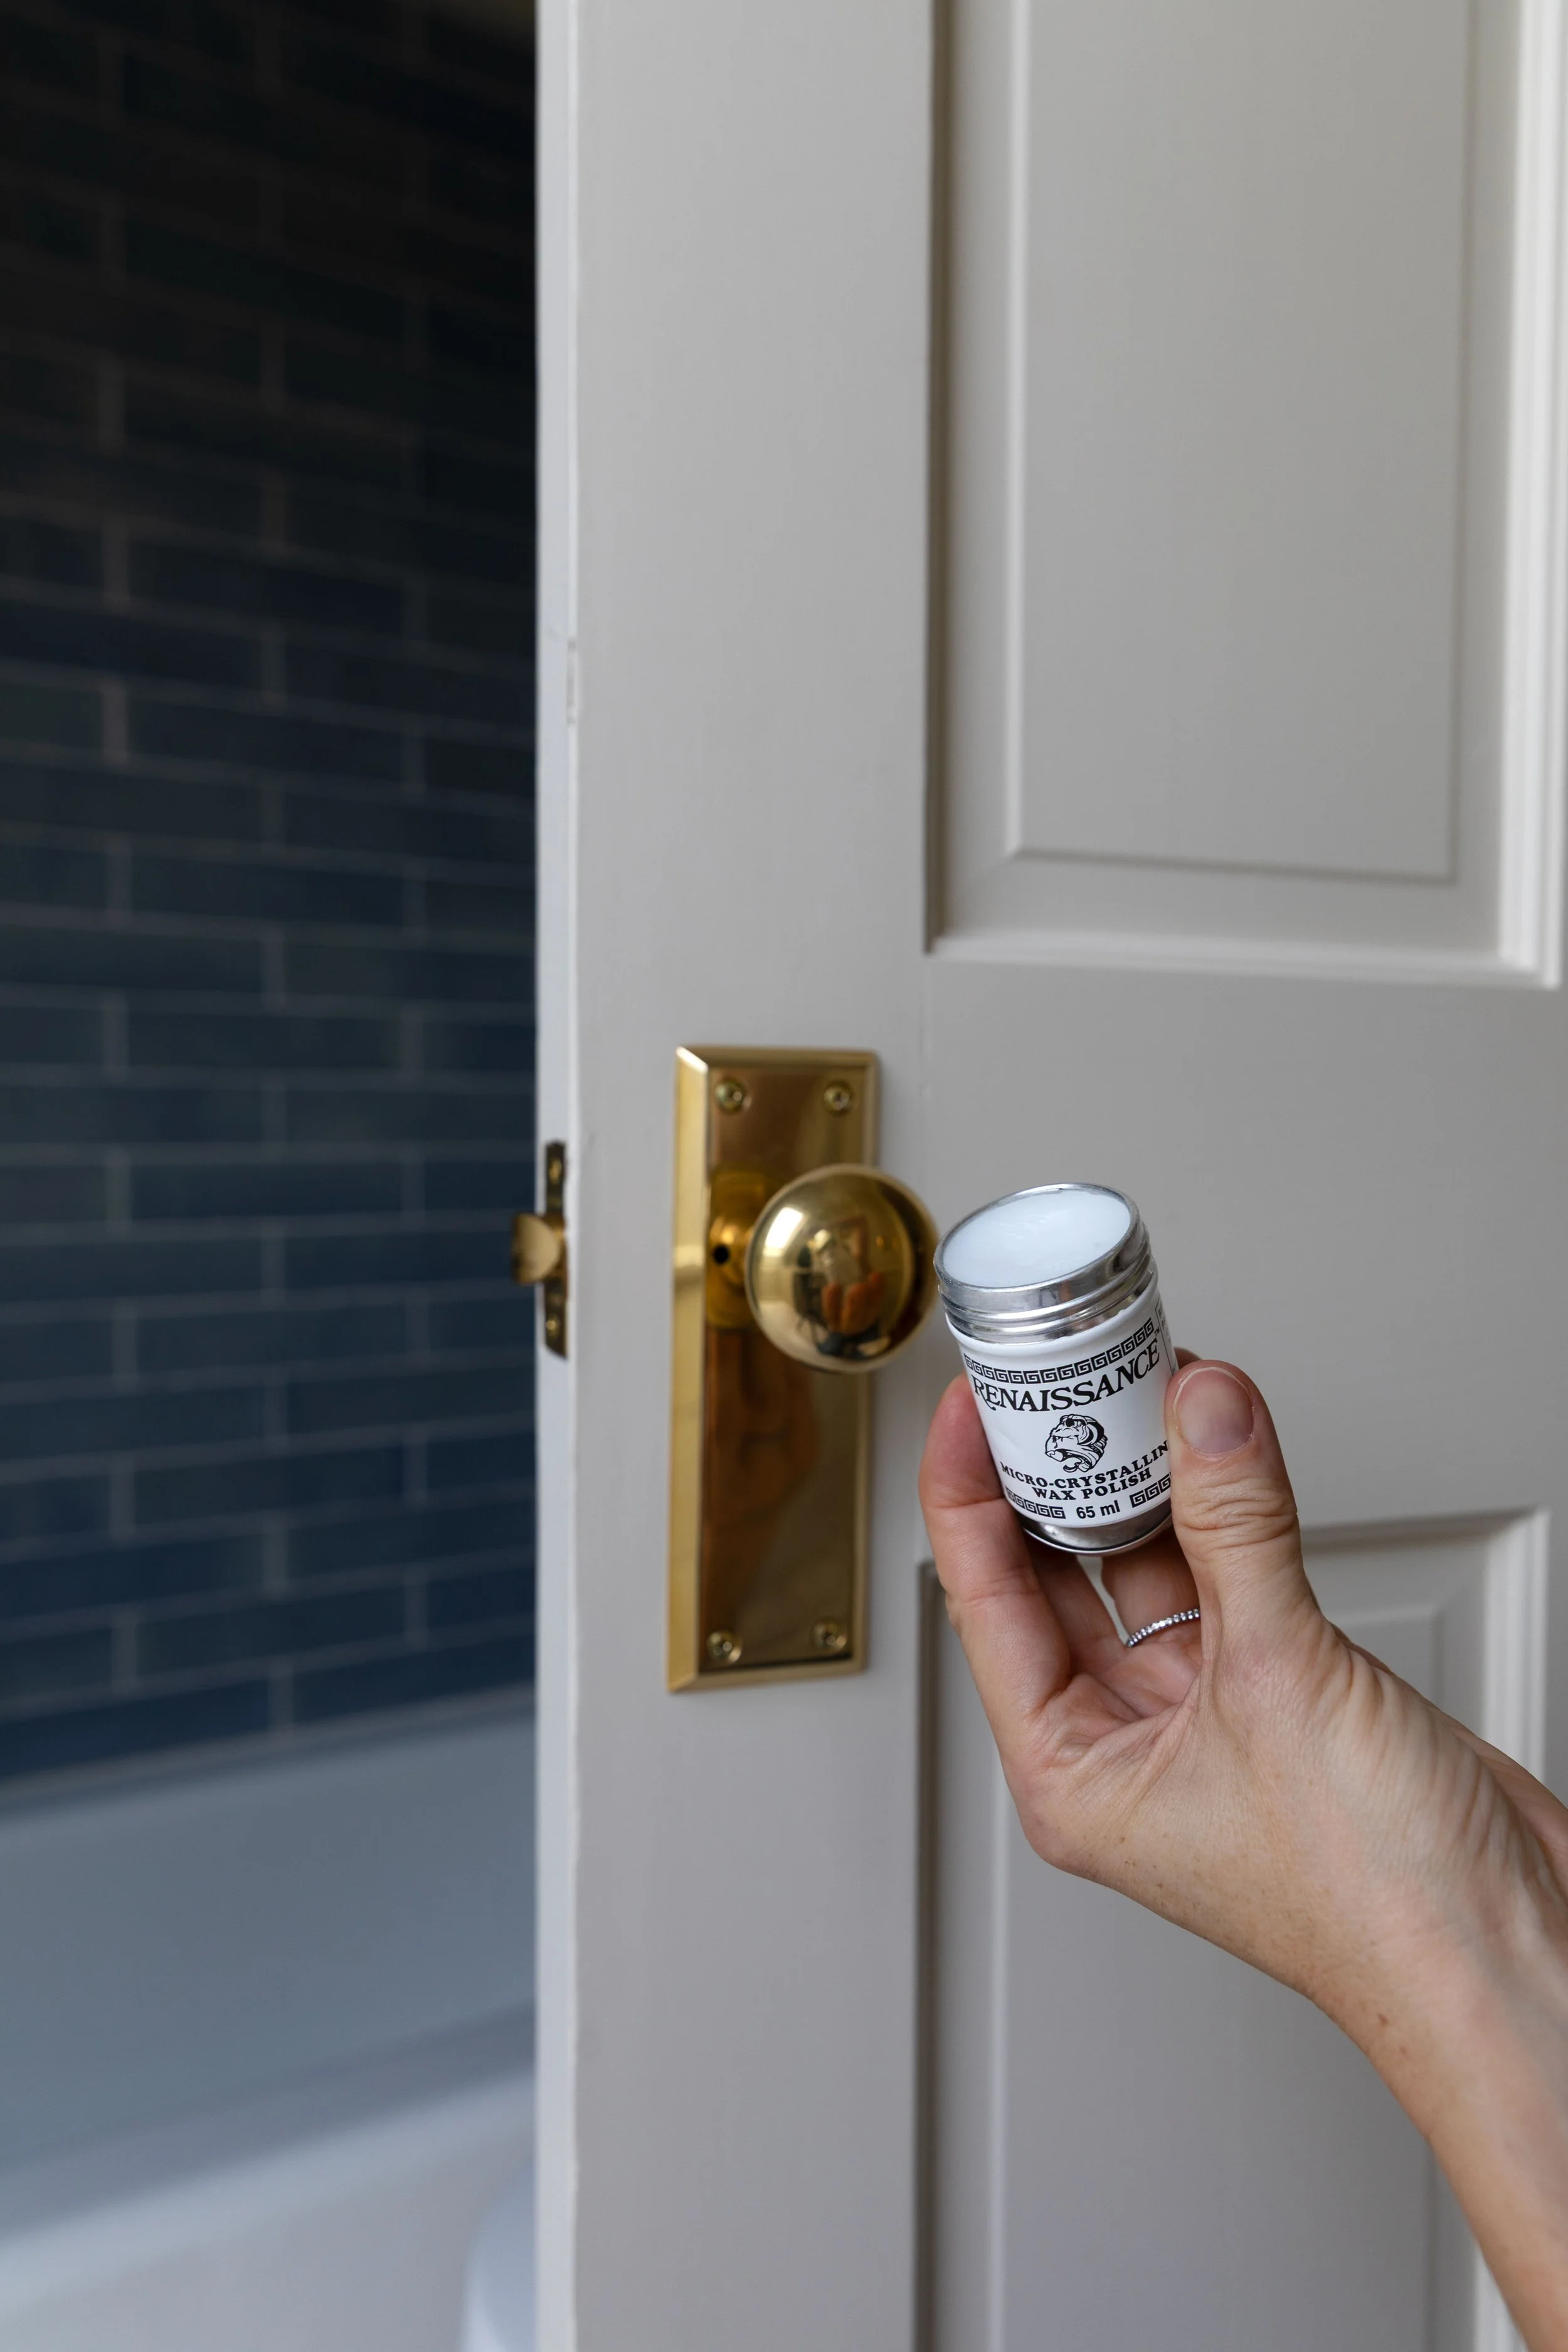
Once the brass was polished and completely clean, I applied a very thin layer of Renaissance Wax with a microfiber cloth. Renaissance Wax is a microcrystalline wax used to protect metals and other surfaces from moisture, fingerprints, and oxidation. The manufacturer recommends applying it sparingly with a soft cloth and then gently buffing the surface, so that’s what I did. After rubbing on a thin coat, I let it set briefly, and then buffed it with a clean microfiber cloth until the brass felt smooth and looked evenly polished.
One correction from what I actually did: on these doorknobs, I used the Pixiss polishing pad after applying the wax. I actually thought they were basic buffing pads and didn’t realize that I was actually removing/disturbing some of the protective wax I just applied. So going forward, I’ll use this order:
clean → Brasso → buff/remove Brasso with microfiber → optional gentle polishing pad (only if there’s stubborn tarnish left) → wipe clean → thin layer of Renaissance Wax → buff with microfiber
And that’s it.
The wax doesn’t freeze the brass in time - this is still unlacquered brass after all, and it will eventually begin developing patina again. But it should help slow that process and give us a little more time with this freshly polished finish.
Why Wax, Not Just Polish
I did some research and decided this would be a two-product job. Brasso does the actual work of lifting tarnish, but once it’s off, you’re left with bare, unprotected brass. And bare unlacquered brass starts developing patina again pretty quickly. That’s the whole nature of the finish.
Renaissance Wax is the protective step I saw recommended. It’s a microcrystalline wax commonly used on metals, antiques, and museum pieces, and it leaves a thin barrier that helps protect the brass from fingerprints, moisture, and oxidation. And that seemed like an extra good idea for a bathroom doorknob. It won’t stop the brass from aging forever, but it should slow the process down and help that freshly polished finish last longer.
The Verdict
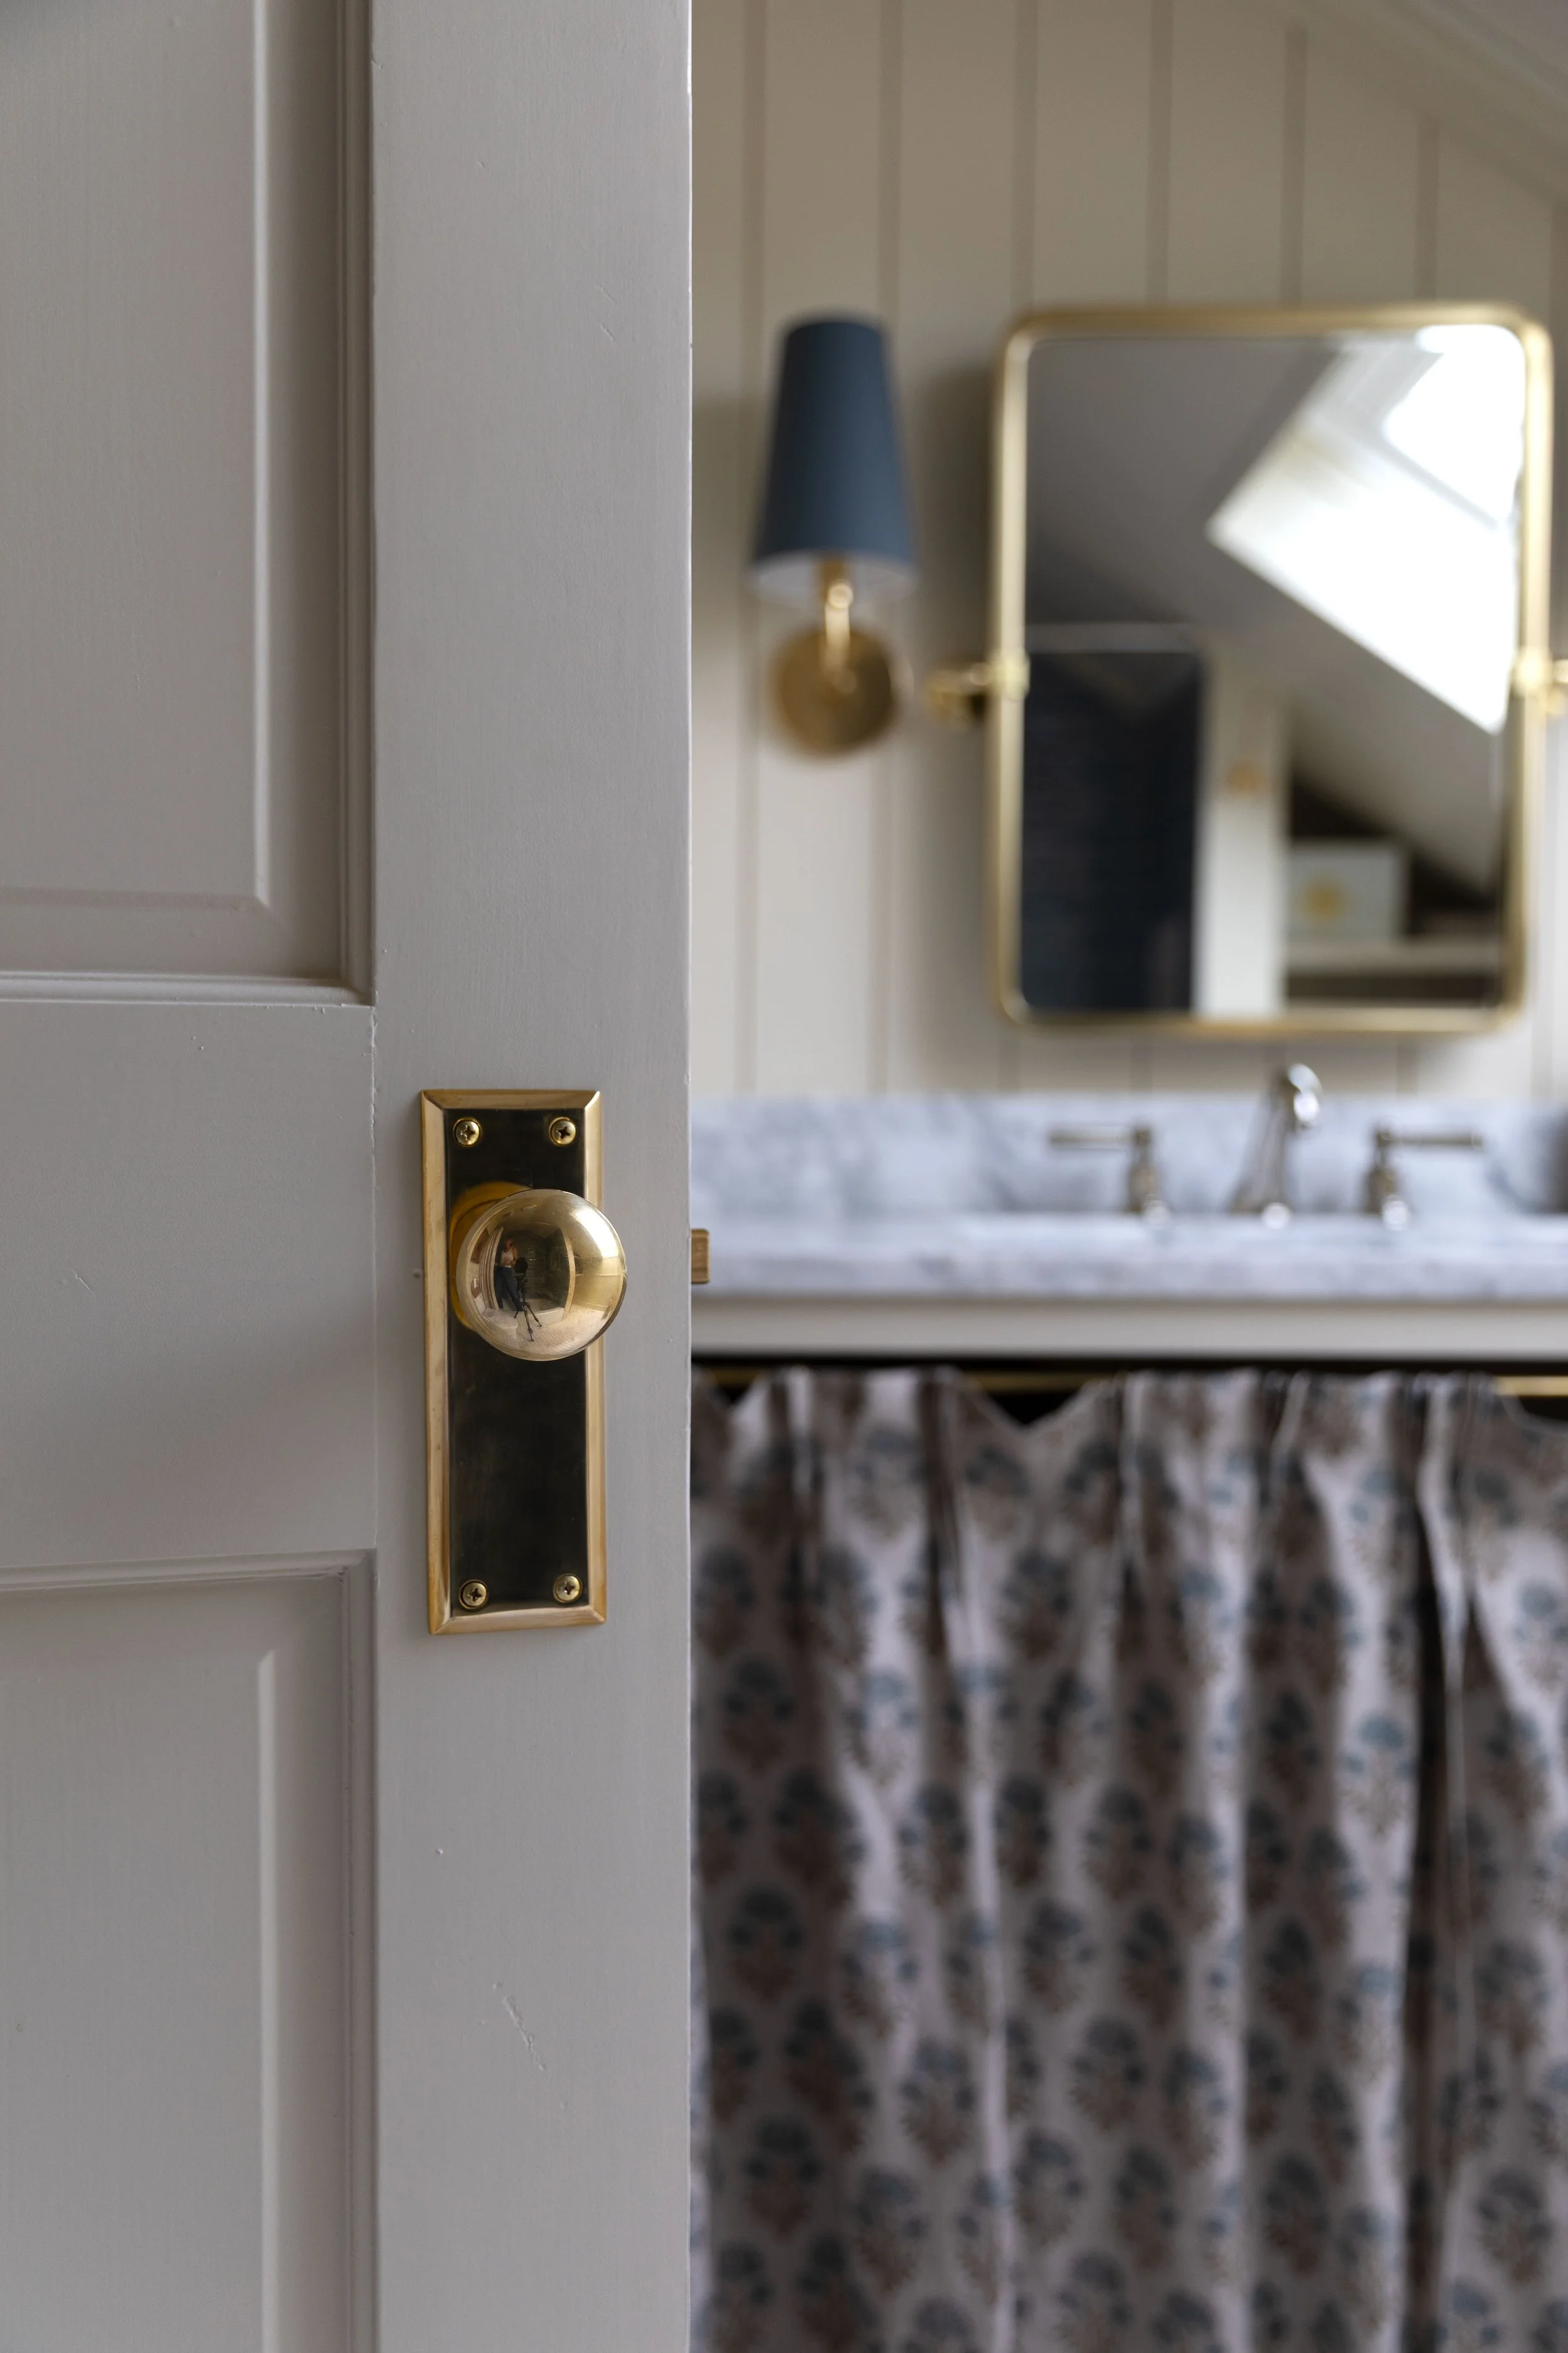
It’s back to looking brand new. Where it was warm and softened with age a few days ago - a look I really love, for the record! - it’s bright and crisp again, almost like the day it came out of the box.
Will We Do This Again?
Maybe? Honestly, the patina is exactly why I love unlacquered brass so much :) The age and wear spots on these doorknobs are hard-earned beauty as far as I’m concerned, and that’s exactly the look I’m going for when I choose unlacquered brass.
Still, I’m glad to know how well Brasso works if we ever want to reset the finish. I’ll definitely keep this method in my back pocket, but for now, I’m going to let this doorknob start aging all over again.
FAQ
Is unlacquered brass solid brass?
Not necessarily, so always check the product specs. Ours from Nostalgic Warehouse are solid, forged brass.
Can you really reverse brass patina?
Yes, on unlacquered brass. Because there’s no protective clear coat over the metal, you can polish away the surface oxidation and bring the brass back to a much brighter finish.
Will it patina again?
Yes. Renaissance Wax should help slow the process, but it won’t stop it forever.
Does this work on lacquered brass?
No - and you generally wouldn’t want to polish lacquered brass this way. The lacquer is there to protect the metal and slow tarnishing, and an abrasive metal polish can damage that coating.
Alright, that’s all for today. Please do share if you ever try this!
xx
Psst: we may receive a small affiliate commission if you purchase something through our links, at no cost to you. Thank you for supporting The Grit and Polish!


a little brass experiment