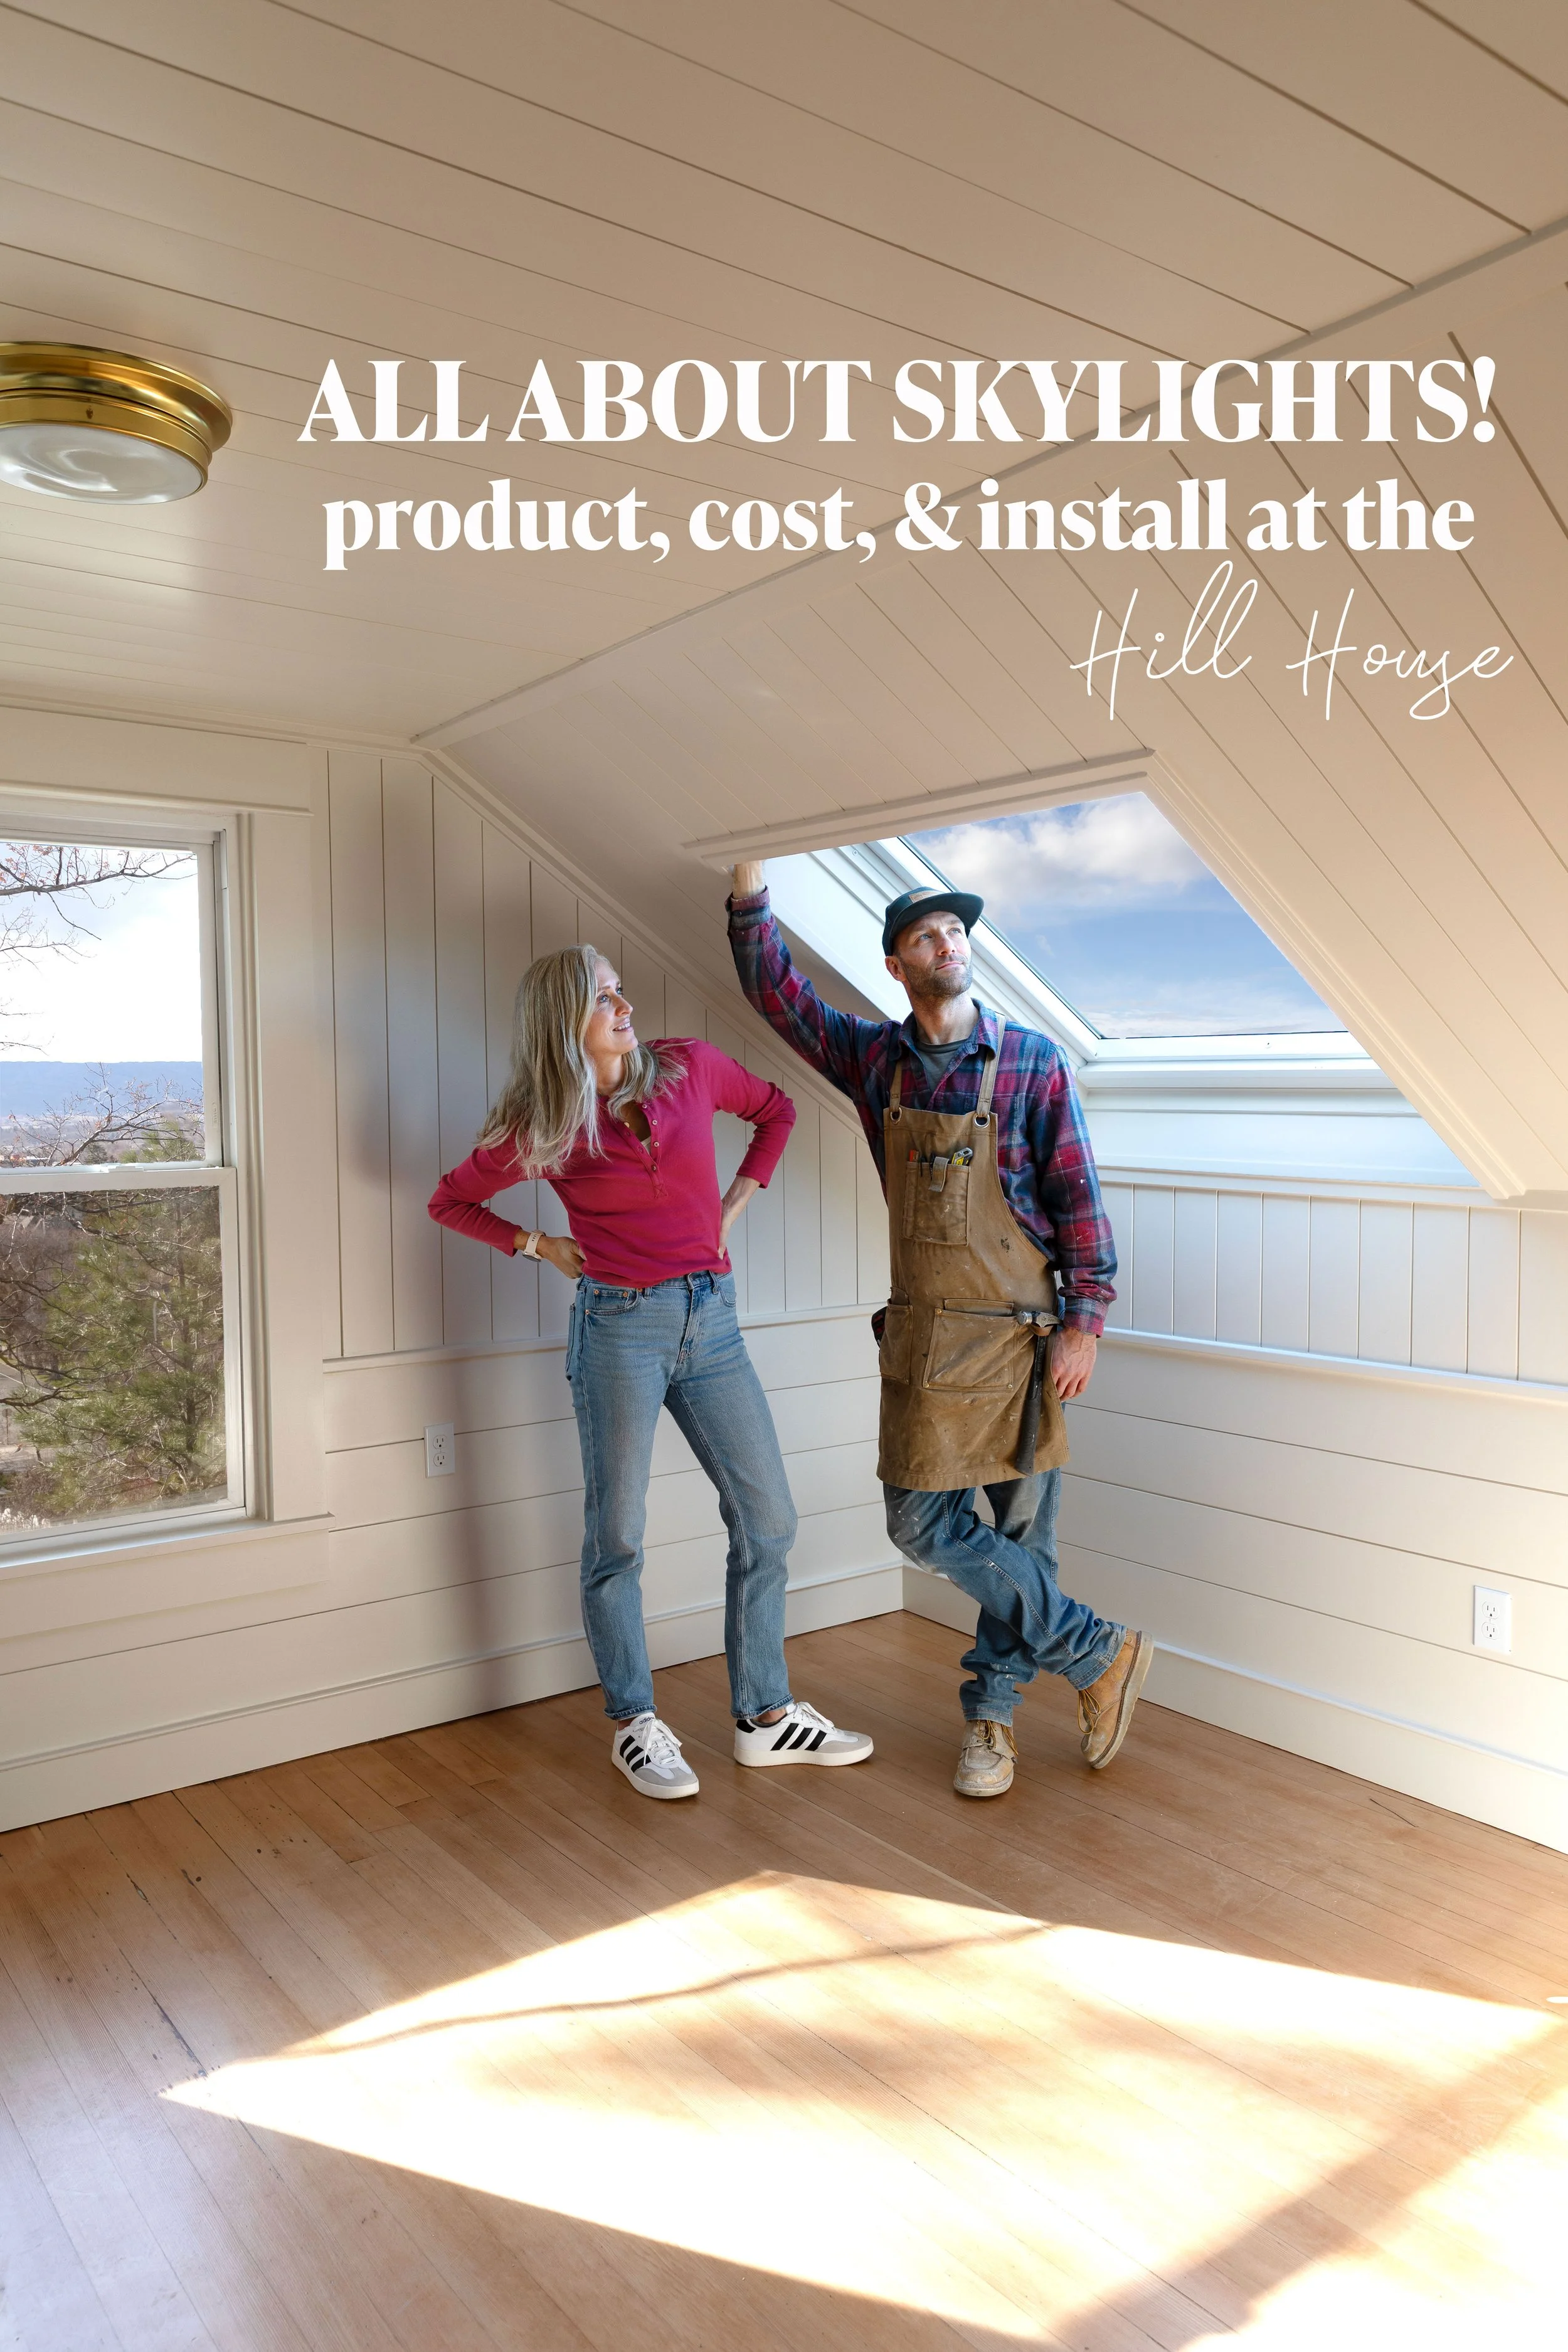
Skylights in the Hill House: Why we Added Them, the Systems we Picked, and What They Cost
THE HILL HOUSE
One of the biggest lessons we’ve learned renovating old homes is that natural light changes everything. And at the Hill House, it was something we were seriously lacking upstairs. The landing was dark, the hall bathroom had no windows, and we weren’t capturing any of the beautiful northern views this house has to offer. So we started looking for ways to bring more natural light into an old home, without completely reworking the structure. Our solution: skylights! Today we’re sharing the skylight systems we installed, how the process worked, what they cost, and what to know before adding skylights to your own home. Let’s get into it….
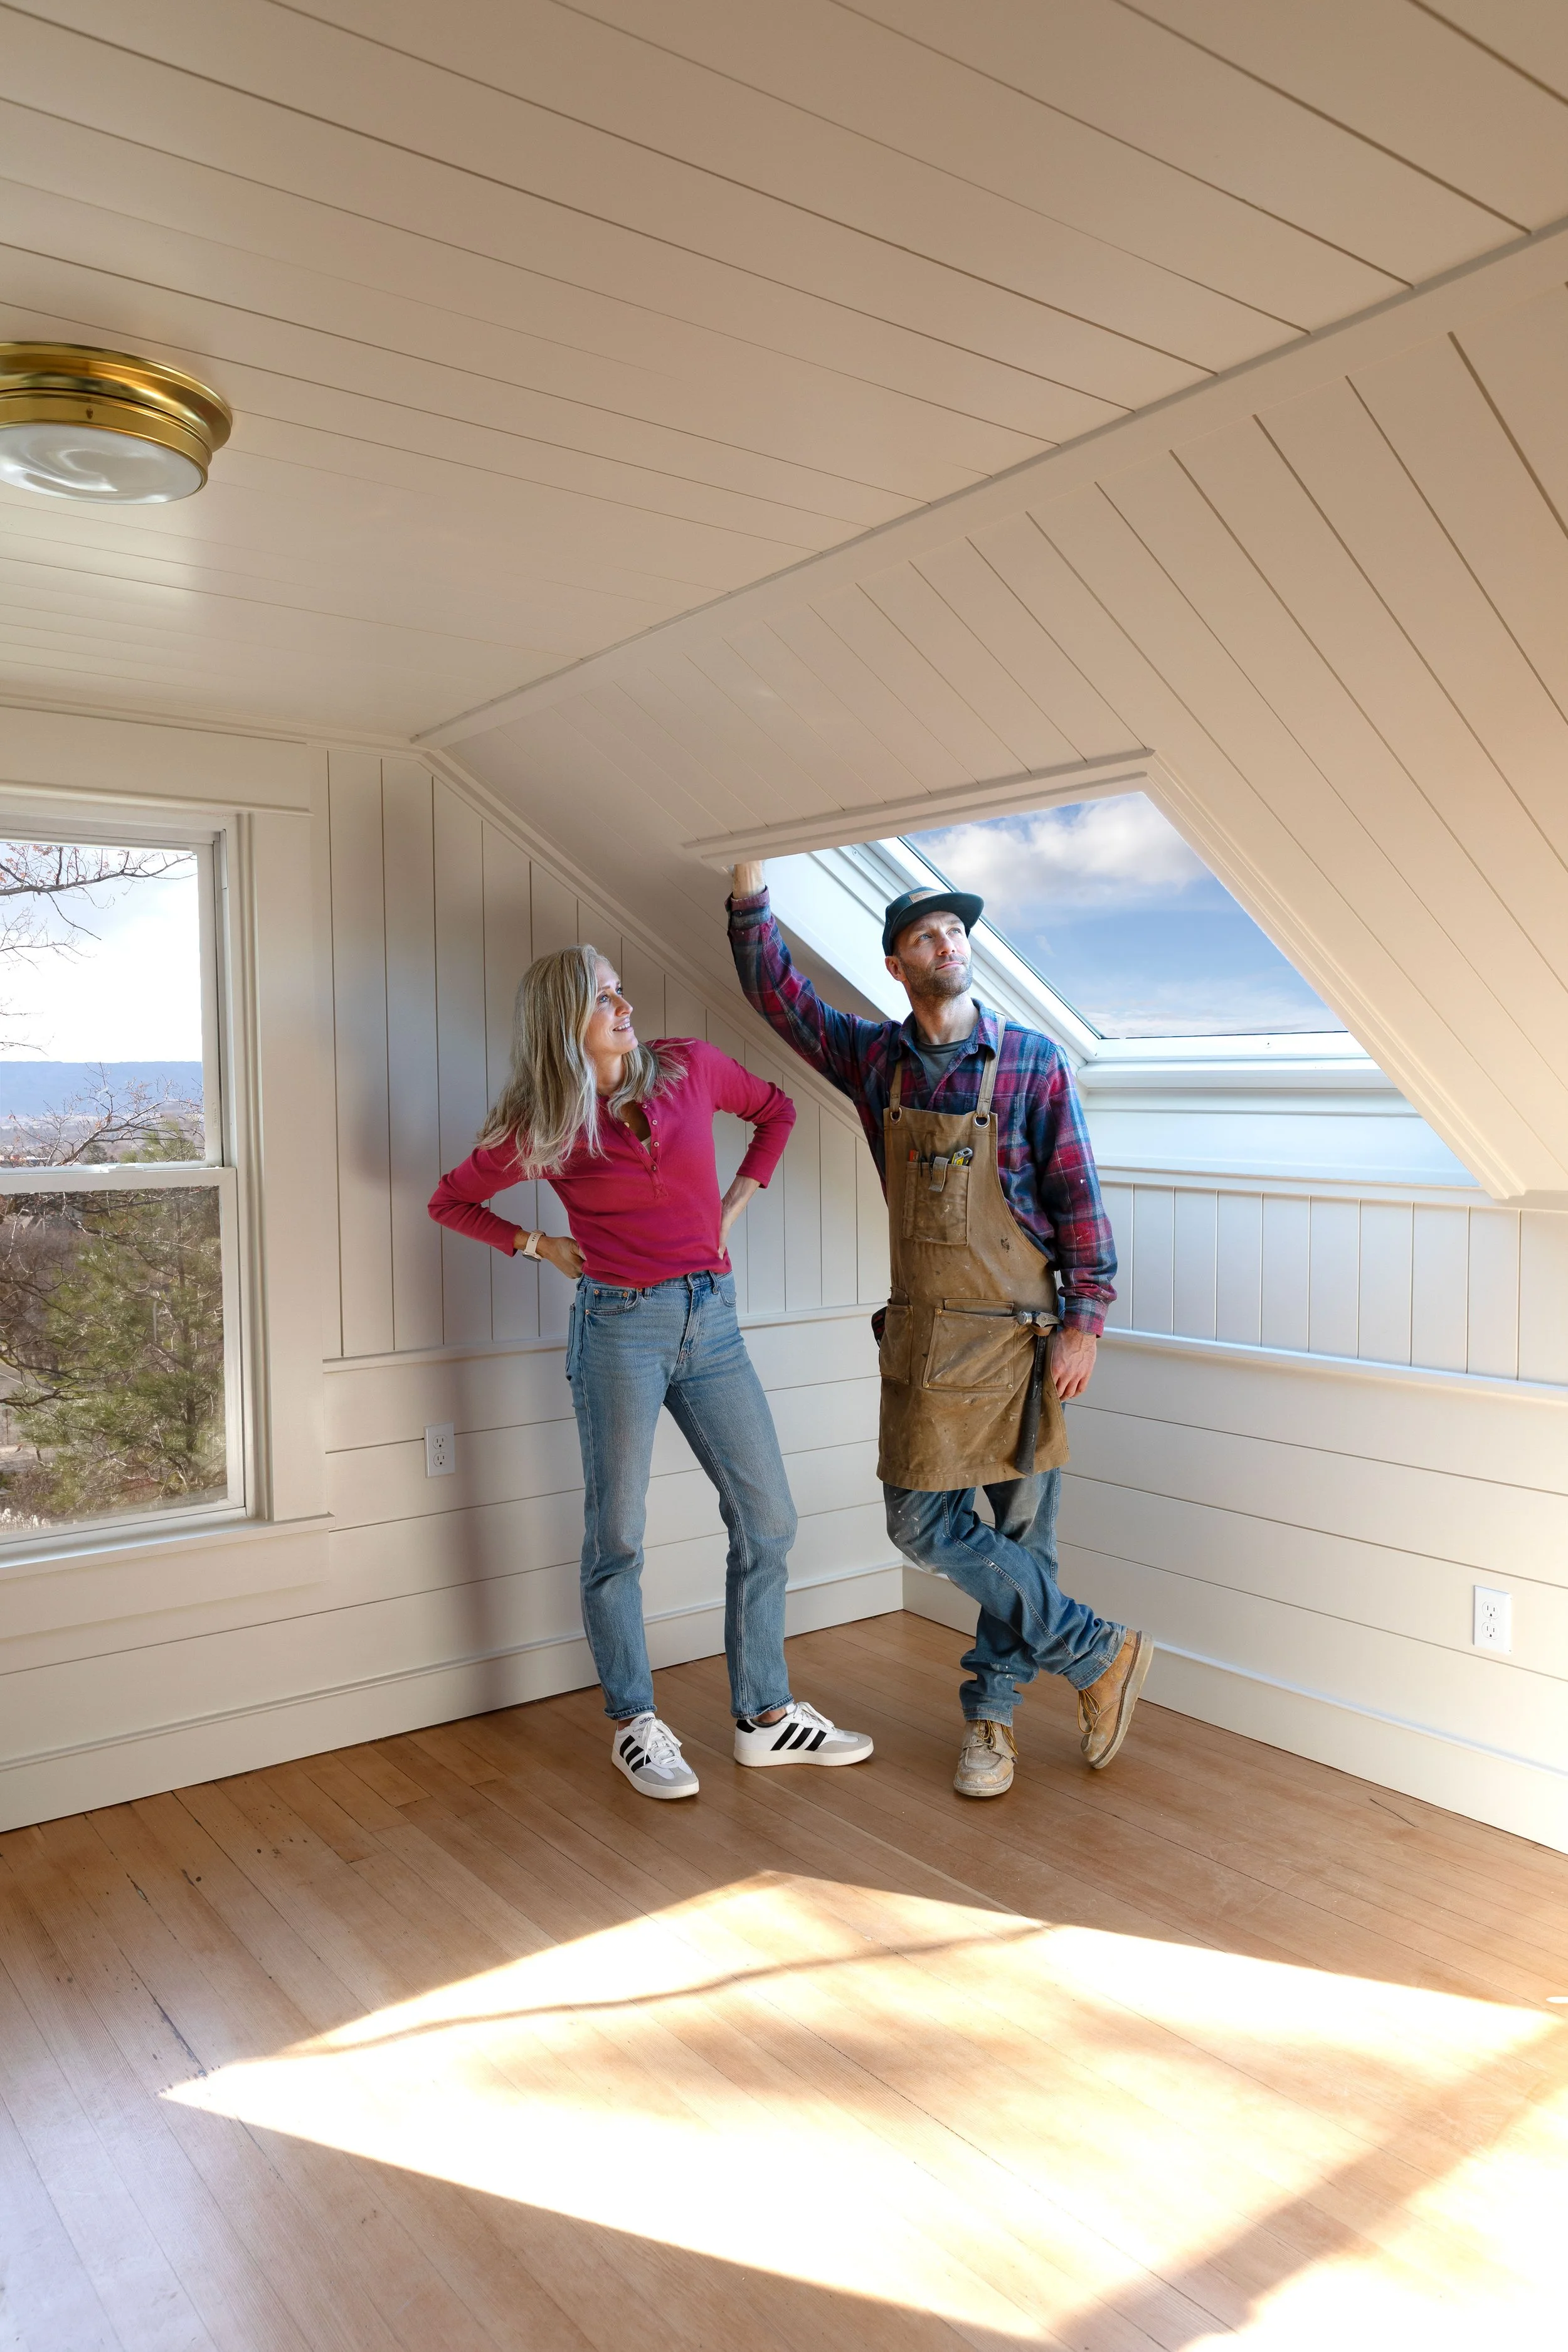
skylight, paneling, light, paint color, floor finish, Cathy’s shirt, jeans, and sneakers, Garett’s work apron and boots
The Problem We Couldn’t Ignore
When we first bought the Hill House, the upstairs had a lot going for it - a pretty good ‘kid’ layout with 3 beds and a bathroom, sloped ceilings (they add so much character!), and plenty of potential. But it was dark. Like, really dark. The hall bathroom had no windows at all. And the landing was just a dark corridor. Most frustrating of all, we had beautiful northern views and no way to see them.
psst: you can see our original tour of the house with all the ‘before’ photos here.
Our original idea was to fix our light problem the “right way” - add gables with new windows facing north to capture the view and bring in light. We envisioned a reworked upstairs floor plan with some tweaks to the roofline. But when we brought in our architect and engineer to take a look, my dreams were dashed. Their recommendation: tear off the entire second story and start over with beefed up framing to accommodate the gables and bring everything up to modern building code. Eeek!
That’s when we went back to the drawing board, because I didn’t have it in me. We were still wrapping up our 5 year tear-off-the-roof-and-add-a-second-story renovation at the Poplar Cottage and I just couldn’t do it again. We bought the Hill House to live in, not endlessly renovate. Plus there was already so much I liked about this second story and tearing it off and starting over felt a bit wasteful. So we abandoned our dream renovation and asked ourselves a different question: how do we bring light and views into this space without any changes to the roofline or structural upgrades?
The solution was simple: skylights!
The Skylights We Chose
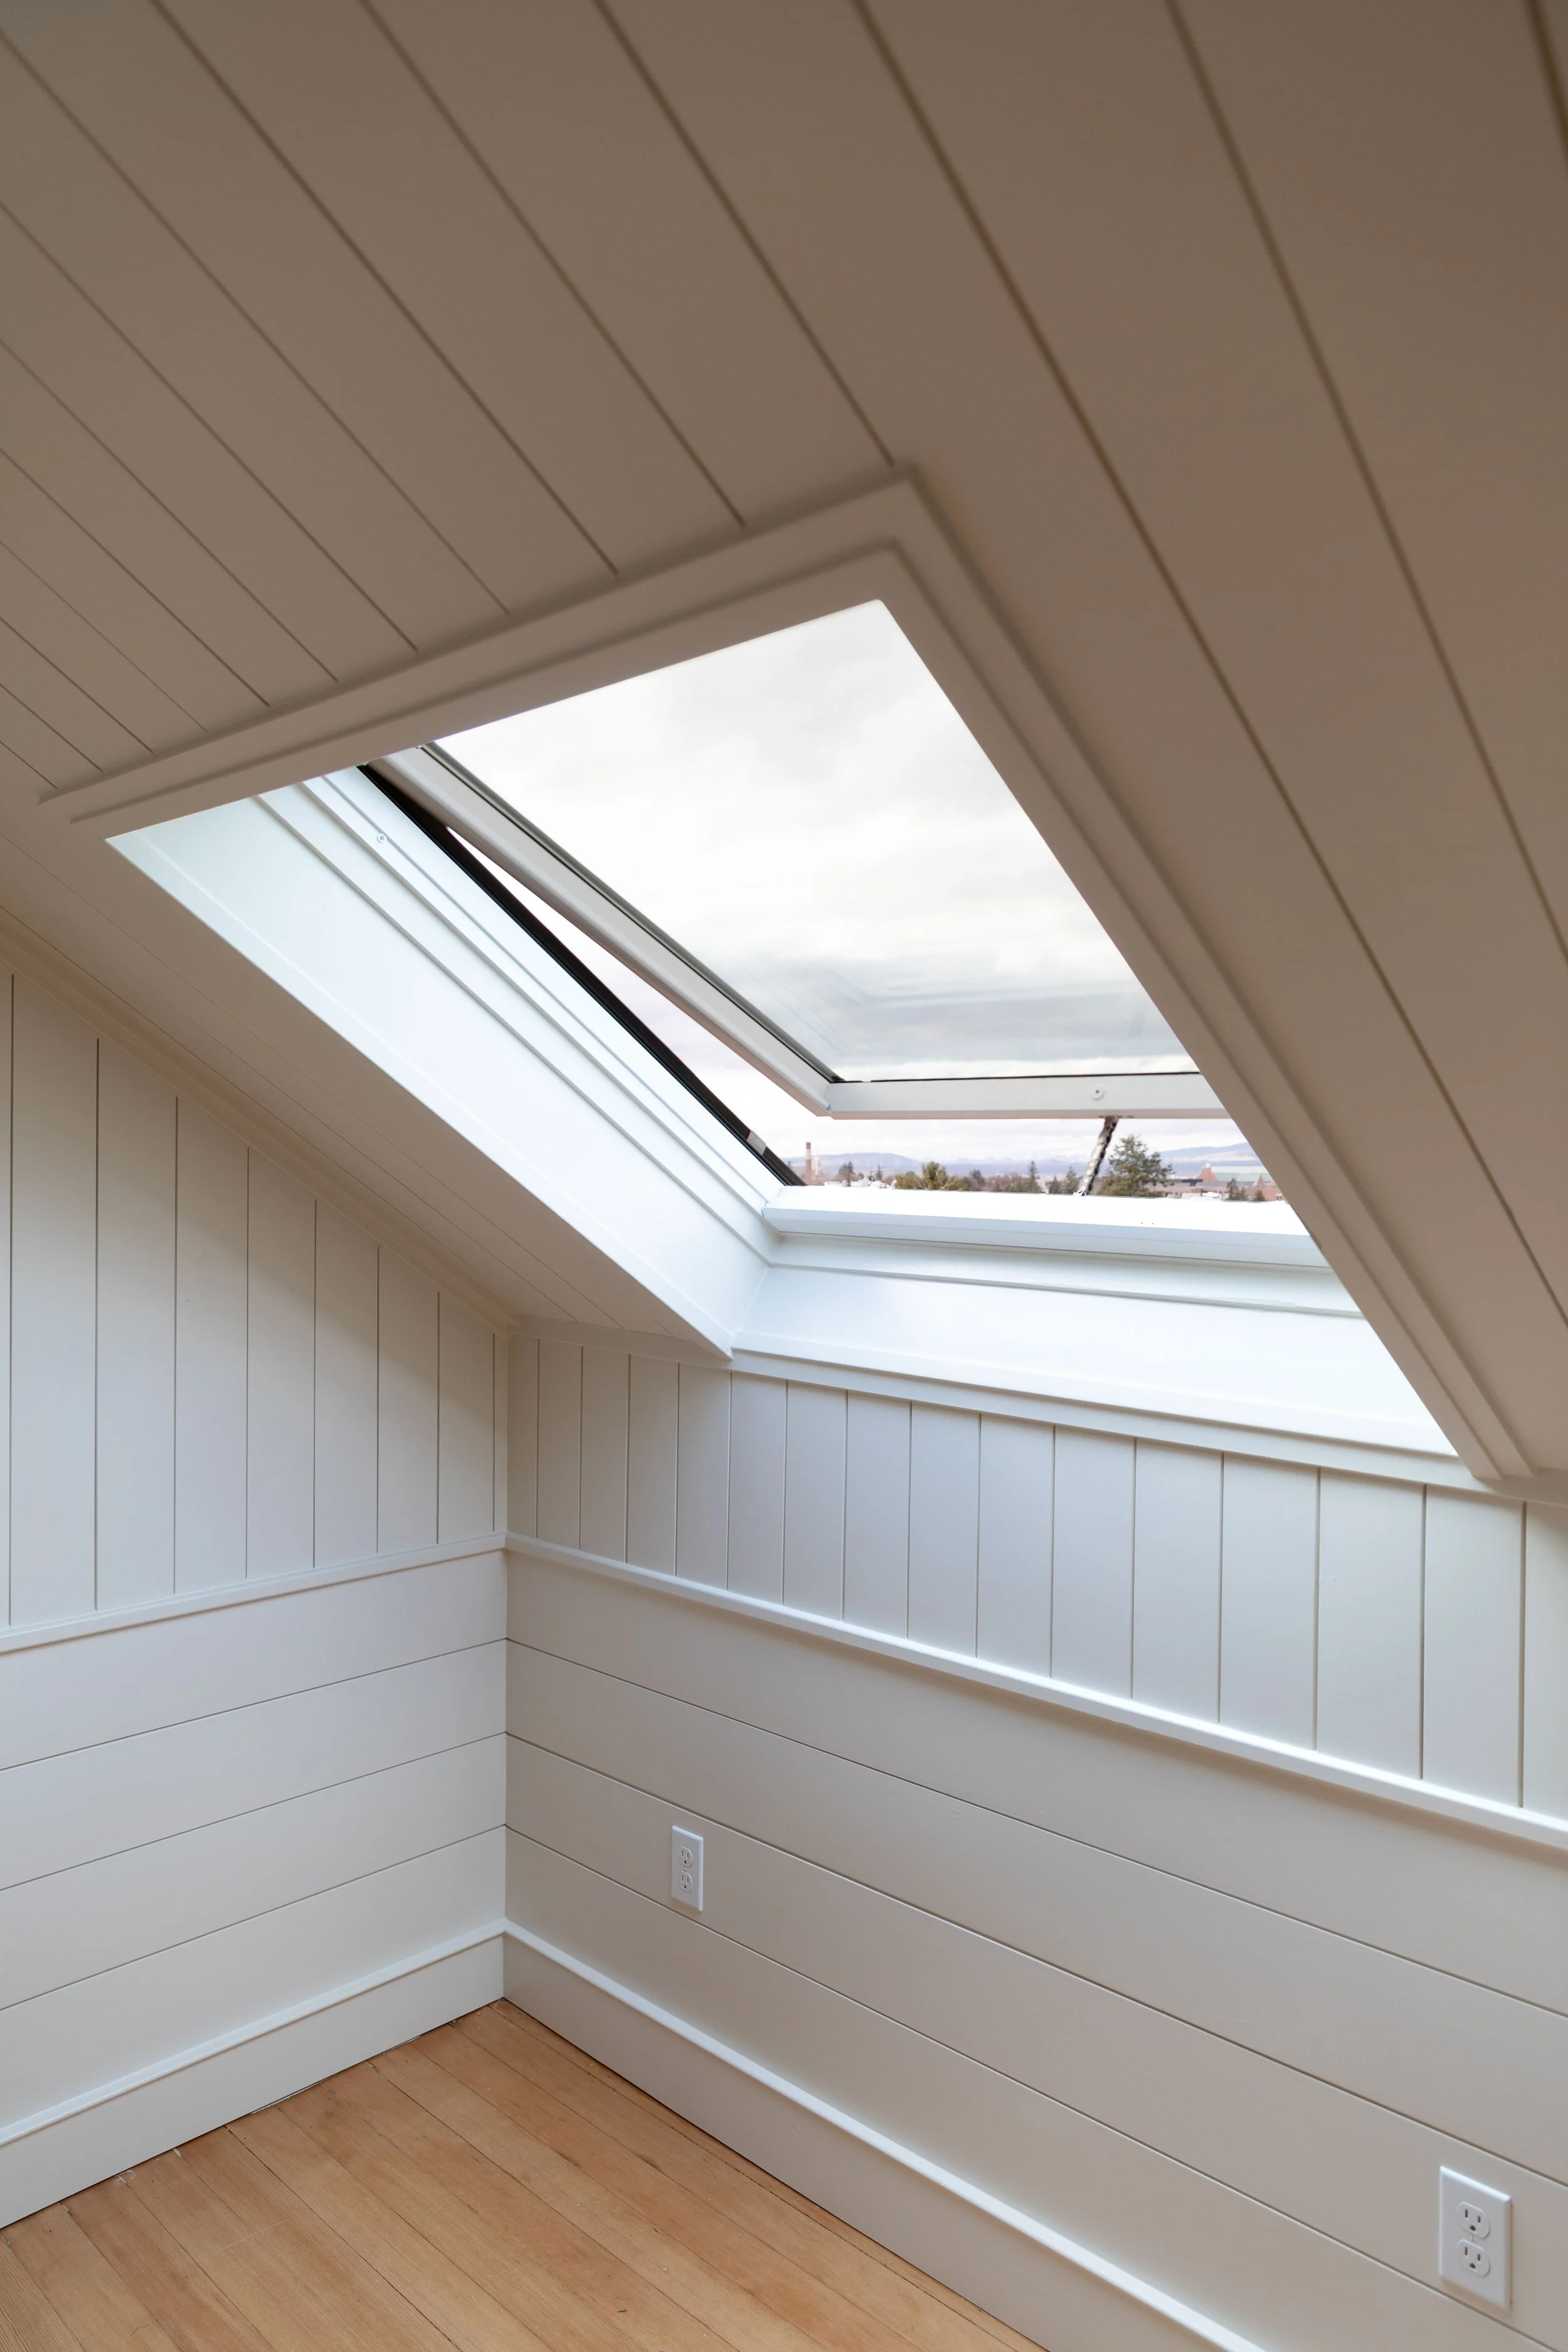
Once we landed on skylights, the next step was figuring out which ones. There are a surprising number of options out there, and honestly, it can feel a little overwhelming at first. We ended up going with VELUX venting skylights with integrated shades. And after living with them for a bit now, I can confidently say we’d make the same choice again.
Our skylights are hardwired and deck-mounted with laminated Low-E glass and built-in room-darkening shades. (We worked with VELUX on these - they provided the product and installation in exchange for IG content, but this post isn’t sponsored and all opinions are our own.)
We installed a VELUX skylight years ago in a previous home (albeit just a basic fixed one) and really liked it, so felt confident with the brand. But what really sold us on this particular skylight was how complete the system felt. These aren’t just skylights, they’re a full light + ventilation + shade solution all in one. Here’s what that looks like in real life:
They open with a remote, which means we can bring fresh air into the upstairs without having to climb on a stool or reach awkwardly overhead. They even came with screens which we haven’t put up yet, but may add when the weather warms up and the bugs appear again.
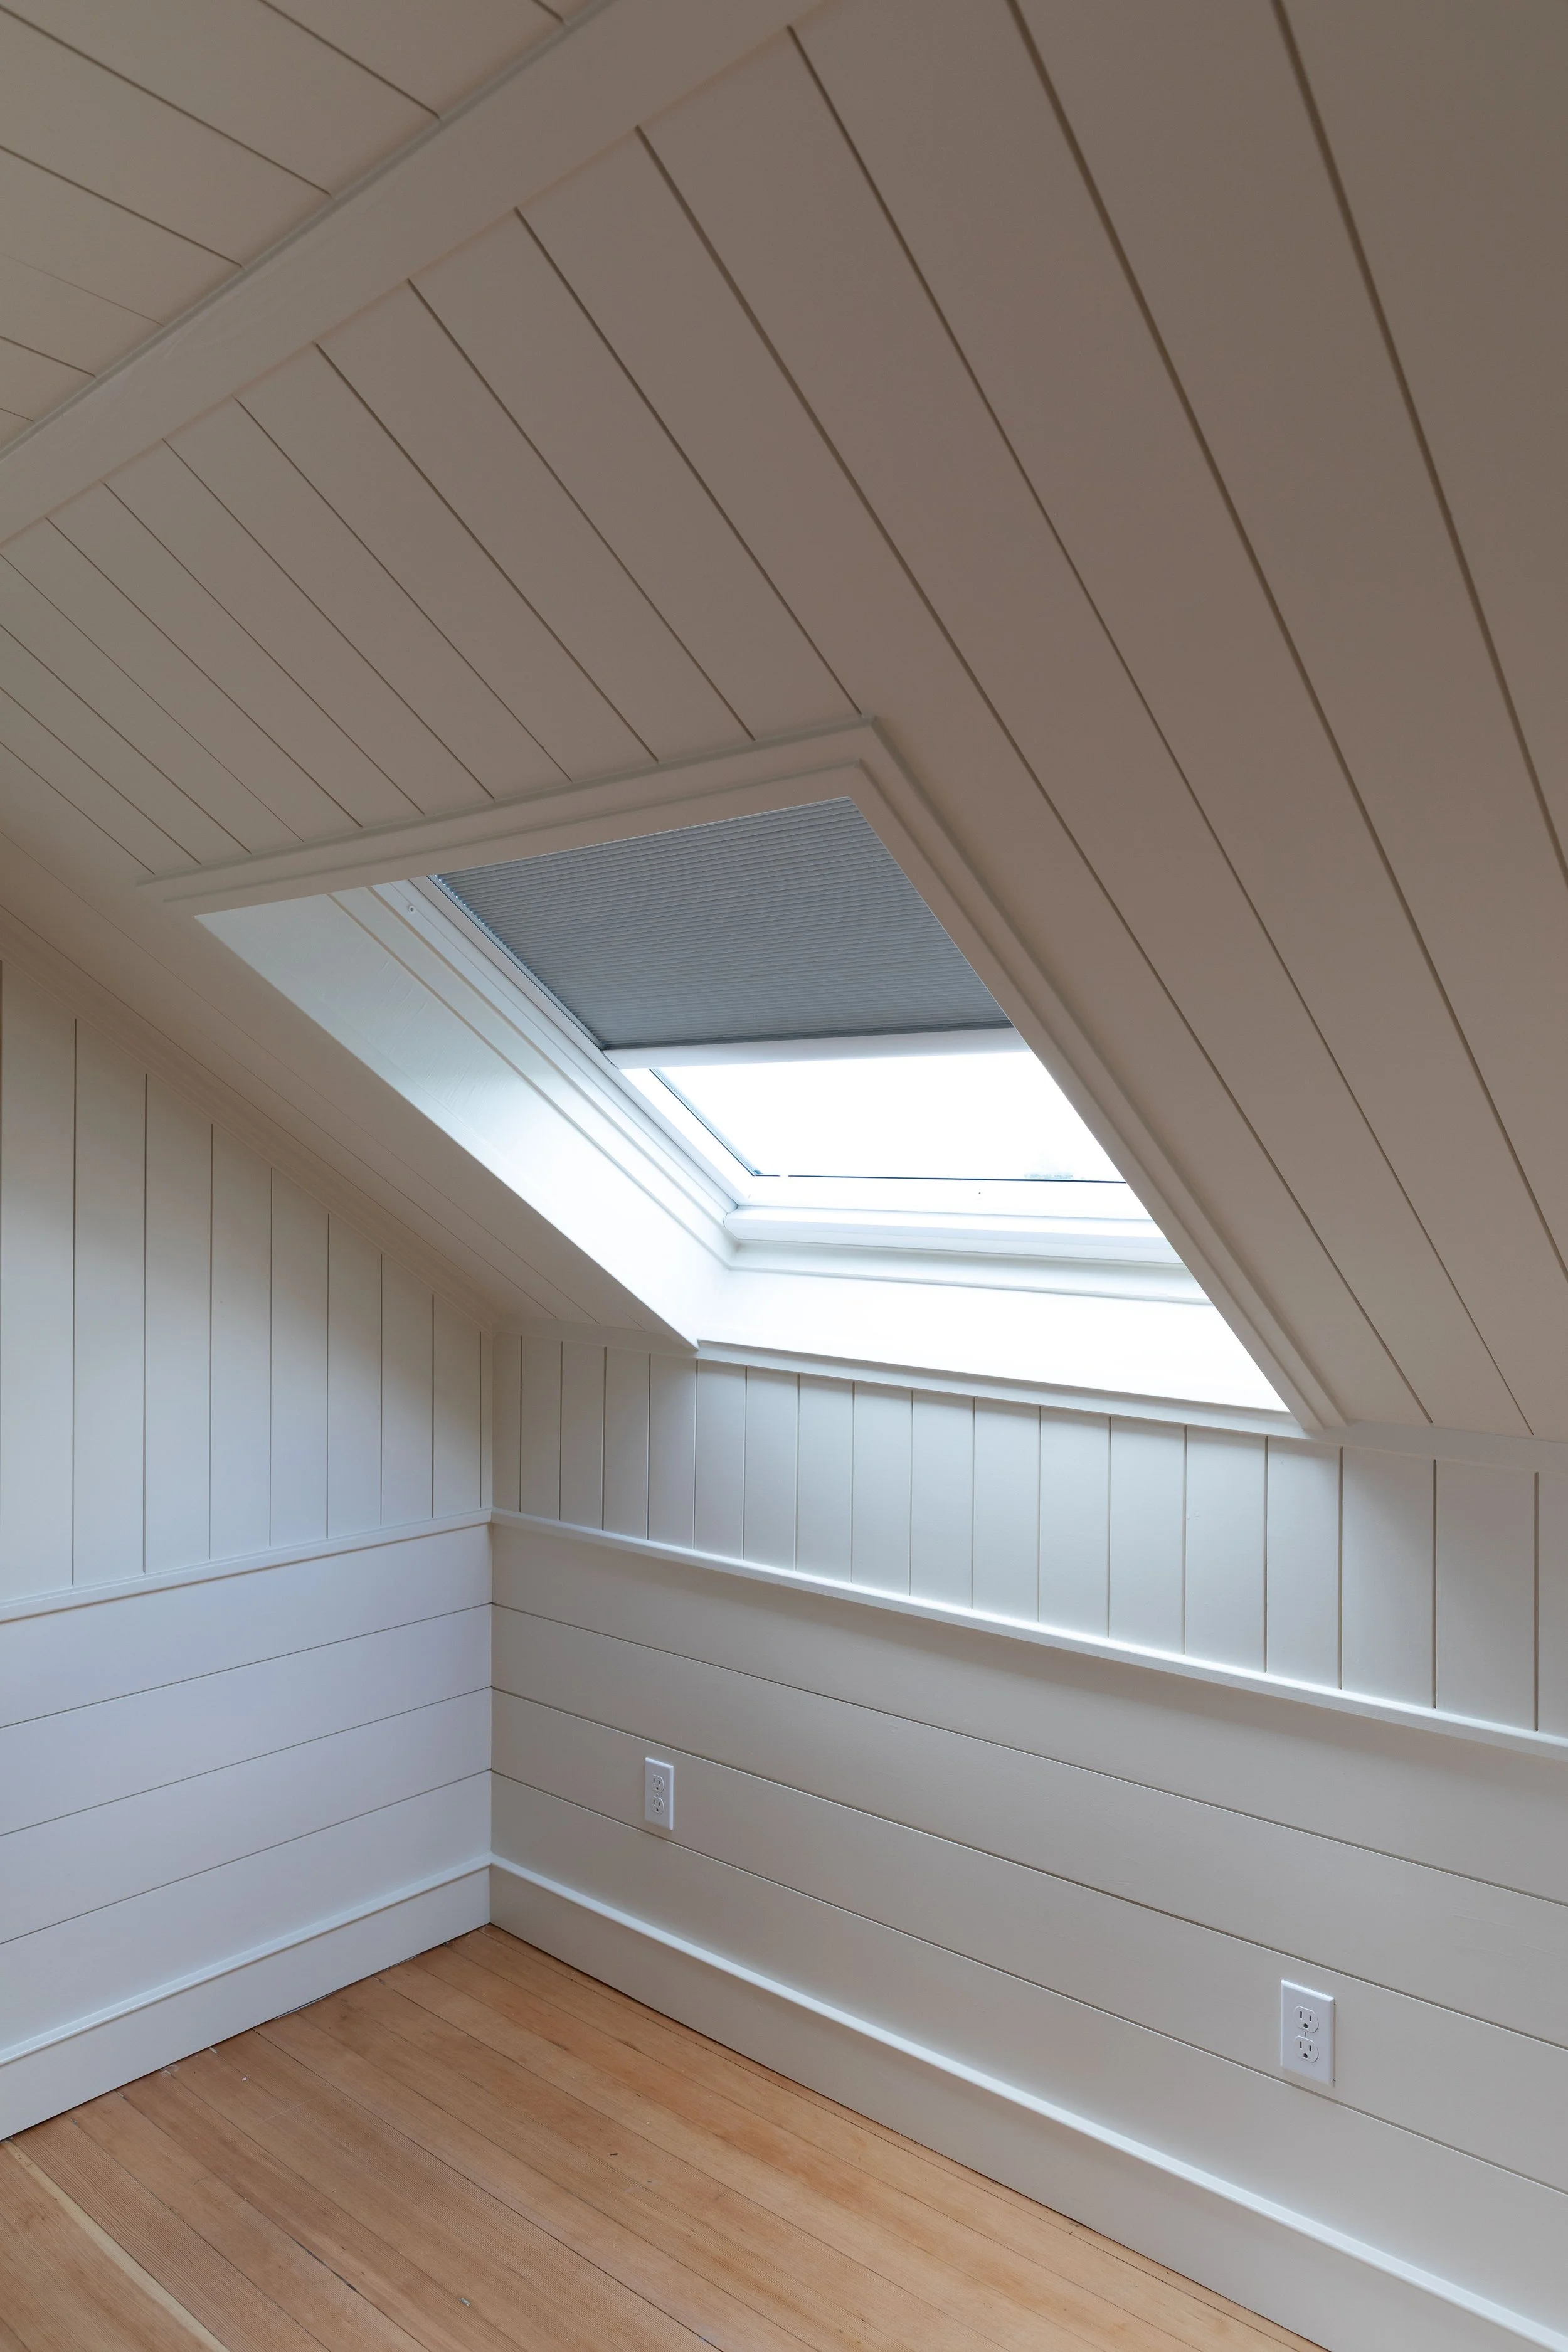
The integrated shades are easy to use (just push a button!) and so convenient! Especially in the snug where we’re considering adding a TV for family movie nights, they will come in handy.
And maybe my favorite feature… they automatically close when it rains! Which is one of those peace of mind innovations that makes me sleep better at night.
Features to Consider When Choosing Skylights
If you’re researching skylights for your own home, here are the things I’d think through before buying. These are the decisions that really affect how they function day to day…
Fixed vs. Venting
A fixed skylight brings in light. A venting skylight brings in light and air. If you’re installing in a bathroom or upstairs space, I’d definitely consider venting for the added airflow.
built-in Shades
This is the one I might have underestimated the most. Skylights bring in a lot of light. Having remote-controlled integrated shades lets you easily control that depending on time of day, season, mood, or activity.
Hardwired vs. Solar
Both work well, but we chose hardwired since we already had our walls open and were replacing electrical throughout. But solar is a GREAT option if you want to avoid the joys of fishing wire through existing walls, which is really no joy at all ;)
Deck Mount vs. Curb Mount
This is a big one when it comes to installation.
Deck mount sits directly on roof sheething
Curb mount sits on a framed “box” on the roof
We used deck-mounted skylights, and Garrett’s partial to them because they trim out really nicely and have a lower profile on the roof. Curb-mount are used on a low-slope roof. It’s worth noting that we have a new-ish roof with a plywood underlayment; old houses that still only have skip sheething would need to use a curb mount install.
Glass + Energy Efficiency
Modern skylights are much better than they used to be. Look for insulated glass and coatings (like Low-E) that help regulate heat and UV.
Sizing
Most skylights are designed to fit between common framing dimensions such as 16” on center or 24” on center. Just be sure you know your framing spacing before purchasing.
Installation: What It Actually Looked Like
We got to work with AAA Skylights (from Kirkland, WA) for the installation, and they were amazing! Steve offered his expertise right from the get go, helping us decide on the proper skylight system and sizing for our house. And when it came to install, he was more than a contractor, he was a patient expert that walked us through the entire process. We can’t recommend AAA enough!
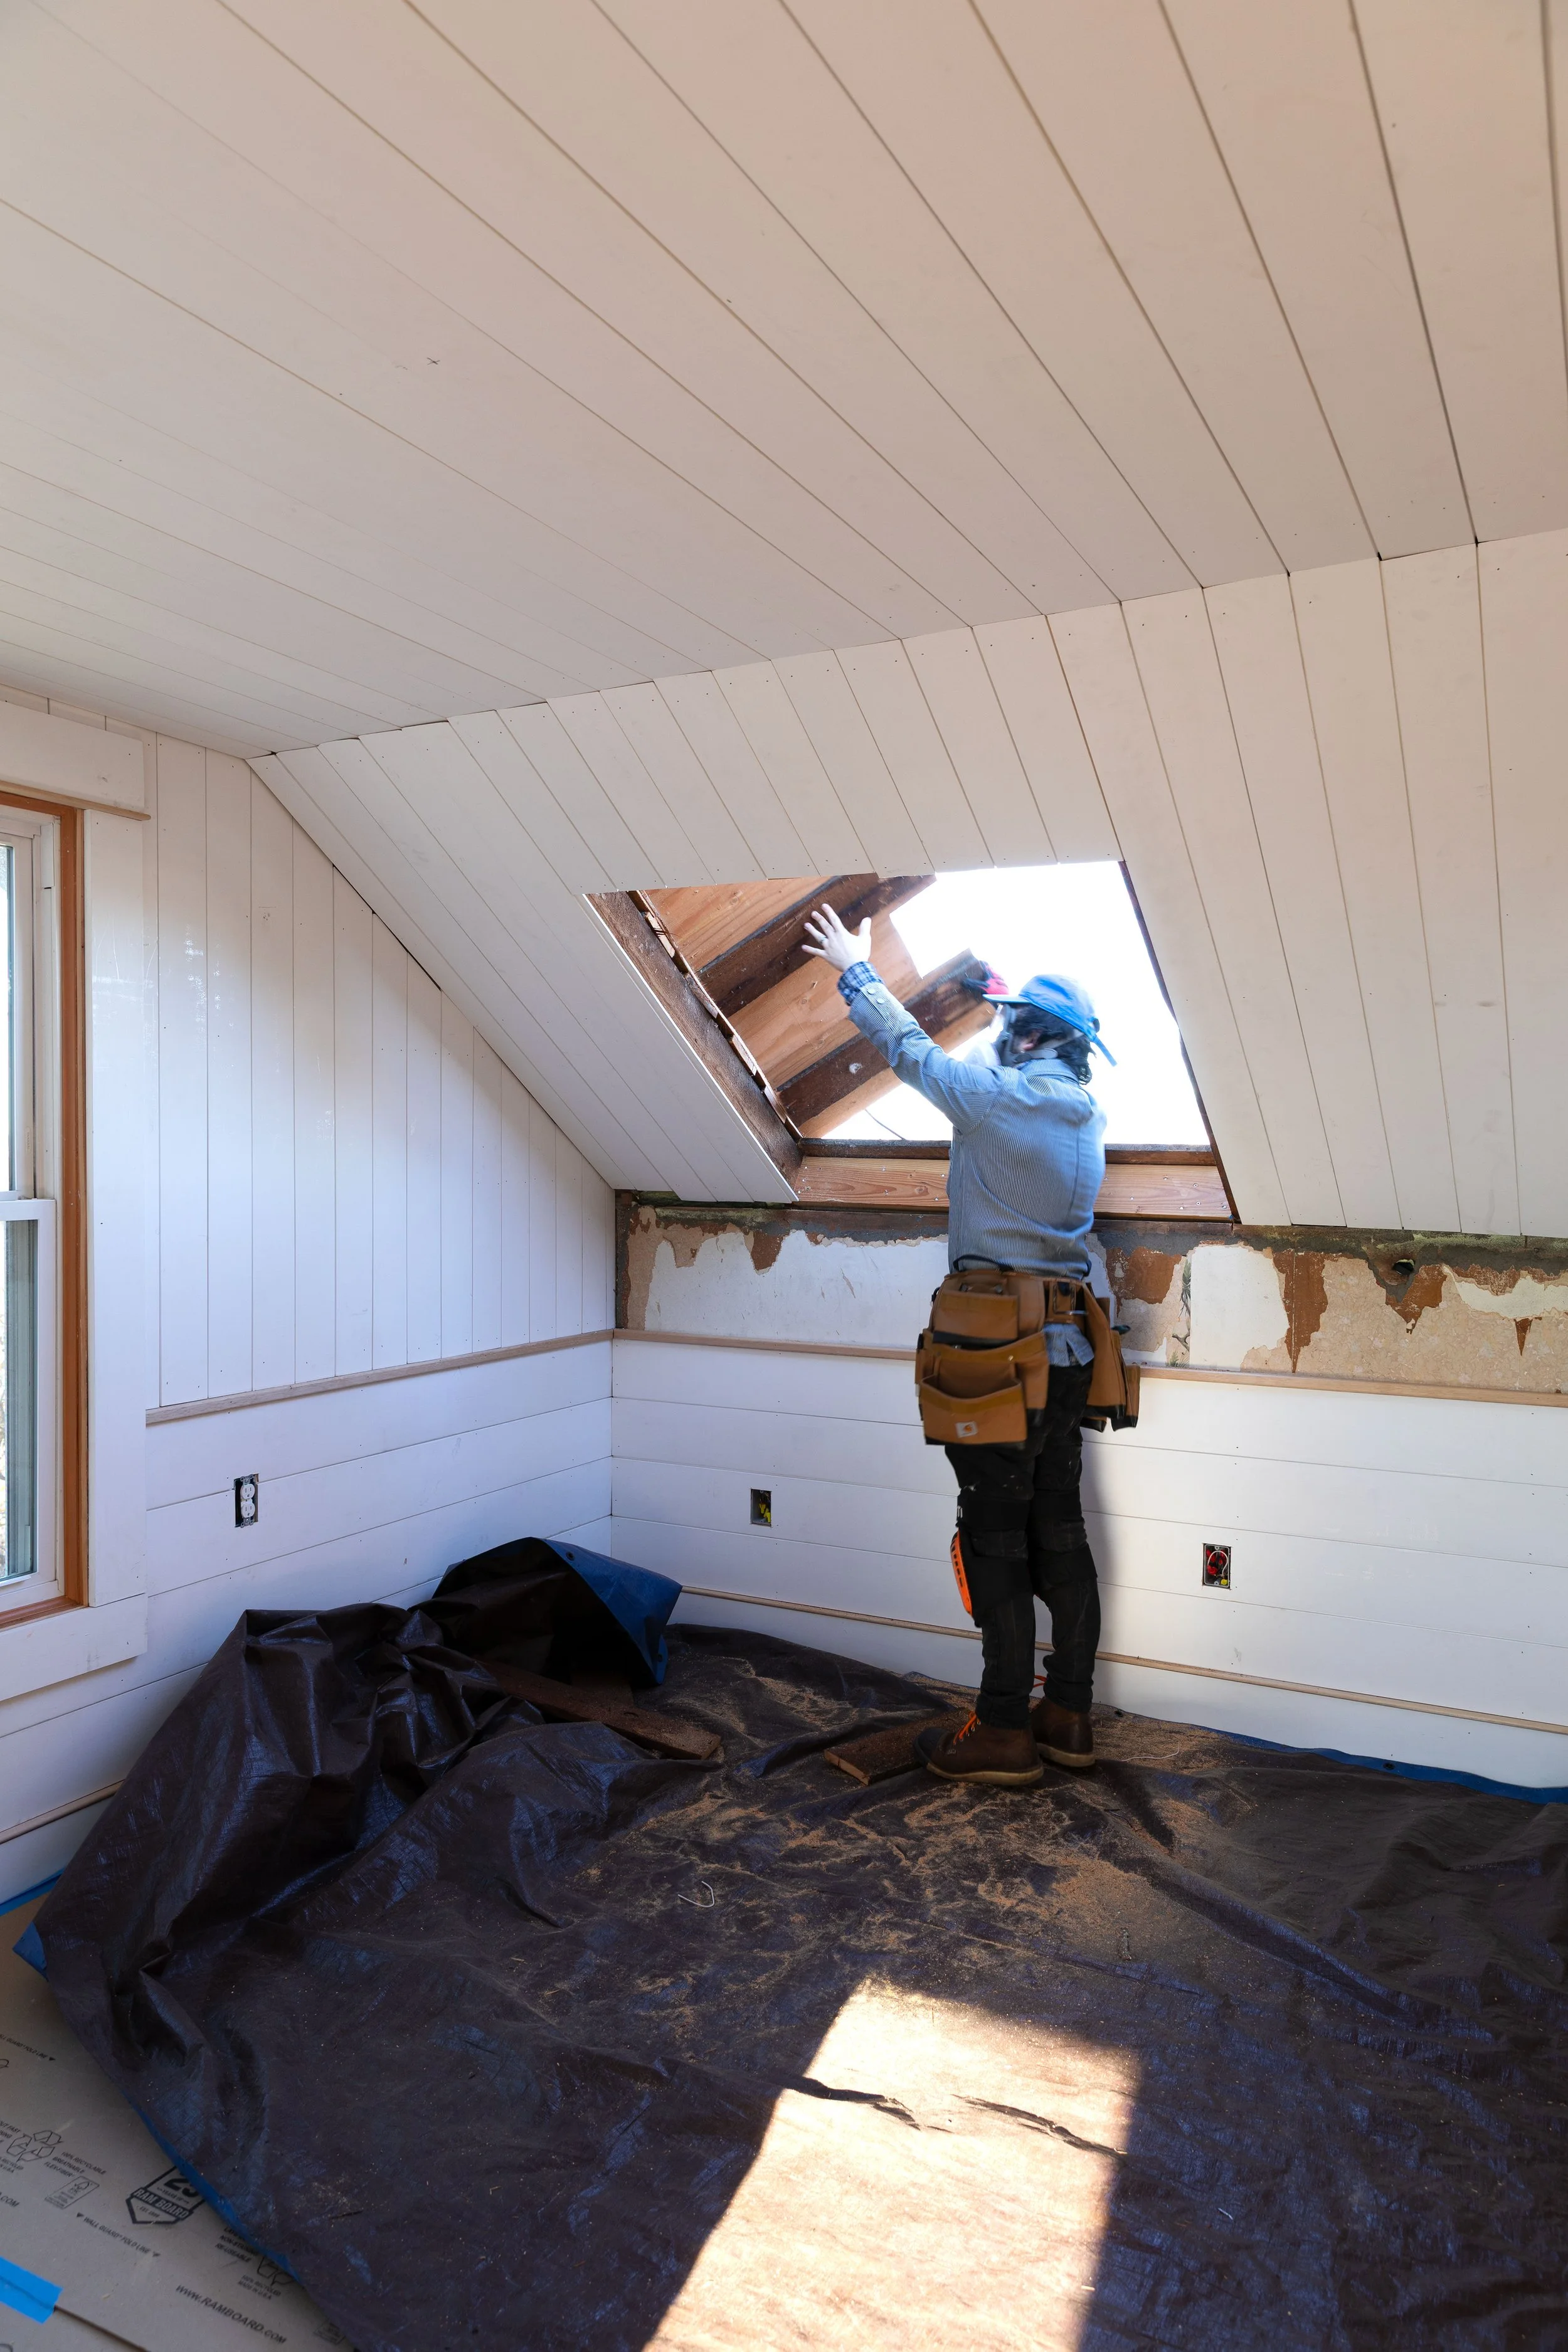
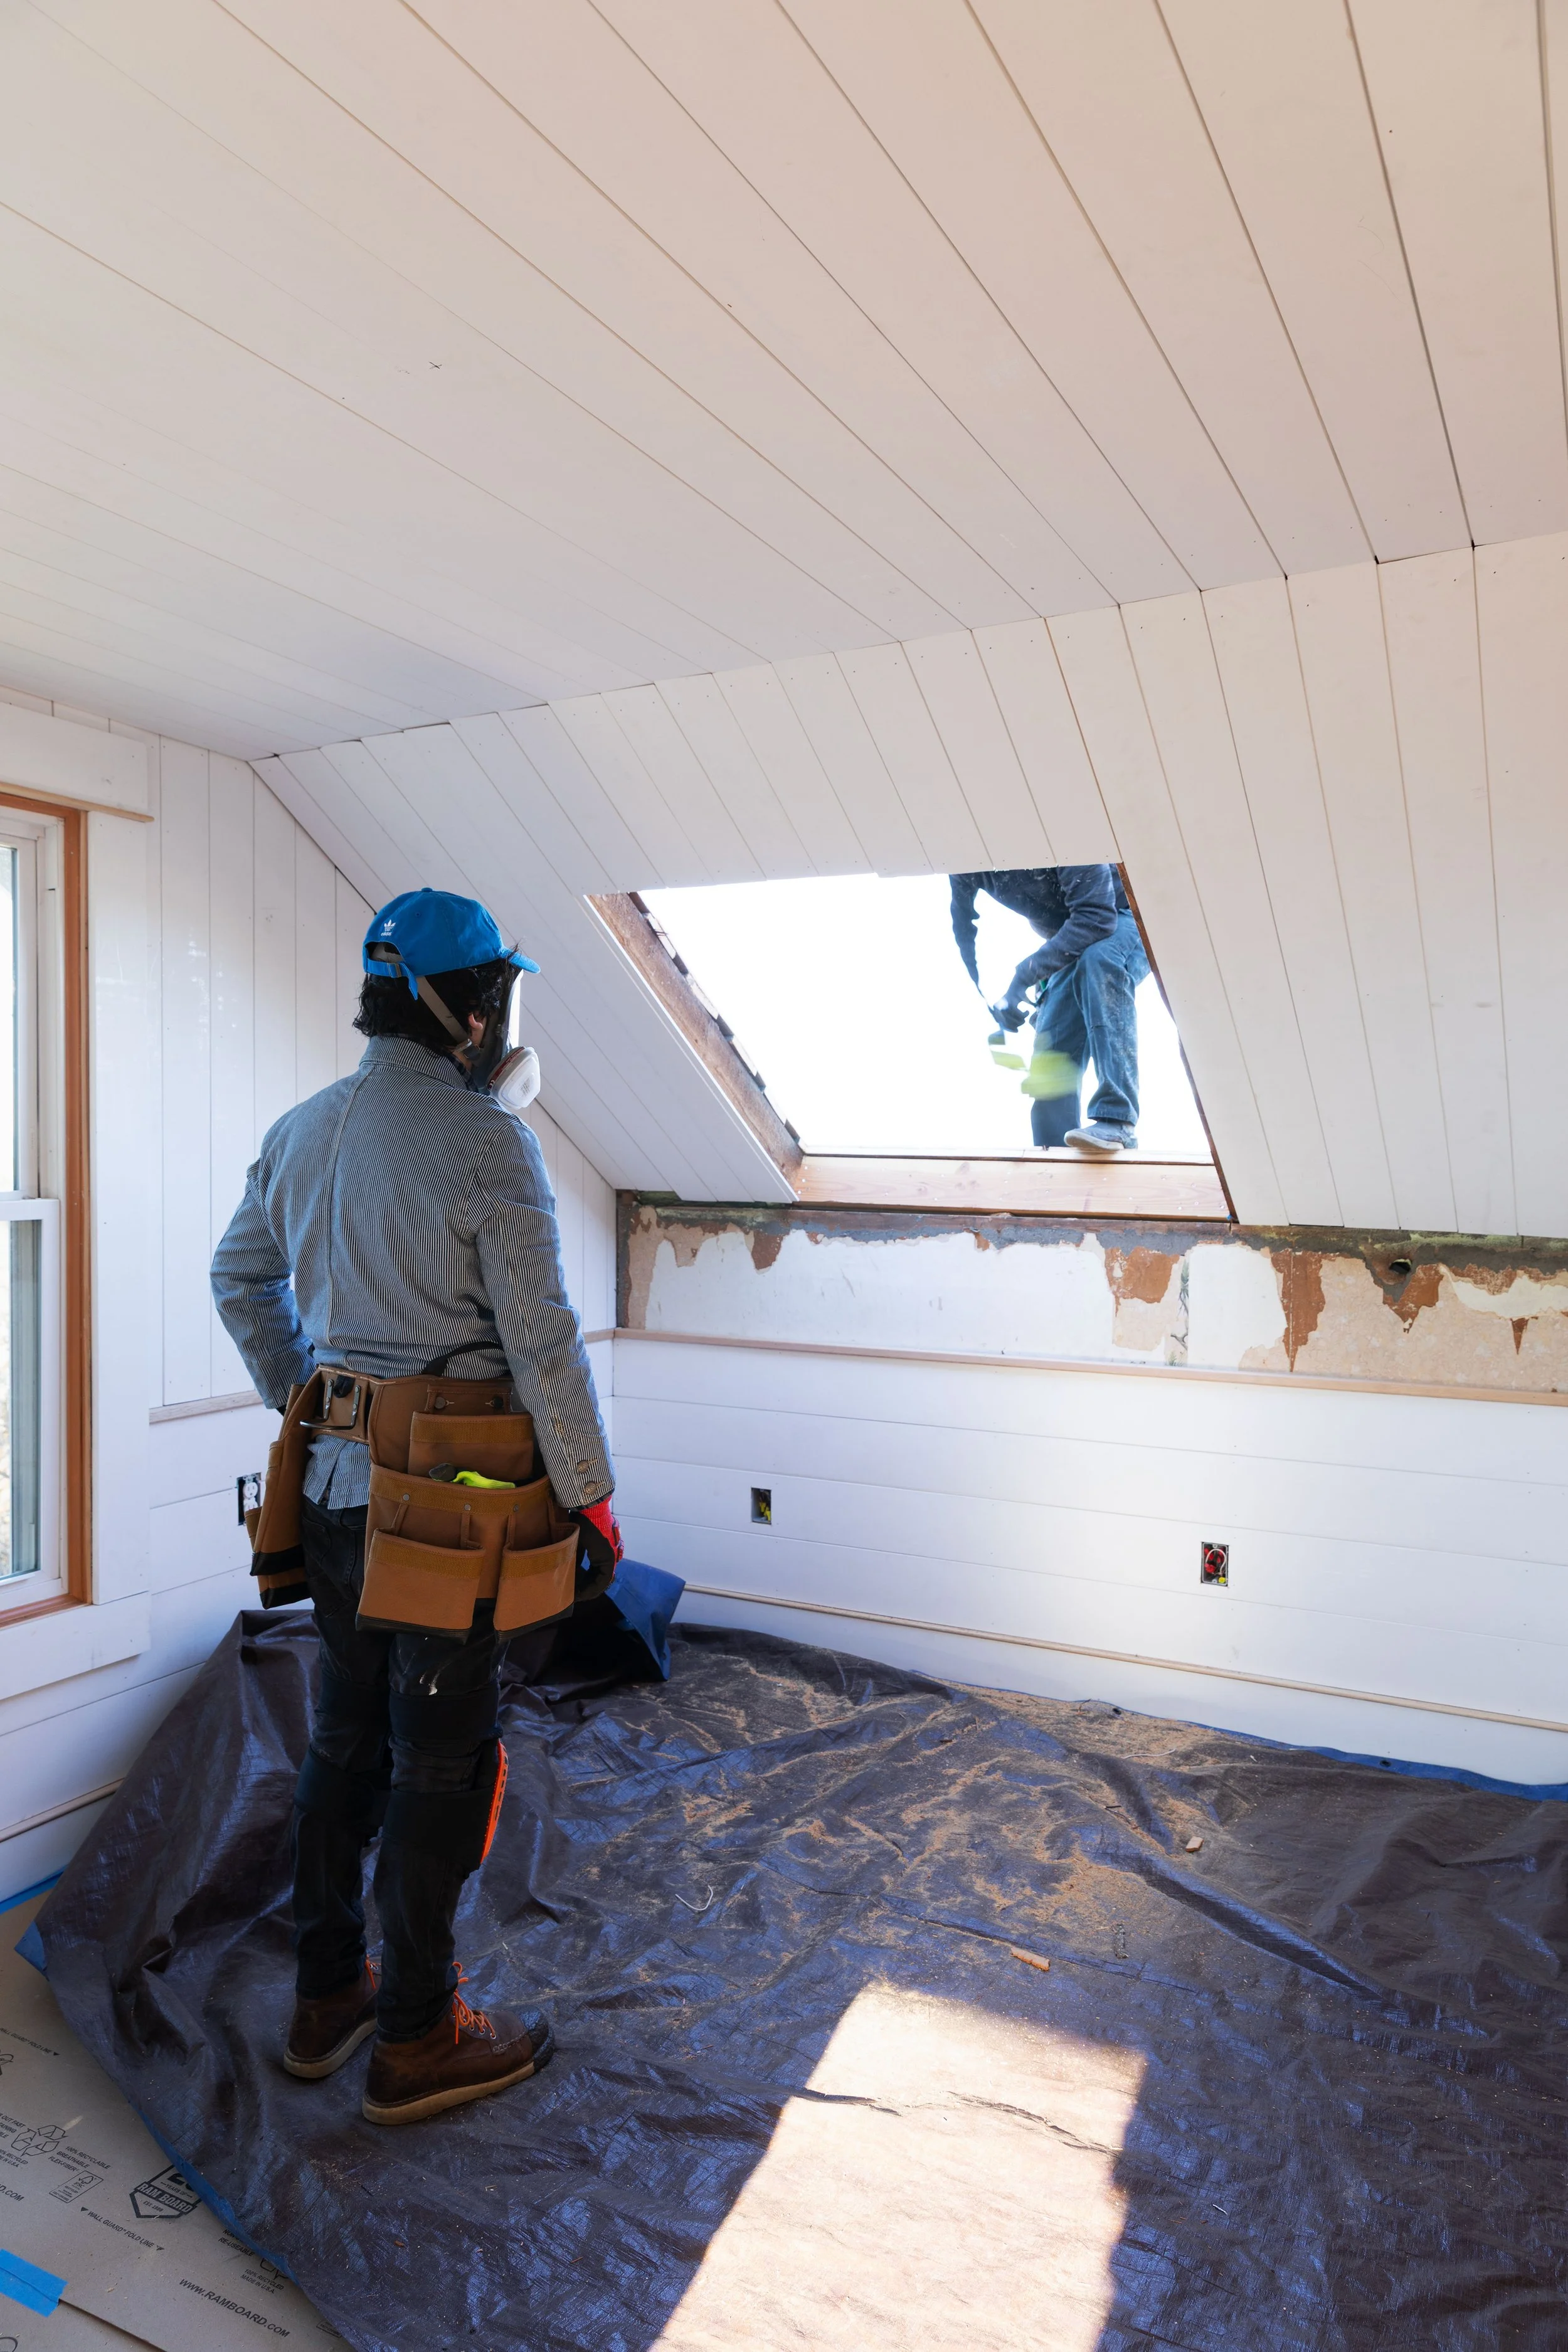
Over two days in December, Steve and his sons handled everything on the exterior - cutting the openings, setting the skylights in place, and flashing them properly. I’ll be honest, watching someone cut holes into your roof is a tad stressful, but it’s easier having a professional at the helm rather than your husband ;)
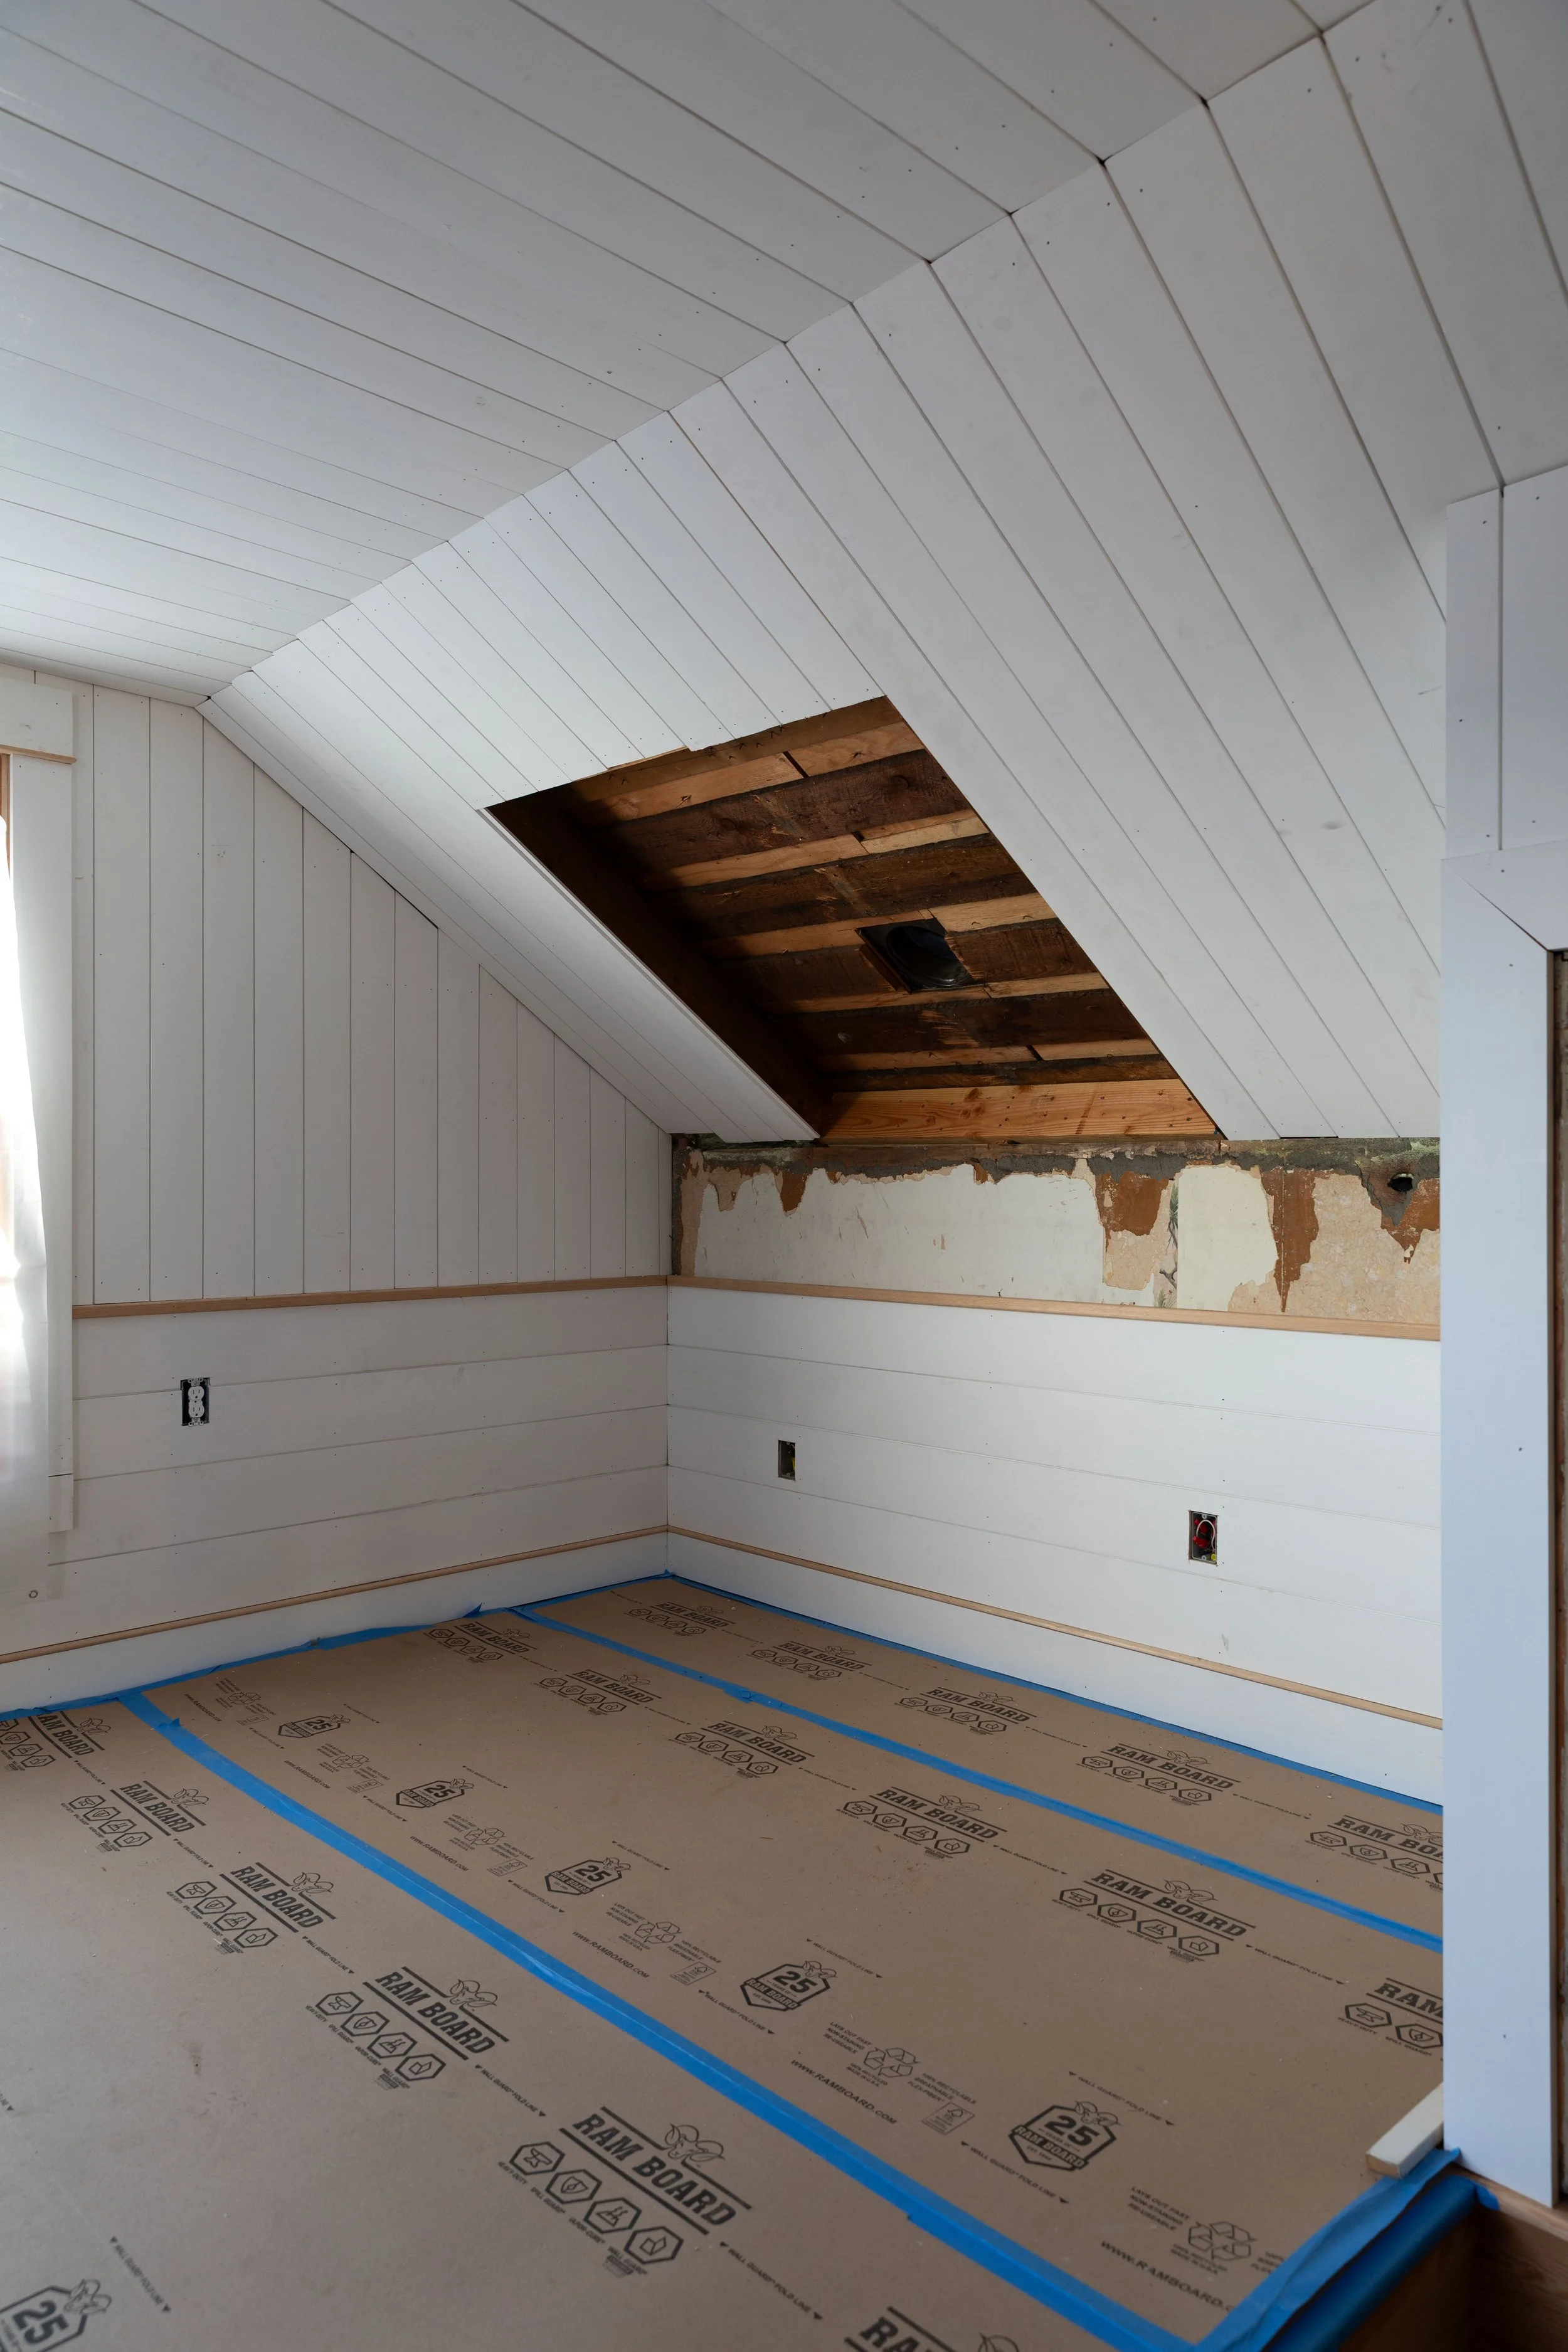
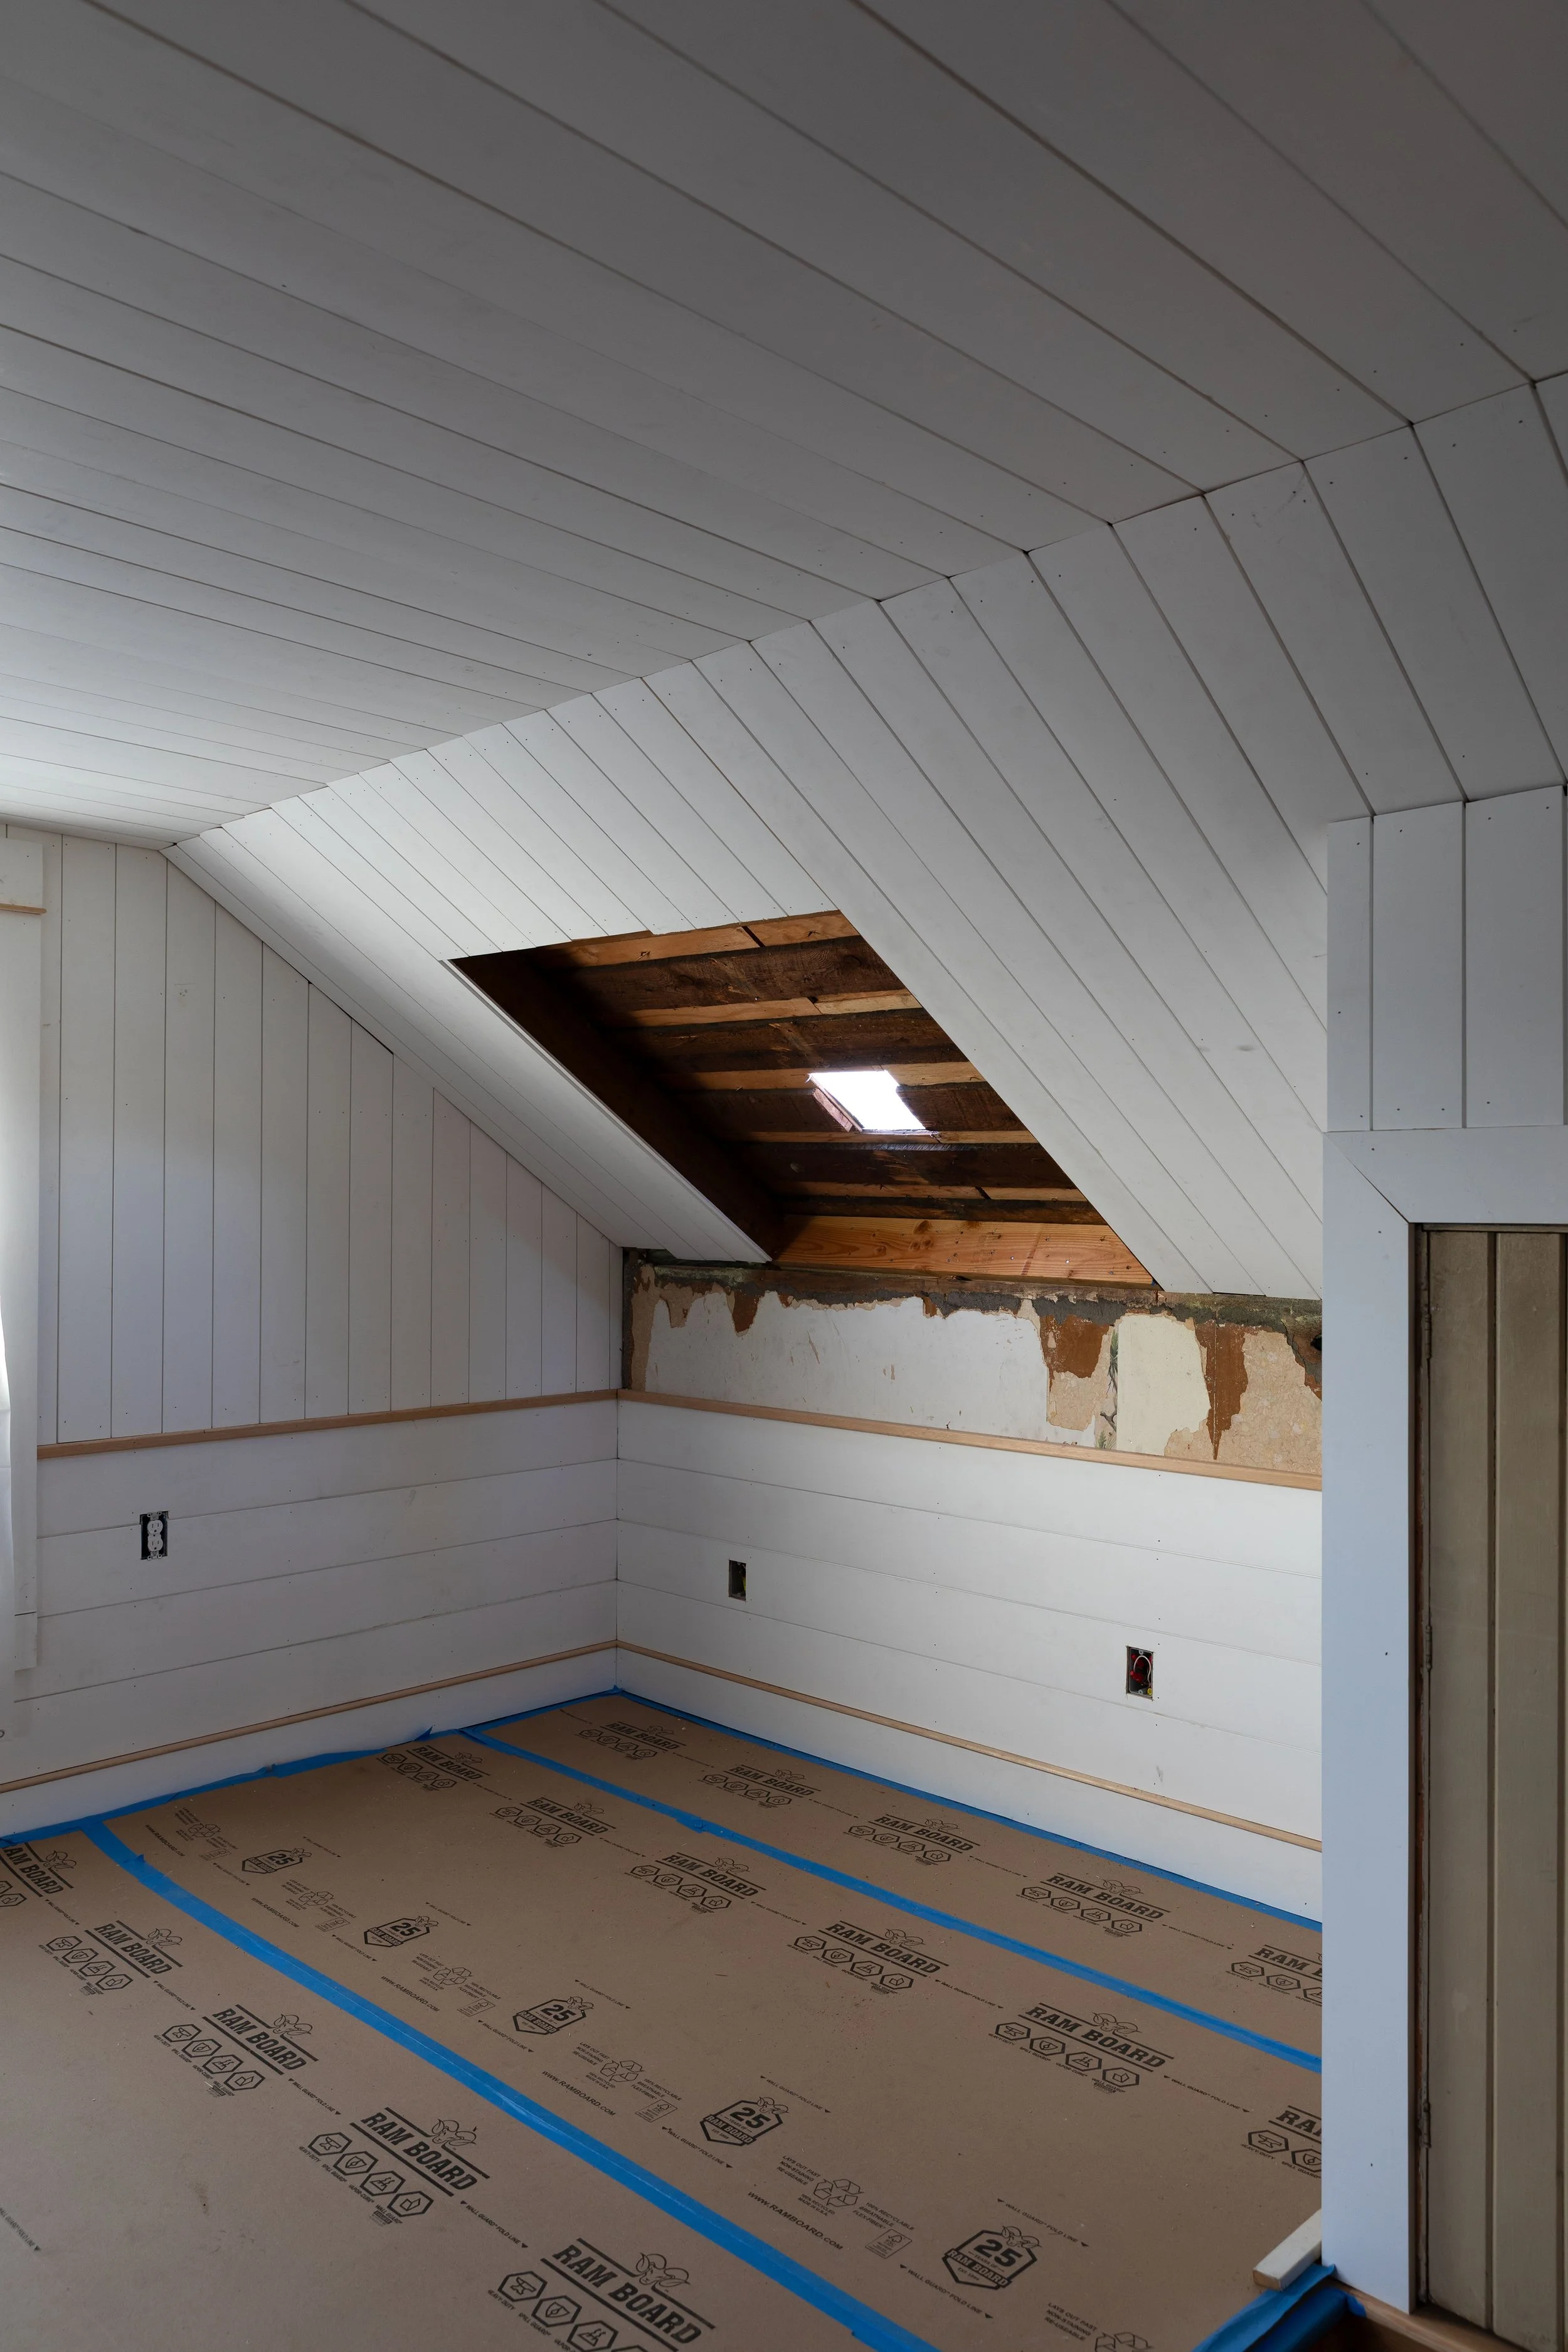
After the installers had set each skylight and sealed and flashed everything for a watertight finish, Steve walked us through how the systems work. There’s a remote for opening/closing and a remote for the shade for each skylight.
From there, we handled the interior work - paneling, trim, caulk, and paint. And that’s really where it all came together! The skylights feel integrated in the space, like they’ve always been part of the house rather than something added later.
Can You DIY Skylights?
Yes, but you have to be comfortable with roofing, framing, and flashing. And even so, you might still consider professional install with skylights just for the peace of mind. Mistakes can be expensive (and wet)!
For us, professional install gave us access to an expert who could walk us through the process and help us confidently pick the right systems for our house. Watching their expert hands cut holes in the roof and seal the skylights up for a watertight seal gave me peace of mind and gave Garrett the time to focus on the interior finish work.
What are Skylights Cost
Cost is one of the biggest questions we get, and the honest answer is: what you spend on skylights will vary quite a bit. Depending on the skylights you choose and the degree of difficulty of install, your number could look similar or not similar ours. But here’s what our’s cost for a point of reference:
3 VELUX skylights = $7,127
Install = $9,000
Total = $16,127
Note this does not include interior finish work or electrical expenses (which Papa did as part of our complete upstairs rewire).
It’s worth checking for state and local tax credits! These qualified for a 2025 federal tax credit for purchase and installation of energy efficient windows and doors, though that was unfortunately discontinued for this year. Tax credits can definitely help offset some of the cost.
Note that because we partnered with VELUX on IG content, we didn’t pay for the product or installation this time around.
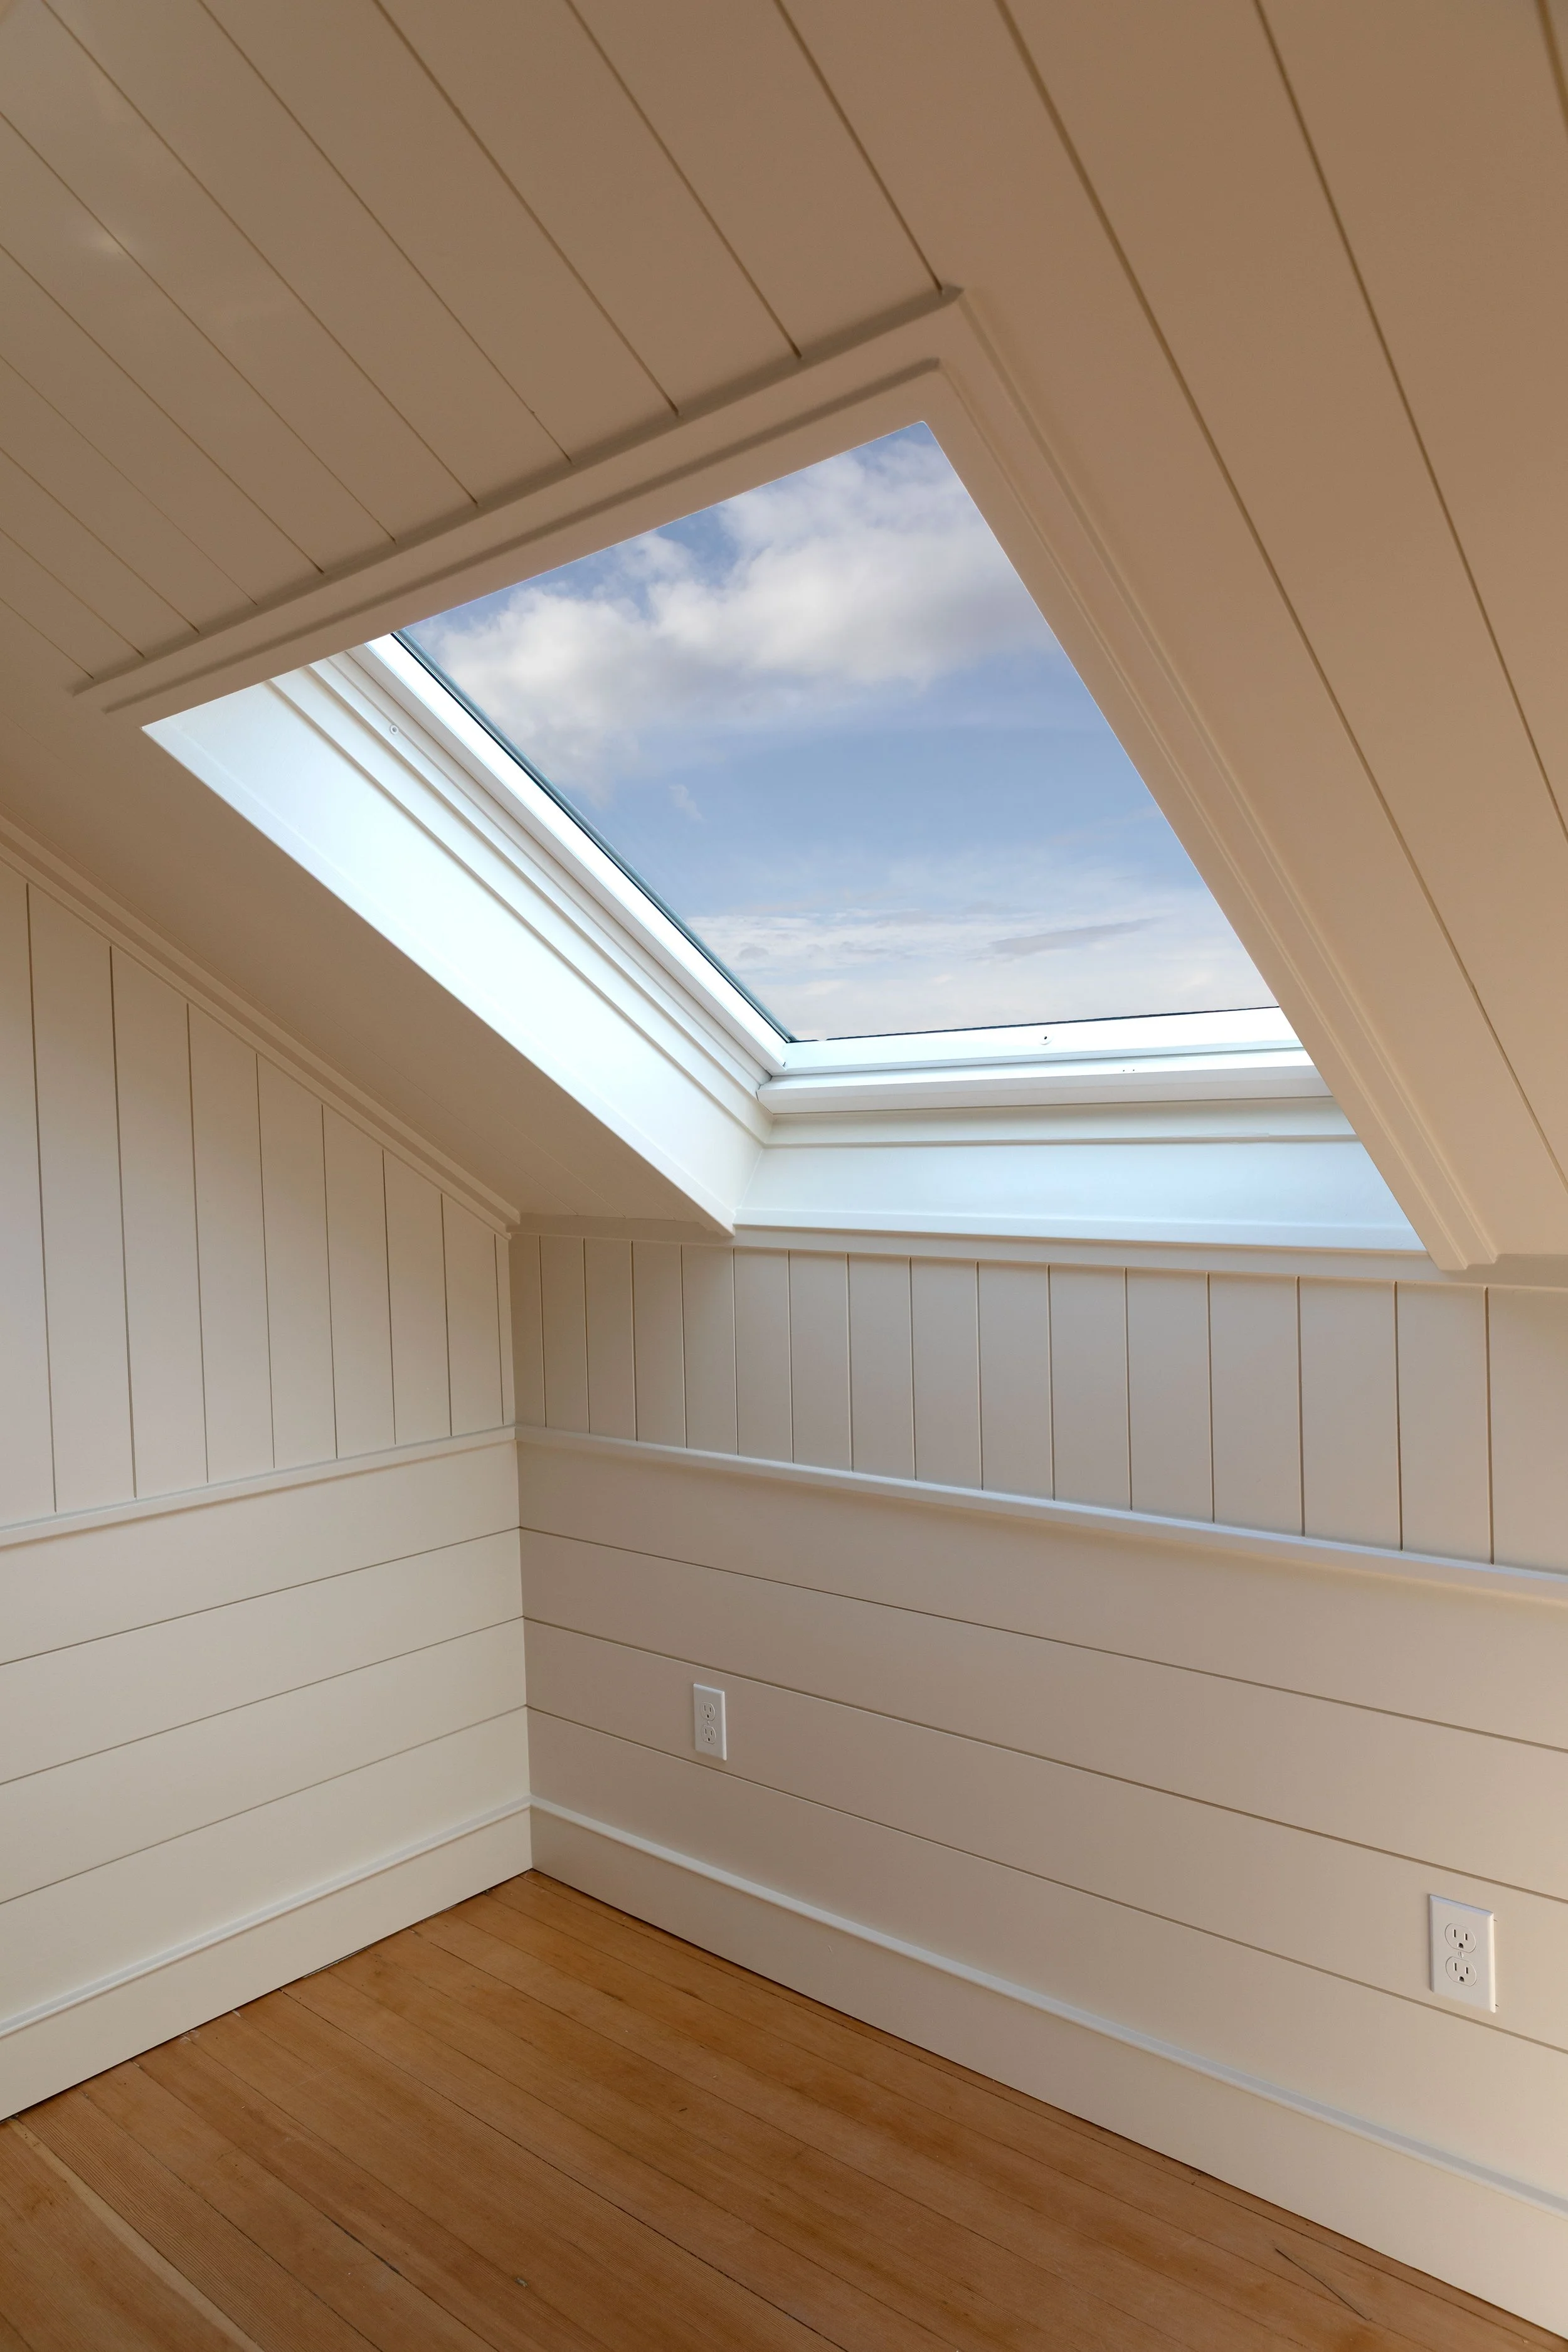
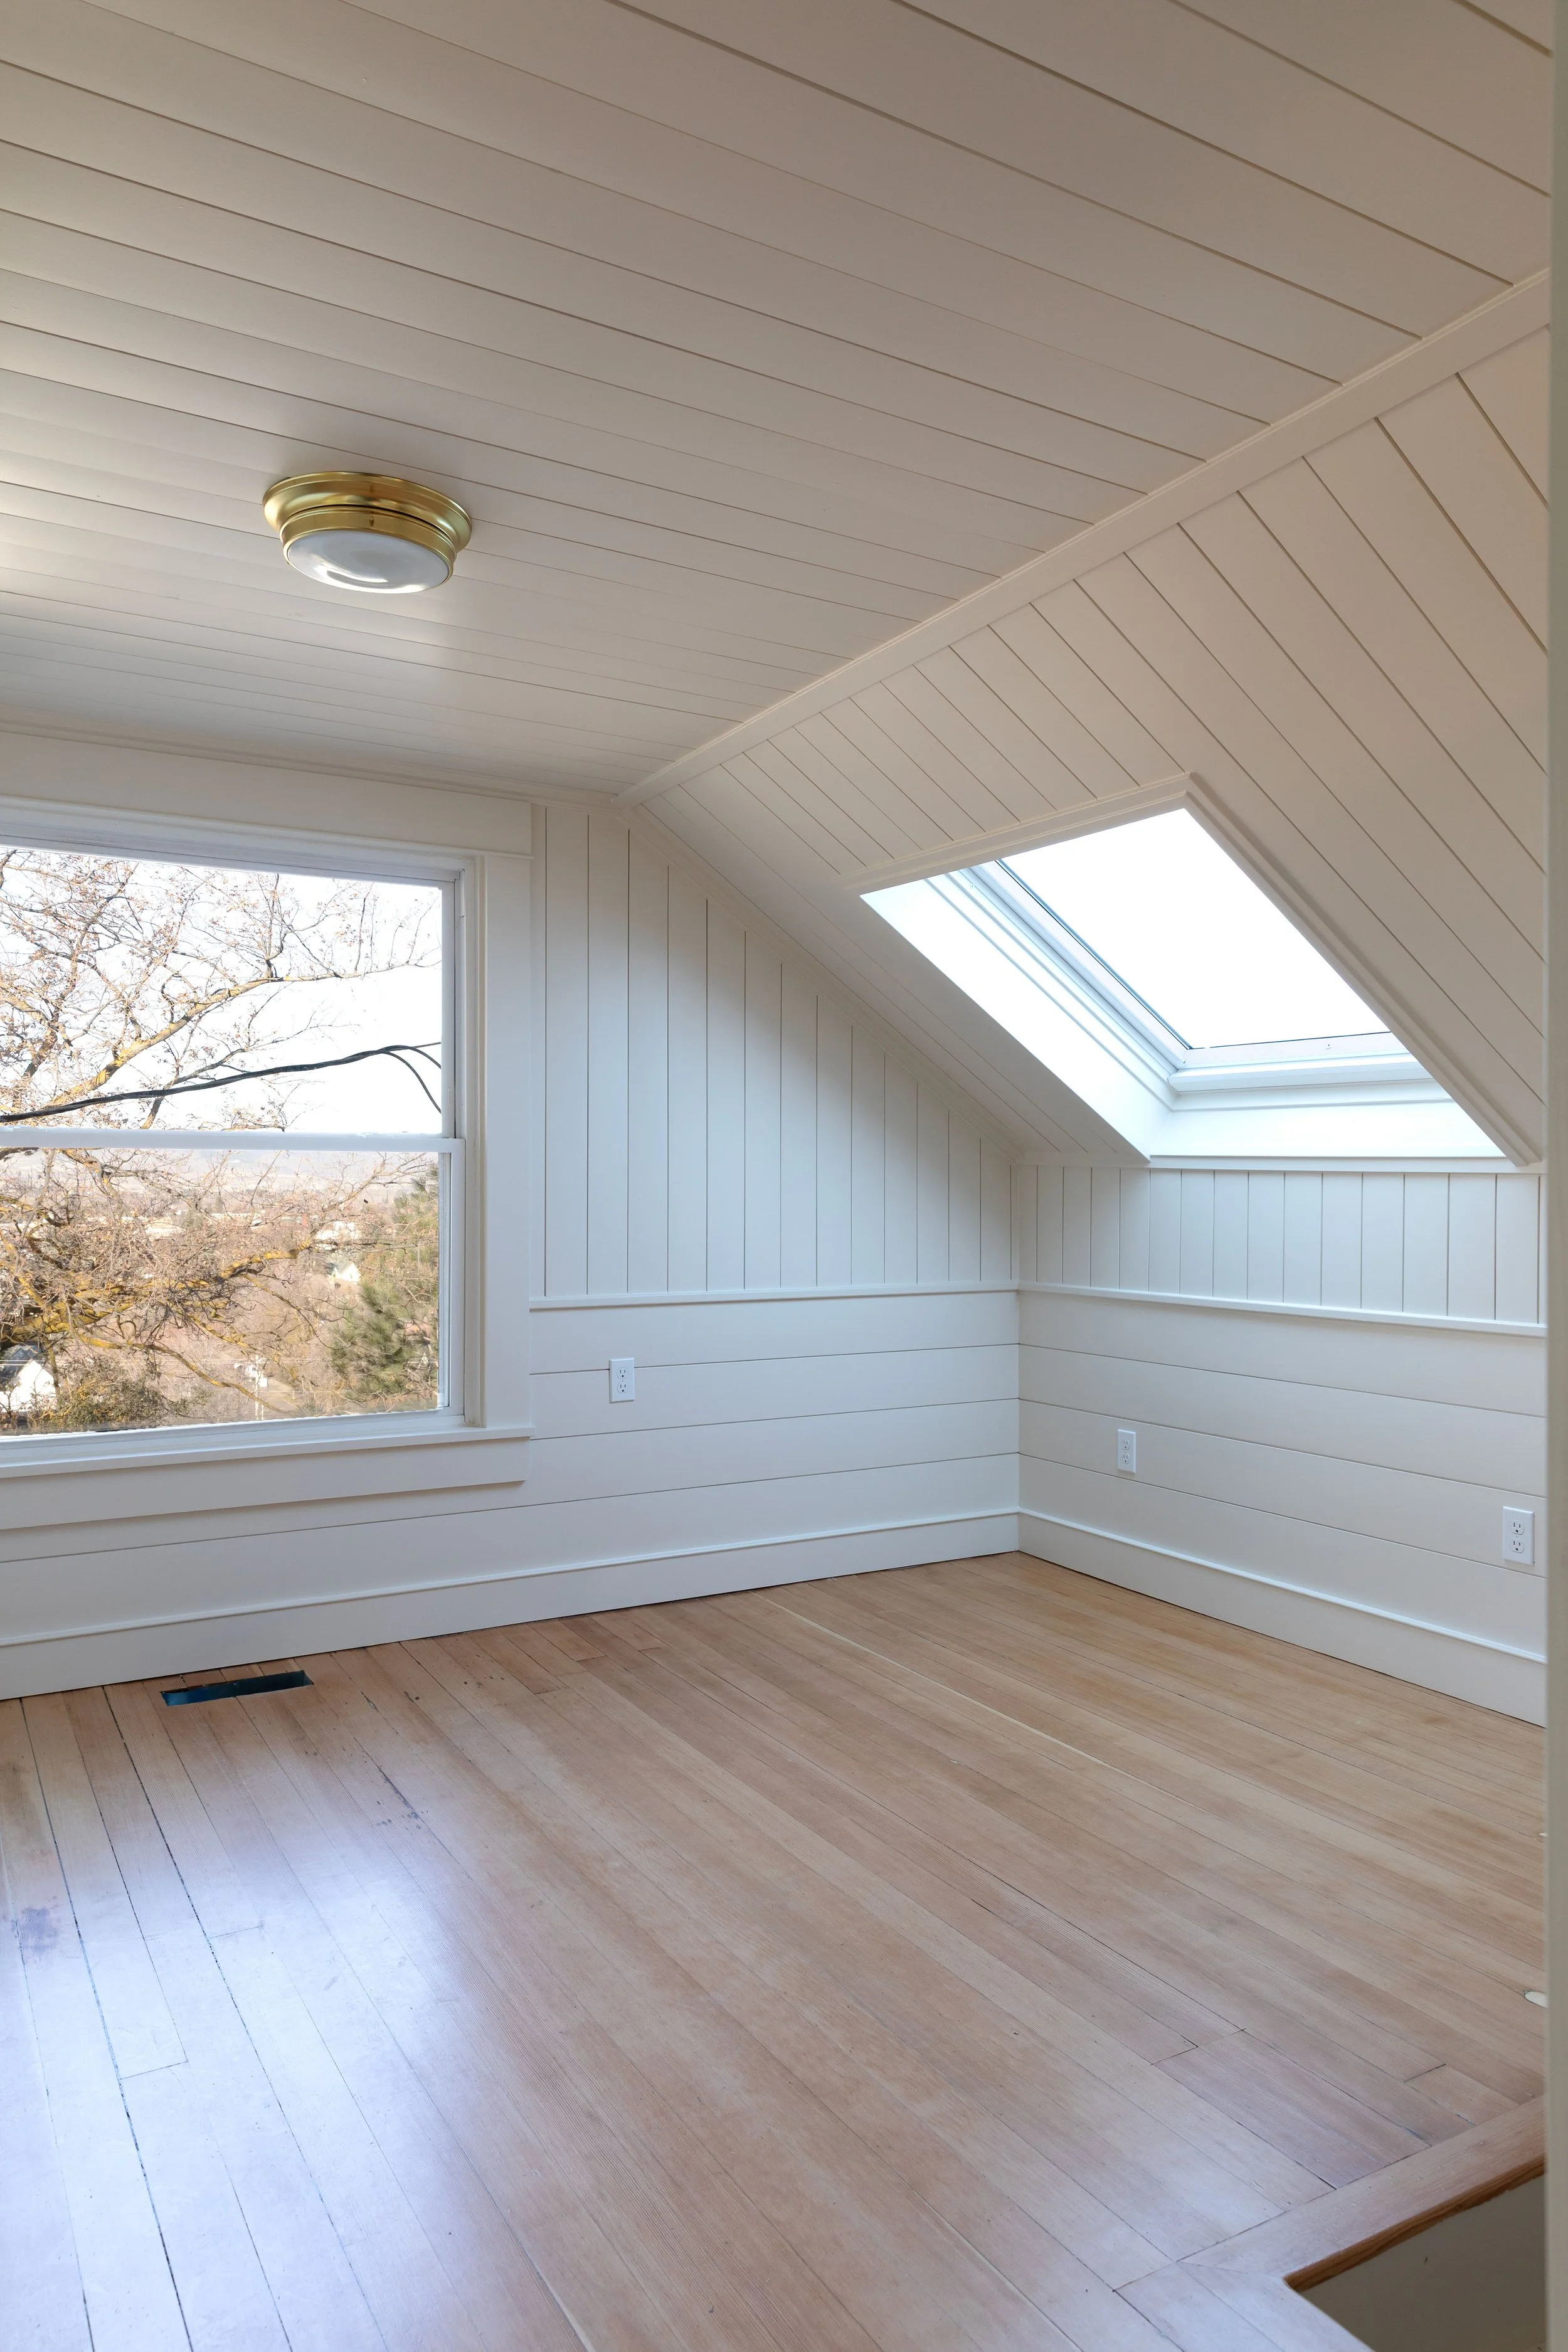
Before and Afters
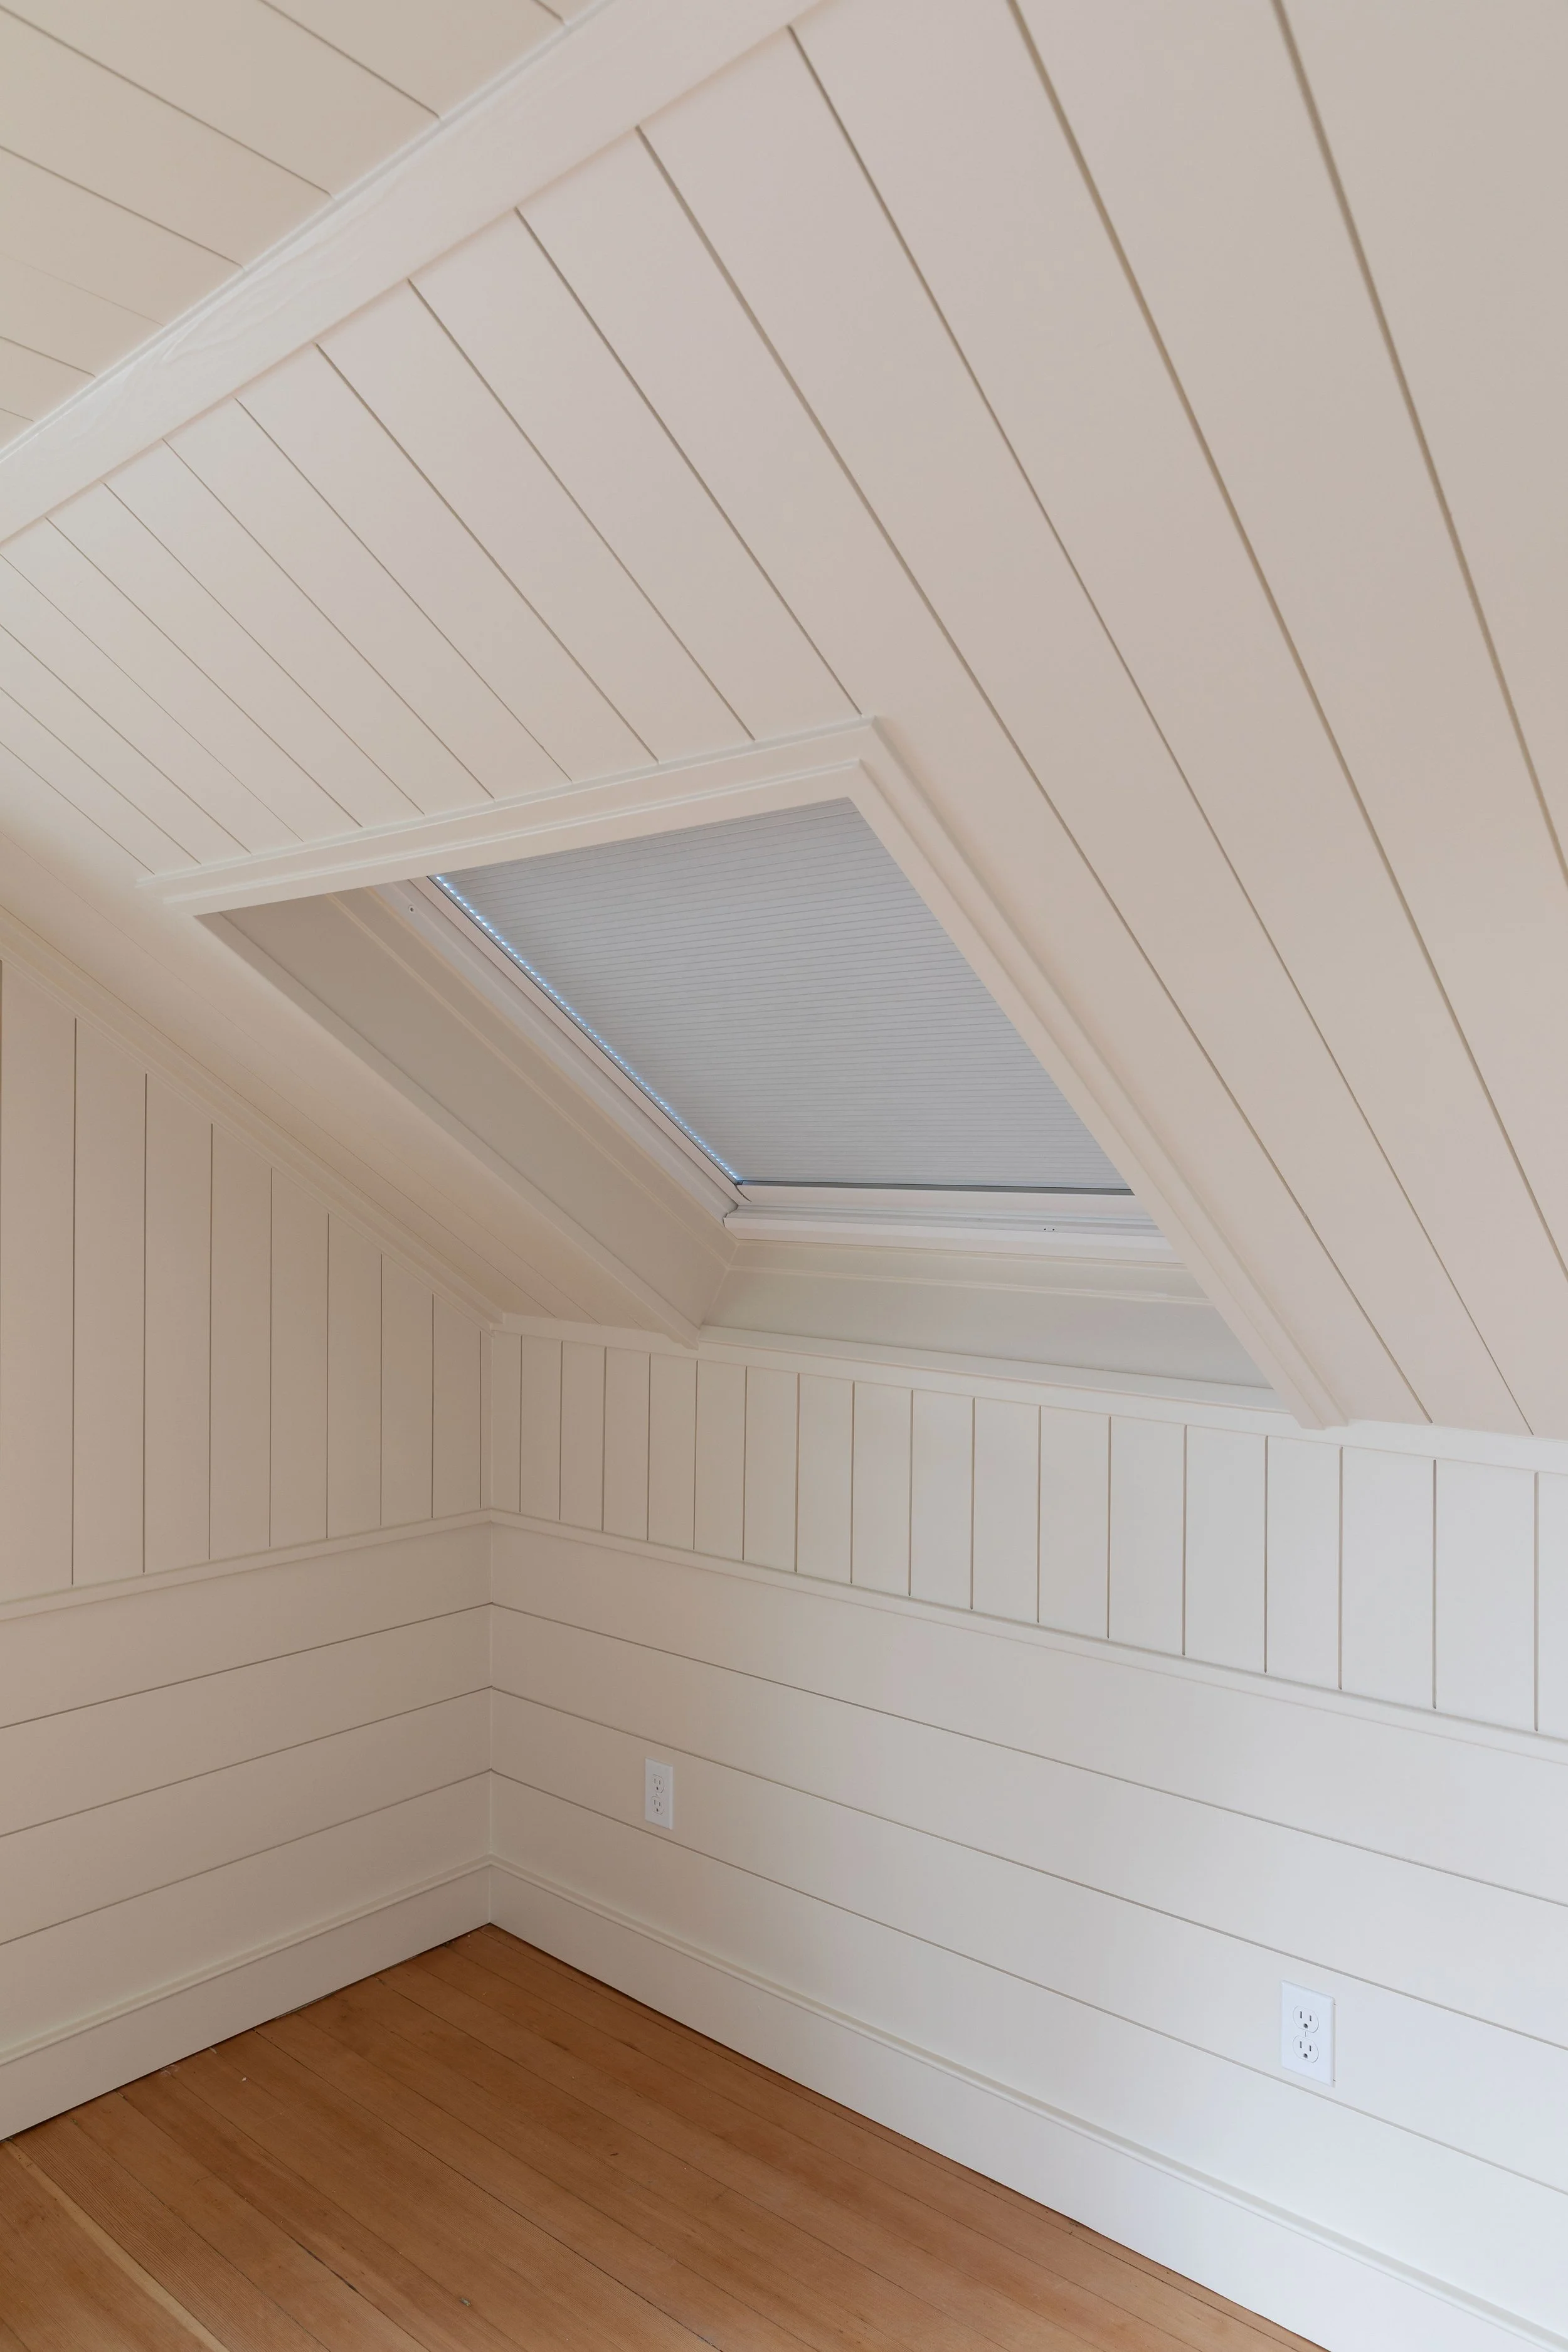
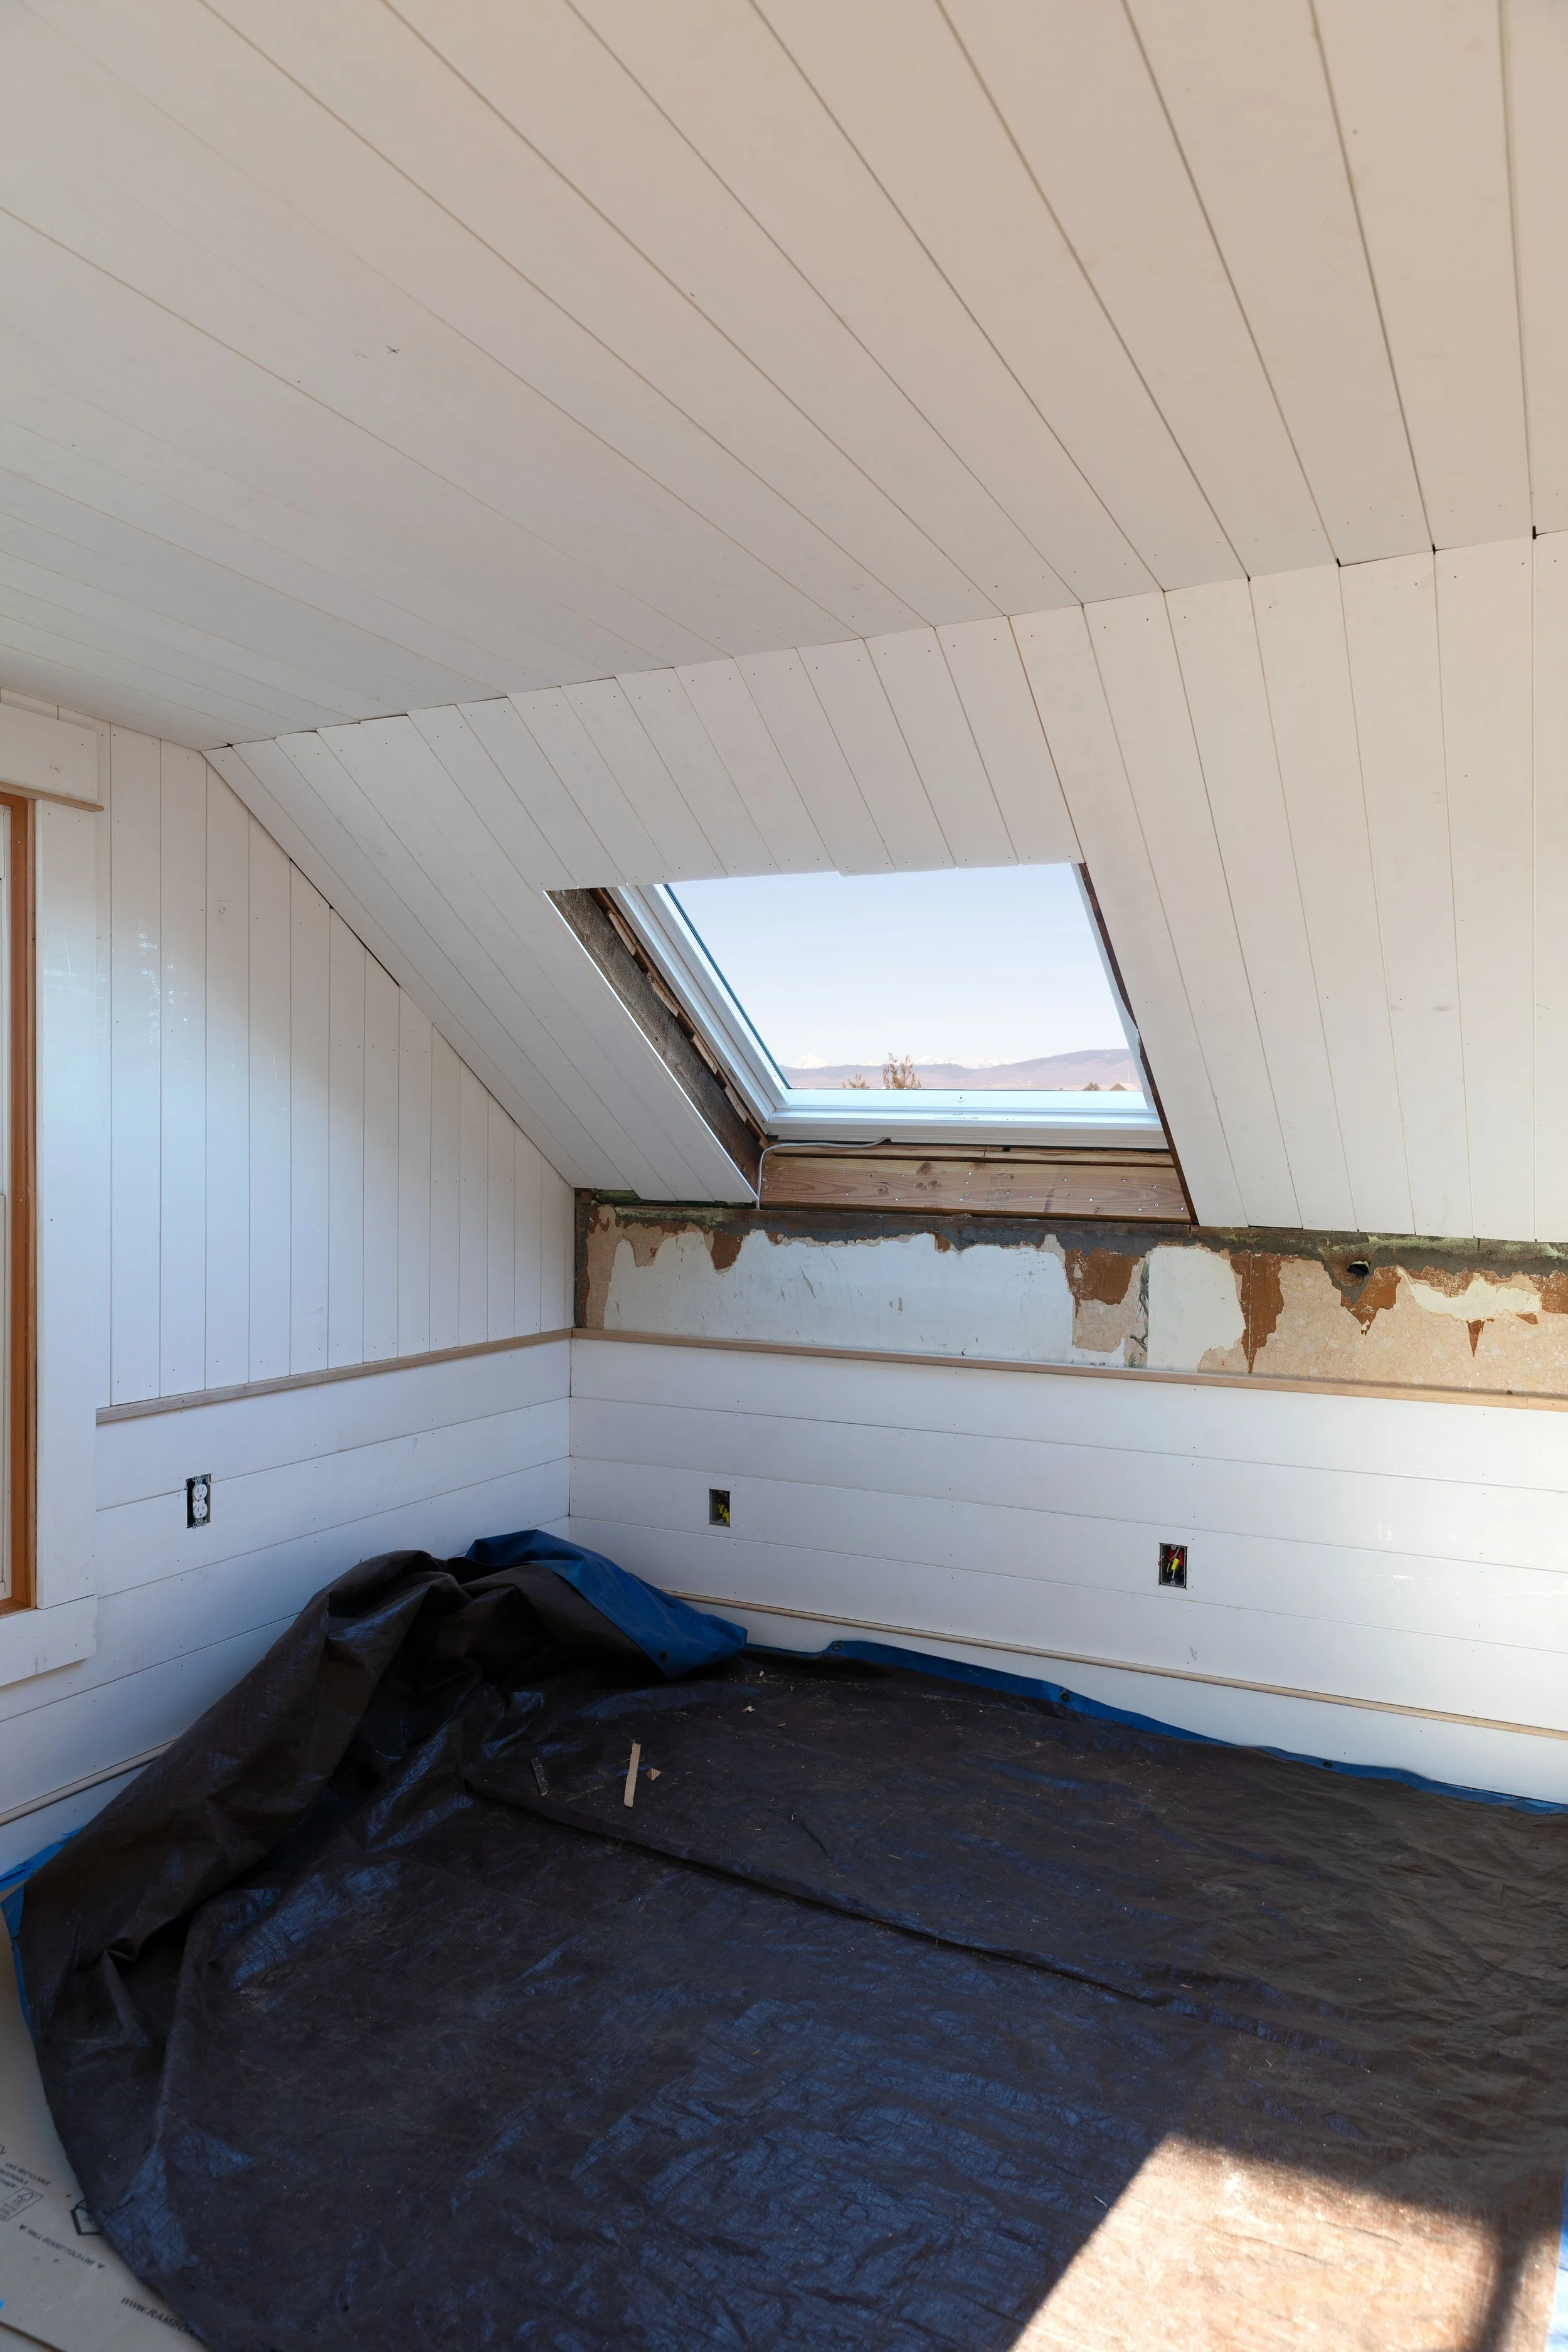
I should probably call these before and progress photos since we’re still very much in the finishing process at the Hill House. These skylights have brought so much natural light into our upstairs and the views are just lovely. Have a look, starting with the snug…
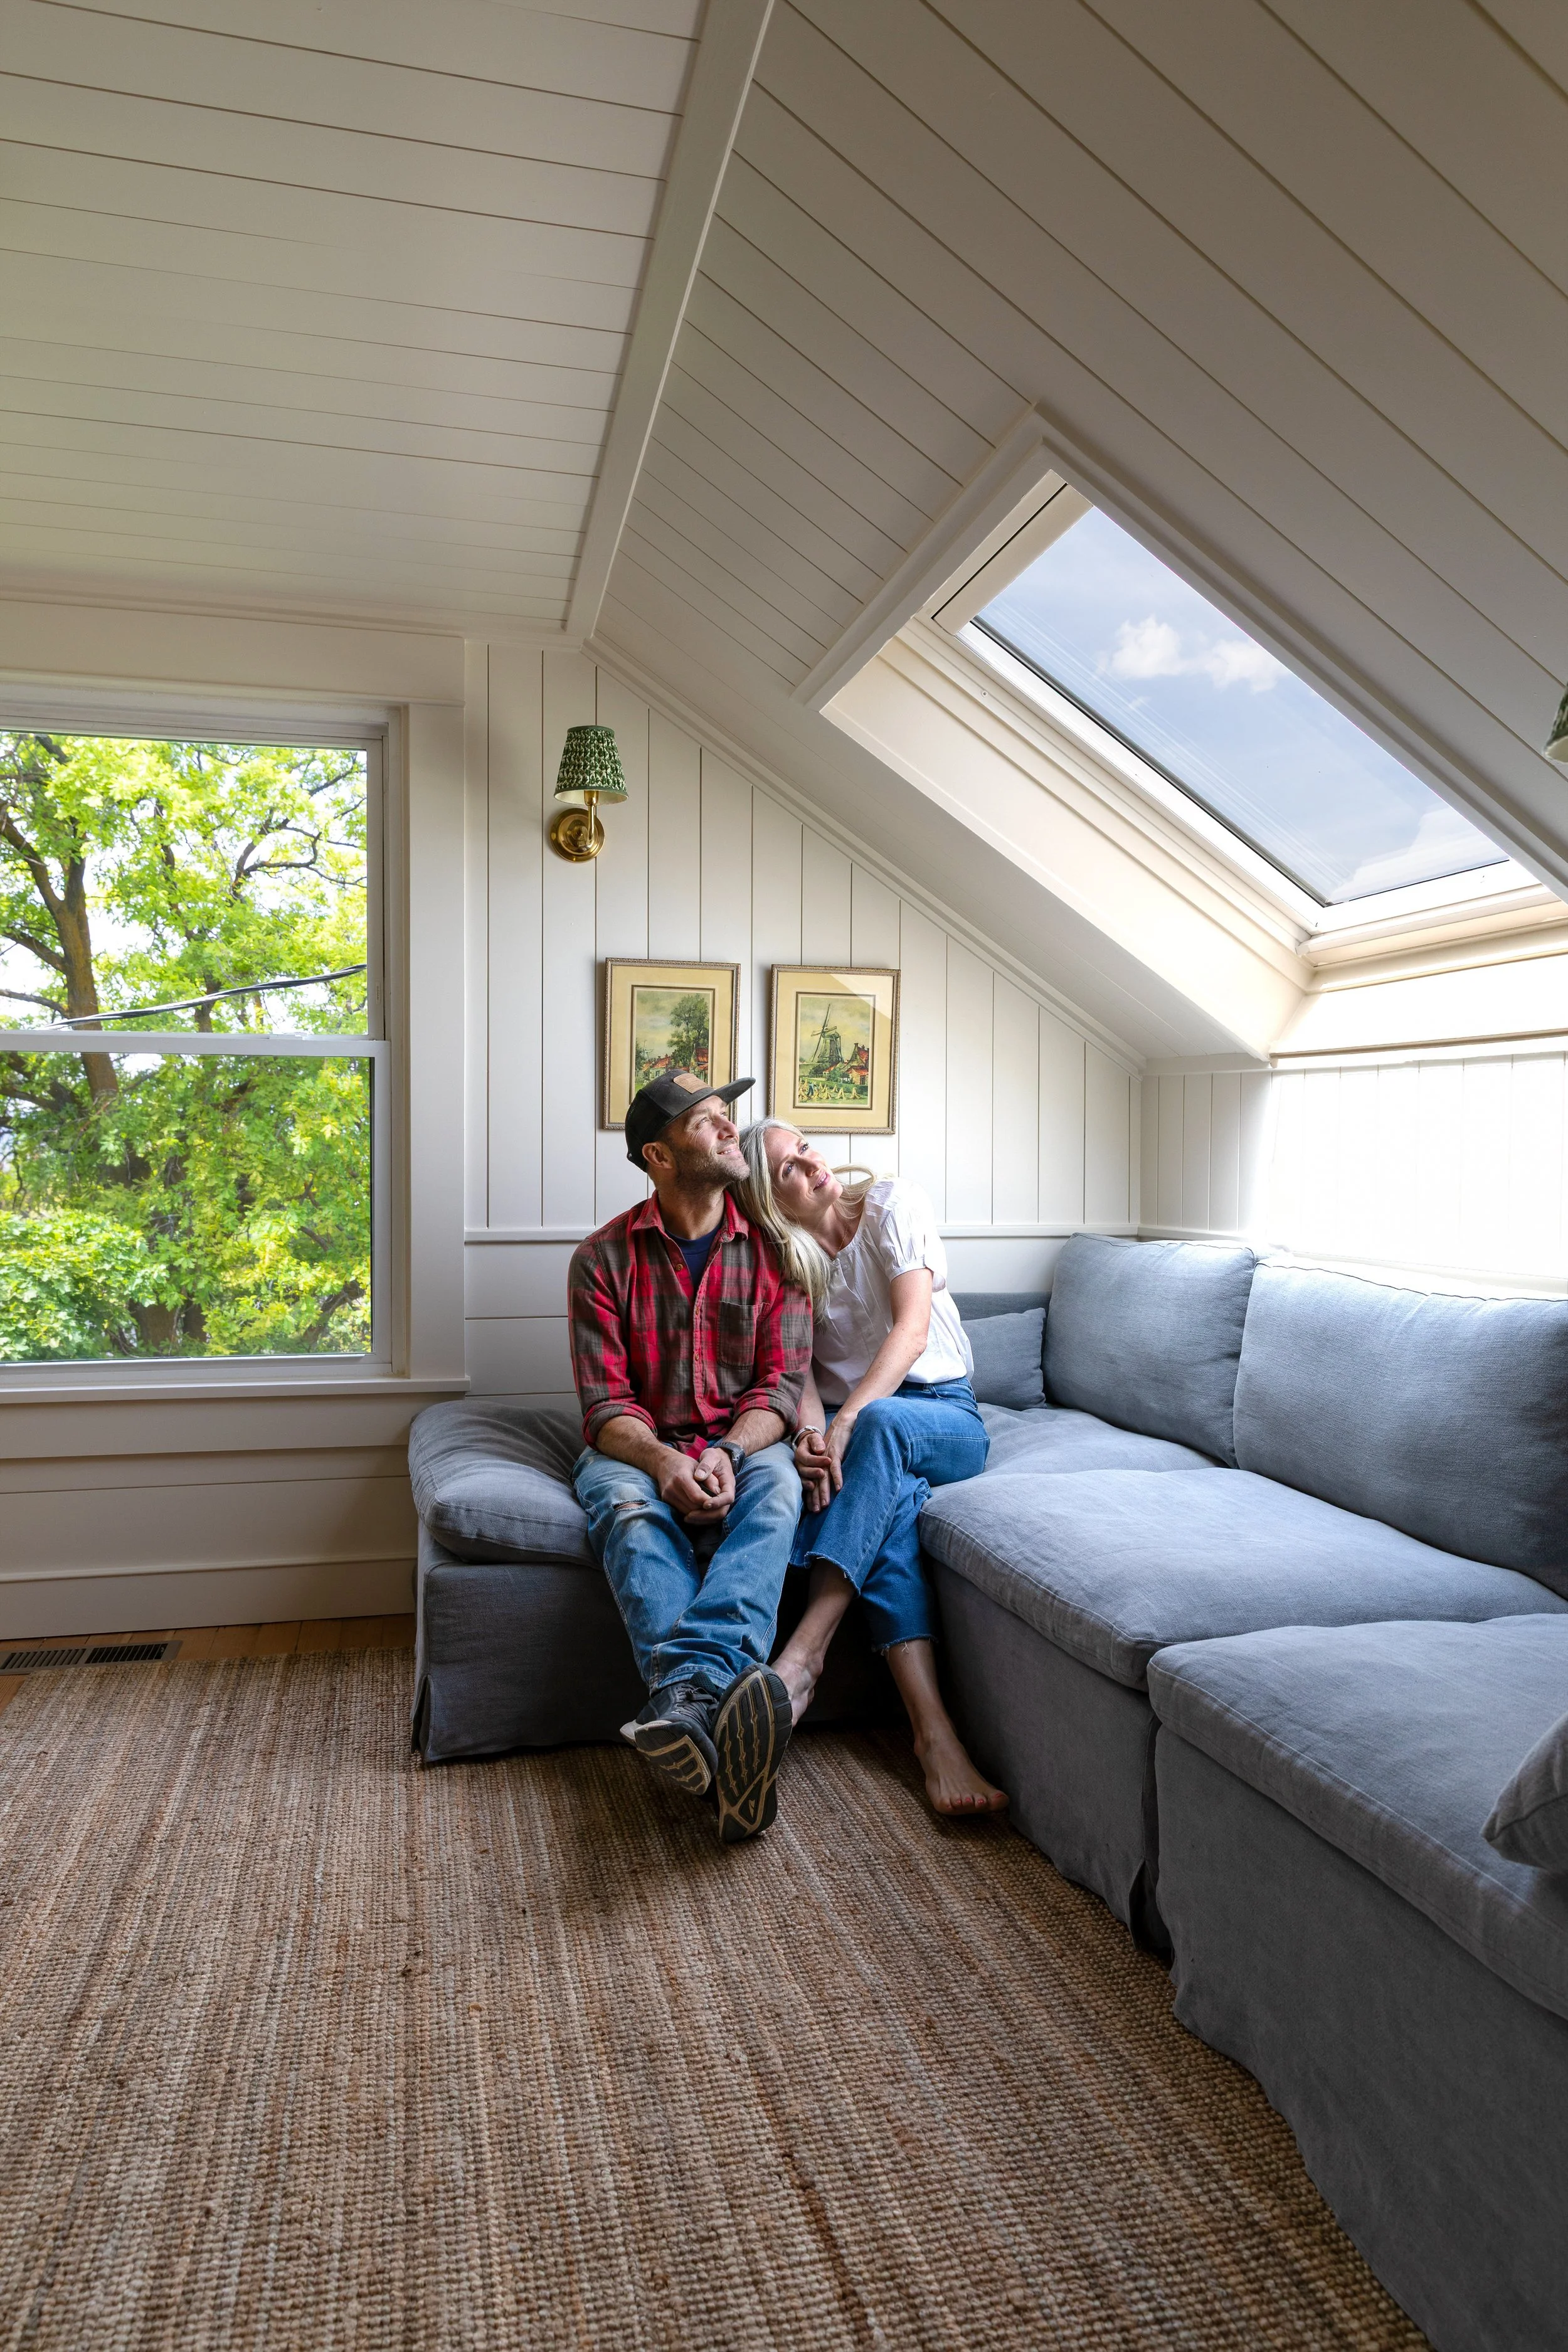
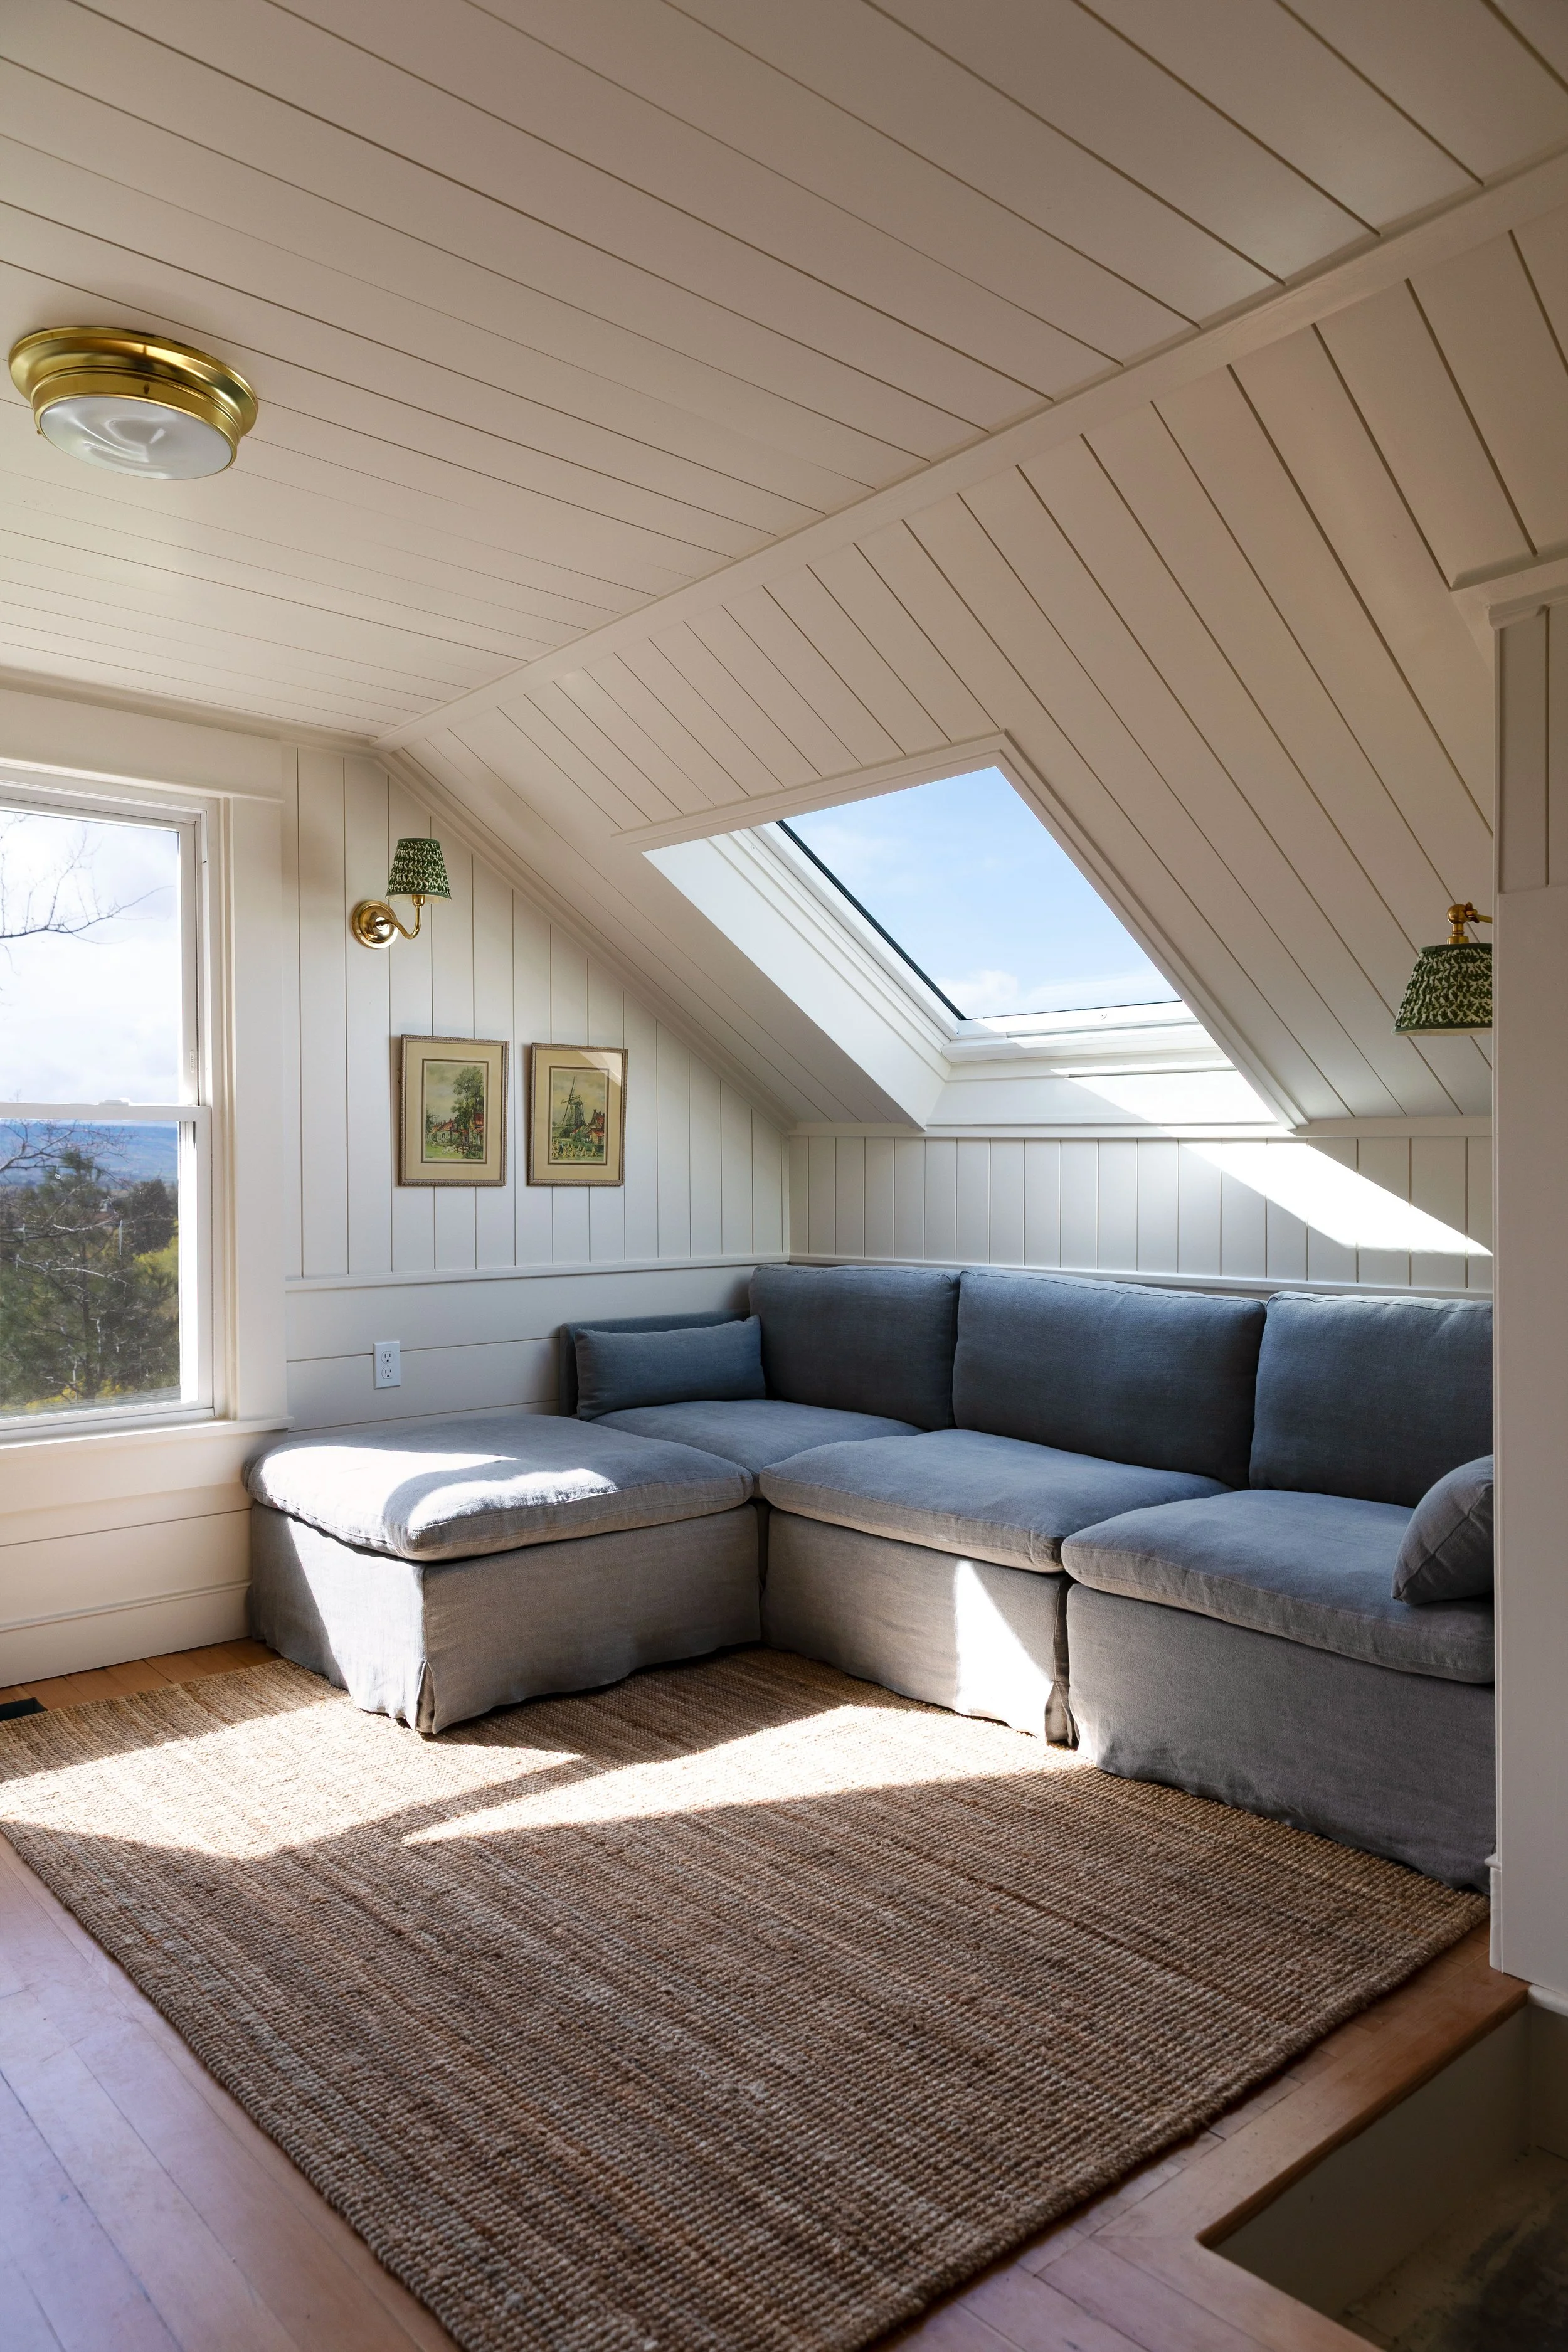
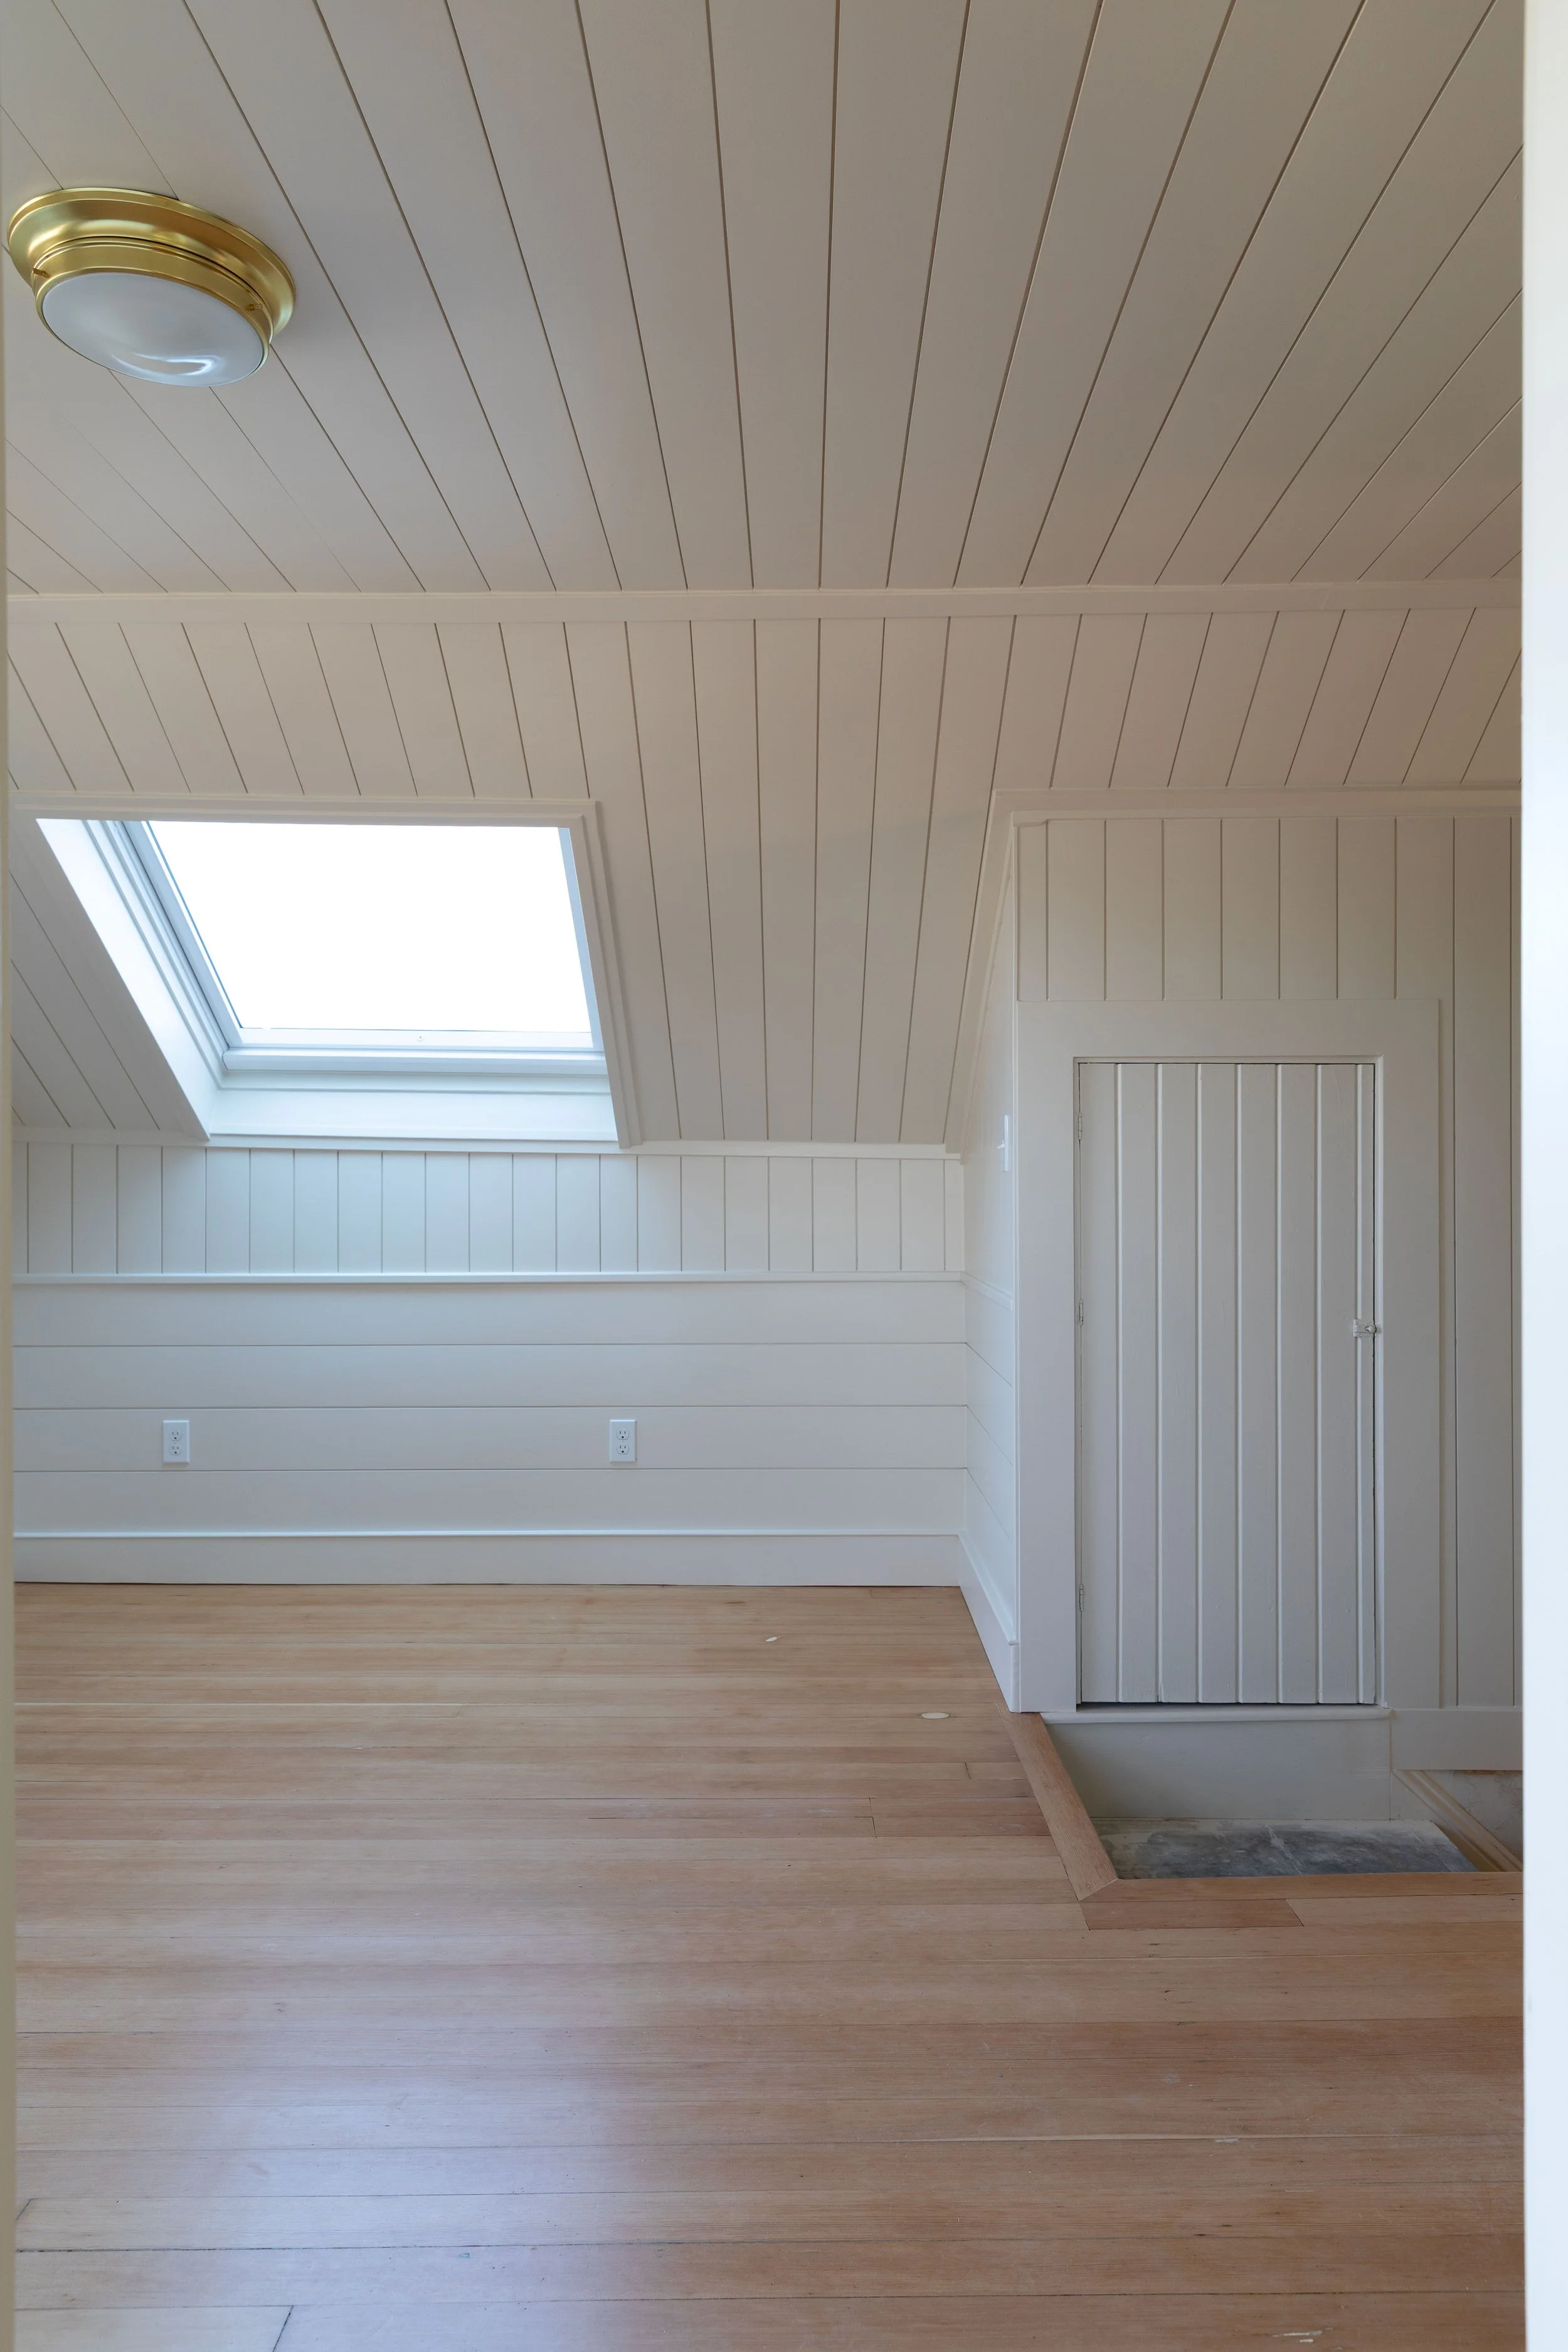
The ‘snug’:
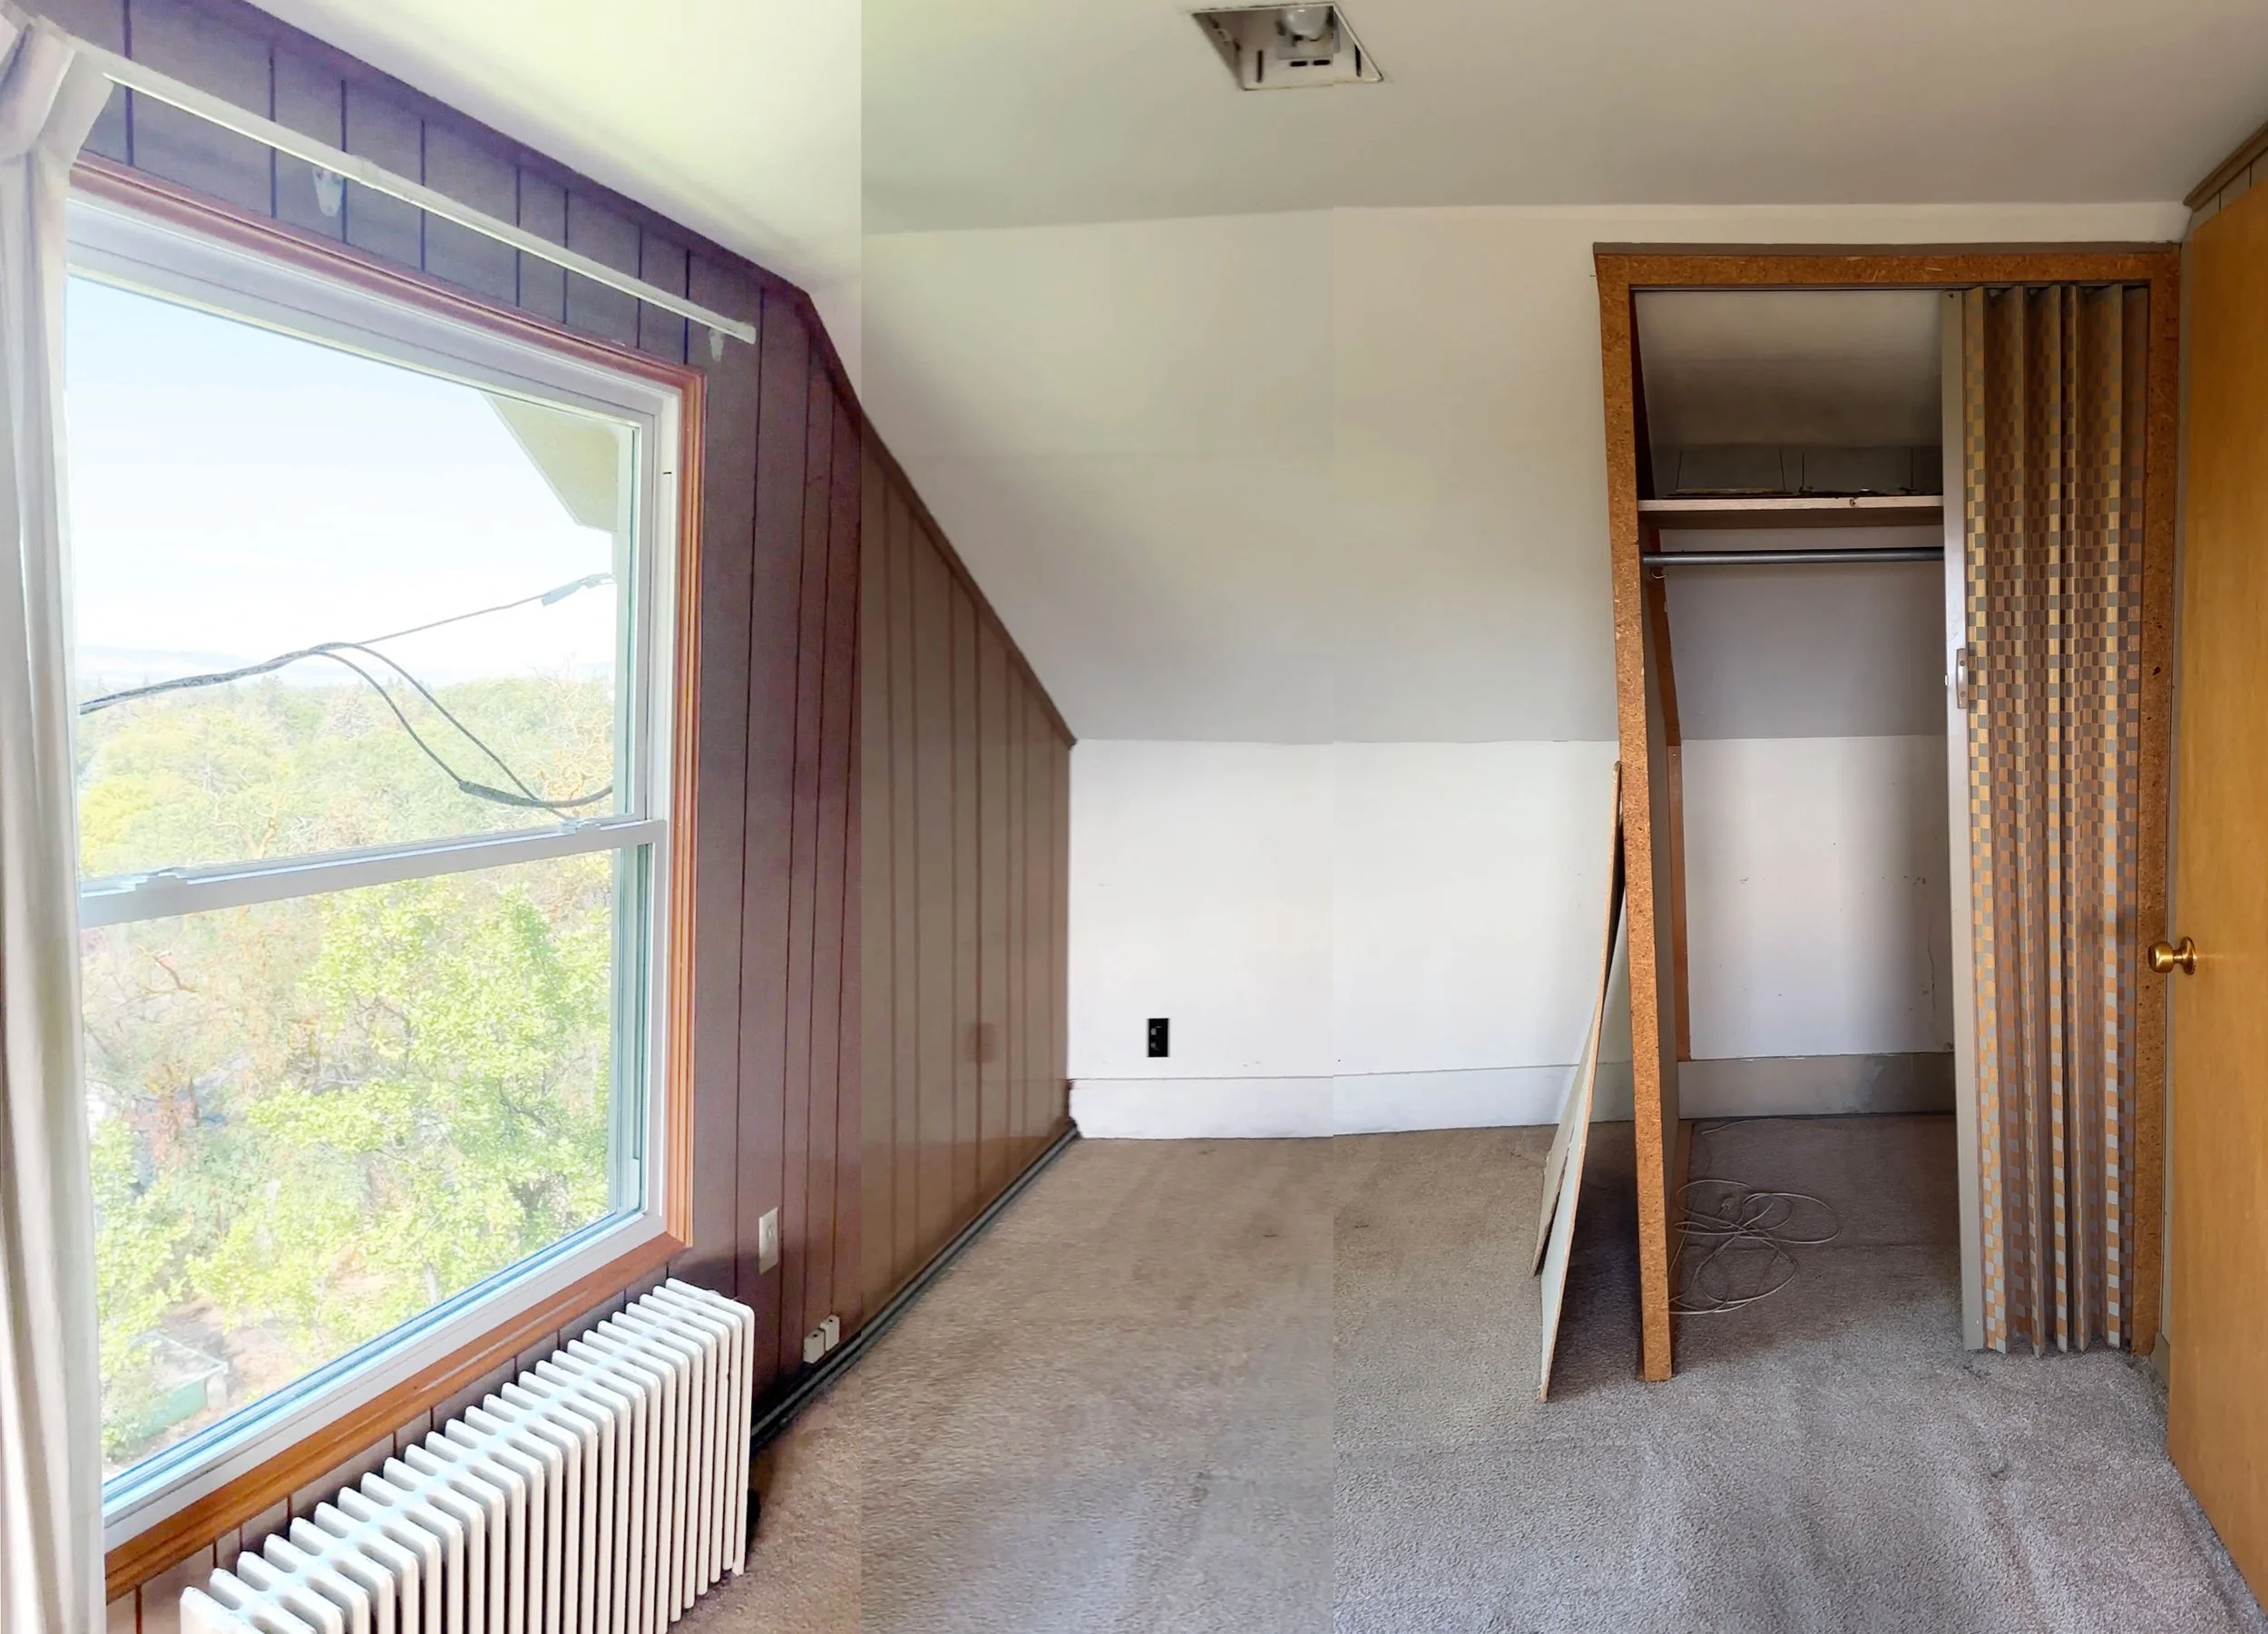
The snug was originally the closet side of one of the kids bedrooms. I don’t have a great before photo so pieced that one together some screenshots from a video (excuse my poor photoshop skills ;). For our reworked upstairs, we decided to annex this section of the bedroom and create a real landing, which we’re affectionately calling the snug. We imagine this space will be our second hangout in the house, complete with a cozy sectional, built-in book case (we’re big readers!), and possibly the family tv. With our oldest turning 13 in a couple months, it might be more of the teenage den when he and his friends want to escape adults should that stage ever set in (say it ain’t so! ;). Anywho, here’s what the snug looks like today:
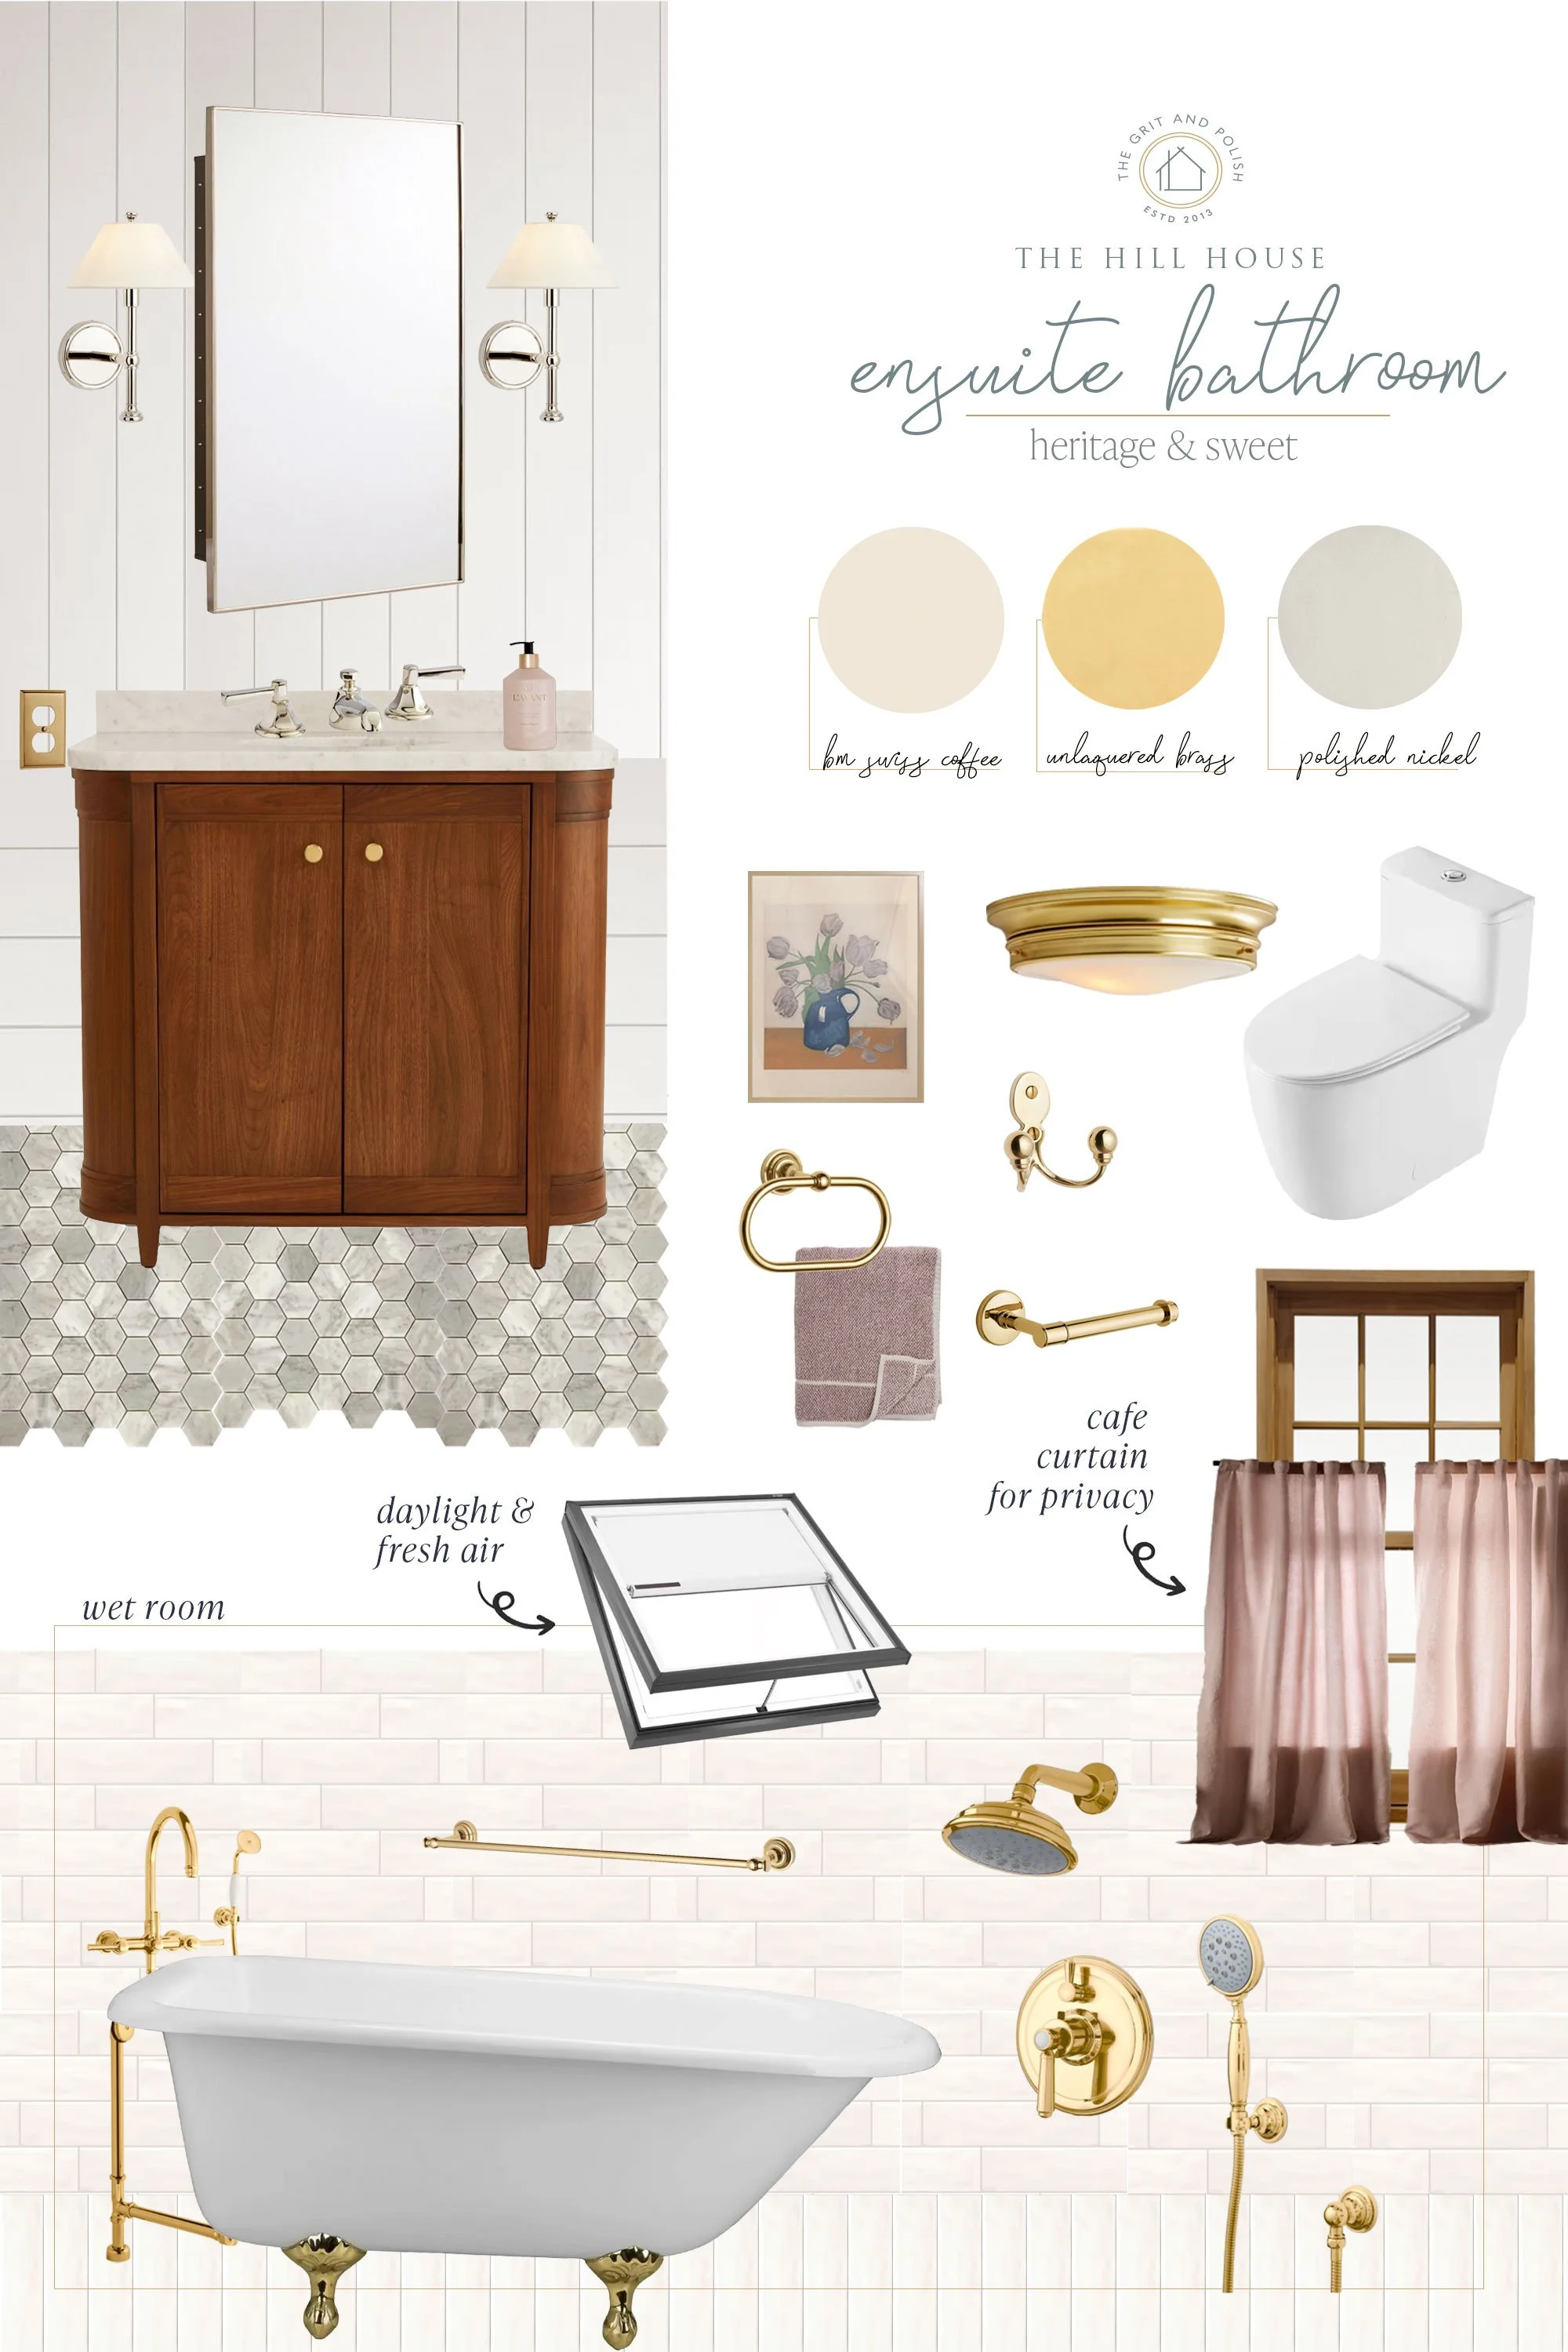
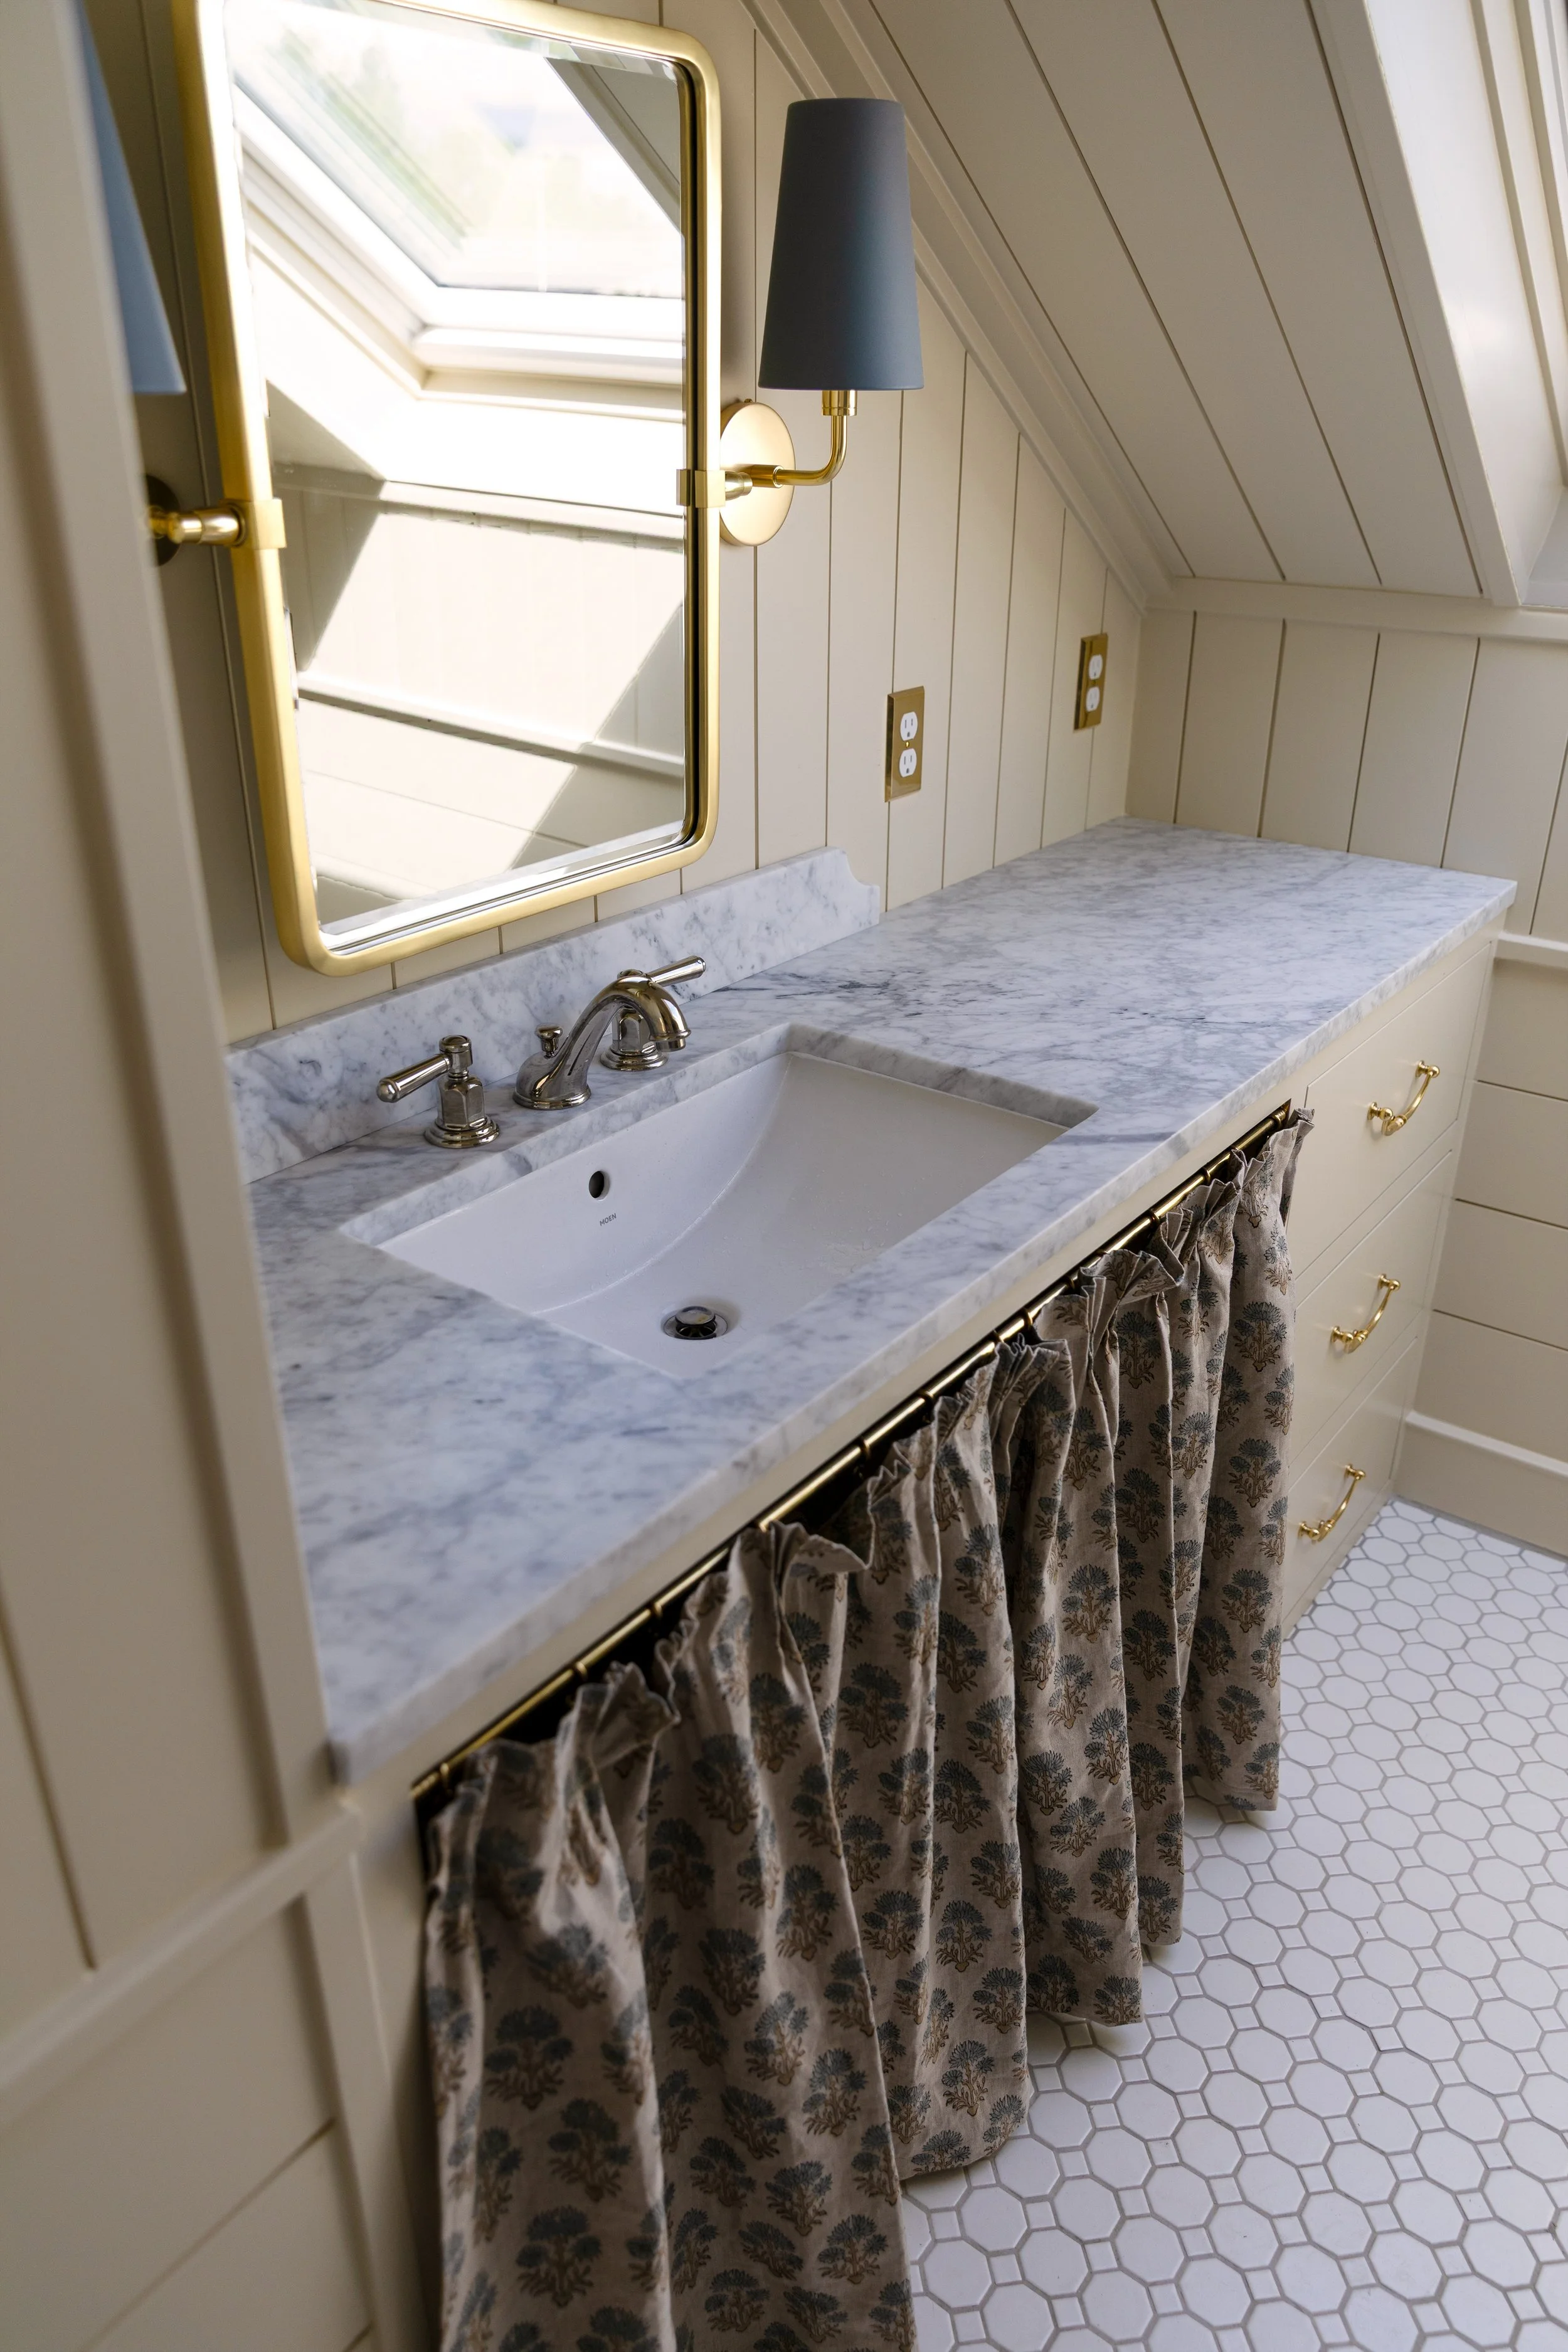
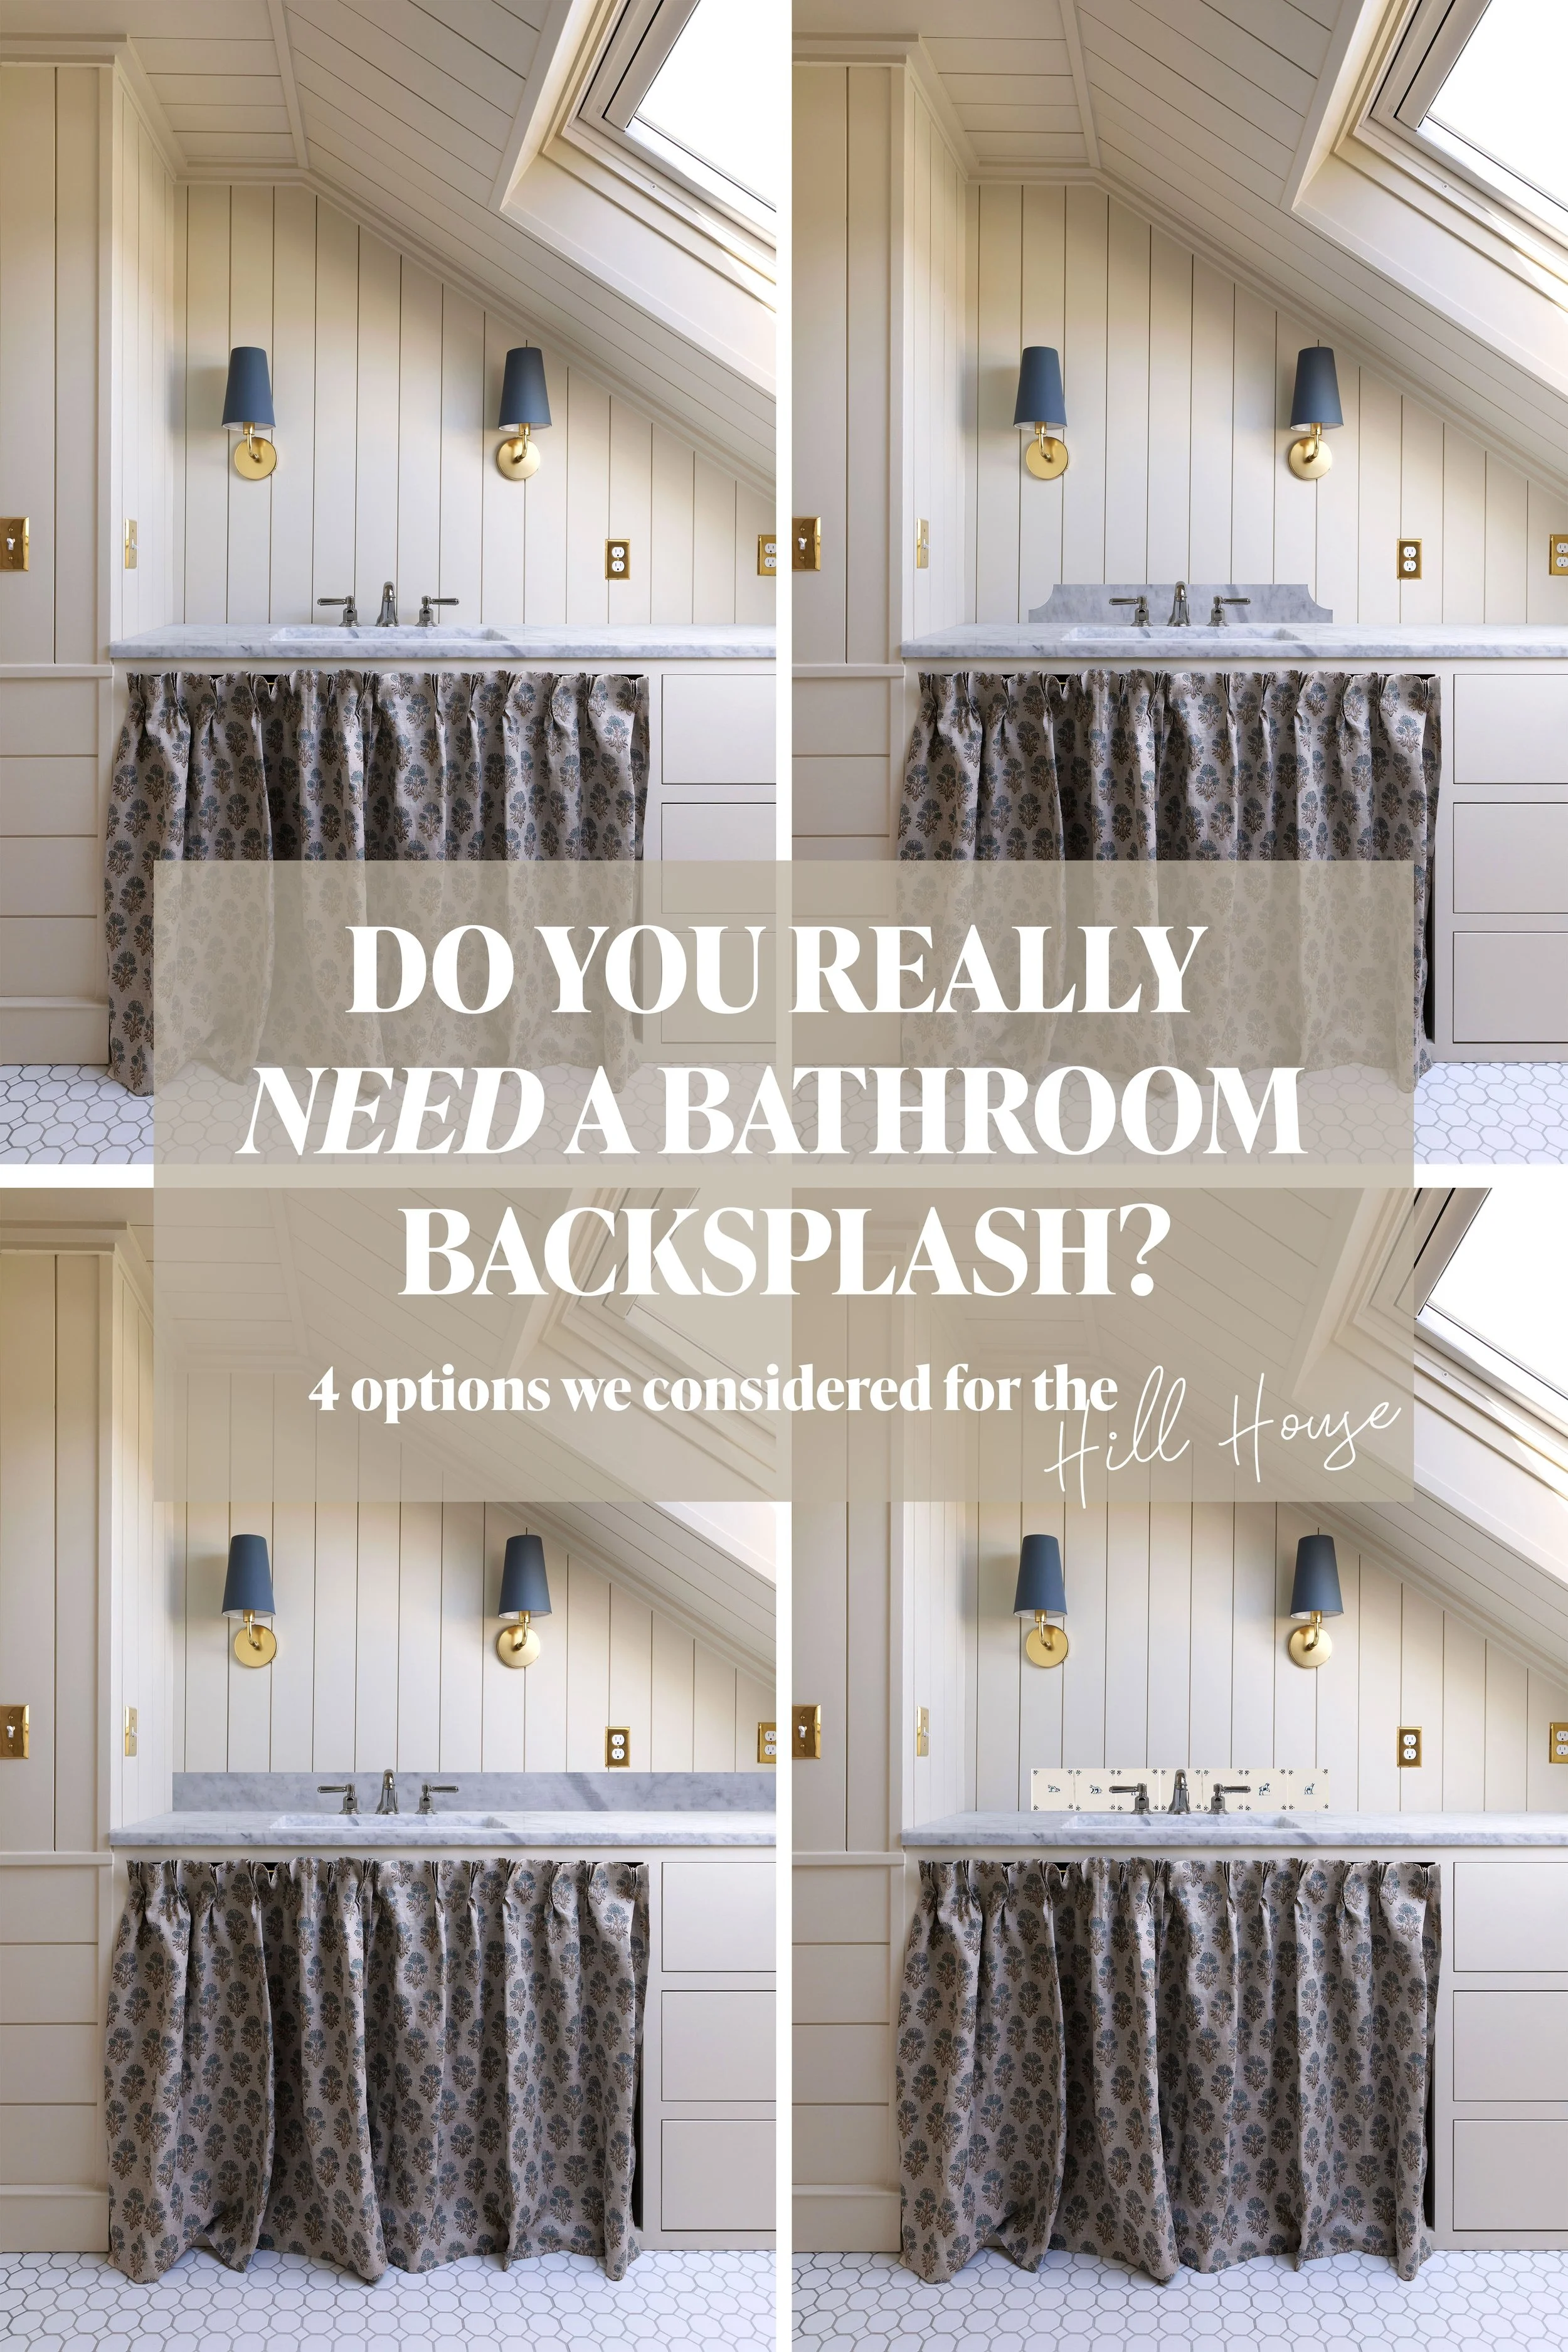
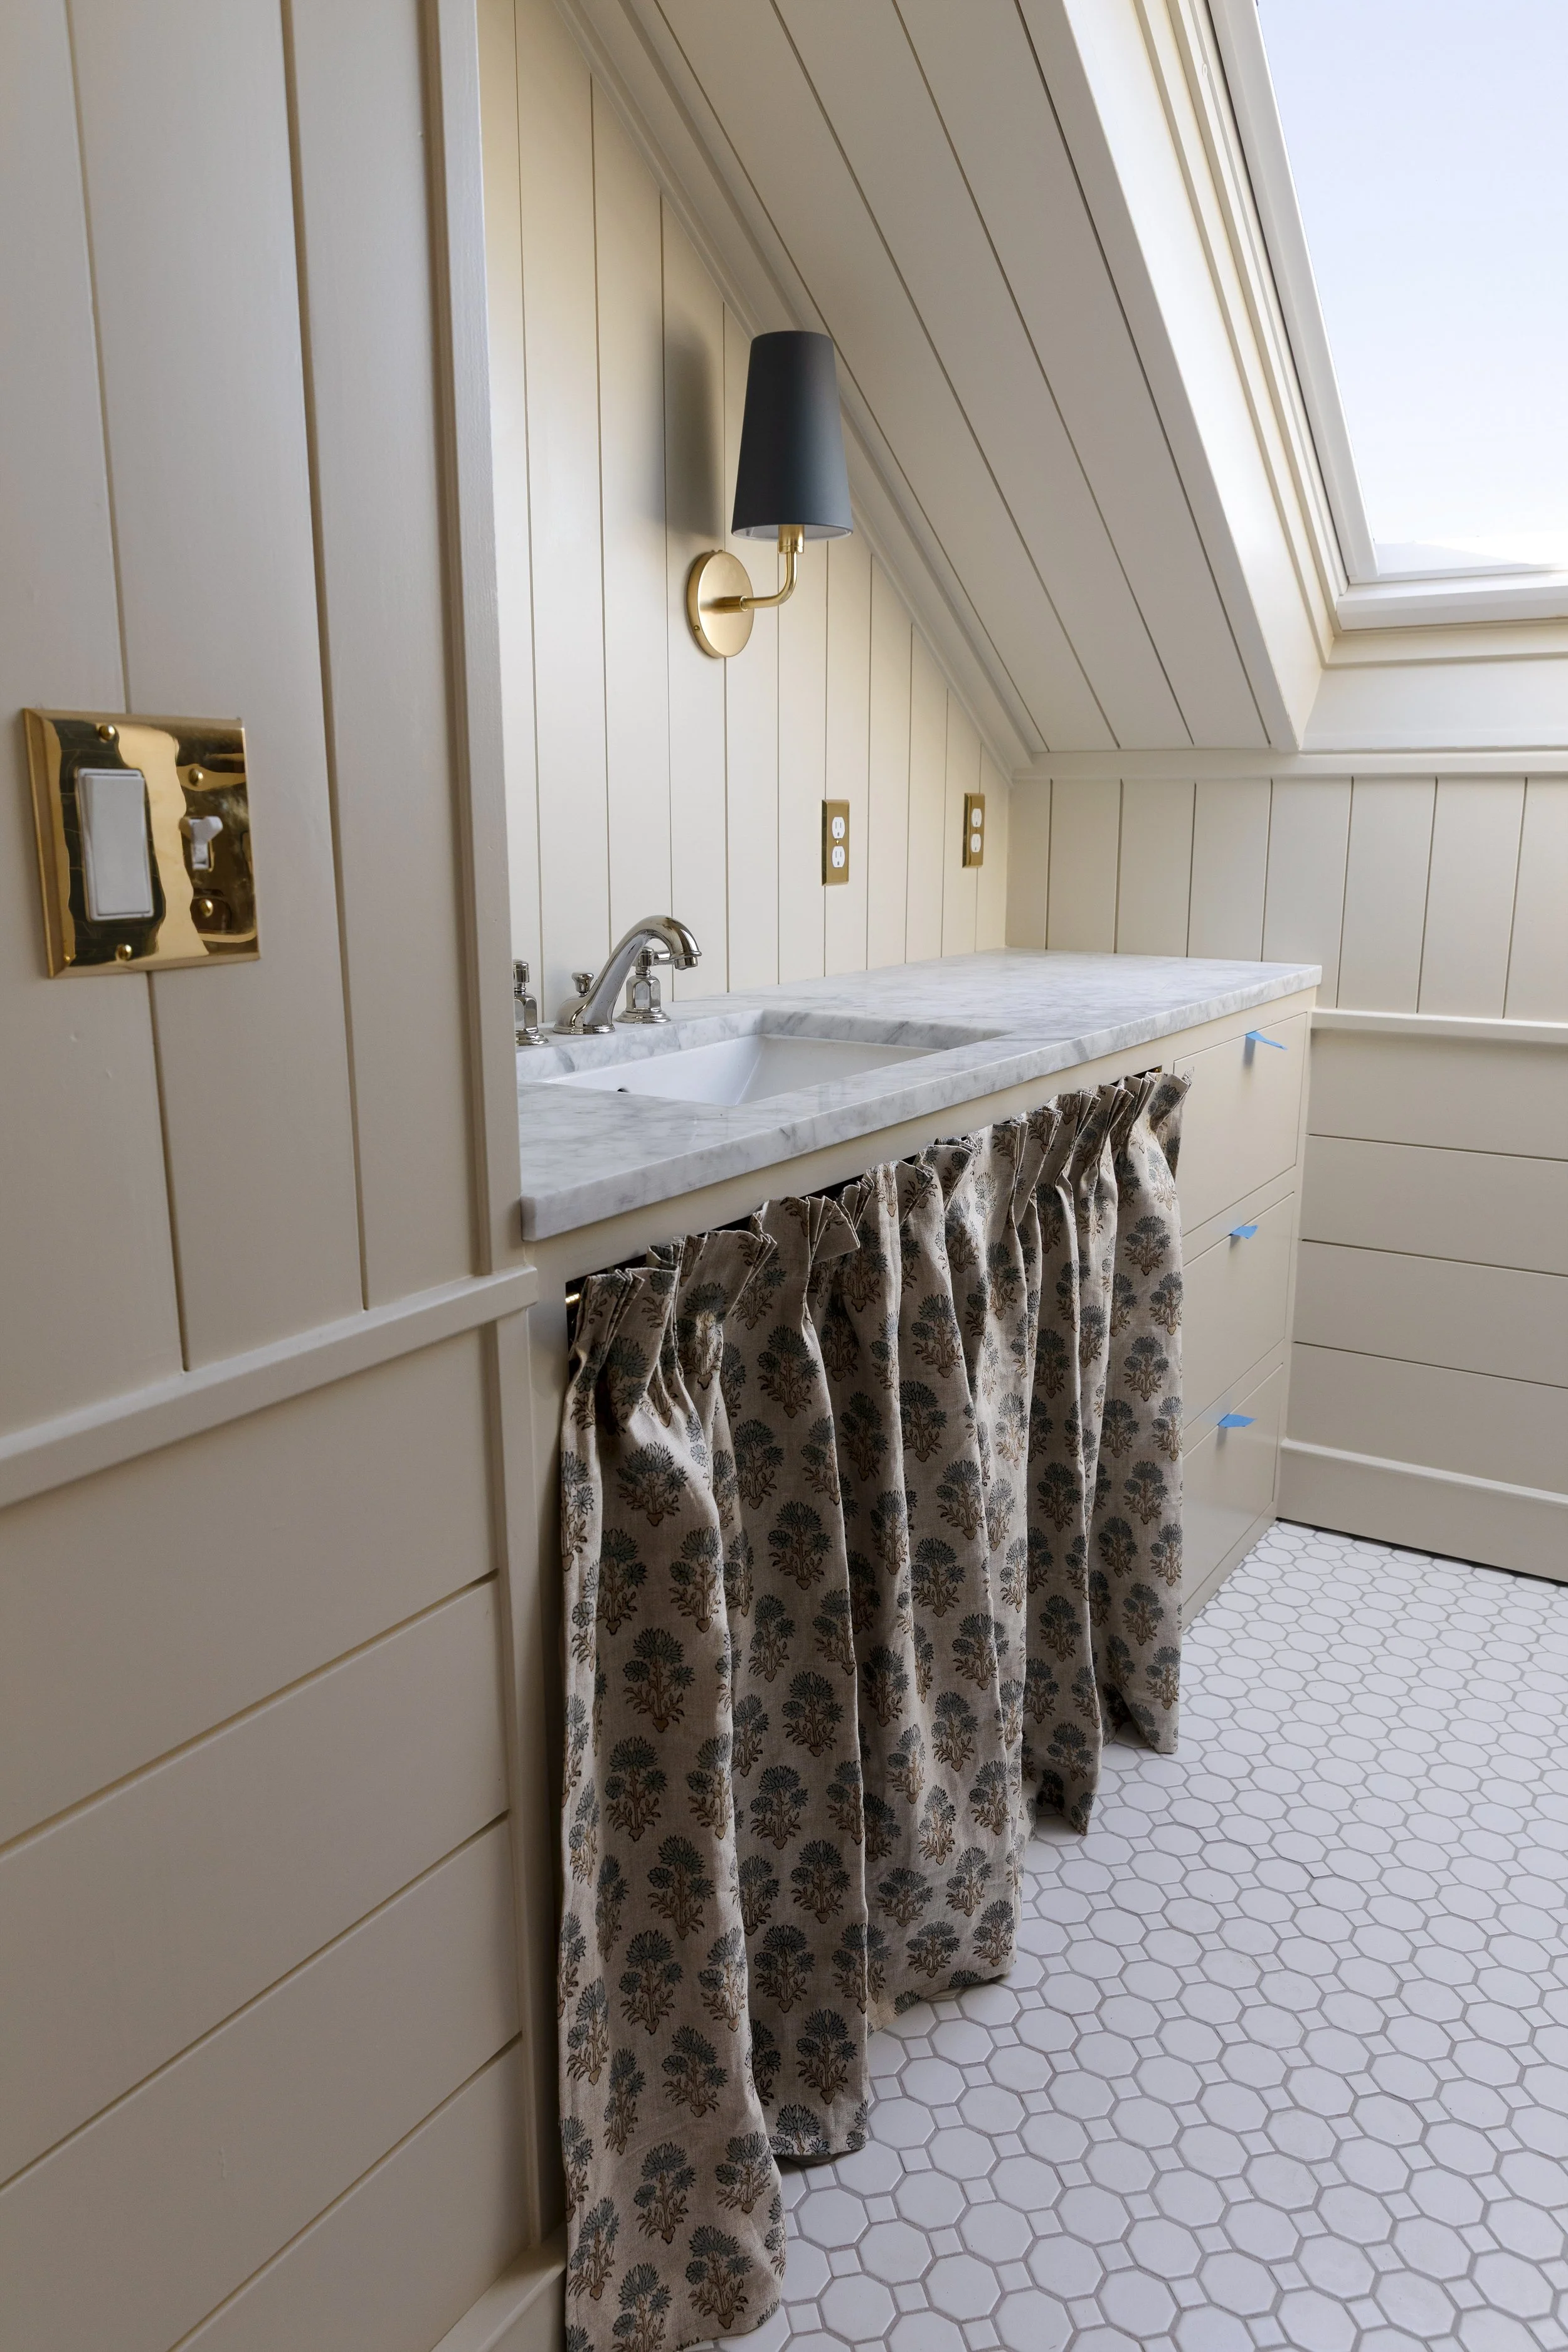
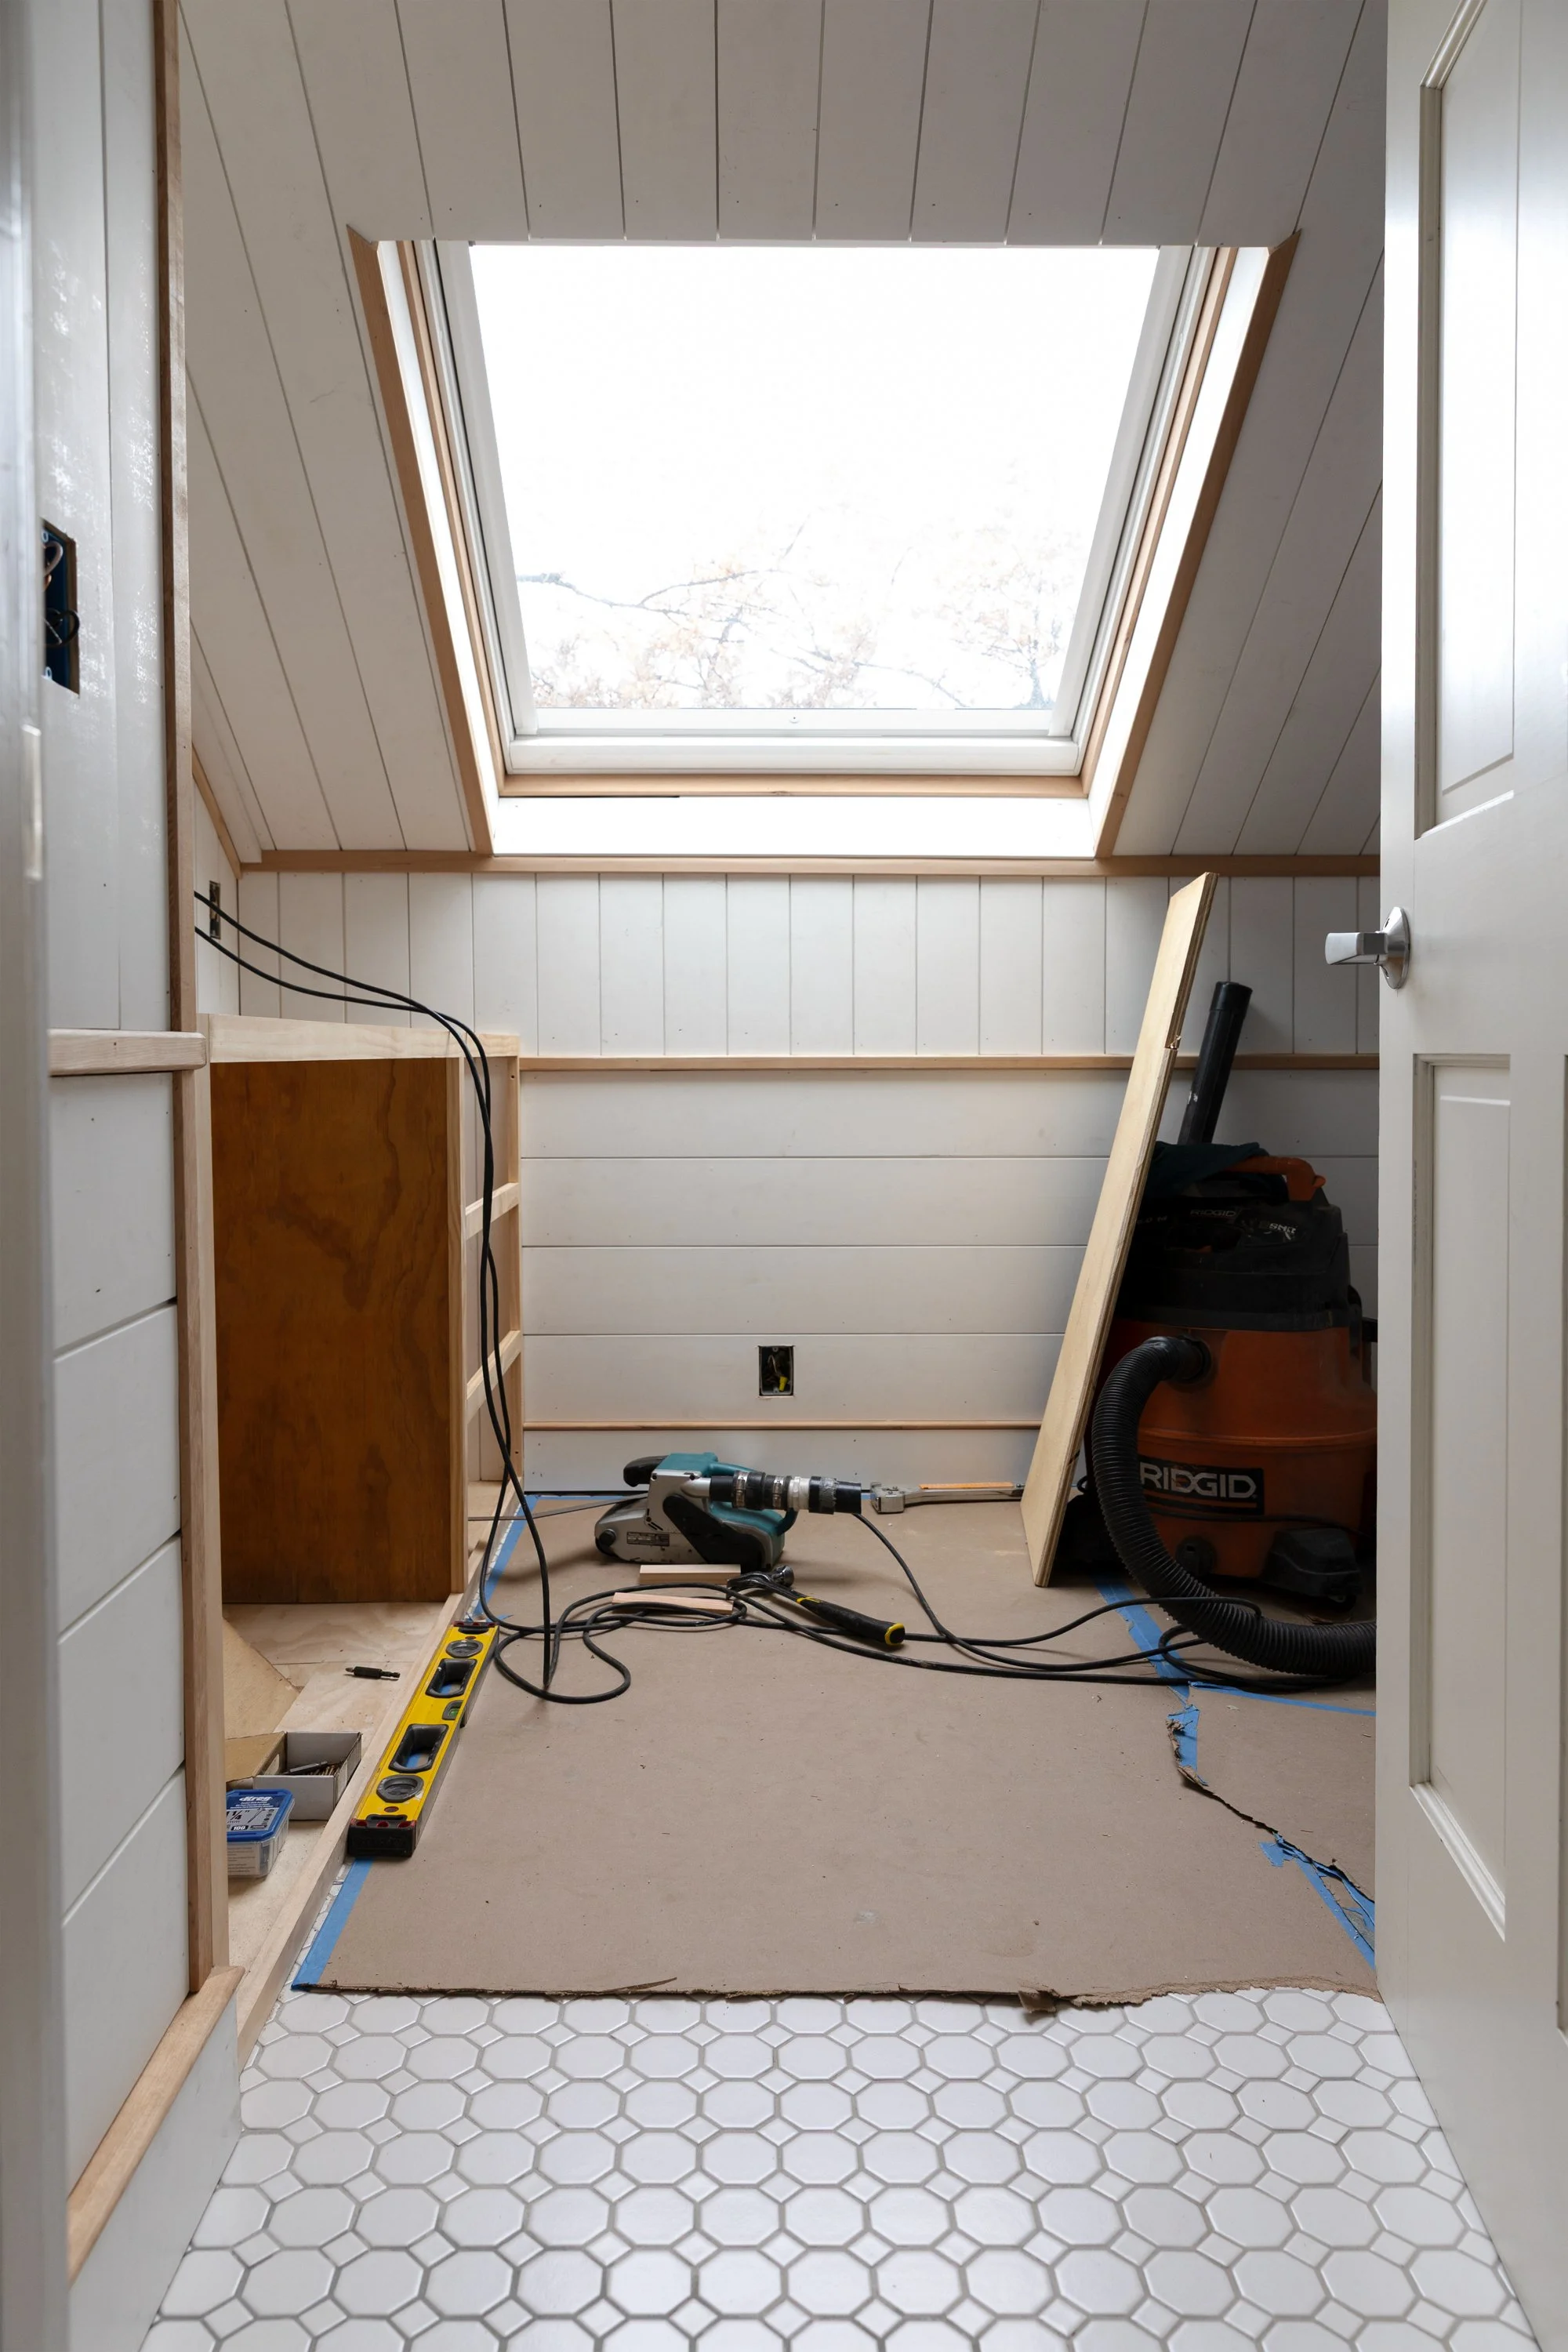
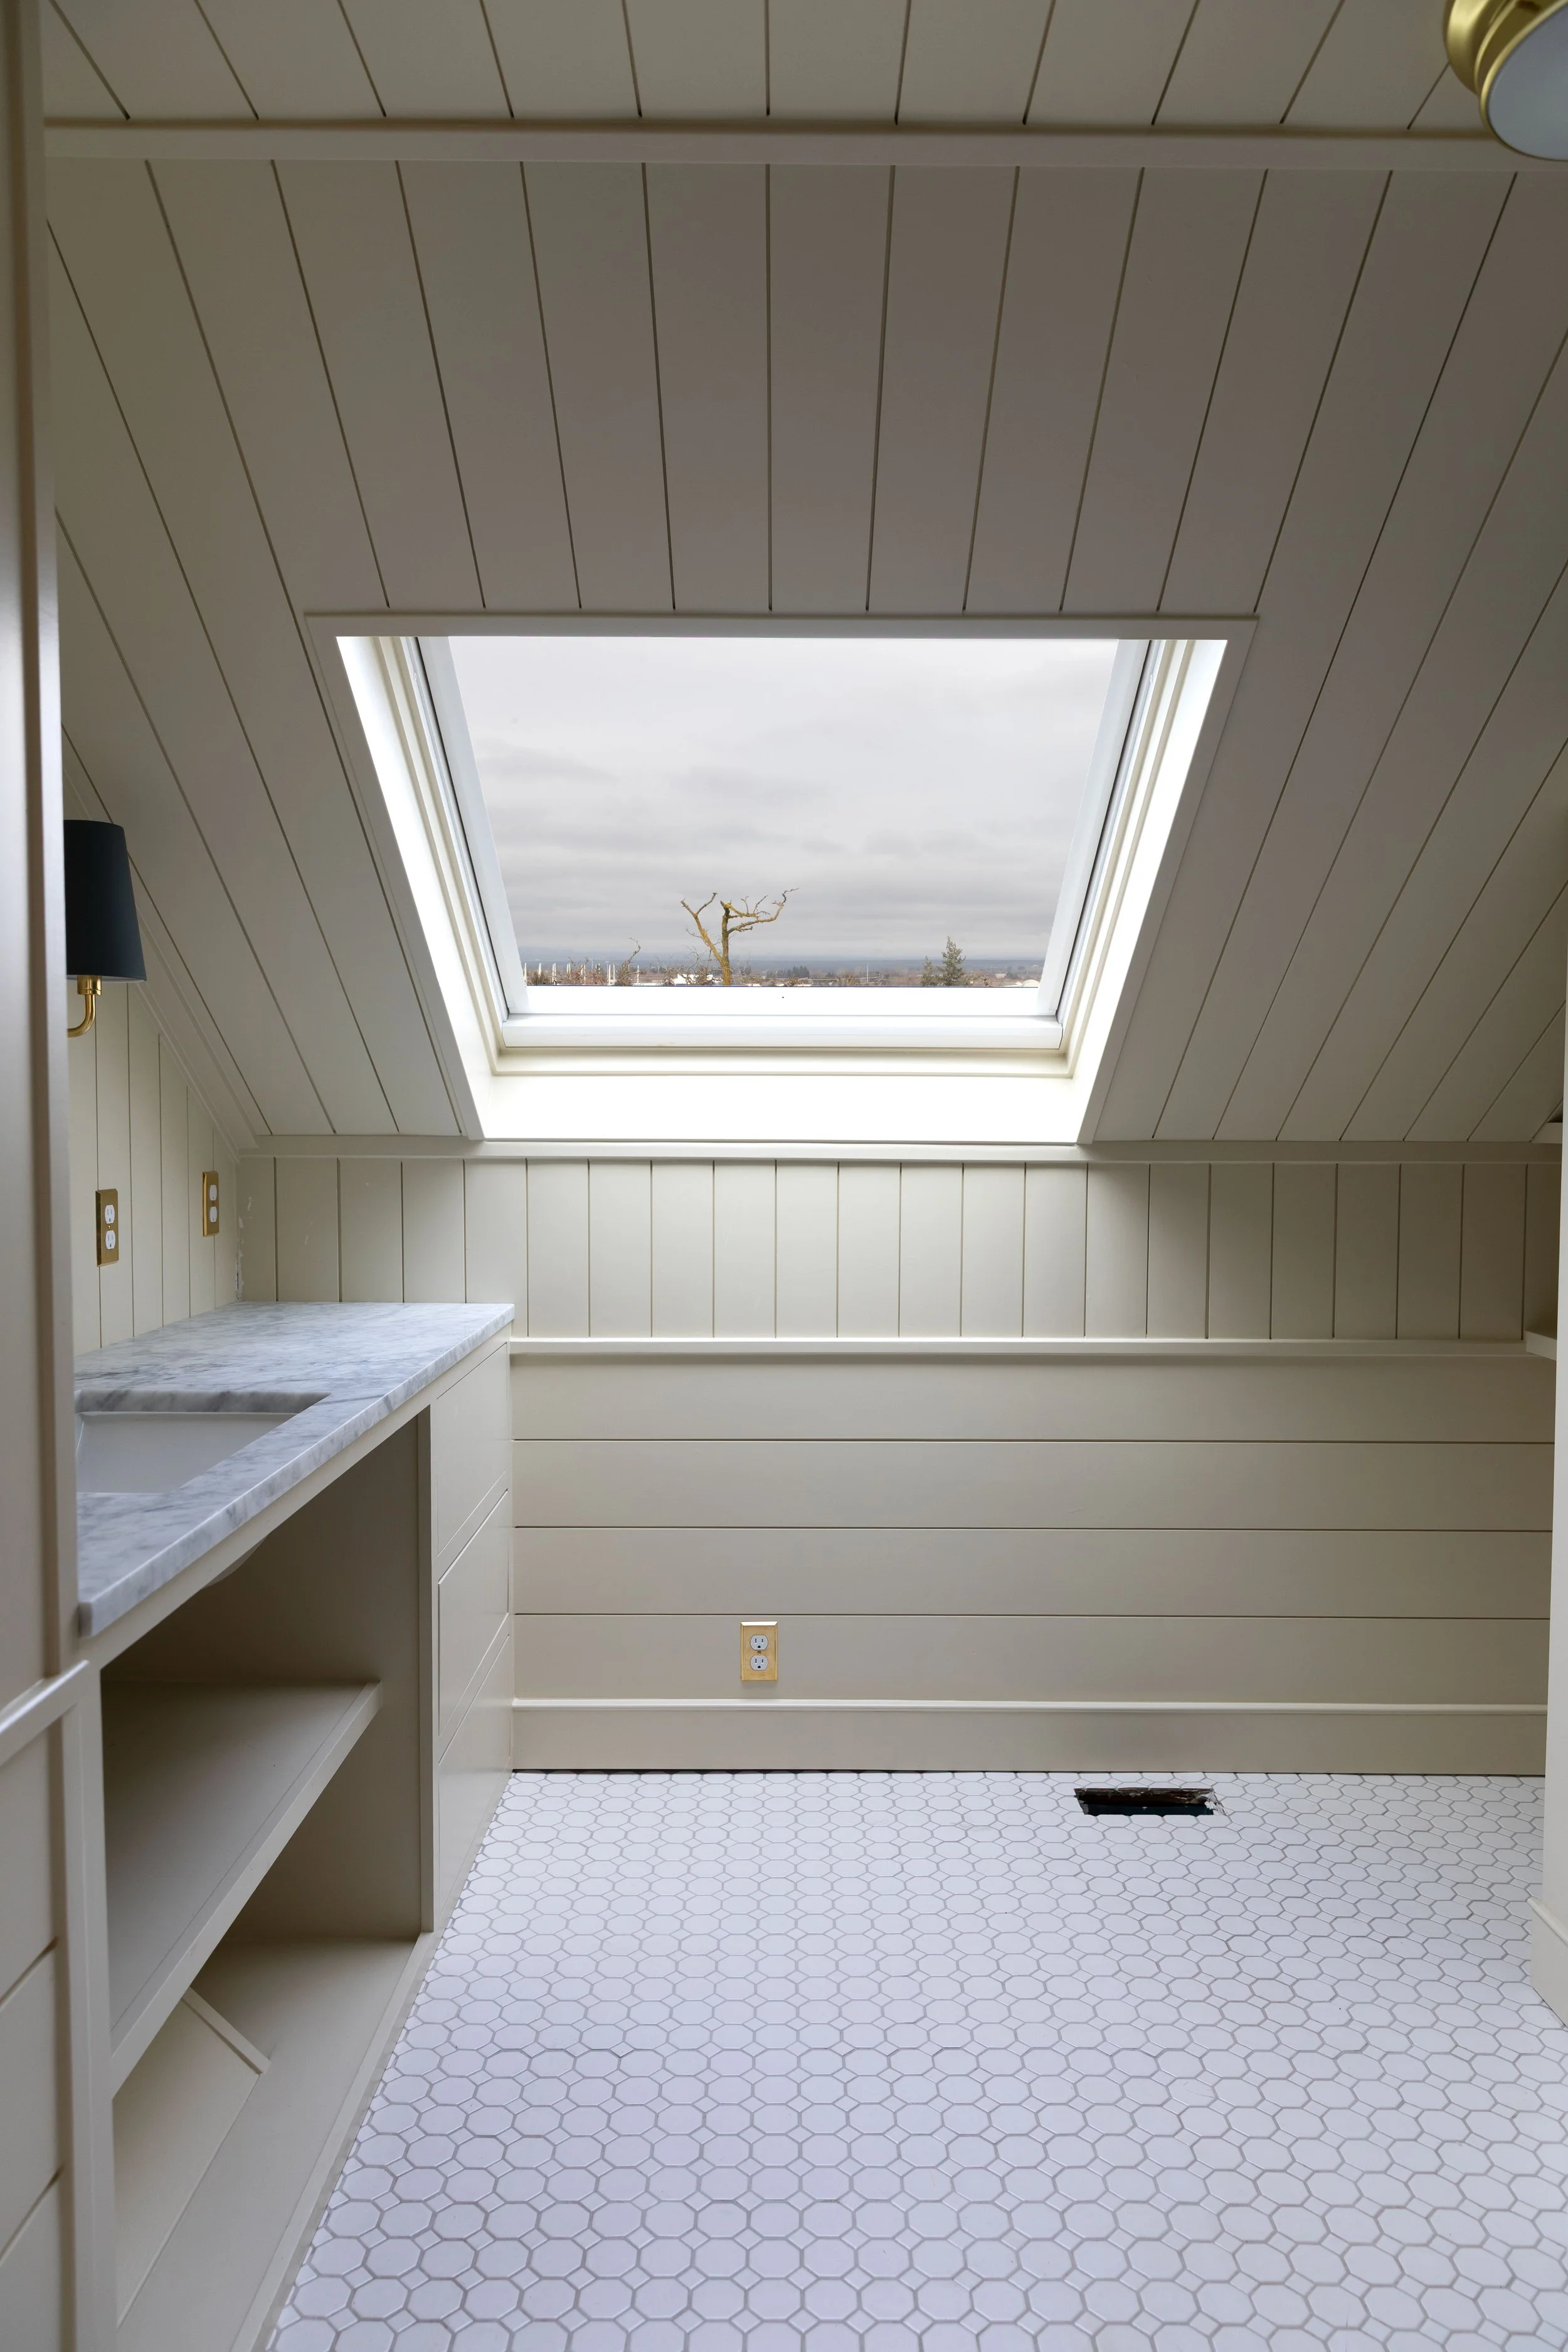
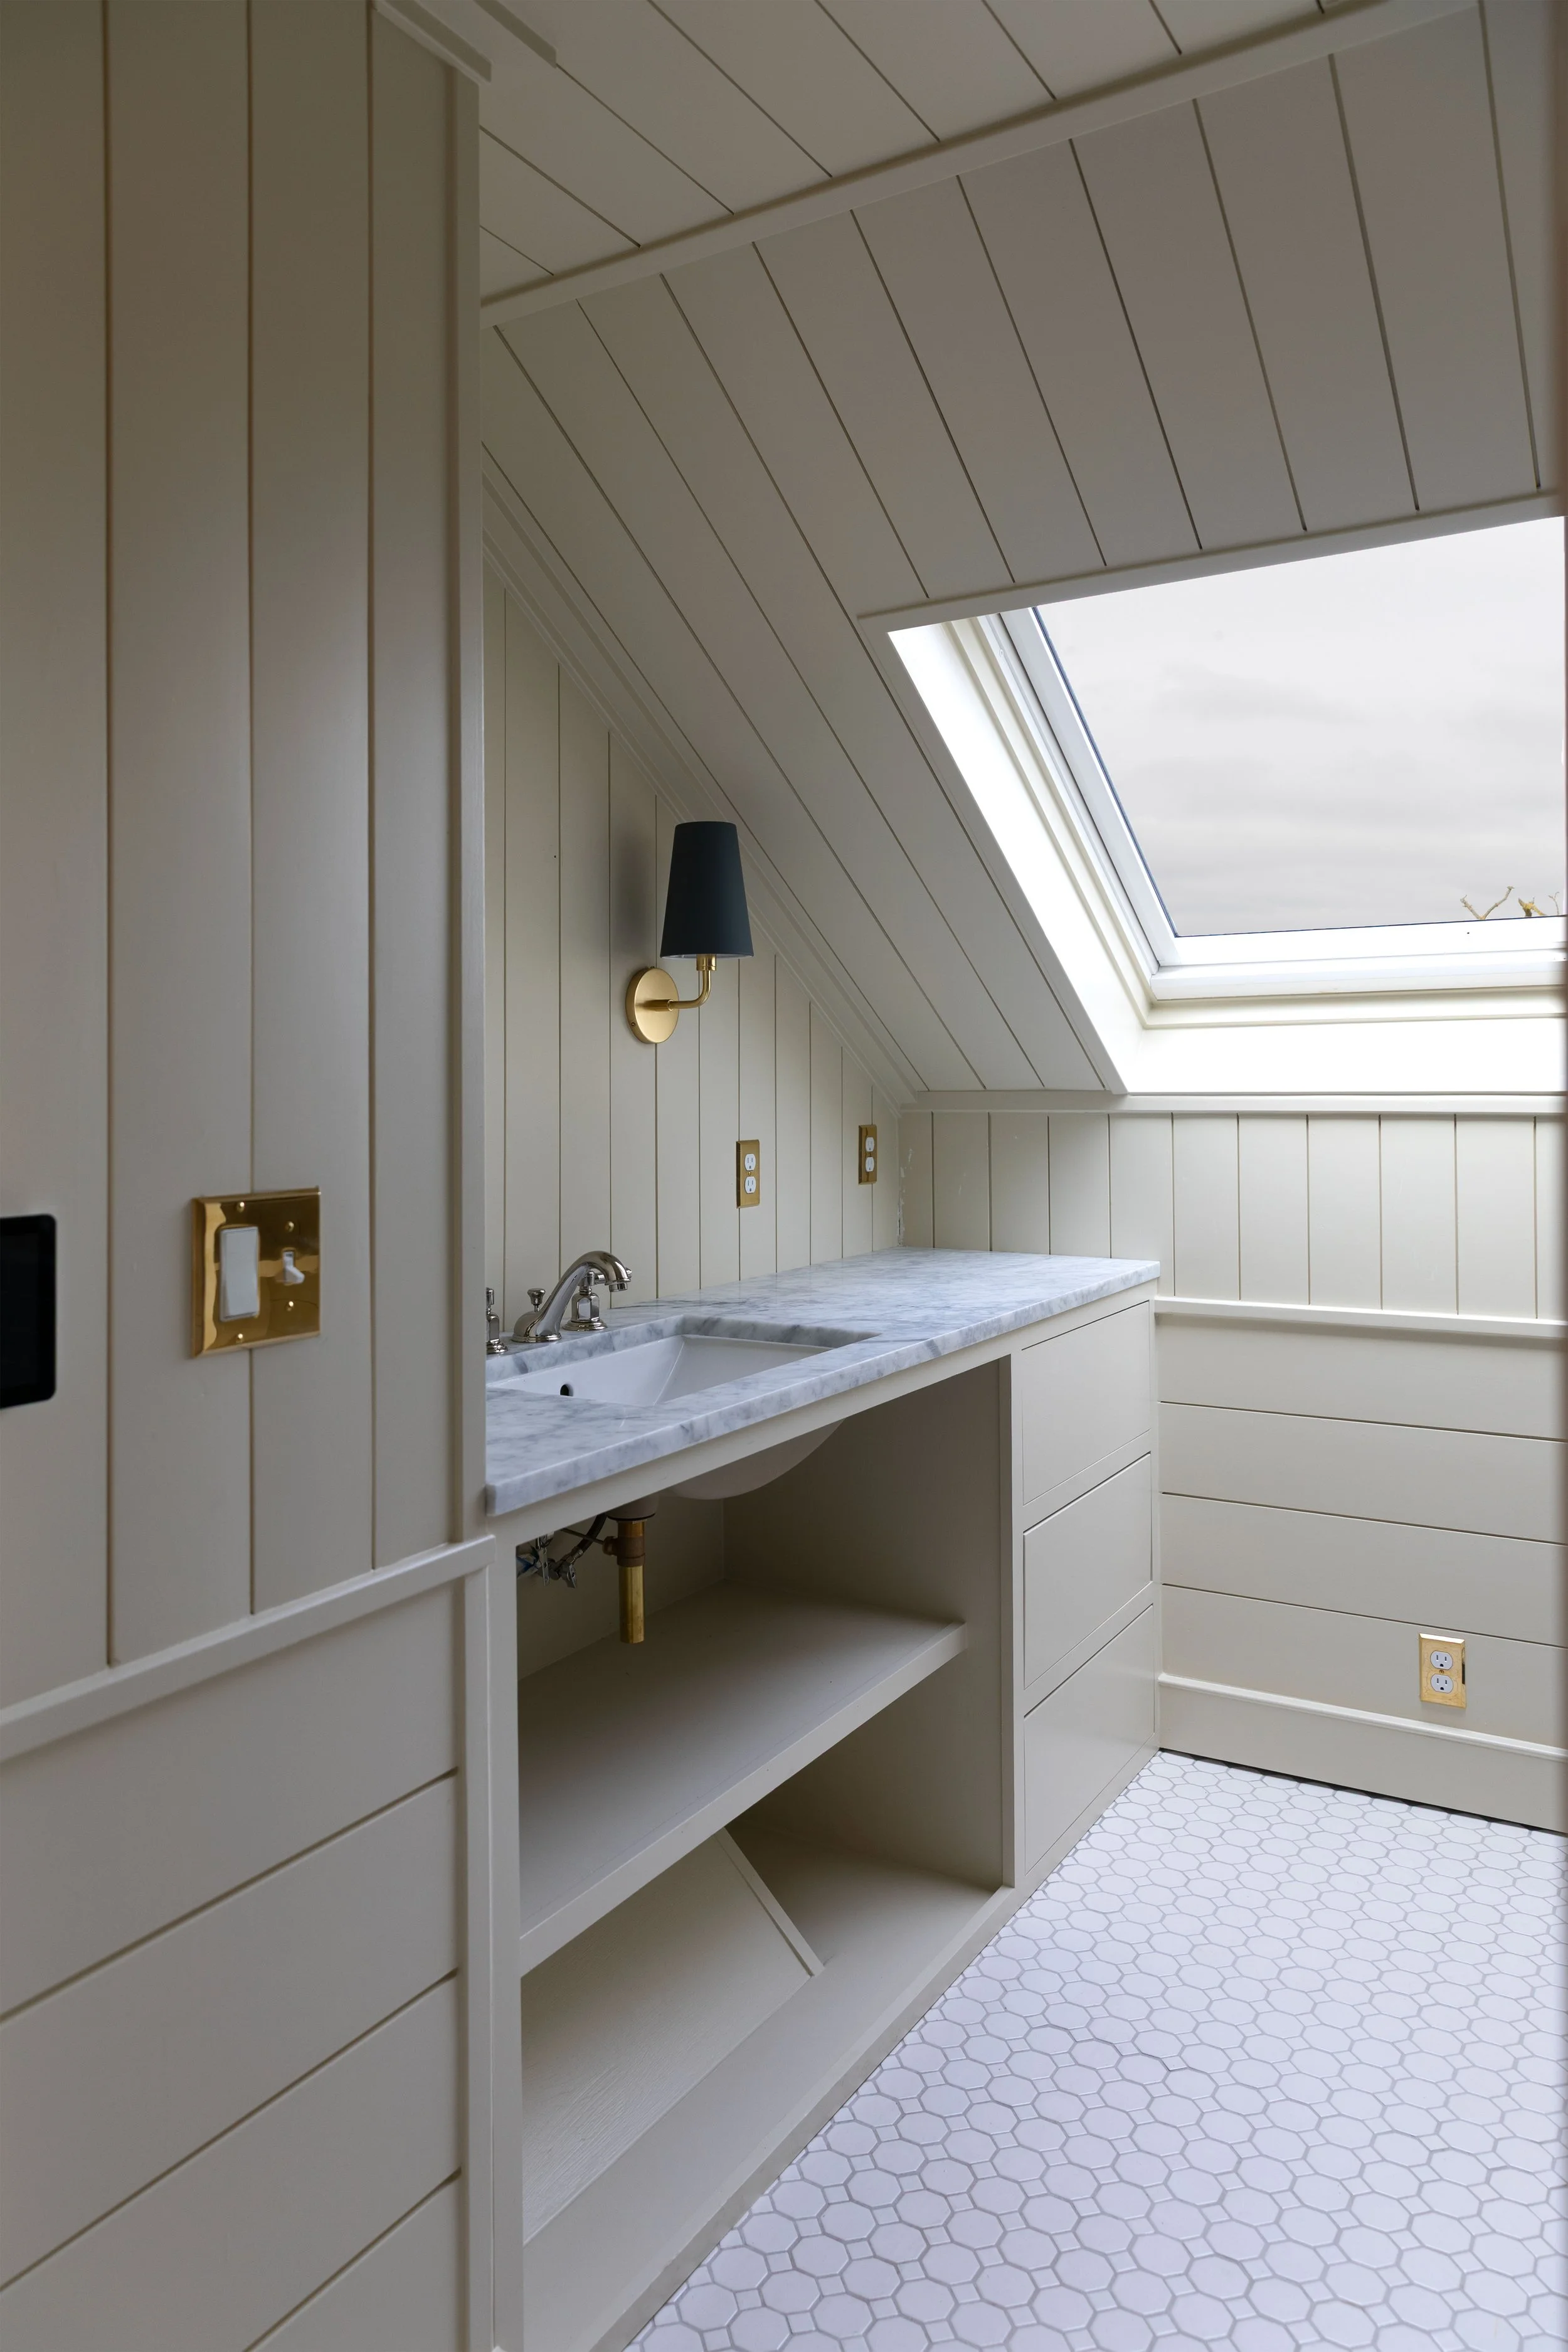
The Hall Bathroom:


Though quaint, this bathroom was very awkwardly added by a previous owner in the middle of the upstairs, with no access to daylight. We rethought the layout and were able to transform this space (plus an awkward closet in Daphne’s bedroom) into two bathrooms. Here’s how this bathroom is shaping up with the first photo below taken at almost the very same spot as the photo of the toilet above.
Final Thoughts
Looking back, skylights weren’t just a design decision, they were an elegant solution to a significant problem. We couldn’t add windows the way we wanted without rebuilding the entire second story, so we found a much simpler solution that worked with the house. And I can’t believe how much these skylights have given us! Natural light and views and fresh air and a whole new feel for this upstairs. Ten out of ten, would definitely do again (and hopefully will!).
xx
ps we may receive a small affiliate commission if you purchase something through our links, at no cost to you. Thank you for supporting the Grit and Polish!