
Do You Need to Seal Marble Tile Before Grouting?
THE HILL HOUSE
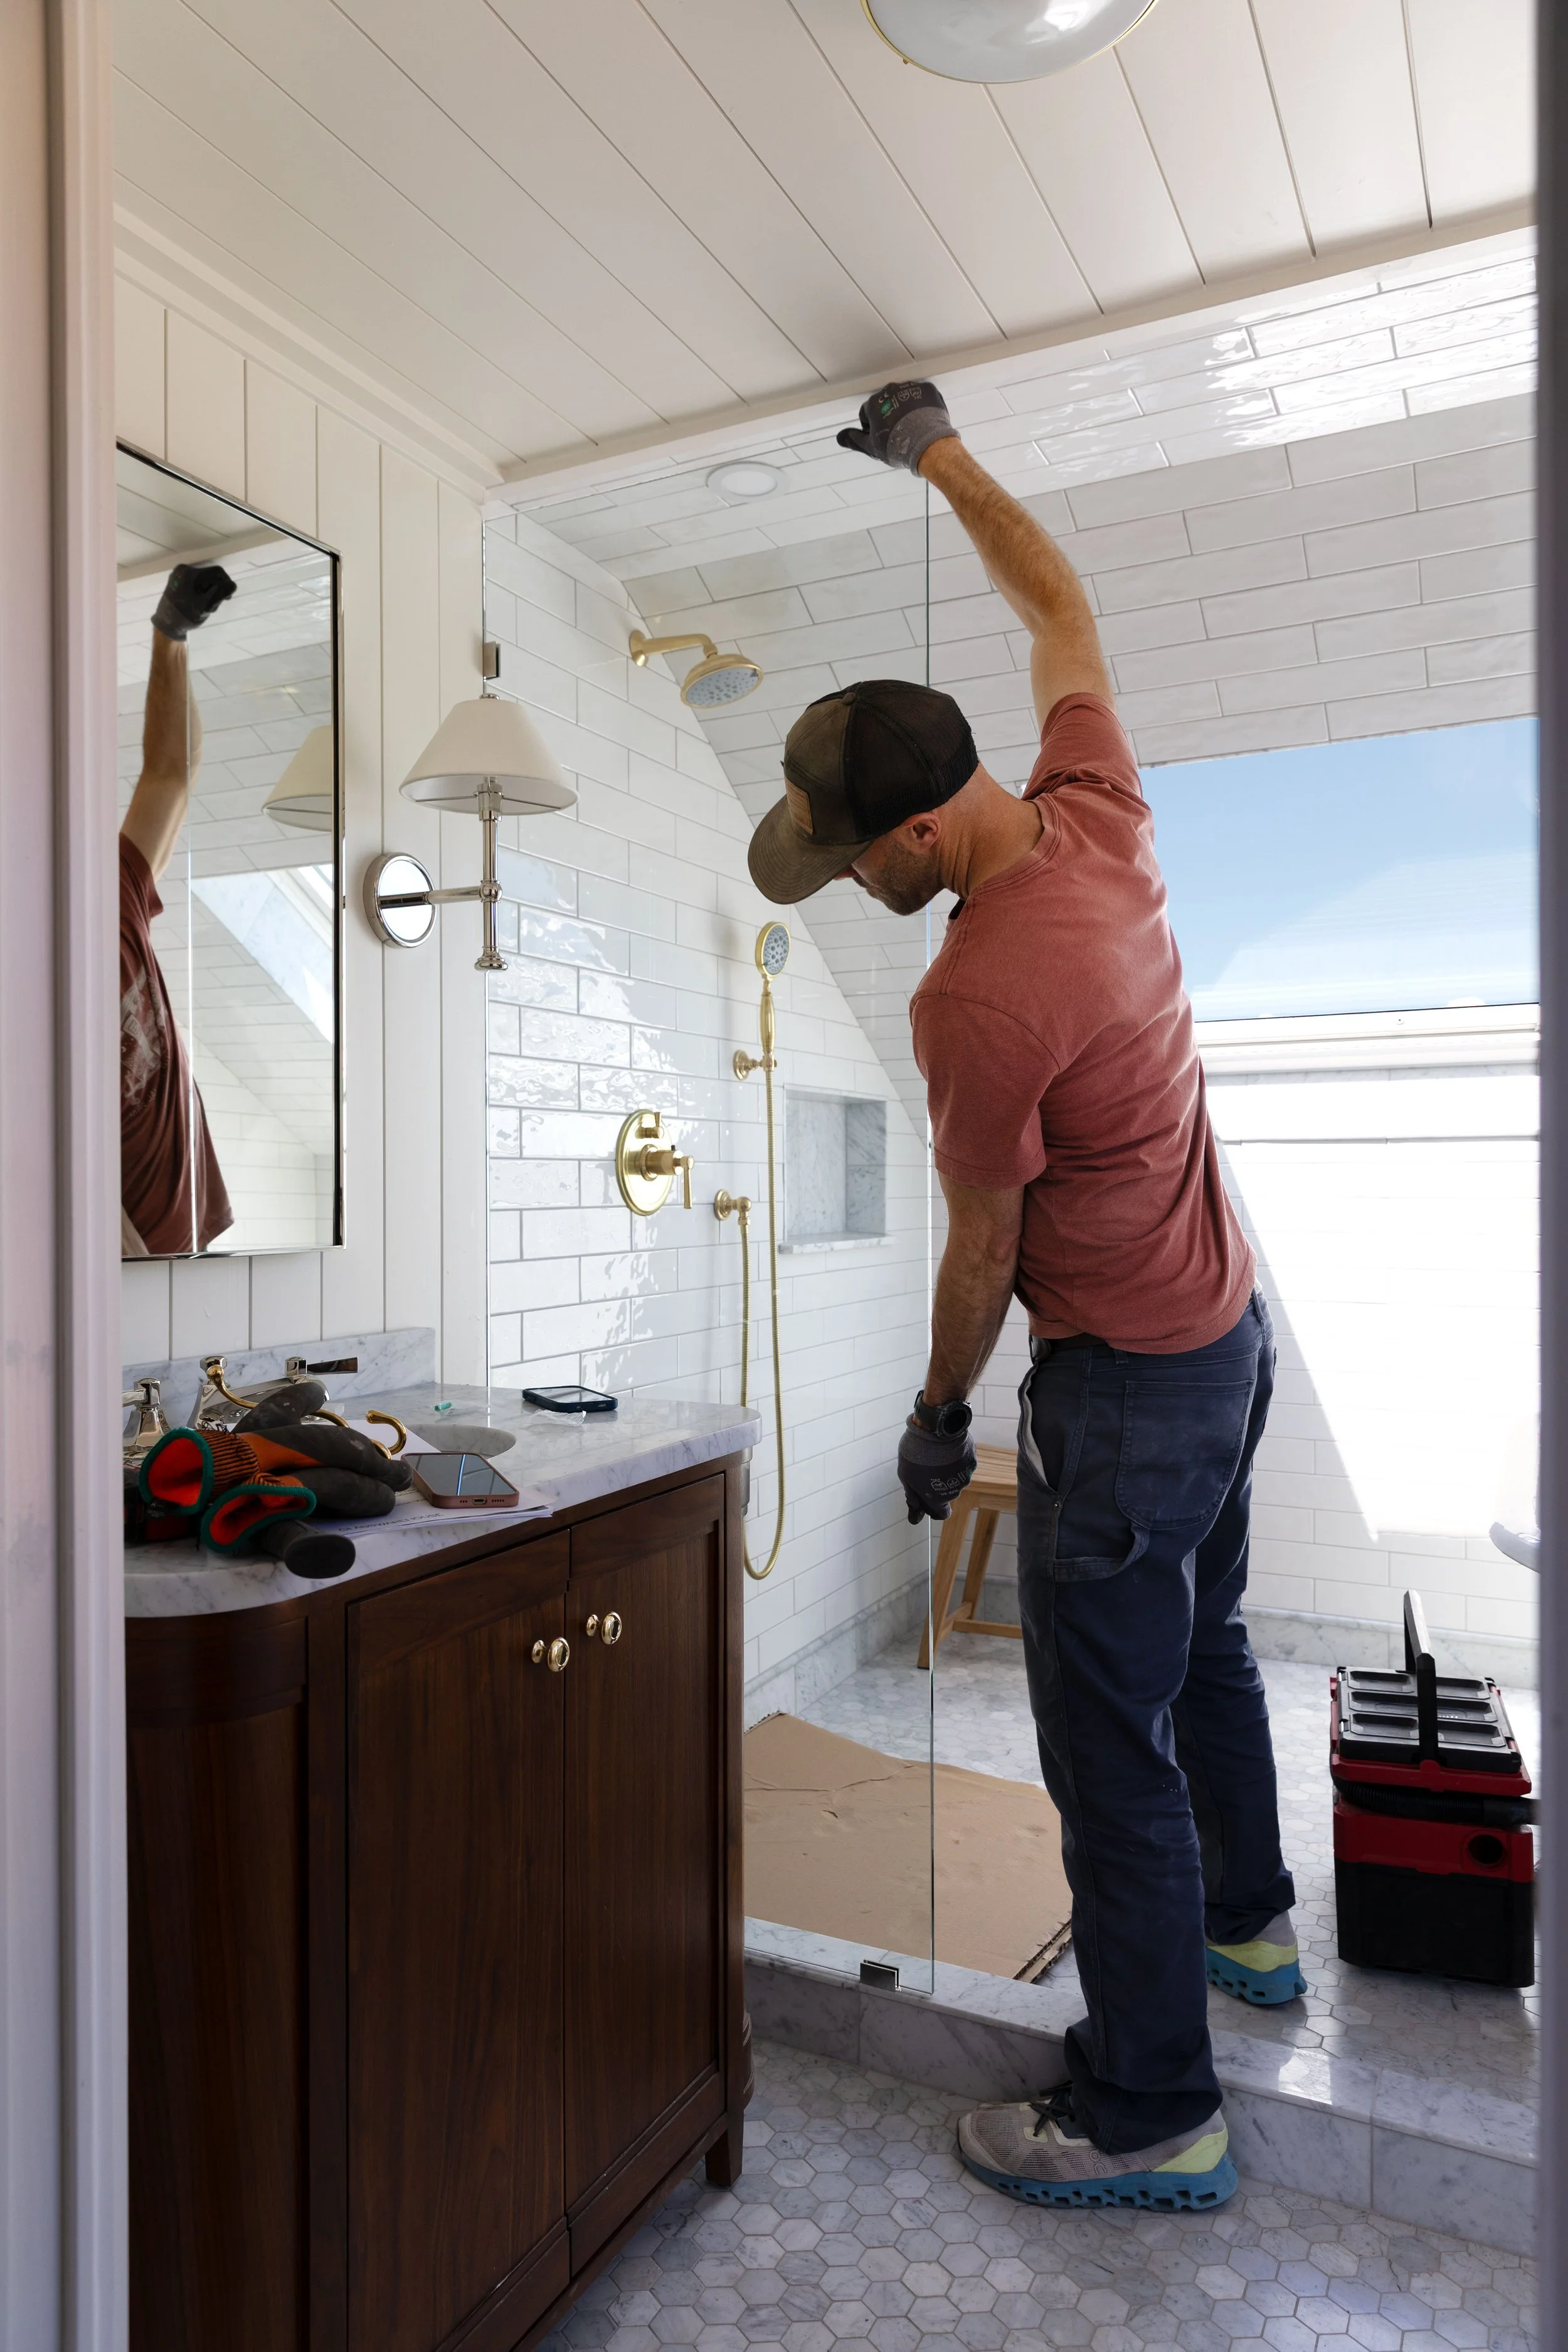
After sharing the simple tile we chose for our Hill House ensuite bathroom last week, I got asked one question a lot: do you need to seal marble tile before grouting? And the short answer is… yes! But marble varies quite a bit, so always test your specific stone and follow the directions for both your sealer and grout. But because we used natural honed marble, our floor is extra absorbent and paired with epoxy grout, pre-sealing felt like a very worthwhile layer of protection. Here’s the product we used and the steps we took in order to protect our marble before grout. Let’s get into it…
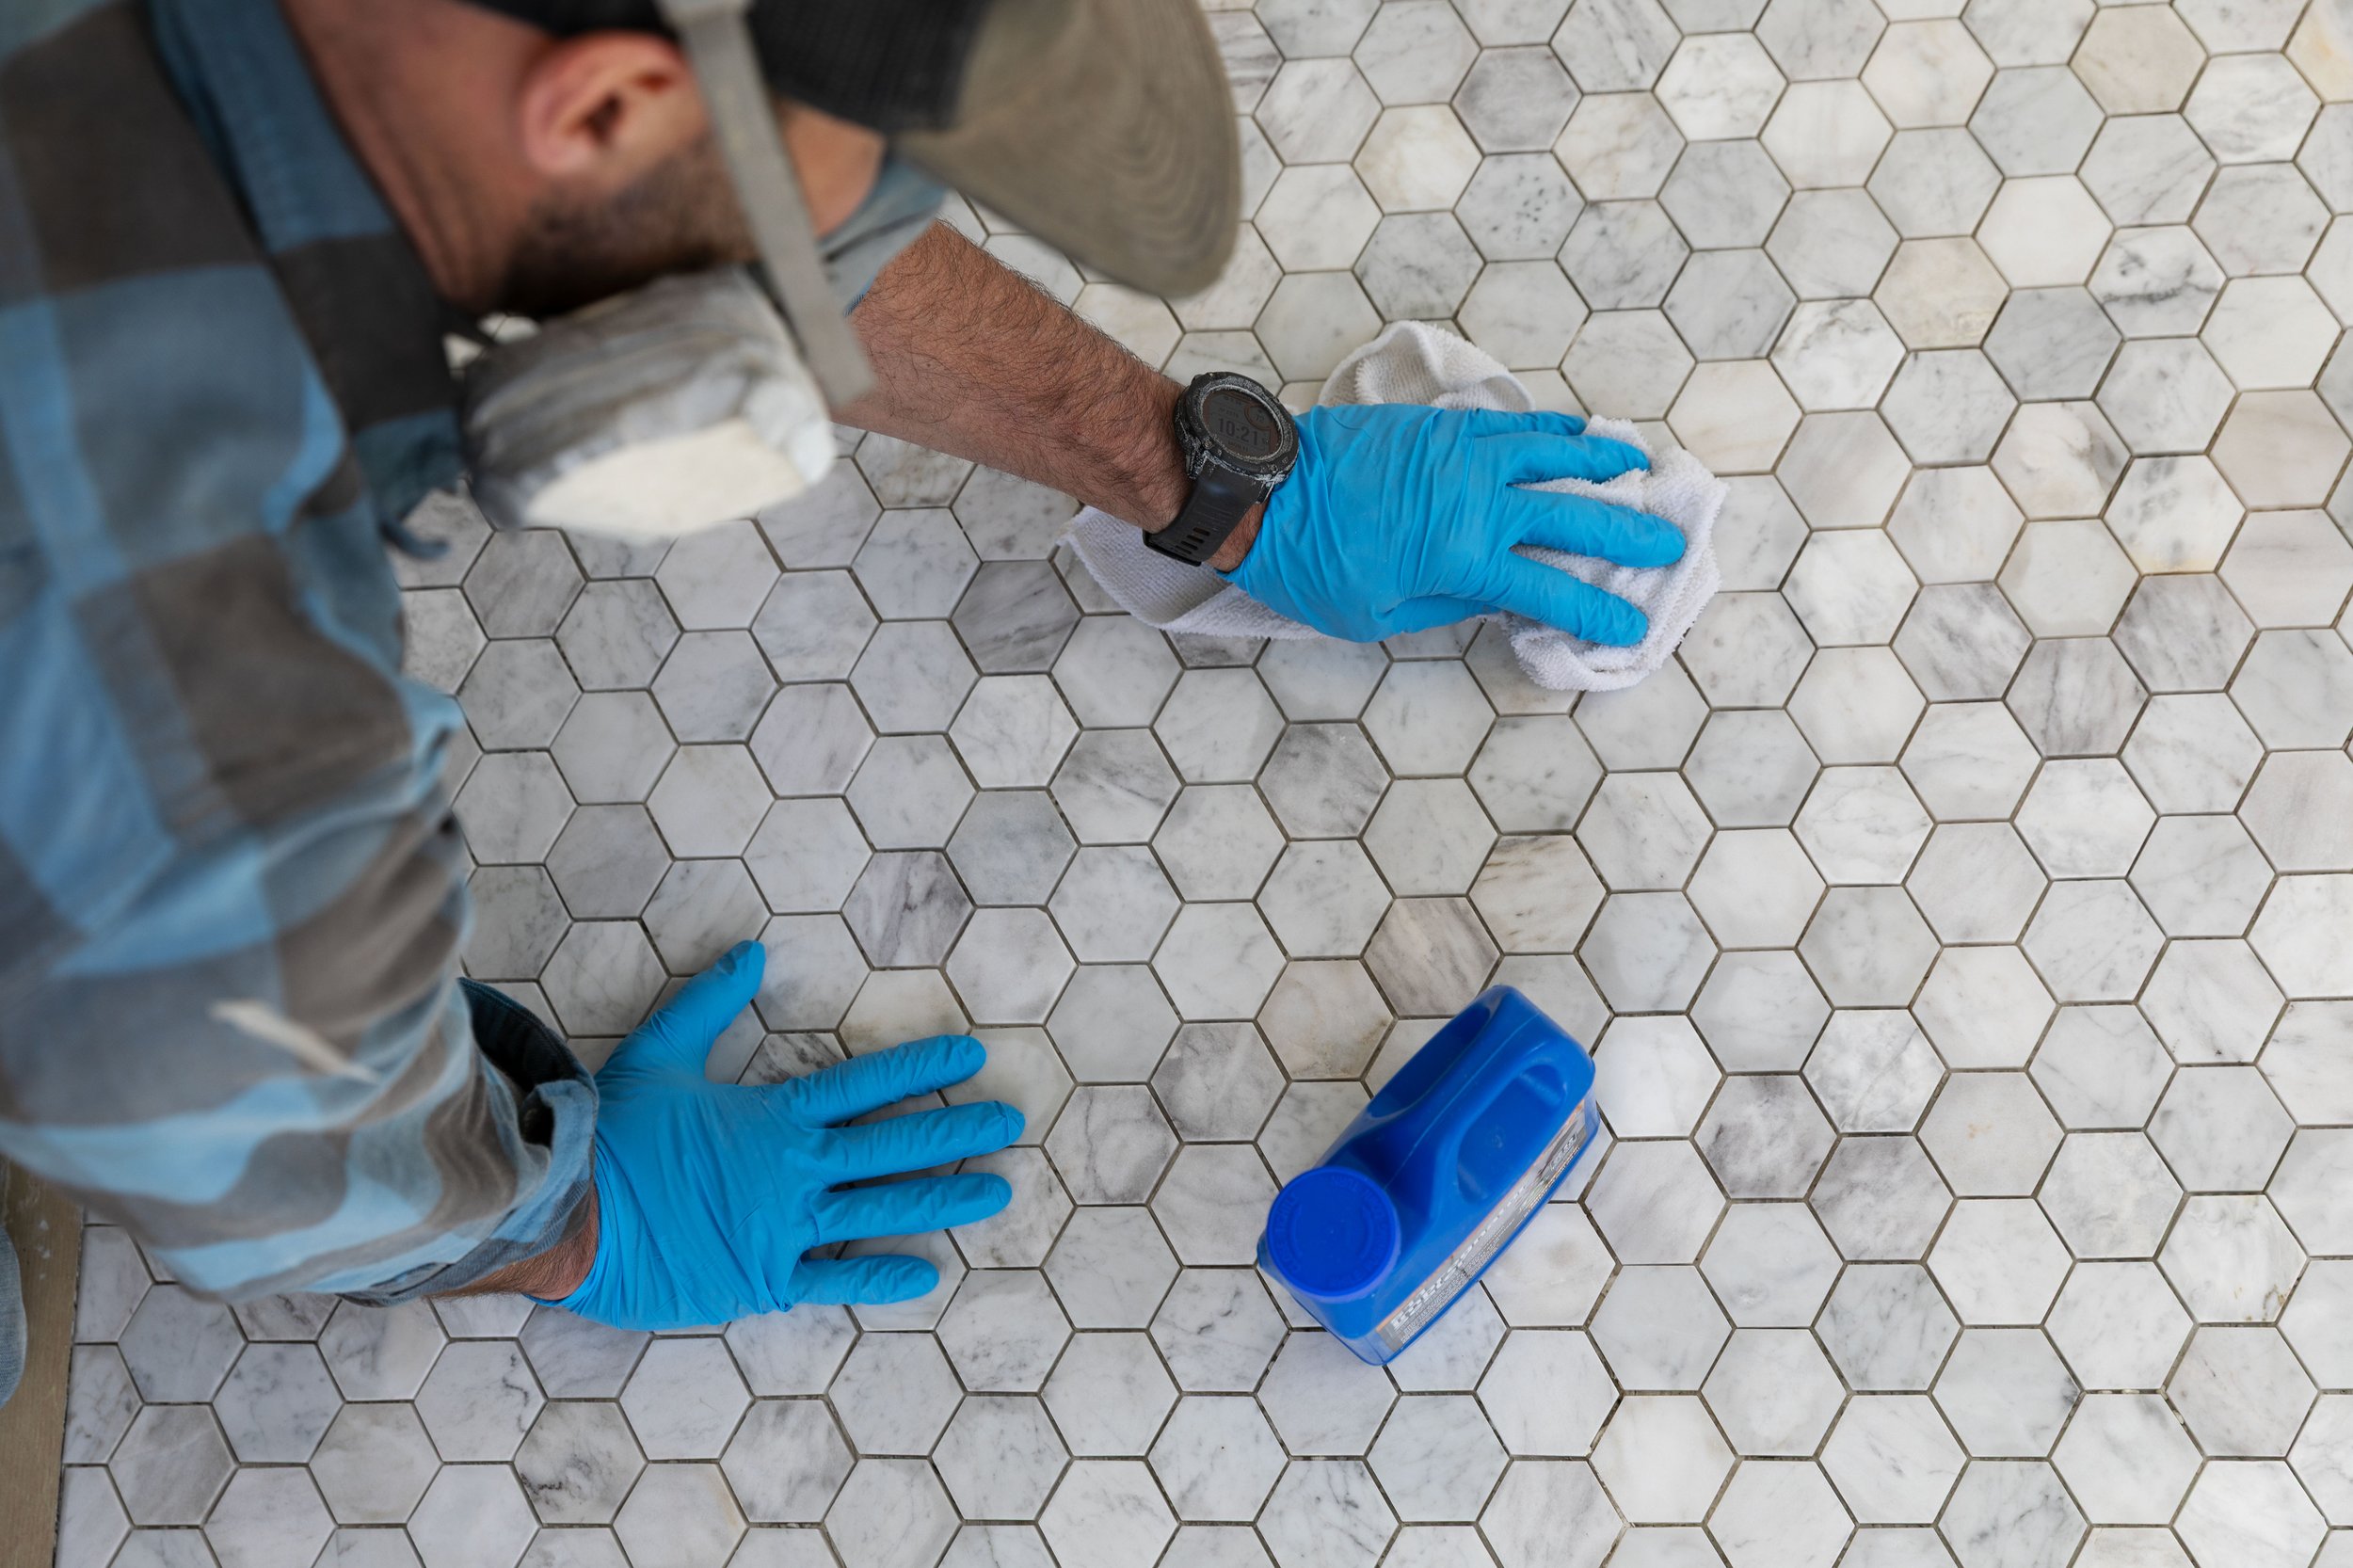
Why seal marble before grouting?
Marble is a porous natural material, which means it can absorb moisture, pigments, and residue more readily than glazed ceramic or porcelain tile. That is part of what gives marble its softness and natural beauty, but it also means the installation deserves a little extra care.
During grouting, especially on a mosaic floor with a million little grout joints, grout is worked across the entire face of the tile. An impregnating sealer helps act as a grout release, making it less likely that grout pigment or resin will soak into the face of the stone. It also makes cleanup a whole lot easier.
To be clear, sealing does not make marble waterproof, stain-proof, or immune to etching. But it does slow absorption and give you a little more margin during installation and everyday life, too.
Hot tip: apply the sealer like you do grout - by working yourself out of the room, towards a door or exit. Don’t get trapped in a corner!
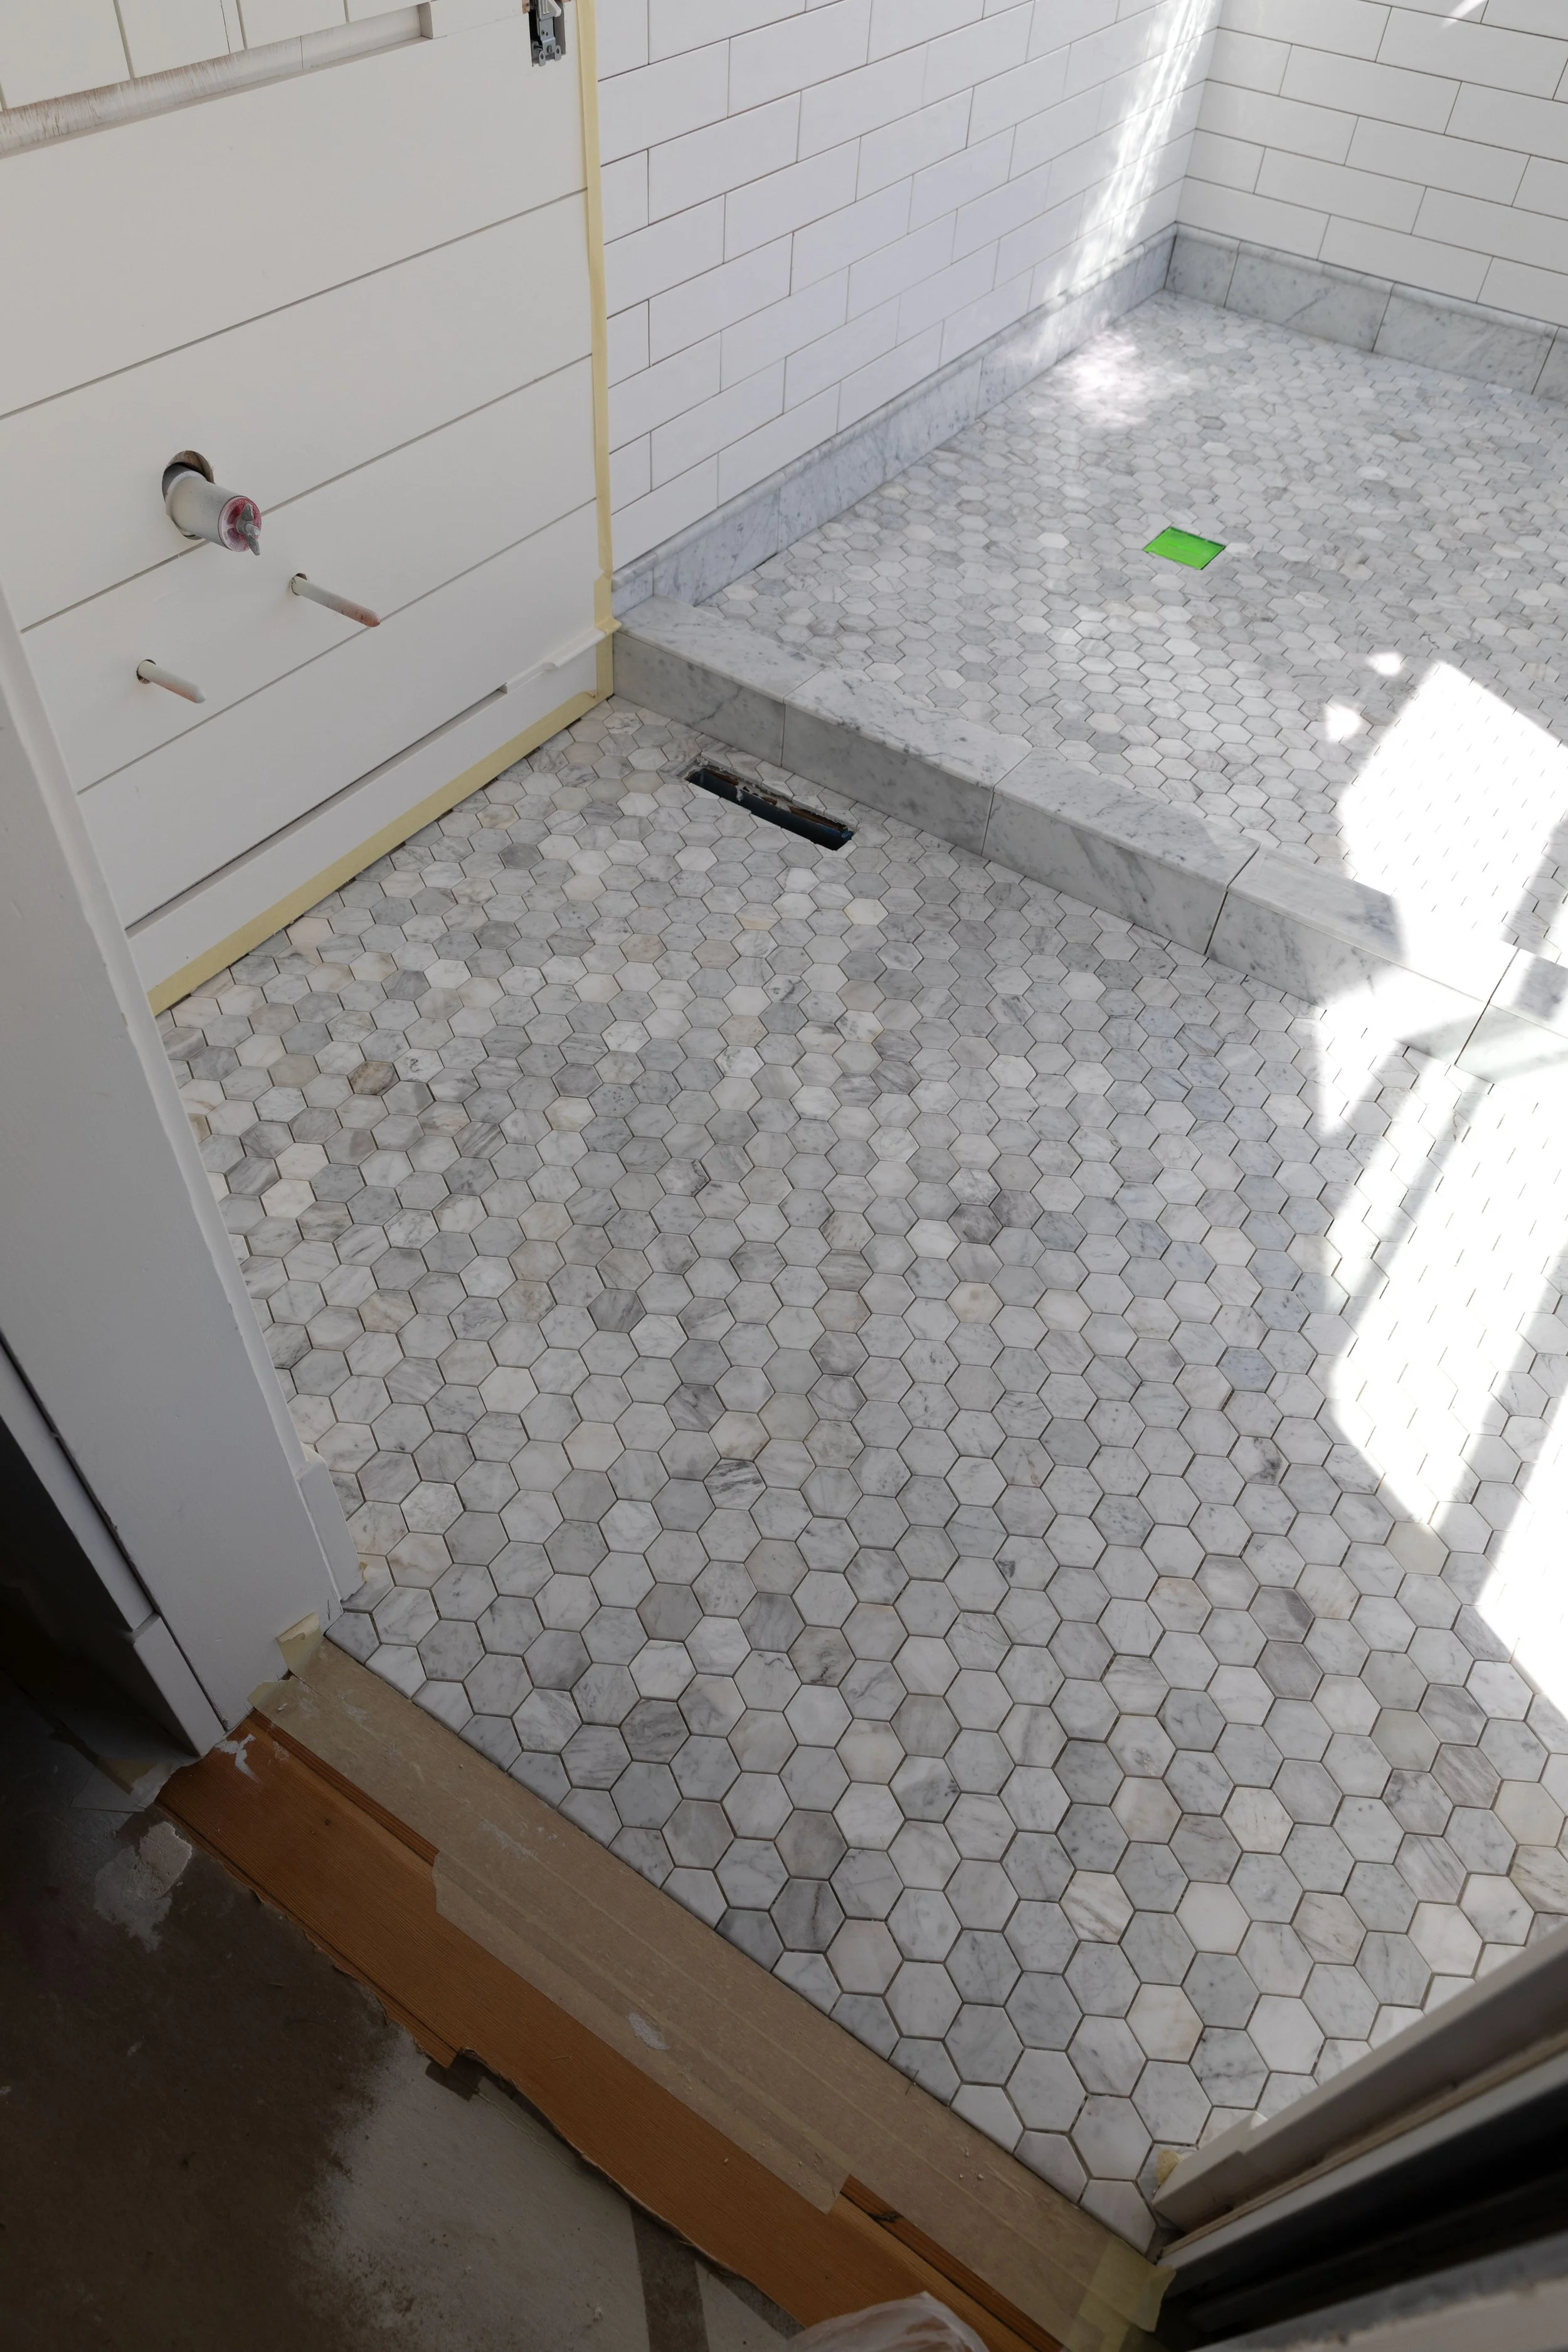
Why we were especially careful with epoxy grout
We’ve used epoxy grout in quite a few bathrooms now, and we’re still big fans. It’s durable, highly stain-resistant, doesn’t need to be sealed itself, and has held up beautifully in our homes. Really it’s all we use anymore. For this bathroom, we’re using LATICRETE SpectraLOCK grout - we’ll share more on that soon.
it’s important to know that epoxy grout does come with some downsides. It’s less forgiving during installation than traditional grout and once the resin cures on the face of a tile, it can be very difficult to remove. Careful prep and installation helps and so does sealing the marble before grout. It isn’t a substitute for working carefully, but it does help the cleanup go more smoothly, and the finished marble stays cleaner and true to its color.
The marble sealer we used
We used this impregnator sealer, the same sealer we used on the salvaged marble countertop in the hall bathroom. A little goes a long way and our quart-sized bottle still has plenty left in it for maintenance seals in the future.
We like this sealer because it is made for natural stone, tile, and grout and penetrates the material rather than leaving a topical coating over the surface. It does not change the color or intentionally give the marble a wet look, which was important because we wanted to keep the honed stone looking soft and natural. You’ll know the marble is sealed because water beads up on it.
It is also readily available from Amazon and Home Depot, meaning you can get your hands on it quickly in the middle of a renovation ;)
SHOP THE PROJECT
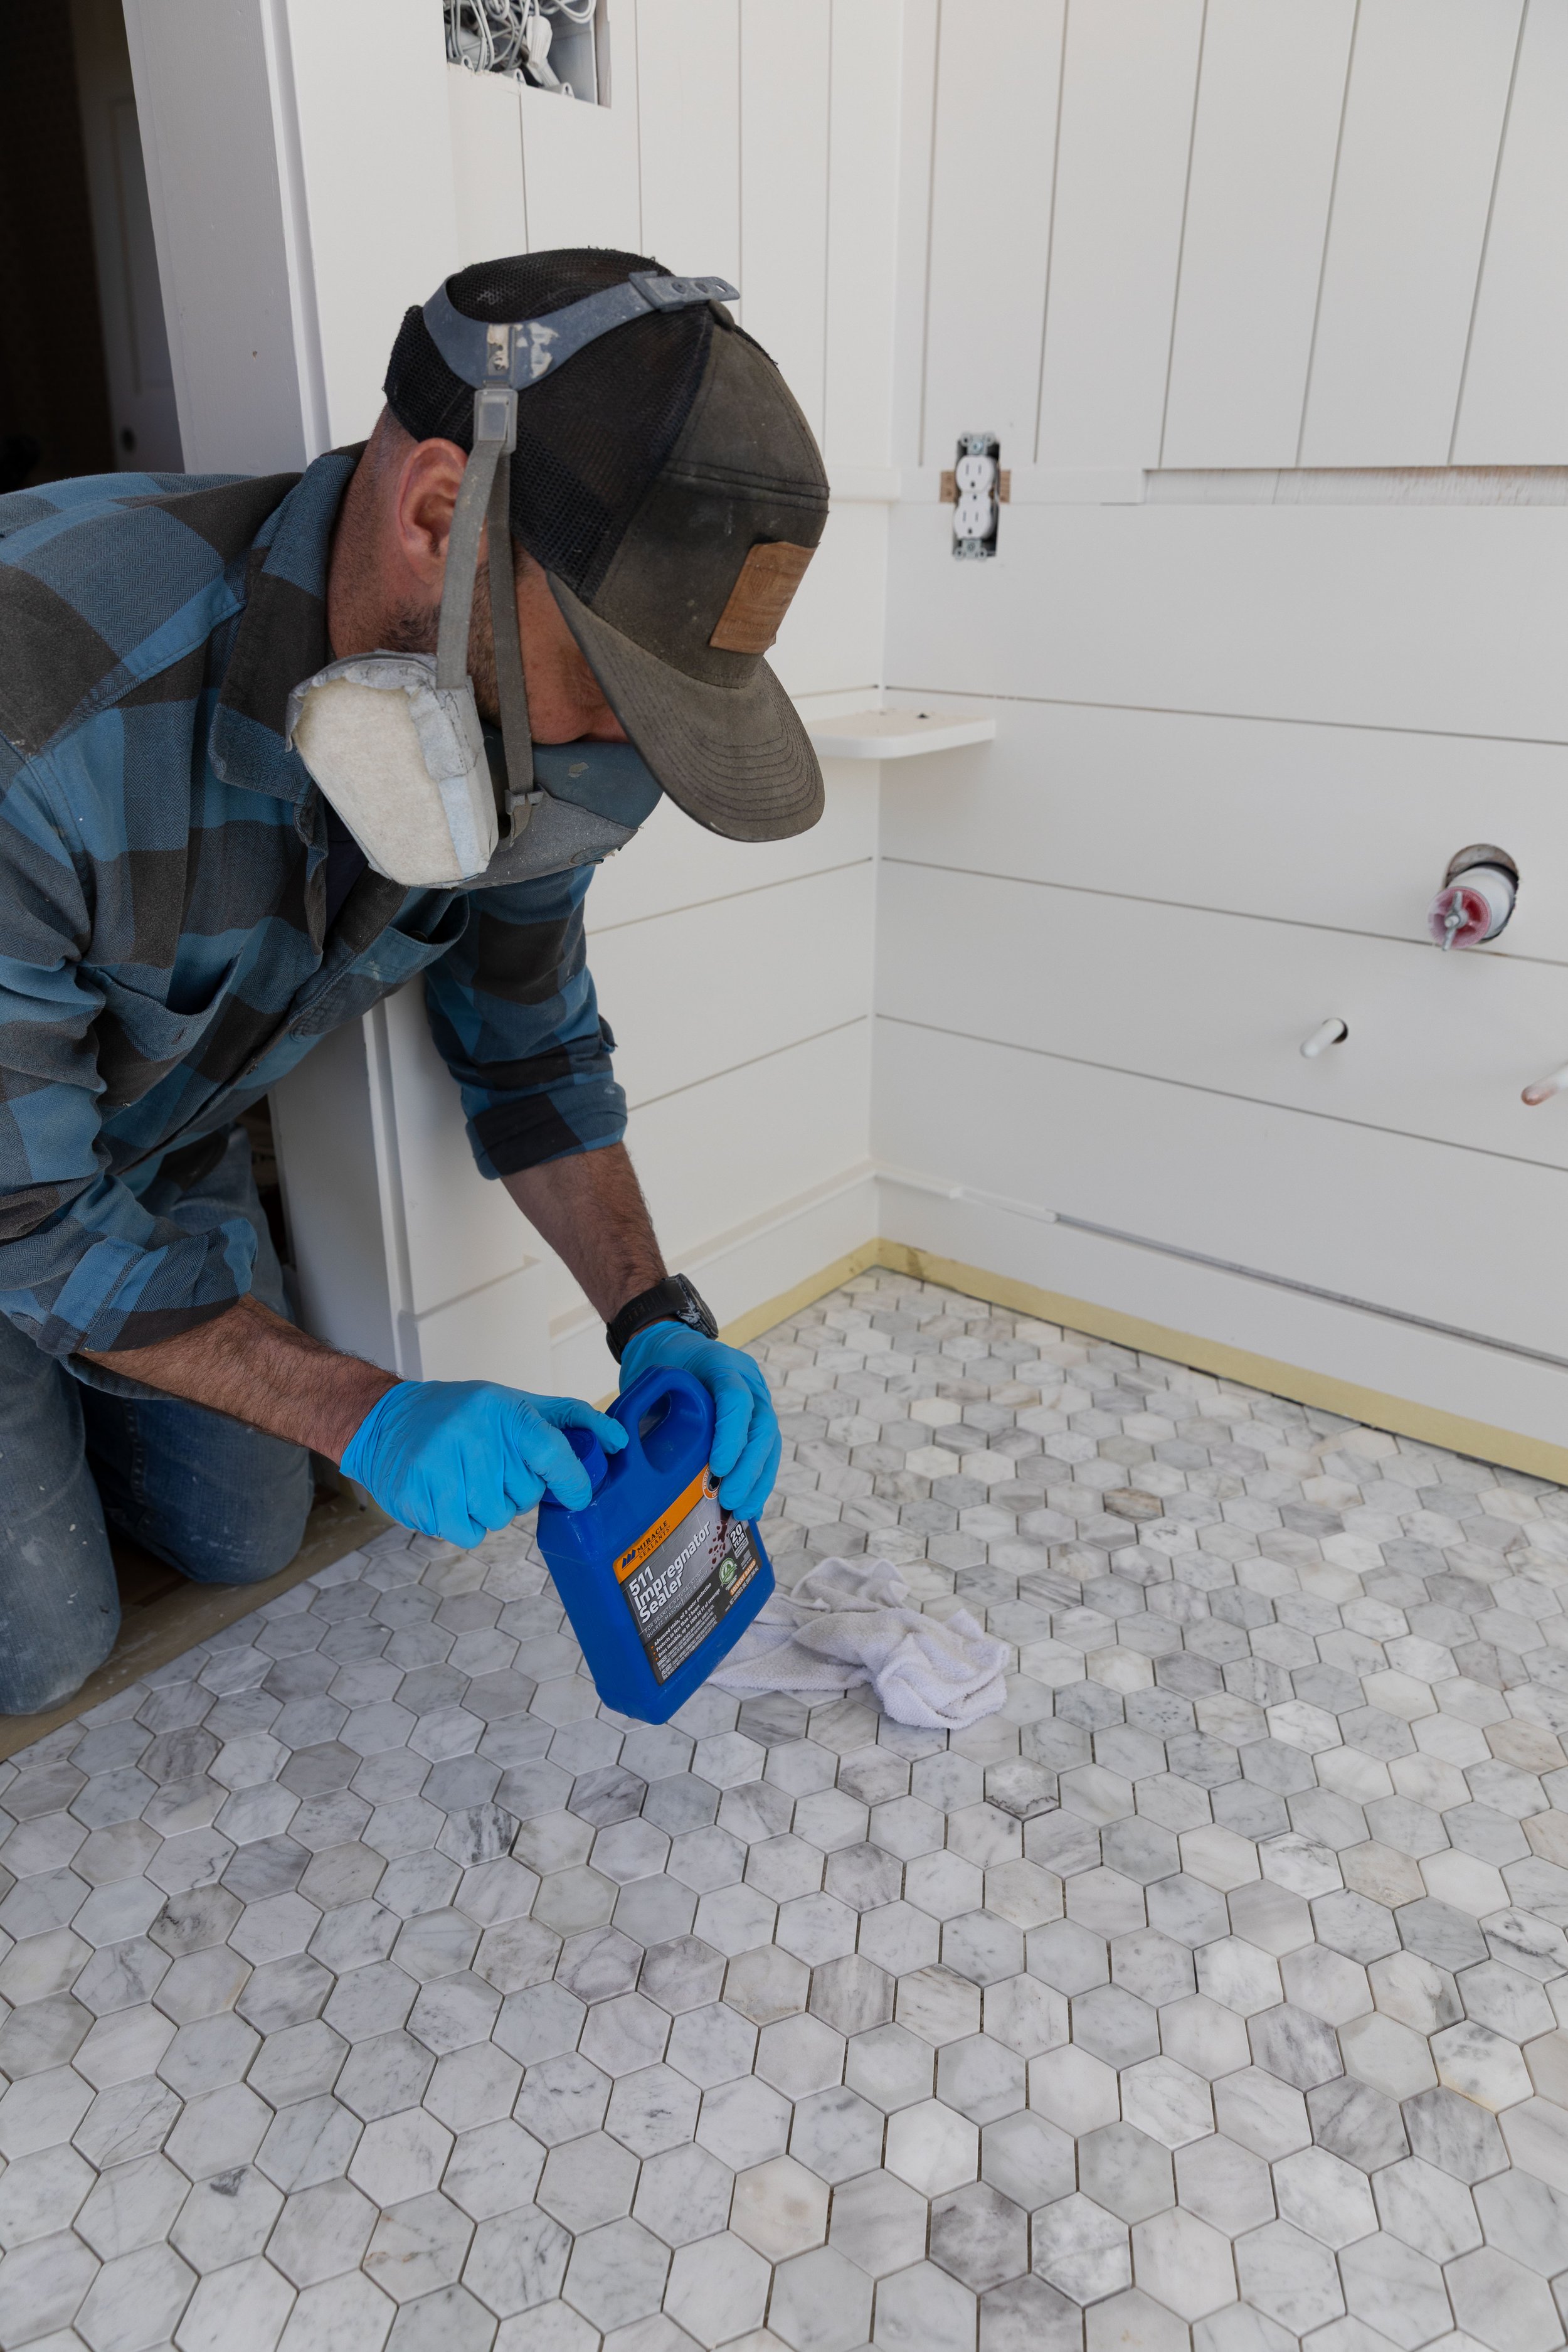
How we sealed our marble tile before grouting
This is the basic process we followed. Always defer to the directions on your specific product because application and cure times can vary. Before starting make sure that the mortar below your tiles has adequate time to cure. And Garrett always ventilates the space and wears a good respirator (the sealer has some VOCs).
1. Clean and dry the marble
We vacuumed the floor thoroughly and made sure the stone was clean, completely dry, and free of construction dust. Anything left on the marble when it is sealed may end up trapped there, so this is a good time to get a little obsessive.
2. Test the sealer
Natural stone varies (even tiles from the same box!) so we always test products in a small, inconspicuous area first. Or better yet, test them on an extra or remnant of tile you happen to have sitting around. You just want to confirm that the sealer won’t noticeably alter the marble’s color or finish.
3. Apply the sealer to the face of the tile
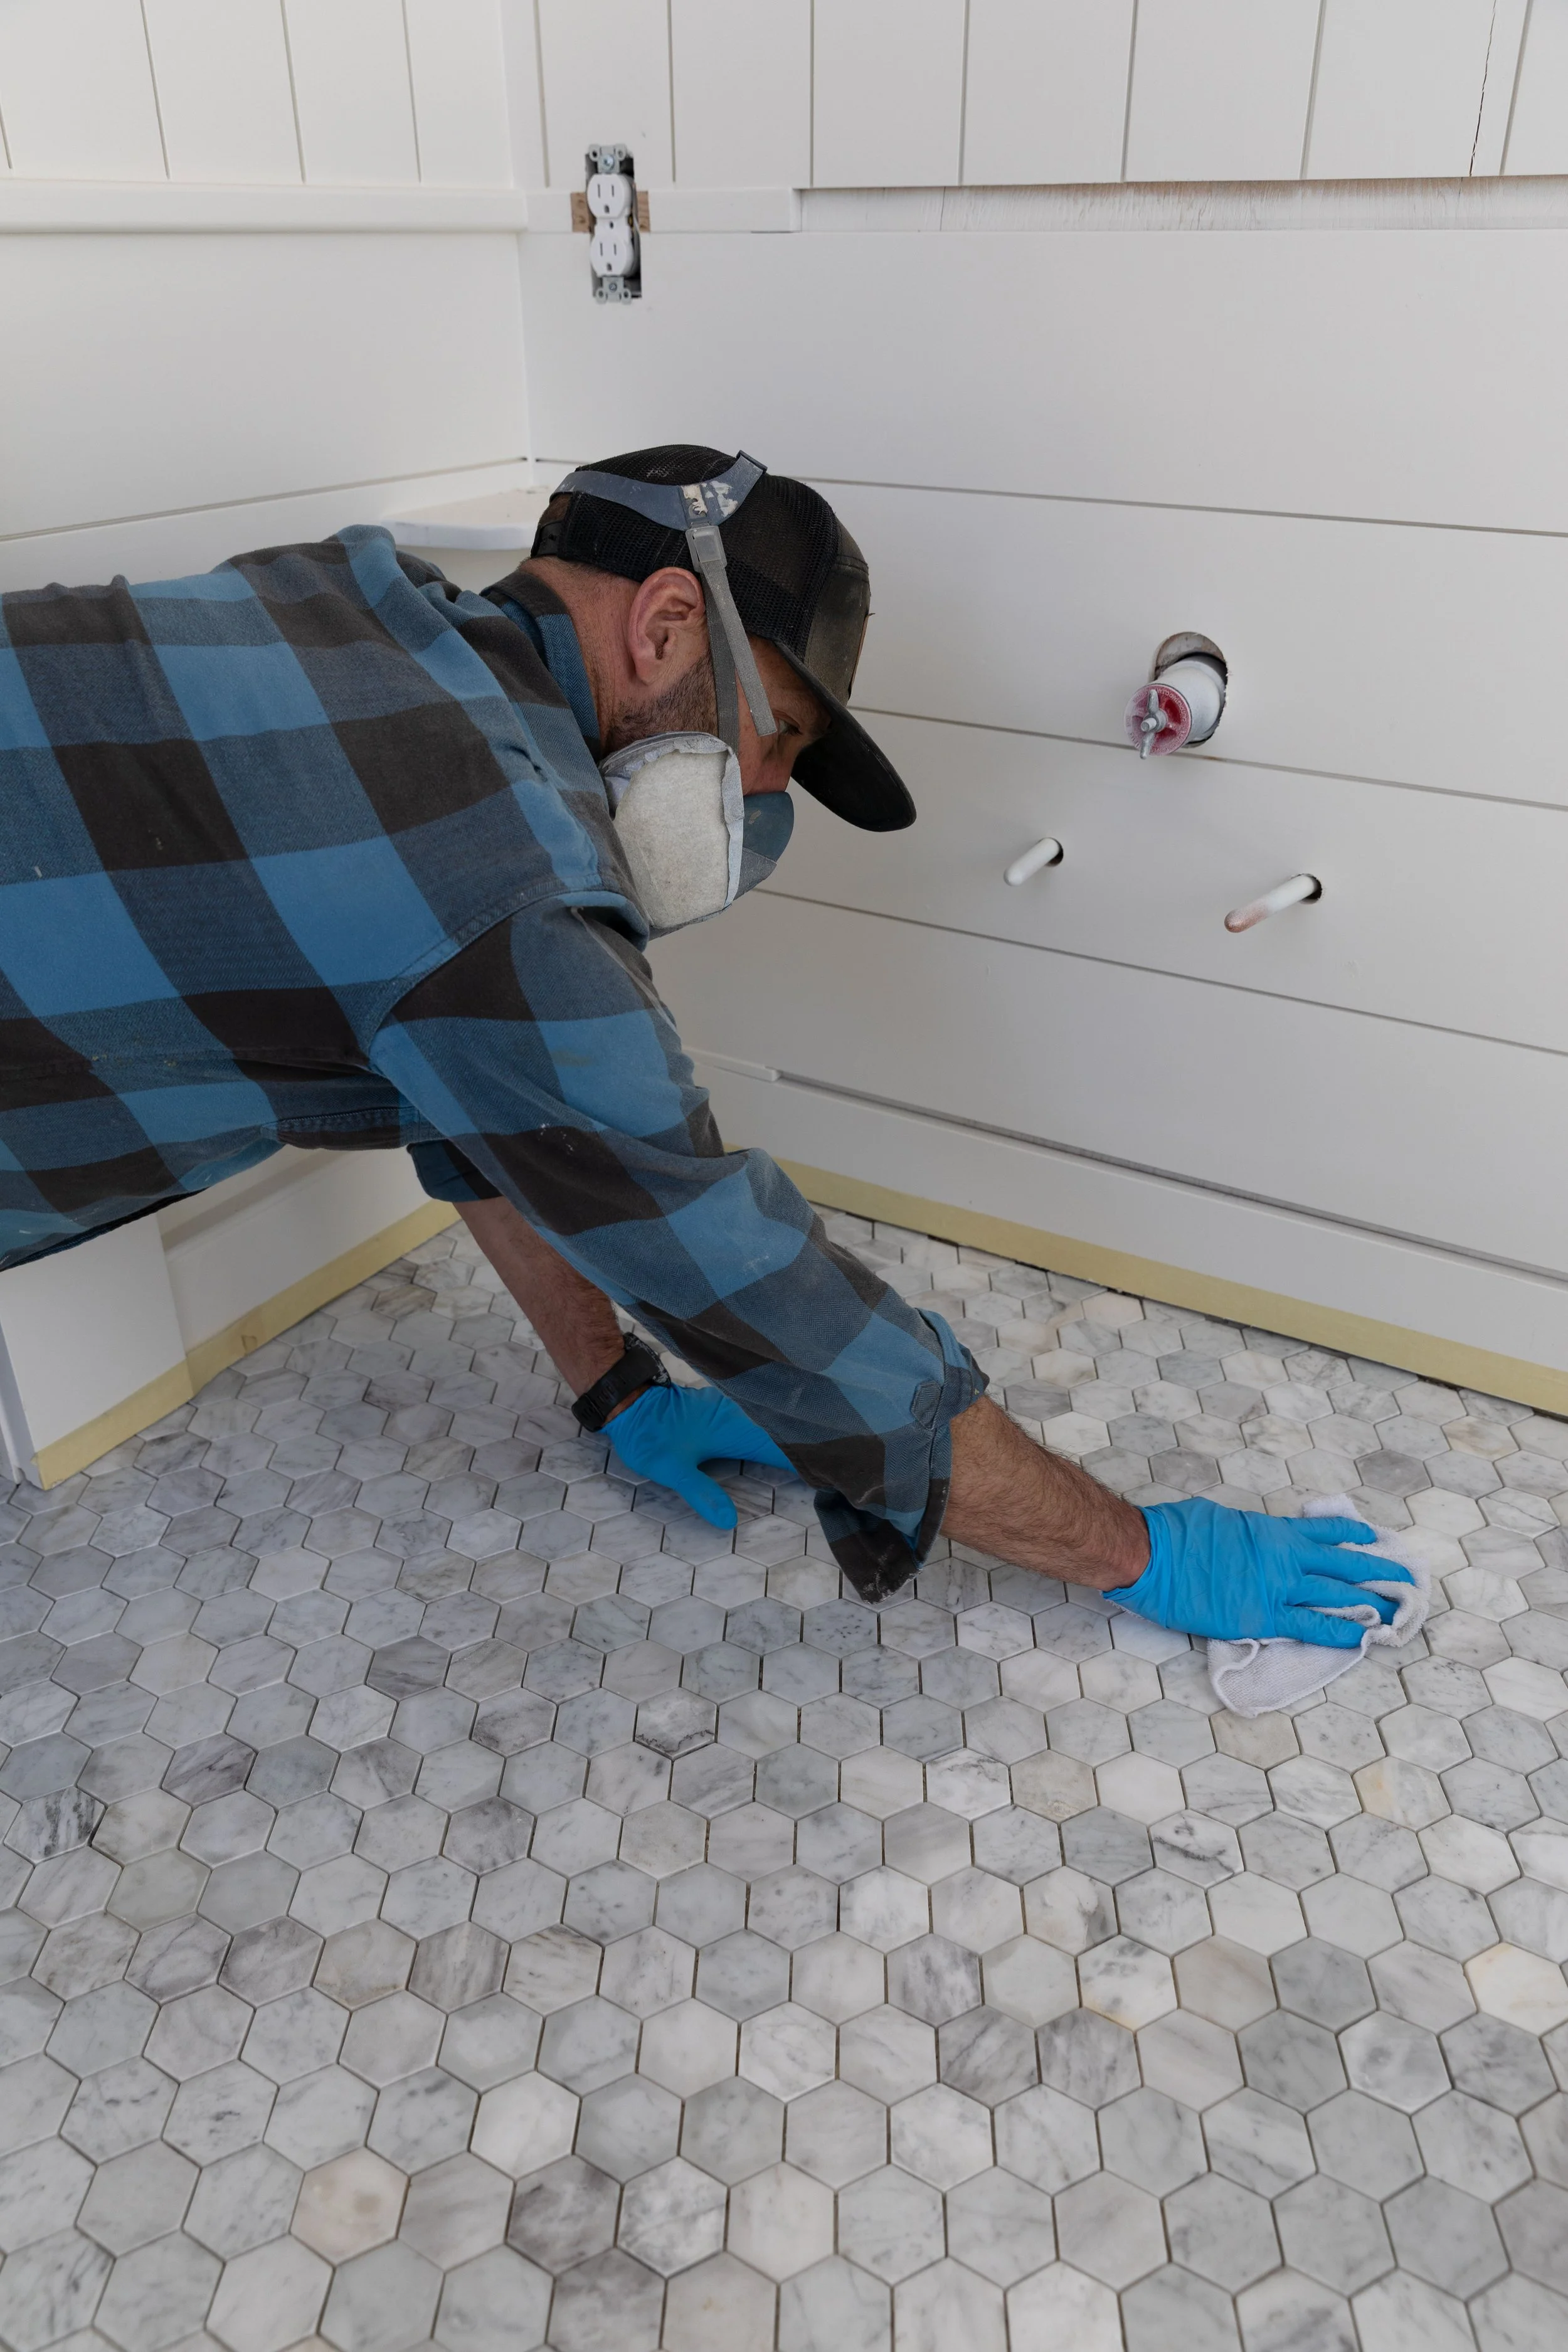
We used a clean lint-free cloth to apply an even coat over the exposed marble surface, following the manufacturer’s instructions and being careful not to flood the open grout joints. The goal was to wet the surface evenly, not soak the entire installation.
4. Buff off every bit of excess
This part matters. We gave the sealer time to penetrate and then buffed away everything remaining on the surface with a clean cloth. You do not want sealer puddling or any pools drying on top of the marble.
5. Let the sealer cure fully
Then we waited for the full cure time listed on the product before grouting. I know waiting is not the most exciting step in a renovation, but neither is trying to remove hardened epoxy residue from a marble floor, so patience wins this one.
The general timeline for our product went like this: apply → wait 3–5 minutes → buff completely → allow 6–12 hours before epoxy grout.
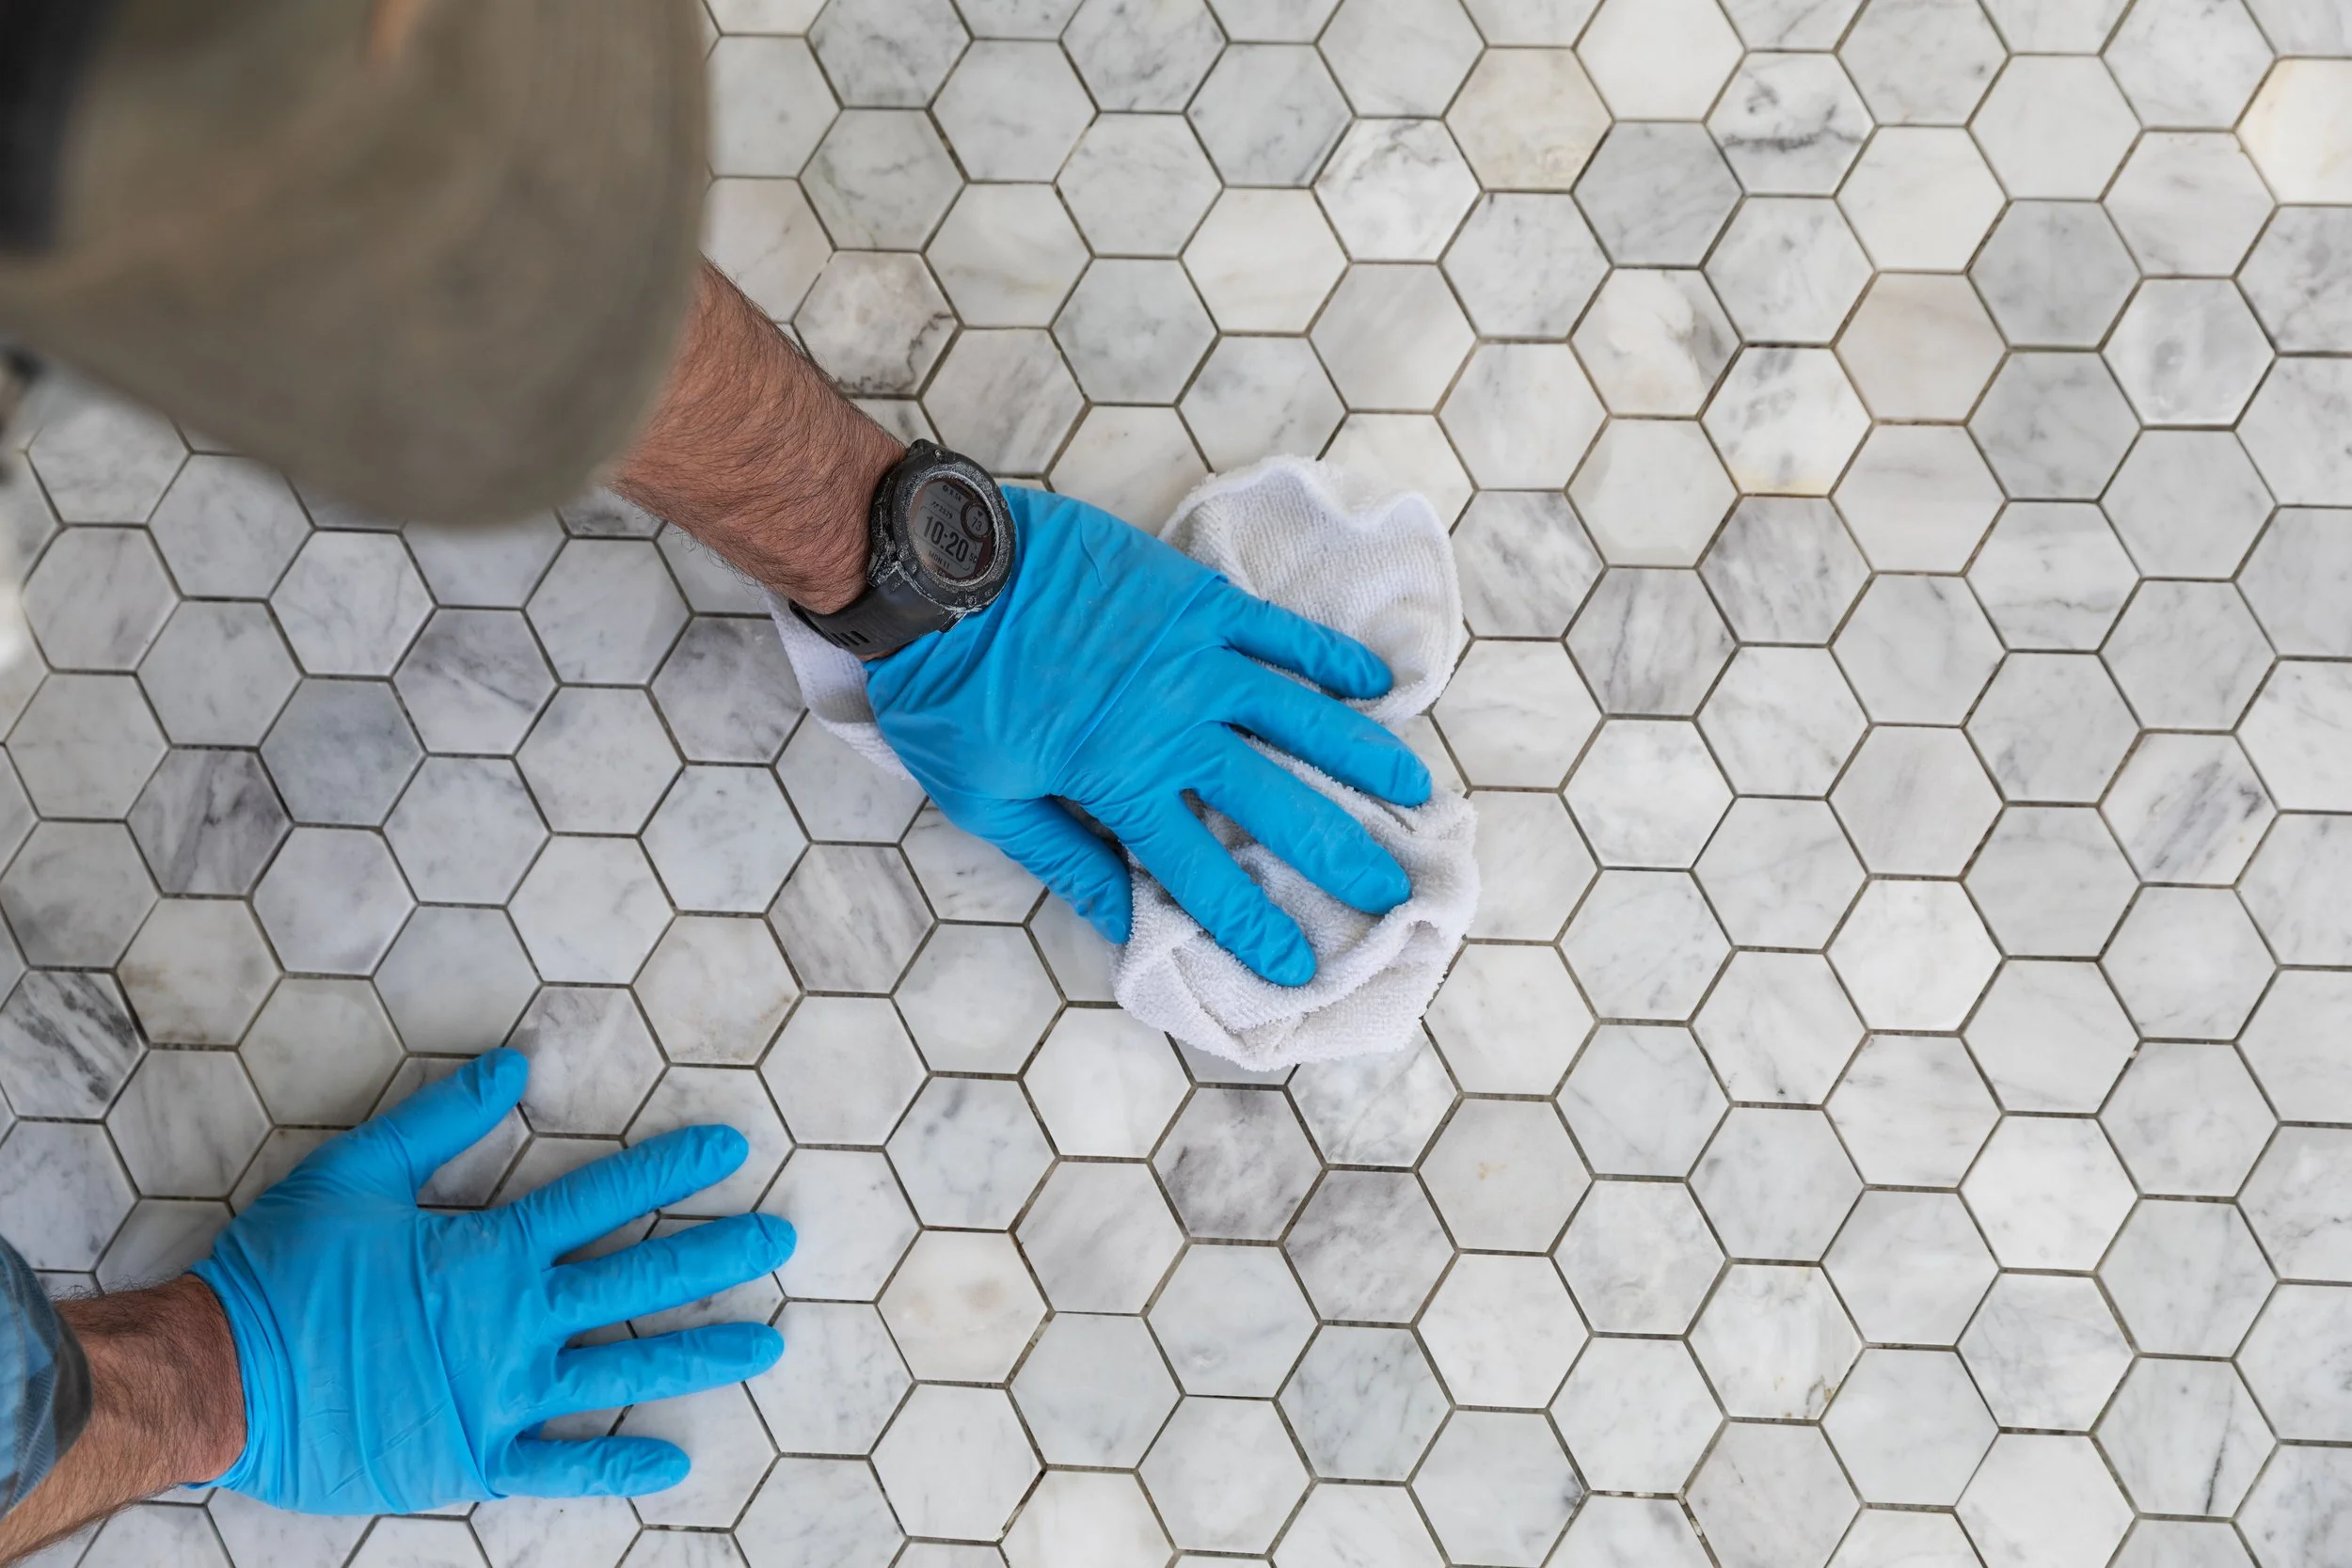
Did sealing make the epoxy grout cleanup easier?
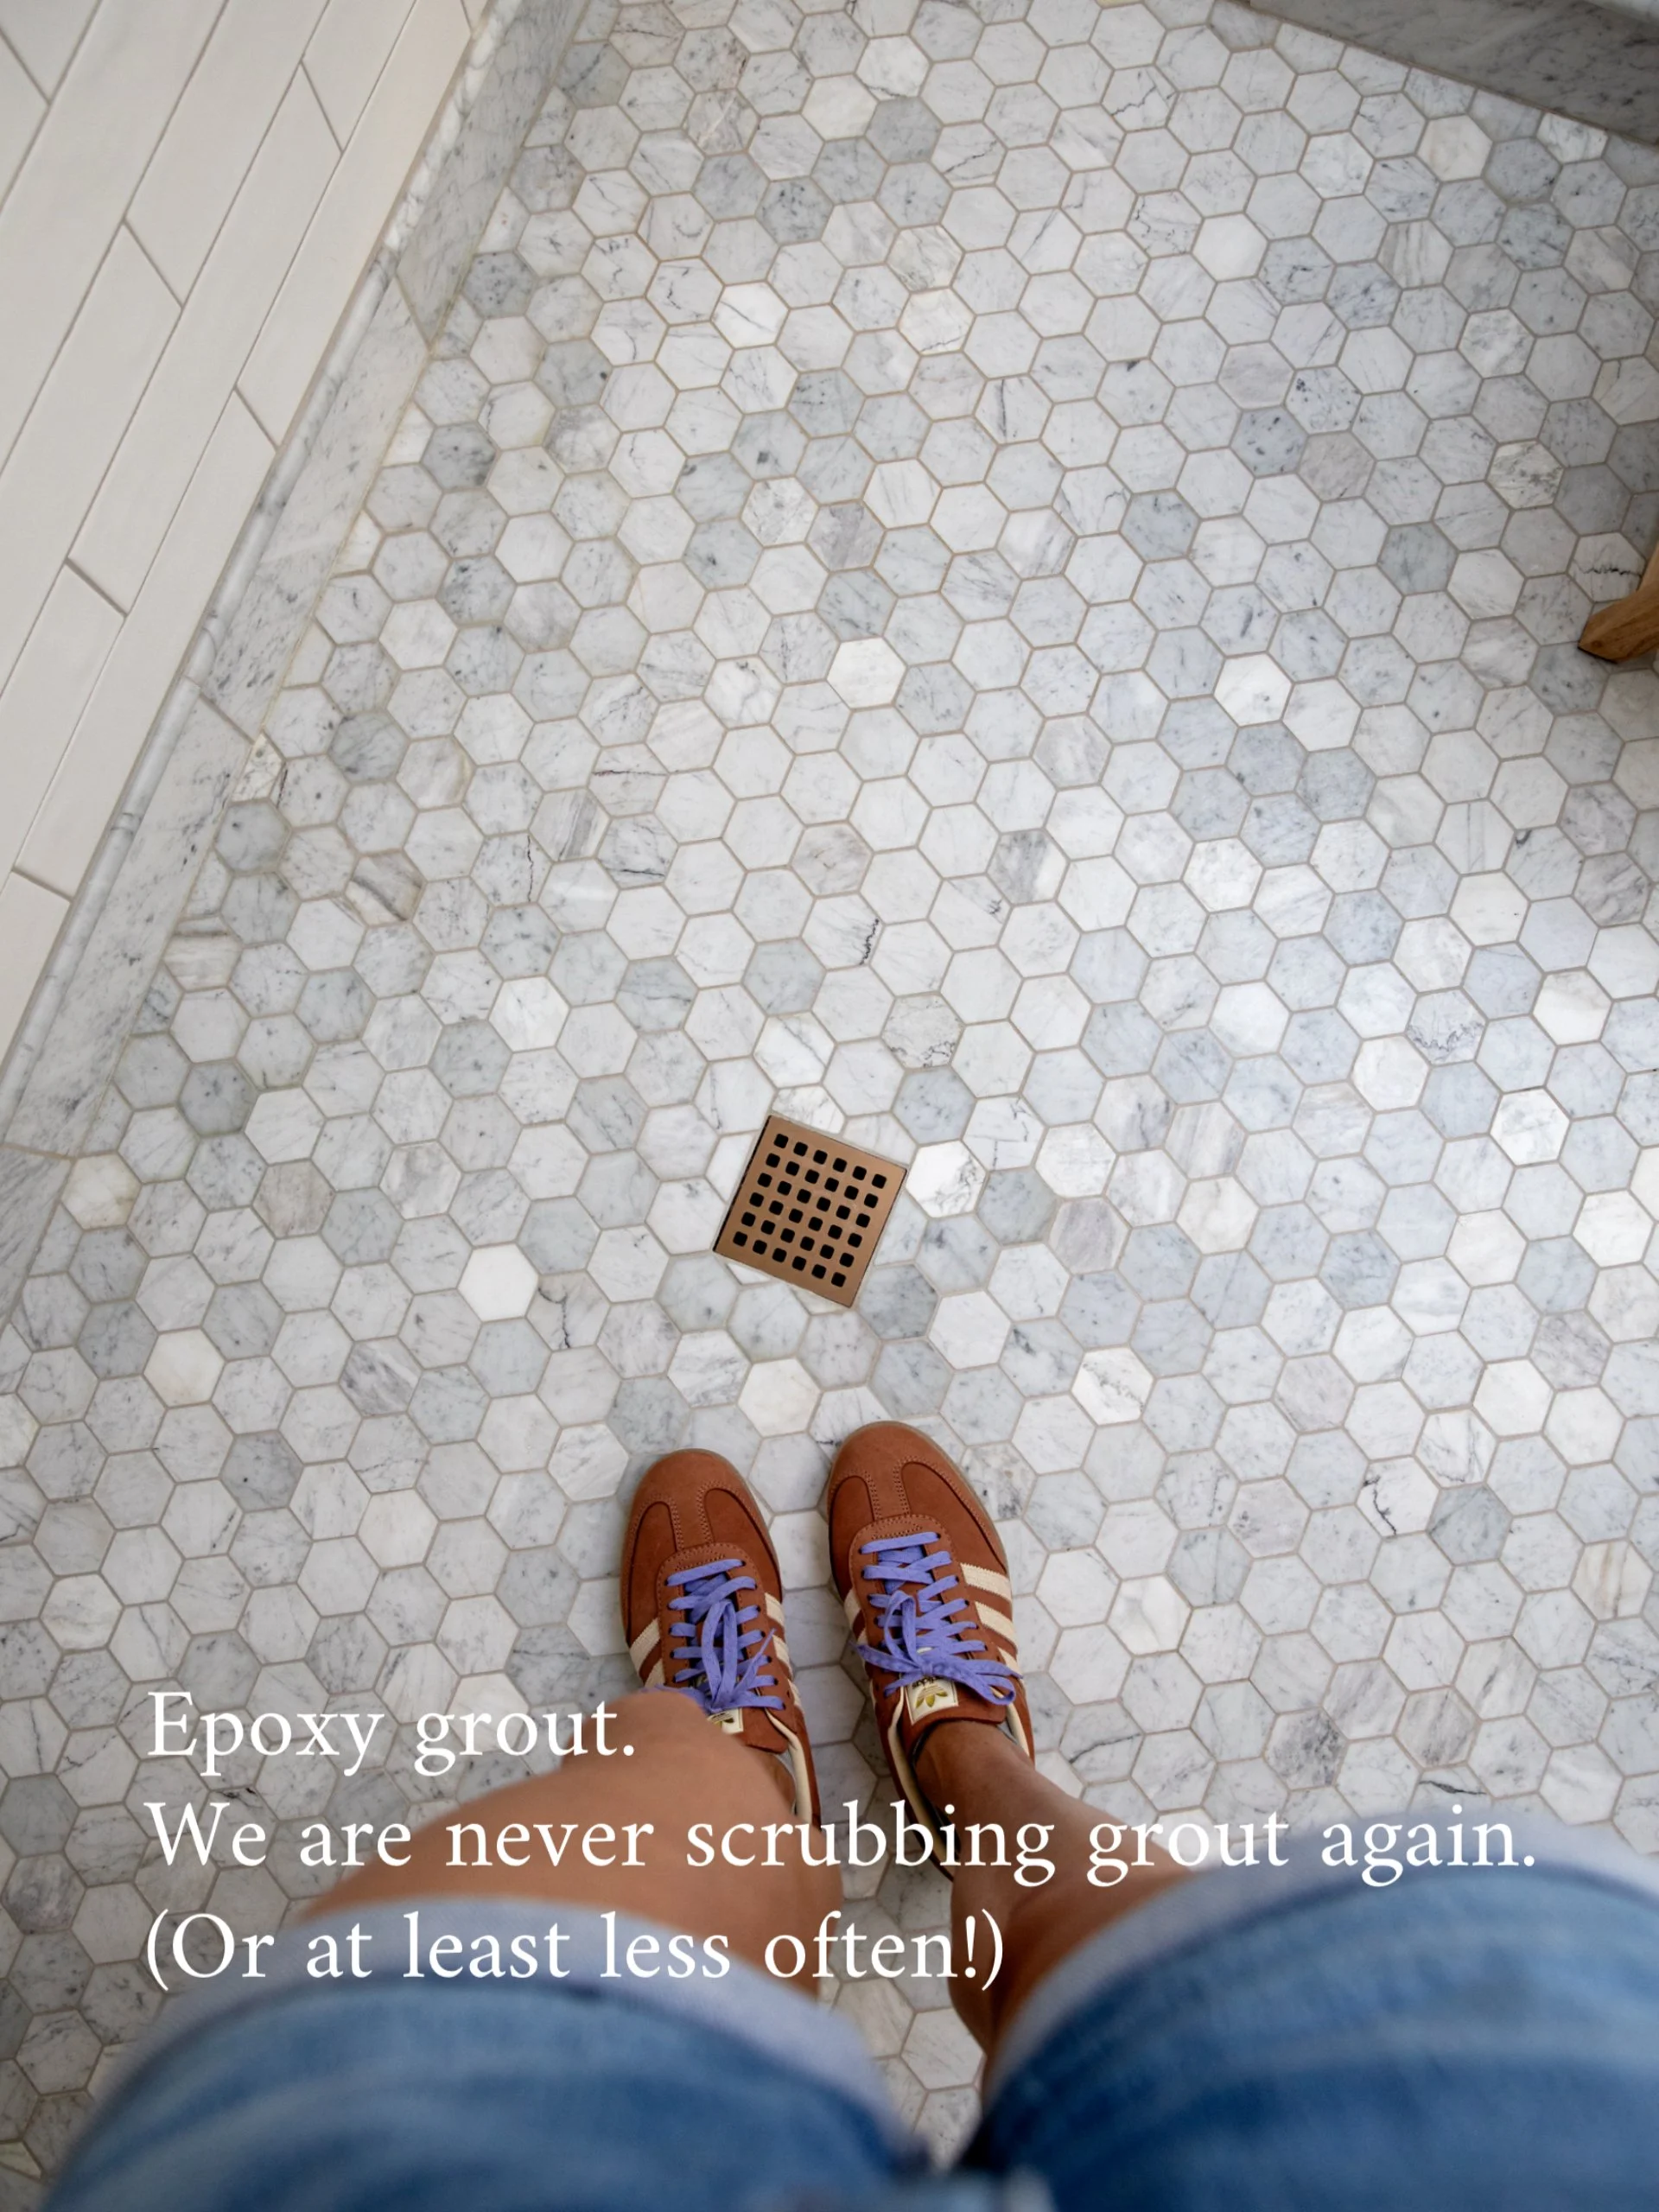
Yup. The grout installation went smoothly and the marble cleaned up well. No obvious resin haze, darkened tile faces, or grout pigment caught in the stone. Of course we were careful with the installation too, working in smaller sections, following the grout’s cleanup instructions, and making sure no residue lingered on the marble. But pre-sealing it made the floor less vulnerable during the process.
After spending so much time cutting, laying, and finessing all of that marble hex, I was very willing to do any extra step that could help protect it.
Should you seal honed and polished marble before grout?
Honed marble tends to be more absorbent than highly polished marble, so I feel especially strongly about testing and pre-sealing a honed floor like ours. But I would usually also seal polished marble. Better safe than sorry. Of course natural stone varies so I’d still test the sealer on an extra tile or in a hidden corner and check the recommendations for the tile and grout before committing to the whole floor.
What does sealing marble actually do?
One thing that's worth clearing up is that sealer doesn't sit on top of the marble like a coating or finish. A good penetrating sealer soaks into the stone and helps reduce how quickly liquids can be absorbed.
That means sealed marble is a little more forgiving in everyday life.
Instead of water soaking in immediately, you'll notice it beads up on the surface for a while, giving you time to wipe it away. The same goes for things like soap, shampoo, toothpaste, coffee or wine on a countertop. It isn't stain-proof, but it's much more stain-resistant than untreated marble. In a bathroom, that also makes routine cleaning easier because dirt, soap residue and hard-water deposits are less likely to work their way into the pores of the stone.
It's important to know what a penetrating sealer doesn't do, too. It won't stop marble from etching if acidic products sit on it, it won't prevent scratches, and it doesn't make the floor less slippery. That's determined much more by the finish of the stone. Sealing is simply a way to help the natural material last beautifully.
Can you use epoxy grout with marble tile?
Yes! We have had beautiful results pairing epoxy grout with honed marble (who remembers the primary bathroom at the Farmhouse?!). But it is not quite a grab-the-bucket-and-go situation. A few things matter:
Test your exact marble and grout combination first
Follow the instructions from both manufacturers
Pre-seal absorbent stone
Work in manageable sections
Clean the tile carefully before the epoxy cures
Never assume that all marble will react exactly the same way
With the right prep, marble and epoxy grout can be an excellent combination. The softness and character of natural stone pairs perfectly with a hardworking, stain-resistant grout. Chef’s kiss!
We’ll share more about the epoxy grout we used in this bathroom soon.
How often should marble tile be resealed?
Rather than following a calendar, we let the stone tell us when it's time to reseal. A quick water test takes less than a minute and is a much better indicator than an arbitrary schedule.
Clean the marble thoroughly and let it dry completely. Then do a water test: drip a few drops of water onto the marble. If the water beads on the surface for several minutes, the sealer is still doing its job. If the stone quickly darkens as it absorbs the water, it's probably time for another coat. It’s as simple as that!
To reapply, make sure tile is clean and dry and then apply a light coat of penetrating sealer. Allow it to dwell for the manufacturer's recommended time, then buff away every bit of excess before it dries on the surface. The epoxy grout won't need sealing, but refreshing the sealer on the marble every few years (or whenever the stone tells you it needs it) is a simple maintenance task that helps keep natural stone looking its best. And the sealer shouldn’t hurt the epoxy grout one bit.
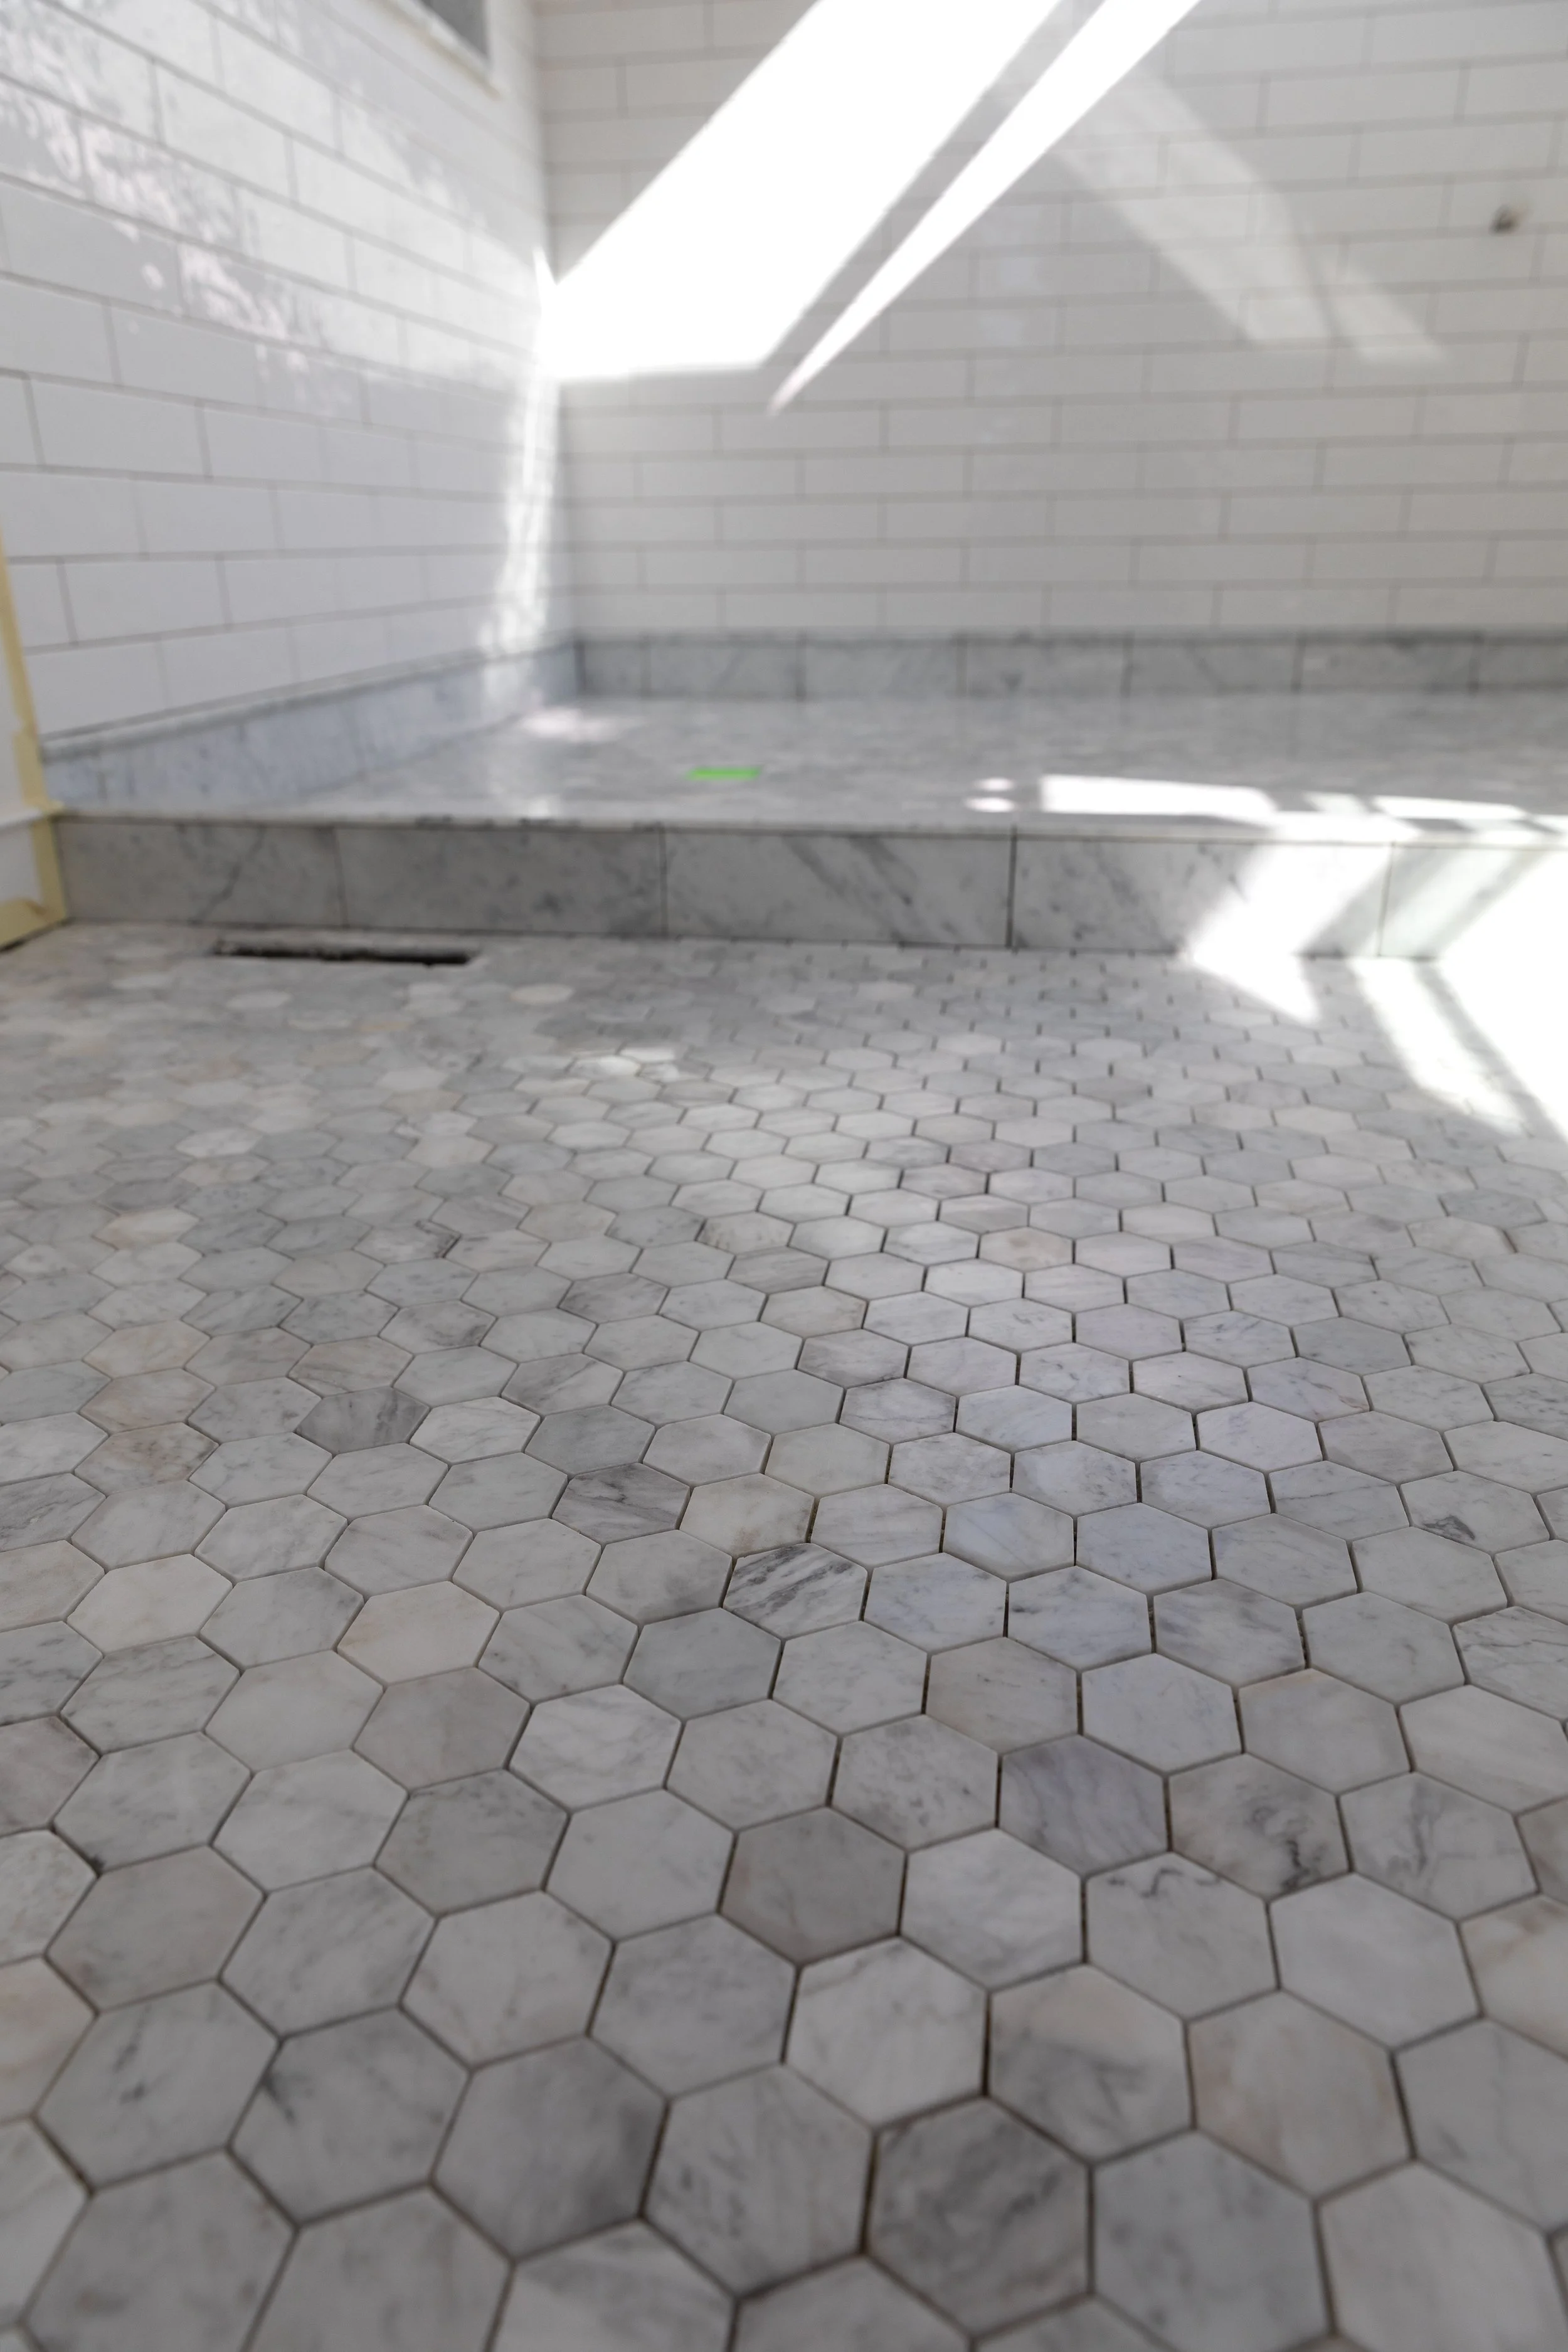
Natural material might require a bit more thought than porcelain, but it’s nothing to be scared of. A little sealer and occasional reseal is absolutely worth it to have such a beautiful, natural material in your home… at least we think so :)
More soon.
xx
ps this post contains affiliate links, meaning we may earn a small commission if you purchase through our links, at no additional cost to you. Thank you for supporting the Grit and Polish!








links and musings from the week…