
THE POPLAR COTTAGE
Today we're sharing a full tour of the Poplar Cottage, and it's LONG overdue! So many of you have been on this adventure with us since 2020, back when this was going to be a "cosmetic" remodel (ha!). Five years later, we've lifted the house 8' into the air, poured a new foundation under it, torn off the roof, framed a second story, added an upstairs bedroom and bathroom, and re-sided the whole thing. Phew! I'm not sure there's ever been more scope creep on one little house in the history of little houses ;)
This project was rewarding and frustrating and stretched us in ways we didn't know were possible. It was an education that just seemed to go on and on. But here we are on the other side of all of it with a beautiful, finished cottage - a place we got to call home for over a year and other families will get to enjoy now. We get to stand back, take it all in, and say “we did that!”. And it wouldn’t have been nearly as fun without all of you. Thank you for all the support, encouragement, and advice along the way!
Okay, let's get into it...
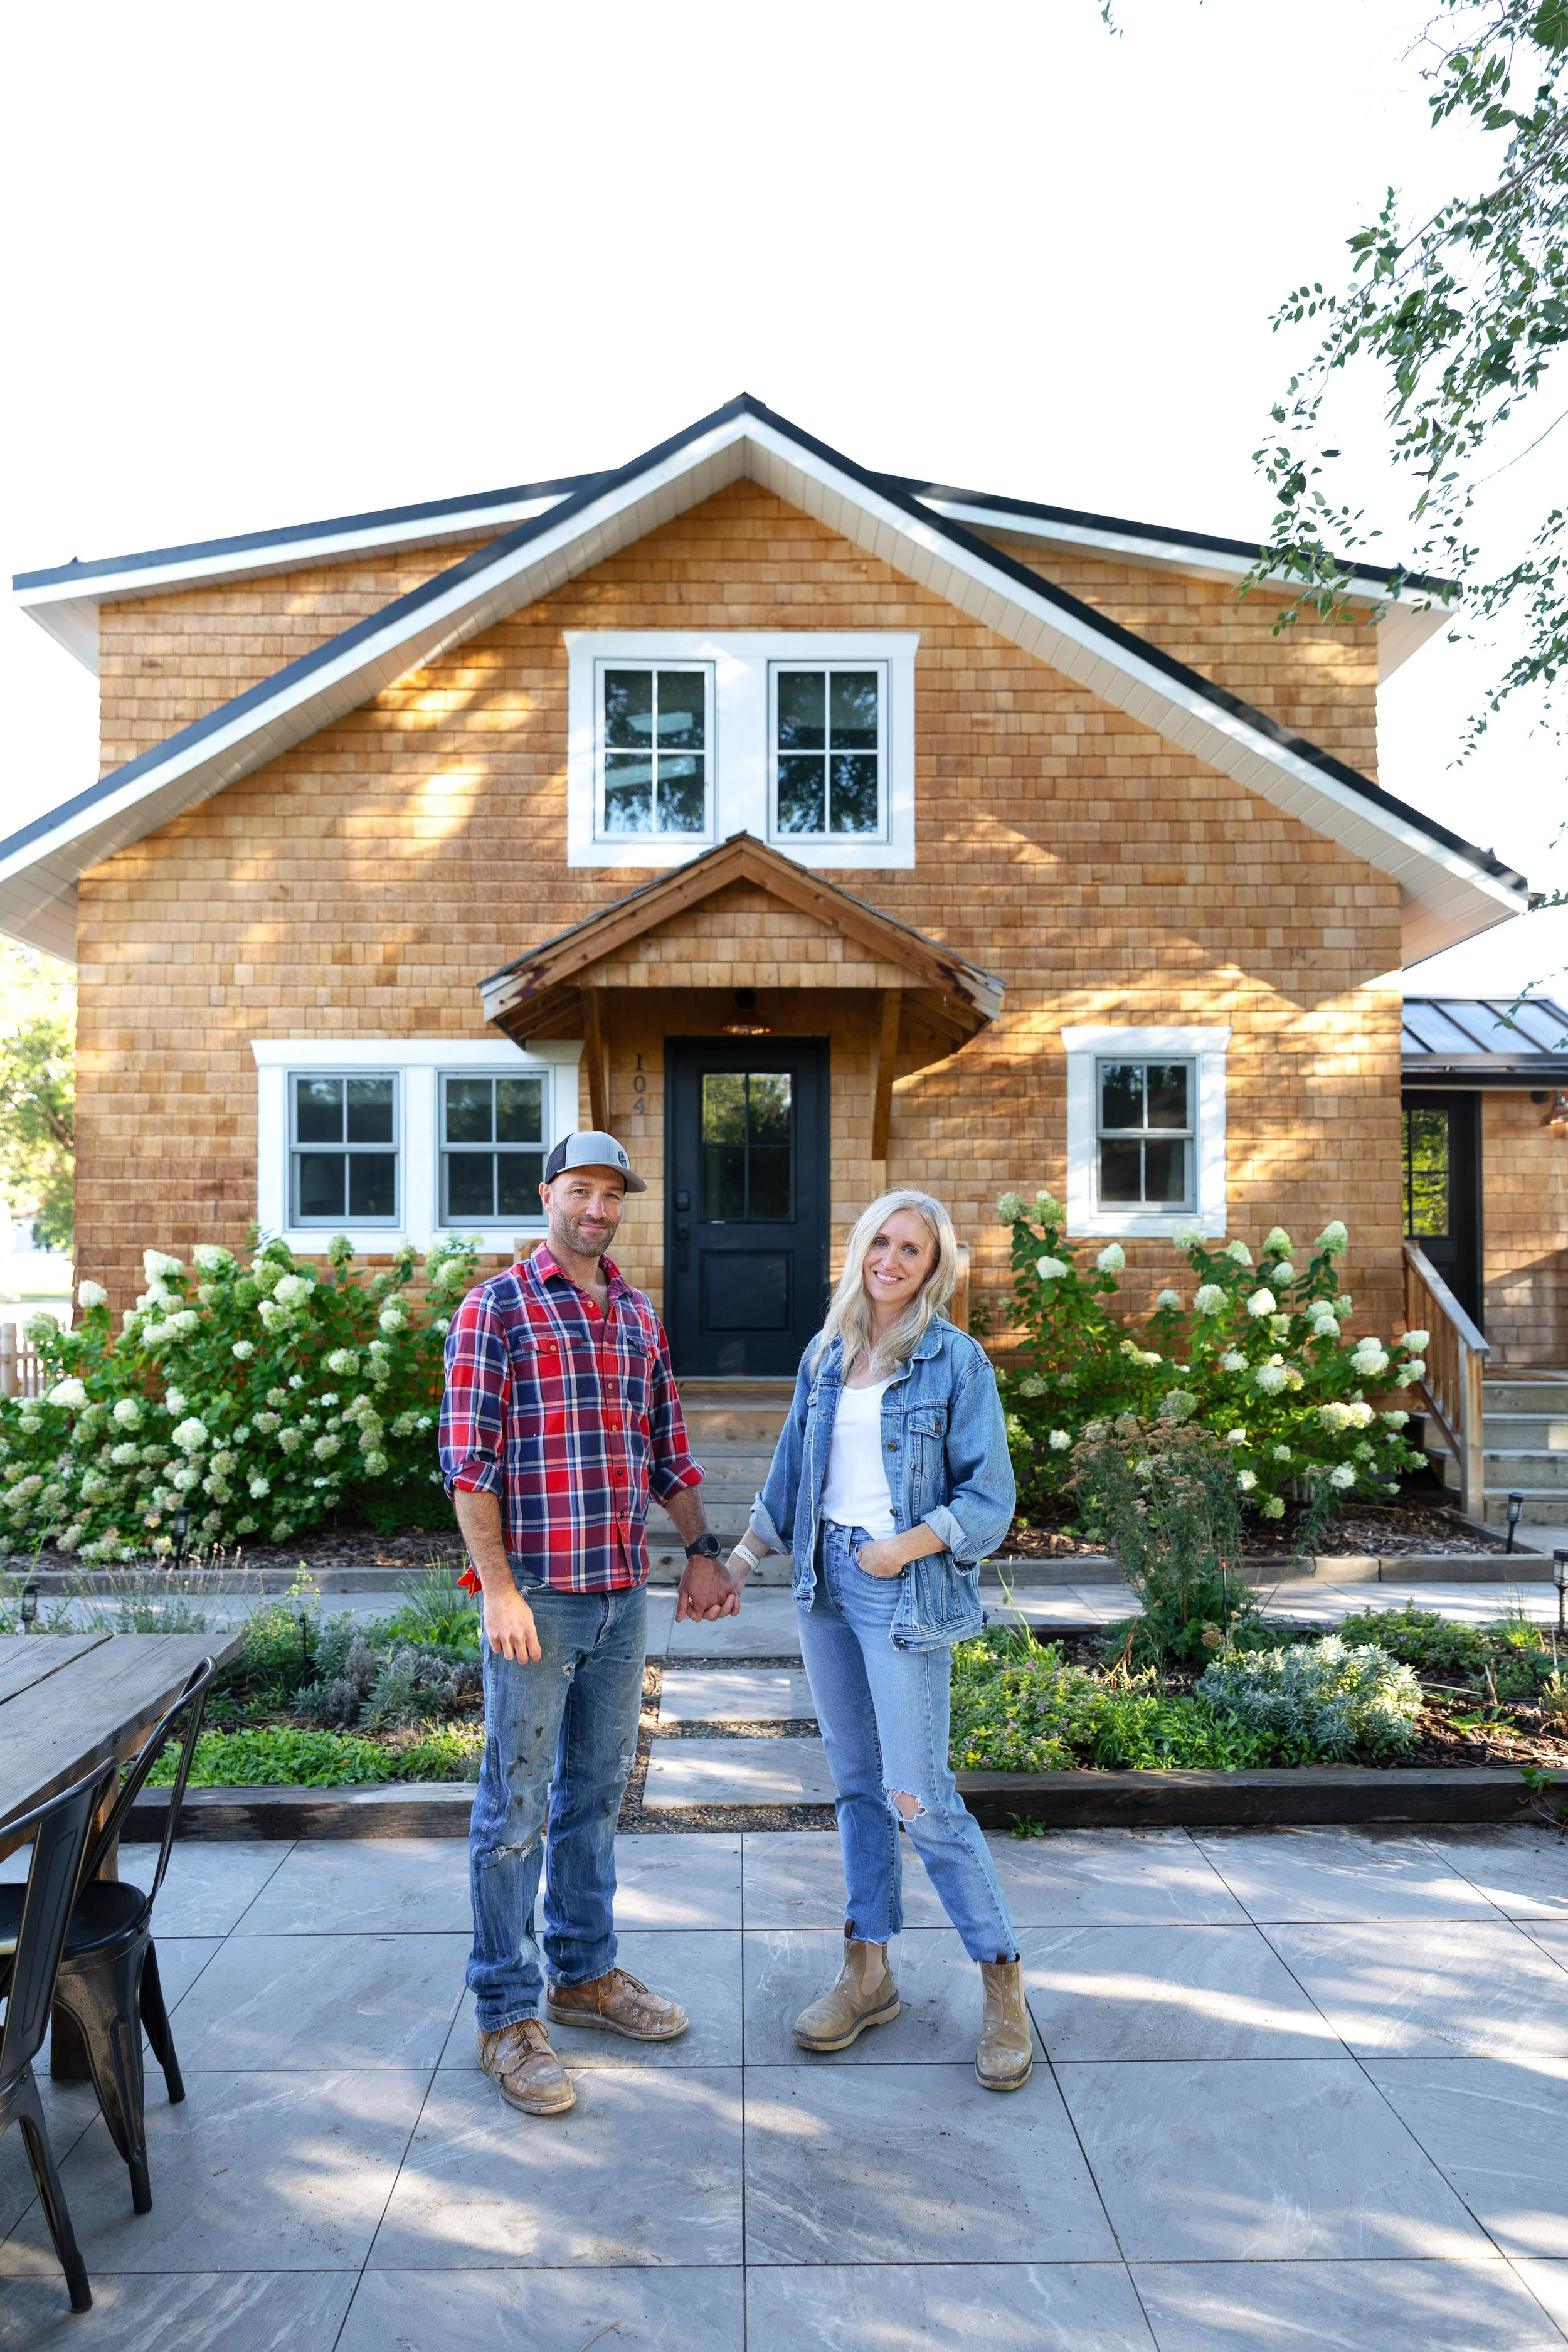
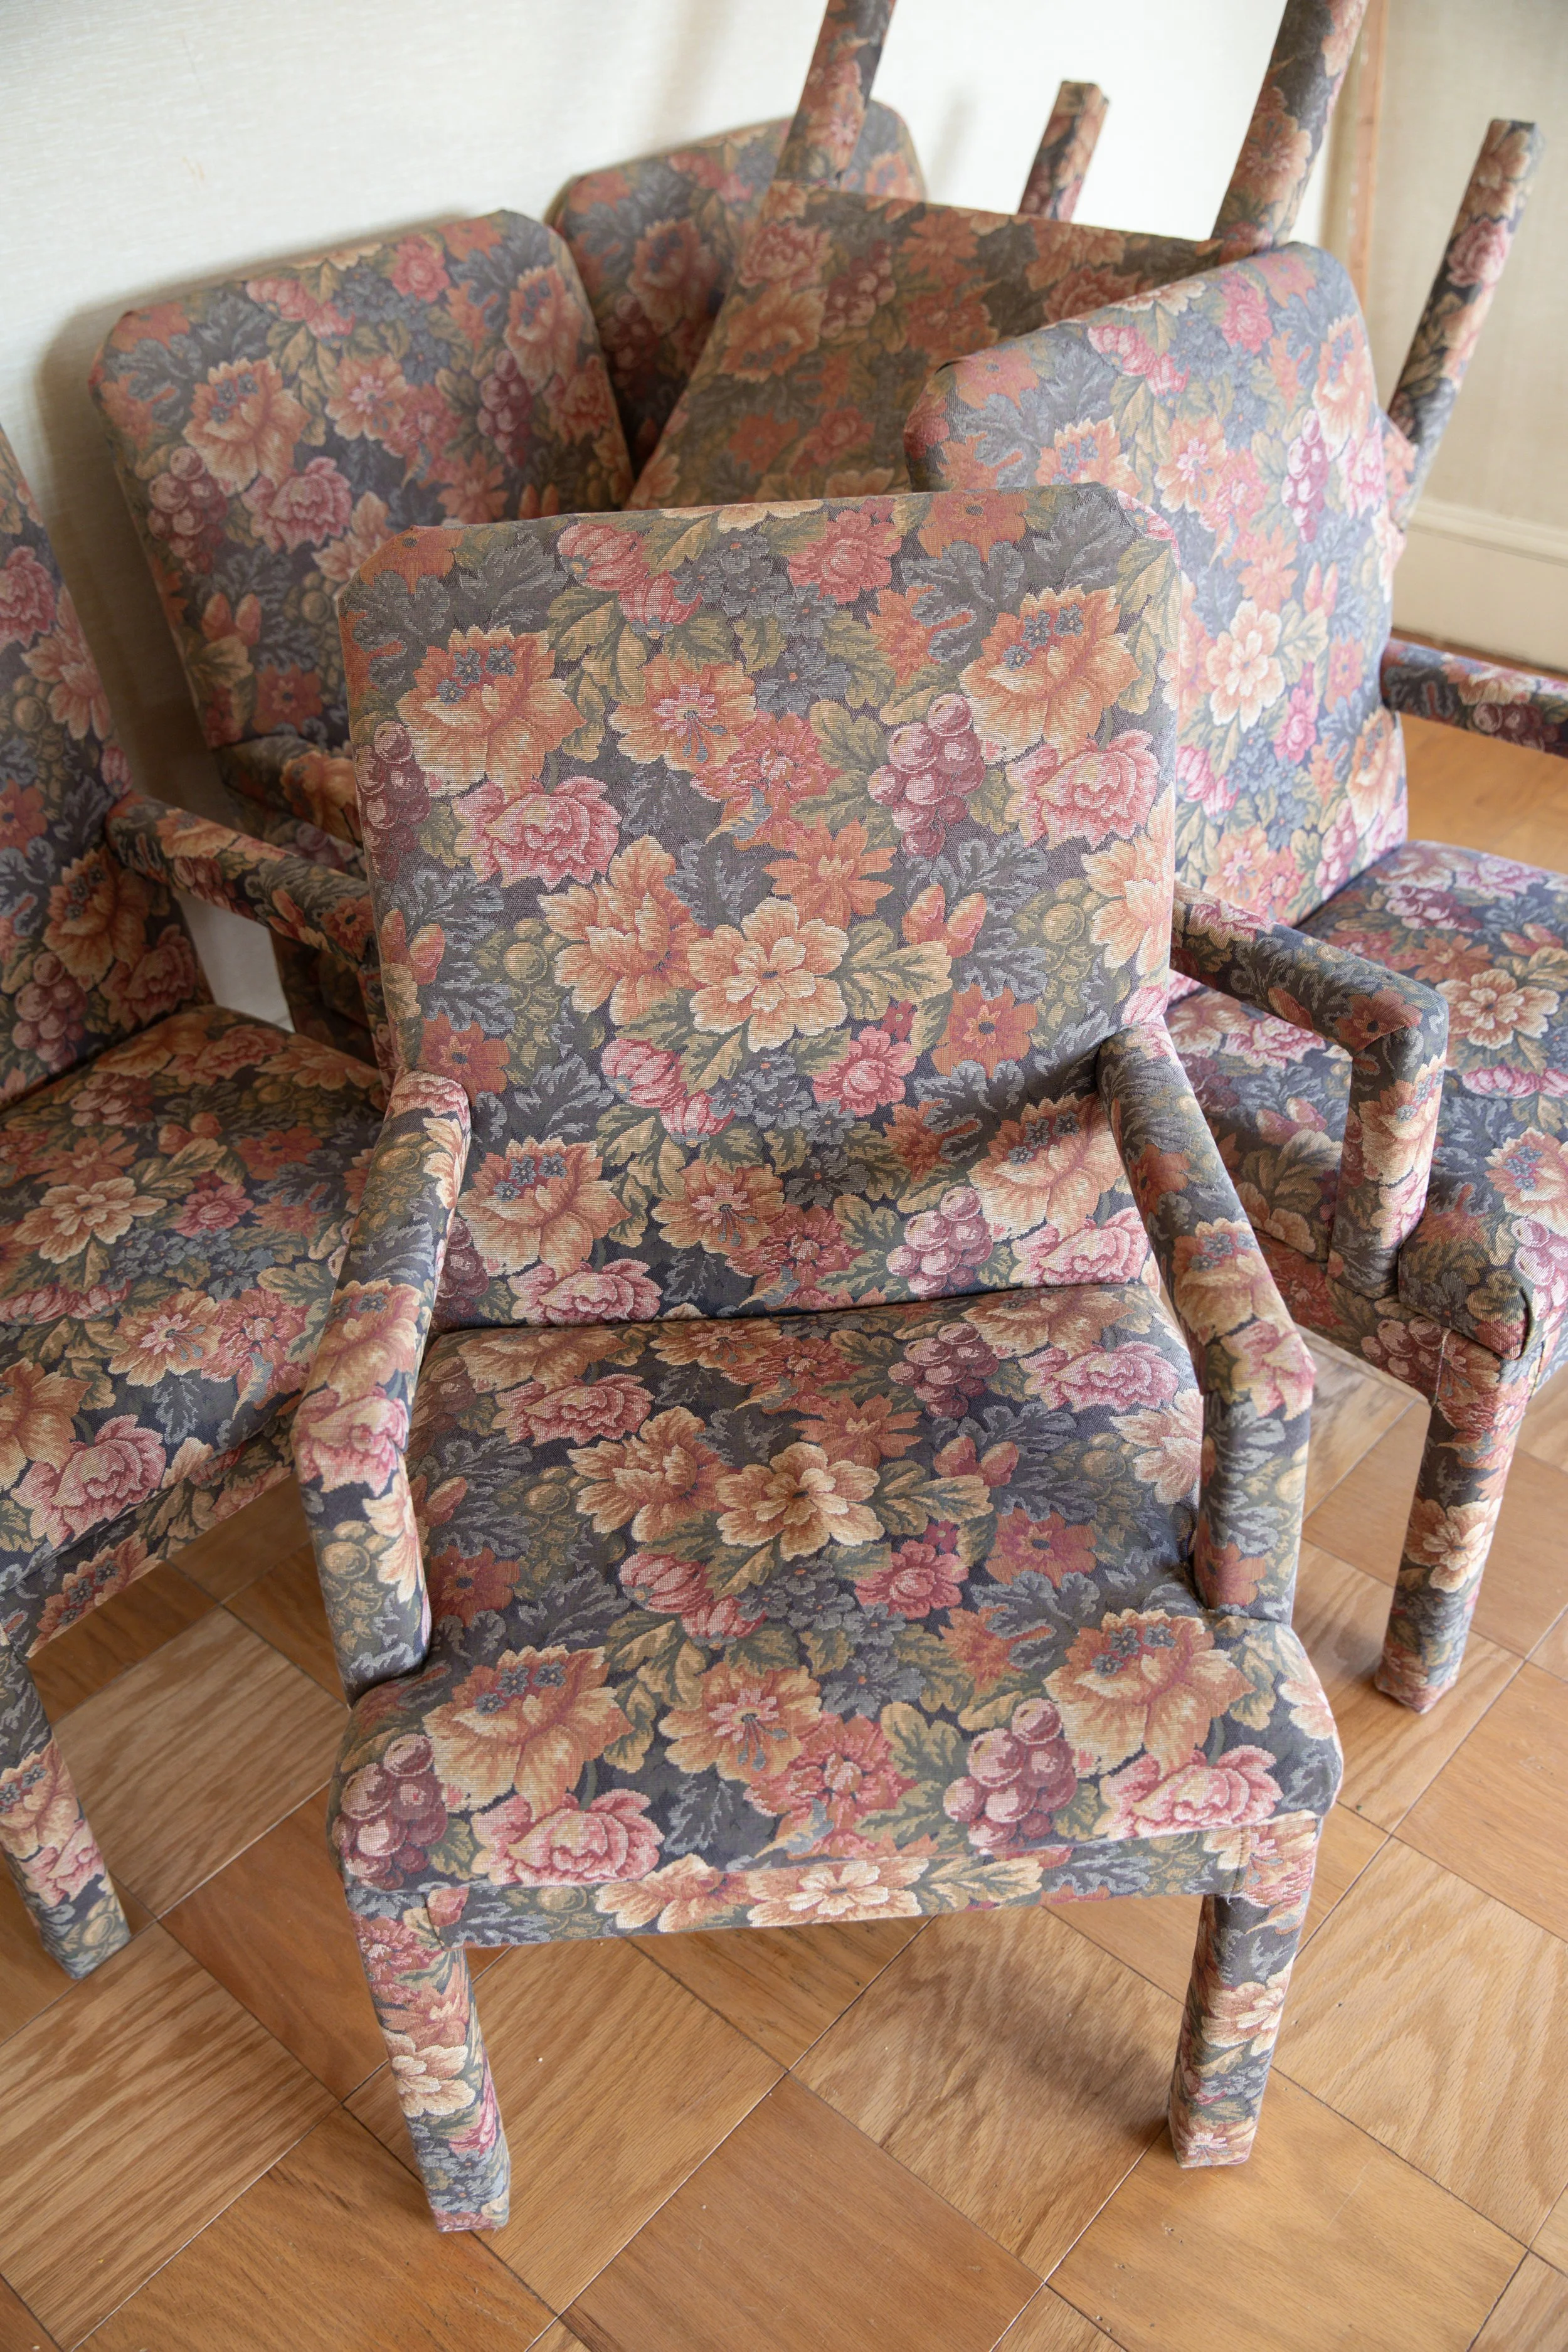
dining chairs, pavers, windows & doors, light over door
psst: I know you're going to ask… the cottage is rented (furnished!) through the winter and into spring, and we may open it up on Airbnb for the summer if we have the bandwidth. More on that at the end.
How We Got Here
Before we walk through the house, here's the quick version of how a "cosmetic" remodel turned into a five-year adventure. Every step has its own post if you want the details…
2019: We bought it as a rental, then quickly turned around and rented it for a year while we worked on the Farmhouse kitchen. City records say it was built in 1940, but I suspect part of it is older. (Welcome to the Poplar Cottage)
September 2020: Demo day for the "cosmetic" remodel (Ha!). (Kicking off the remodel)
October 2020: We landed on the "FINAL" floor plan. Spoiler: we decided to add a second story, add stairs, and change the bathroom door. (The floor plan)
Spring 2021: We lifted the house 8 feet in the air 🫣 Our house lifter Don has lifted over 1000 houses (!!!) and has never had a window break. None of ours did, either. (House lifting)
December 2021: A brand new concrete foundation was poured. The whole lift and foundation bill came in at a pretty reasonable number. (What it all cost)
Spring 2022: The roof came off and the new second story was framed in about a week. Seeing our house with no roof felt like a punch in the gut, but Garrett reminded me that sometimes it has to get worse before it gets better. (Framing a second story)
2023: A metal roof went on and the old siding came off. We spent a chunk of the year getting the Farmhouse ready to sell and then turned our attention back to the cottage in November. (Getting back to the Poplar Cottage)
2024: Floors refinished, staircase built, and cedar shakes going up (slowly). (Spring 2024 progress)
2025: We moved in, finished the siding, and FINALLY wrapped this house up. (The siding reveal and our 2025 recap)
This house was an adventure! And every step of the way we tried to do right by it, use materials that could last another 100 years, and go the extra mile. That kind of home takes time. At least that’s what I tell myself ;)
Okay, now the fun part! Let's walk through the finished house, starting at the curb…
The Outside: cedar shakes, a picket fence, hydrangeas, and a garden
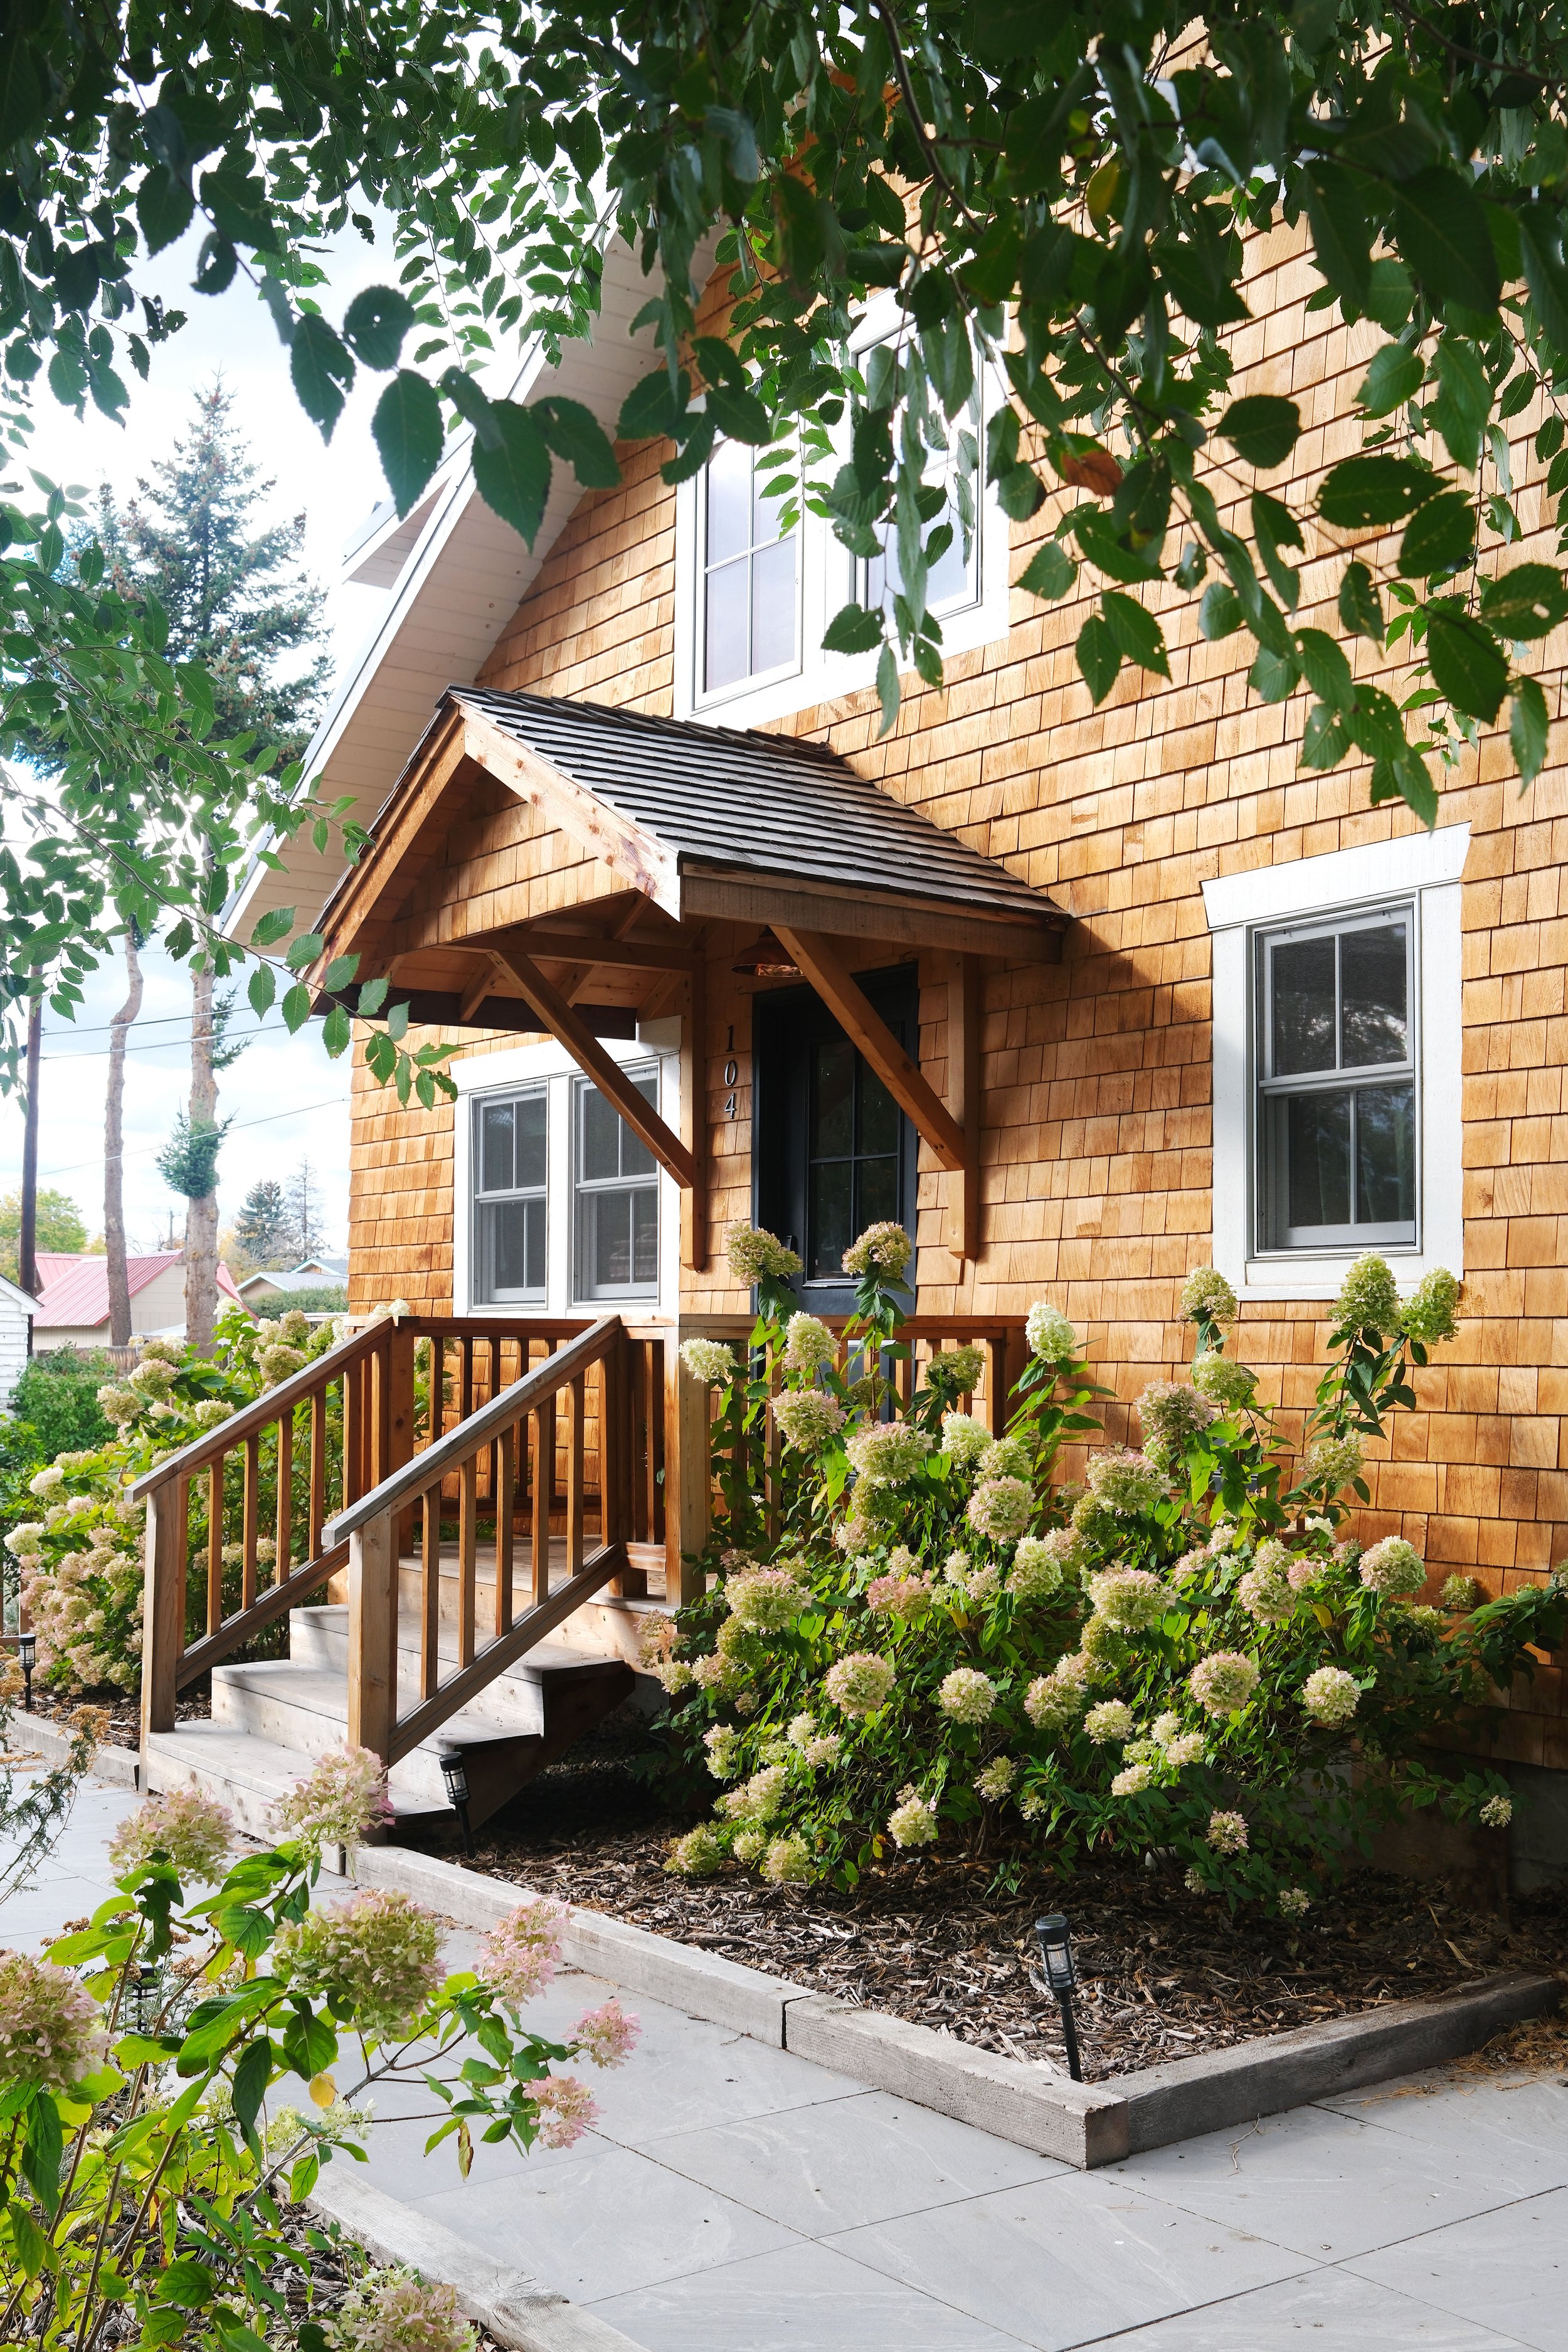
This is where the little house got its biggest glow-up. Poplar started as a one-story cottage with an unfinished attic, aluminum windows, and painted siding in rough condition. Now it's a two-story cedar shake cottage with wood-clad windows, a black front door, and a new roofline. She’s a cutie!
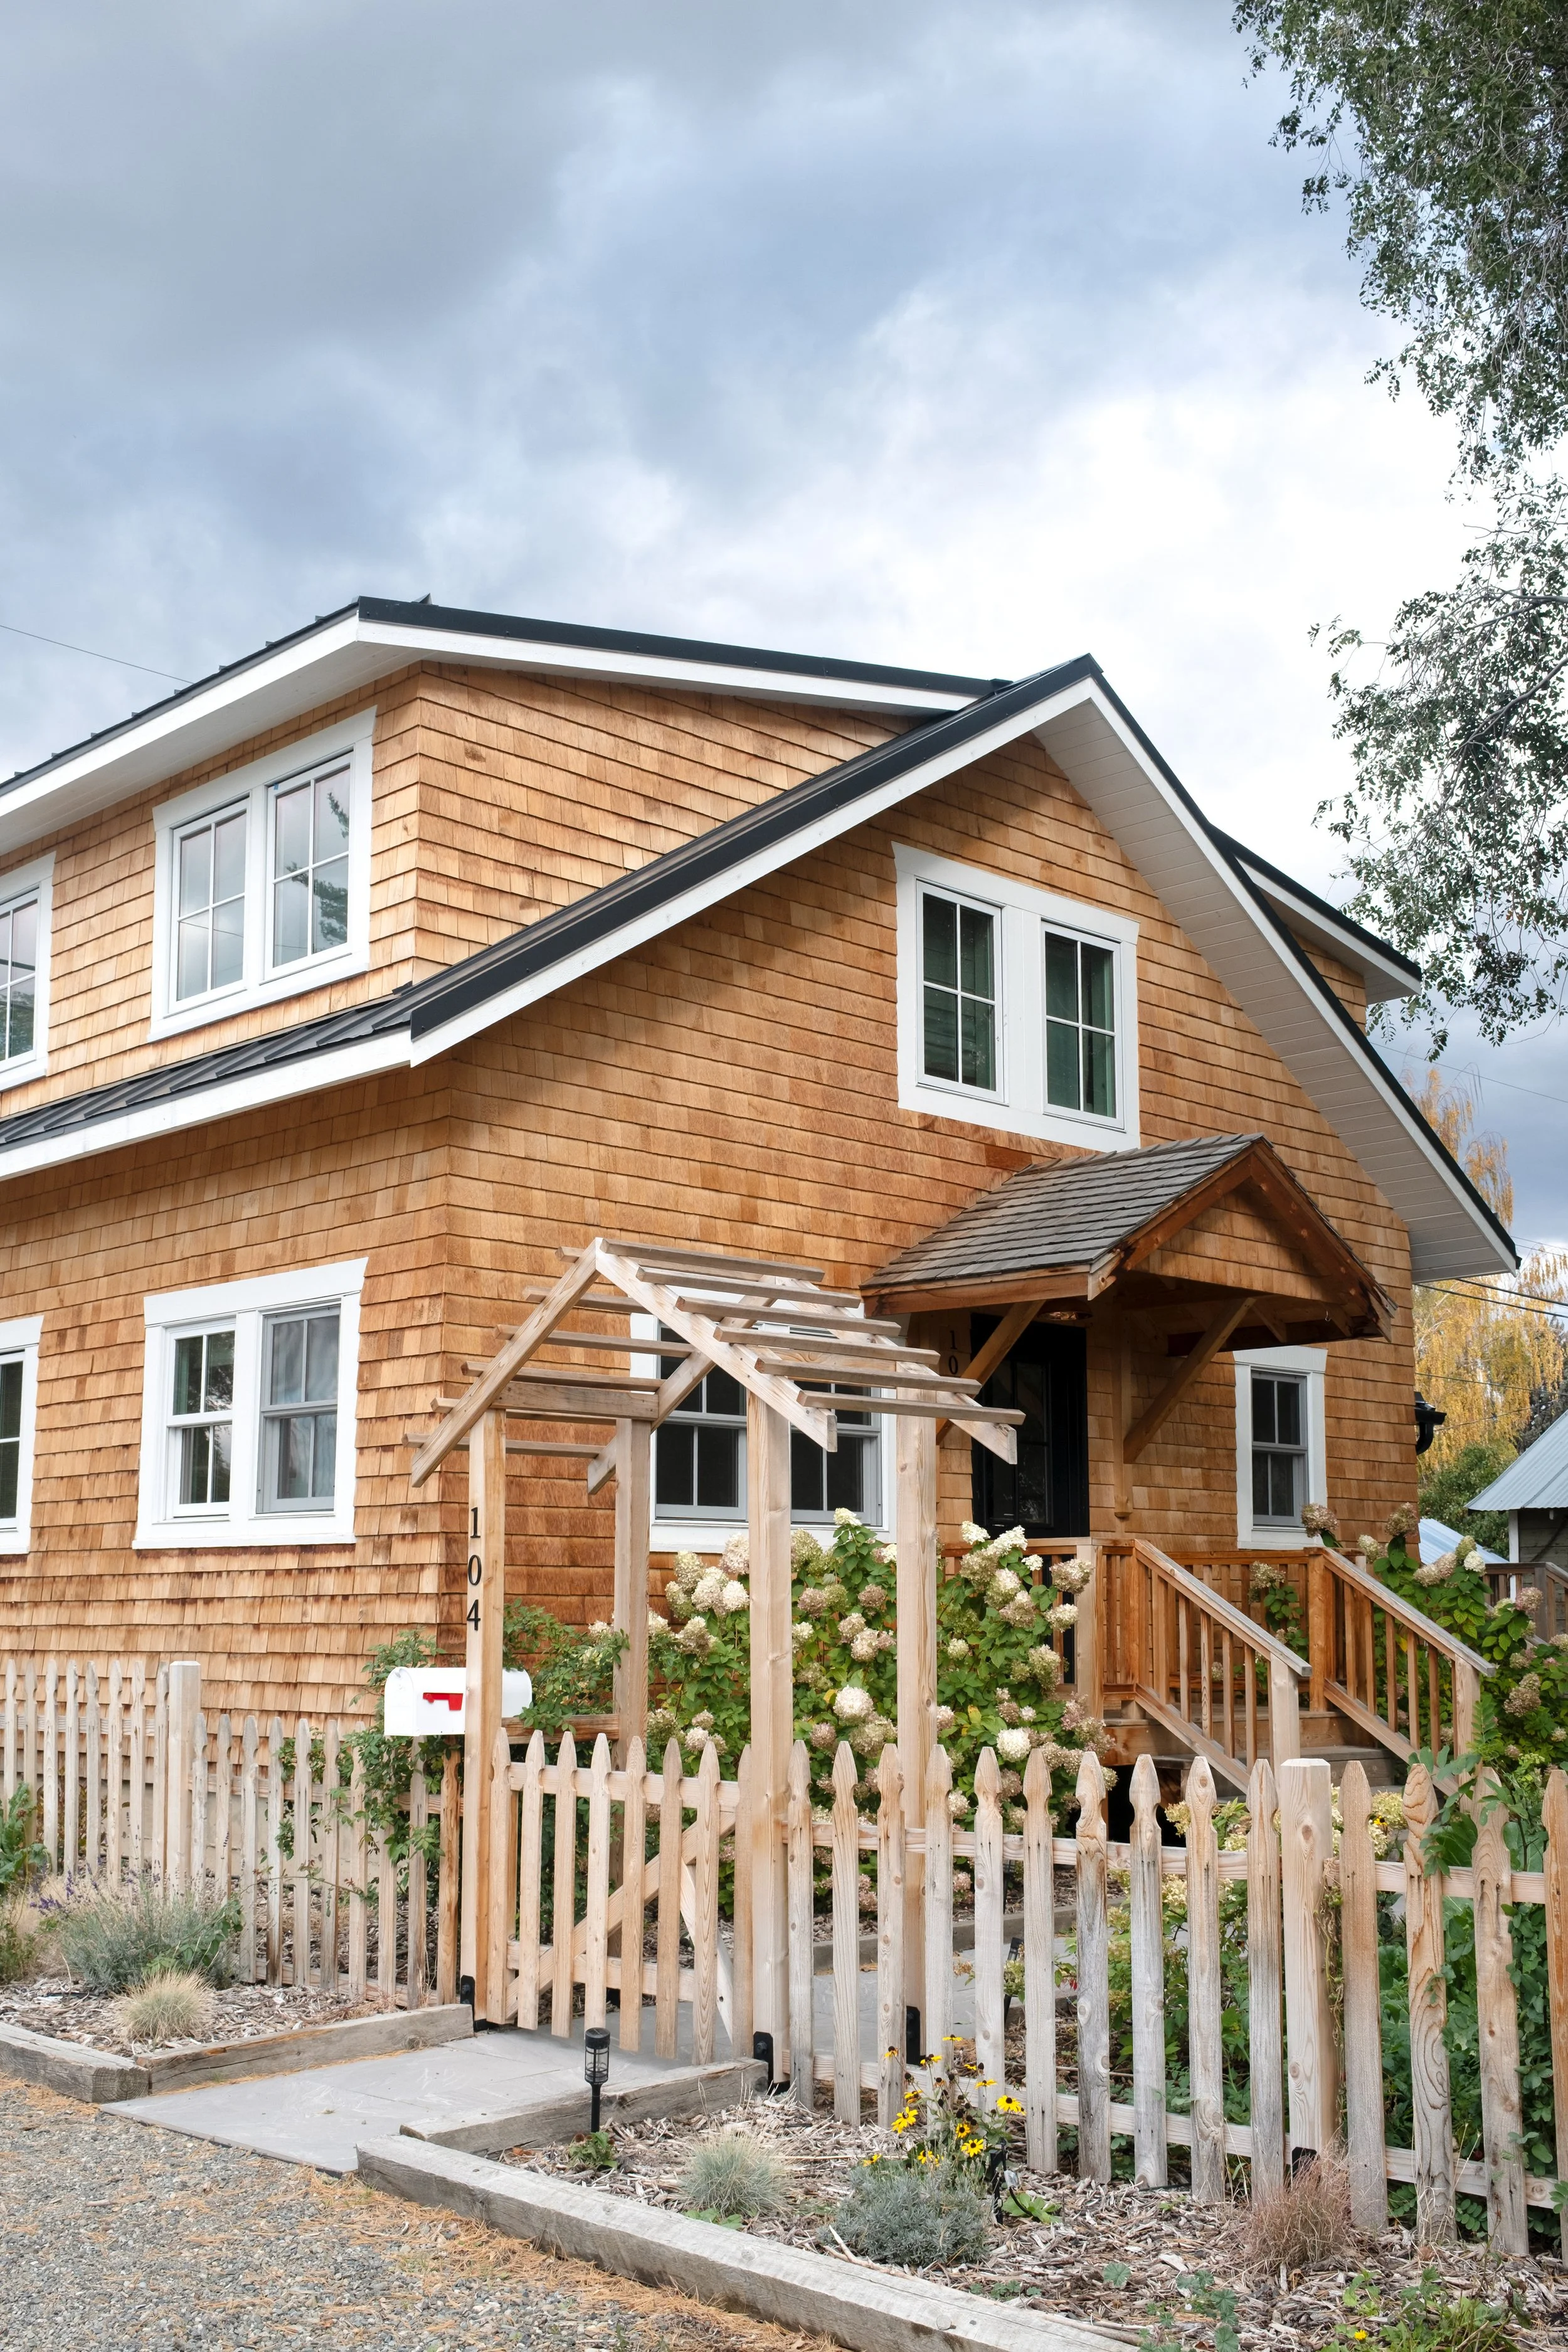
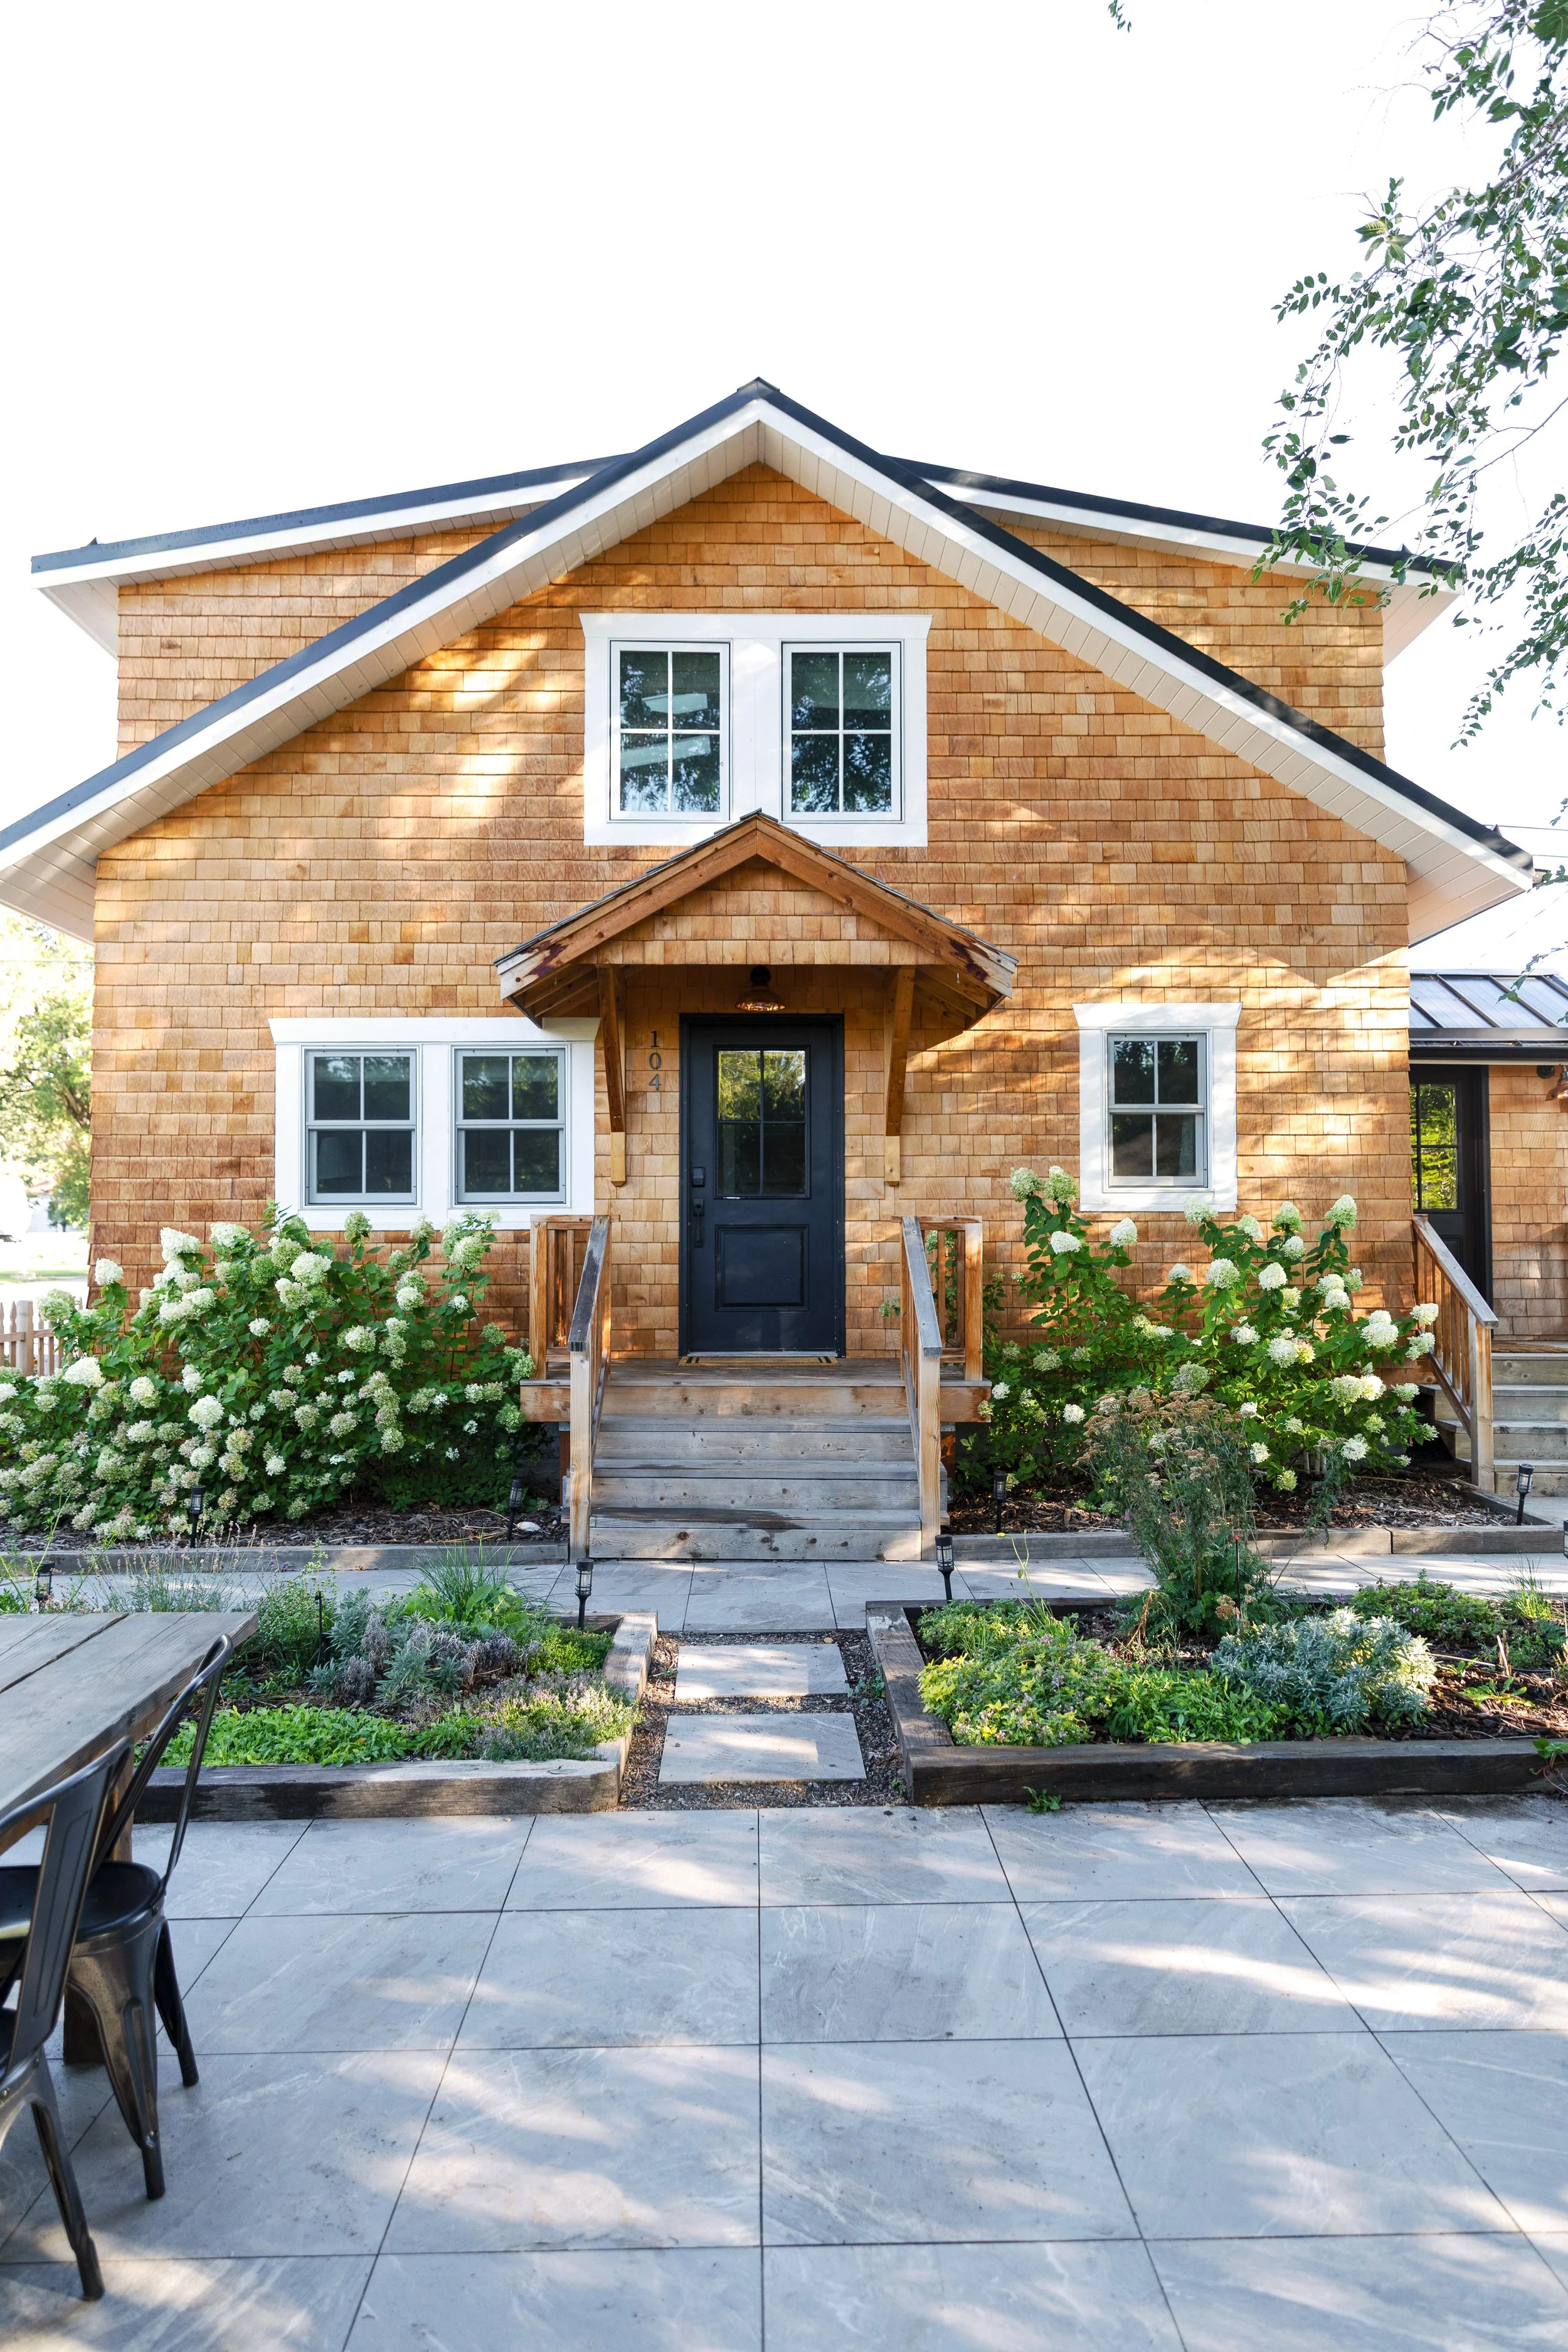
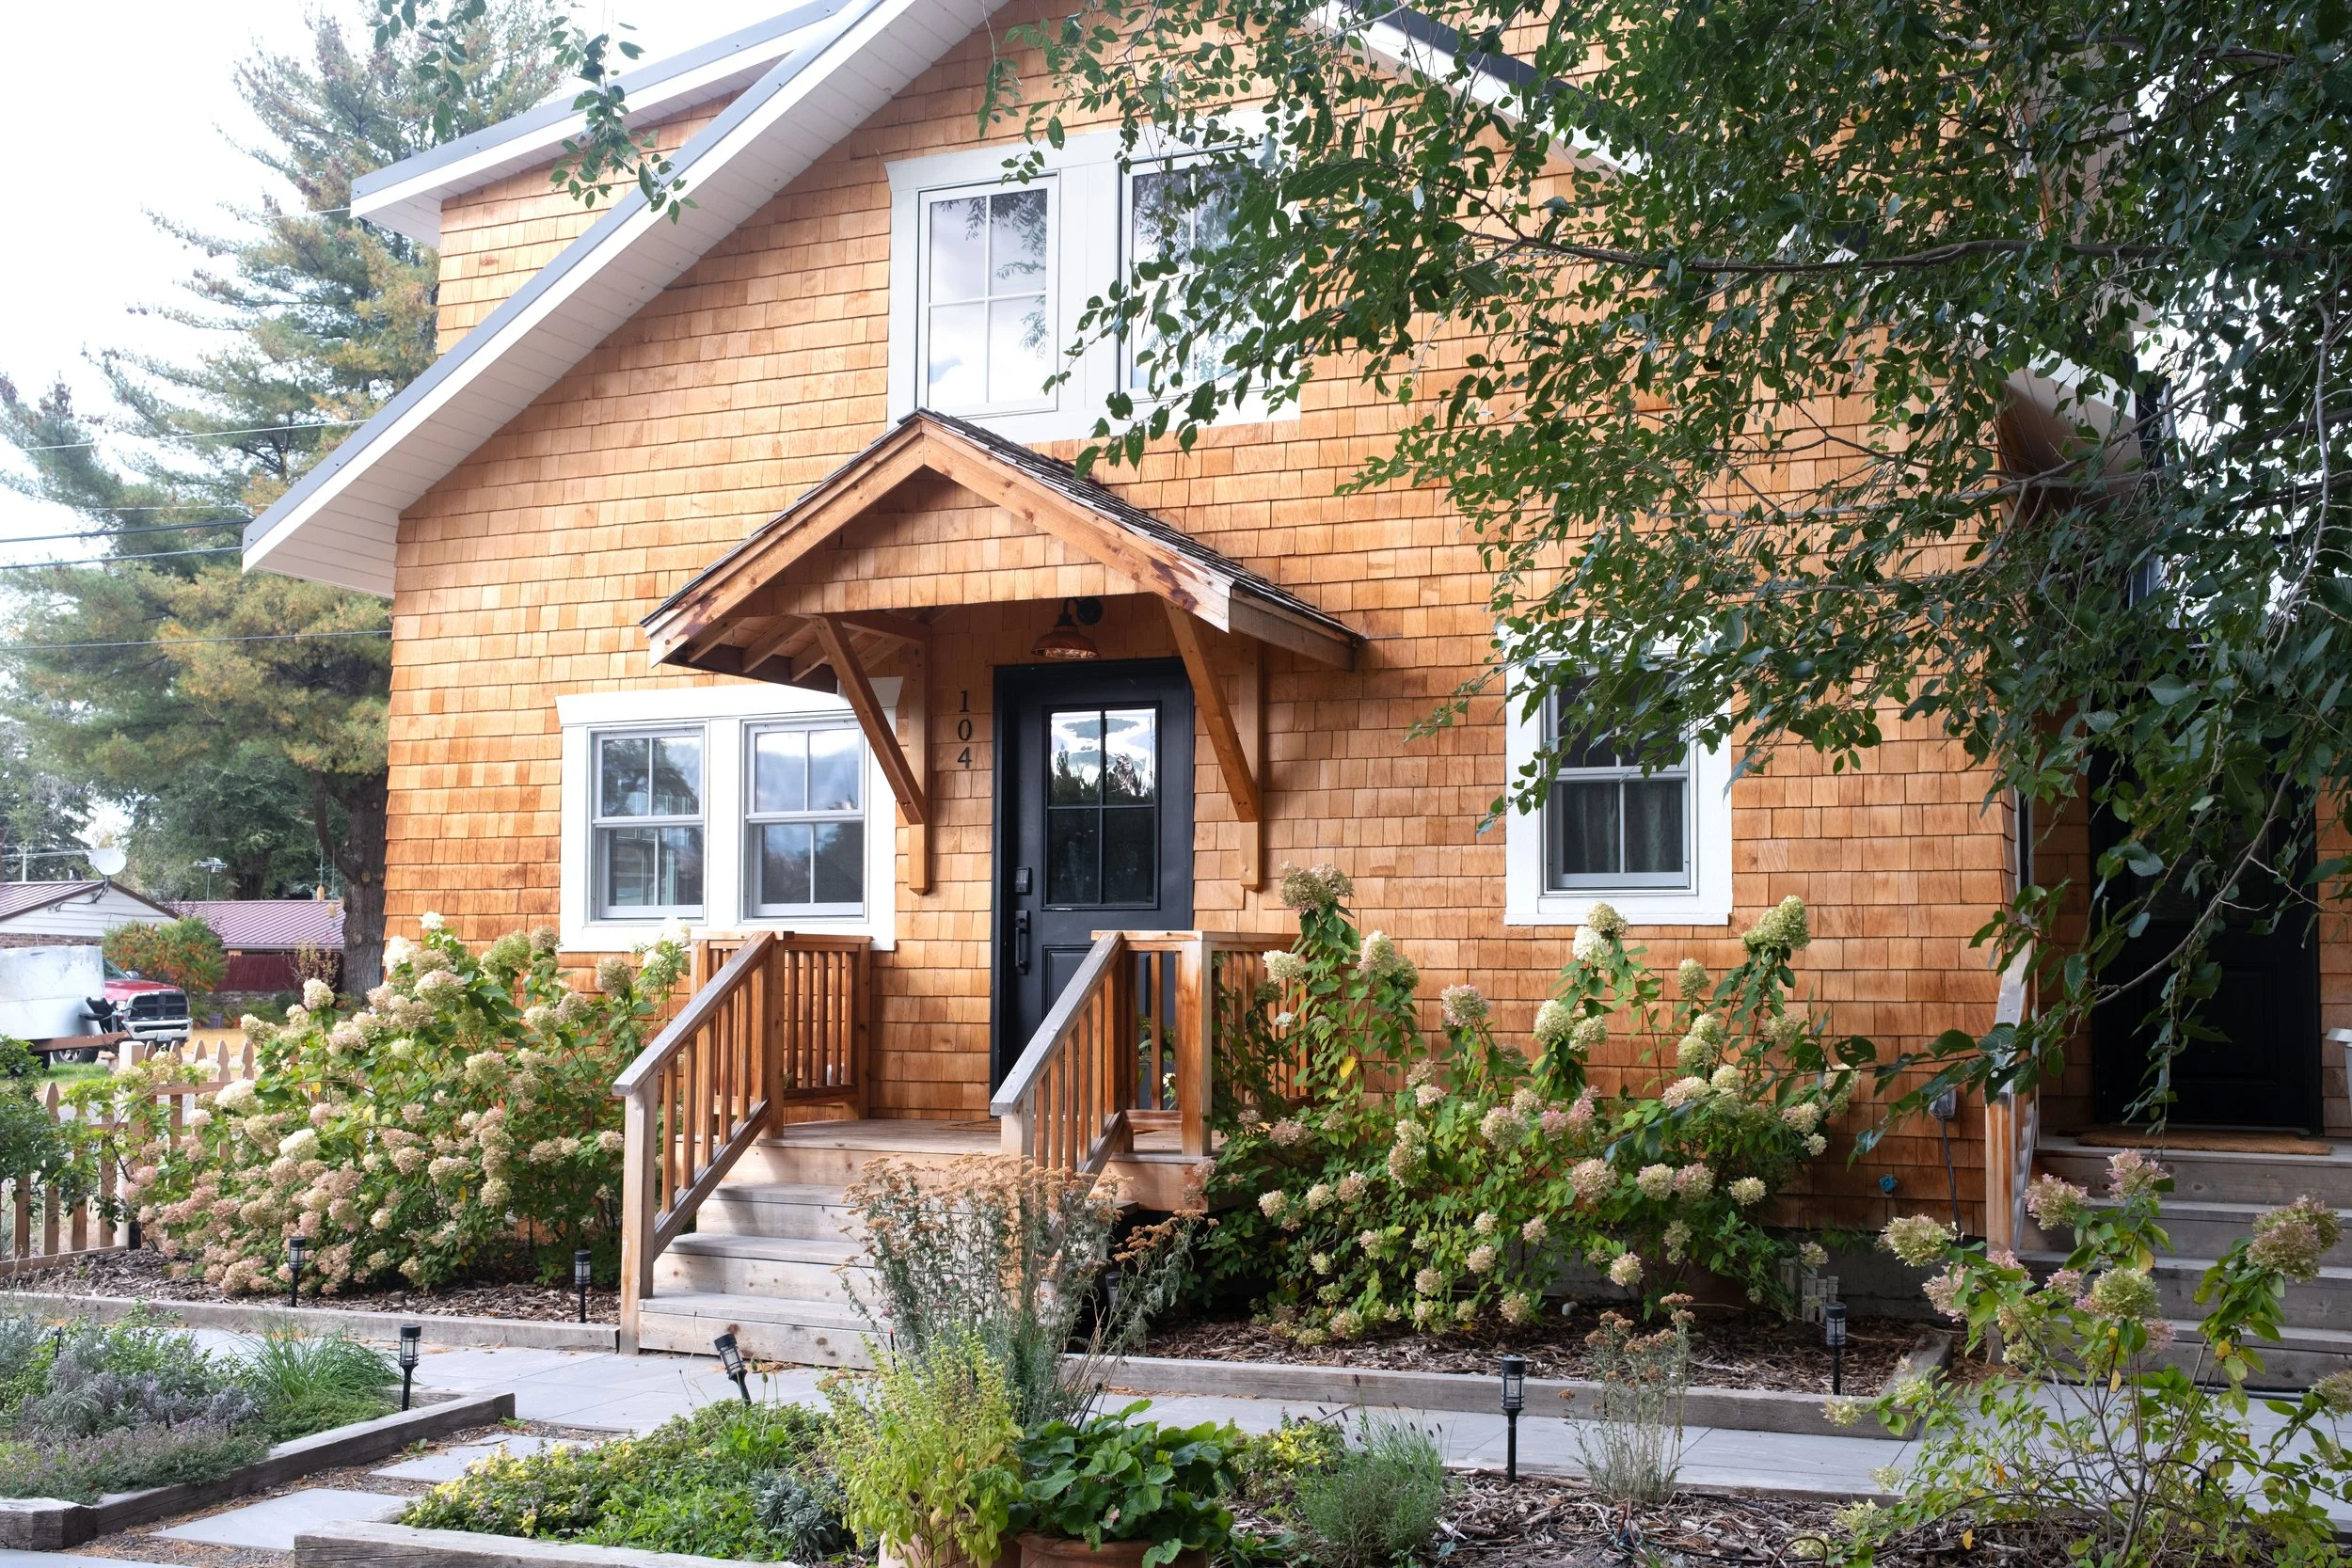
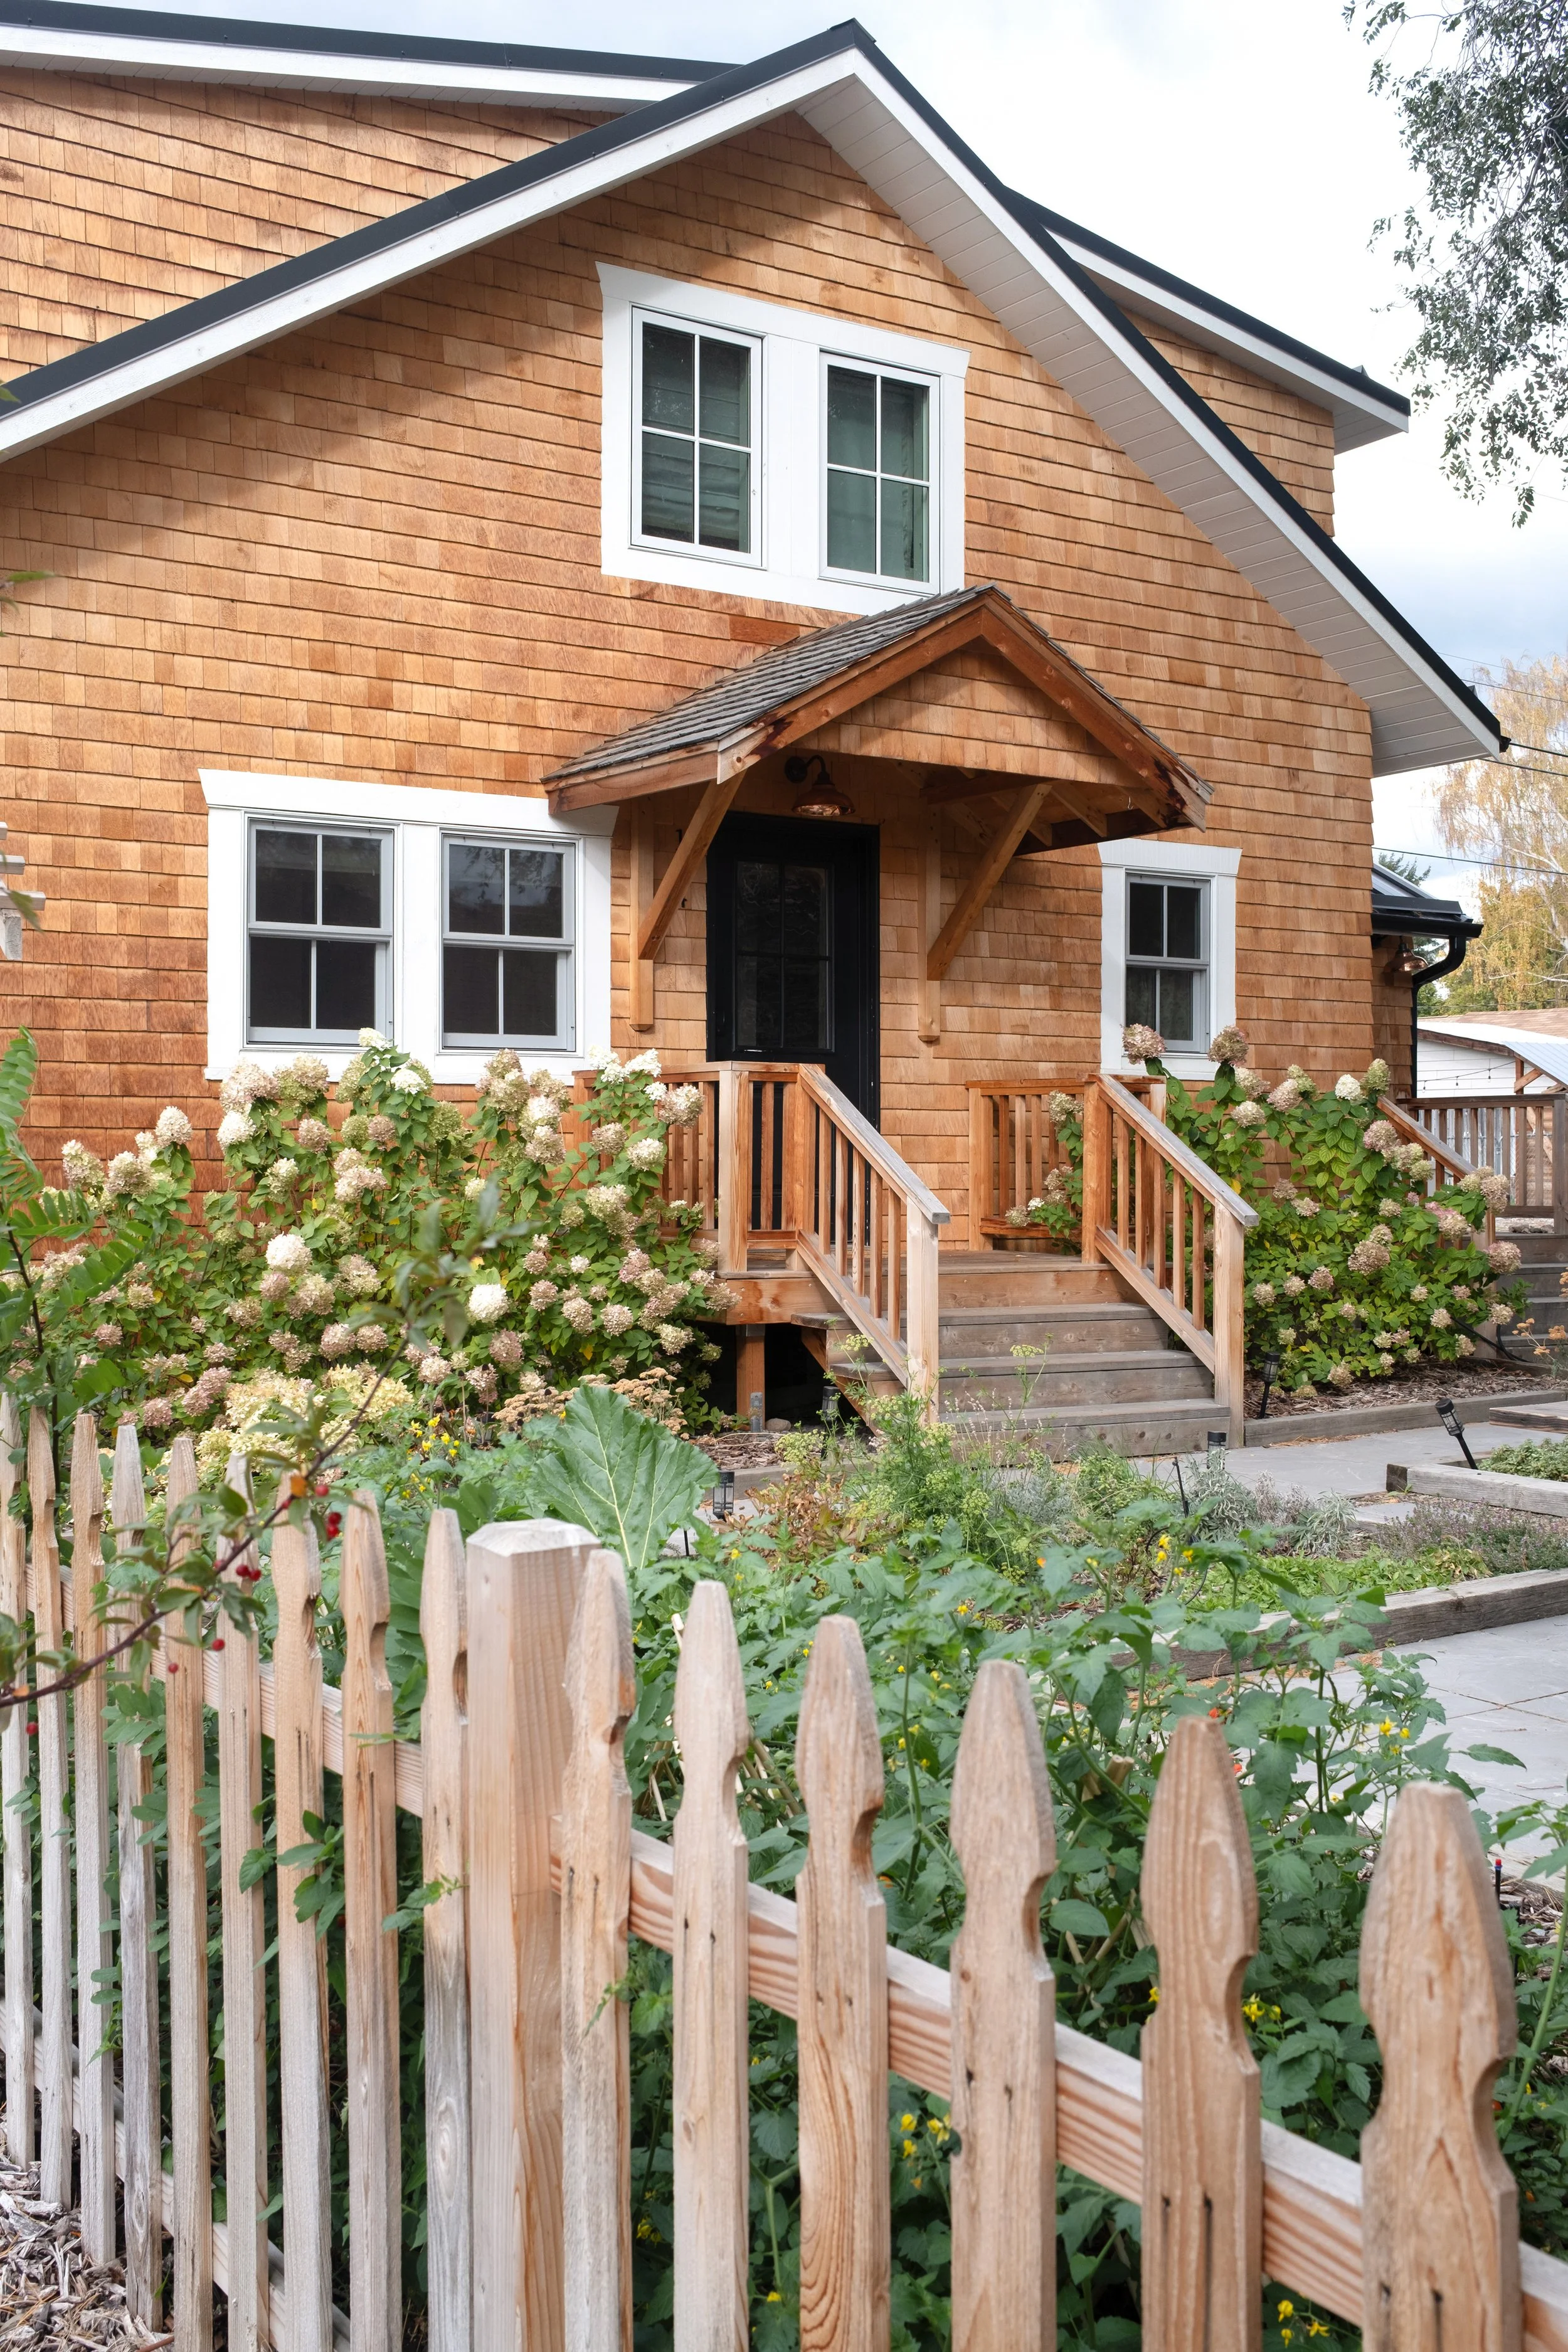
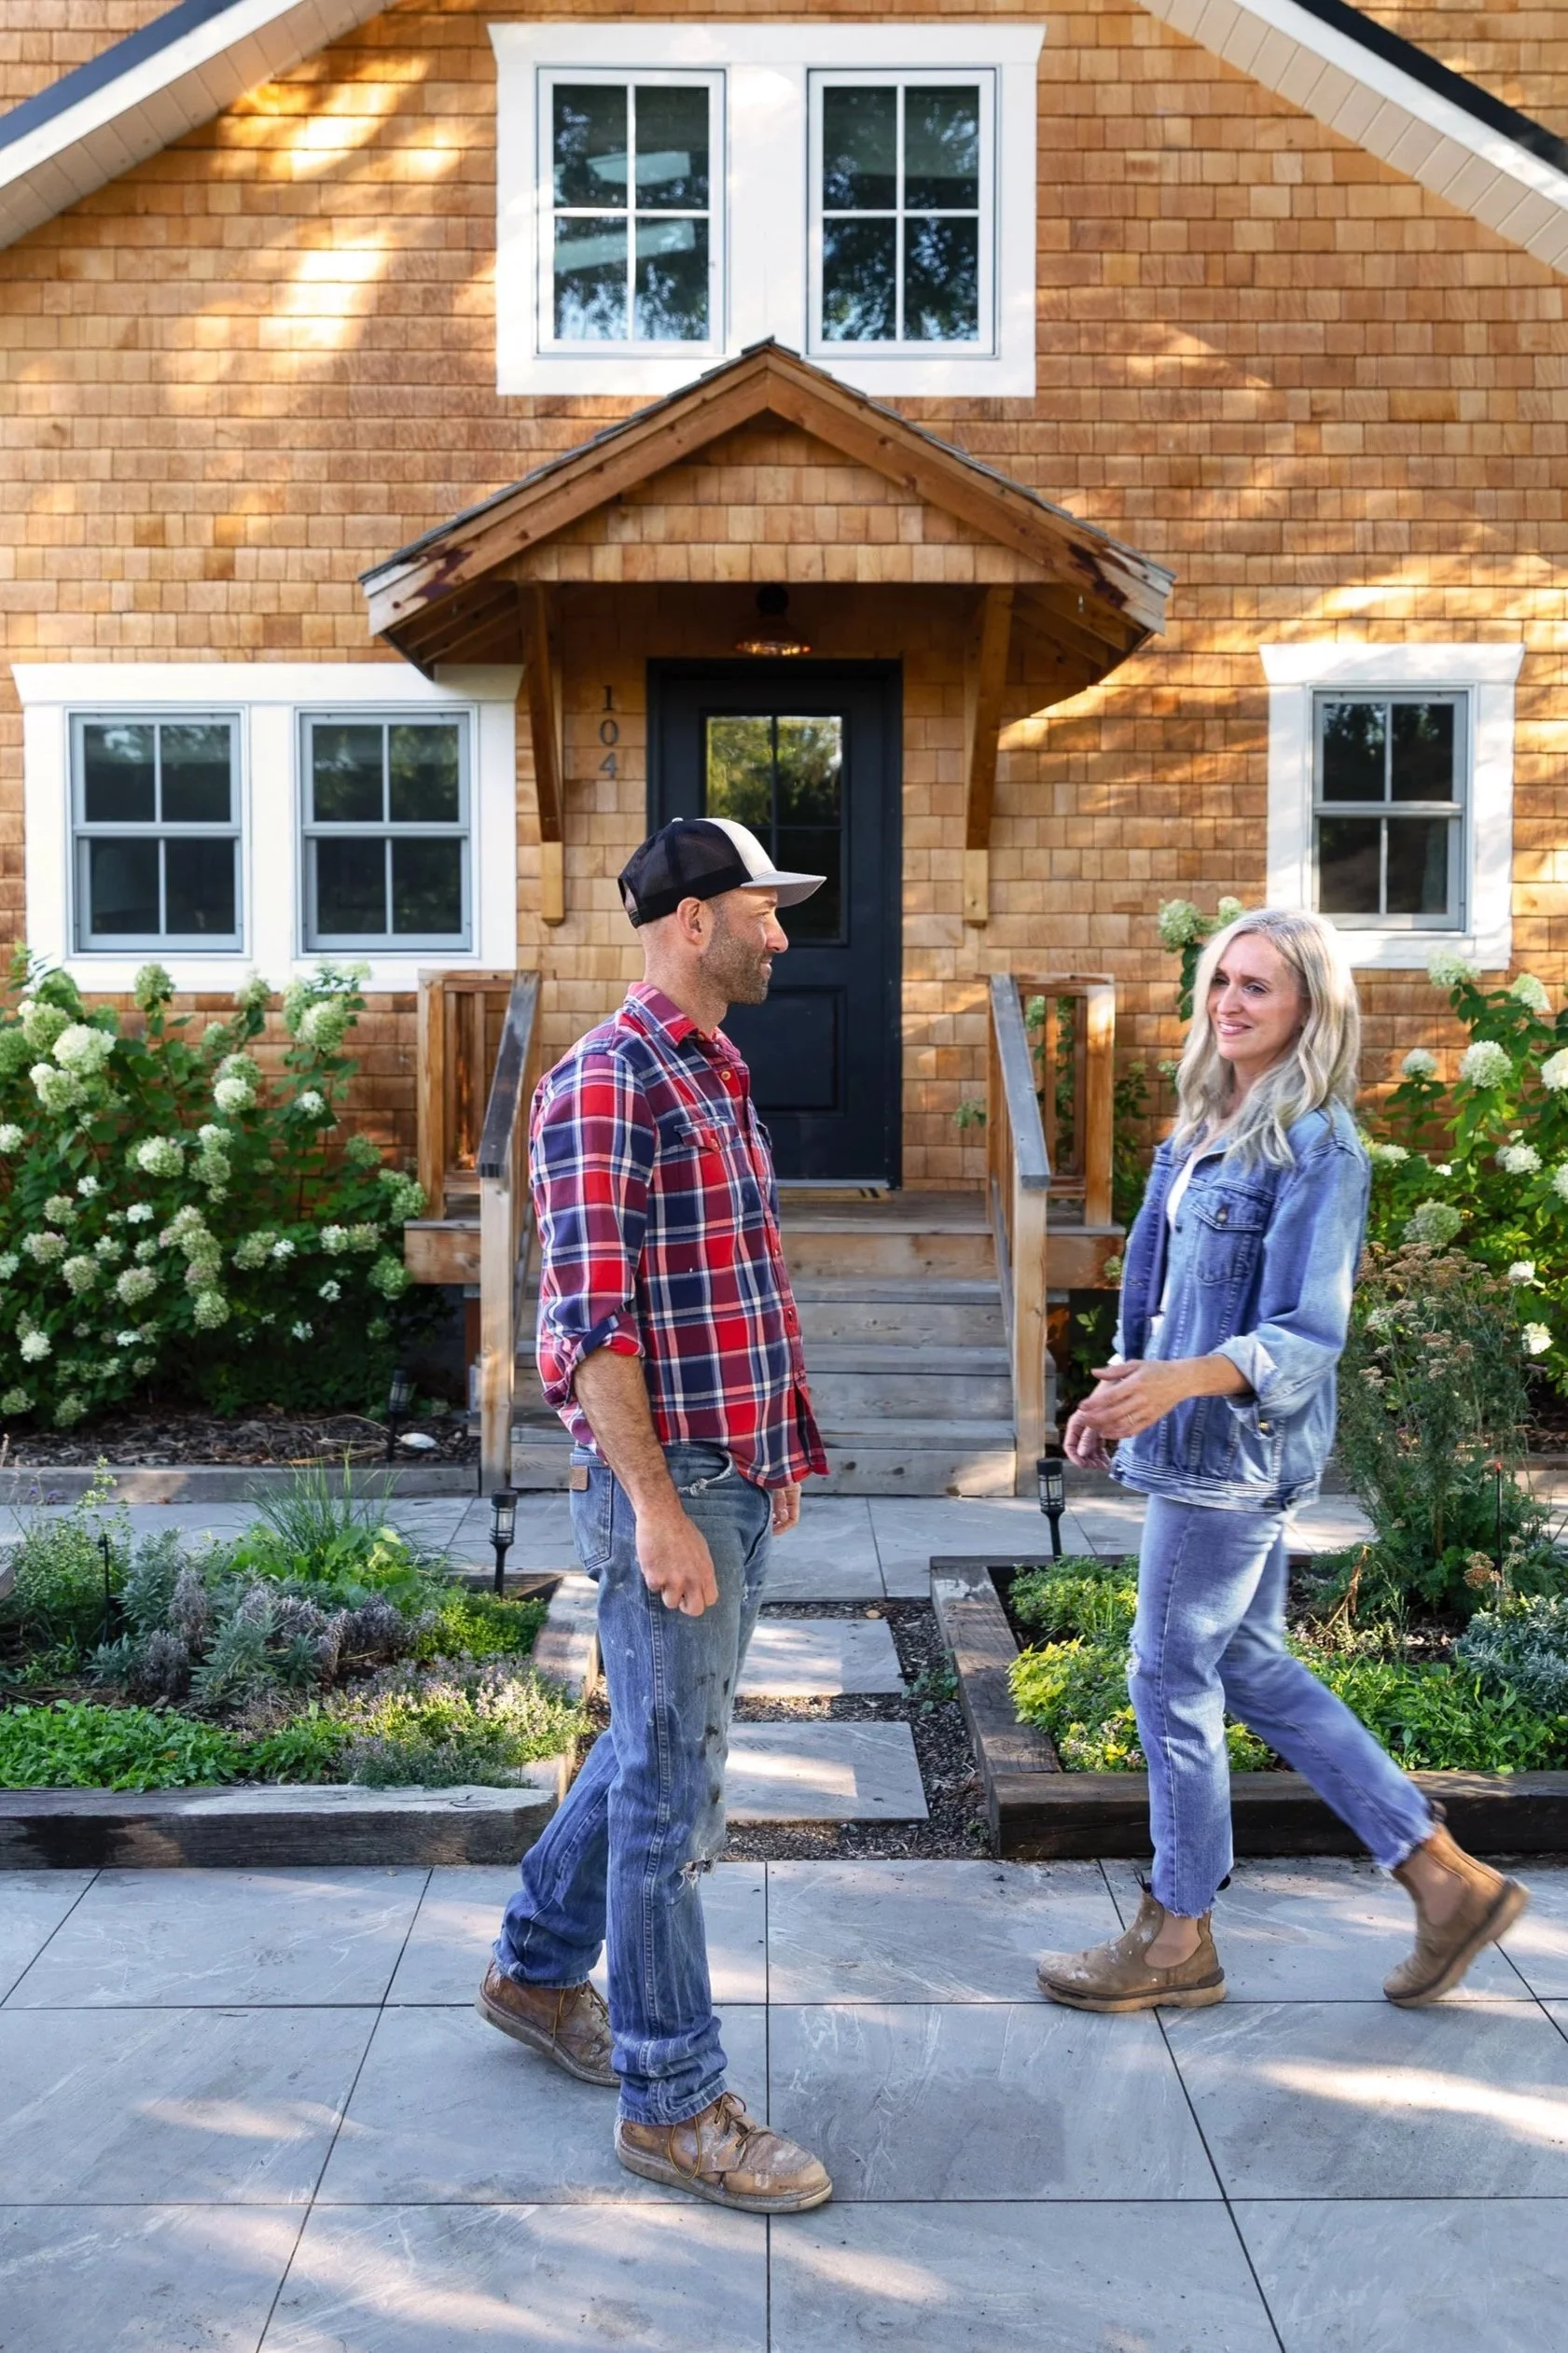
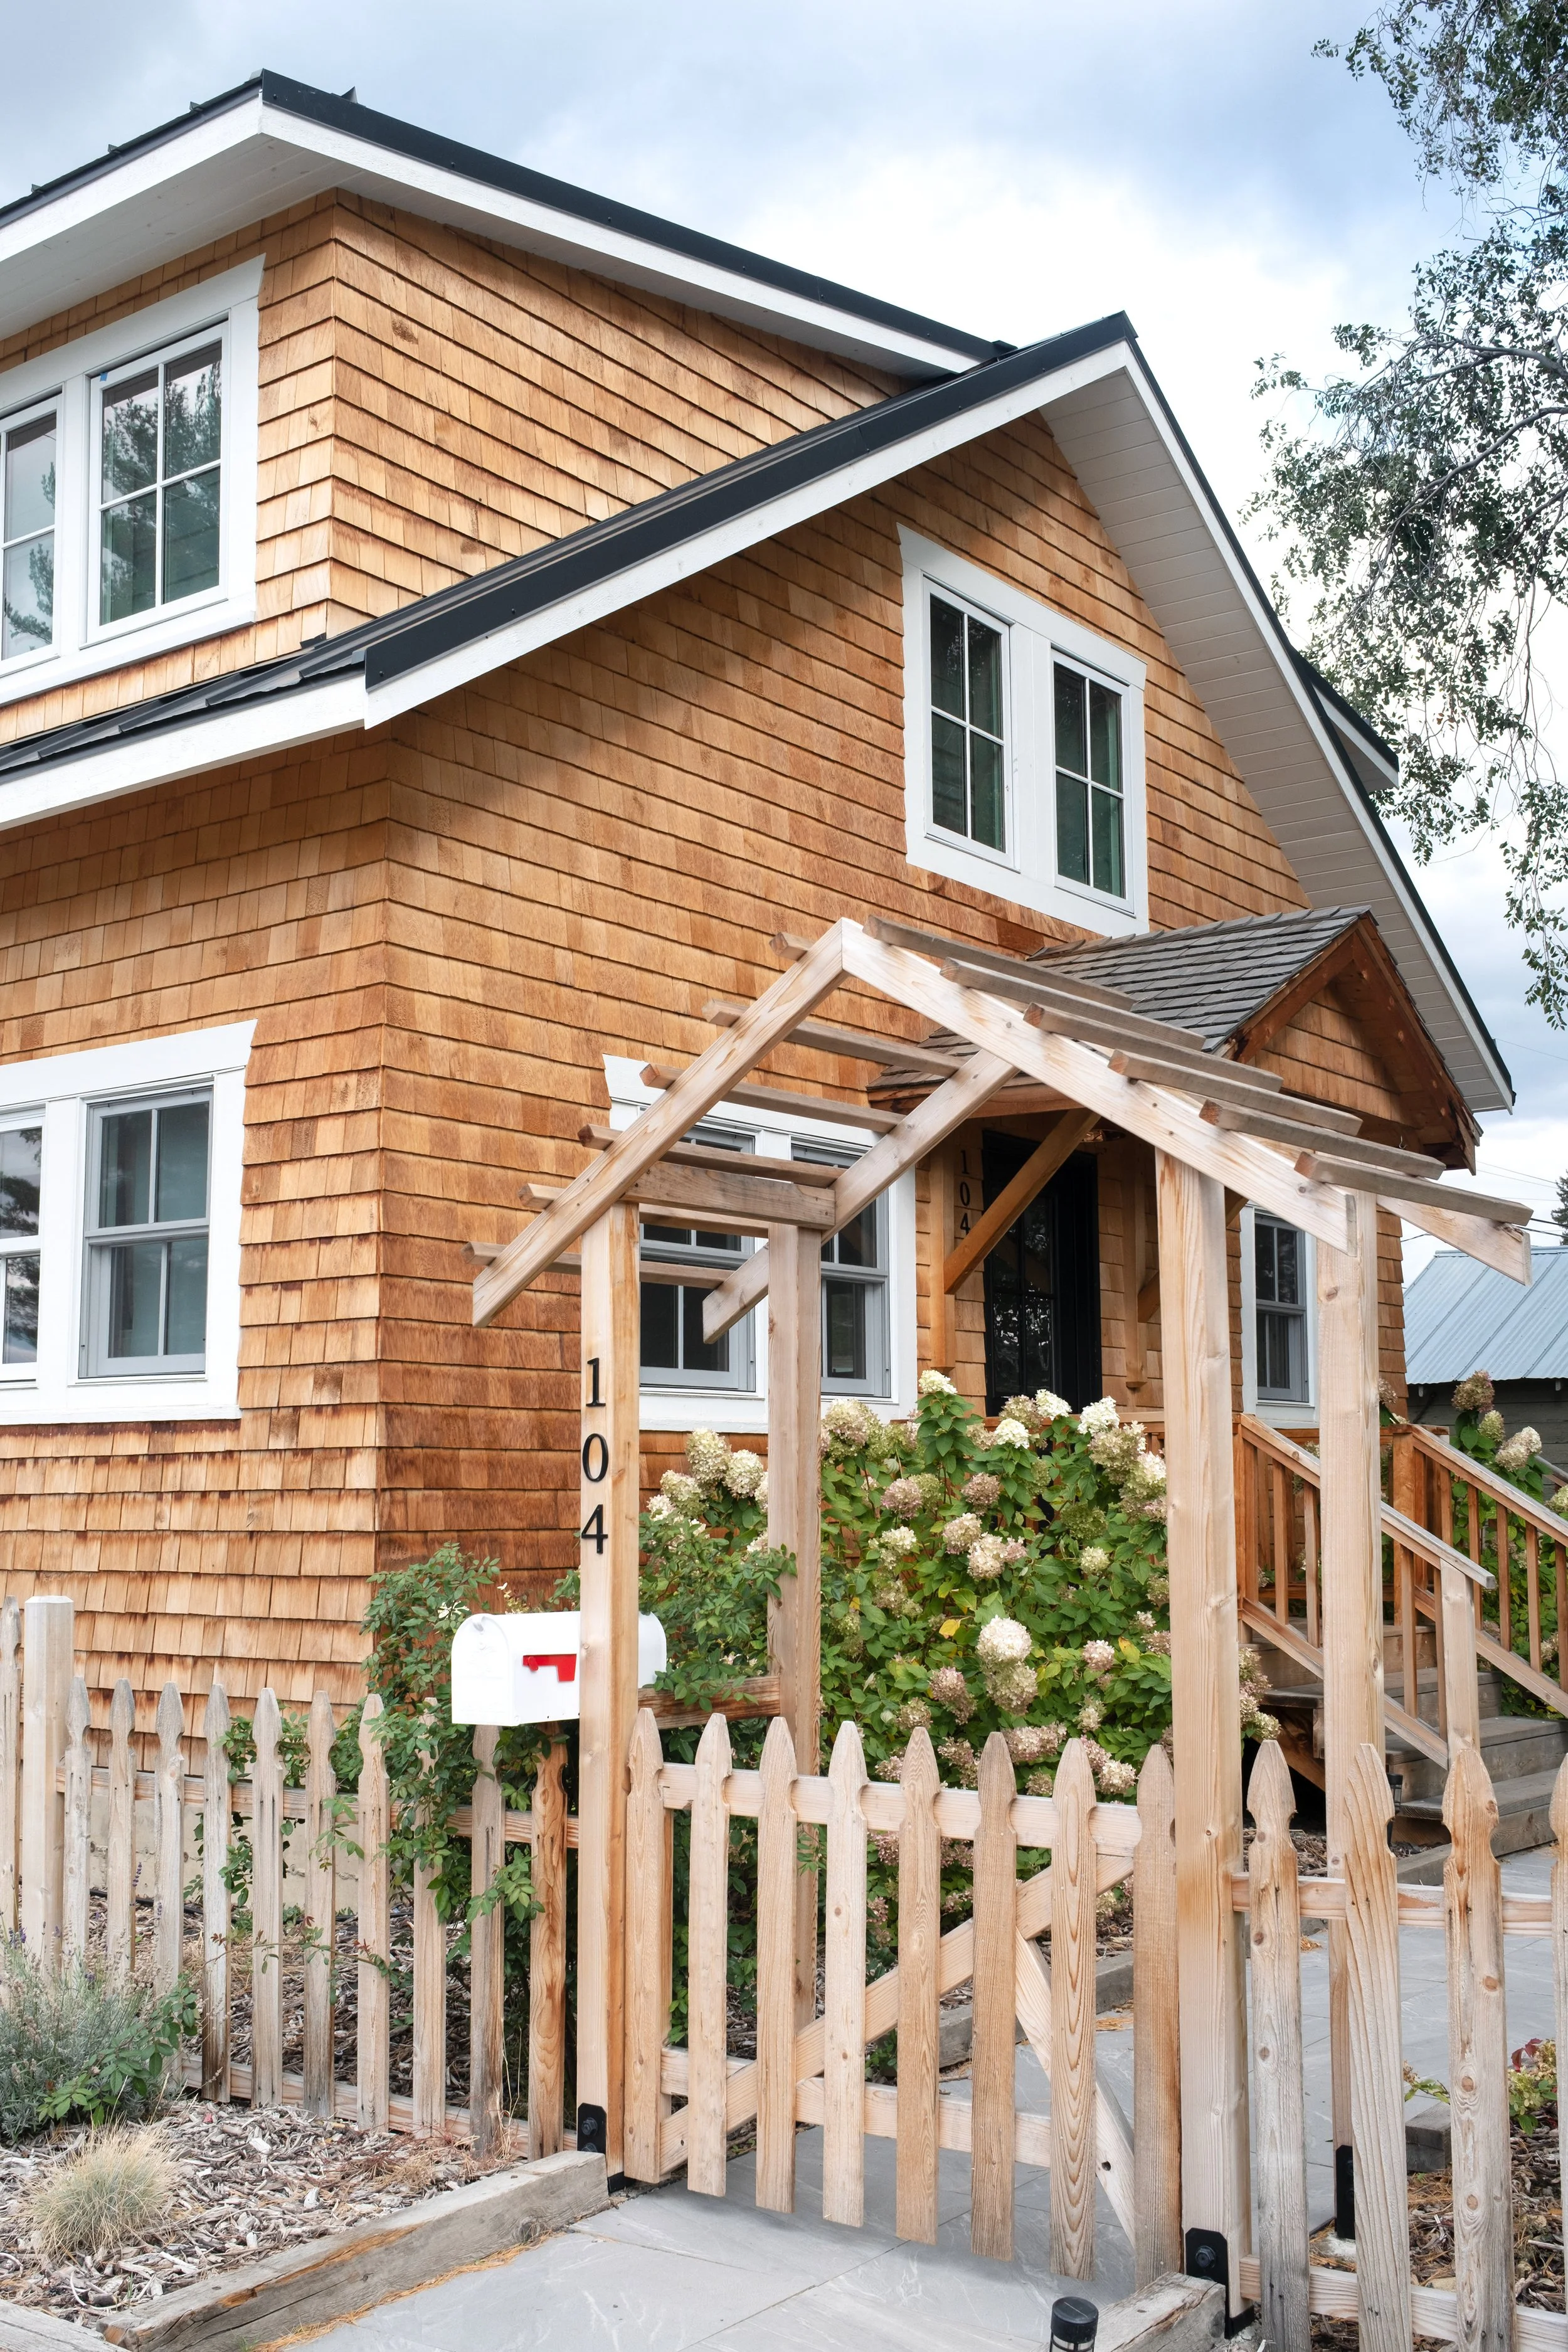
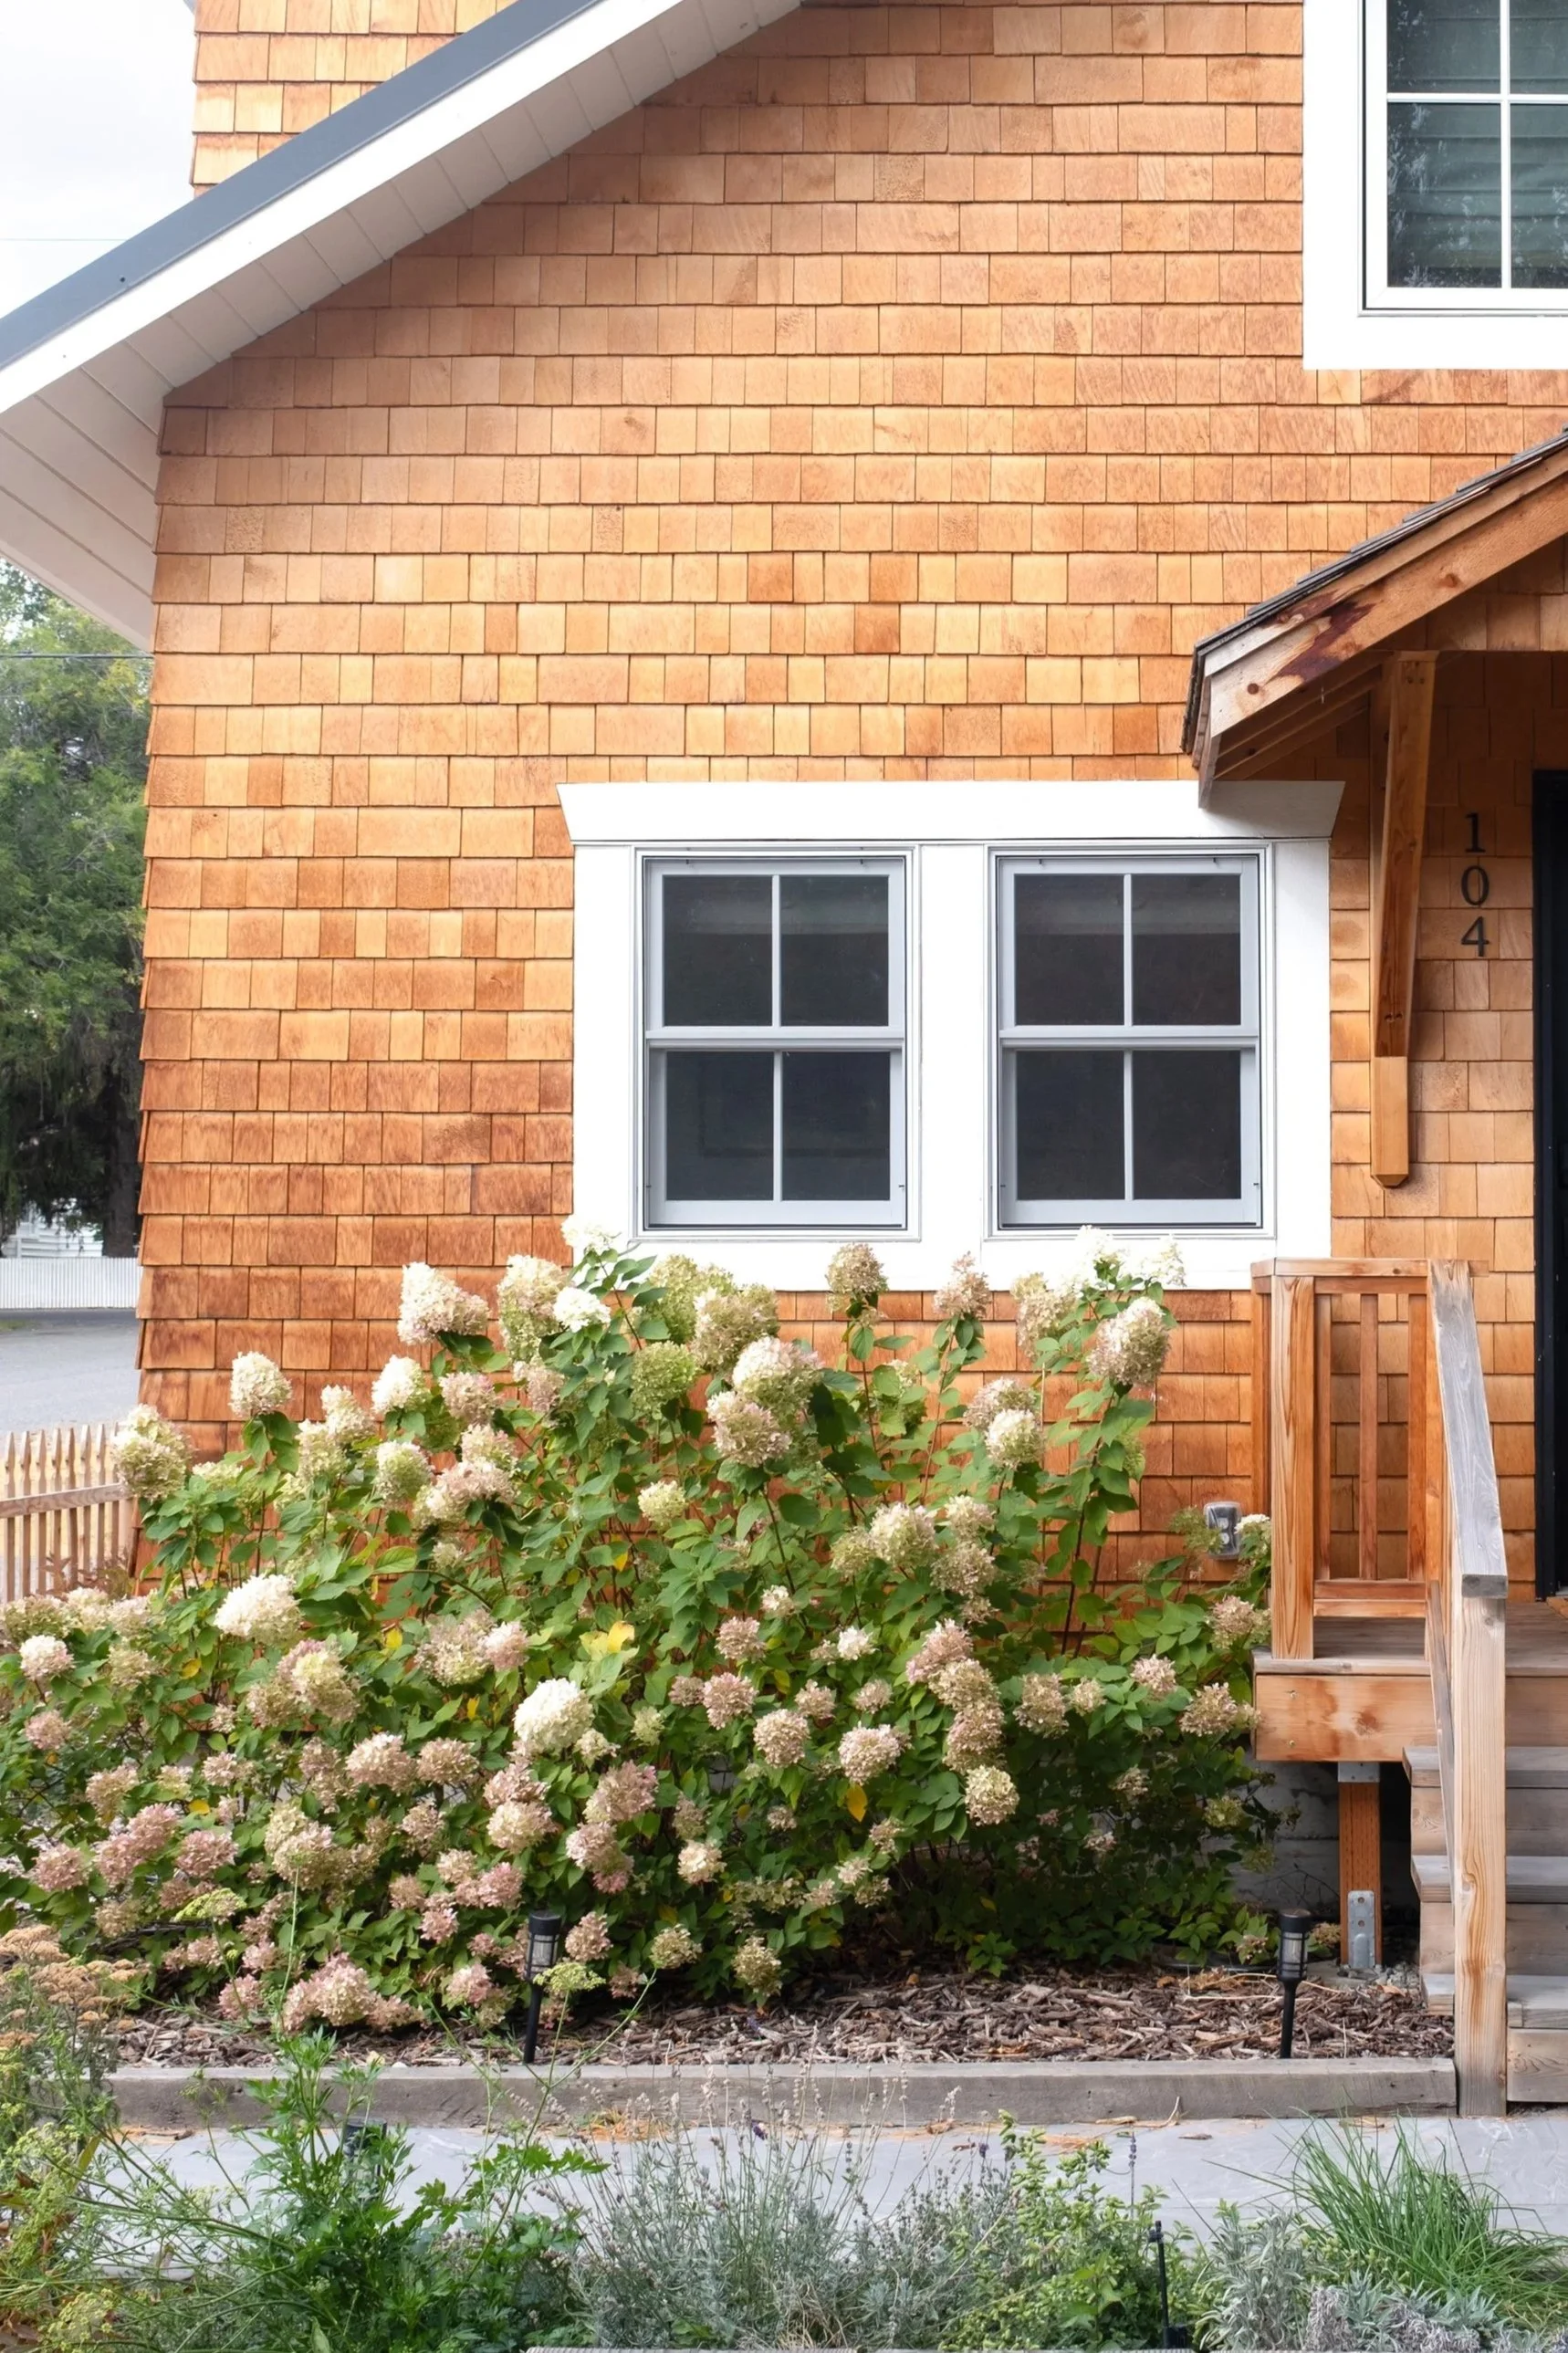

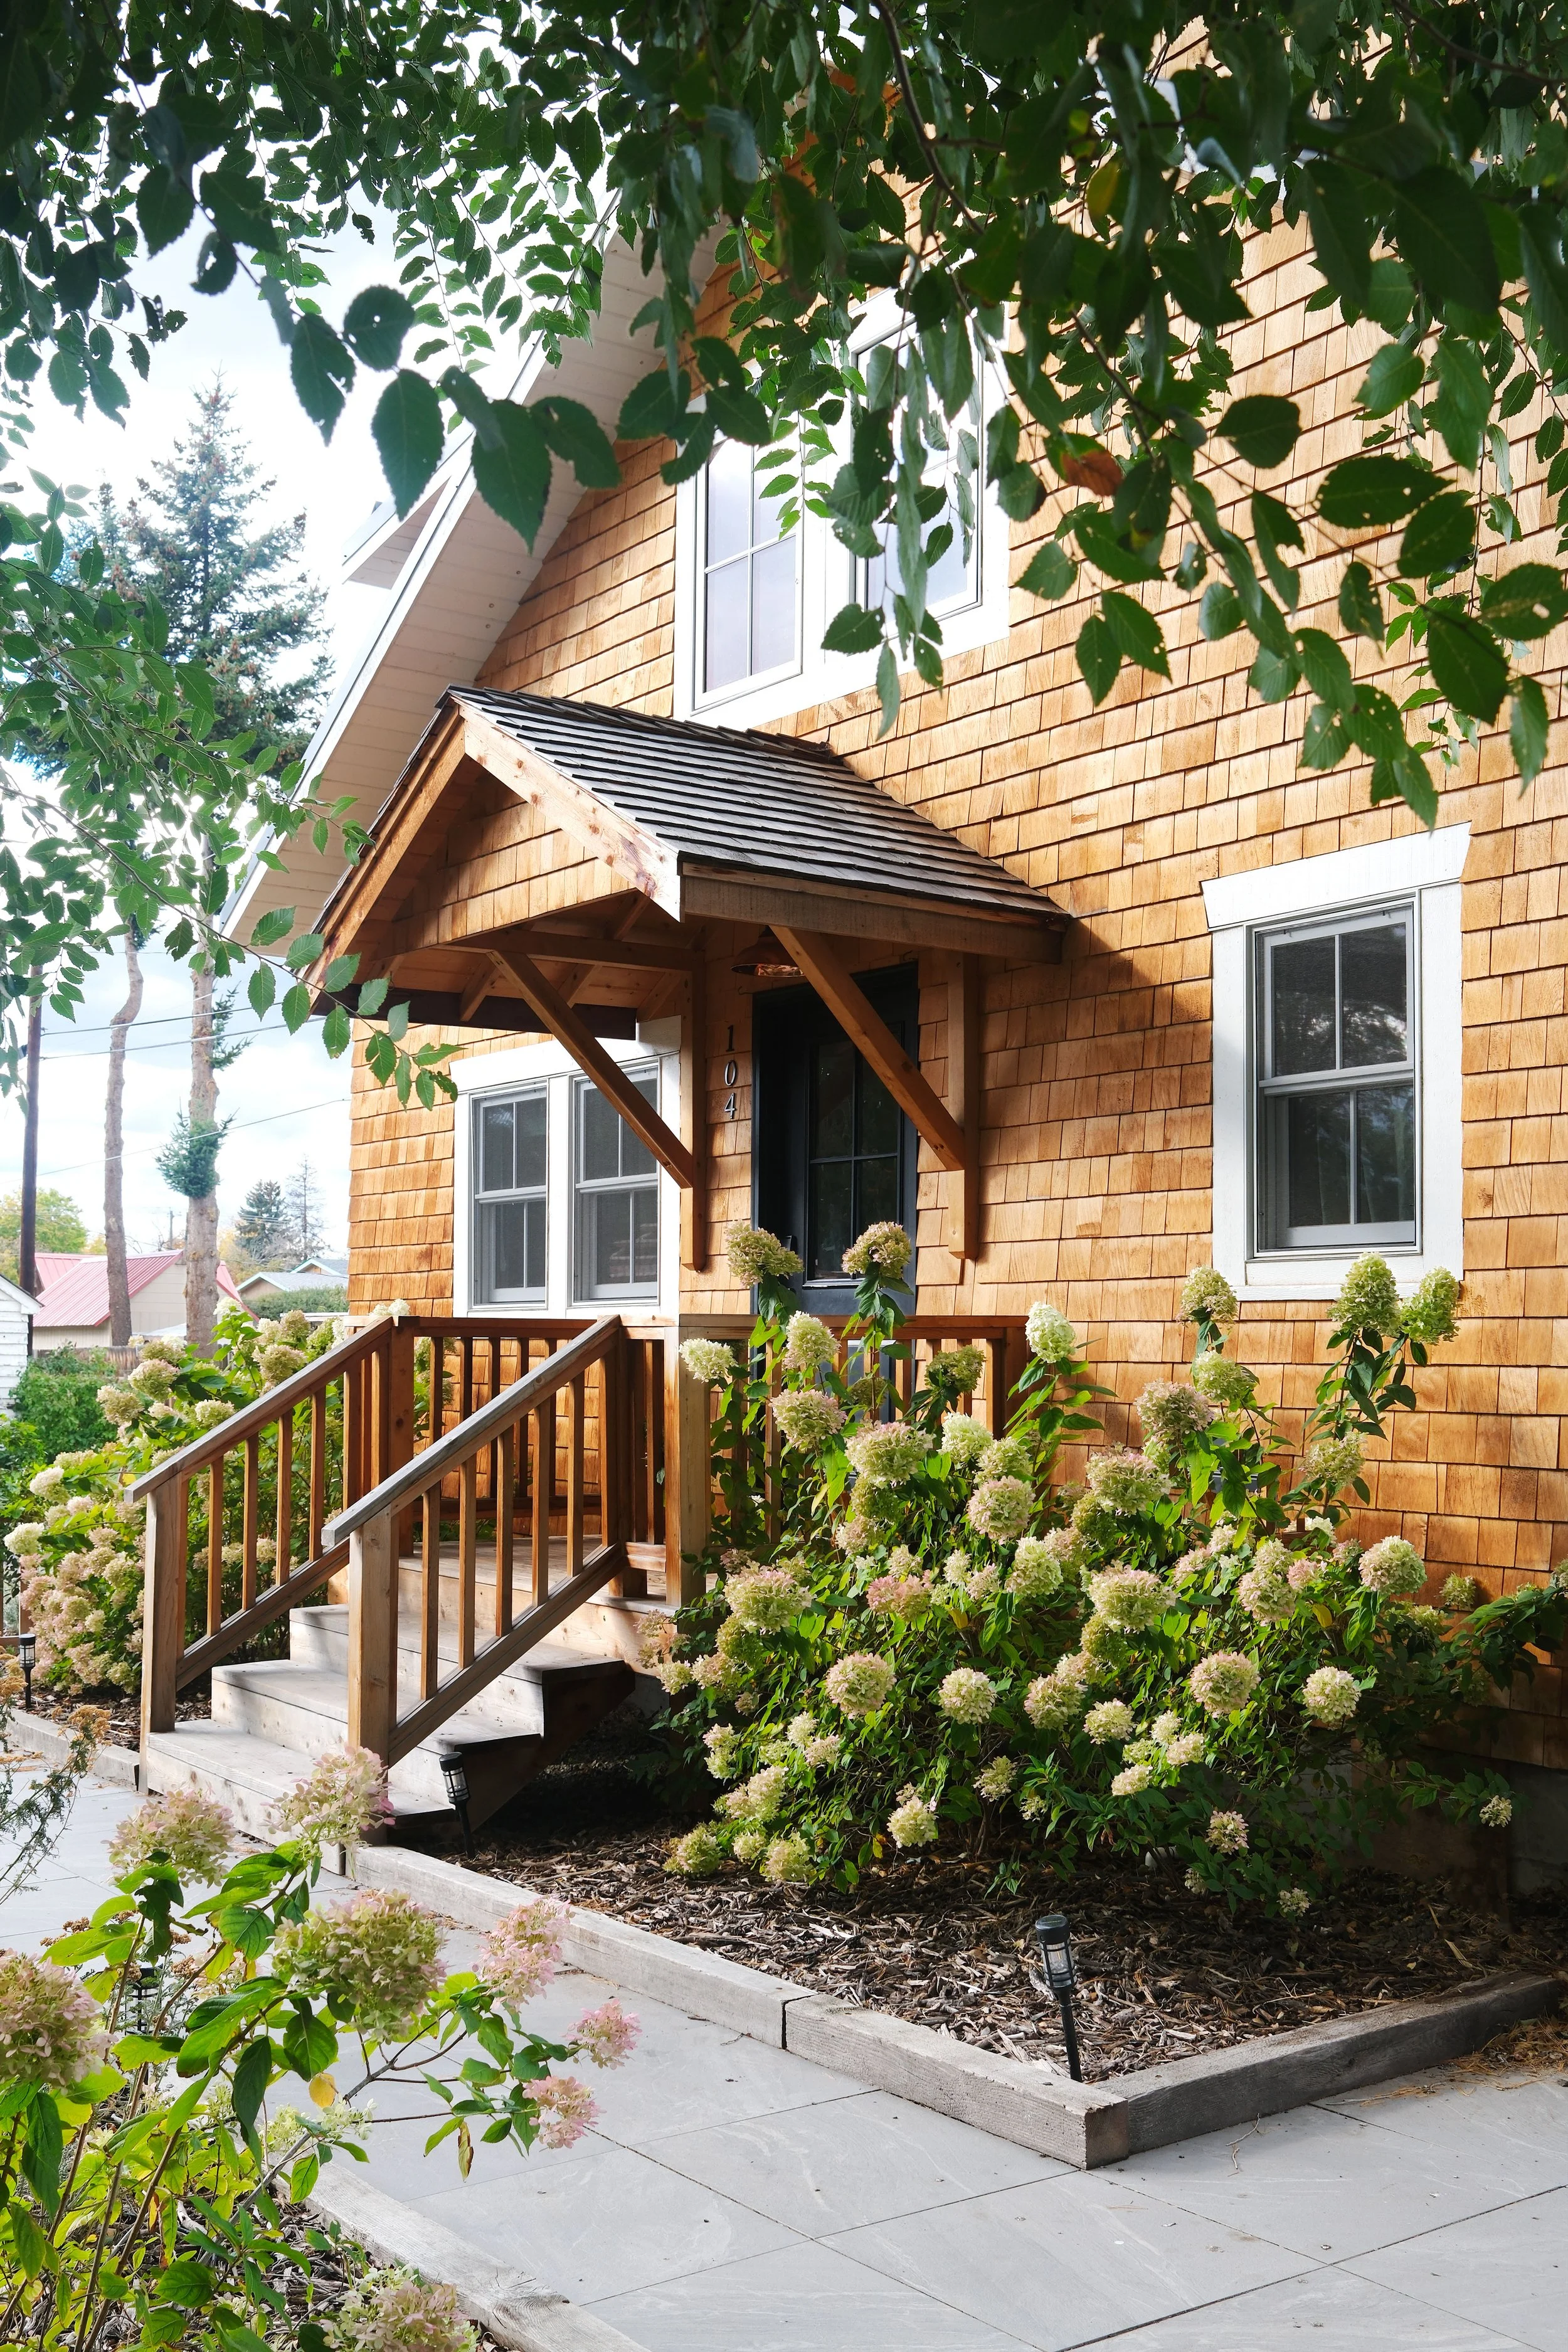
pavers, windows & doors, light over door
The shakes are Alaskan Yellow Cedar, and Garrett found them on Facebook Marketplace from a local mill near Seattle. We left them untreated, so they'll weather from golden honey to a soft silvery gray over time. At least that's the hope!
Materials for the whole siding job came to $8,575, and since we installed it ourselves, there was no labor expense. But boy, was there labor. We're talking years of it! Every shake goes up by hand, one at a time. Some needed custom cuts, and all of them needed a couple of nails. It was a HUGE project and I'm fairly certain we'll never do it again. But it sure looks lovely.
Out front, we built a deck, a cedar picket fence, an adorable arbor for climbing roses, and a patio (with one of Garrett's reclaimed tables on top, of course). The house sits sideways on the lot, so we kept everything small and approachable on purpose, encouraging interaction and neighborly vibes. Poplar sits on a popular walking route in an old neighborhood and we love the steady stream of walker-bys, many of whom watched the renovation for years and love to chat. Short fences were made for chatting.
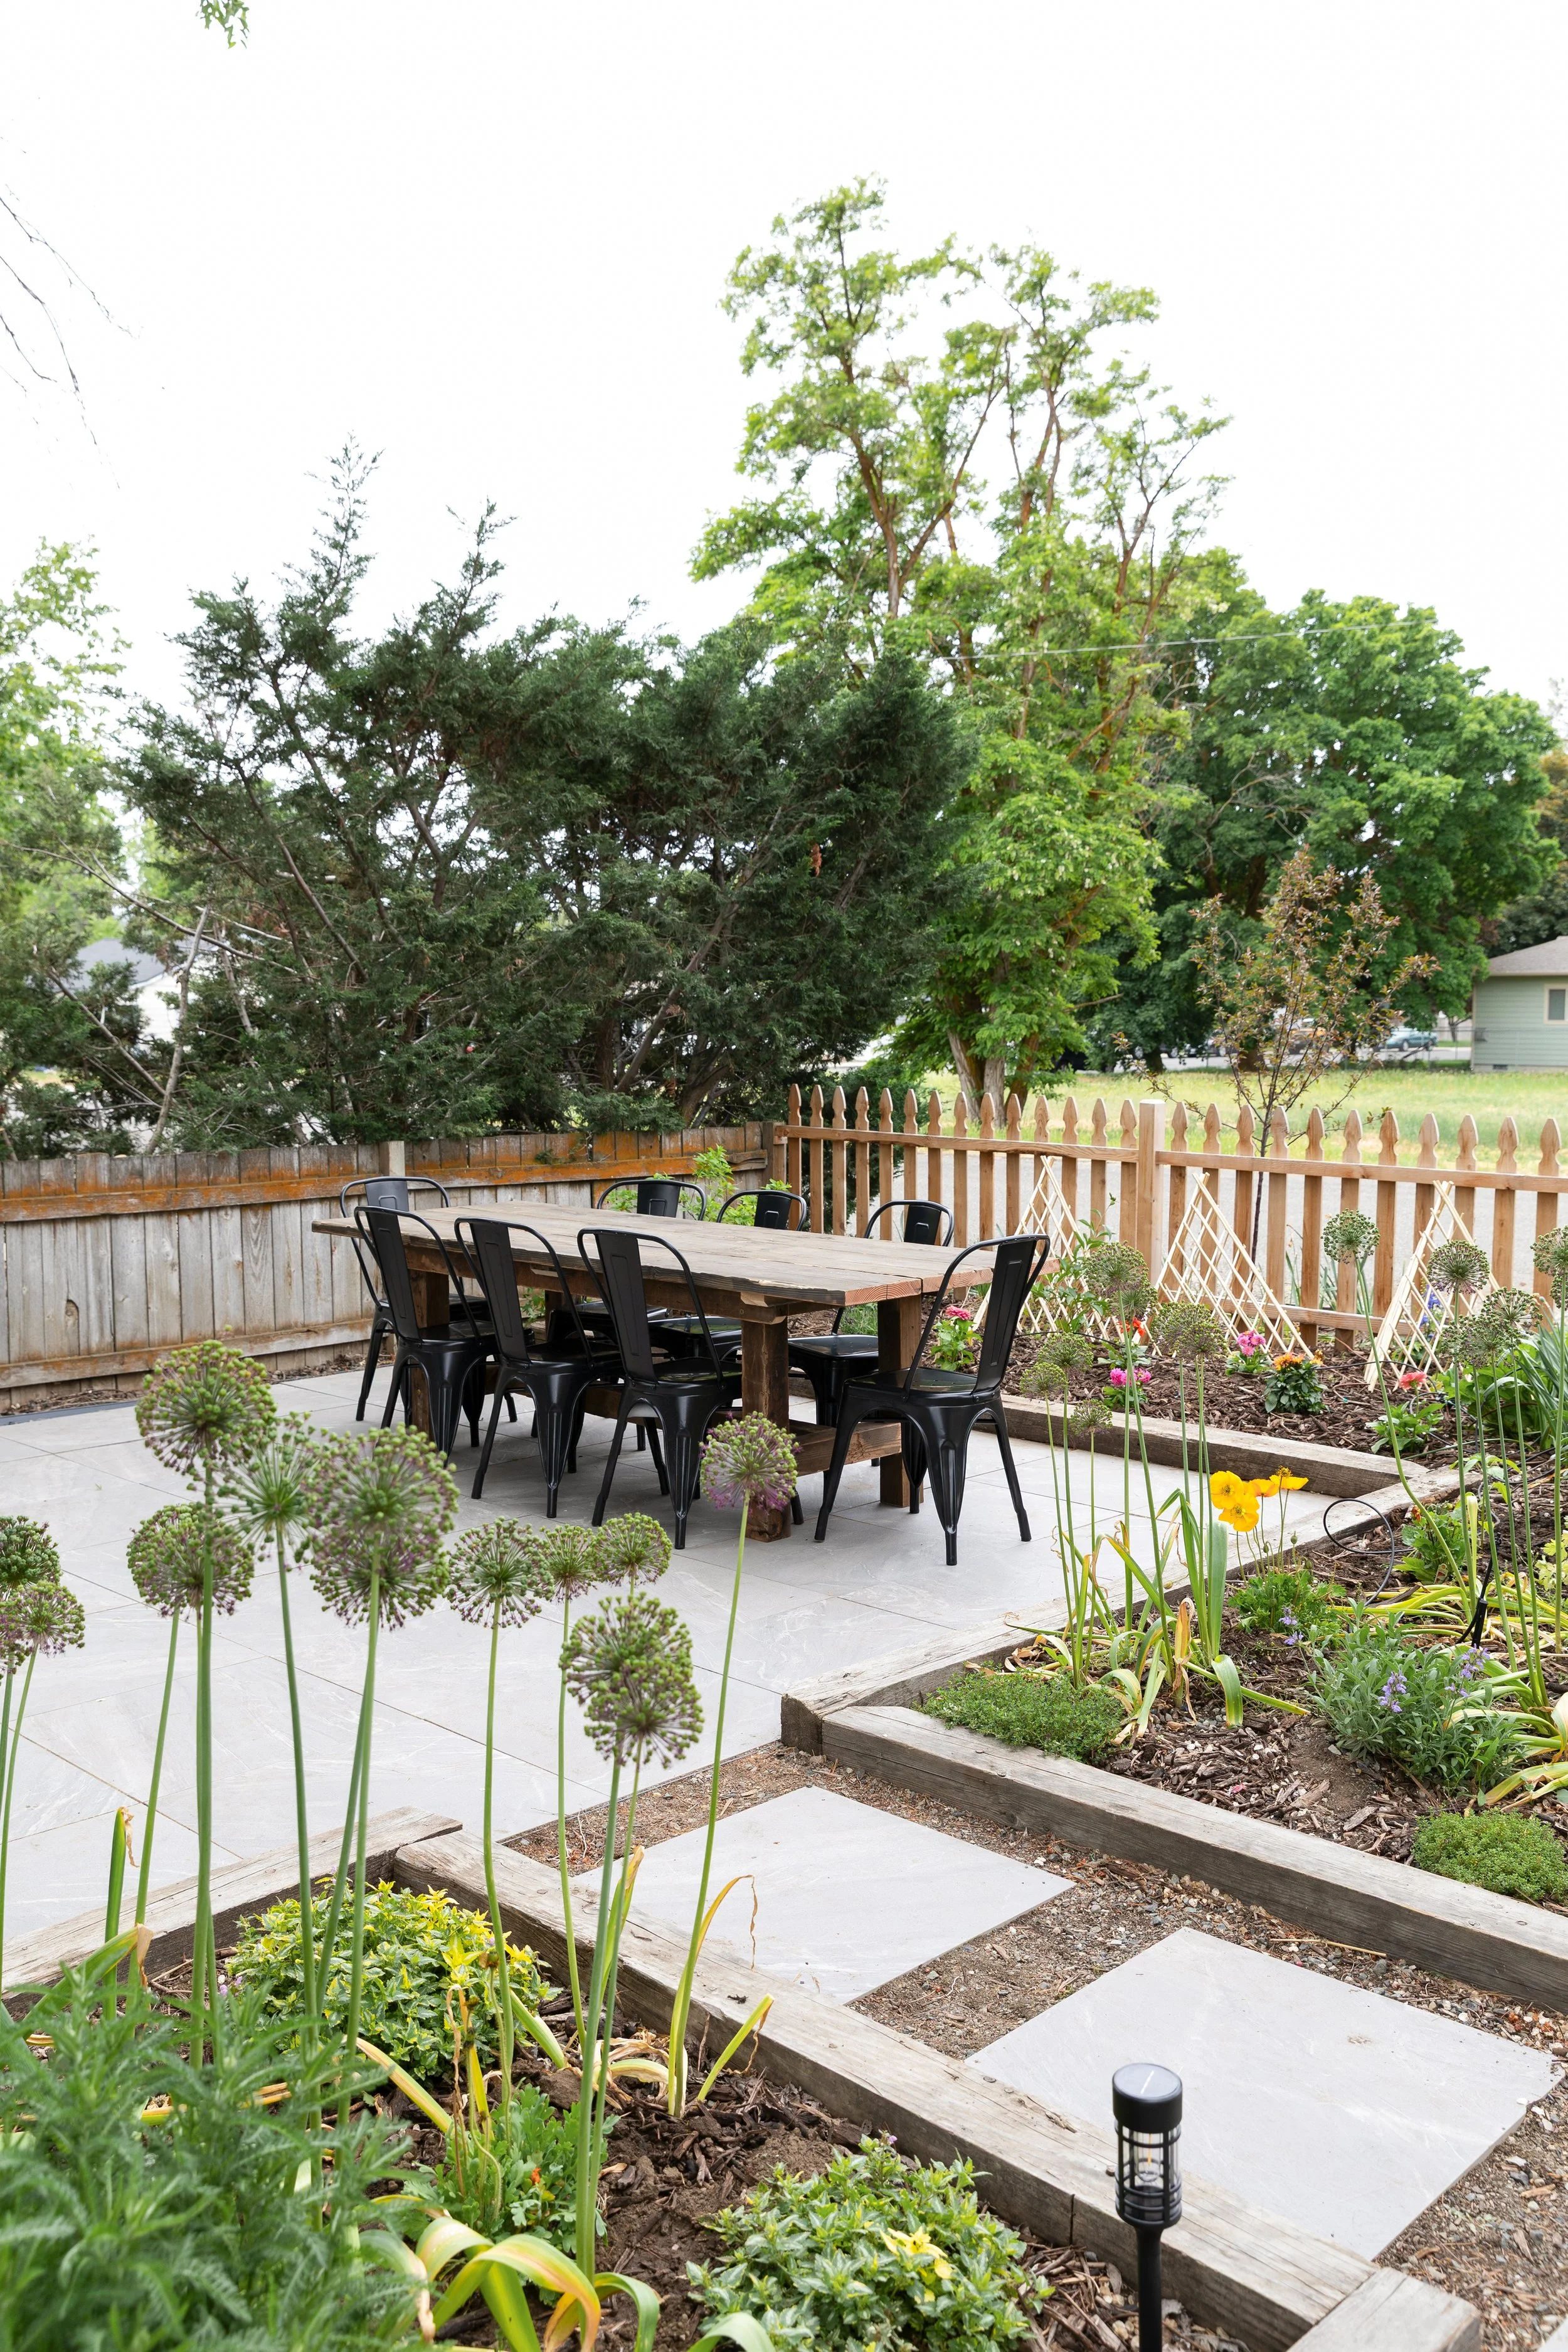
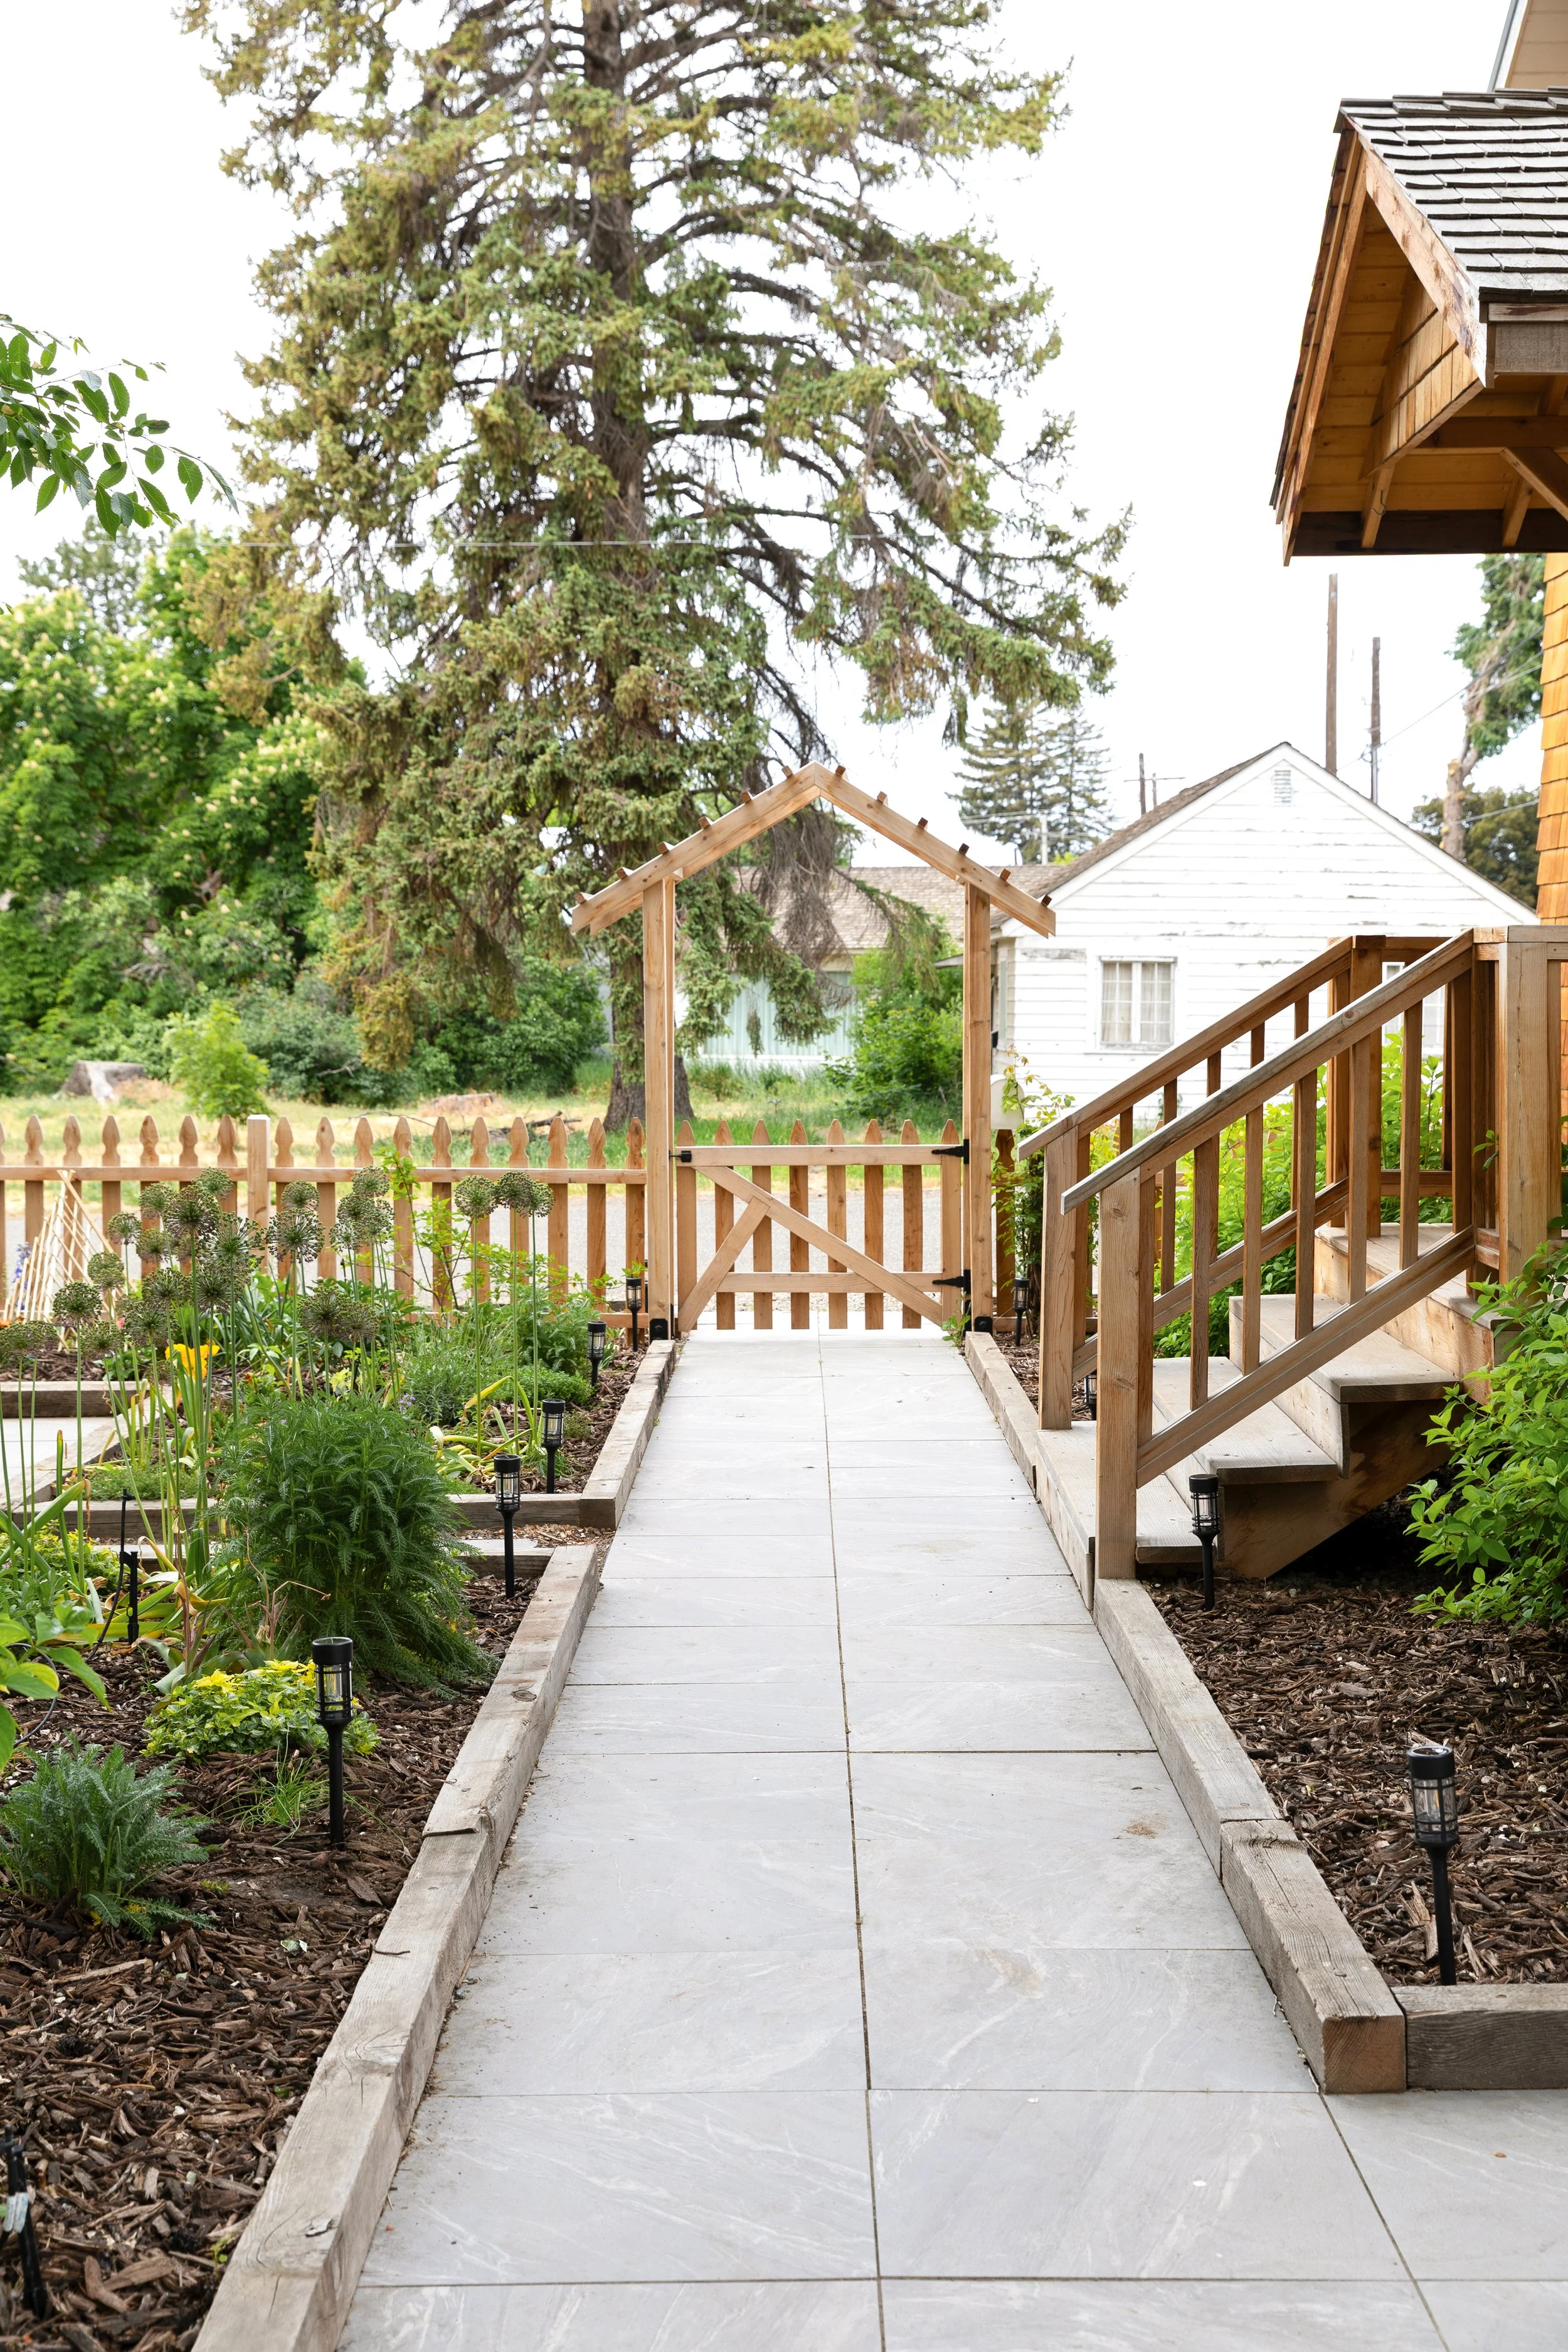
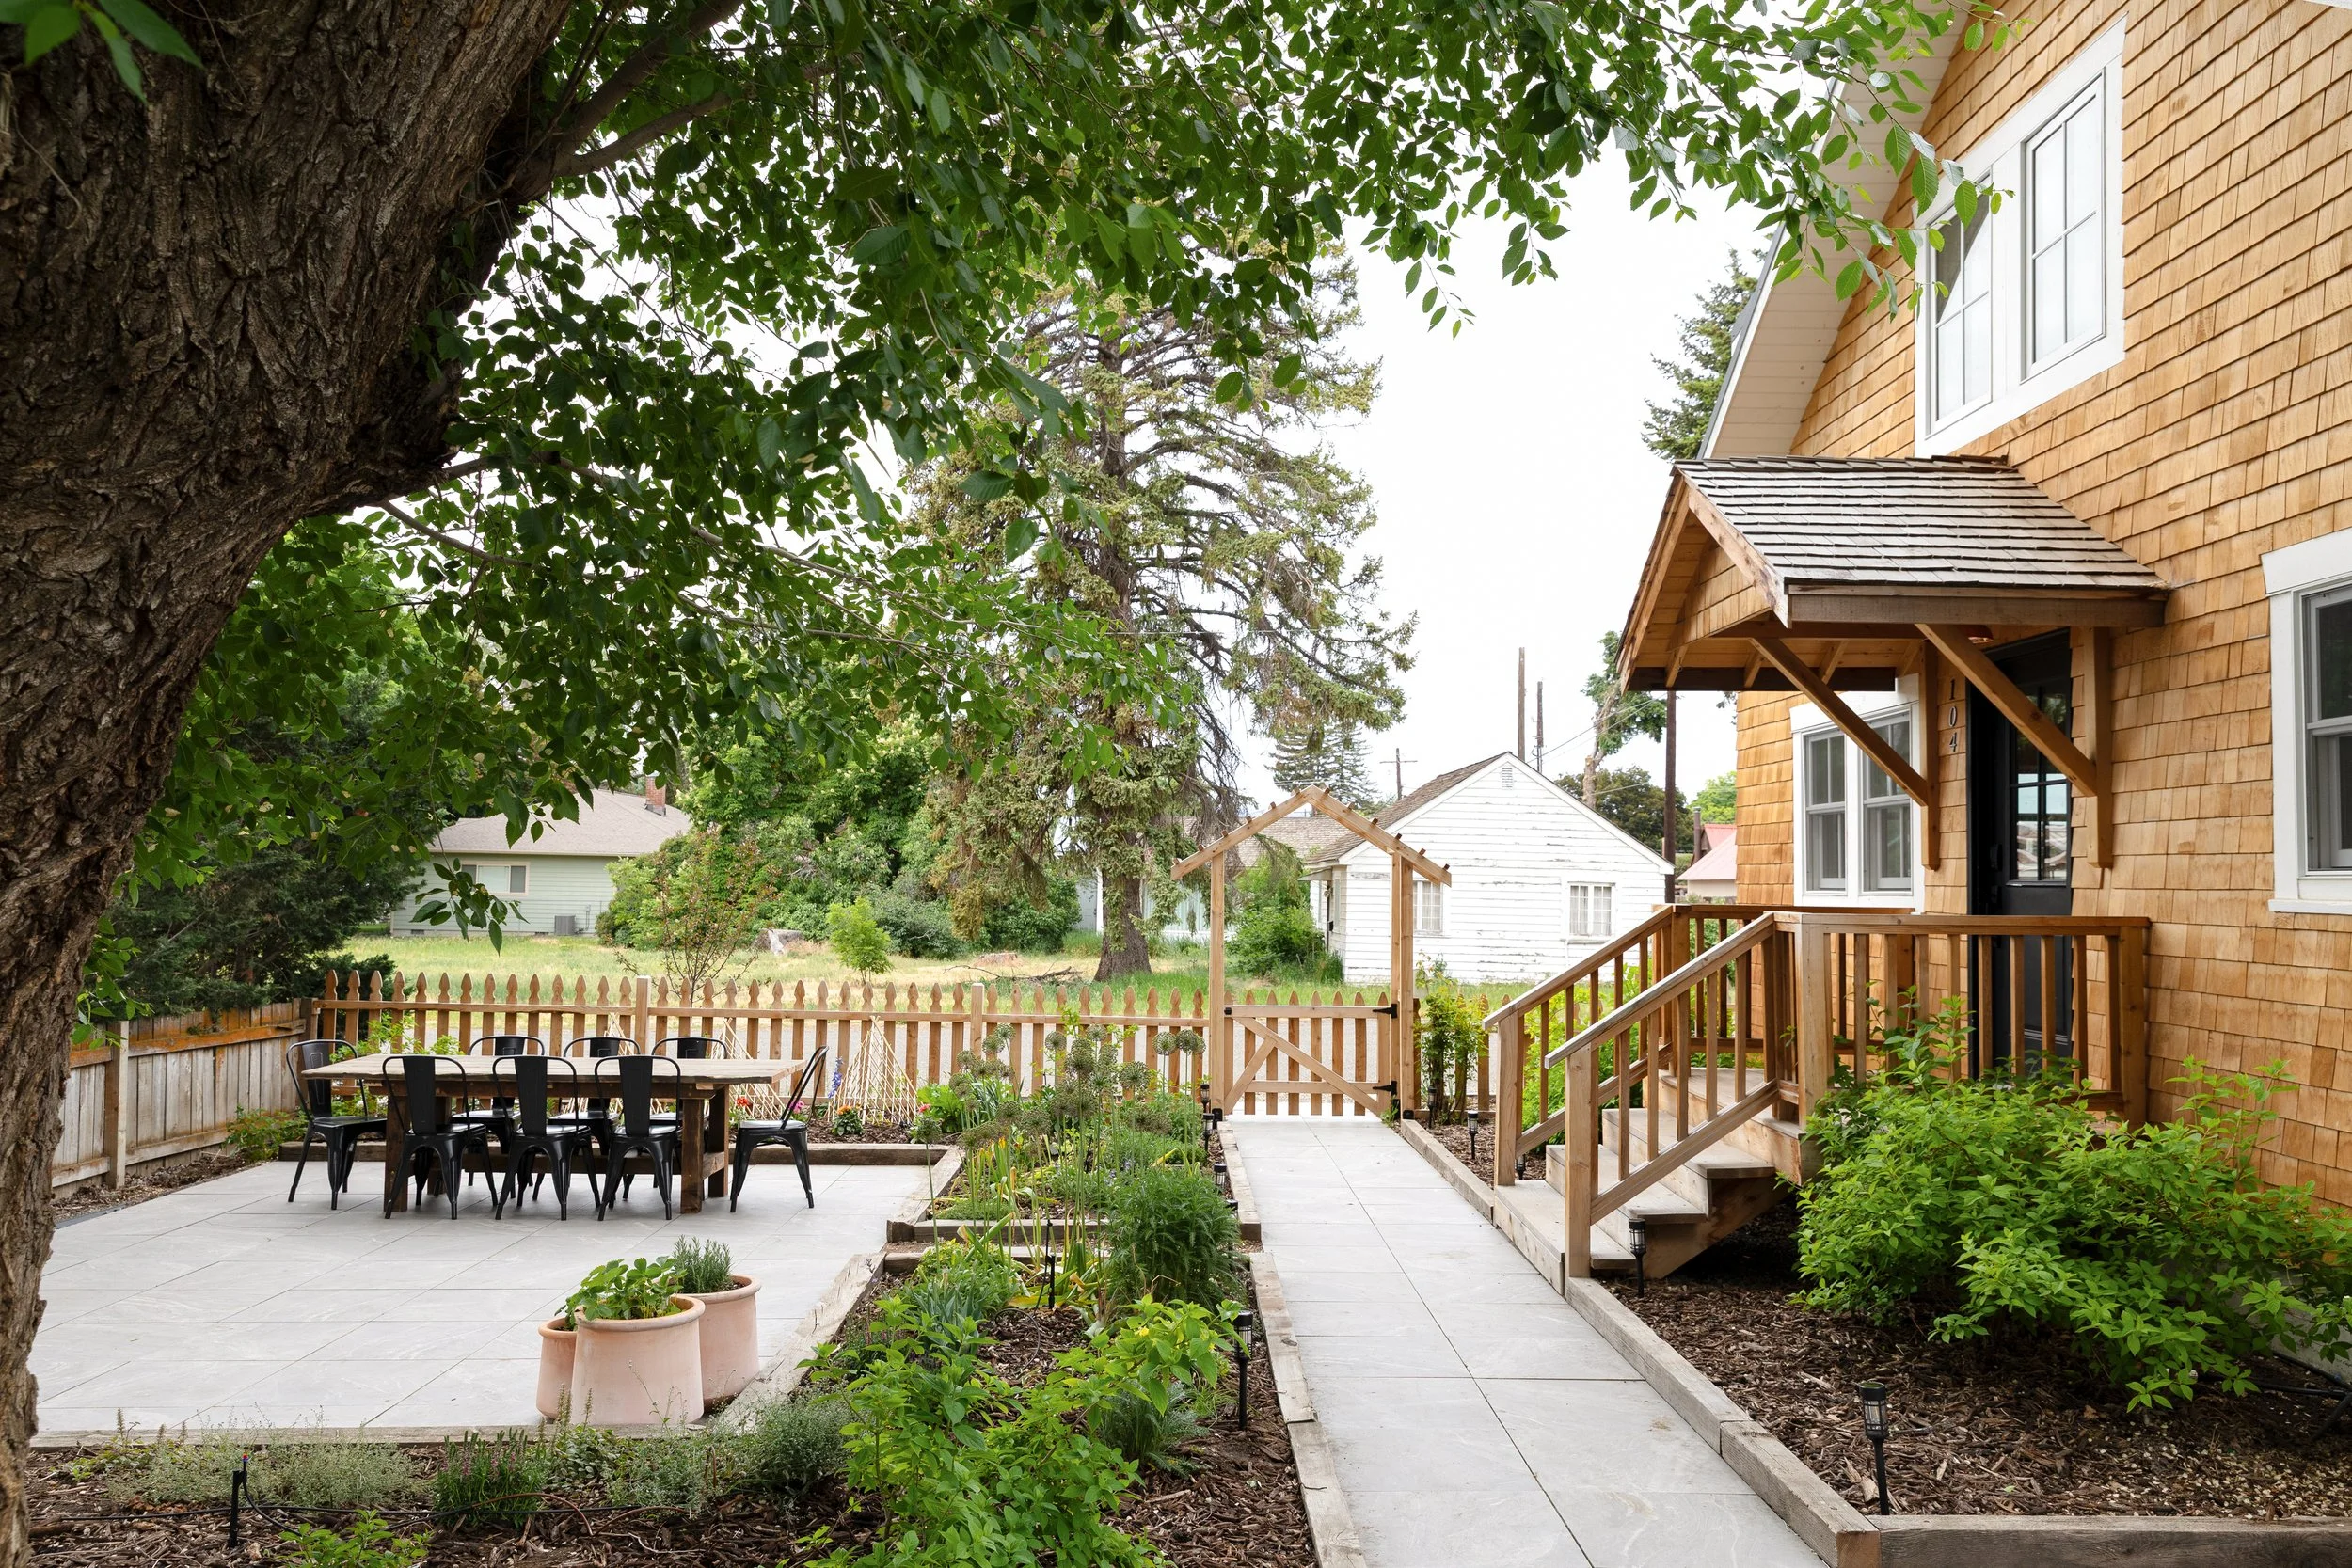
dining chairs, fence sections, garden trellis, lights, pavers, windows & doors
More on the outside: the siding reveal and costs, how the exterior evolved, the picket fence and arbor, our DIY gutters, our windows and doors, the front door refresh, and our front yard plans.
Here’s the before…


The Combo Sitting / Dining Room
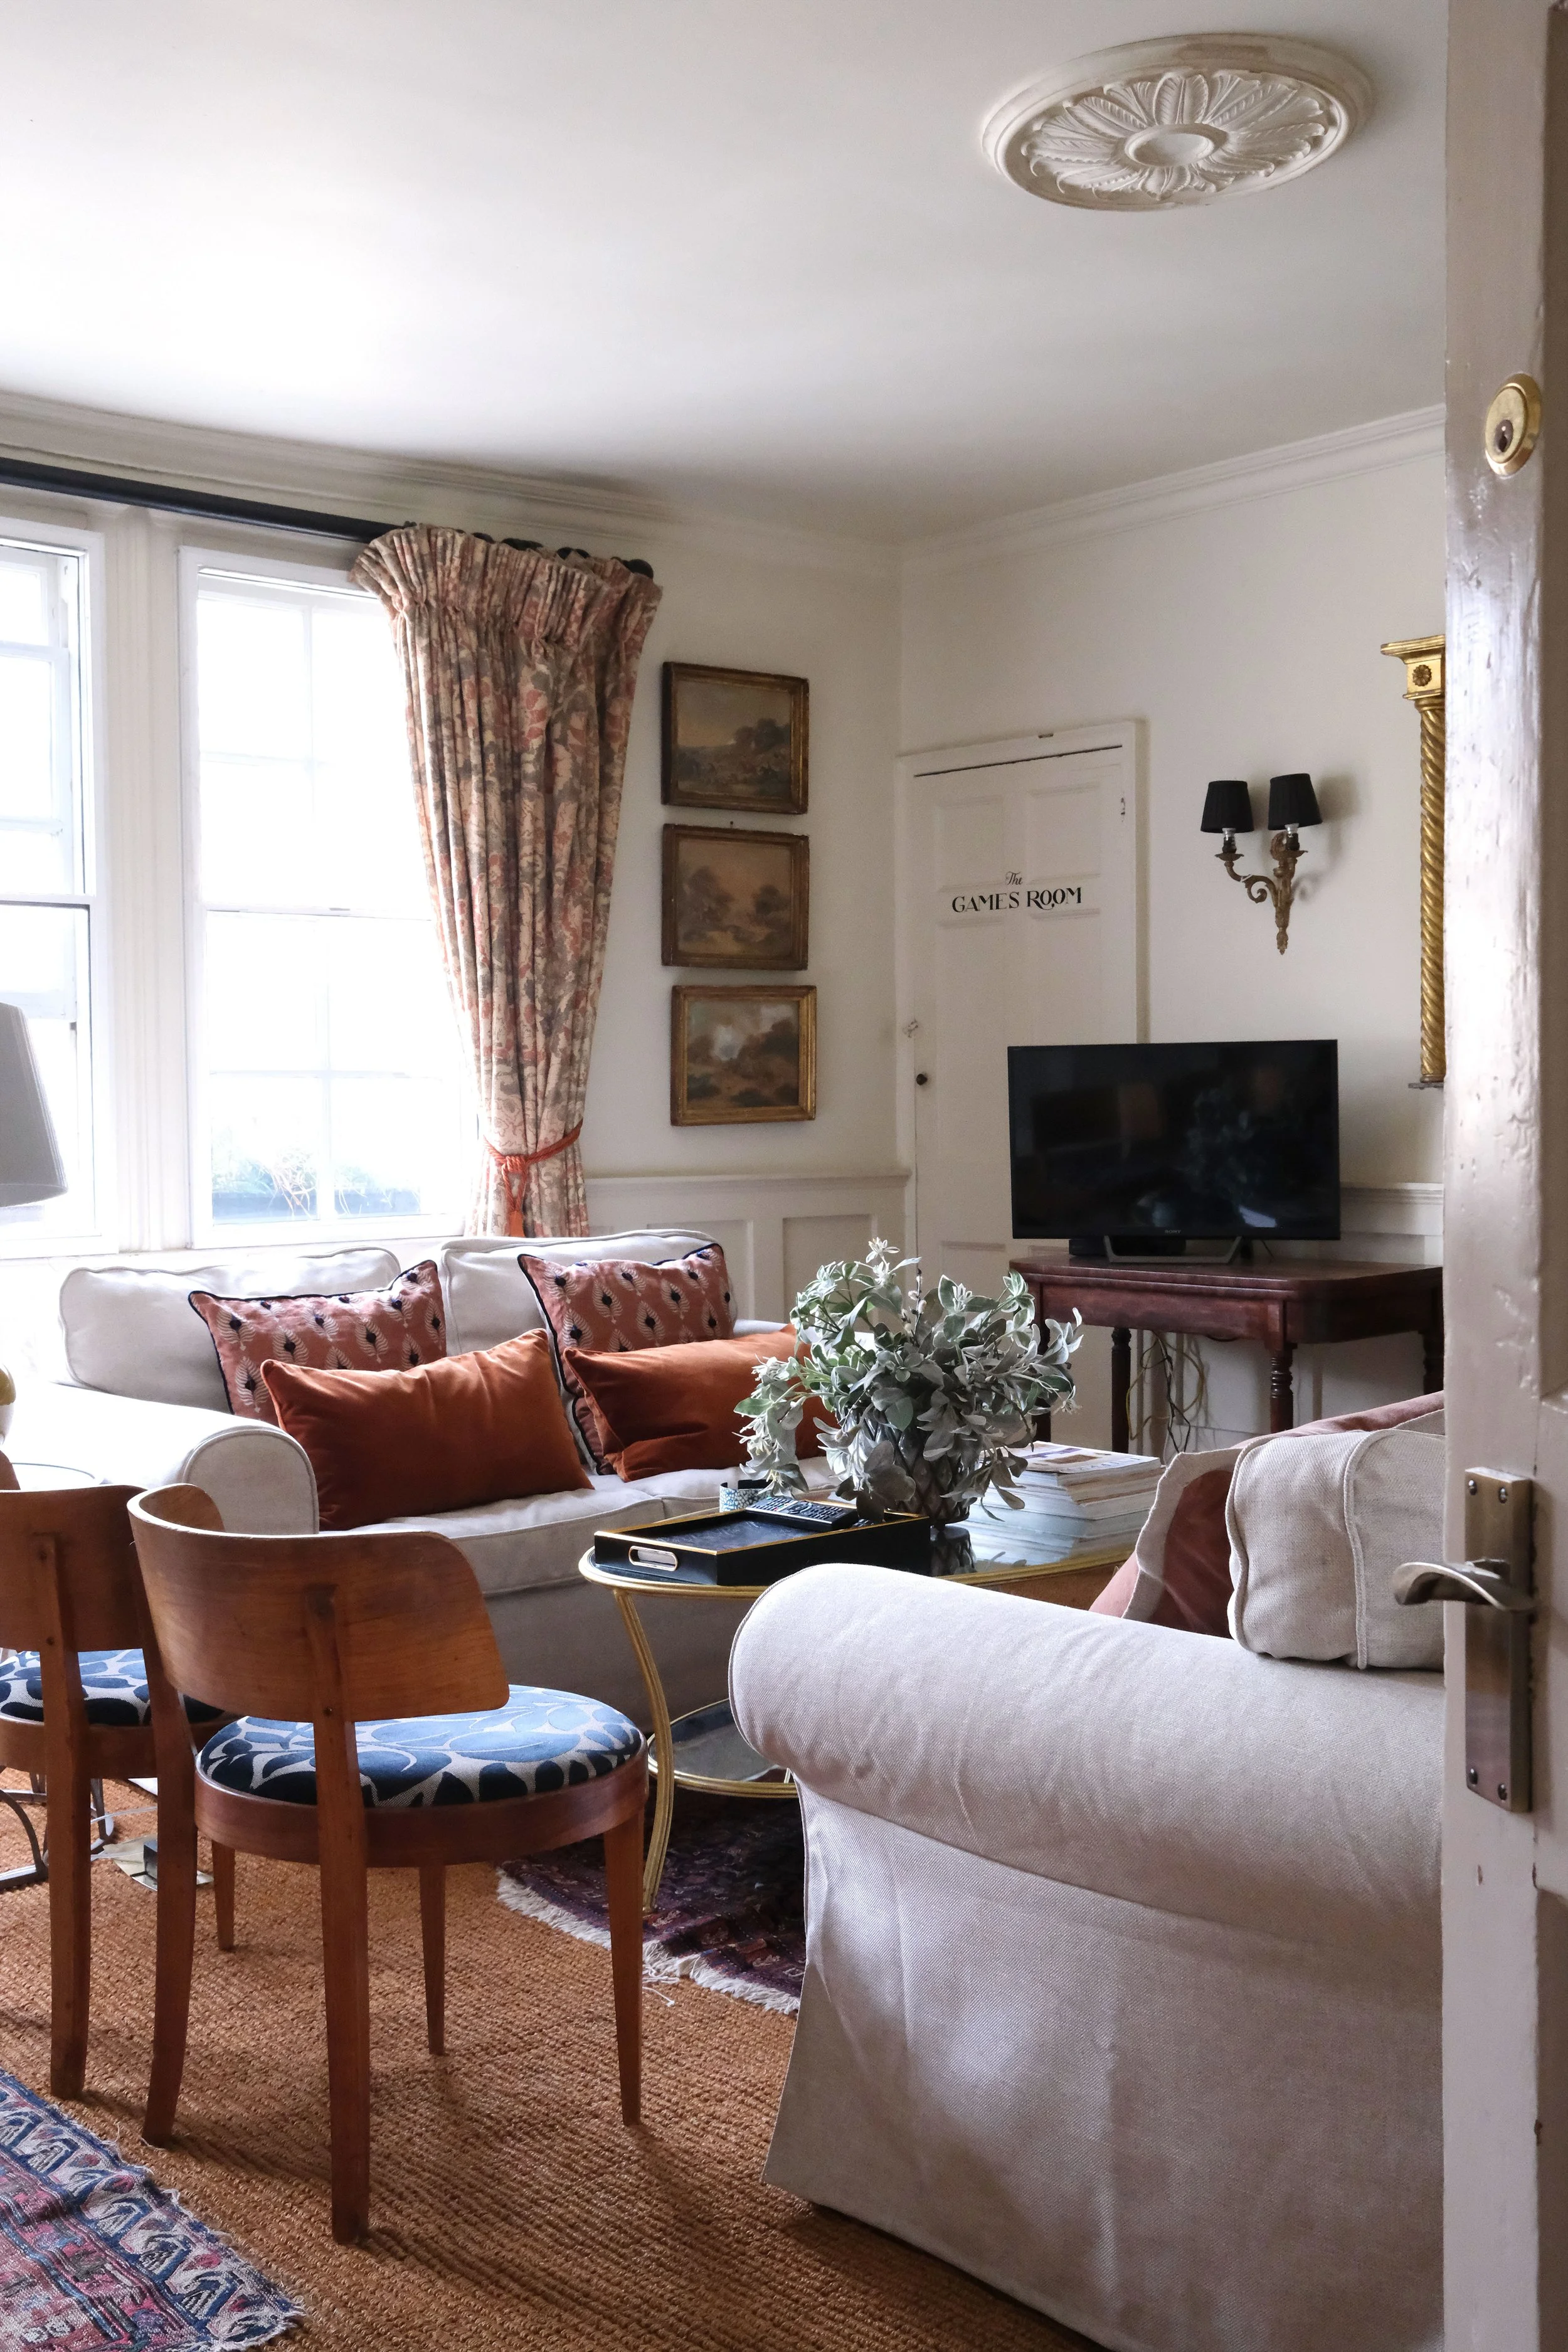
Step through the front door and you land in the combo sitting/dining room. It's only about 120 square feet, but it does it all. In small houses, spaces really have to earn their keep and do double duty.
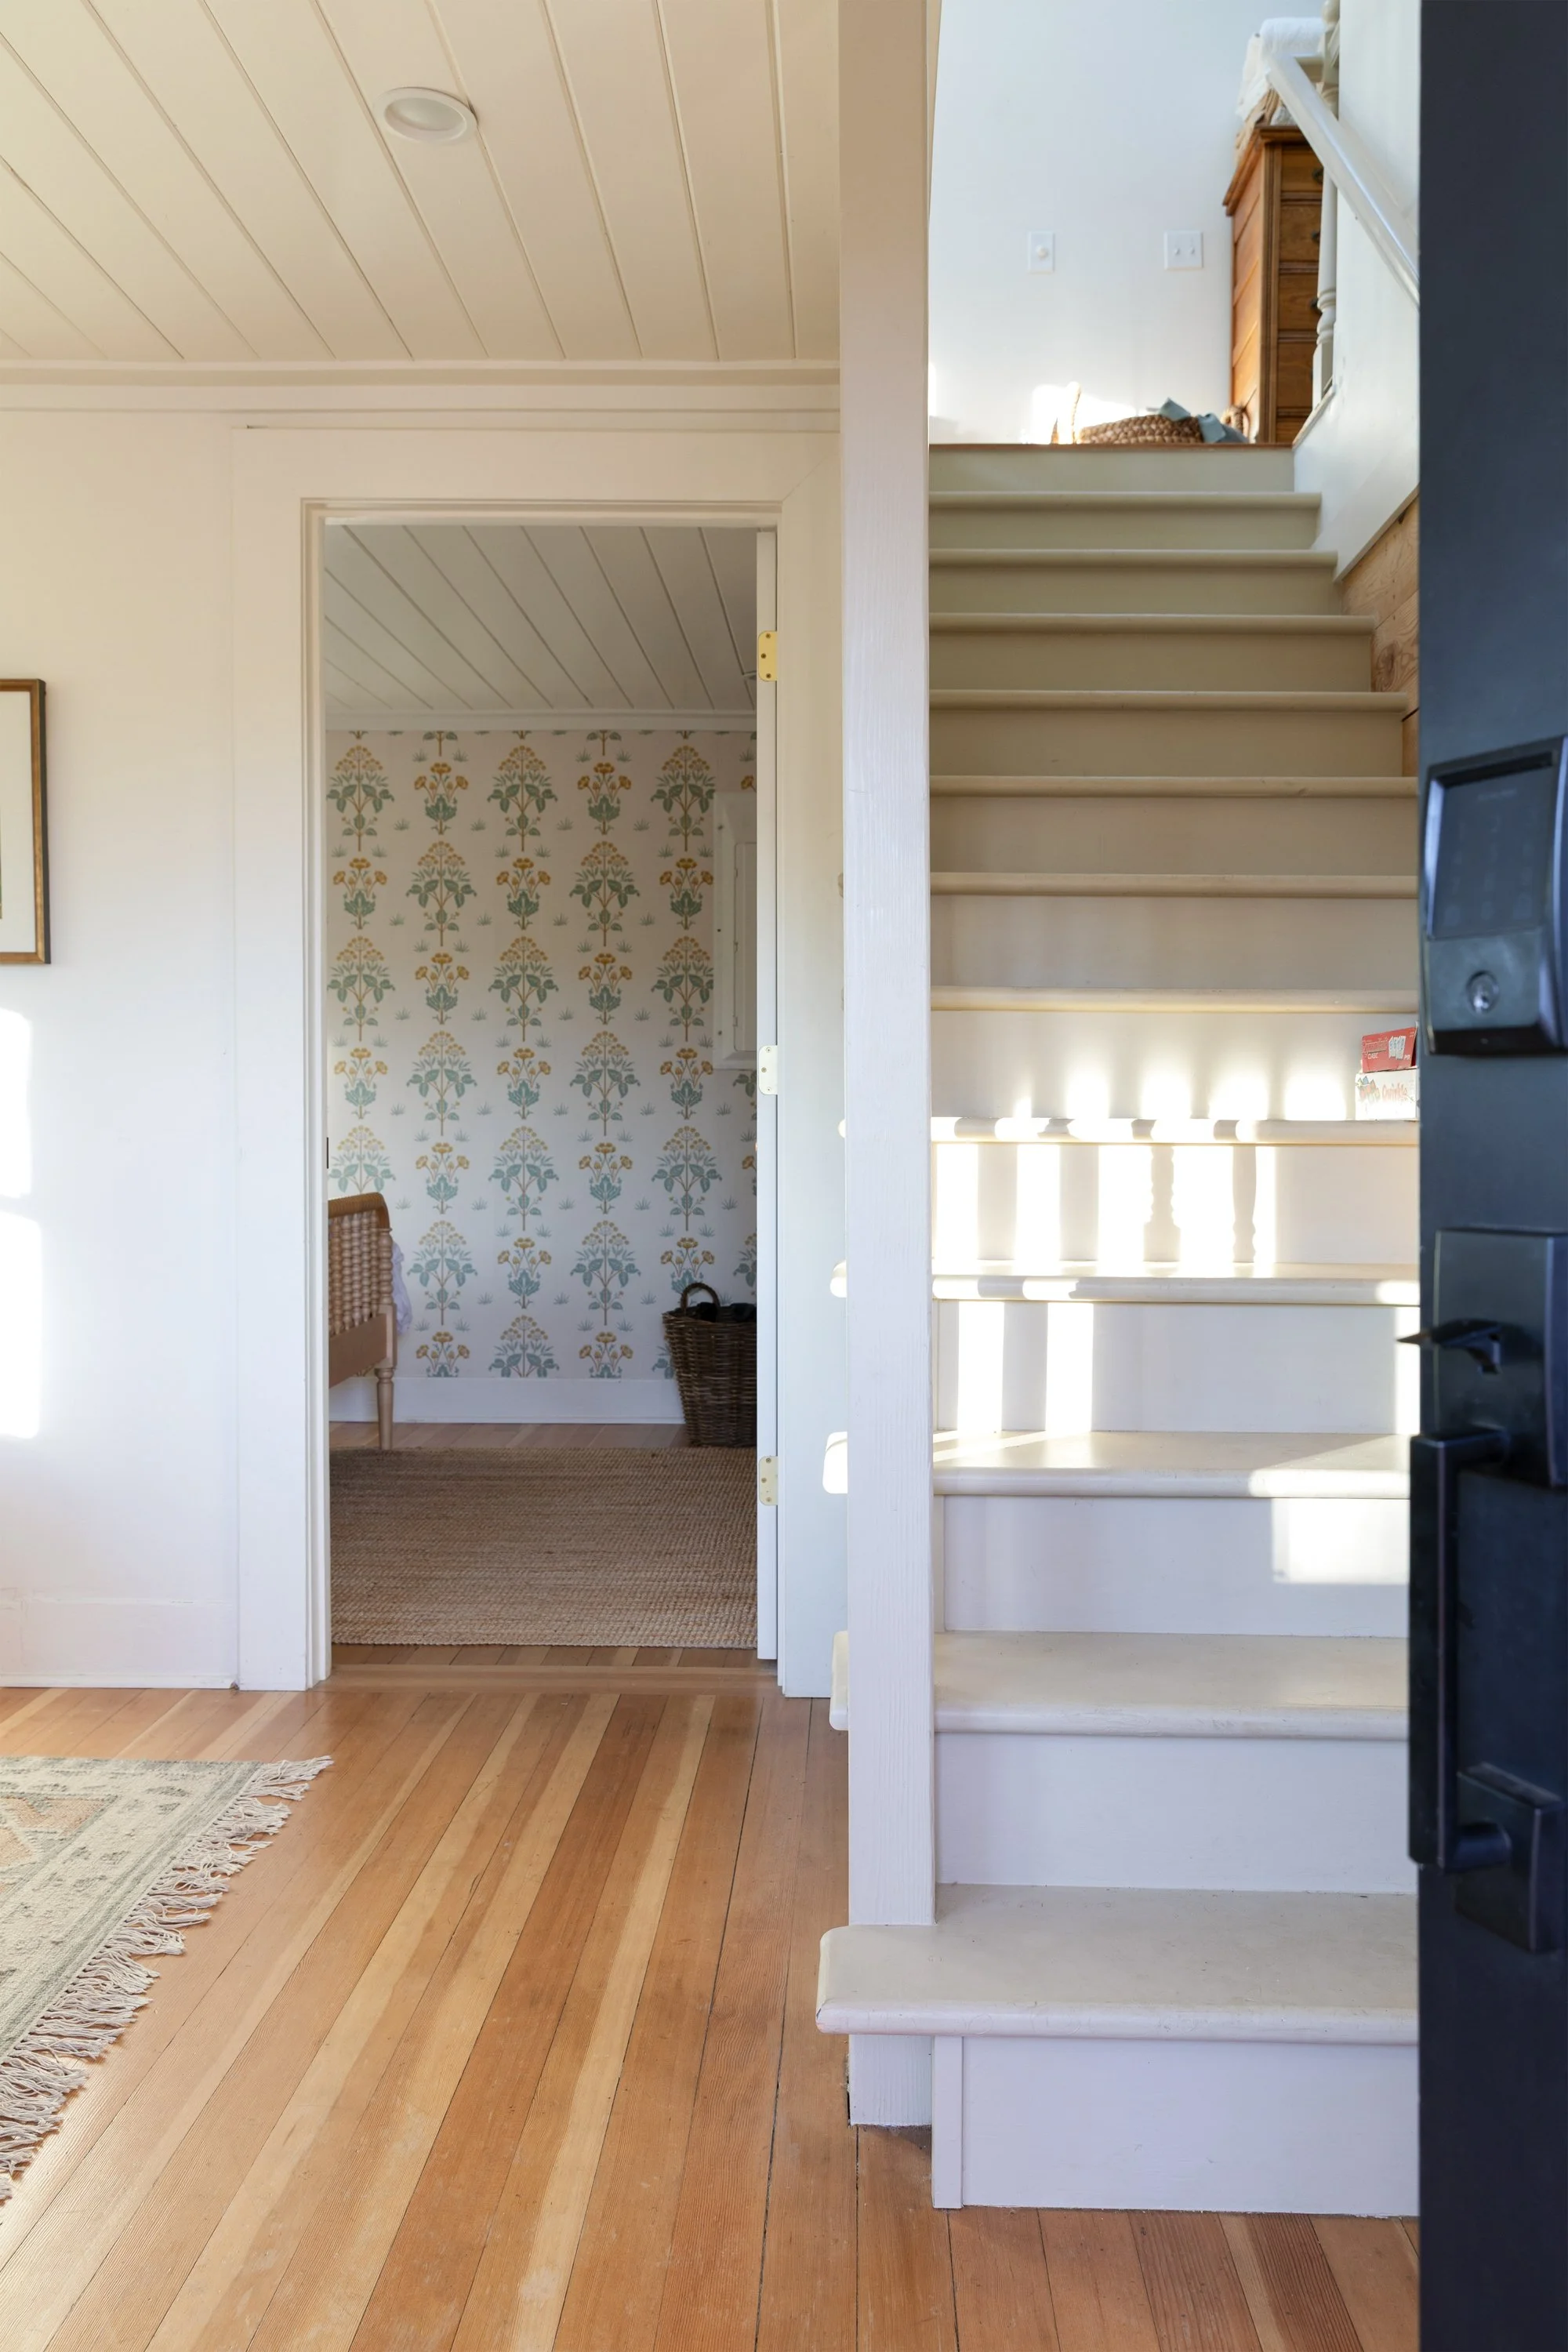
This space was originally the living room and the big change we made was adding a staircase. It sits across from the door, right where the old electric fireplace sat, smack in the middle of the house. Adding a staircase into a house is no small job, and it took us a while to get it laid out, but it all worked in the end. We used Home Depot treads, spindles and handrails, painted it in Farrow & Ball Stony Ground, and called it good.
The original fir floors had been hiding under Pergo, so we pulled it up and then Garrett refinished them. If we could do it over again, we'd use this more durable flooring finish, but hindsight, ya know?
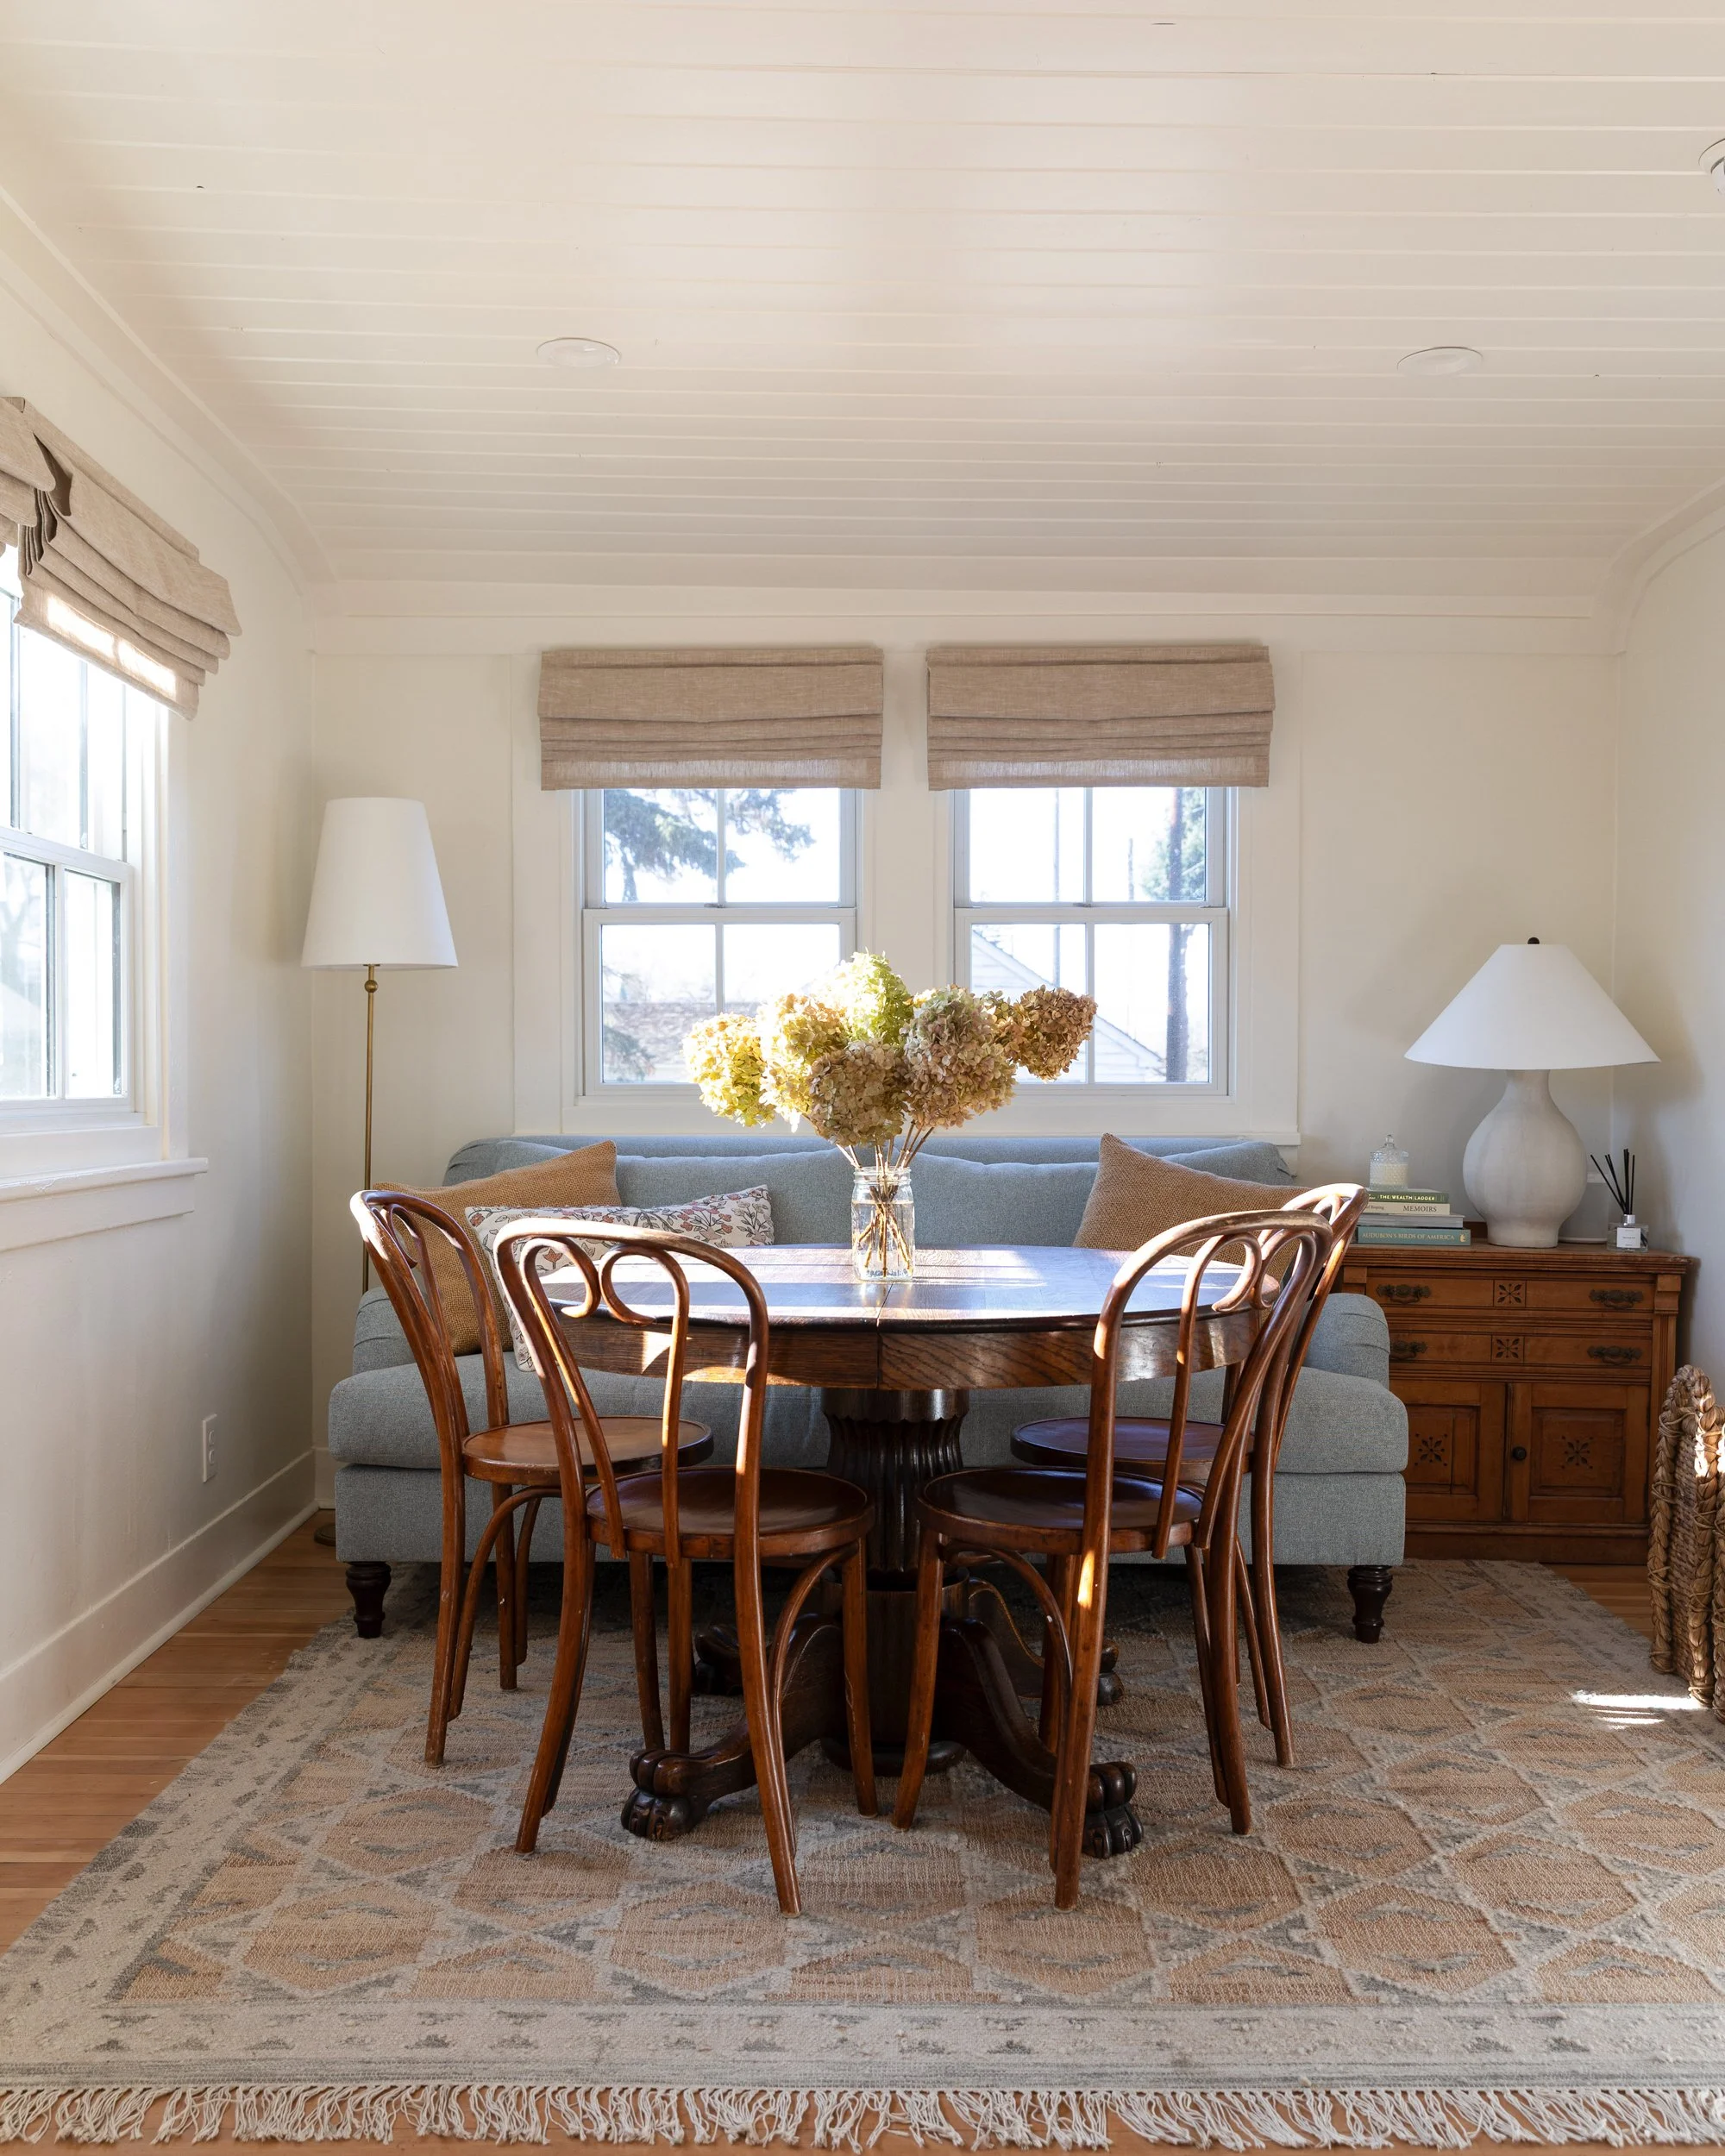
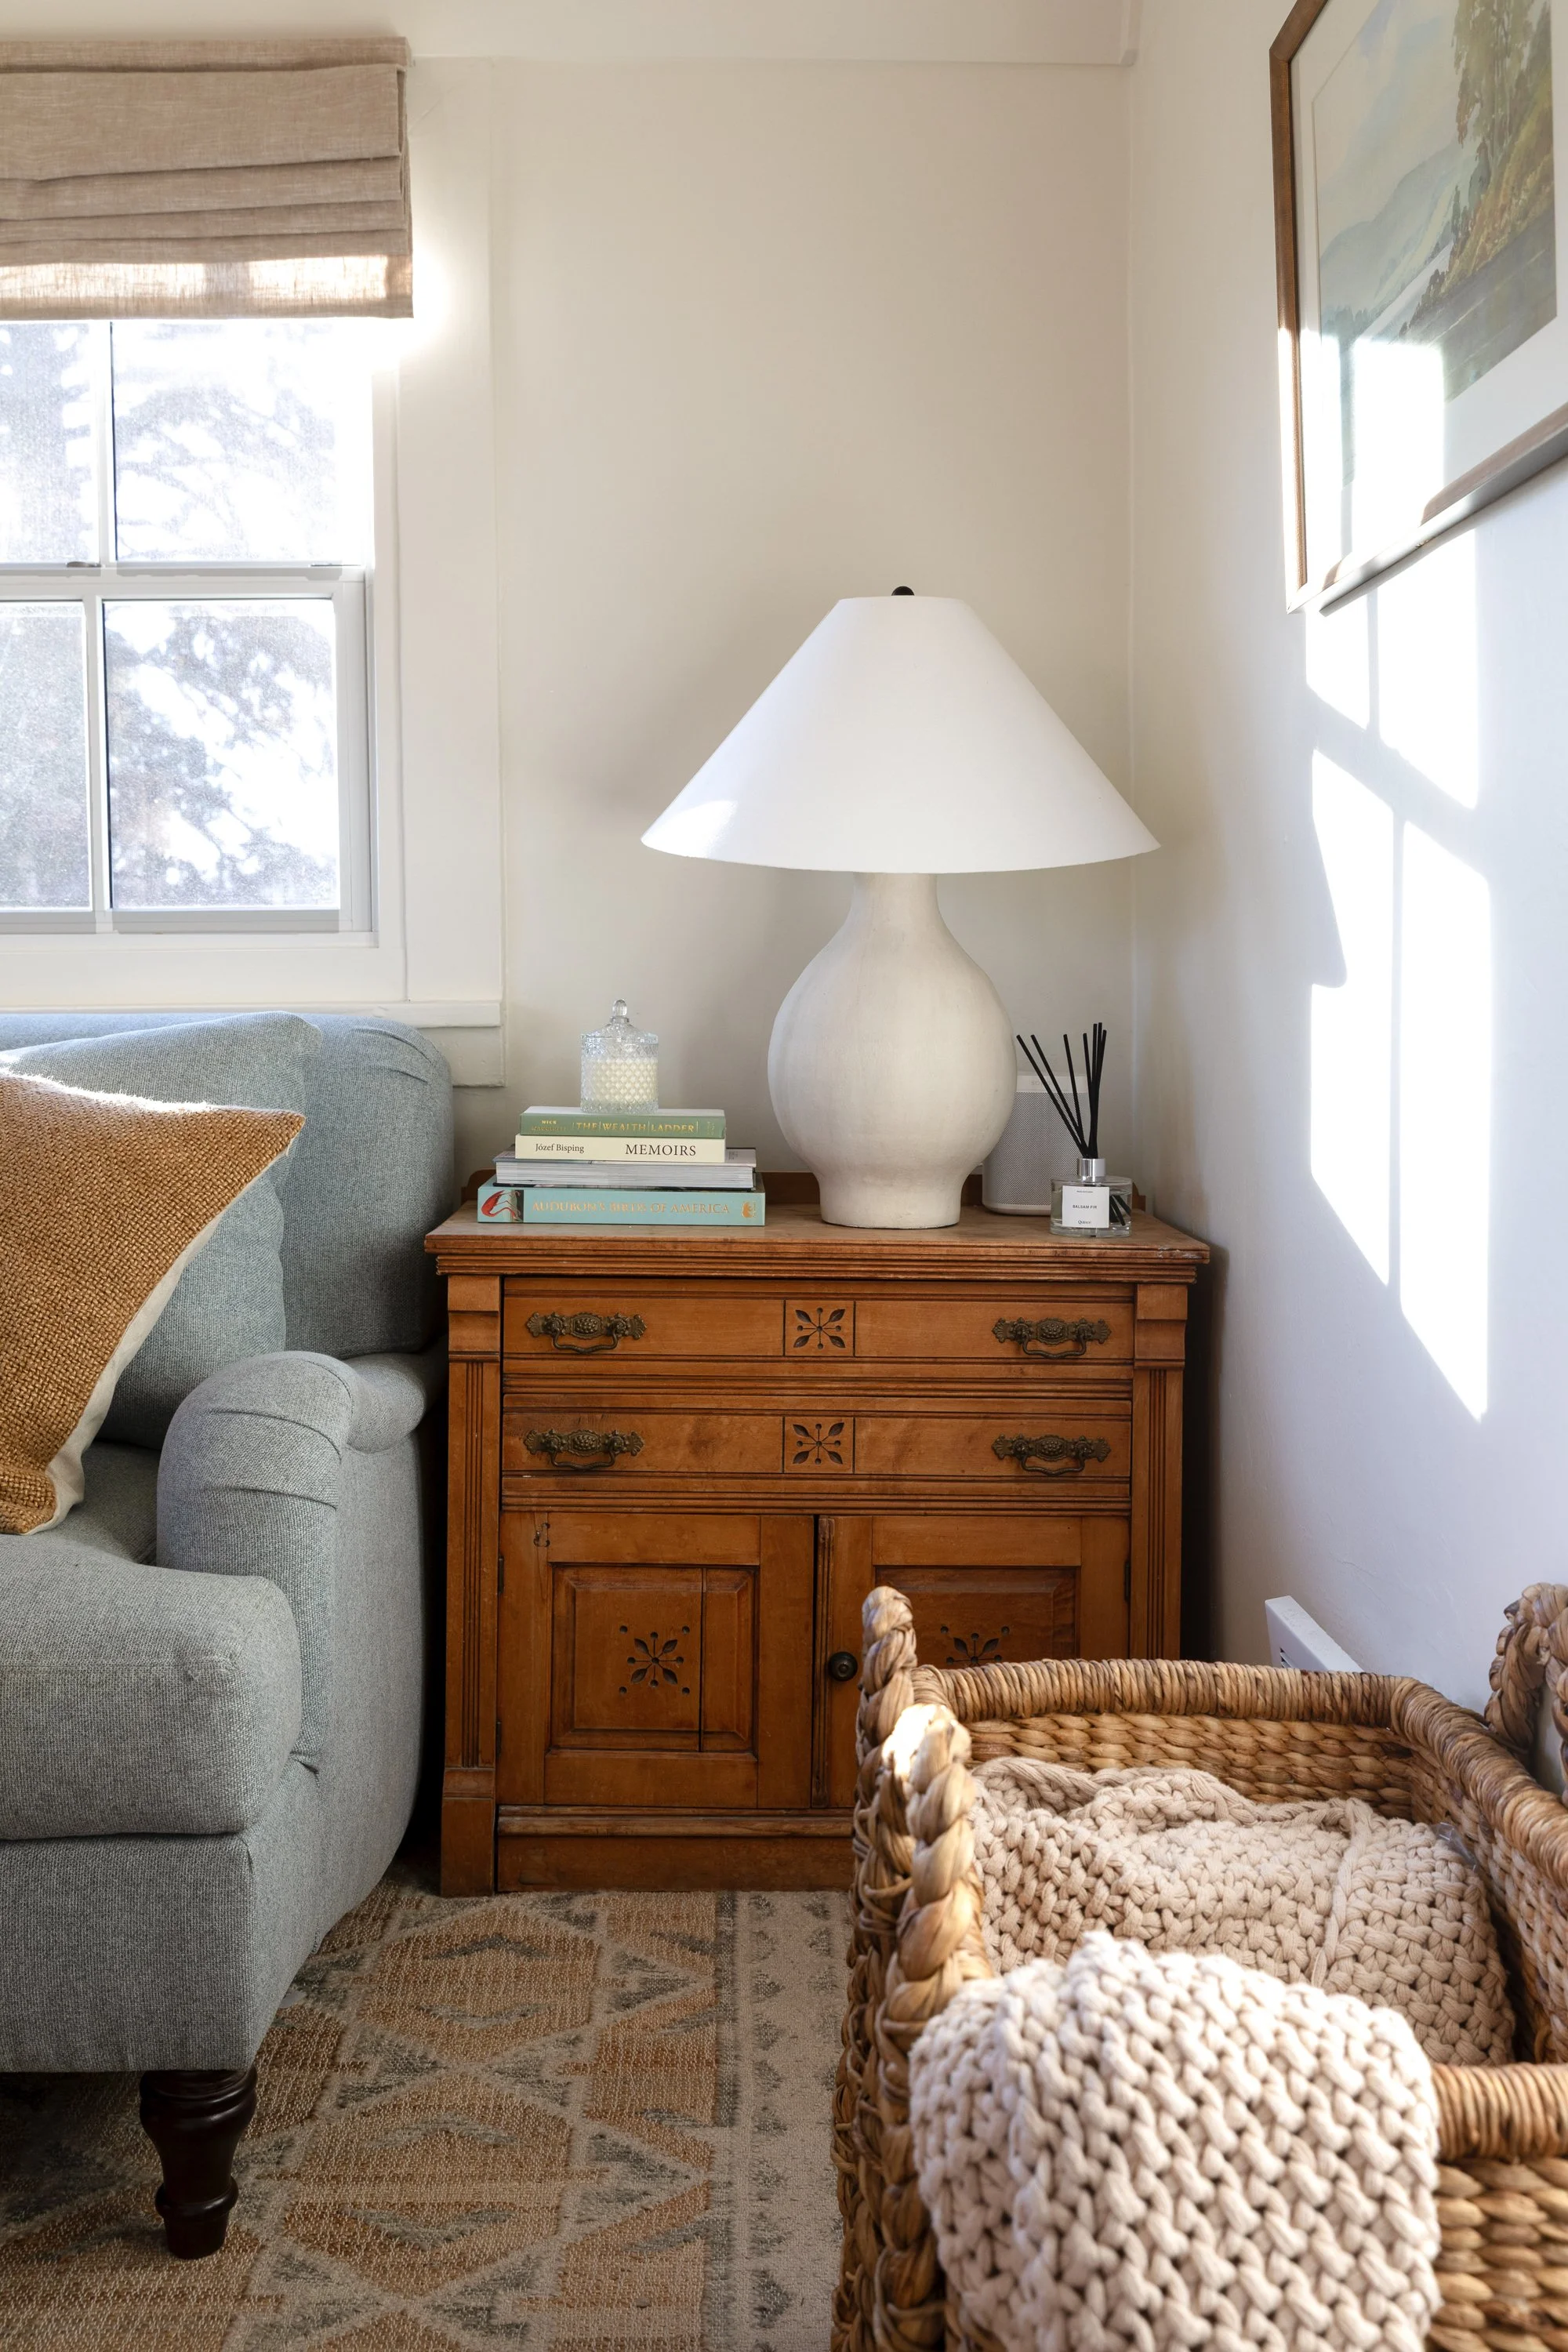
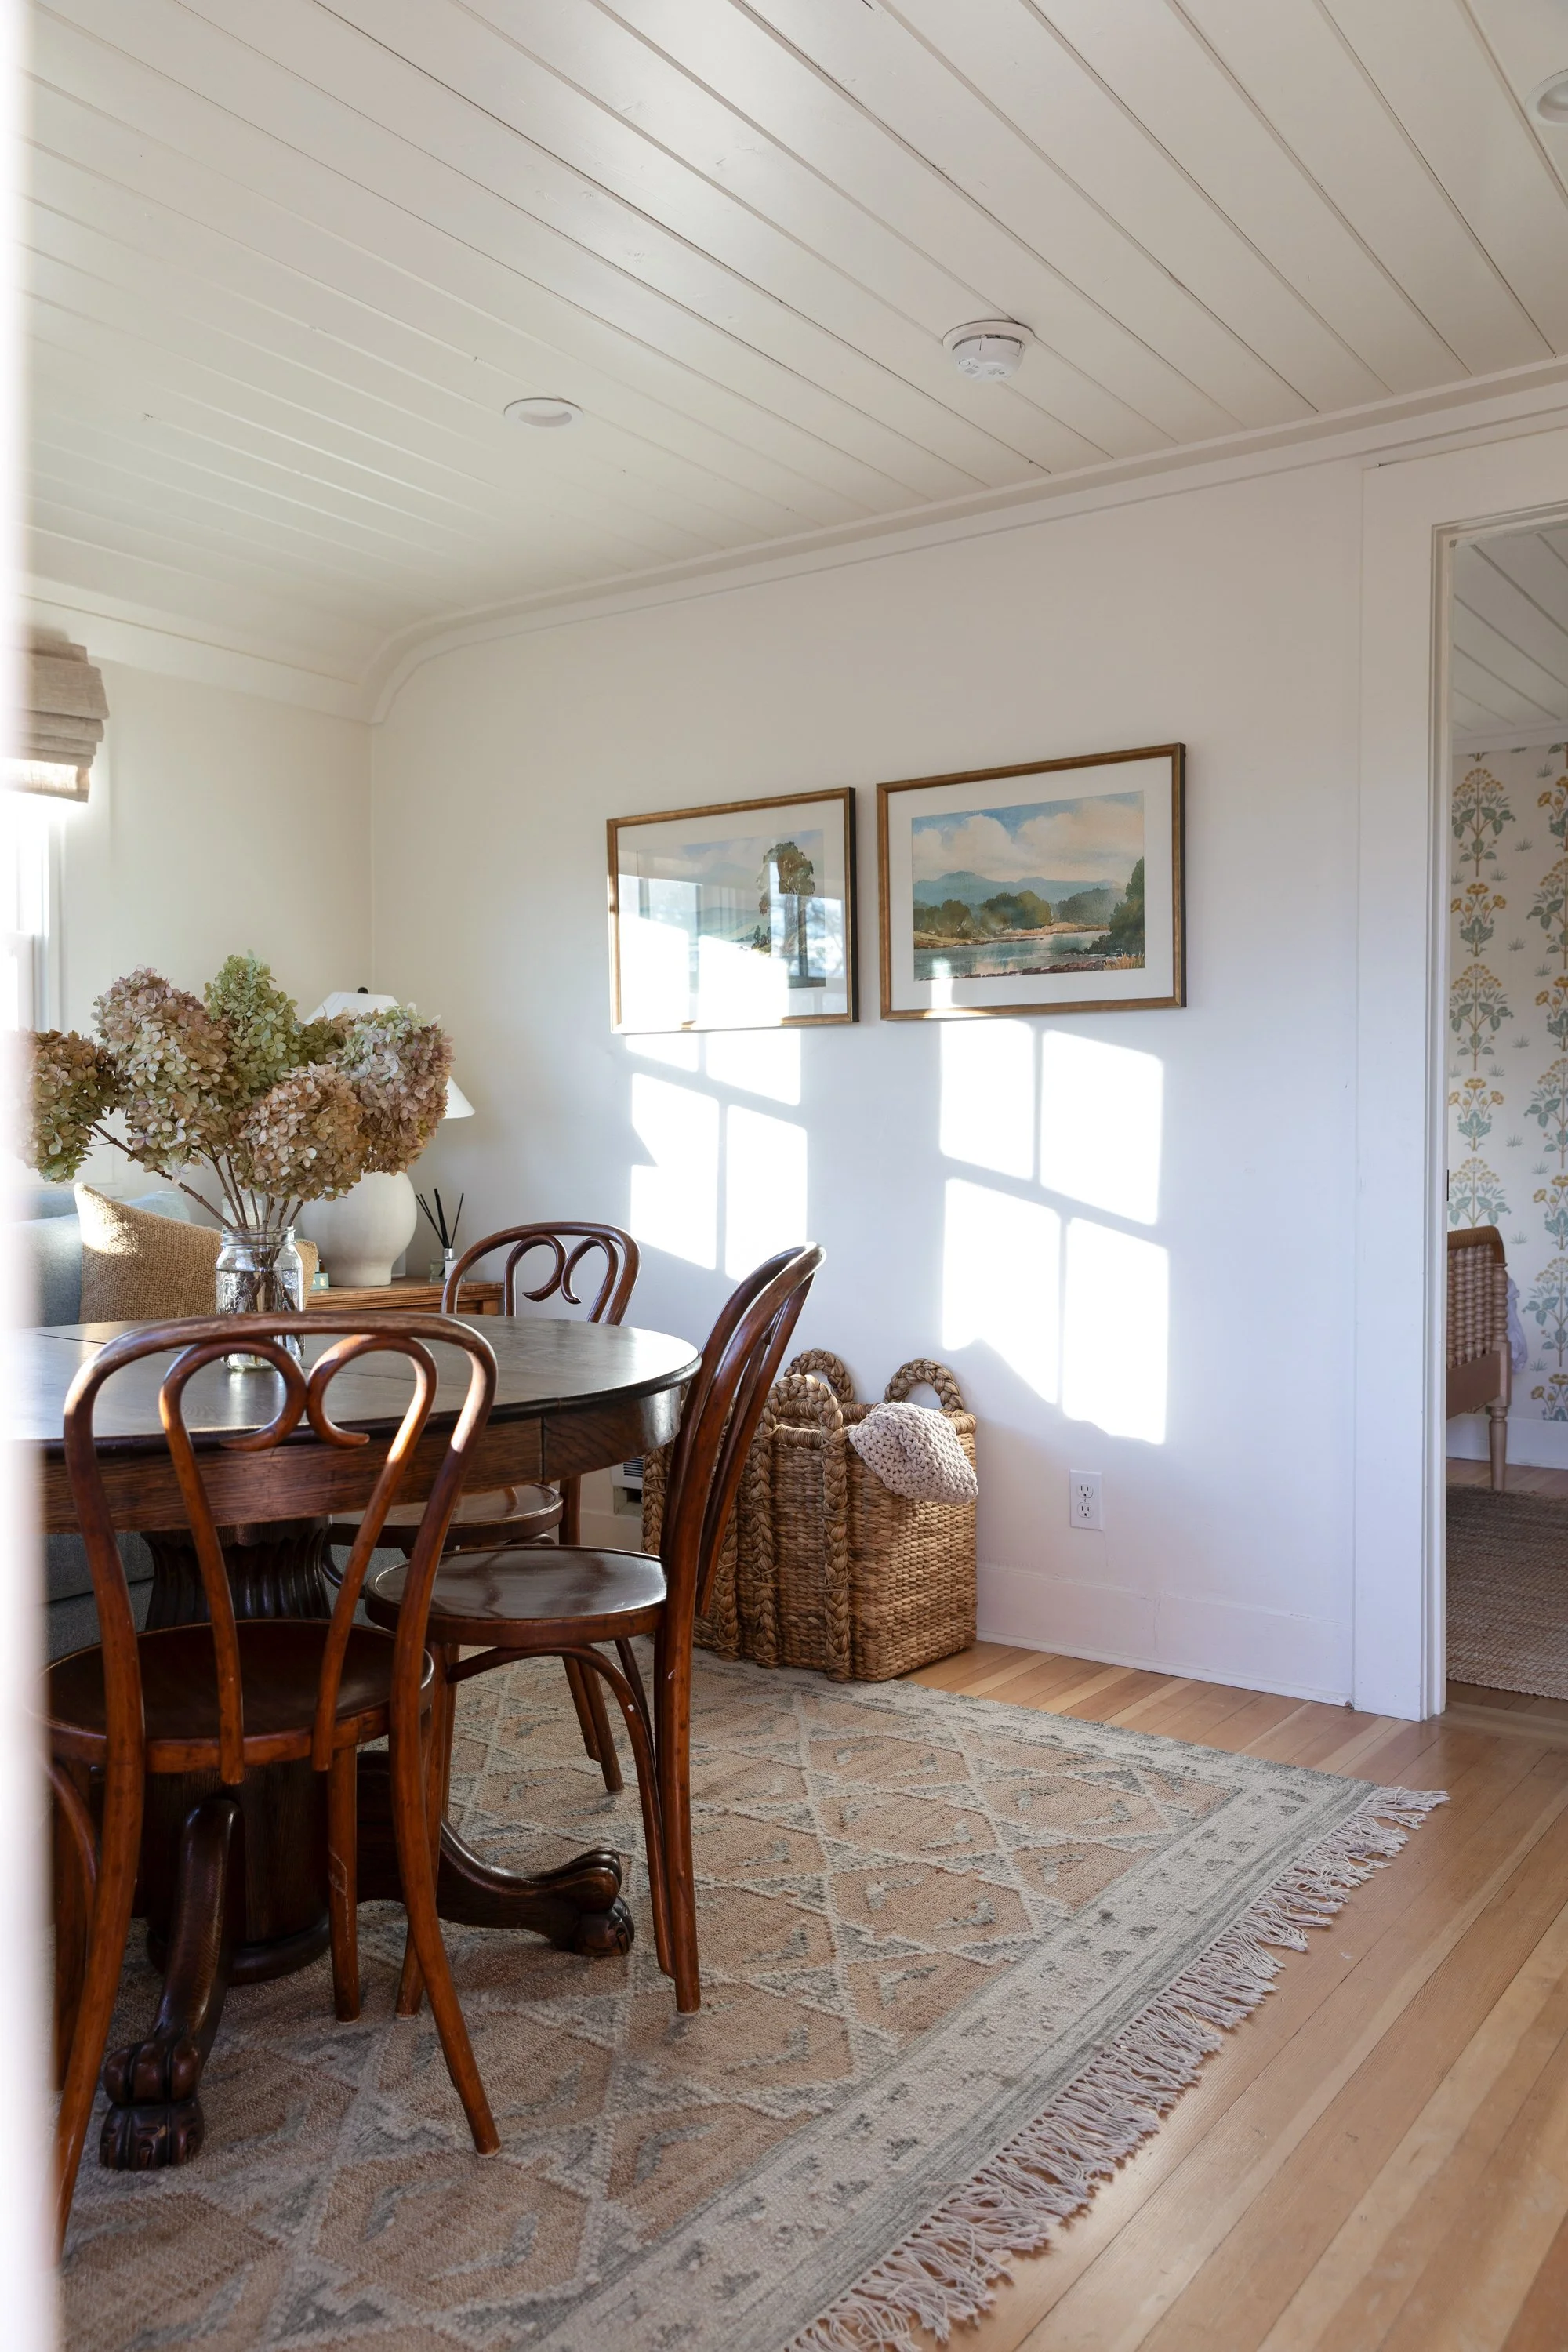
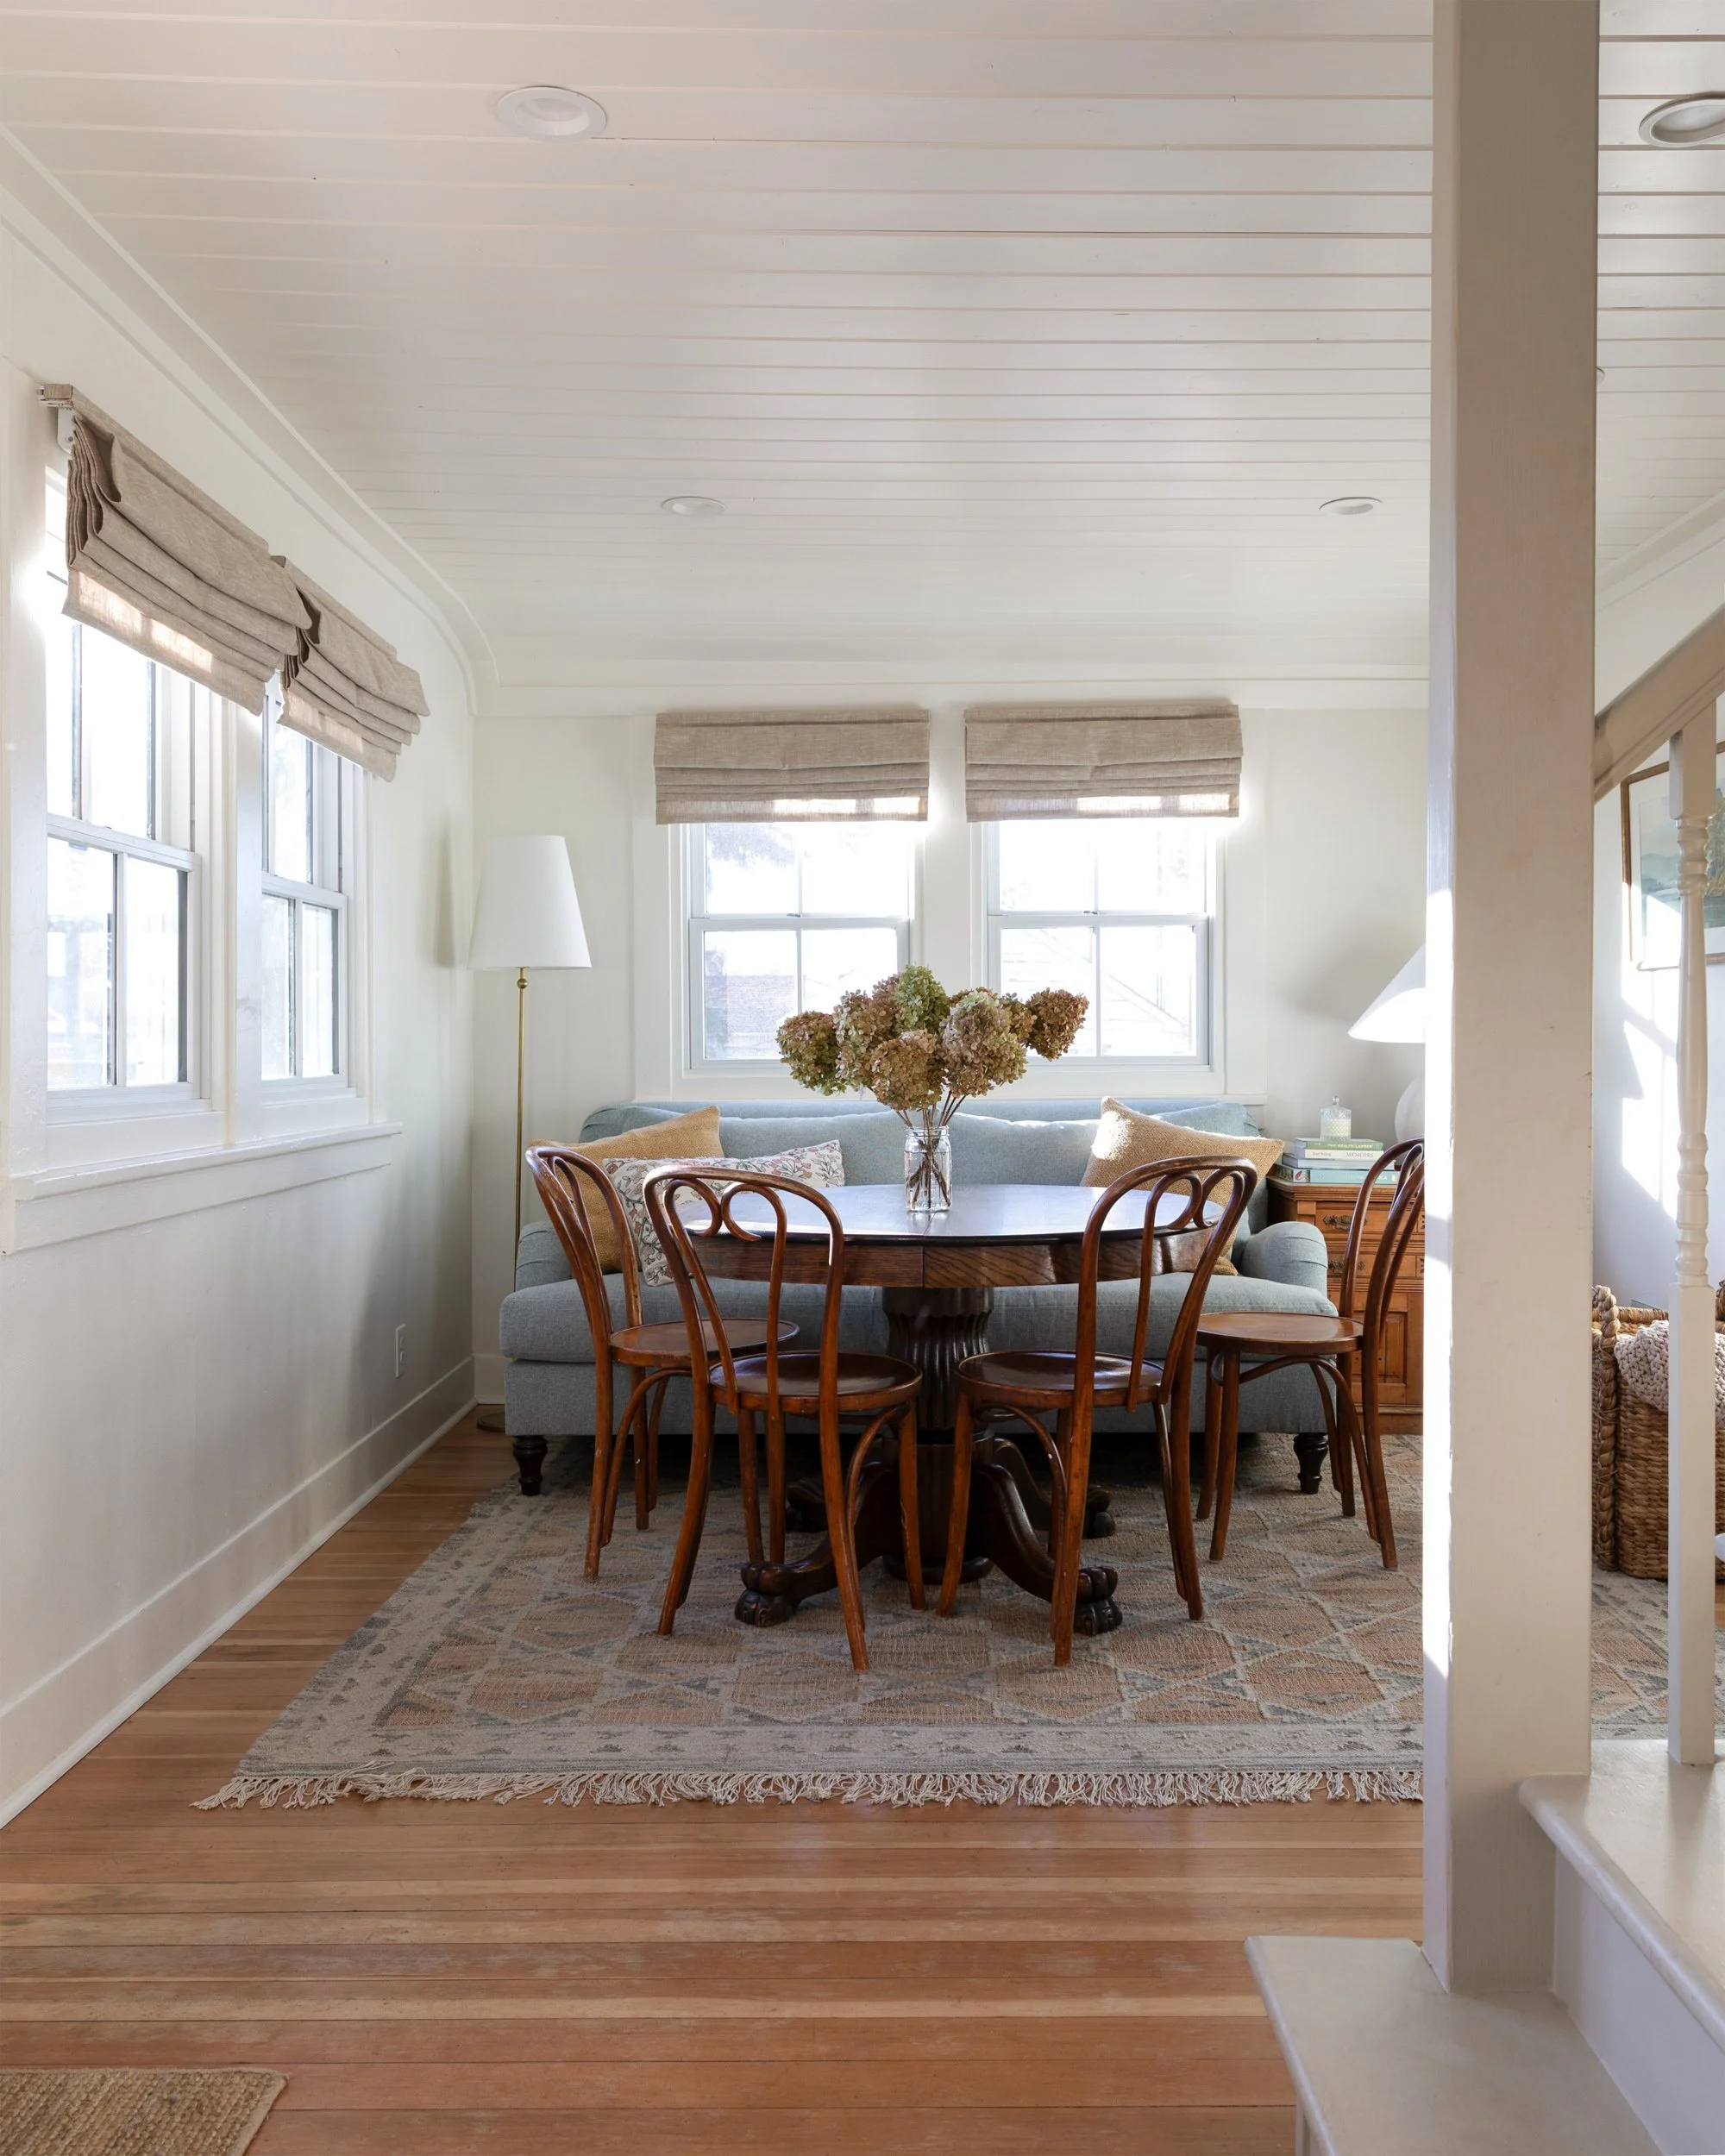
color: BM Swiss Coffee, couch, rug, table lamp, art, roman shades, basket, floor lamp, pillow,
For furniture, we mixed new and old in here. The Pottery Barn sofa (kindly gifted to us when we worked with Pottery Barn on this room) has a long bench cushion and performance fabric (hello, kids!), and the dining table is my great-grandmother's old 48-inch round table from her furniture shop in Longview, Washington. A table with that much family history feels right at home in a house with this much history of its own.
The room gets great natural light from the south and west all afternoon and into the evening, so it's where everybody ends up. When we lived here, this space handled meals, games, homework, hanging out, and entertaining, all in one little room. It was tight but really cozy and charming in the way only small spaces can be. It's definitely a 'bring together room' that just kinda collects people :)
For a brief moment last holiday season we had this space set up as a living room, with a coffee table in place of the dining table. It was pretty cute.
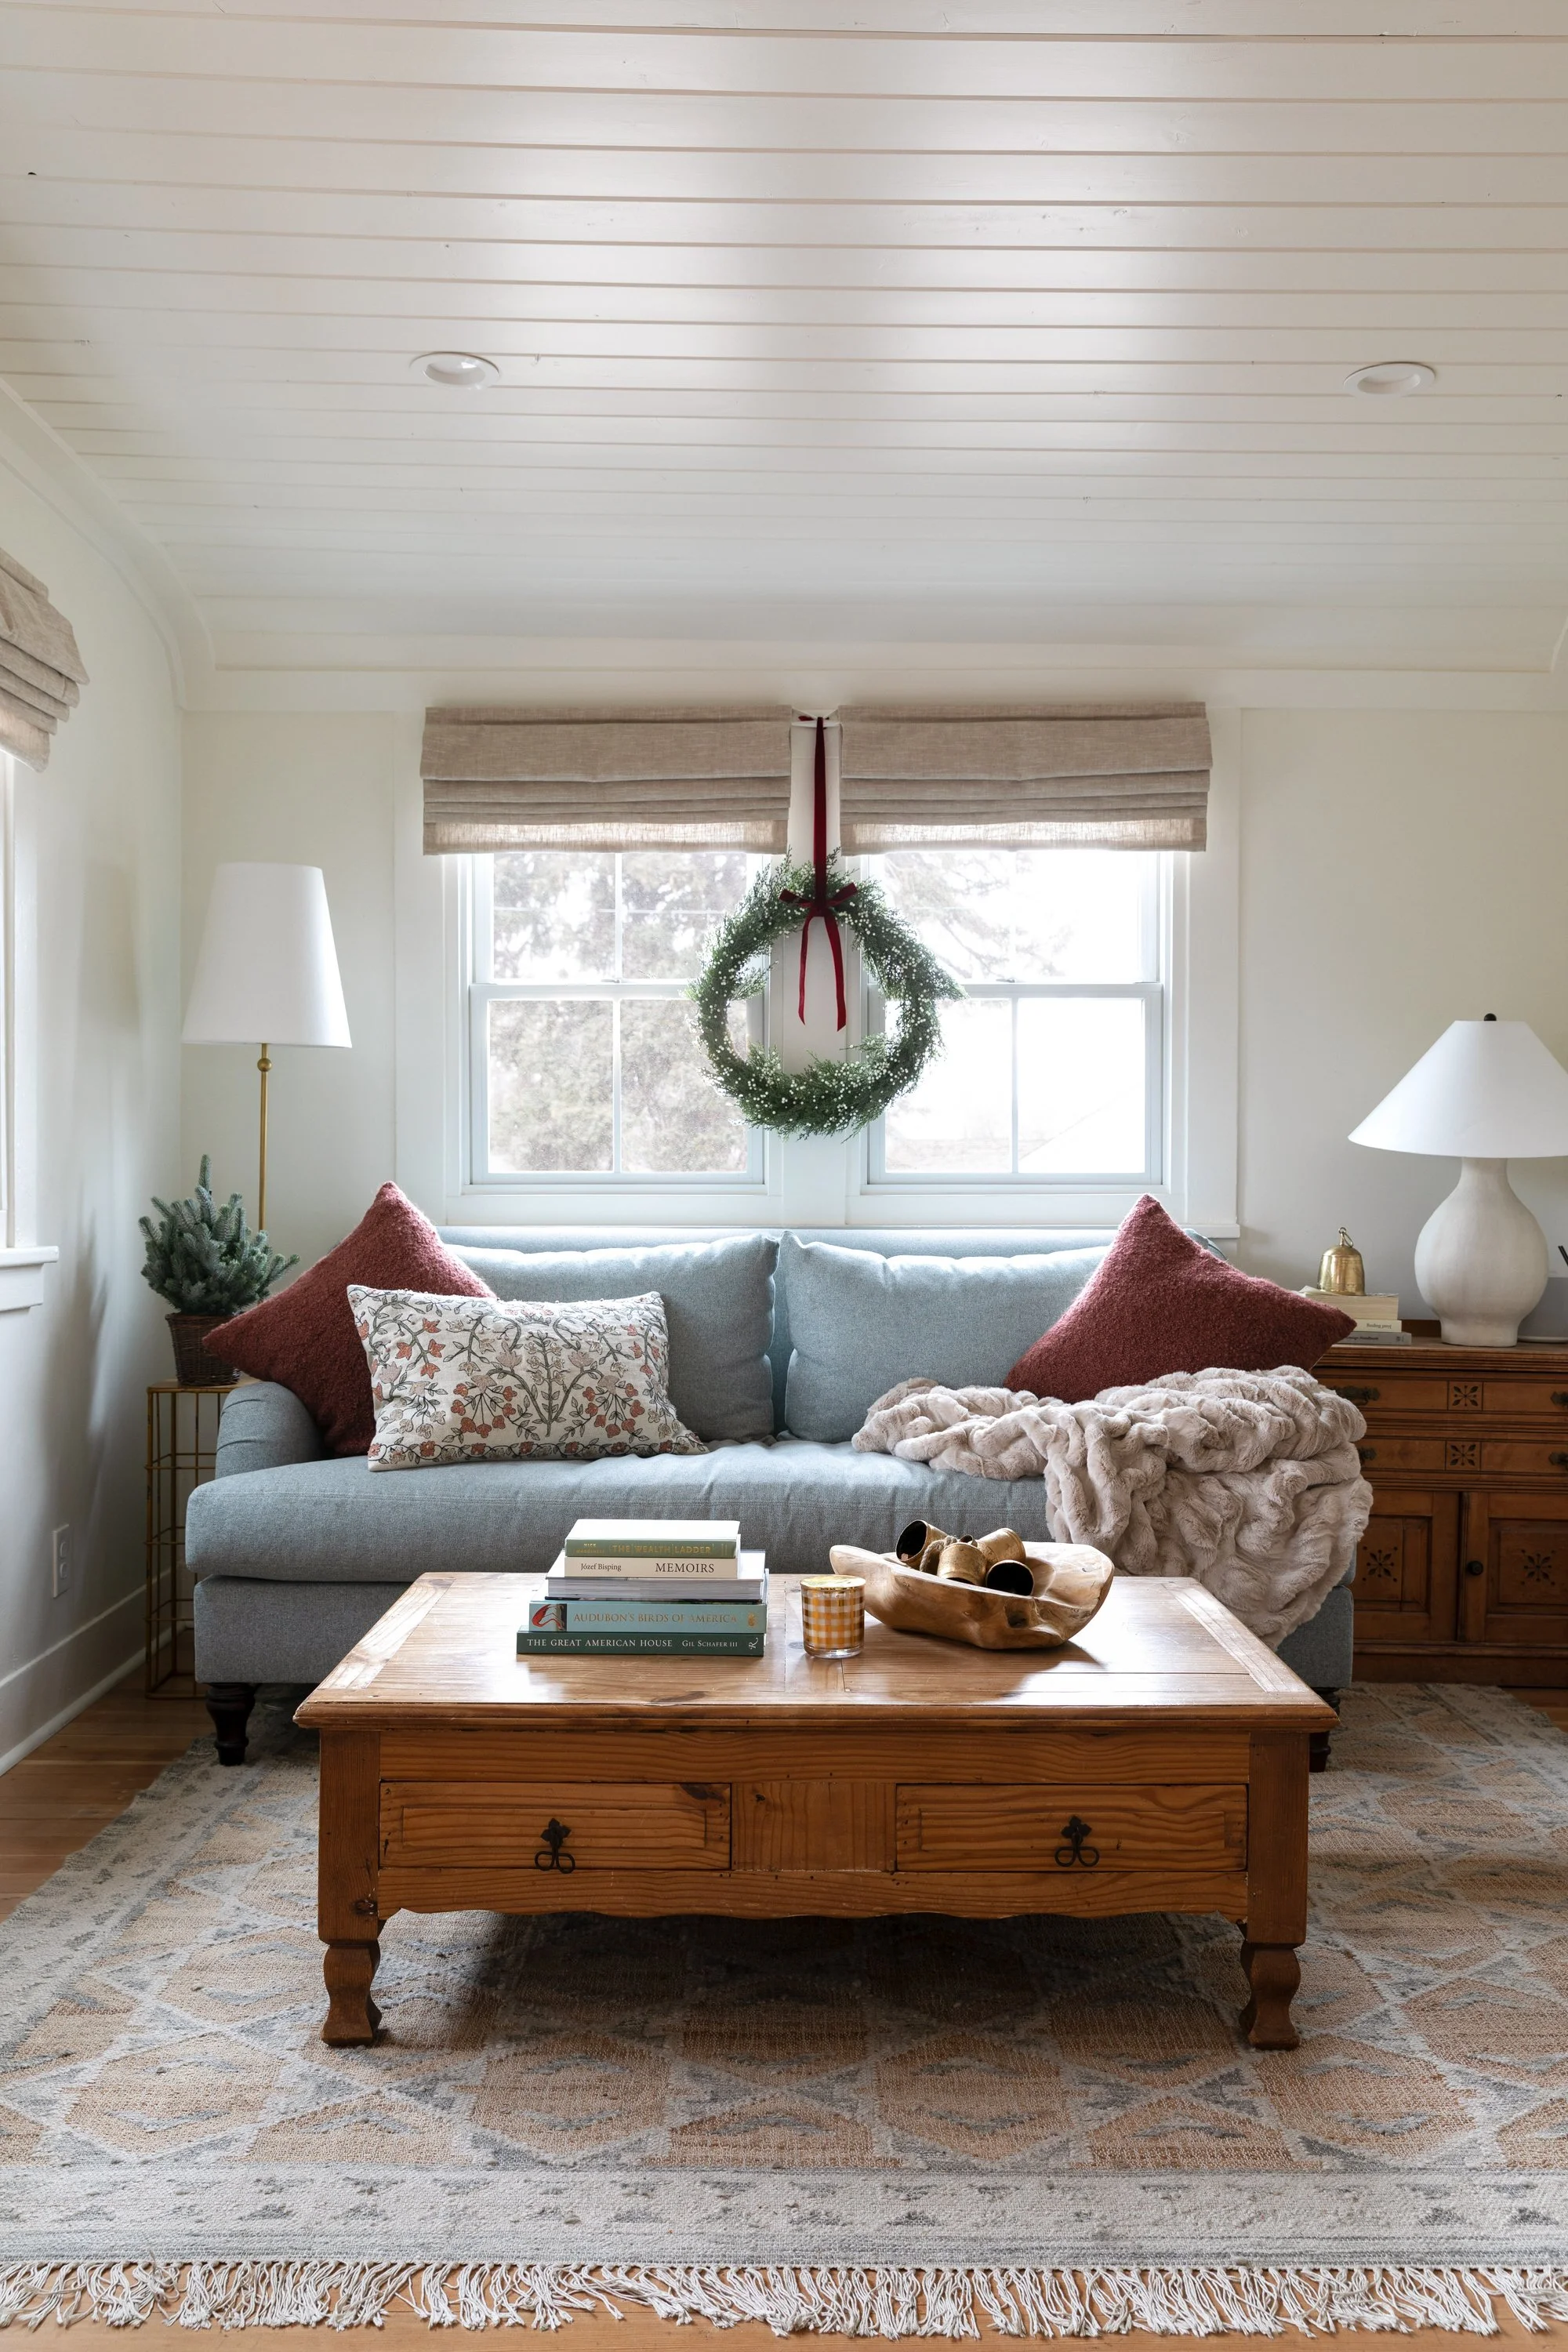
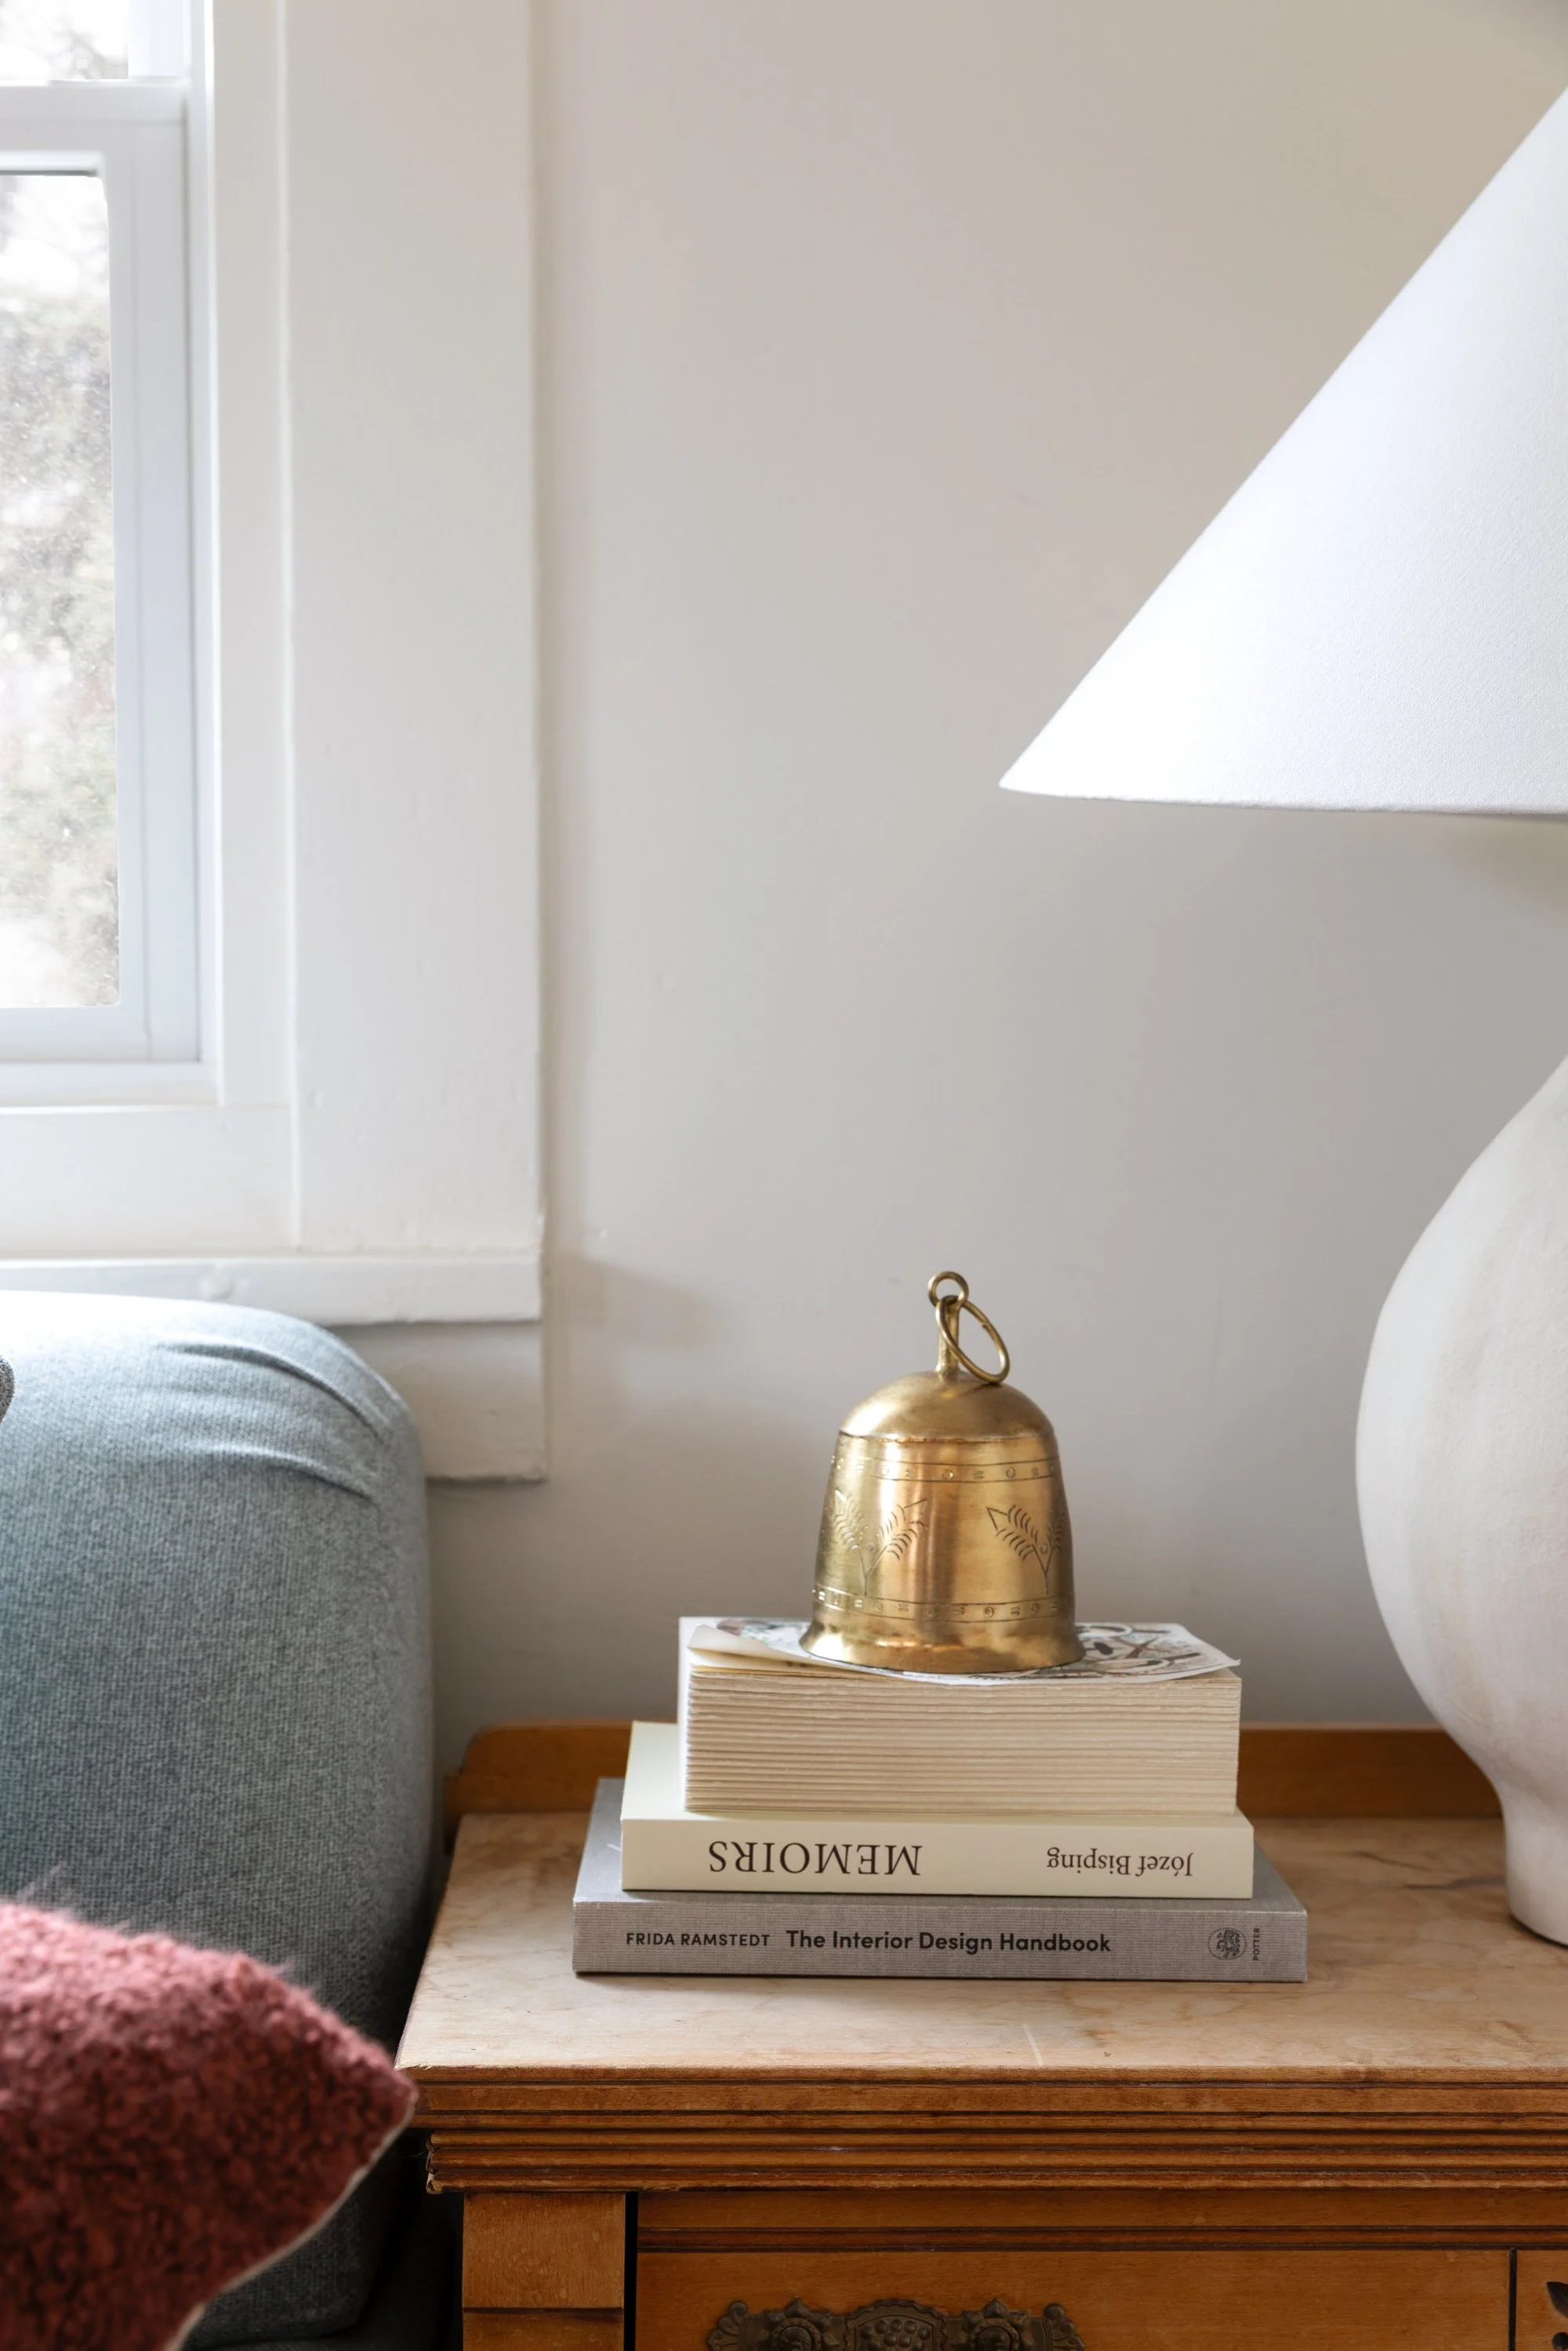
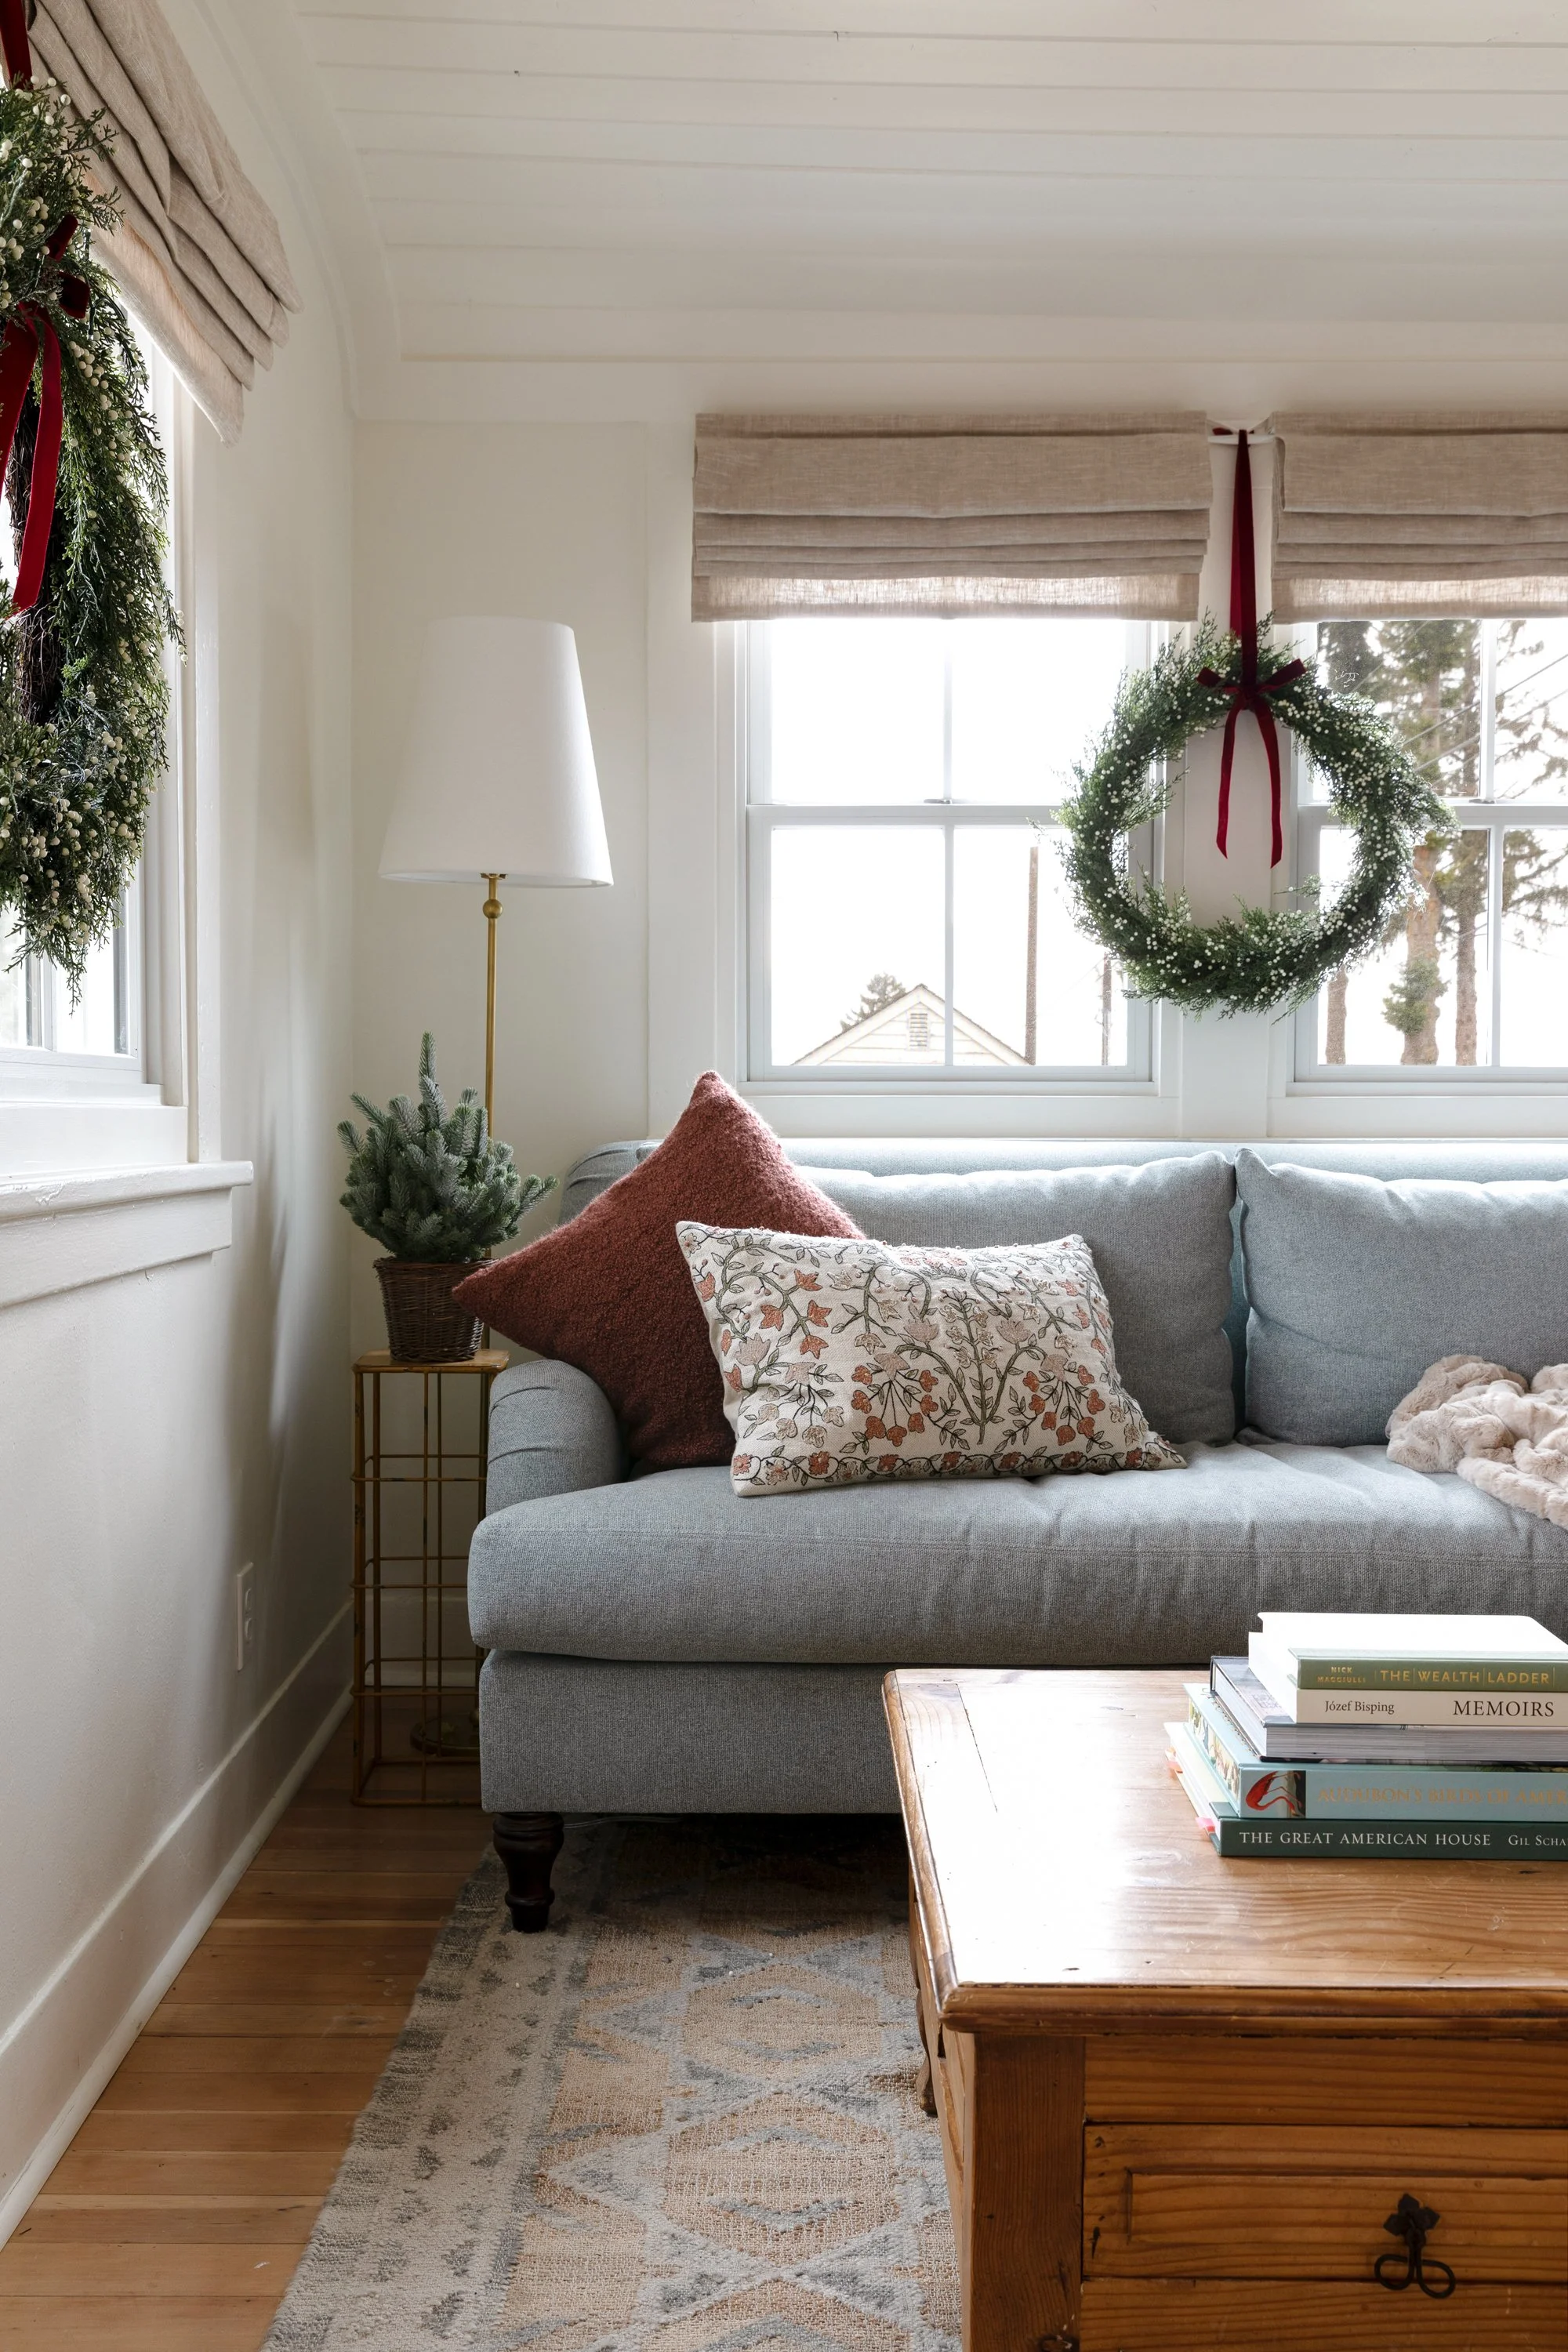
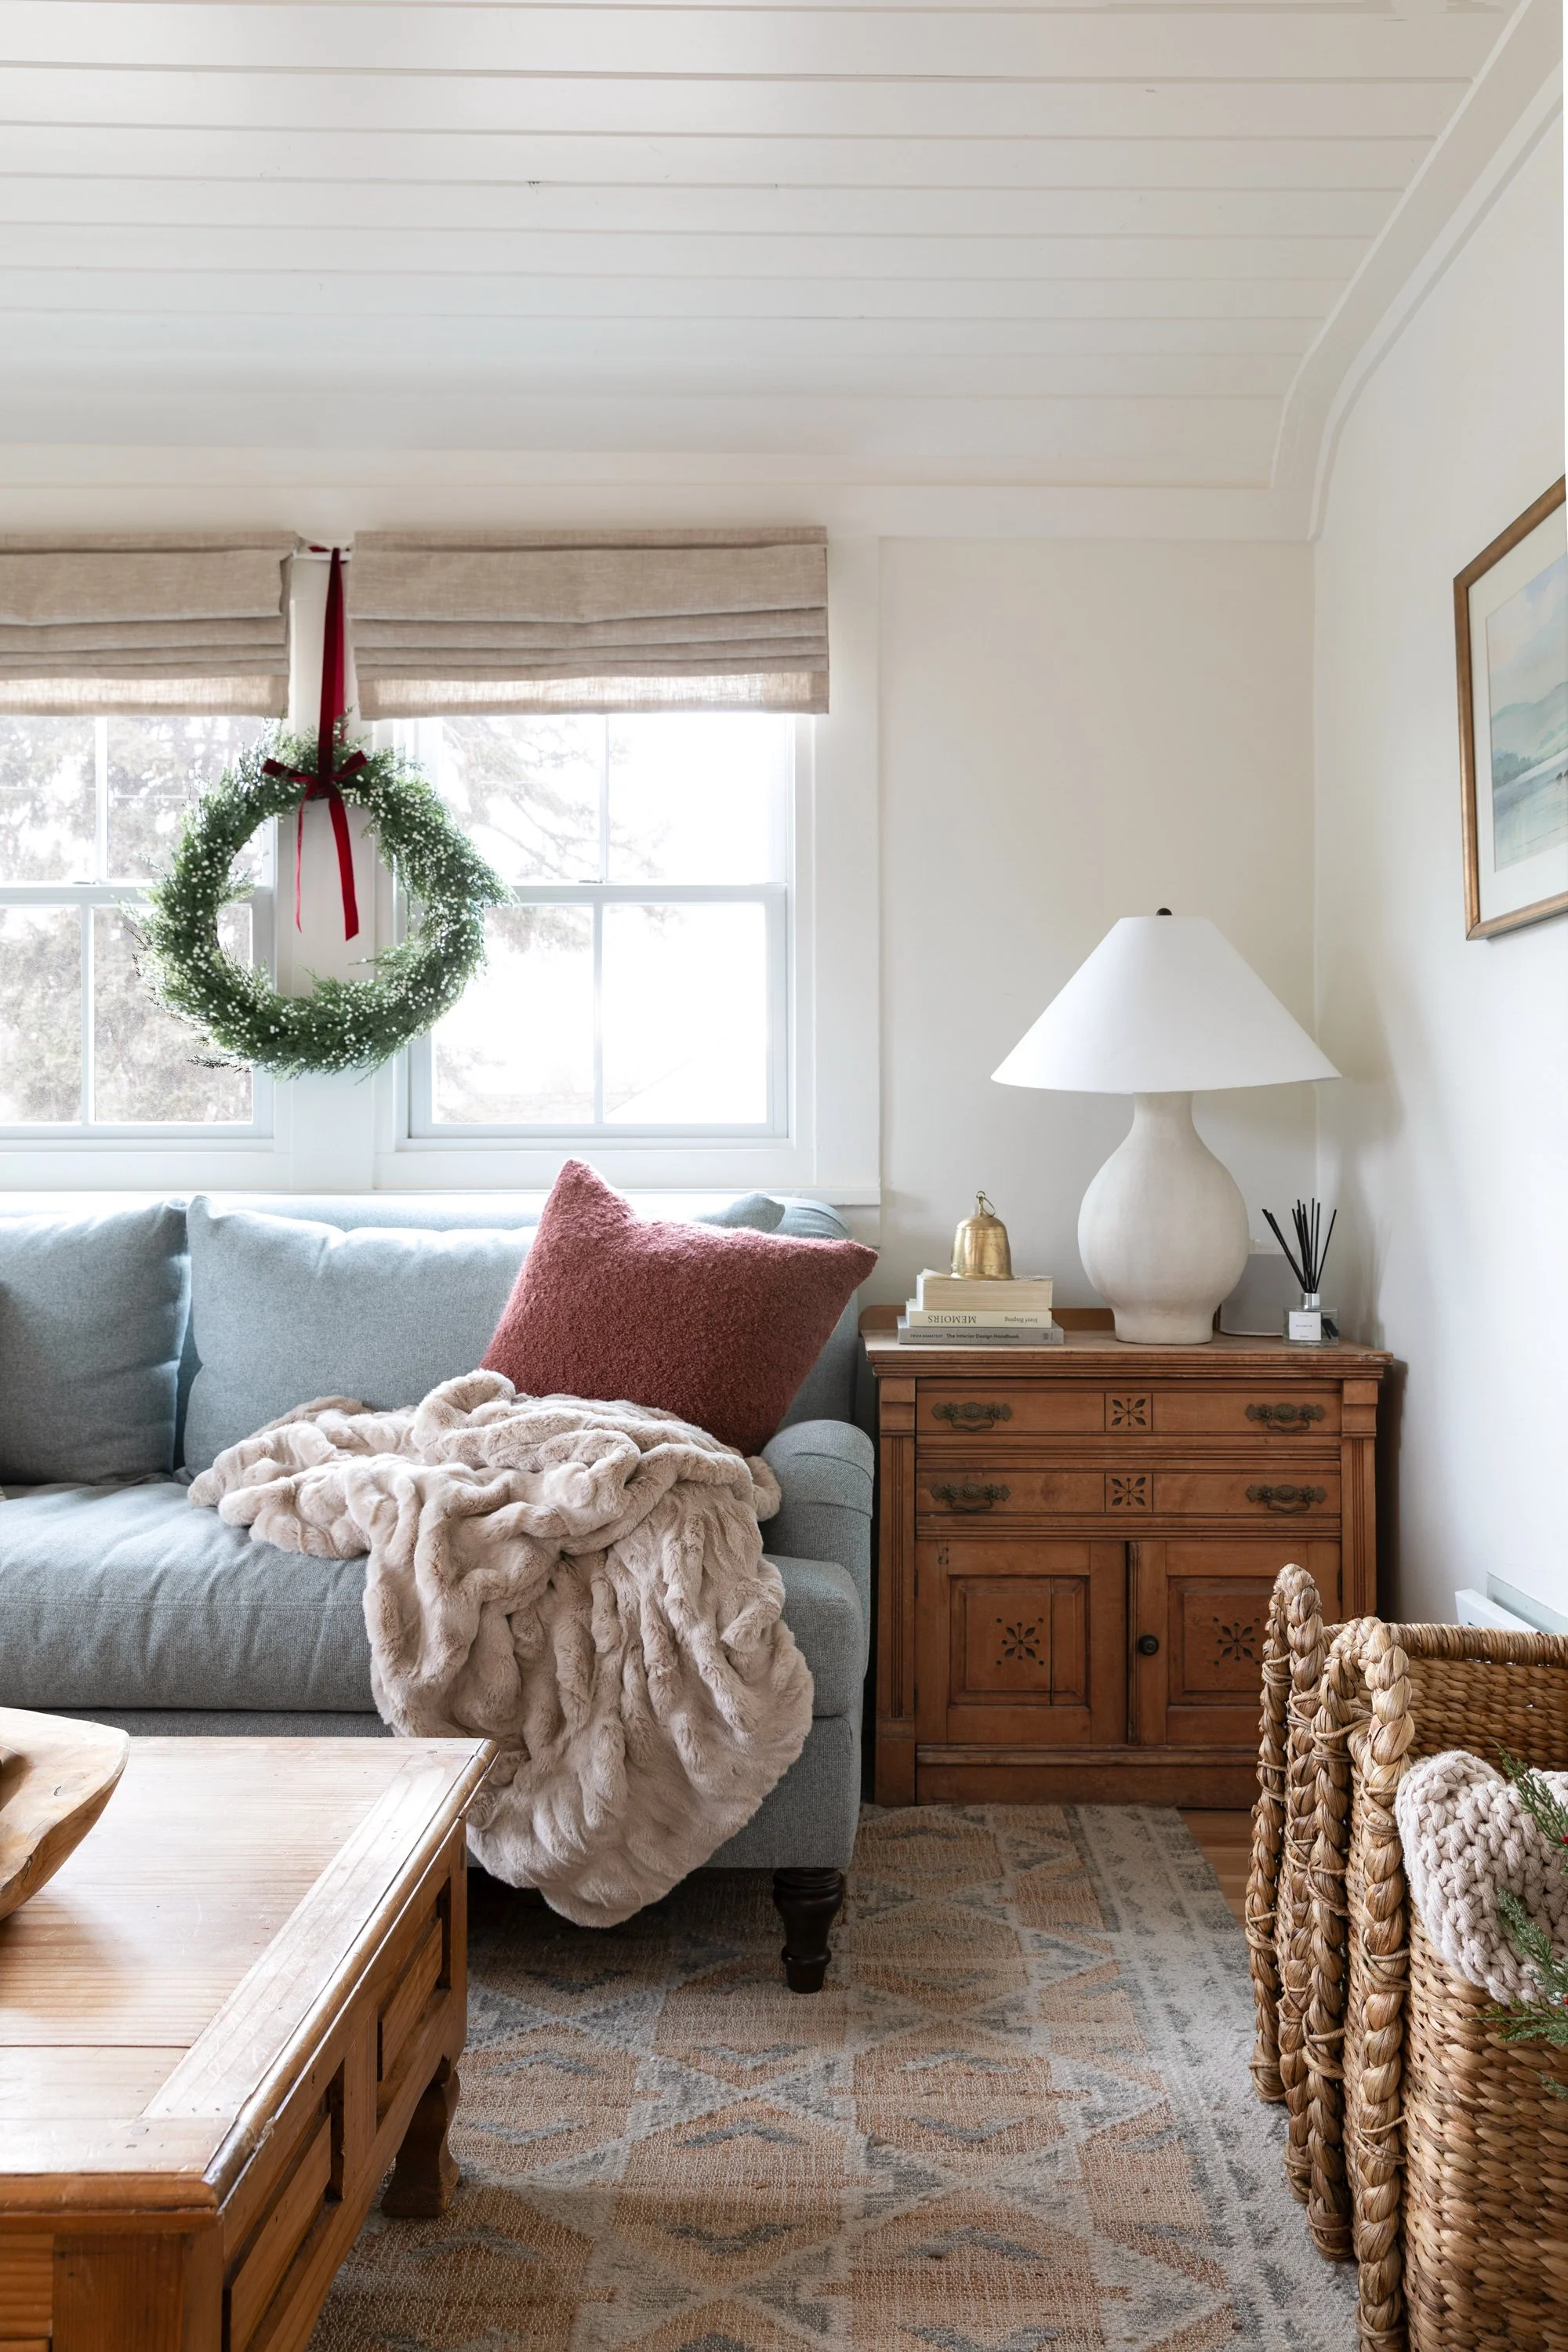
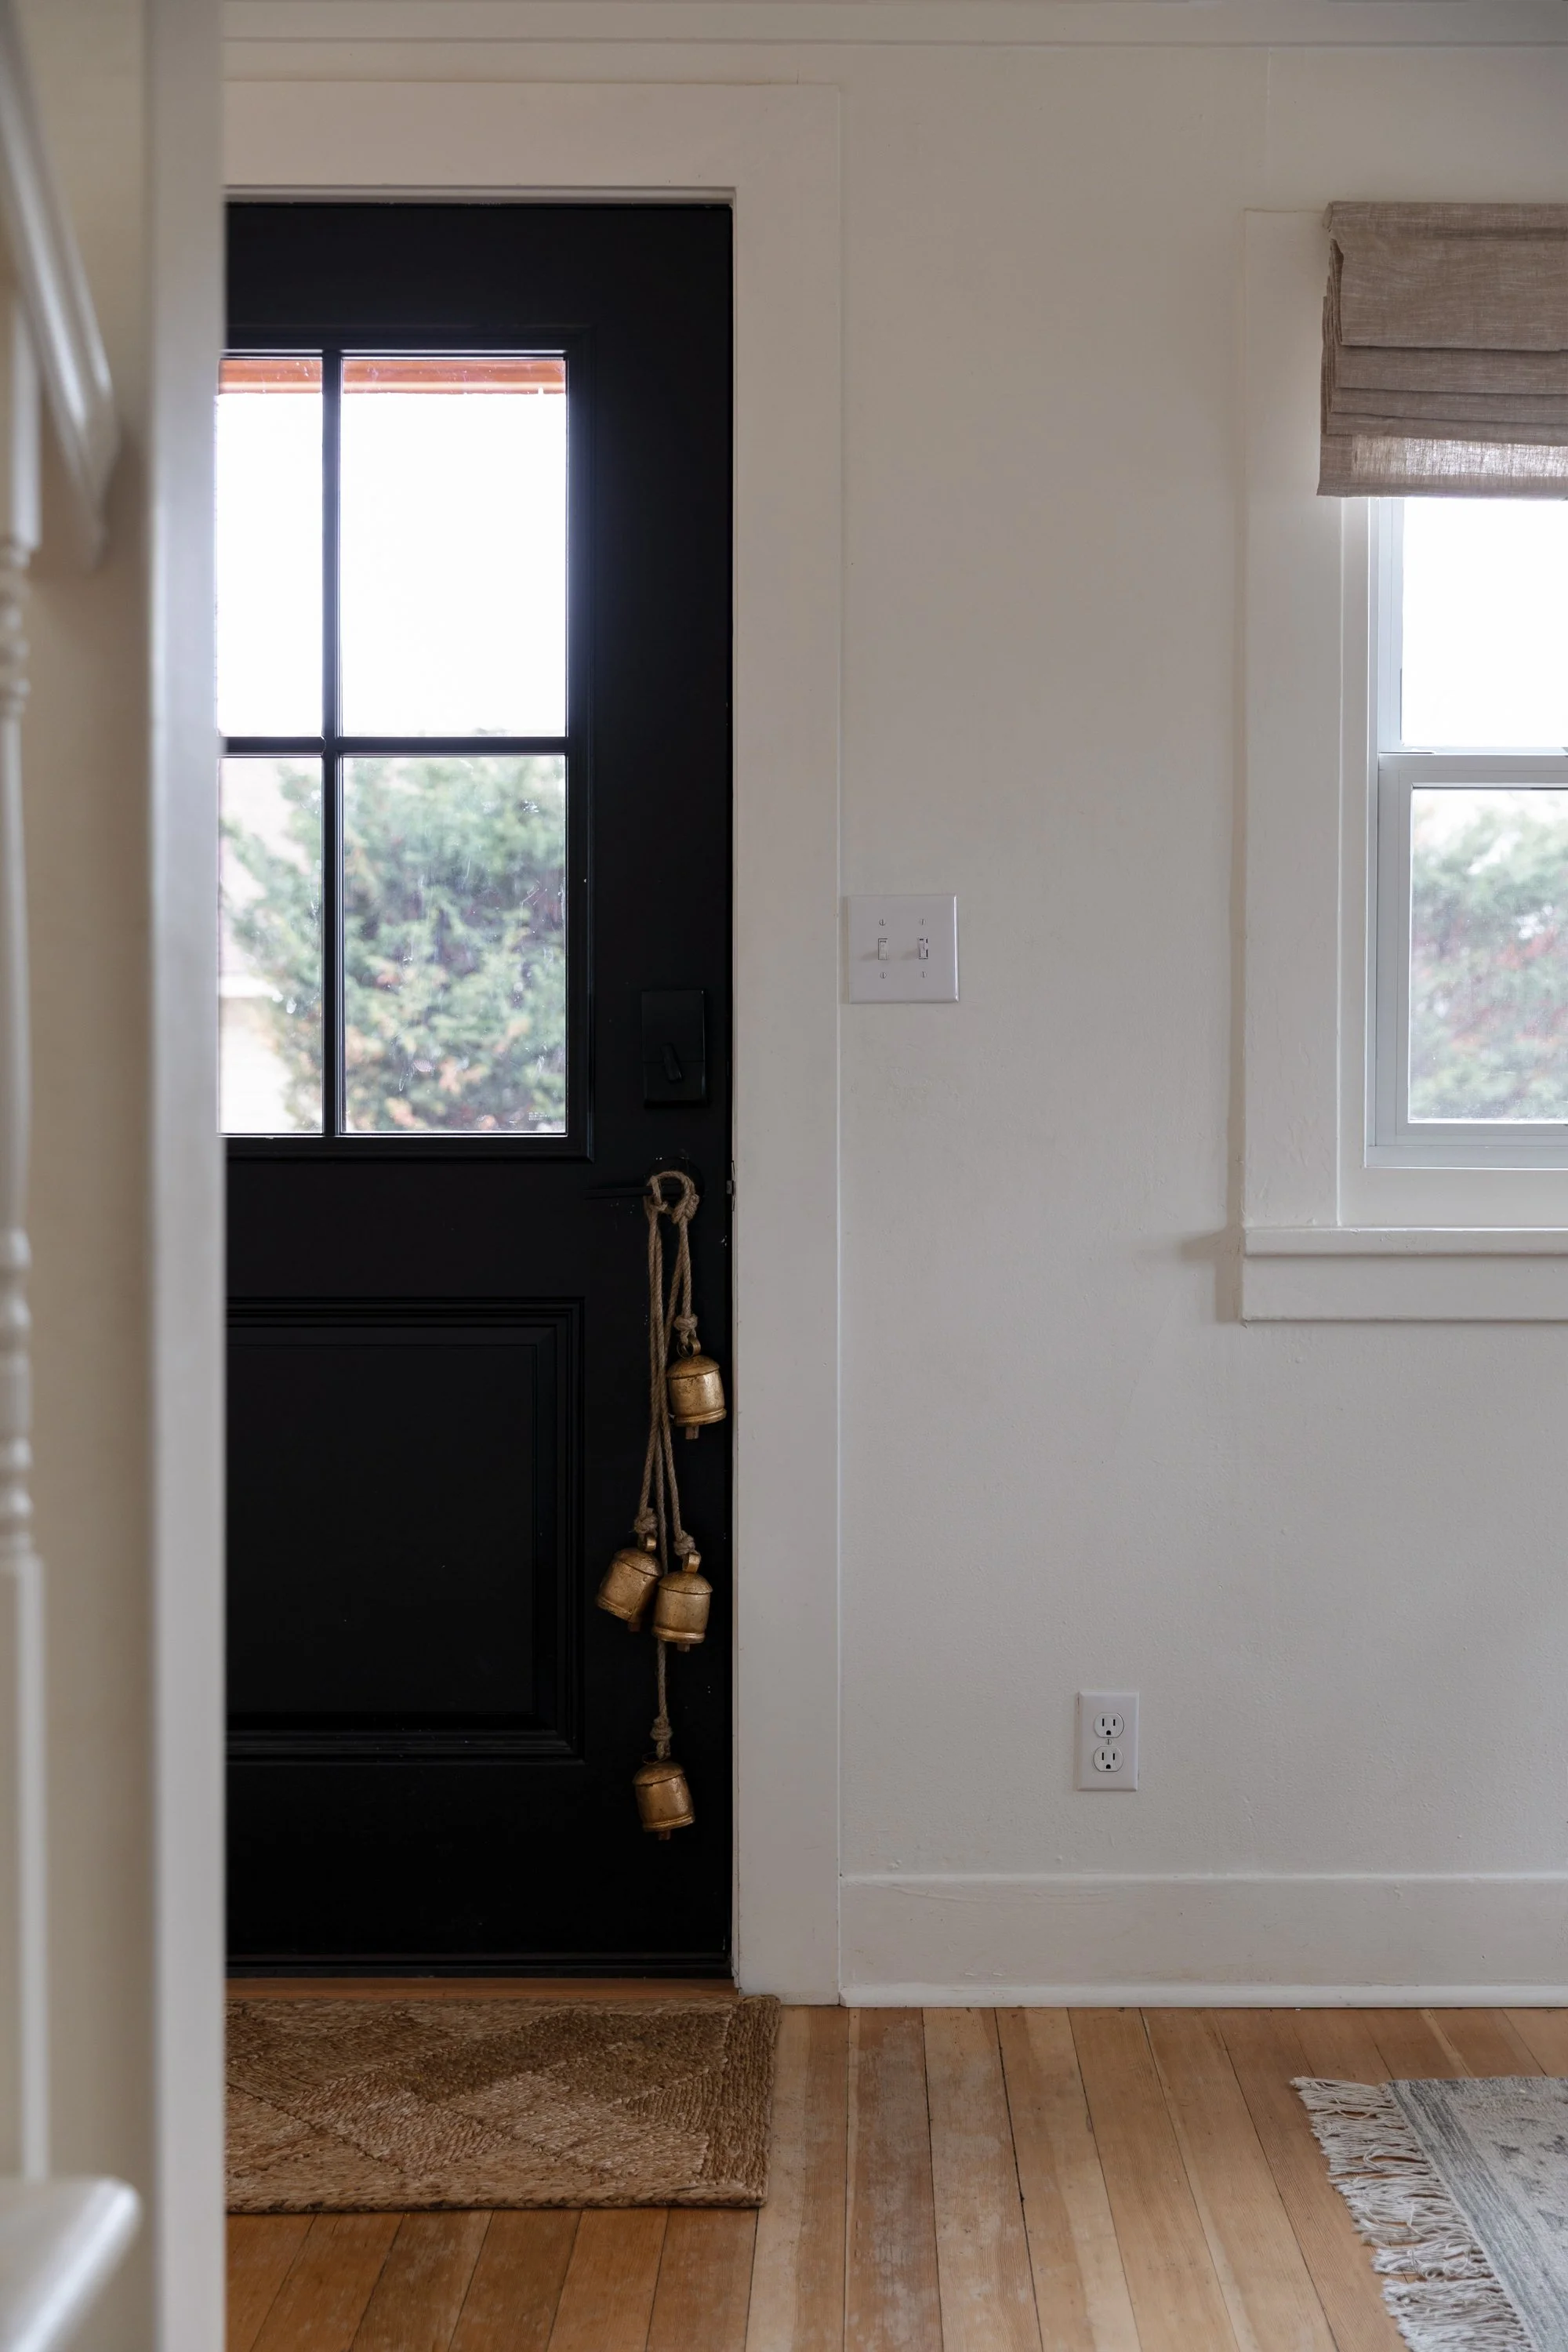
wreath, hanging bells, antique bell, blanket, boucle pillow cover
More on this room: the full sitting room + dining room reveal, the staircase, the furniture we chose, our ready-made roman shades, and how we hid an ugly ceiling with planking.
Here’s what this space looked like when we bought the house.


The Kitchen: Stock Cabinets, Custom Details
To the right of the front door is the kitchen. We got most of it done (about 75%) before we lifted the house. The goal was a small, hardworking kitchen that feels custom without the custom price tag. We weren't chasing trendy, we were chasing classic, and I think the layers we added over five years show.
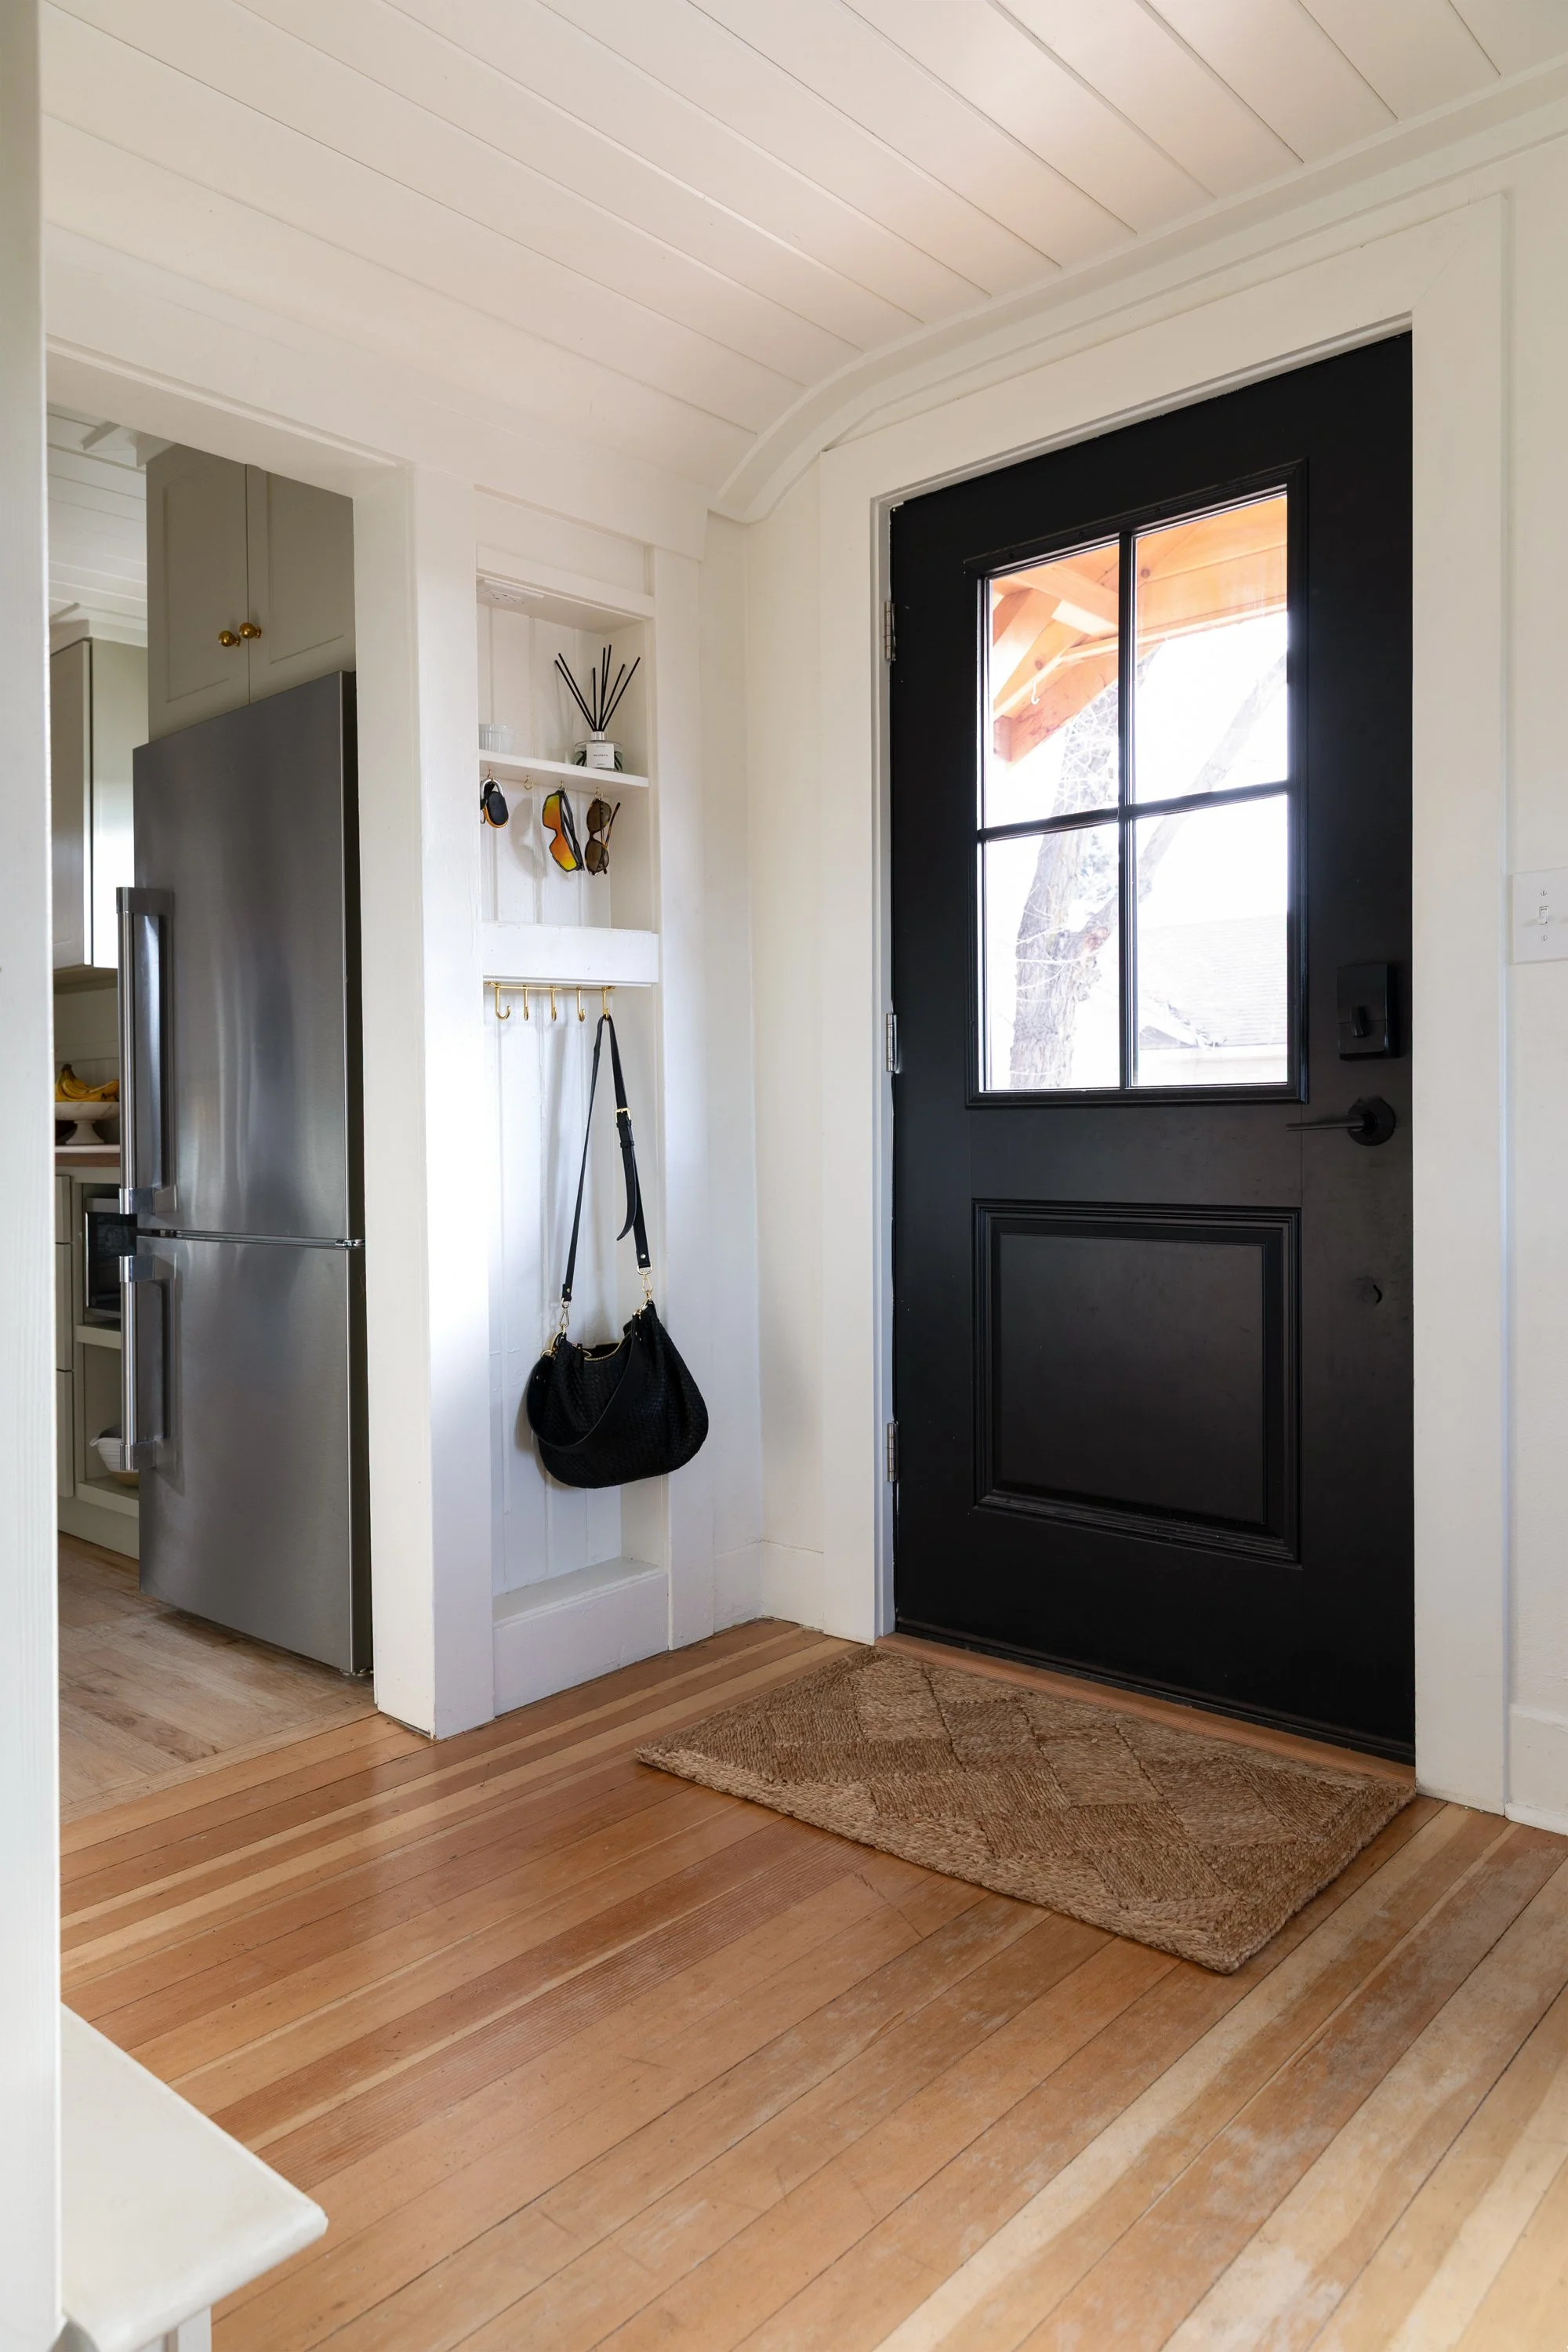
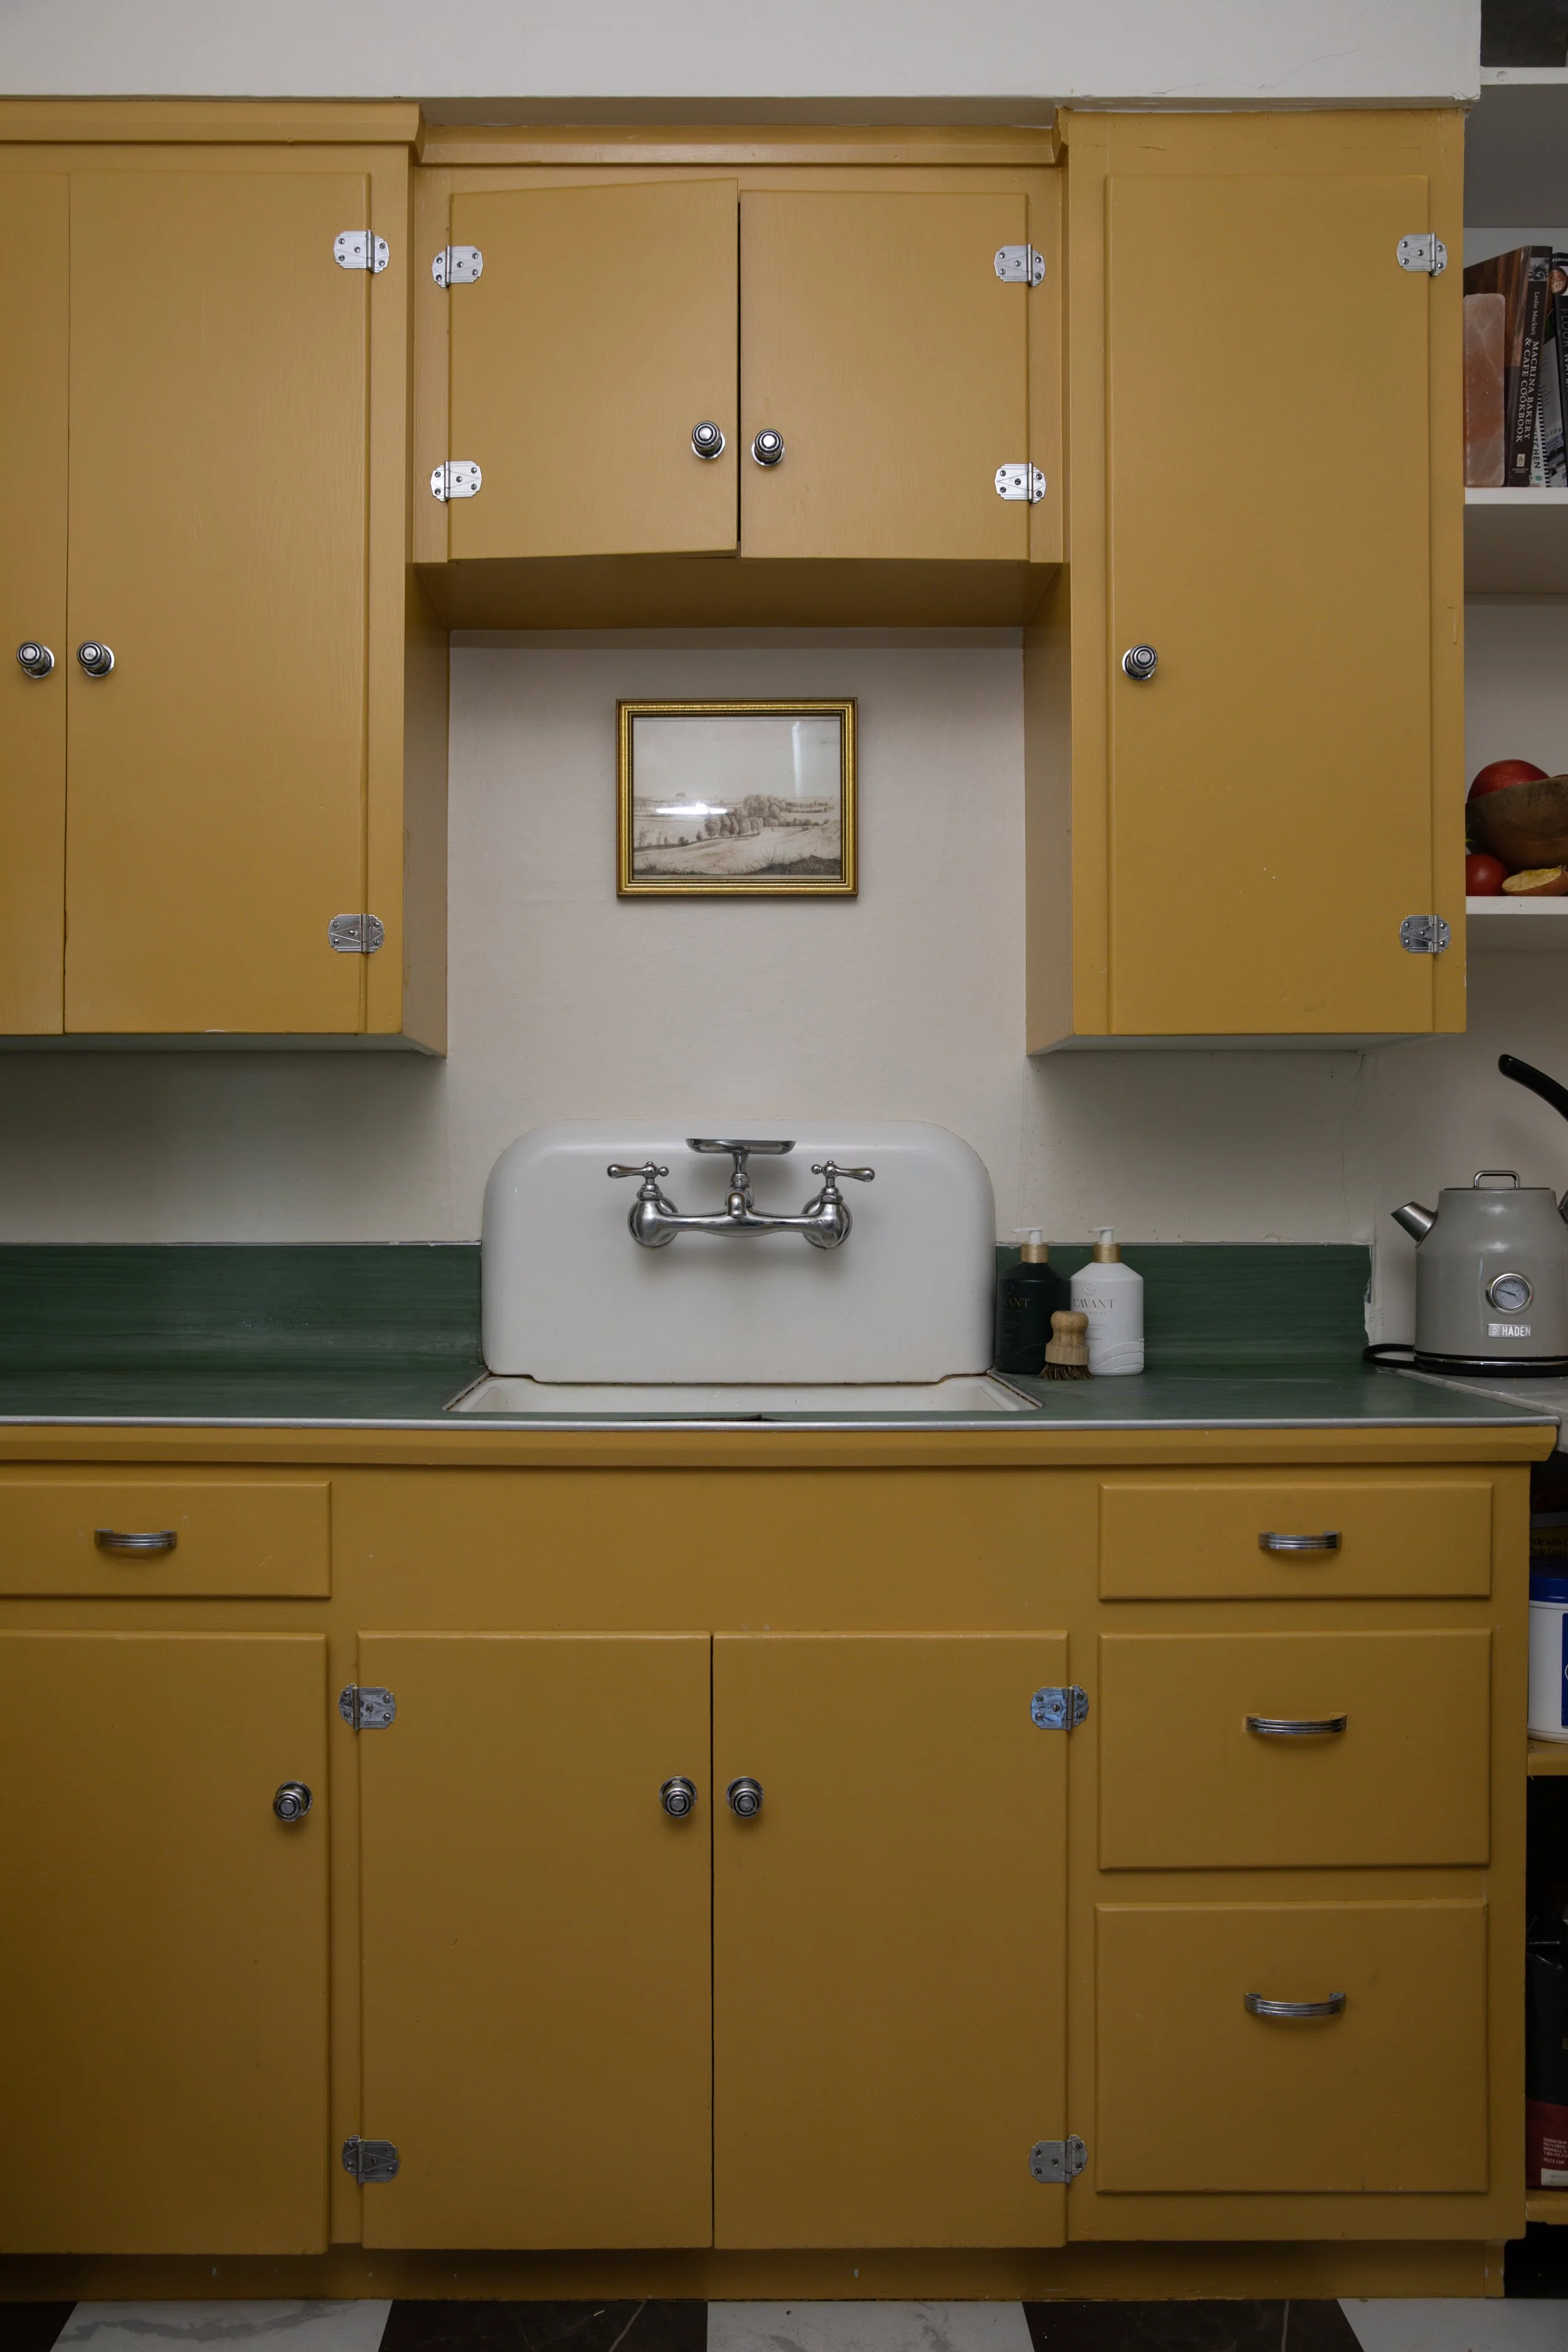
We started with basic stock cabinets from GS Cabinets in Seattle, added extra storage, and painted them Farrow & Ball Old White (color matched by Sherwin-Williams). It took four rounds of paint to land on the perfect color, but it was worth it! Old White is a soft neutral with a hint of green that reads interesting without being loud, and it's perfect for cabinets. The walls and trim are Benjamin Moore Swiss Coffee, which became a favorite warm white while working on this house.
psst: we compared the original F&B Old White to the Sherwin-Williams and Benjamin Moore color matches here.
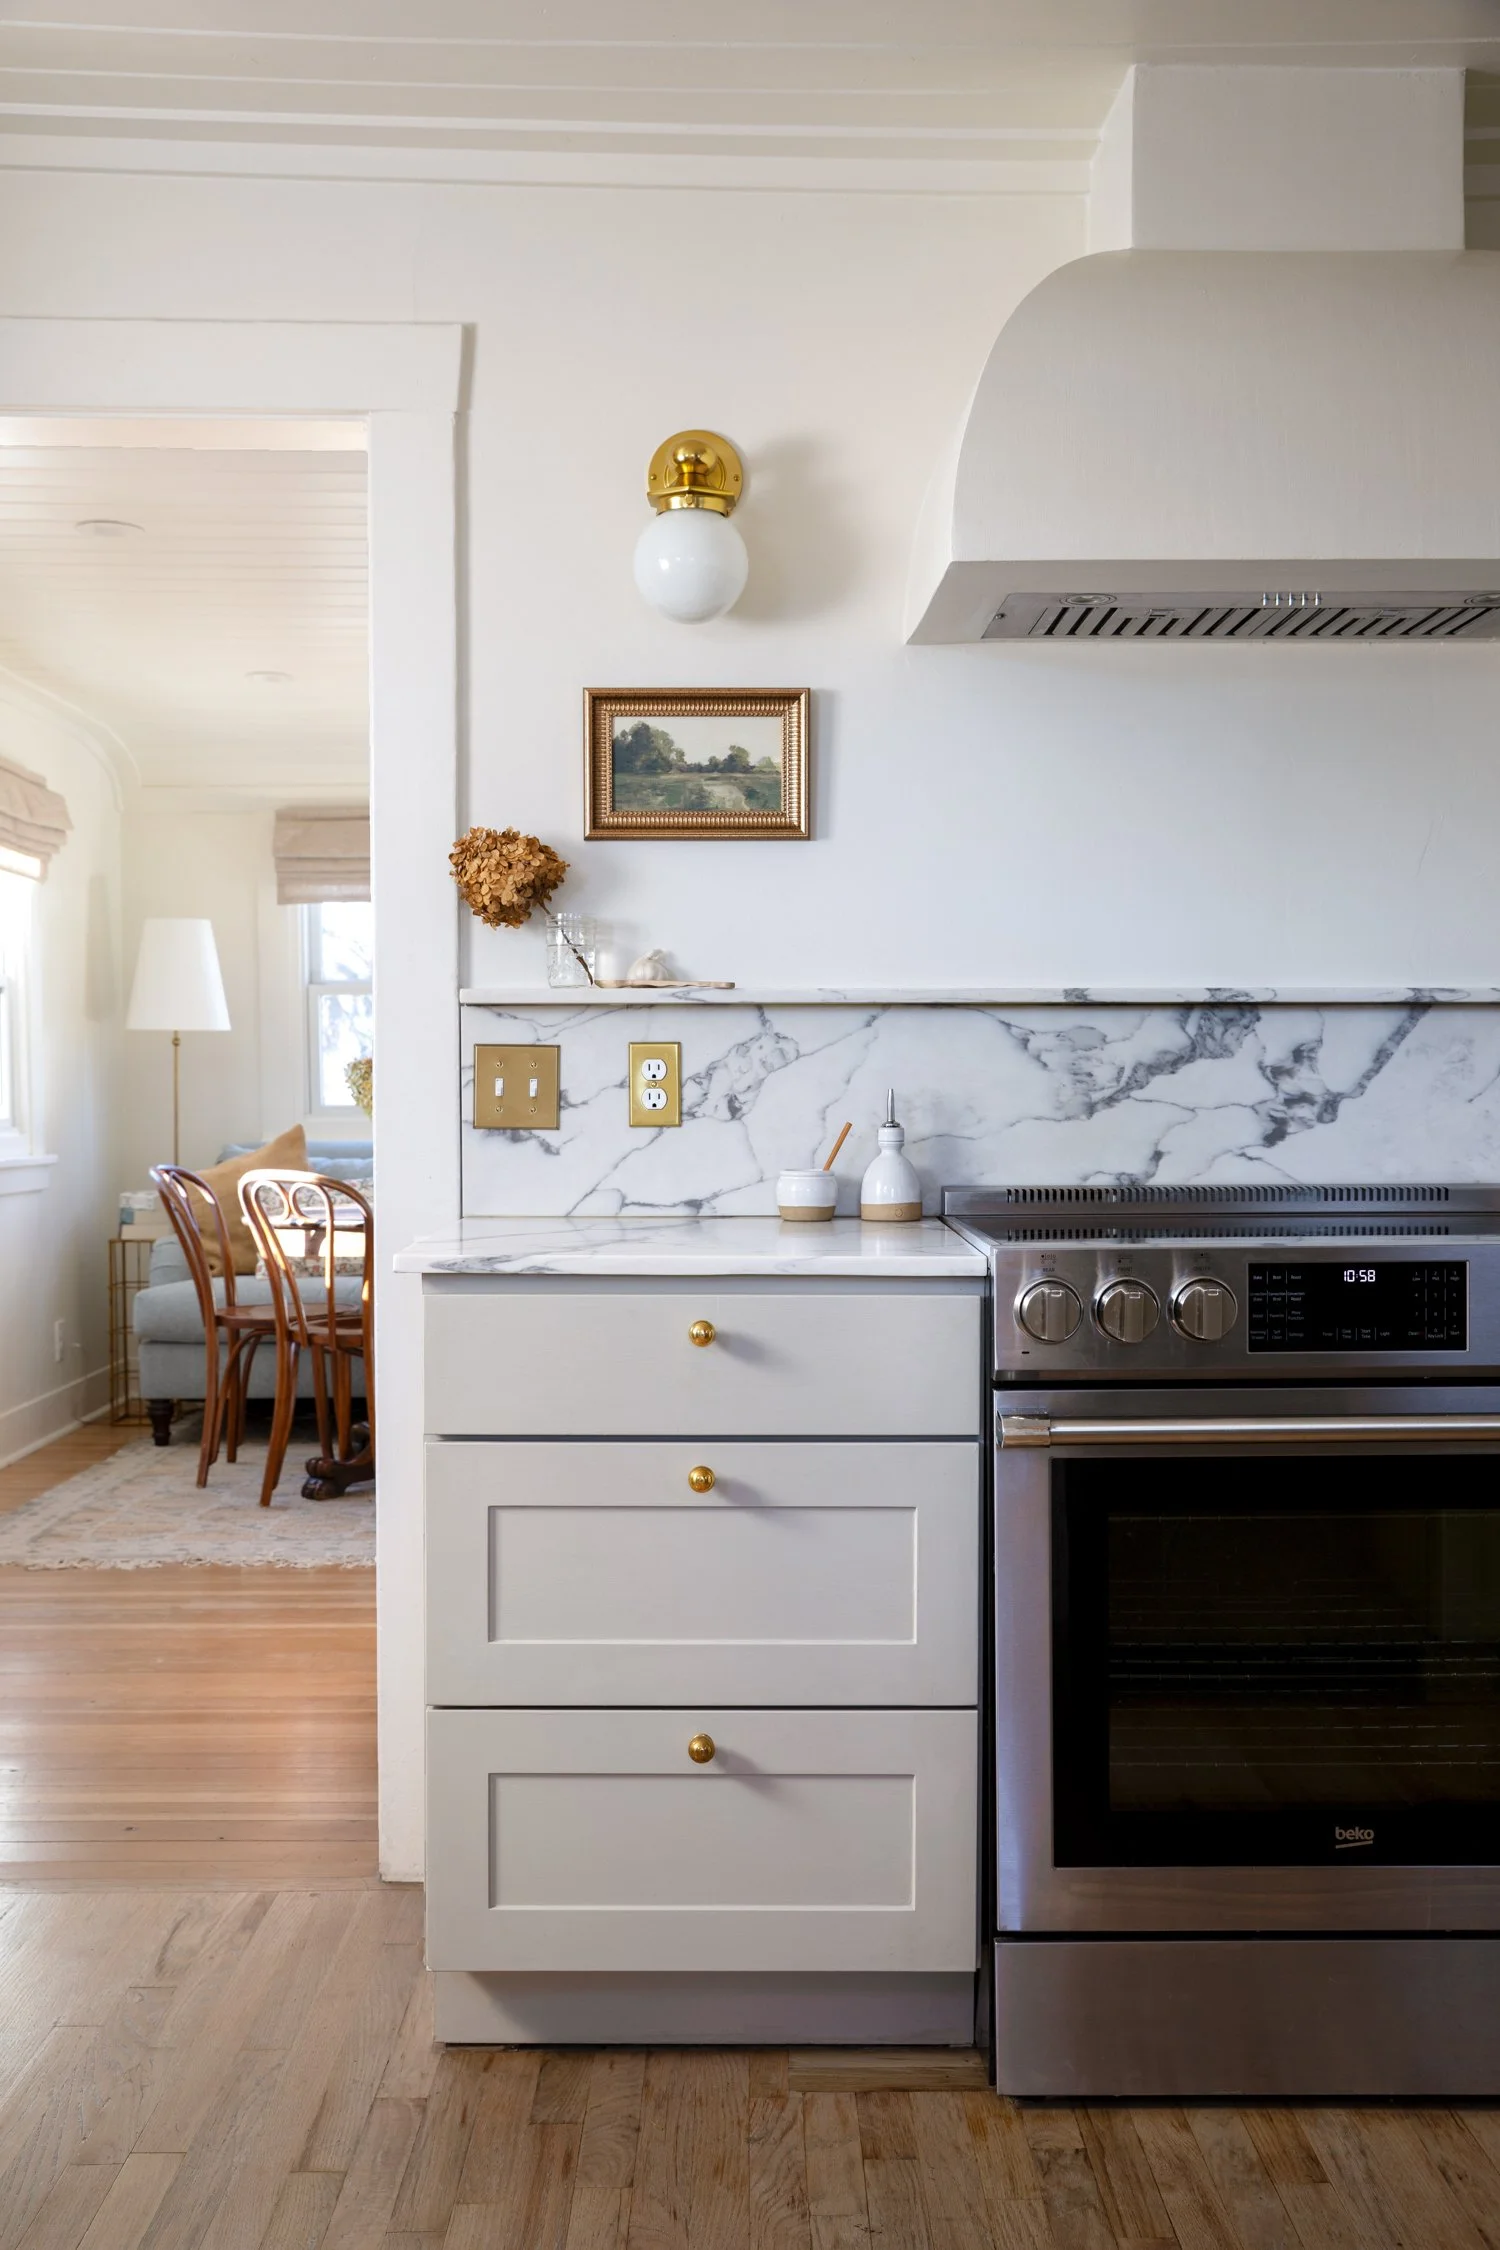
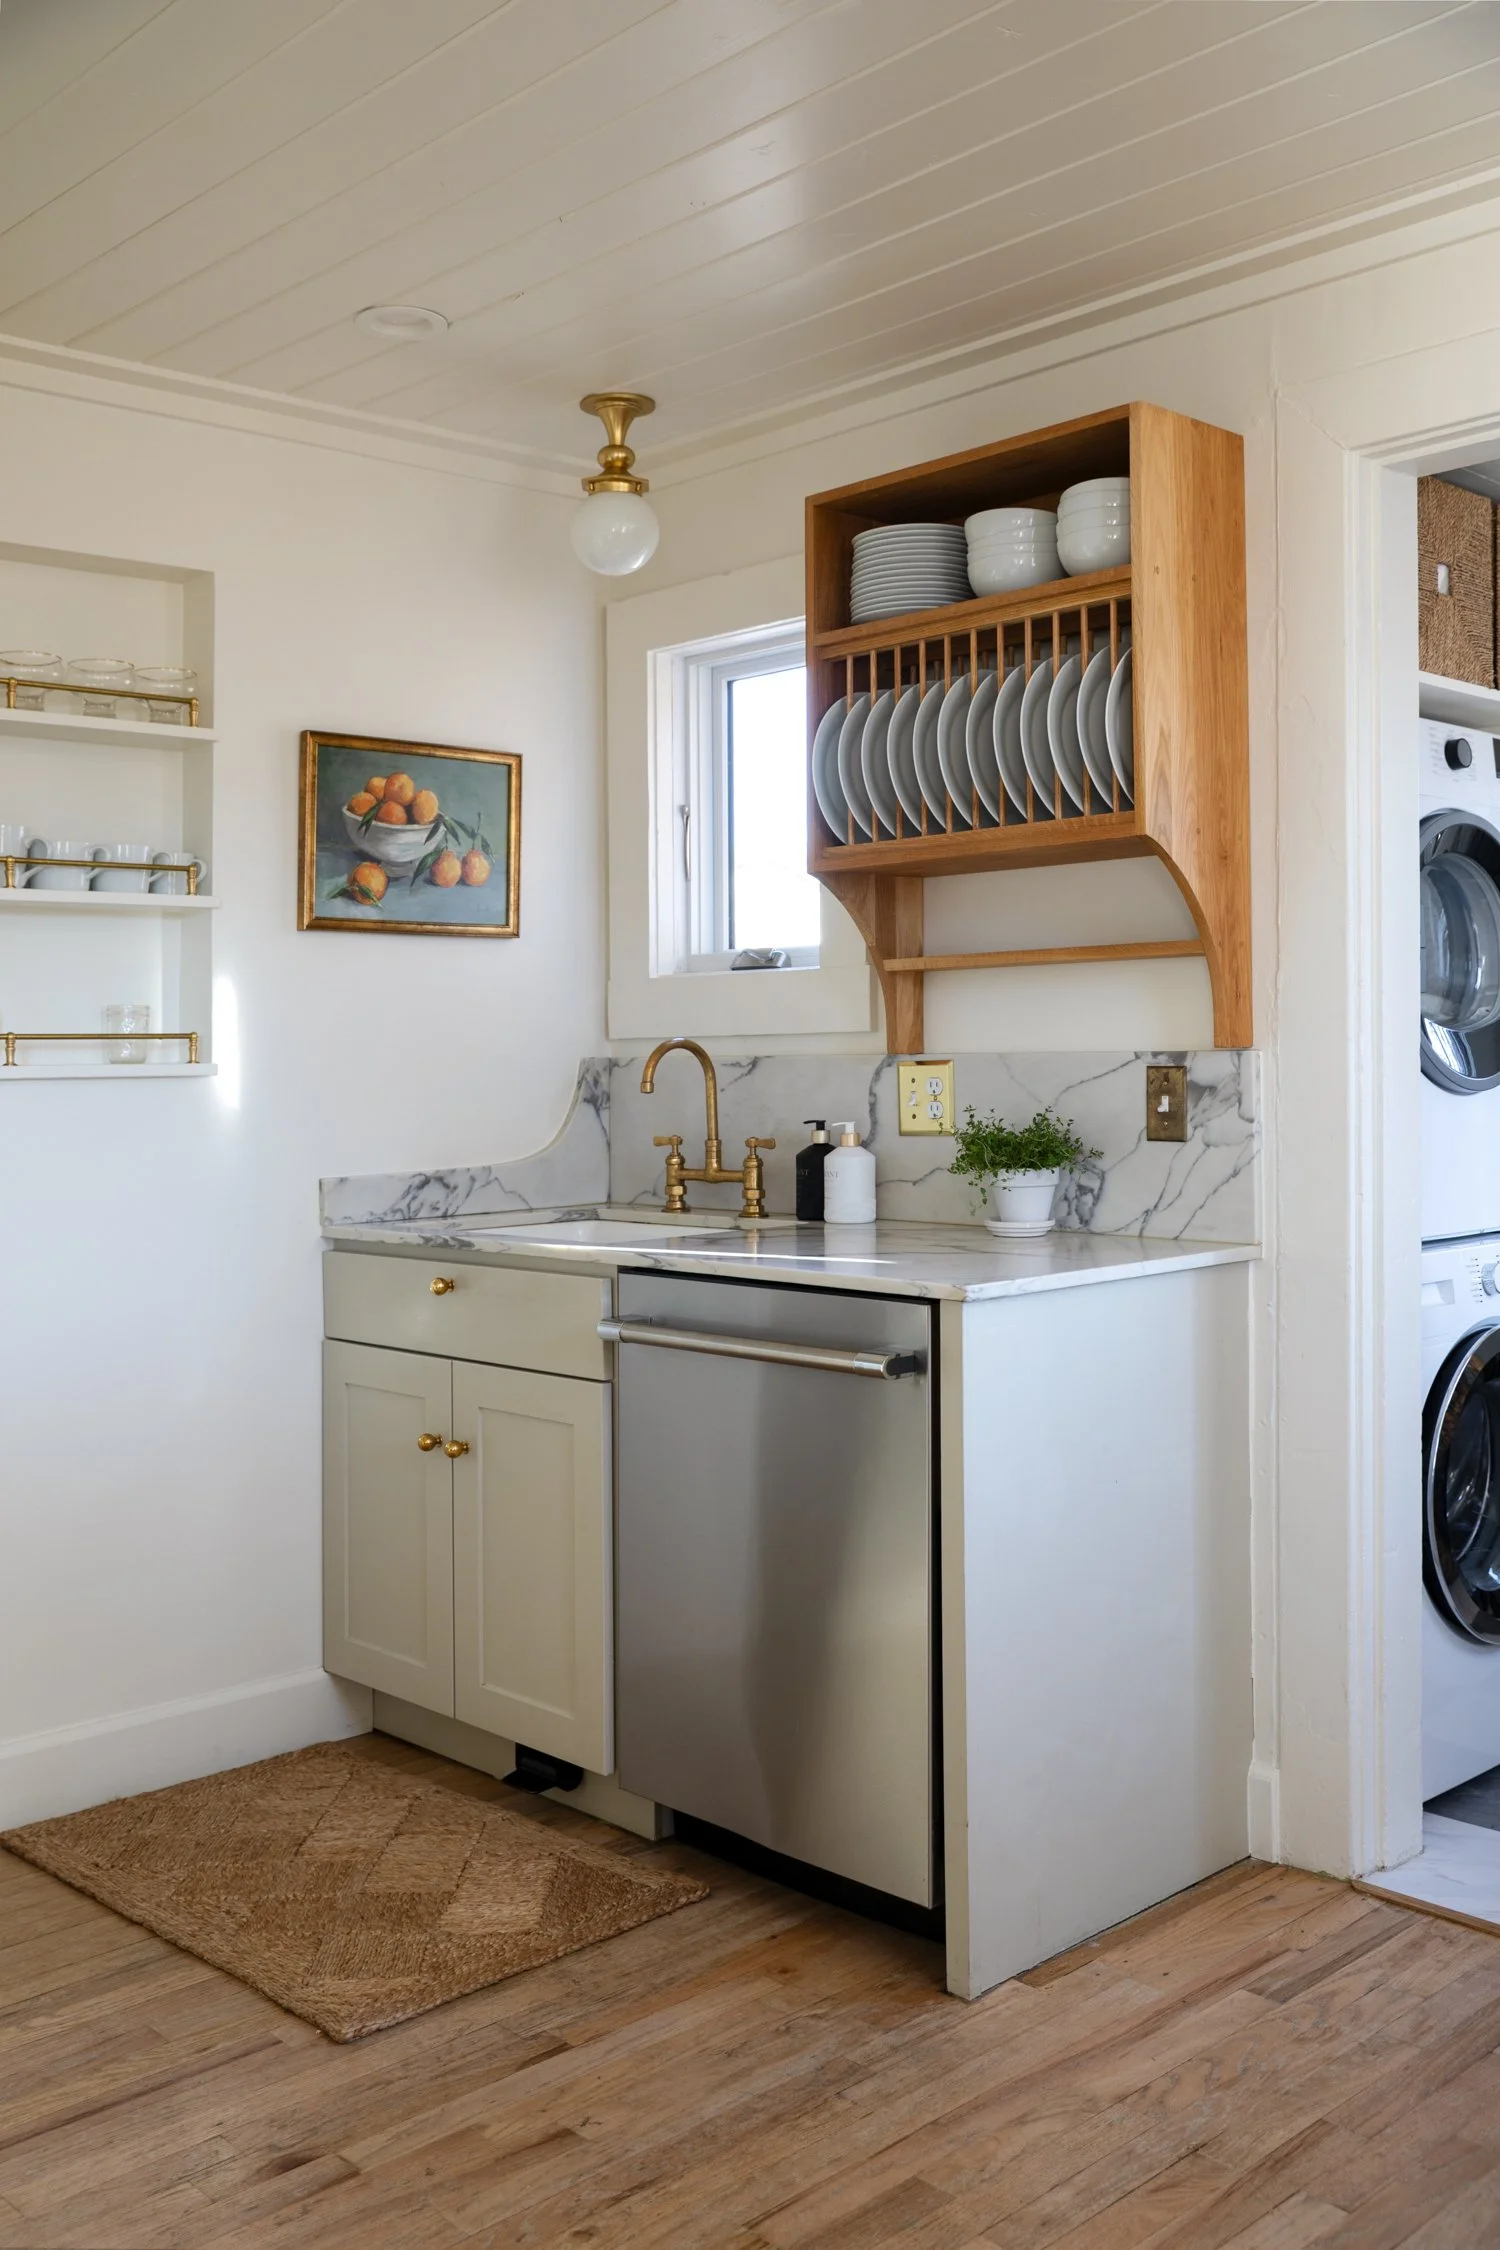
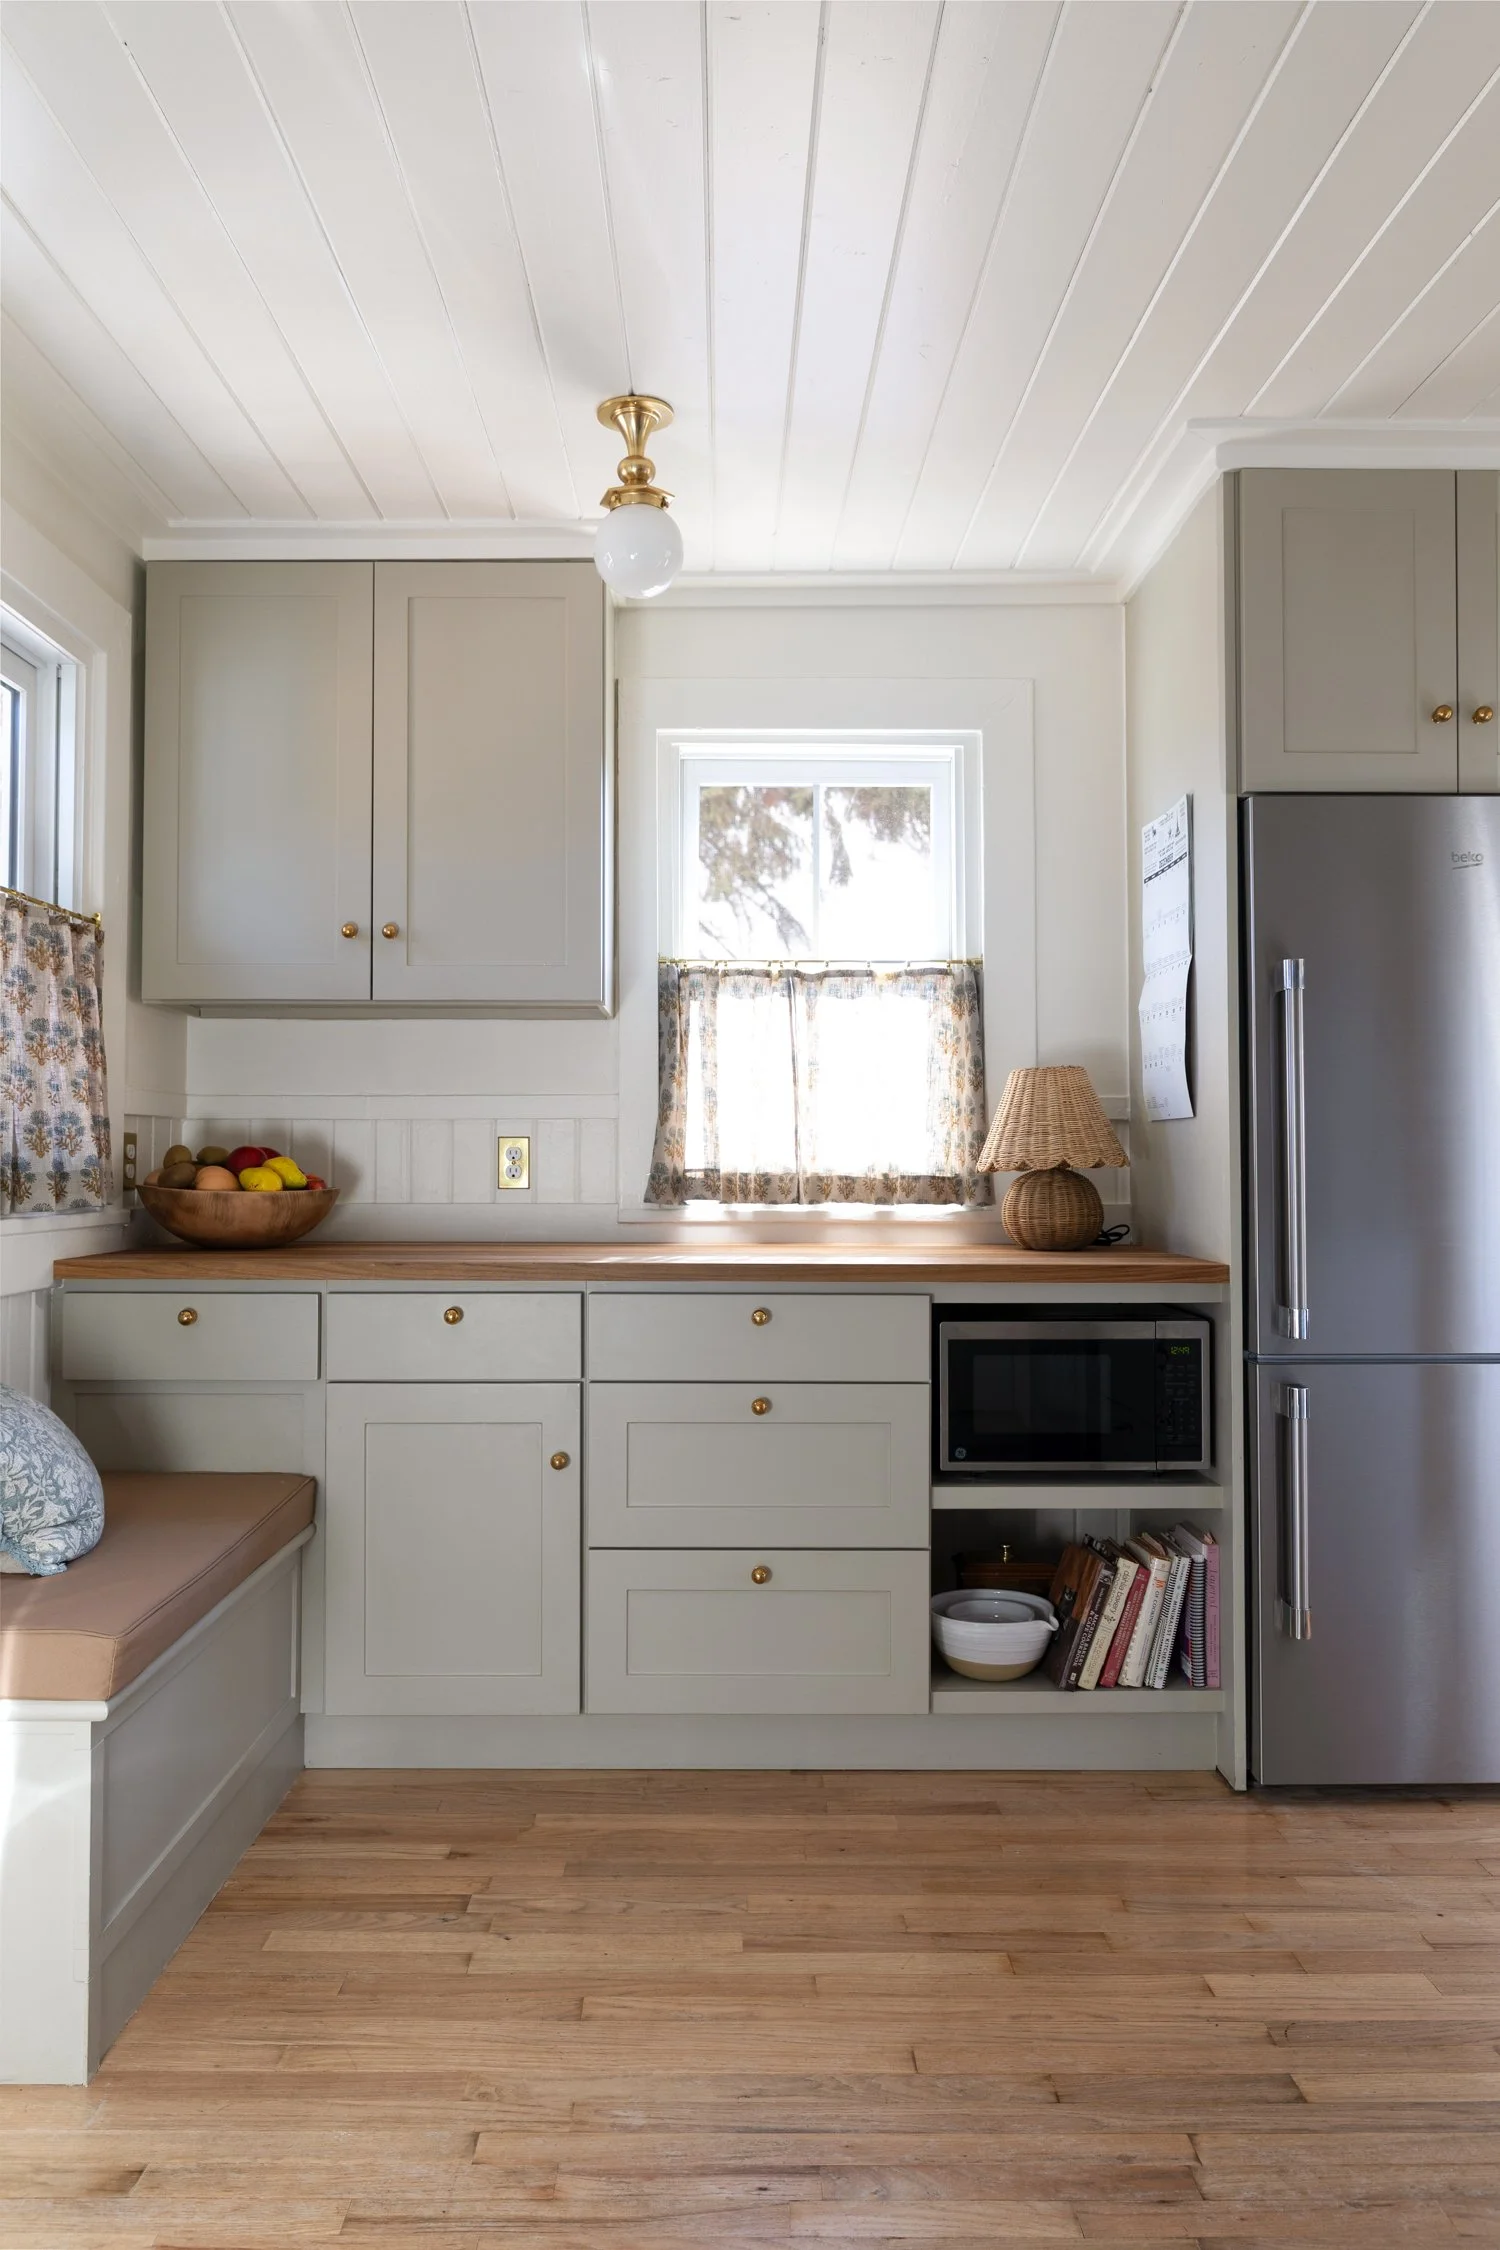
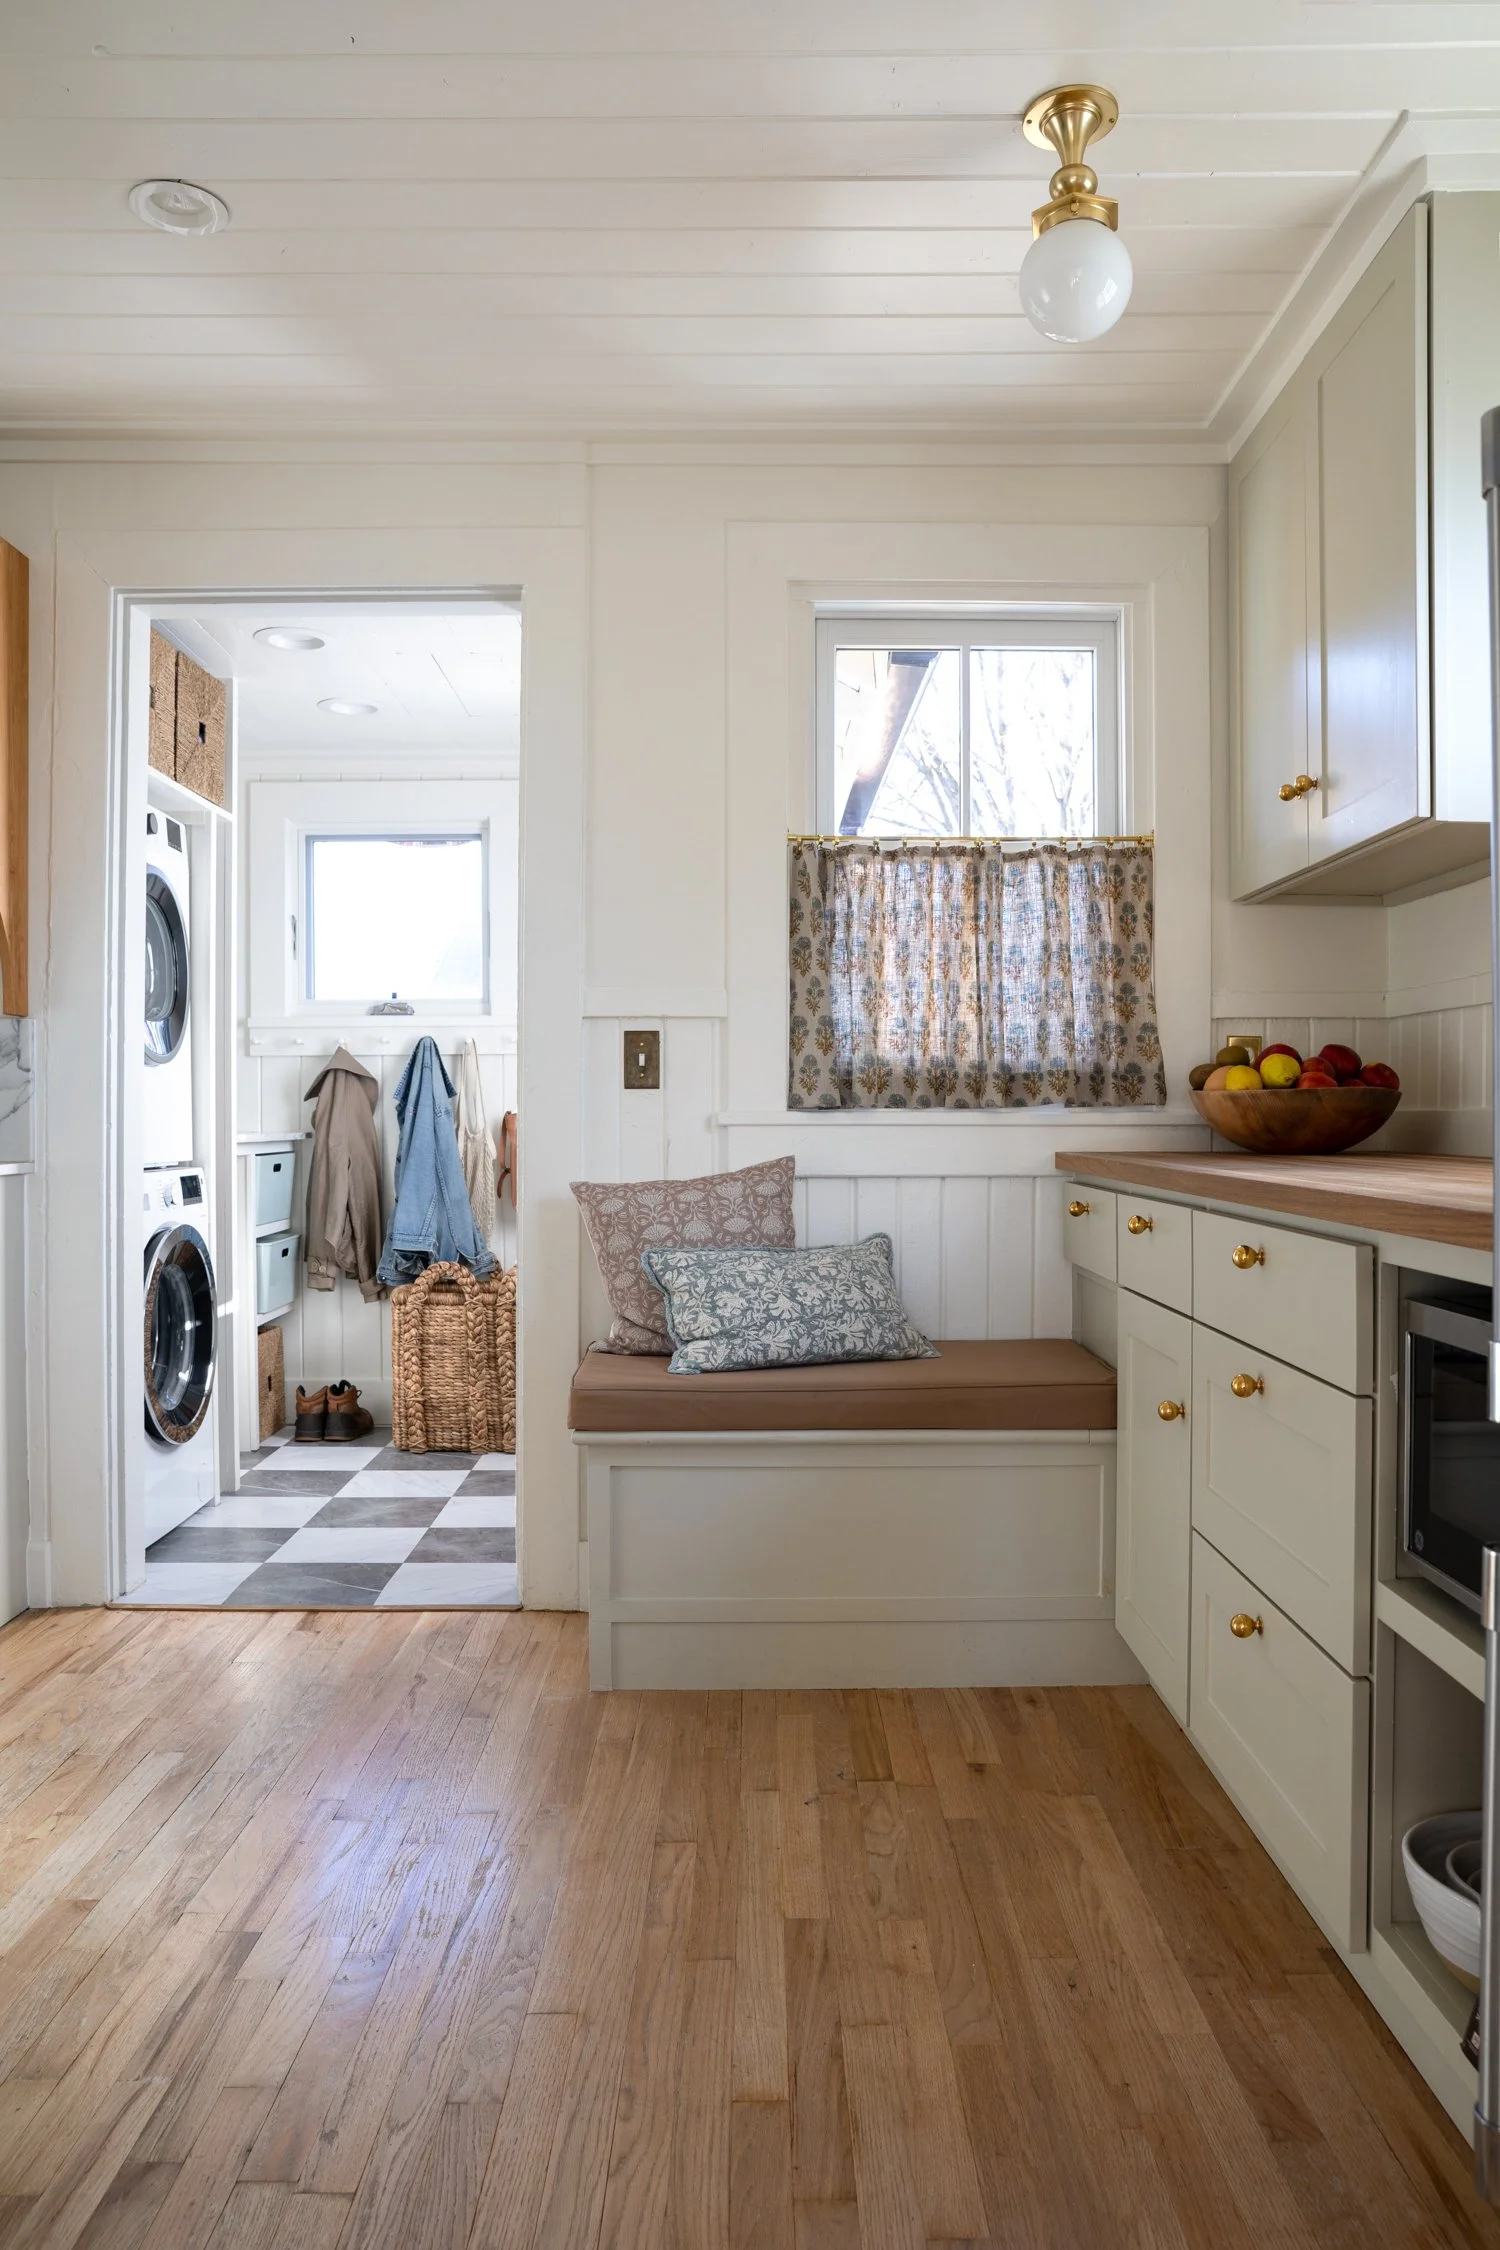
Cabinet color: FB Old White, walls: BM Swiss coffee, knobs, checkered floors, sconce
The counters are Victorian White quartz. We'd planned on marble, like we do with every project, but our stone yard stopped carrying it, so we pivoted. The veining in this quartz turned out to be so close to marble that most people think it's marble. Garrett fabricated the stone himself, and we matched the curves in the backsplash to the curves on the bottom of the plate rack. It's the details, ya know? The little shelf is a fun addition, too.
And that curved plaster hood? It's the soul of this room. Garrett built it from thin pieces of wood covered in plaster, and it survived the house lift without a single crack (!!).
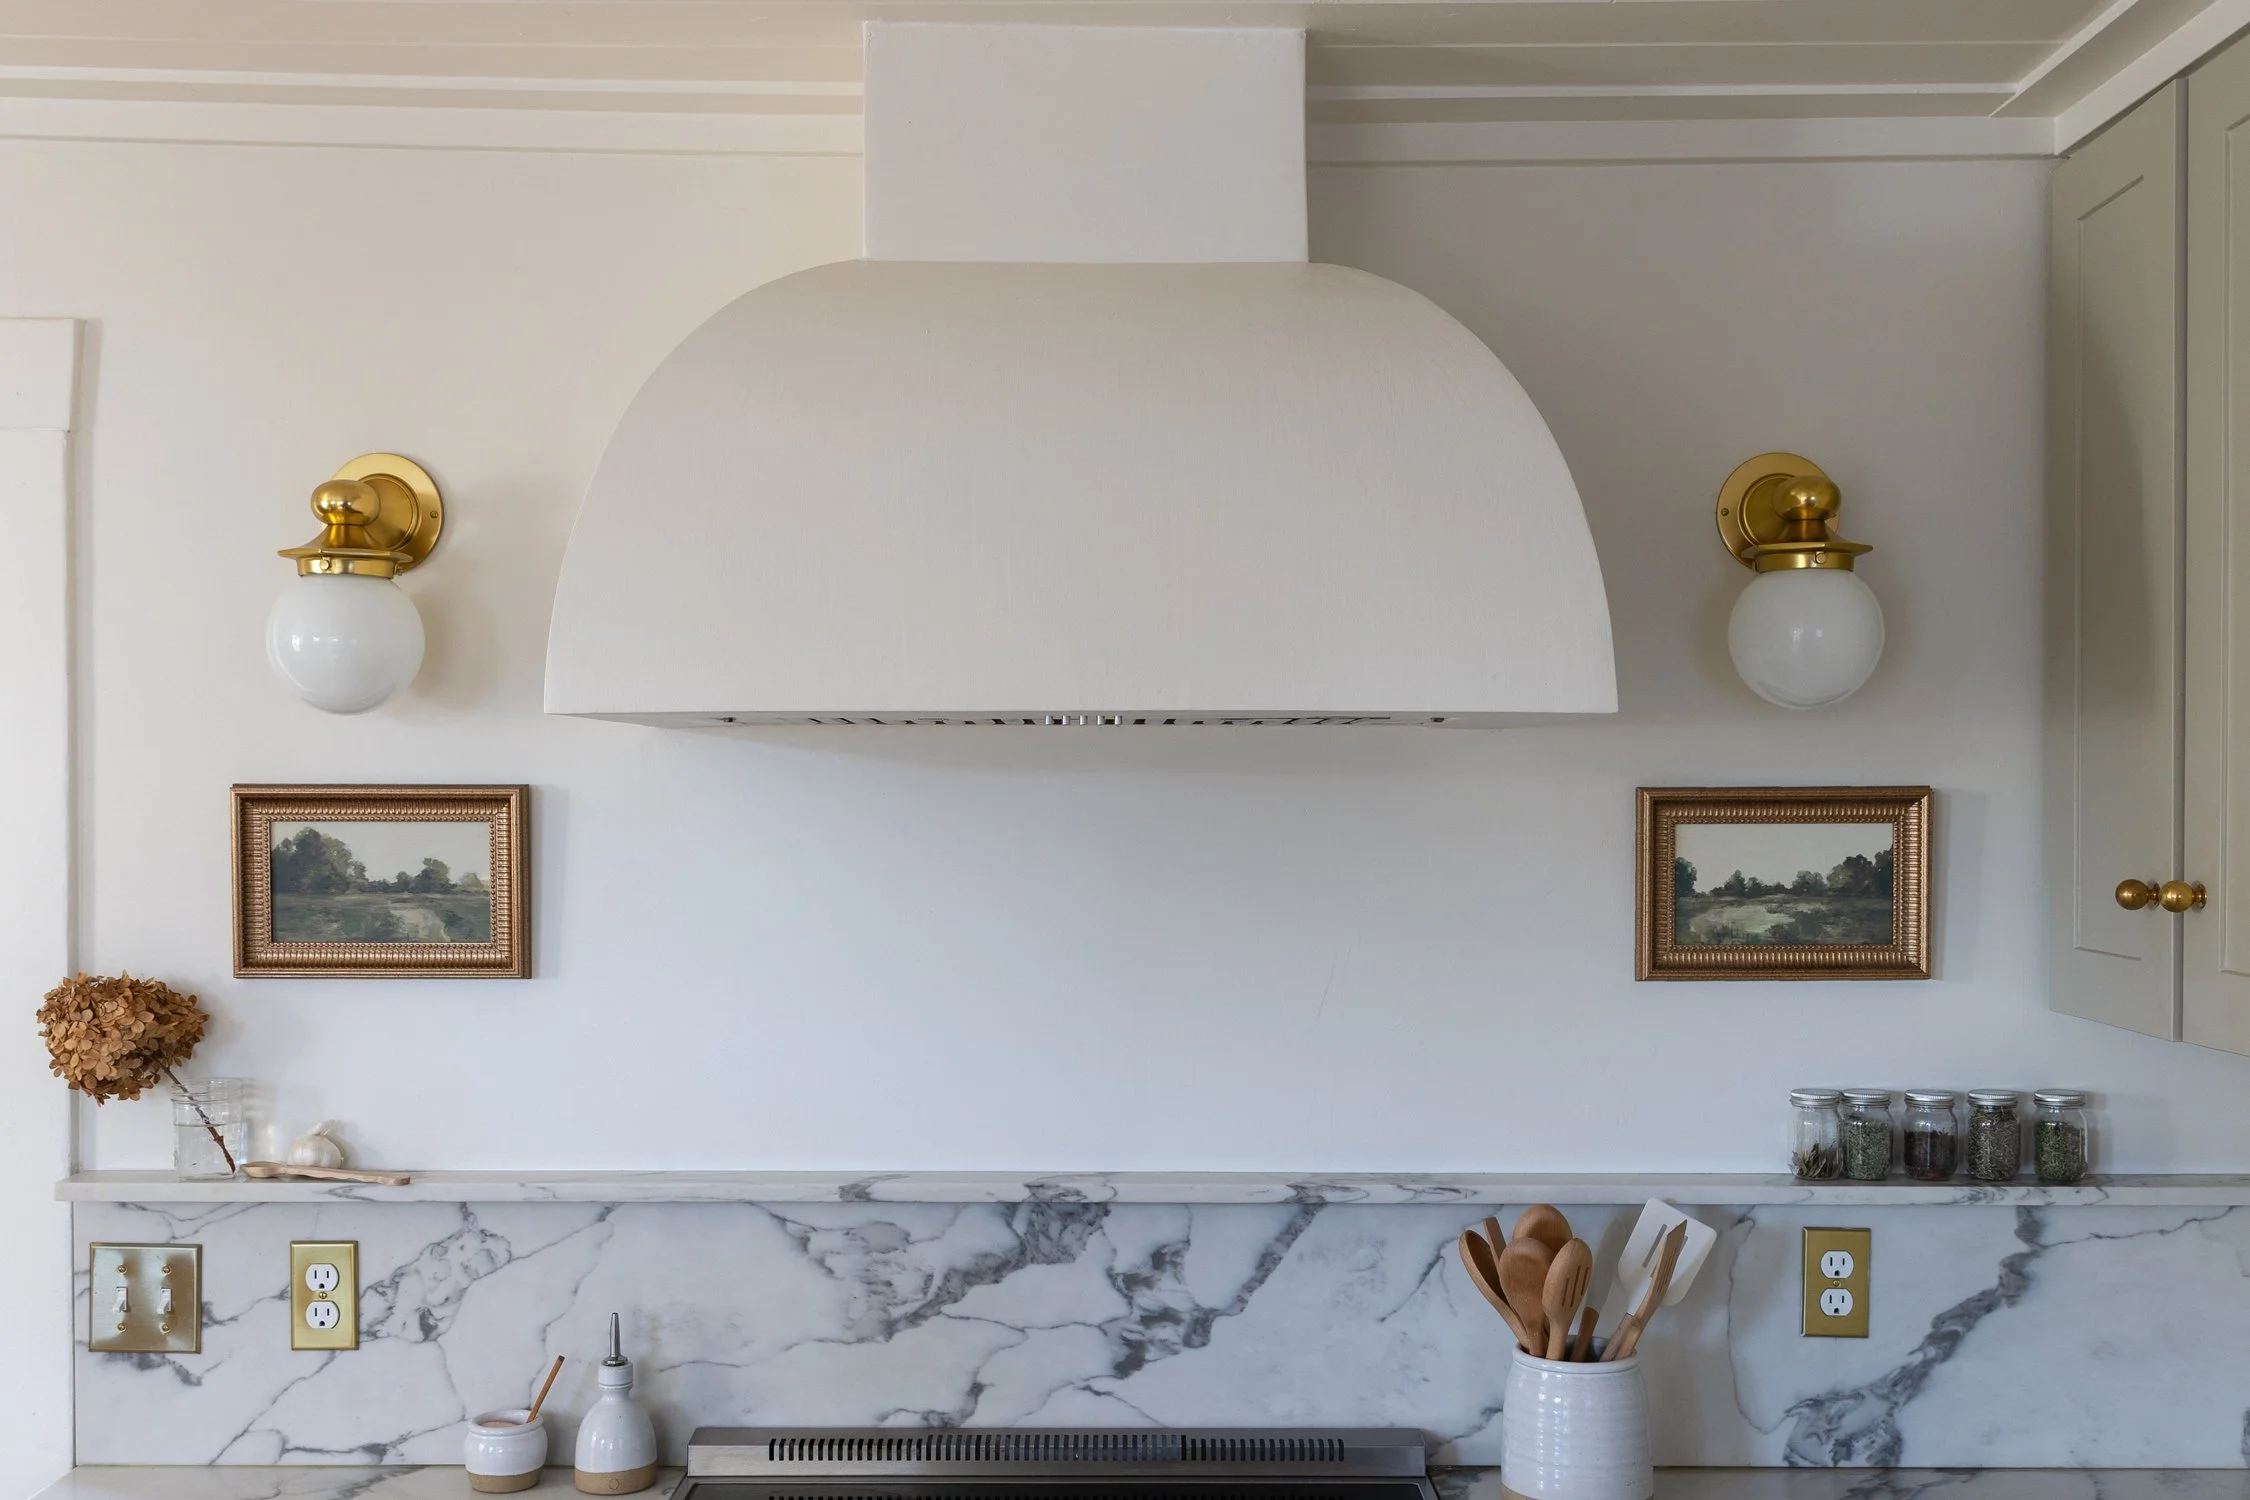
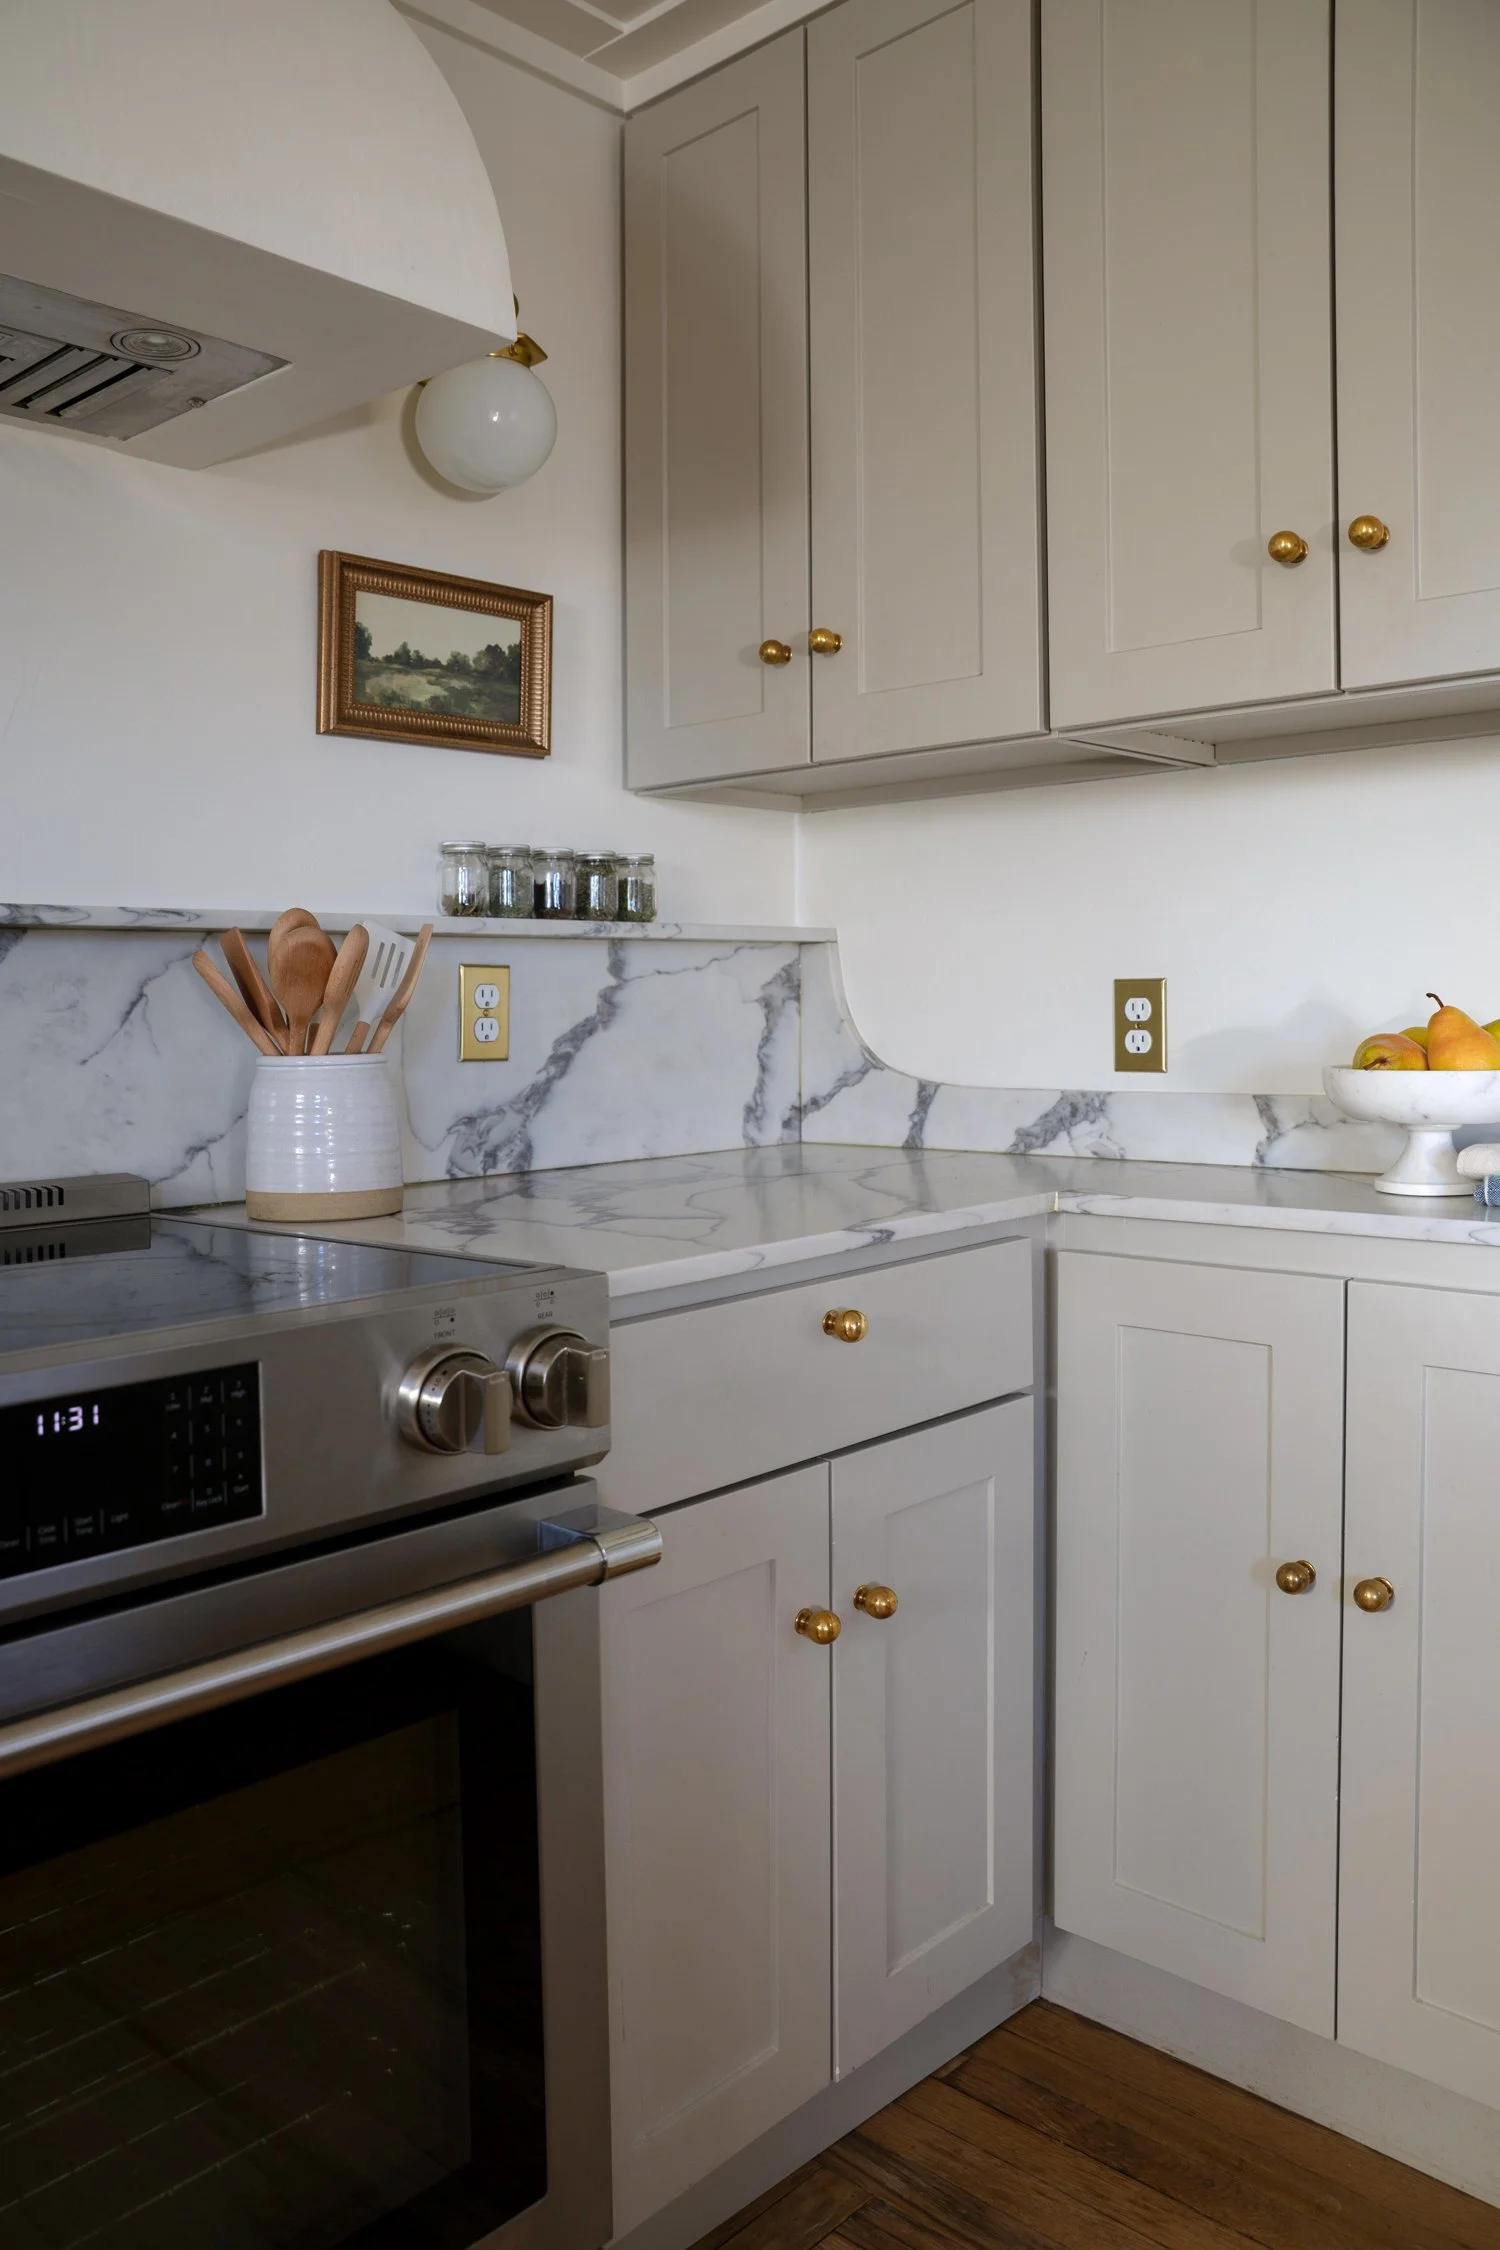
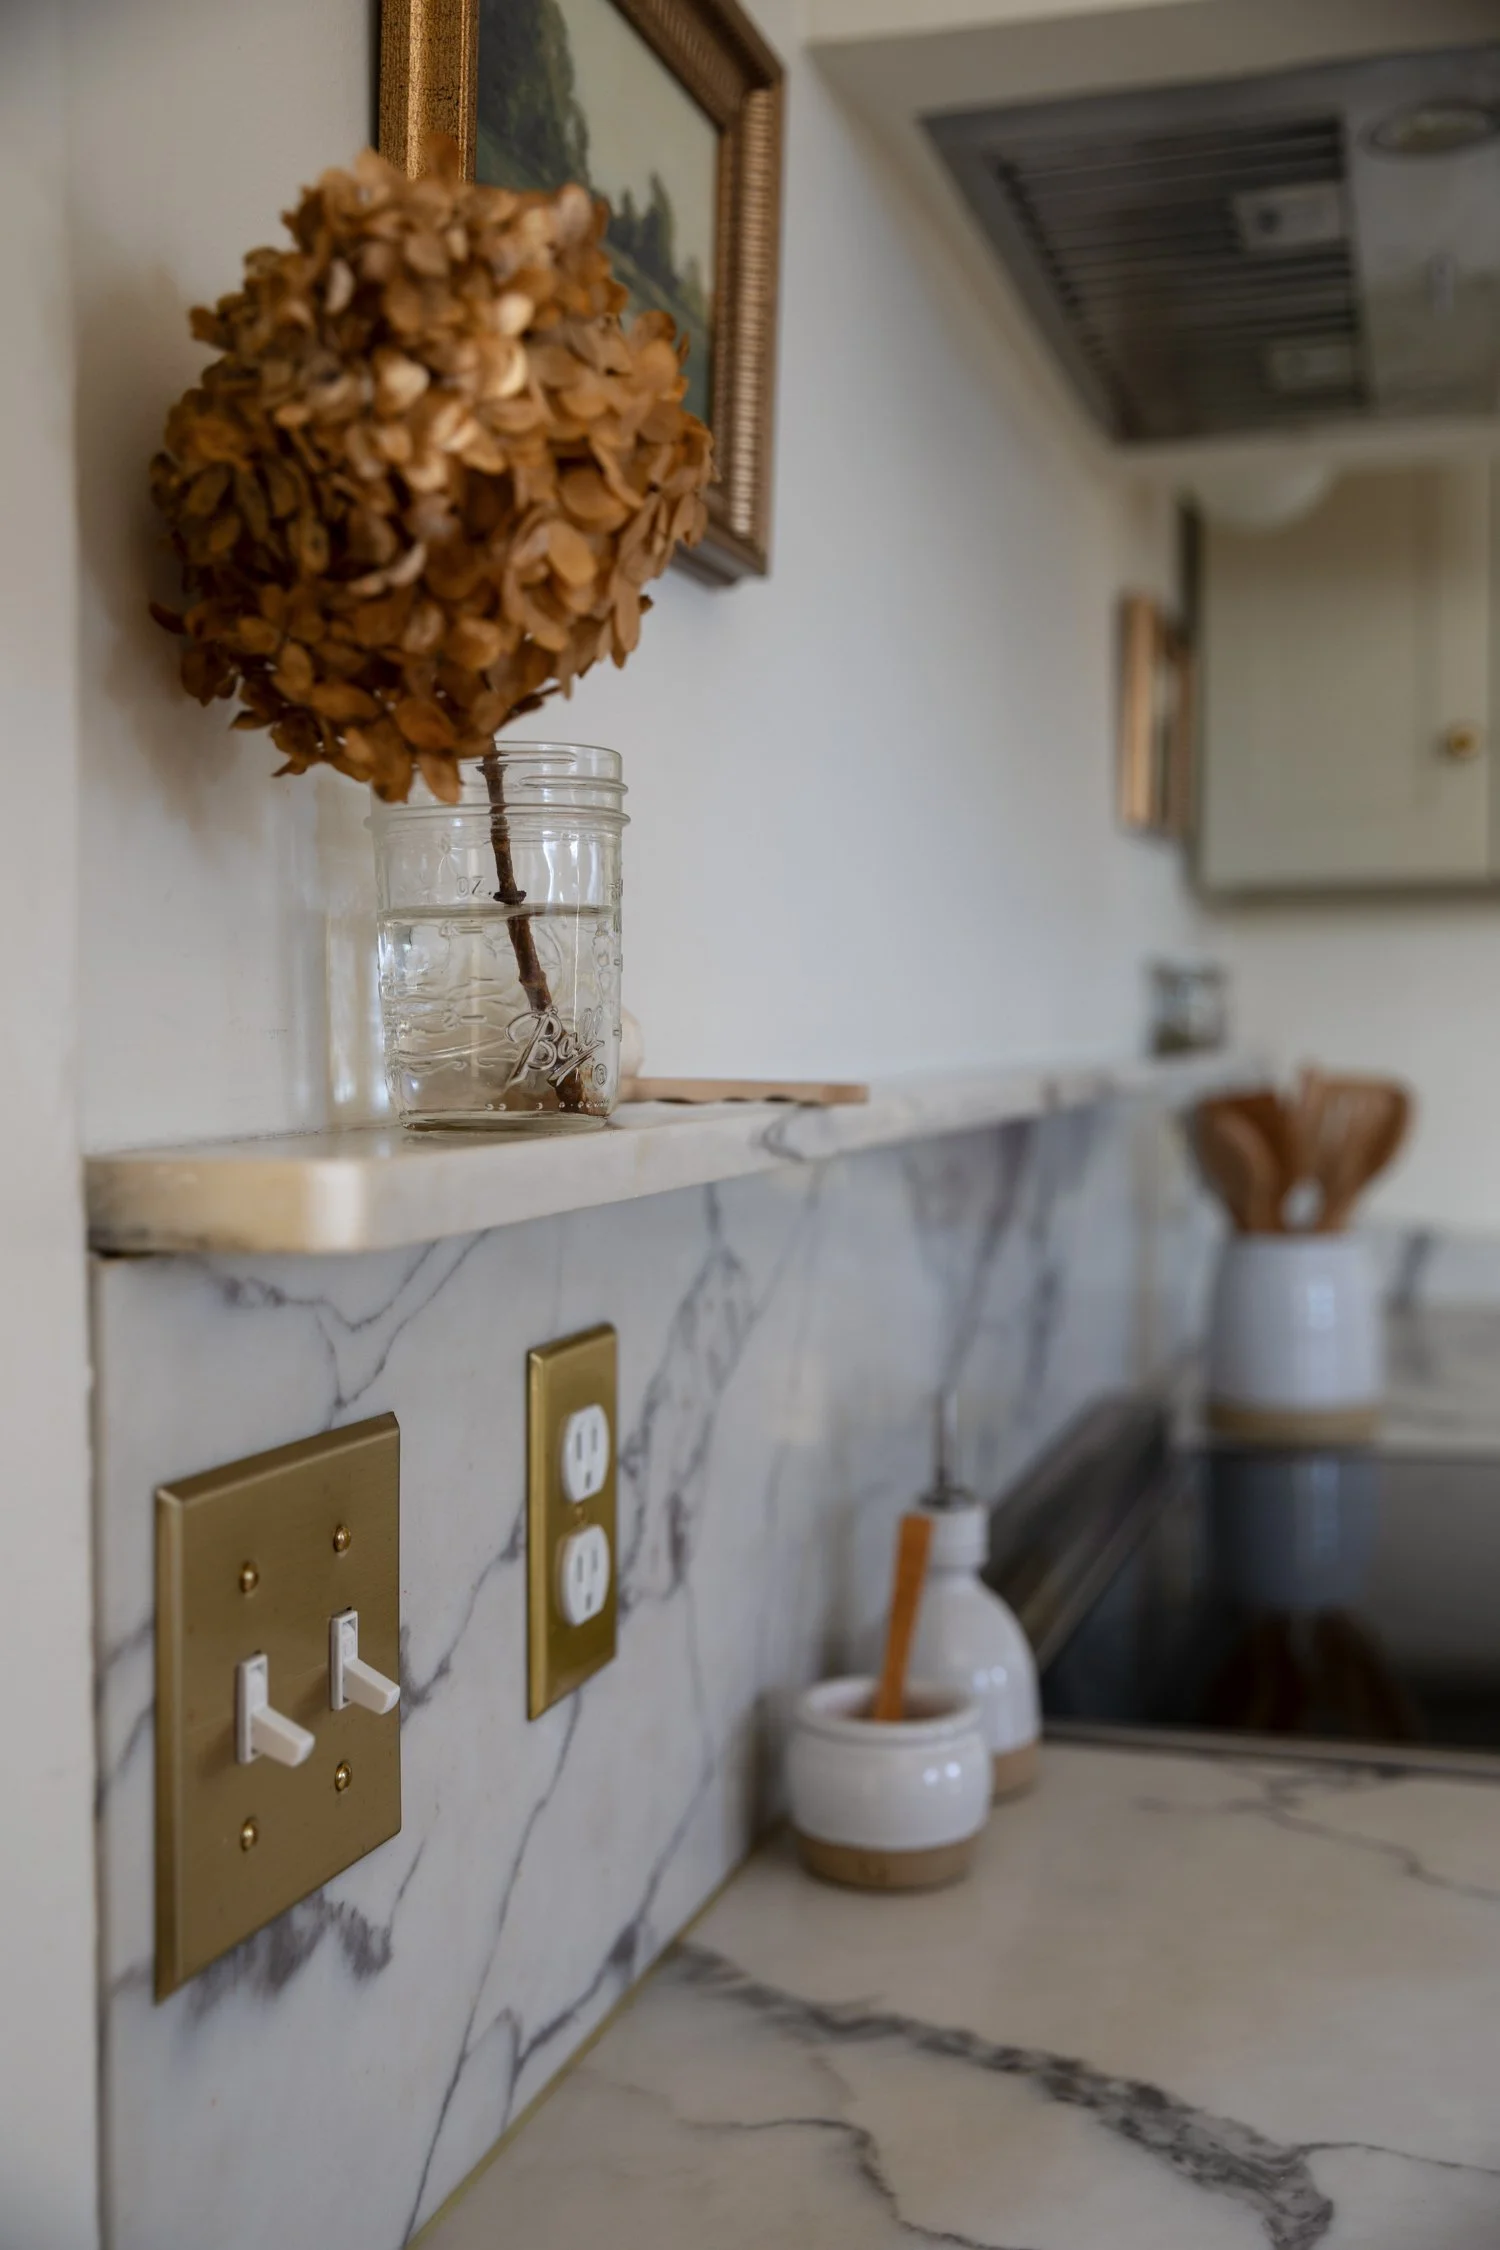
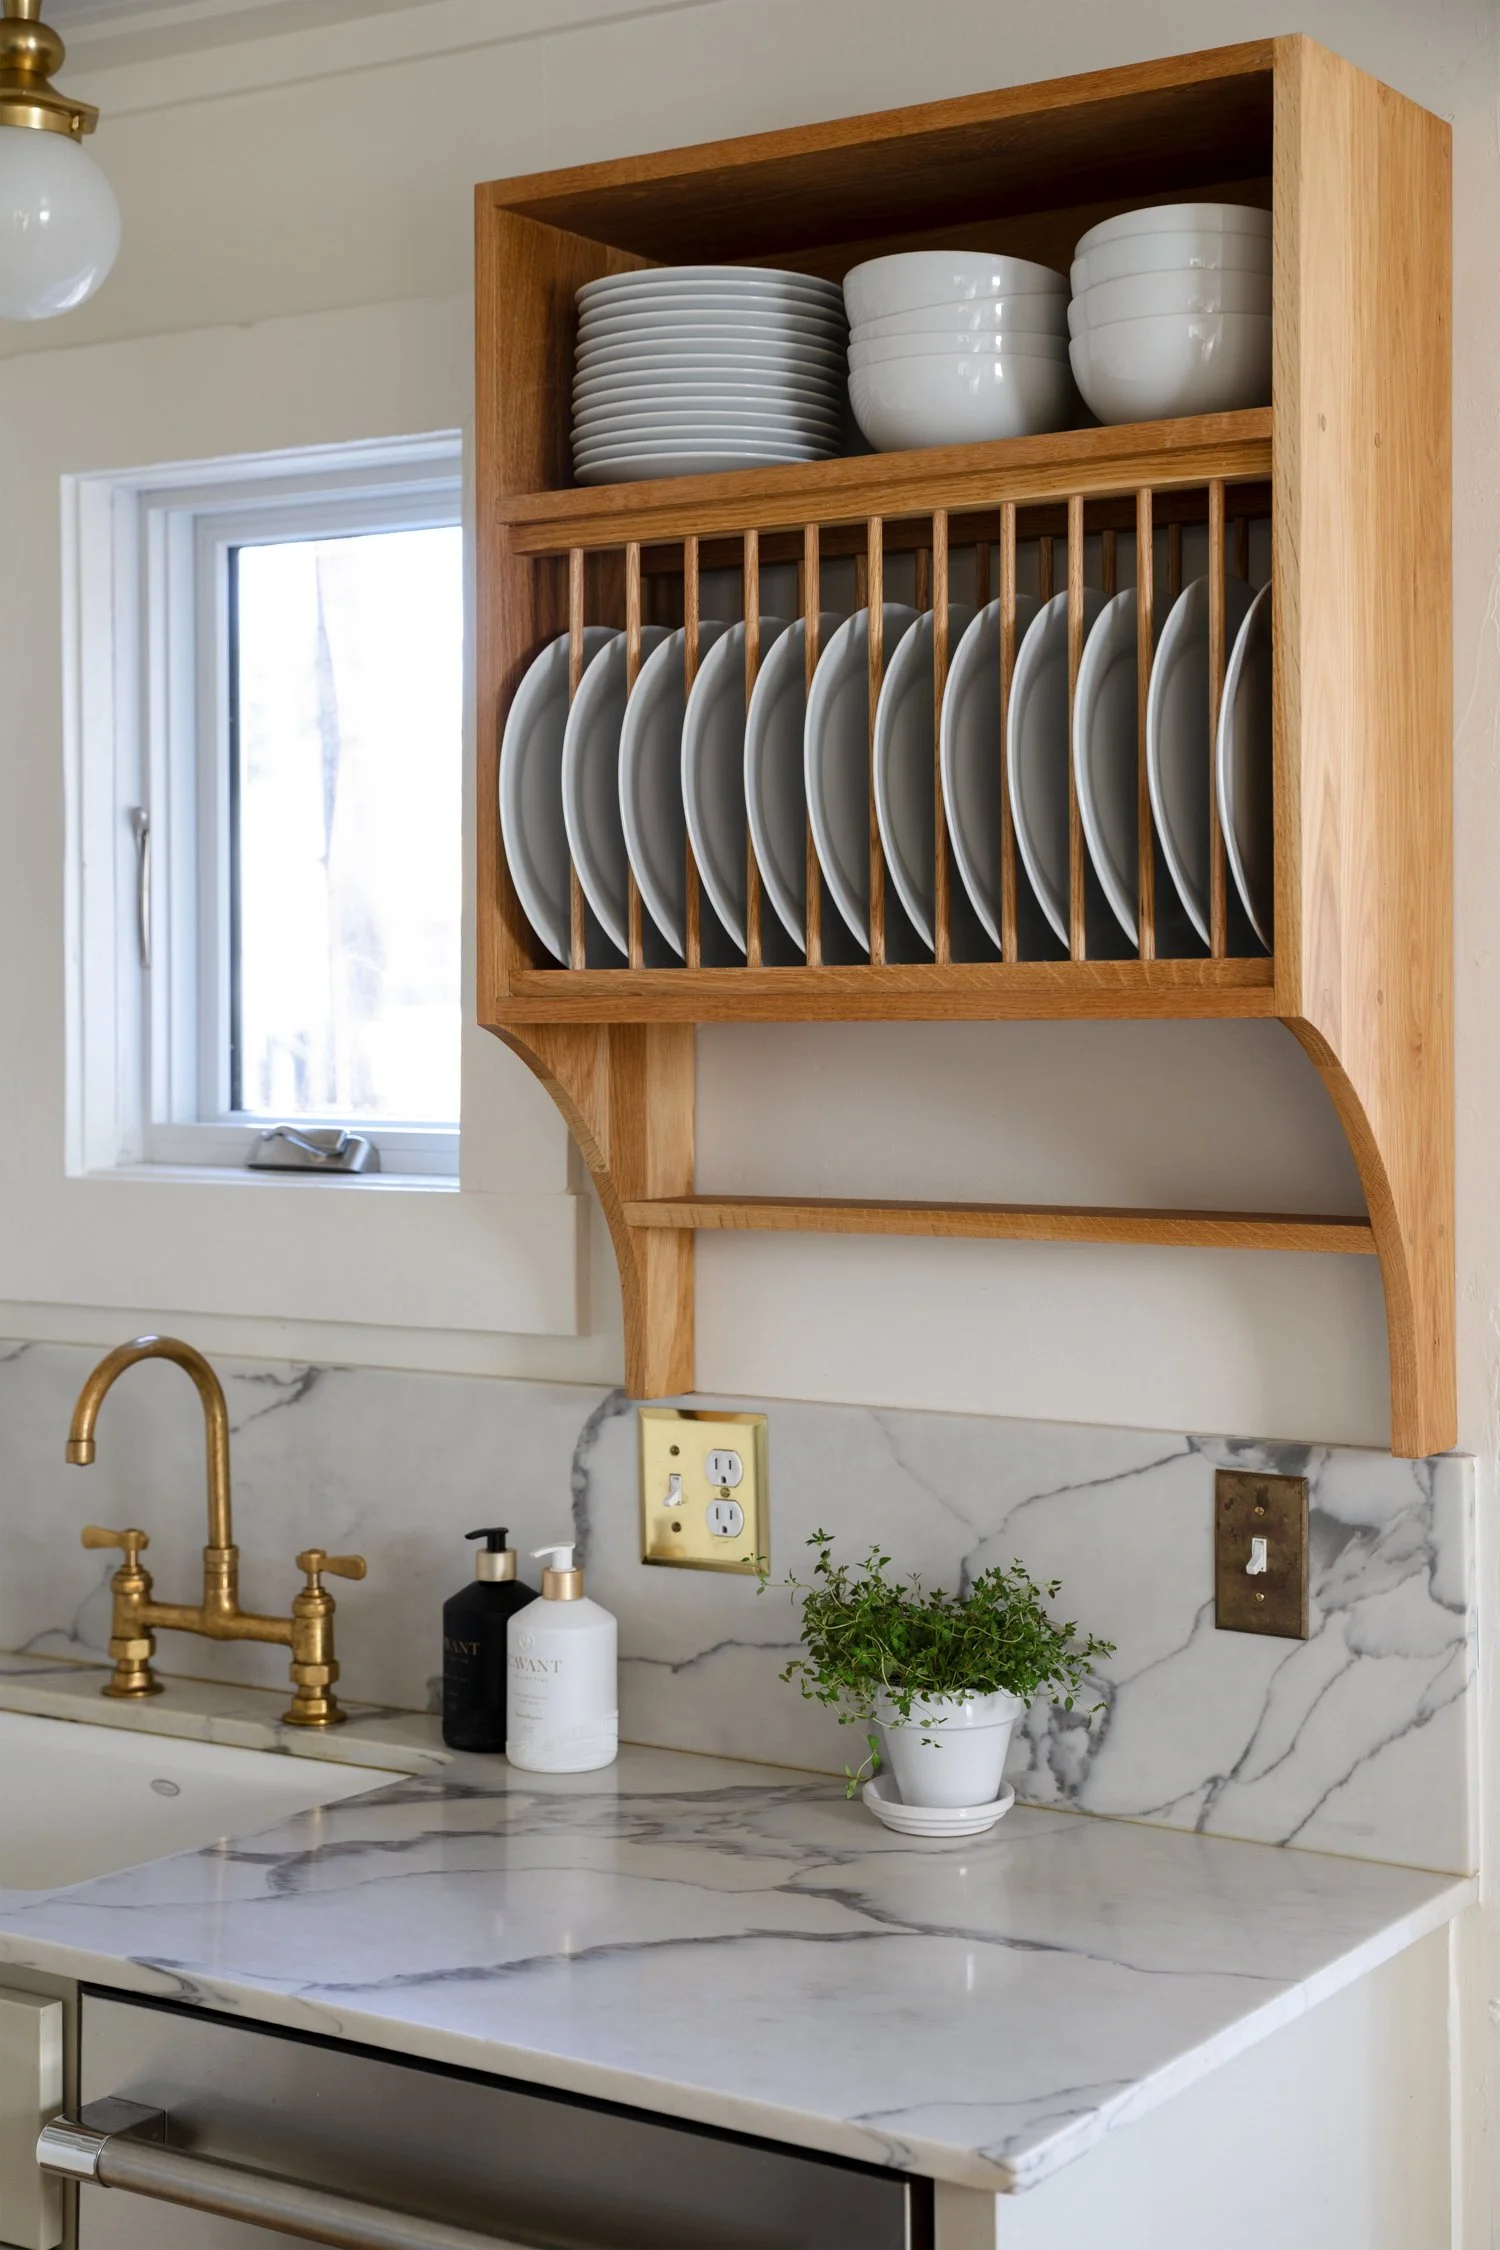
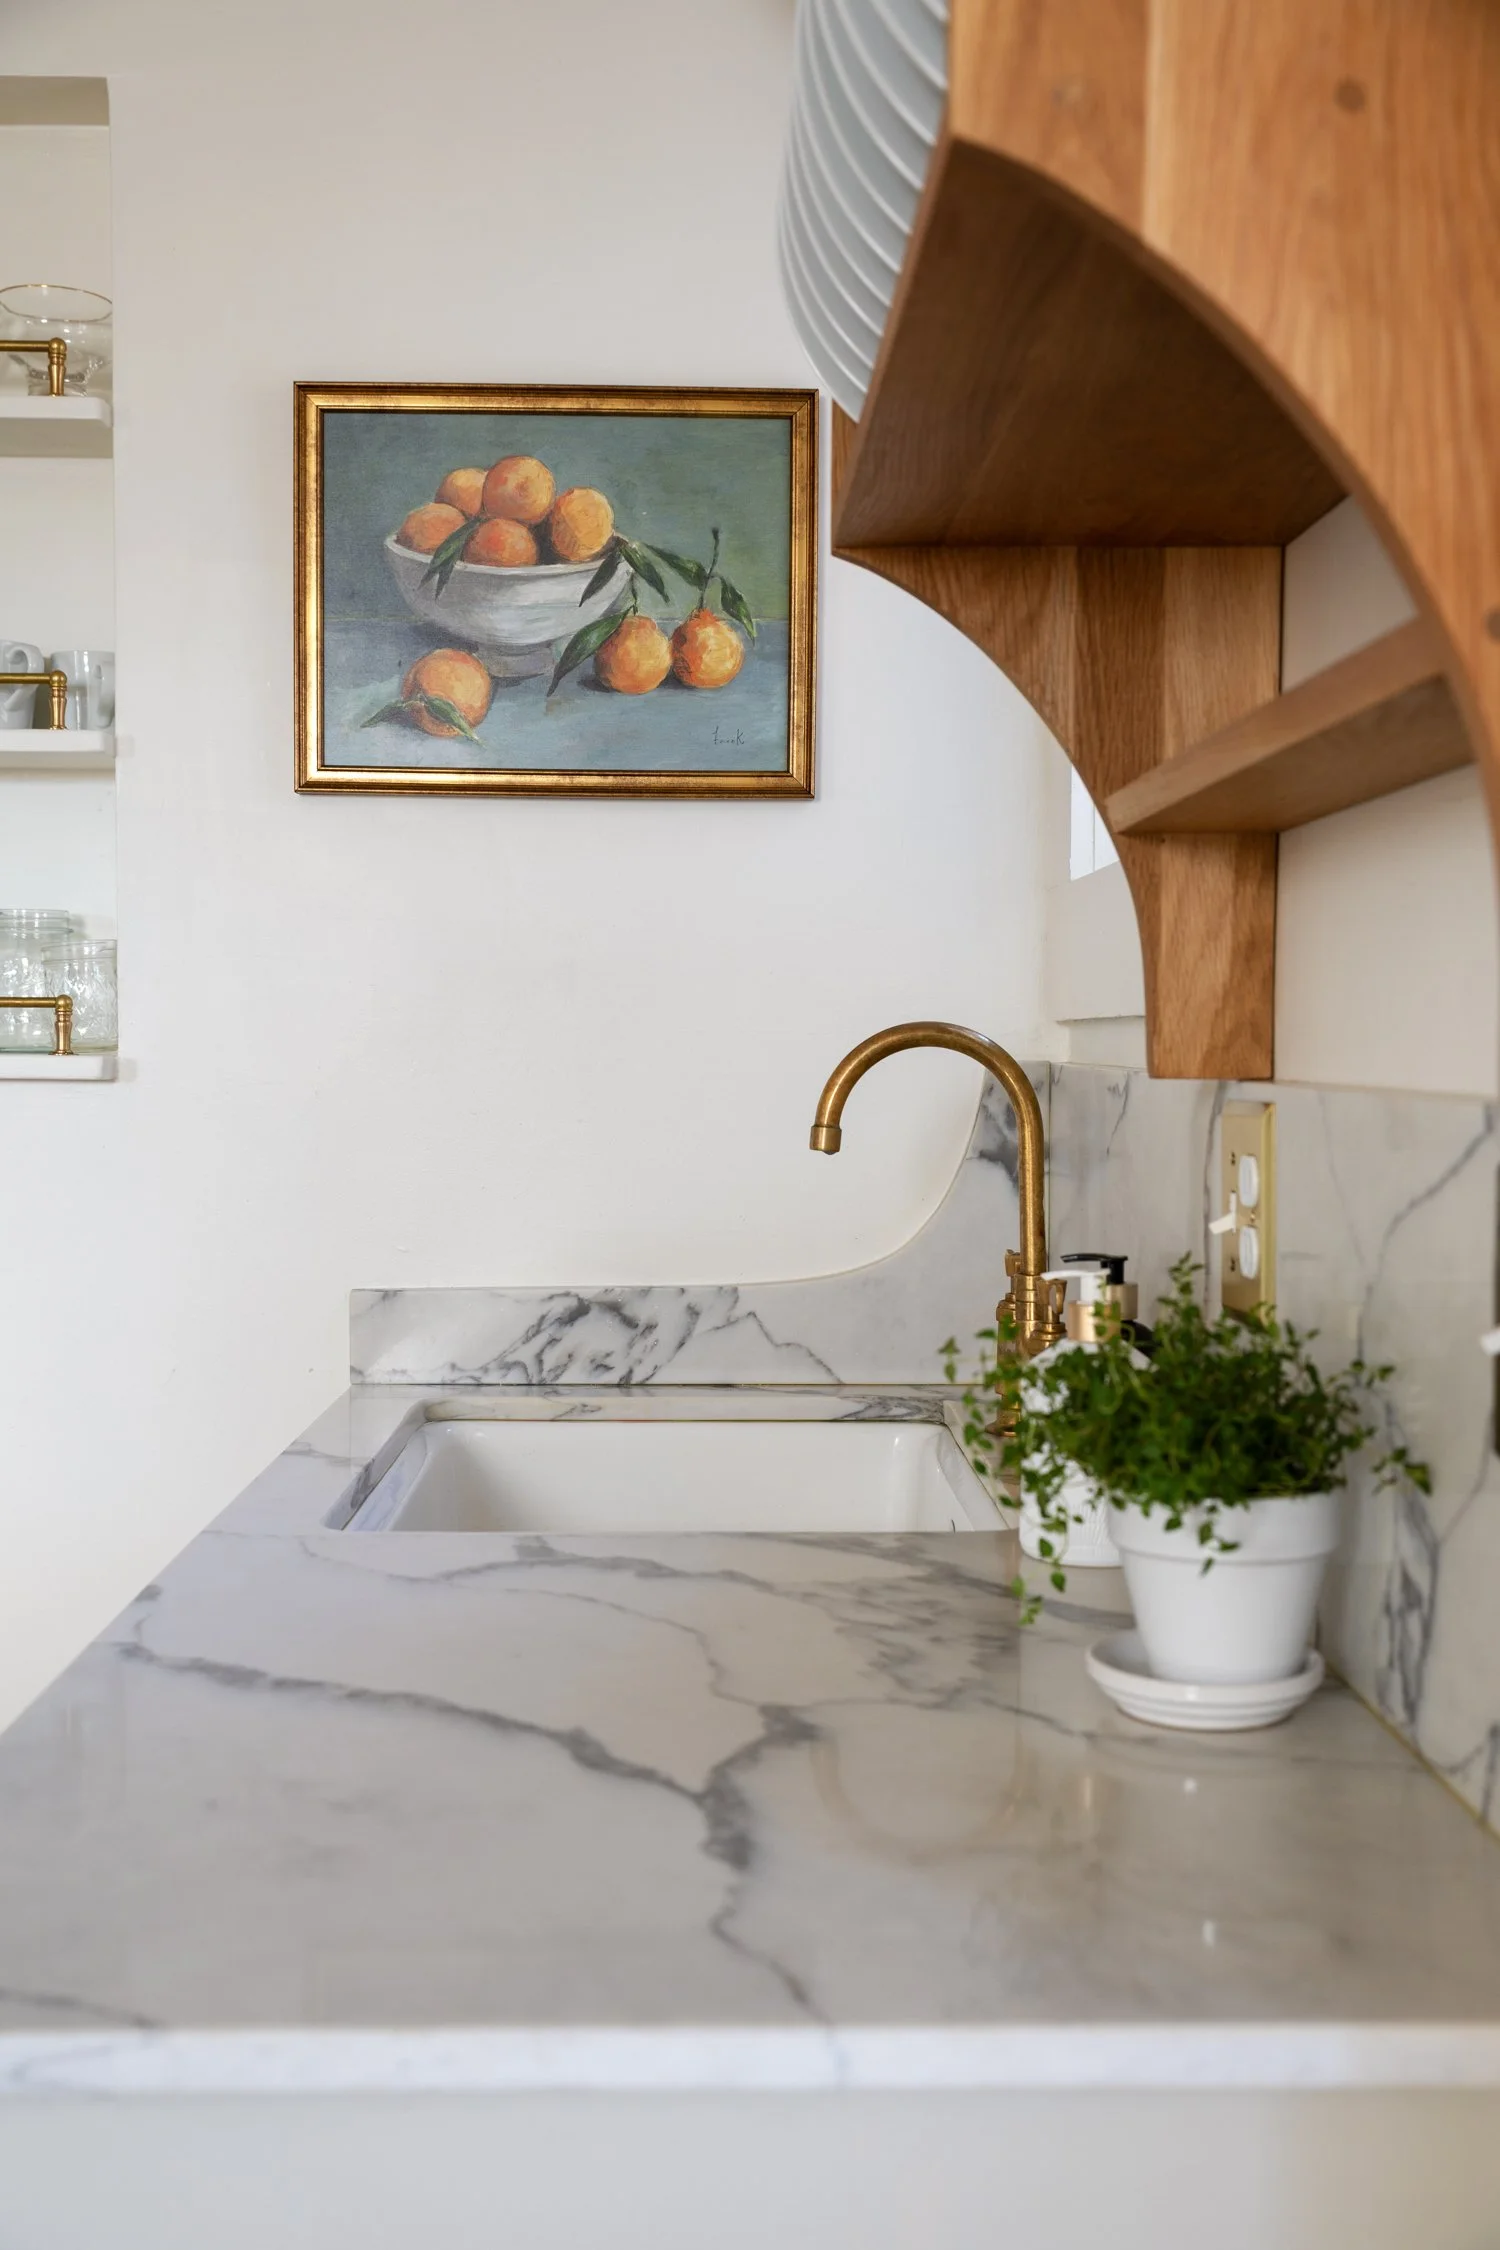
The rest of the details: an unlacquered brass faucet on a cast iron sink, a custom oak plate rack that I designed and had a craftsman on Etsy build, a built-in bench with a durable cushion, a little recessed shelf with a brass gallery rail, and DIY linen café curtains on the window. Nothing in here happened all at once. It was built one decision at a time, and I'm so happy with how it turned out.
Here’s what the space looked like when we bought the house…


More on this room: the full kitchen reveal and sources, the layout and appliances, how we customized stock cabinets, the curved plaster hood, the custom oak plate rack, the DIY brass gallery rail, our DIY café curtains, and the foot pedal we added to the faucet.
The Mudroom: 33 Square Feet of Hard Work
Just beyond the kitchen is a tiny mudroom with storage and laundry. It's just 33 square feet (5'6" x 6'), and it can handle boots, backpacks, and dirty laundry for five people without looking like a hurricane hit it.
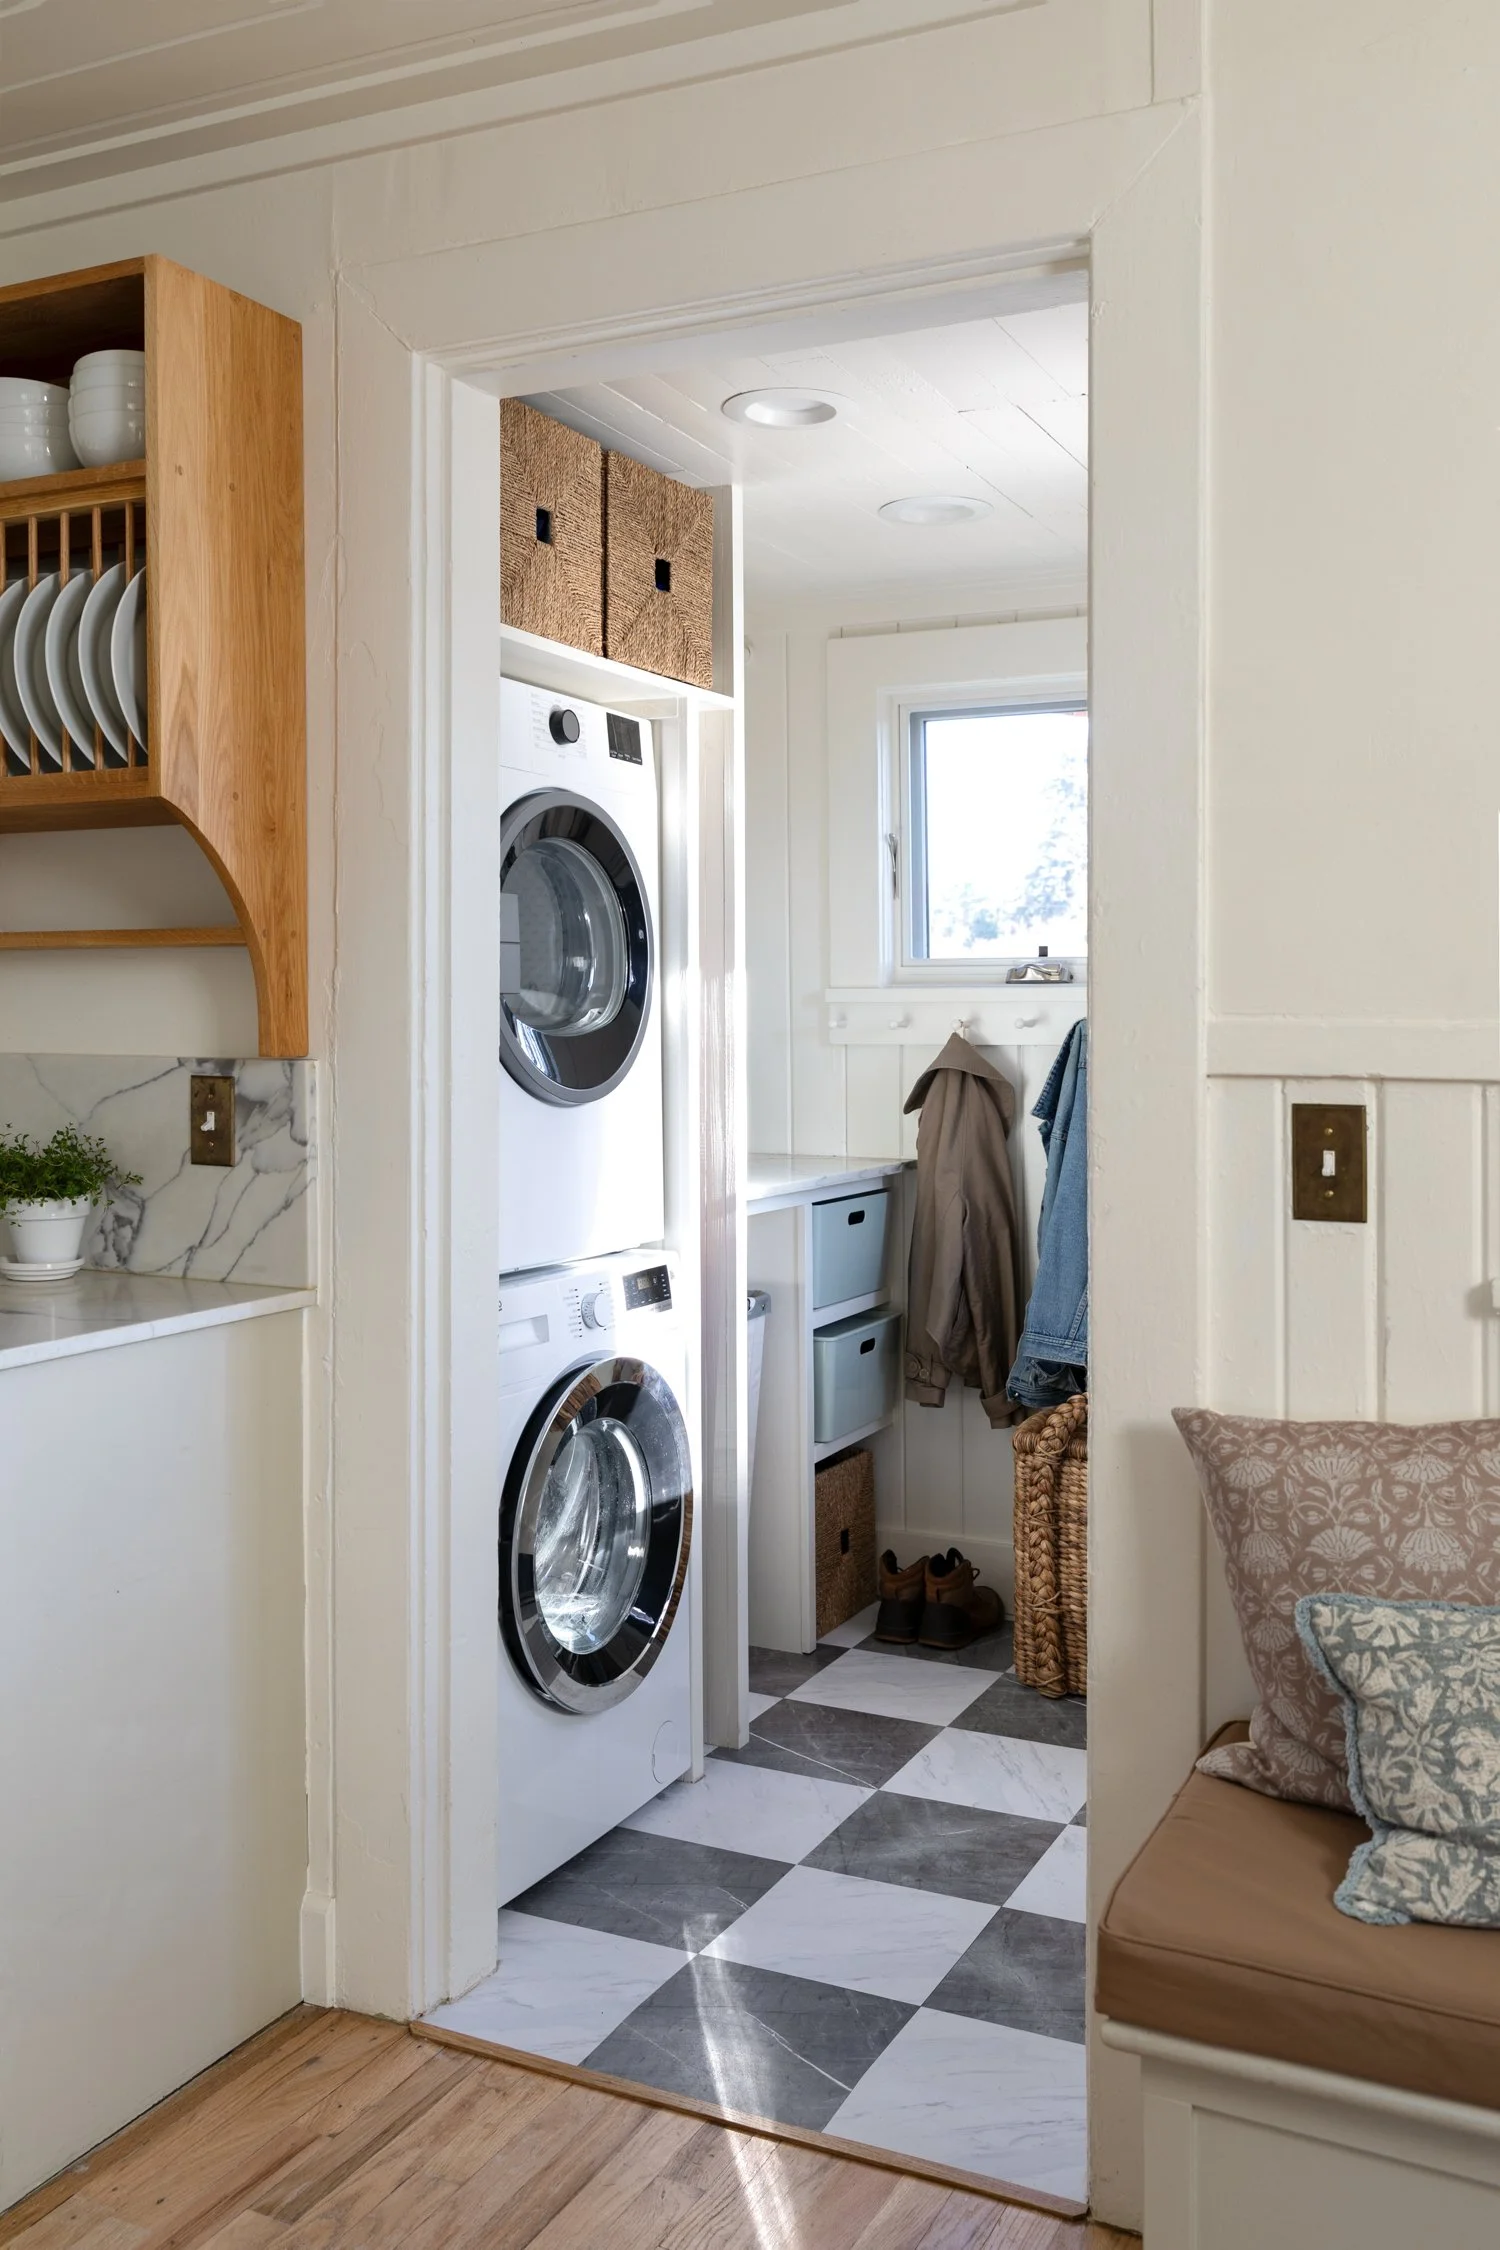
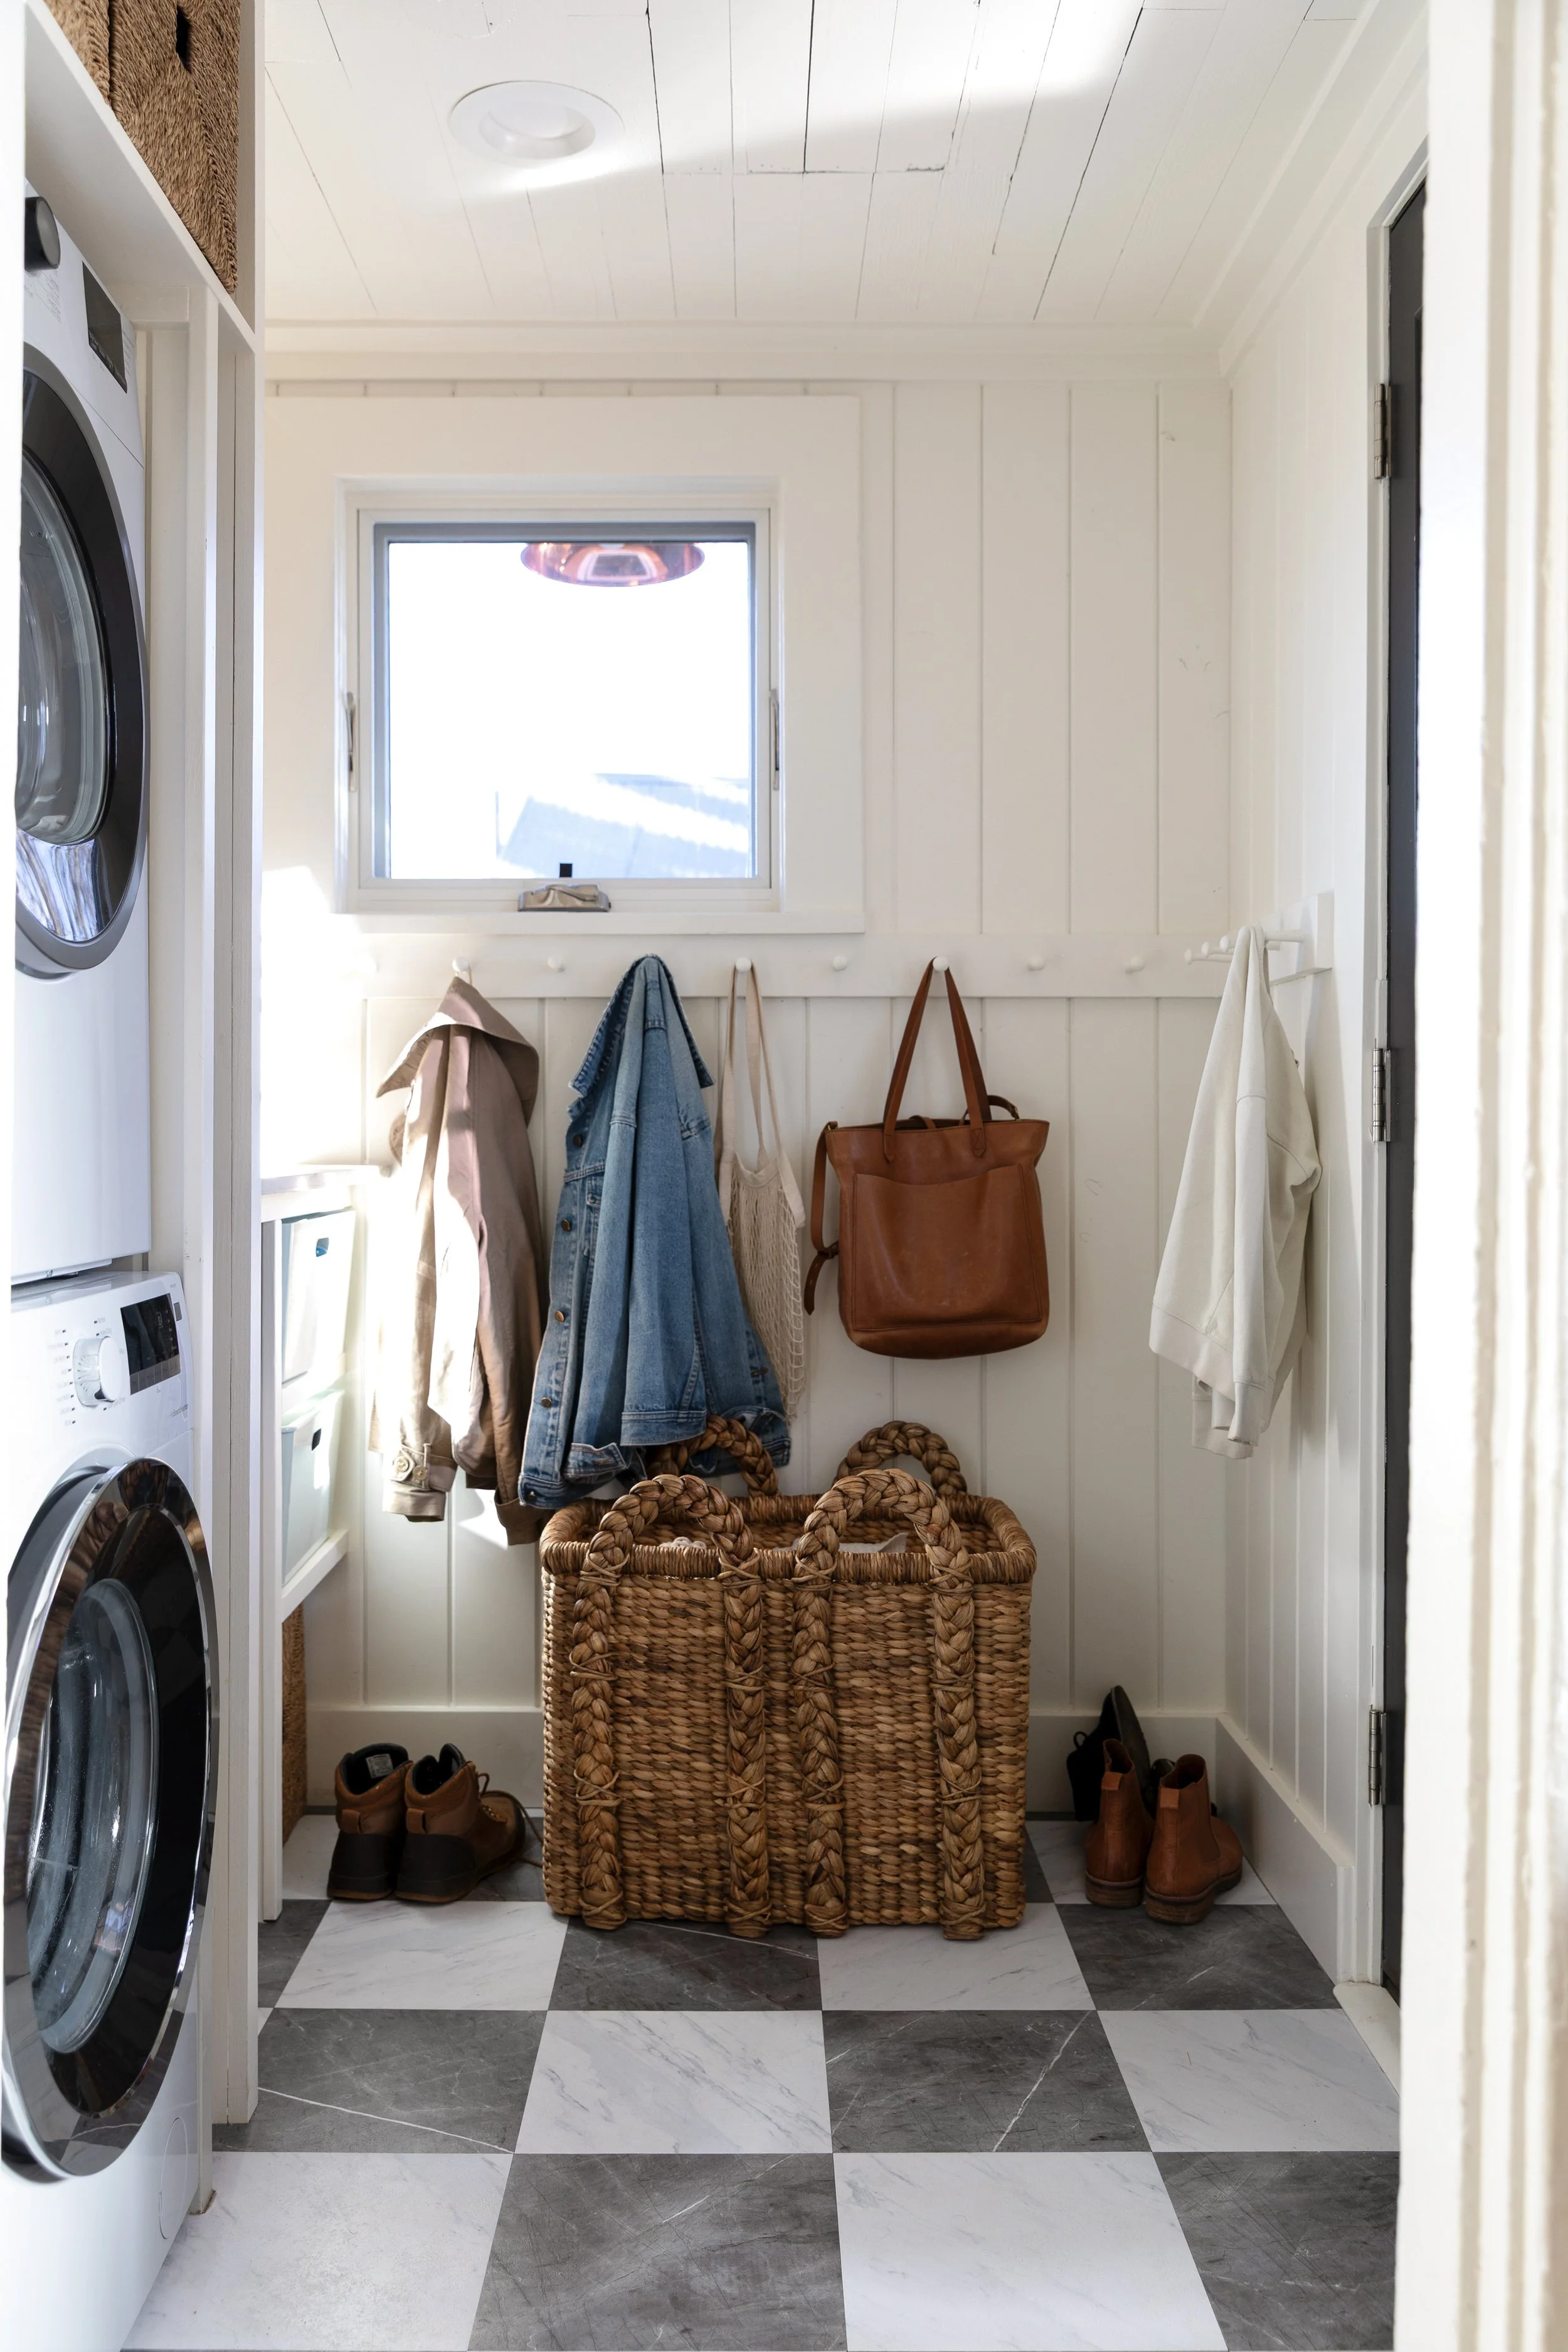
The plan was a "drop zone" where everyone naturally sets their stuff down. That meant a small stackable laundry set to save floor space, shelves Garrett built (topped with a leftover piece of quartz), shaker pegs on the walls, and a new glazed door to bring in light.
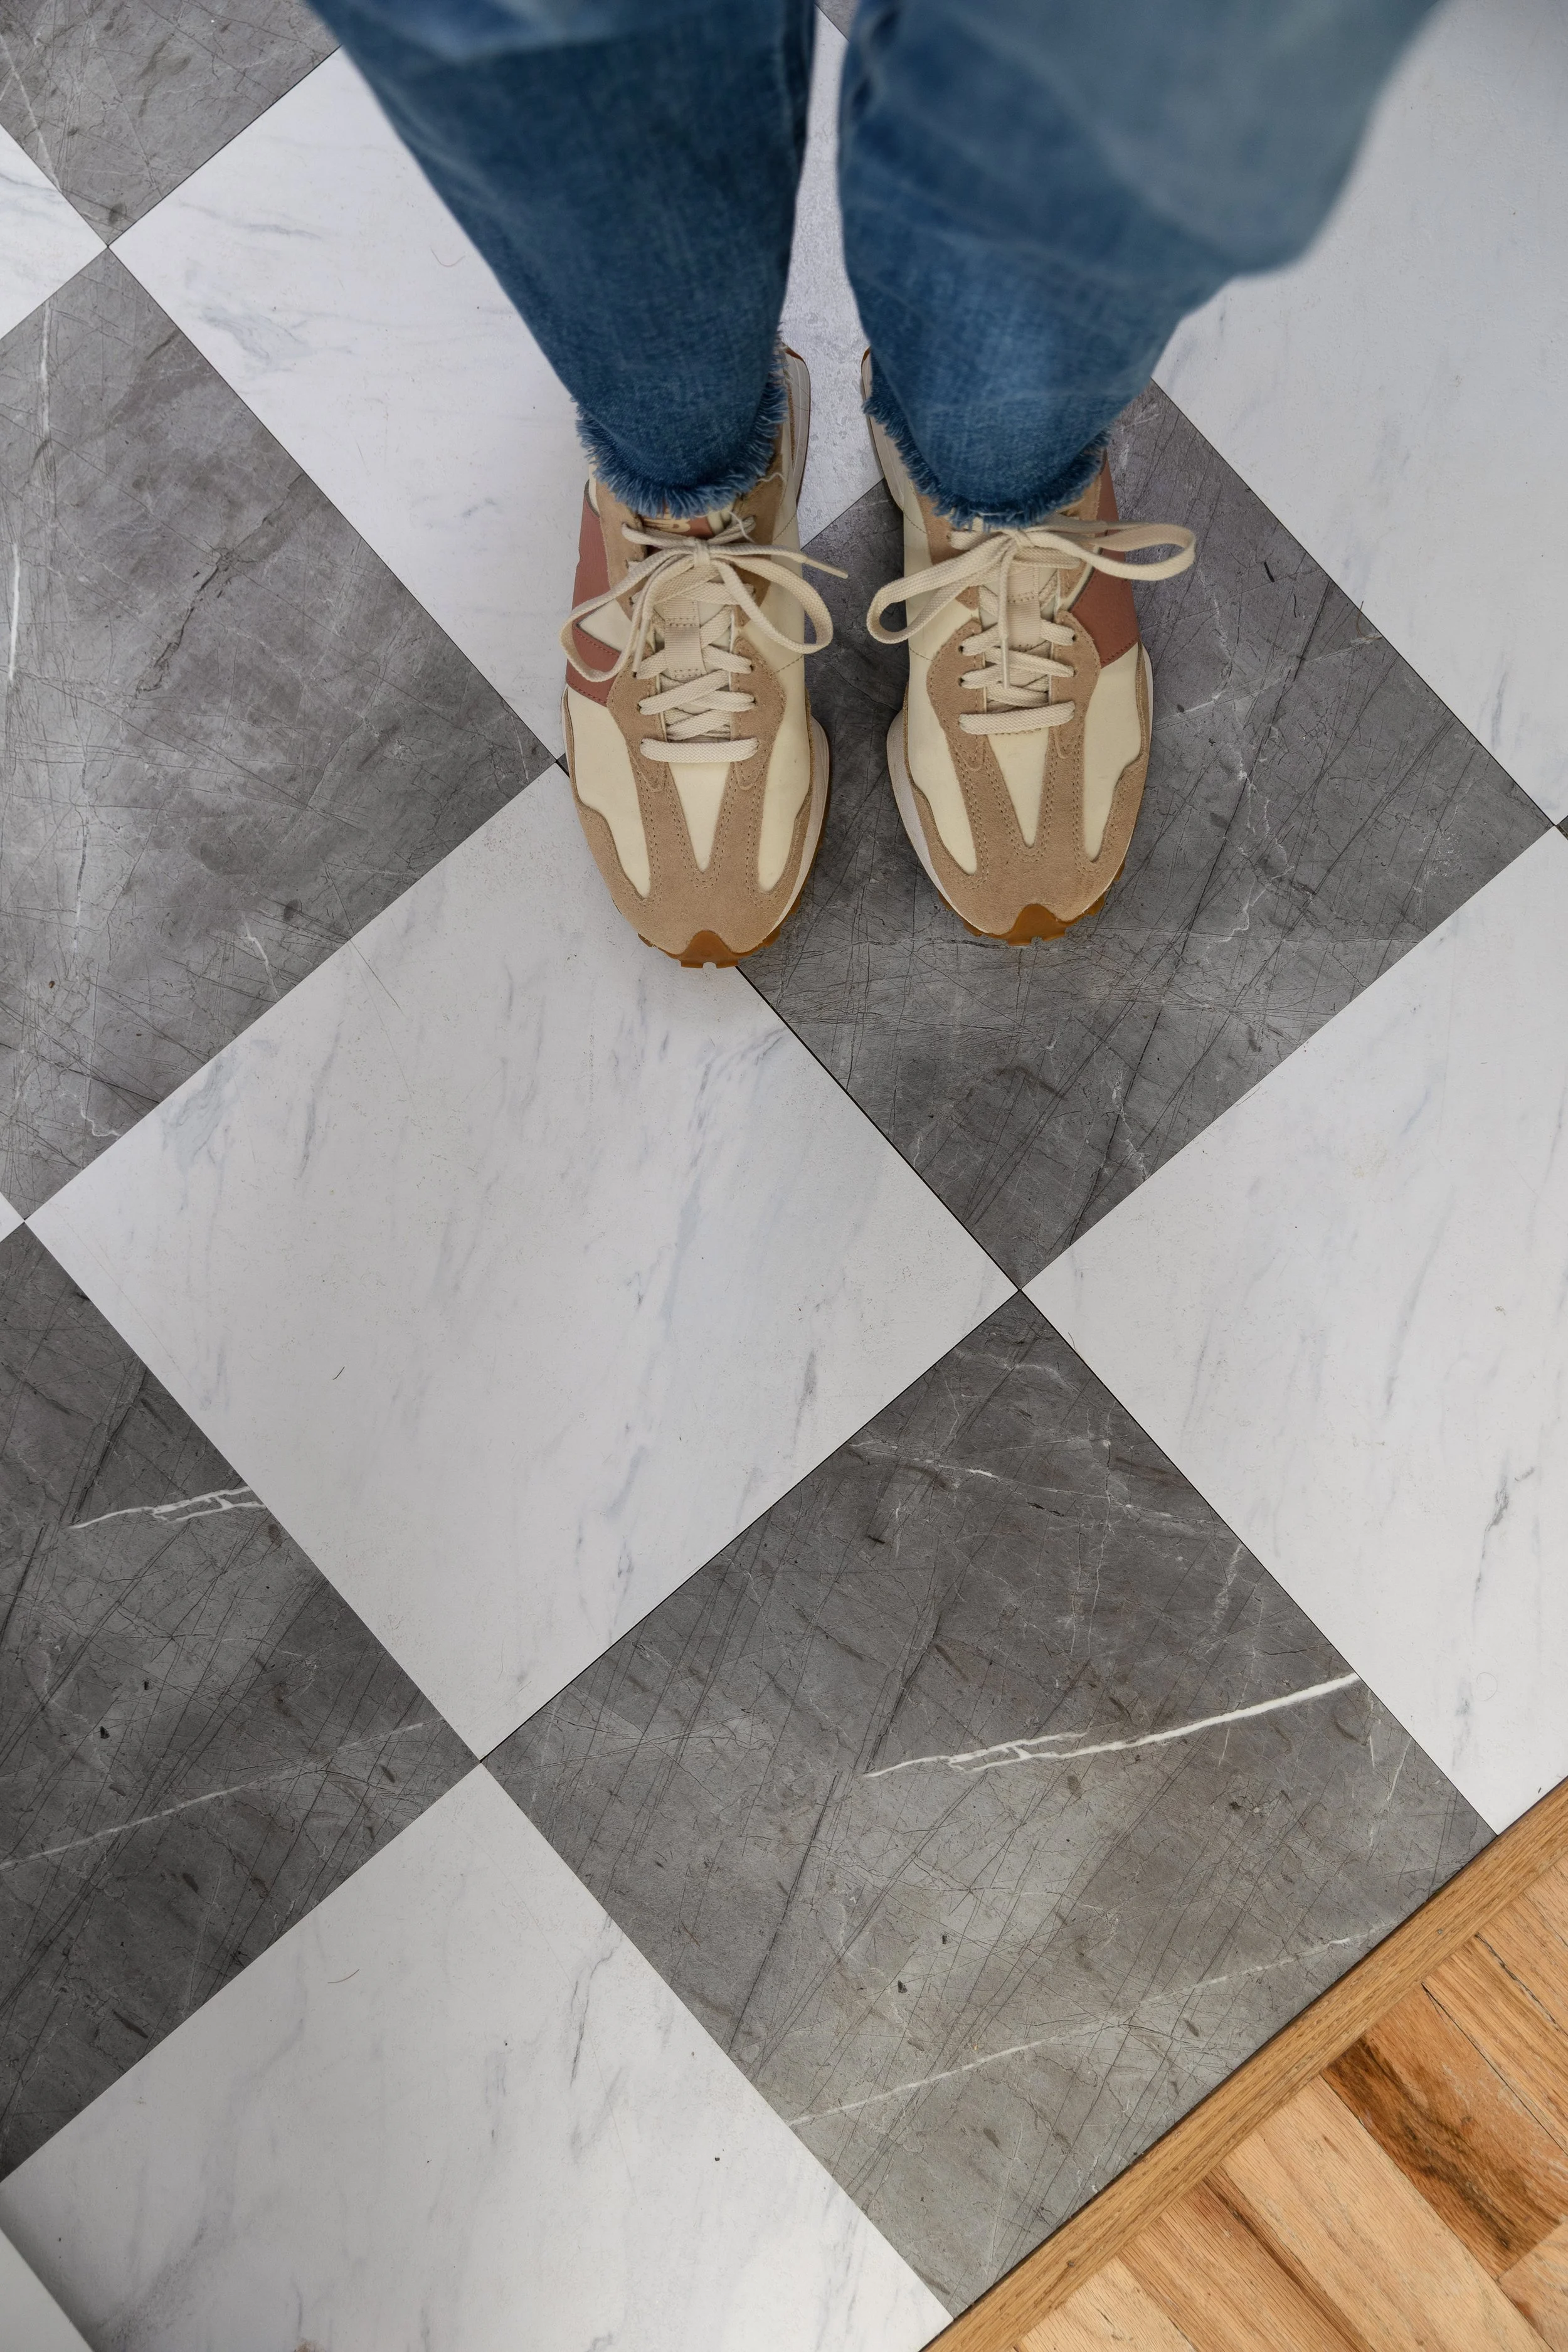
The downside? The low ceiling and low floor height limited our lighting and flooring choices. Old houses rarely make it easy, but can lights and vinyl peel-and-stick tile worked really well in here.
More on this room: how we made the most of a small mudroom and how we installed the vinyl peel-and-stick floors.
The before was dark and, well, not good.


The Main Floor Bedroom: Pattern and Layers
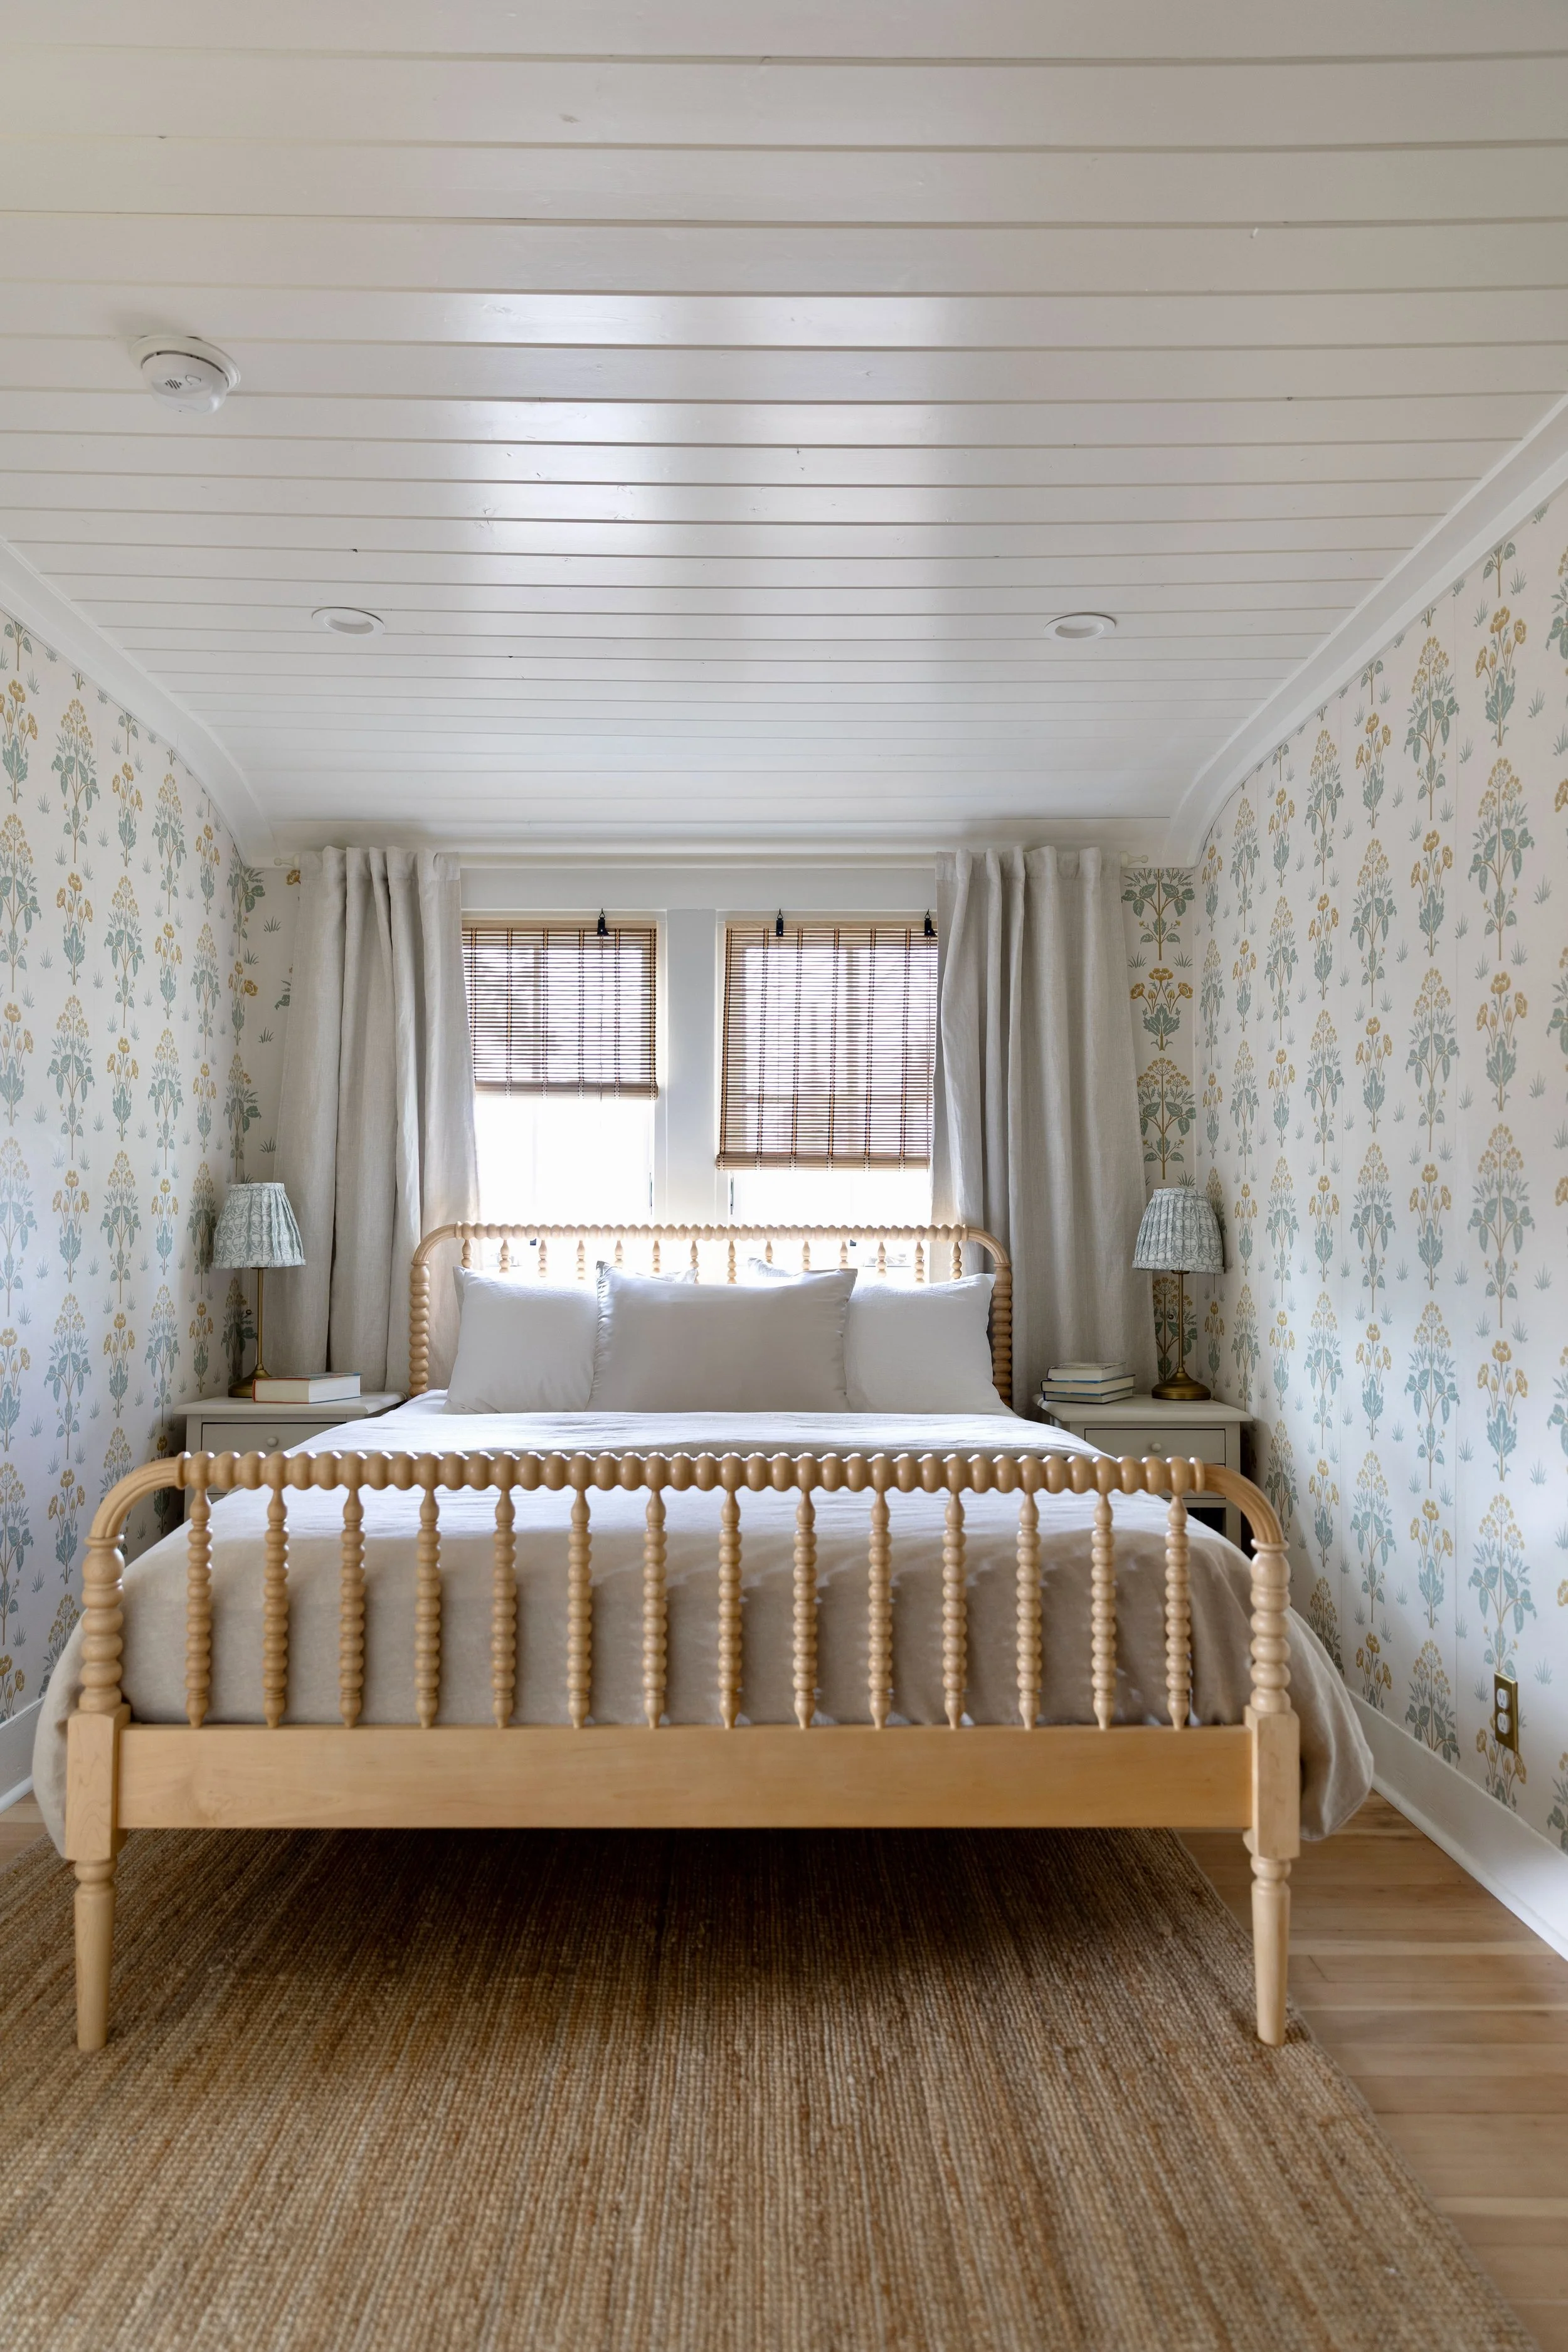
The main floor bedroom is just 8'7" wide, and it shrank a little more when we cut the stairs into it. That doesn't leave much room for a closet, so we built one under the stairs, deep enough for hanging space and shelves at the back. A vintage armoire across from it adds even more storage. (When we lived here, I downsized my whole wardrobe to that one small armoire!)
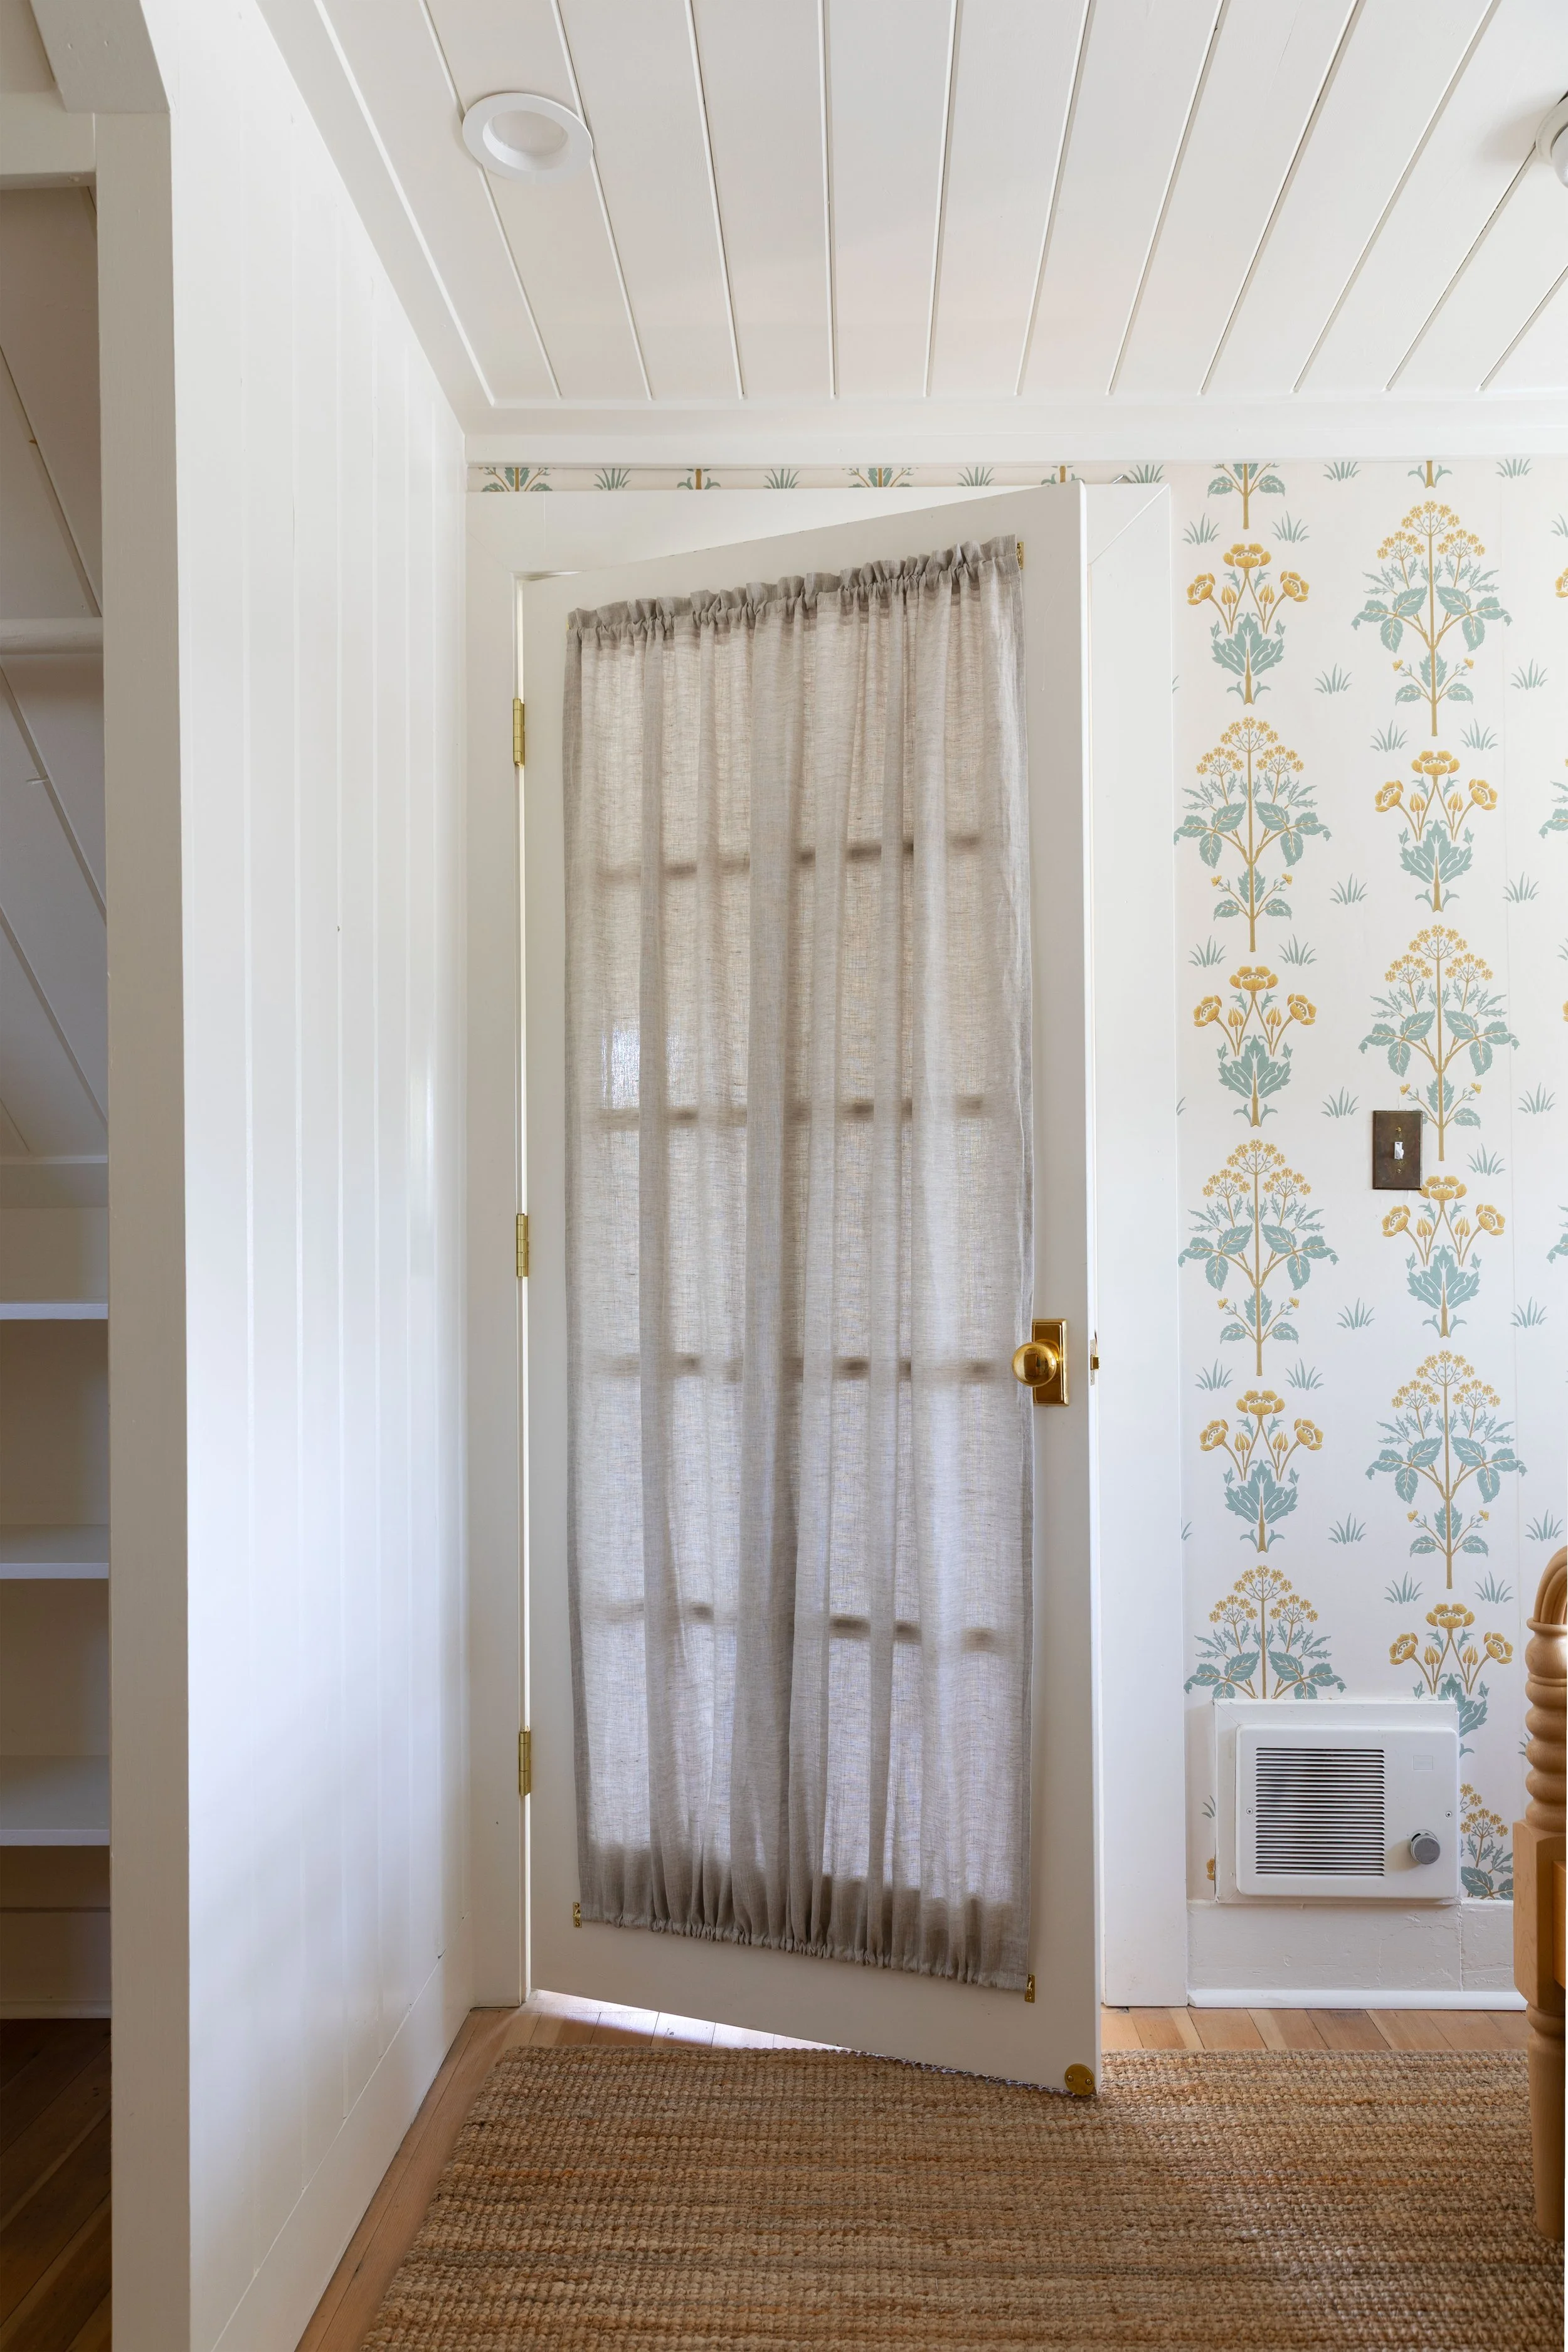
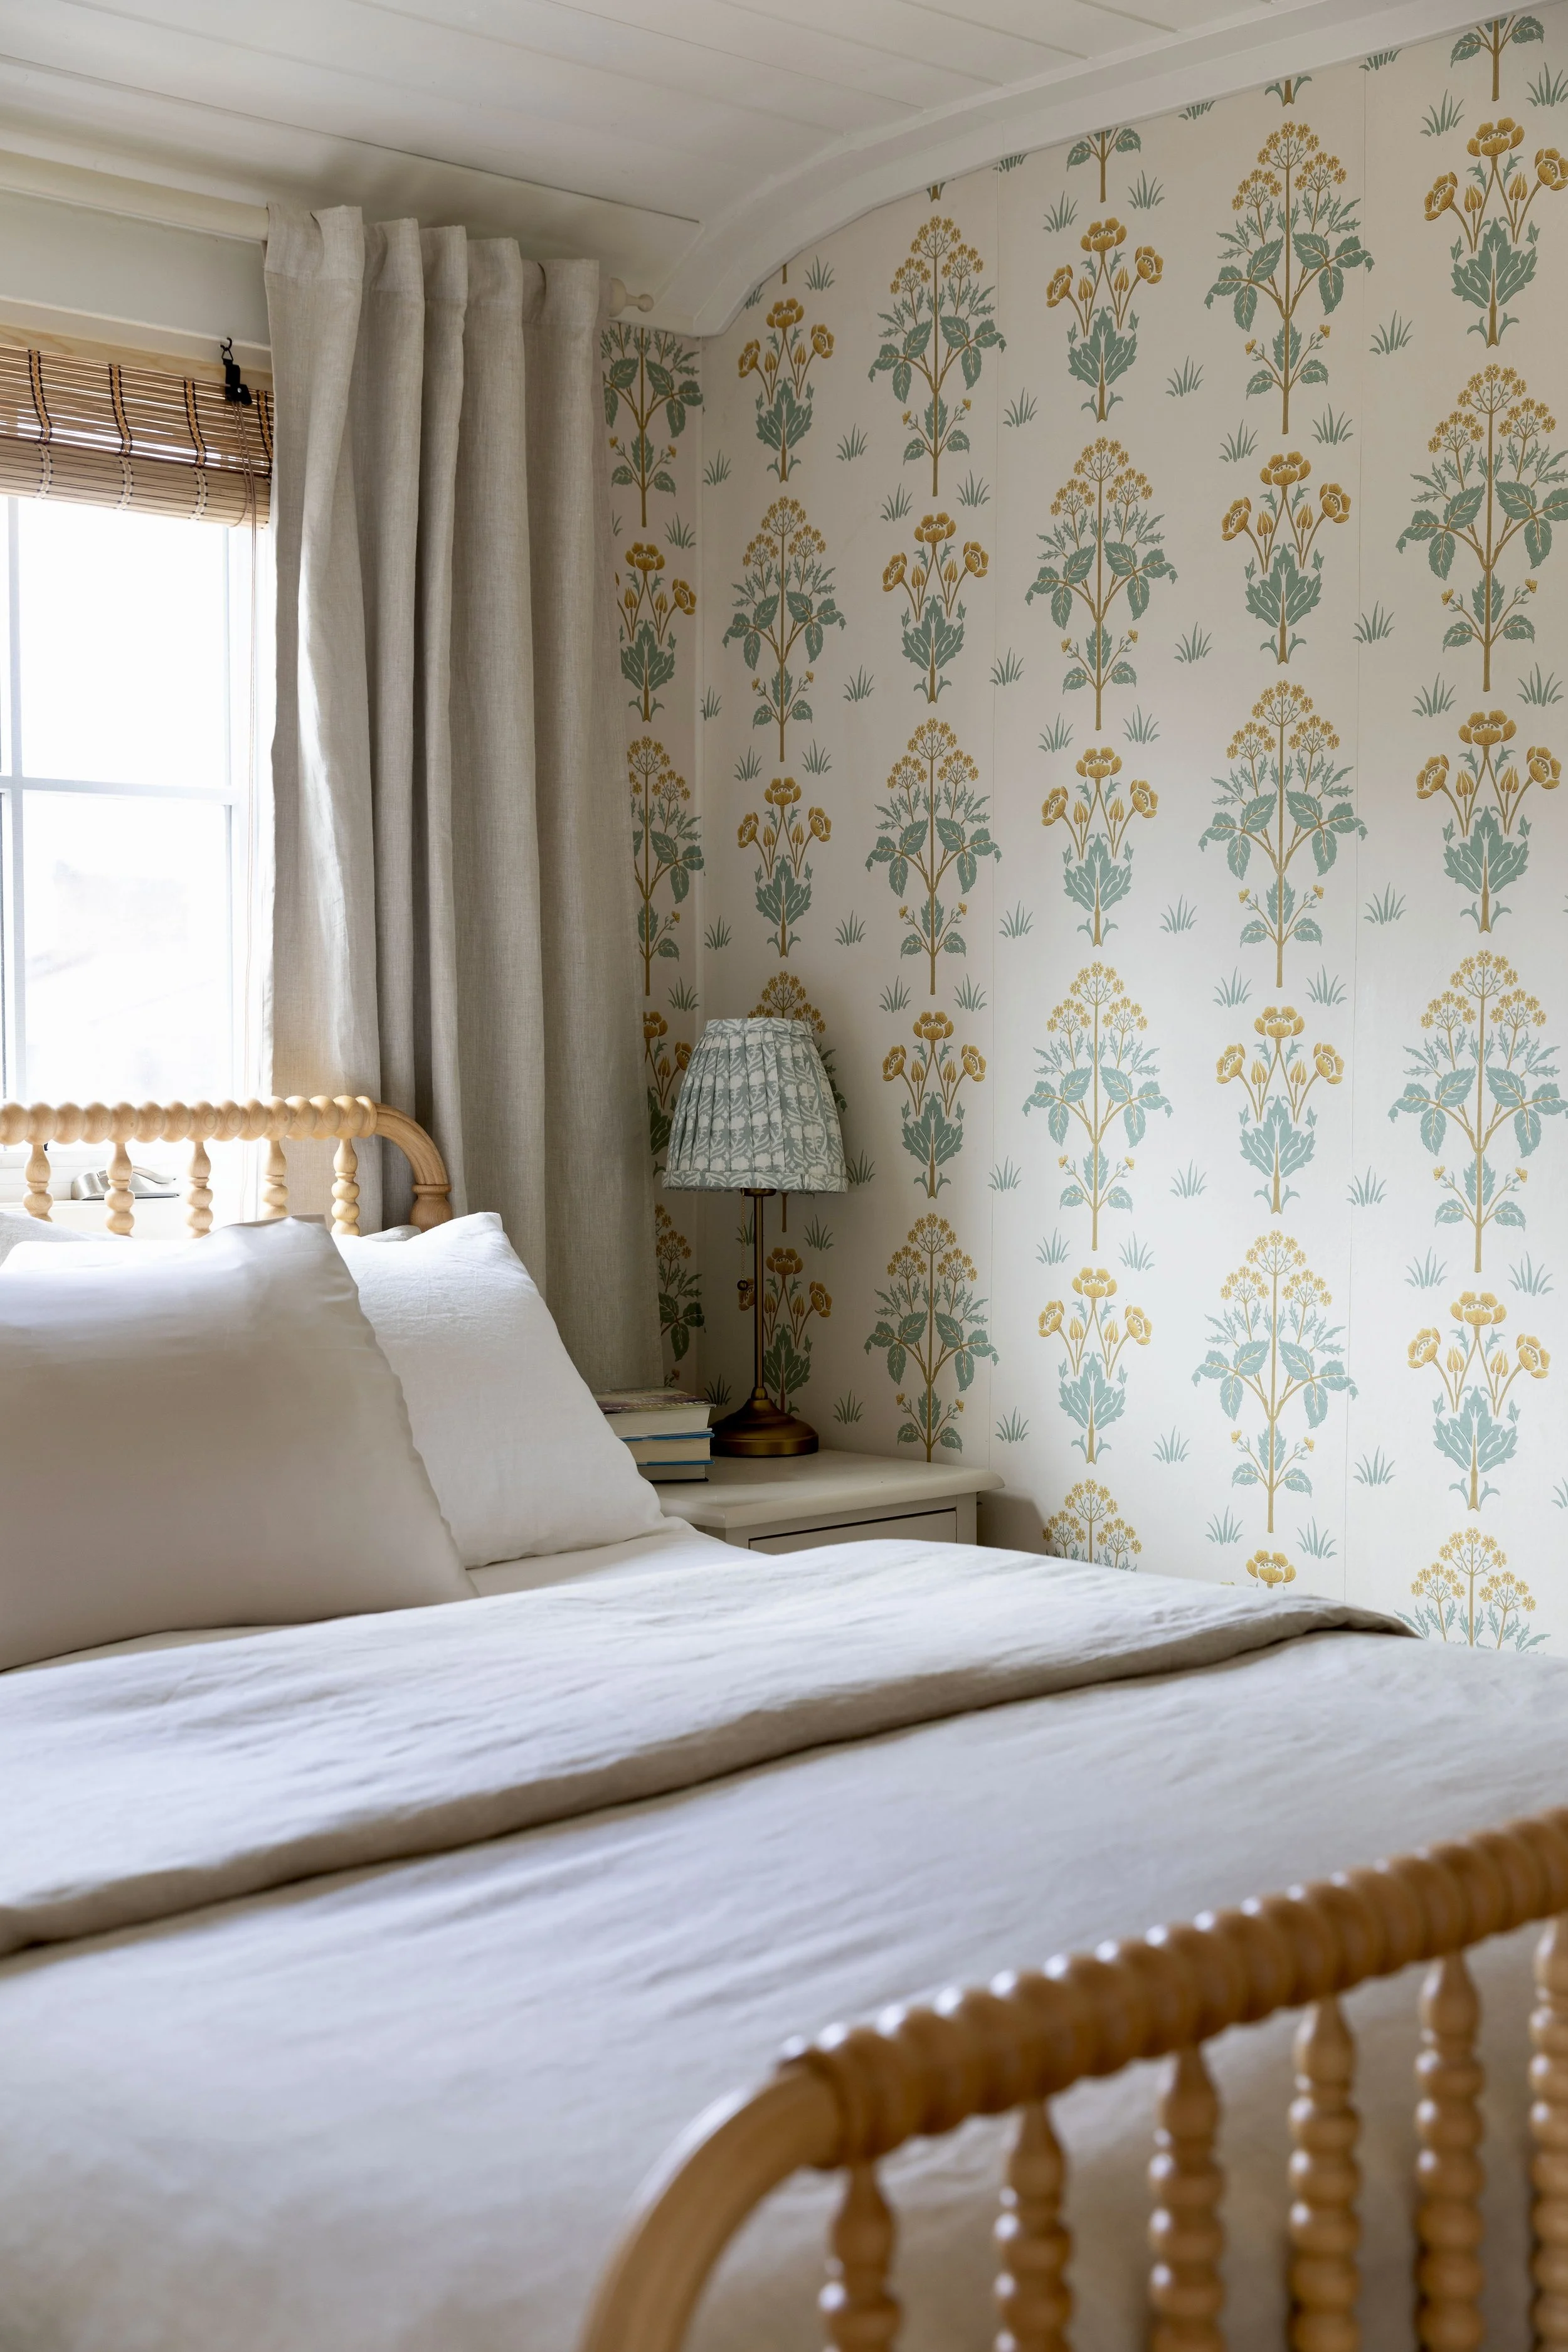
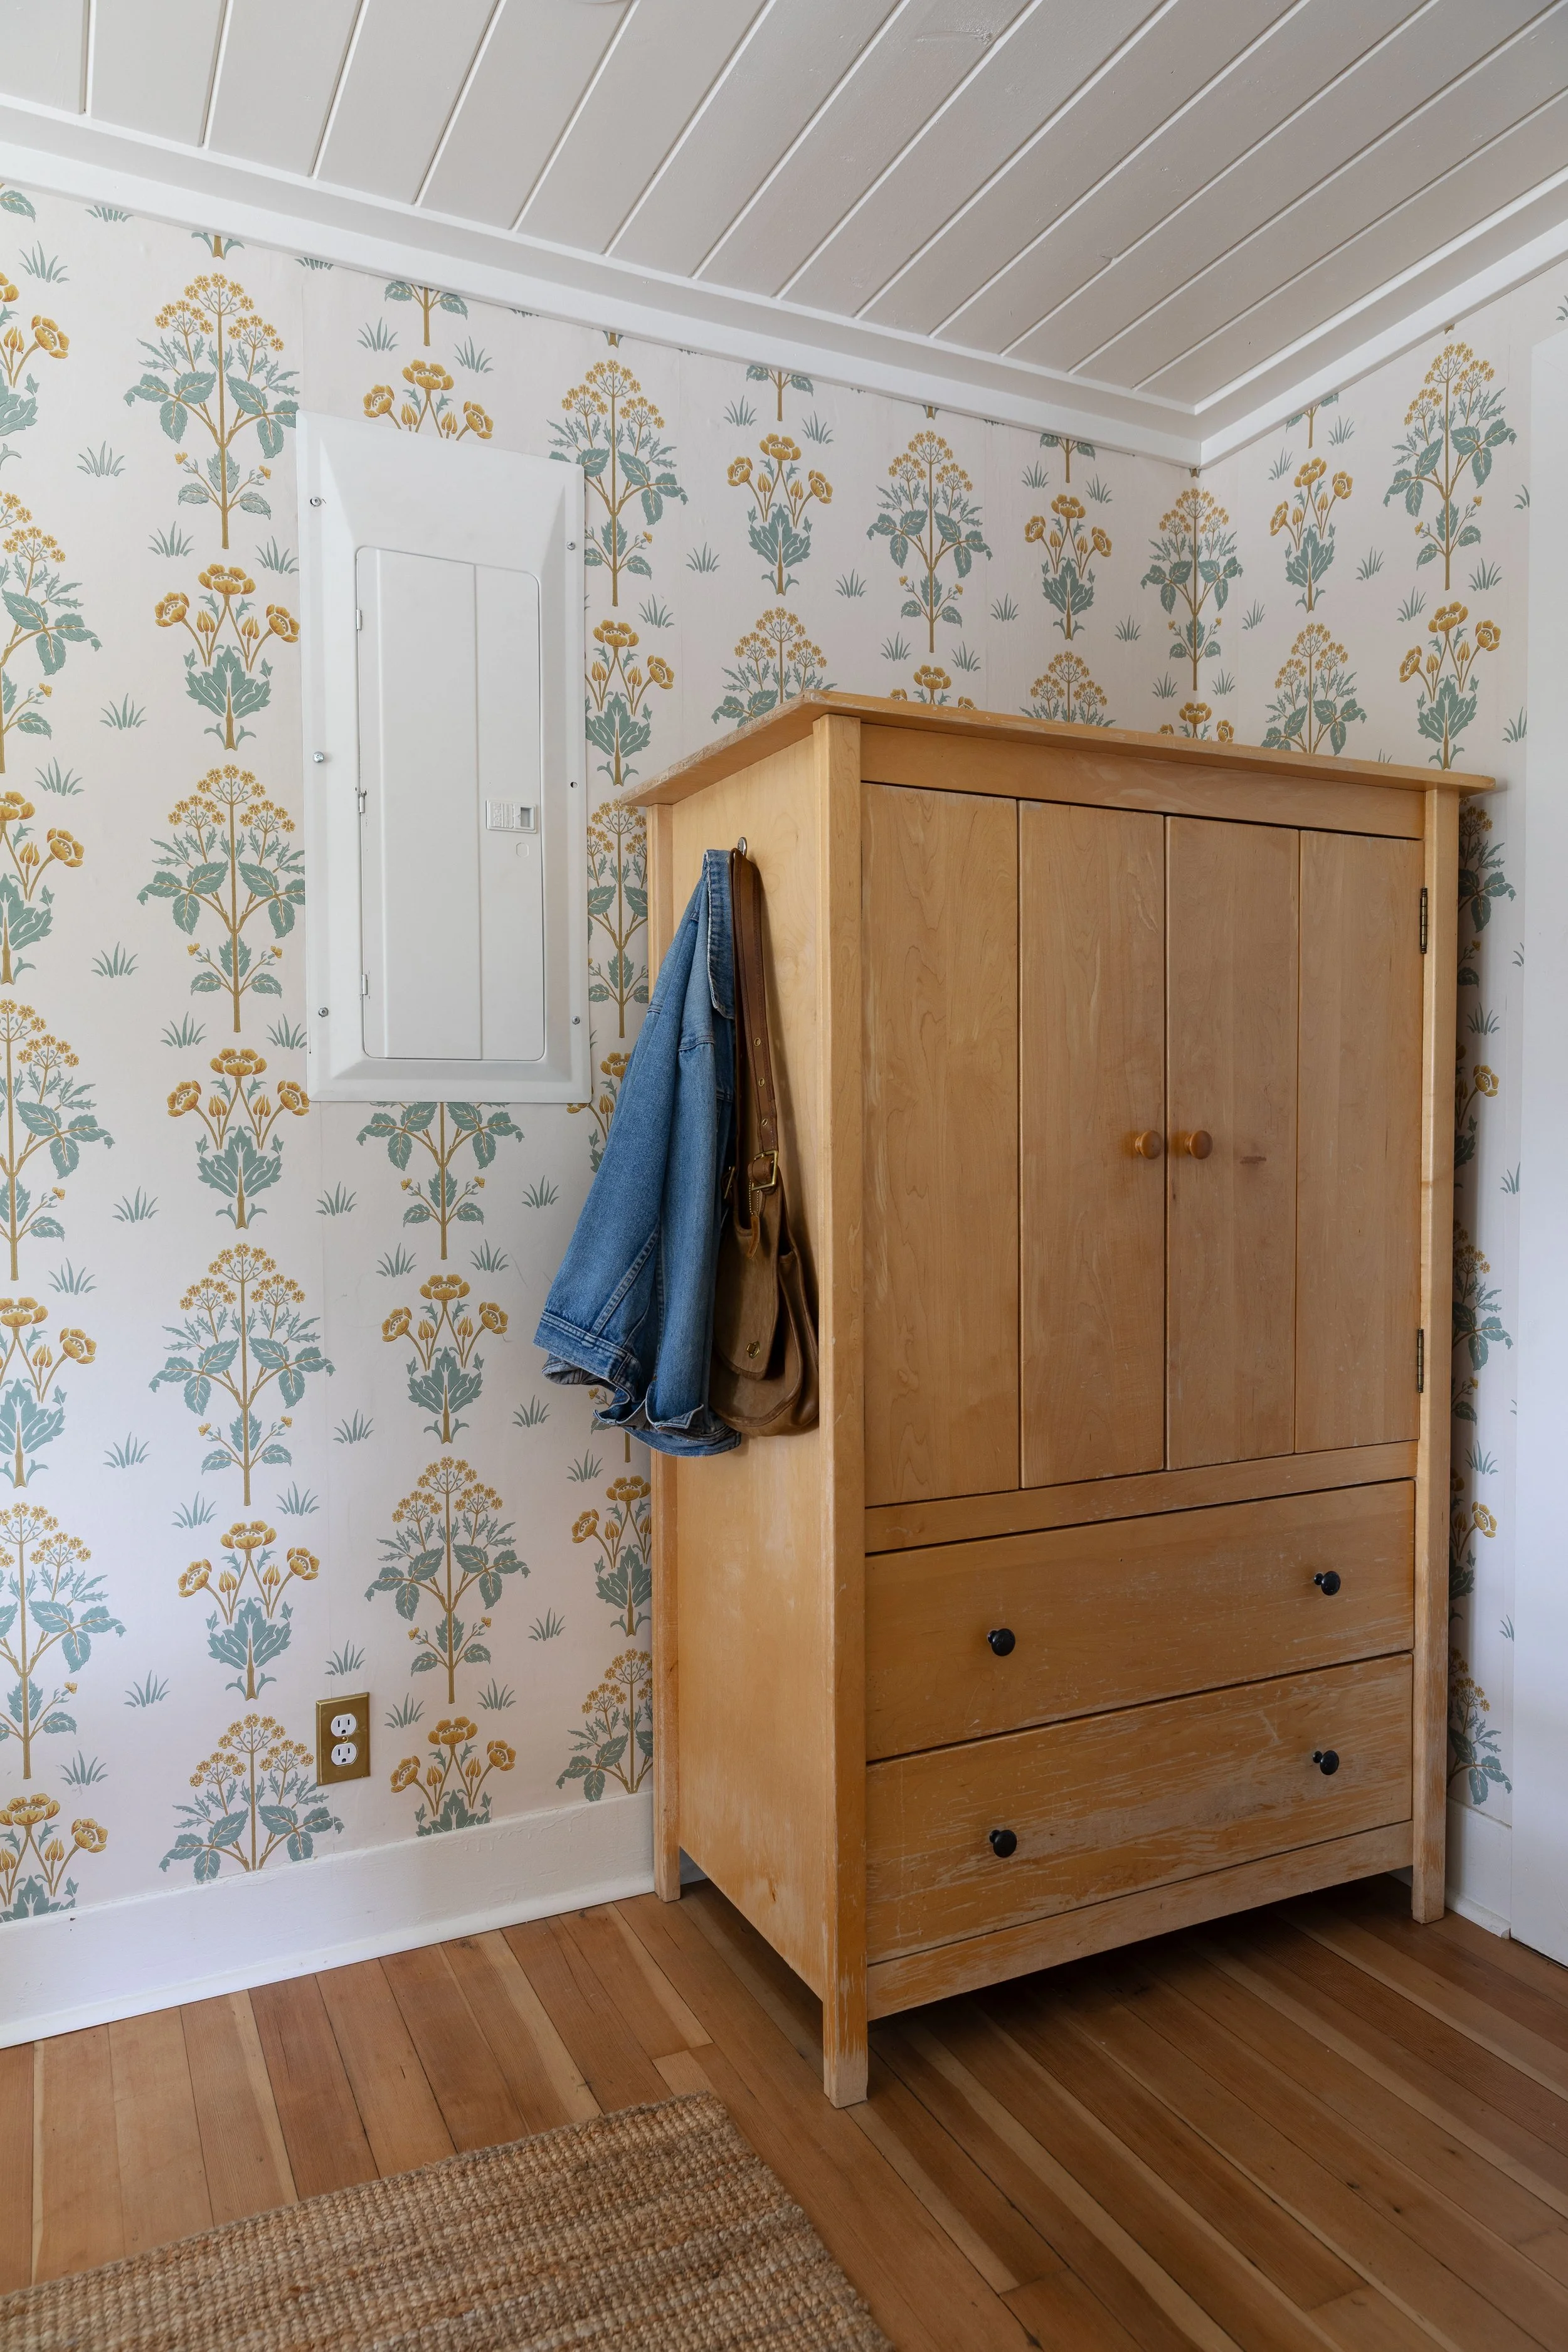
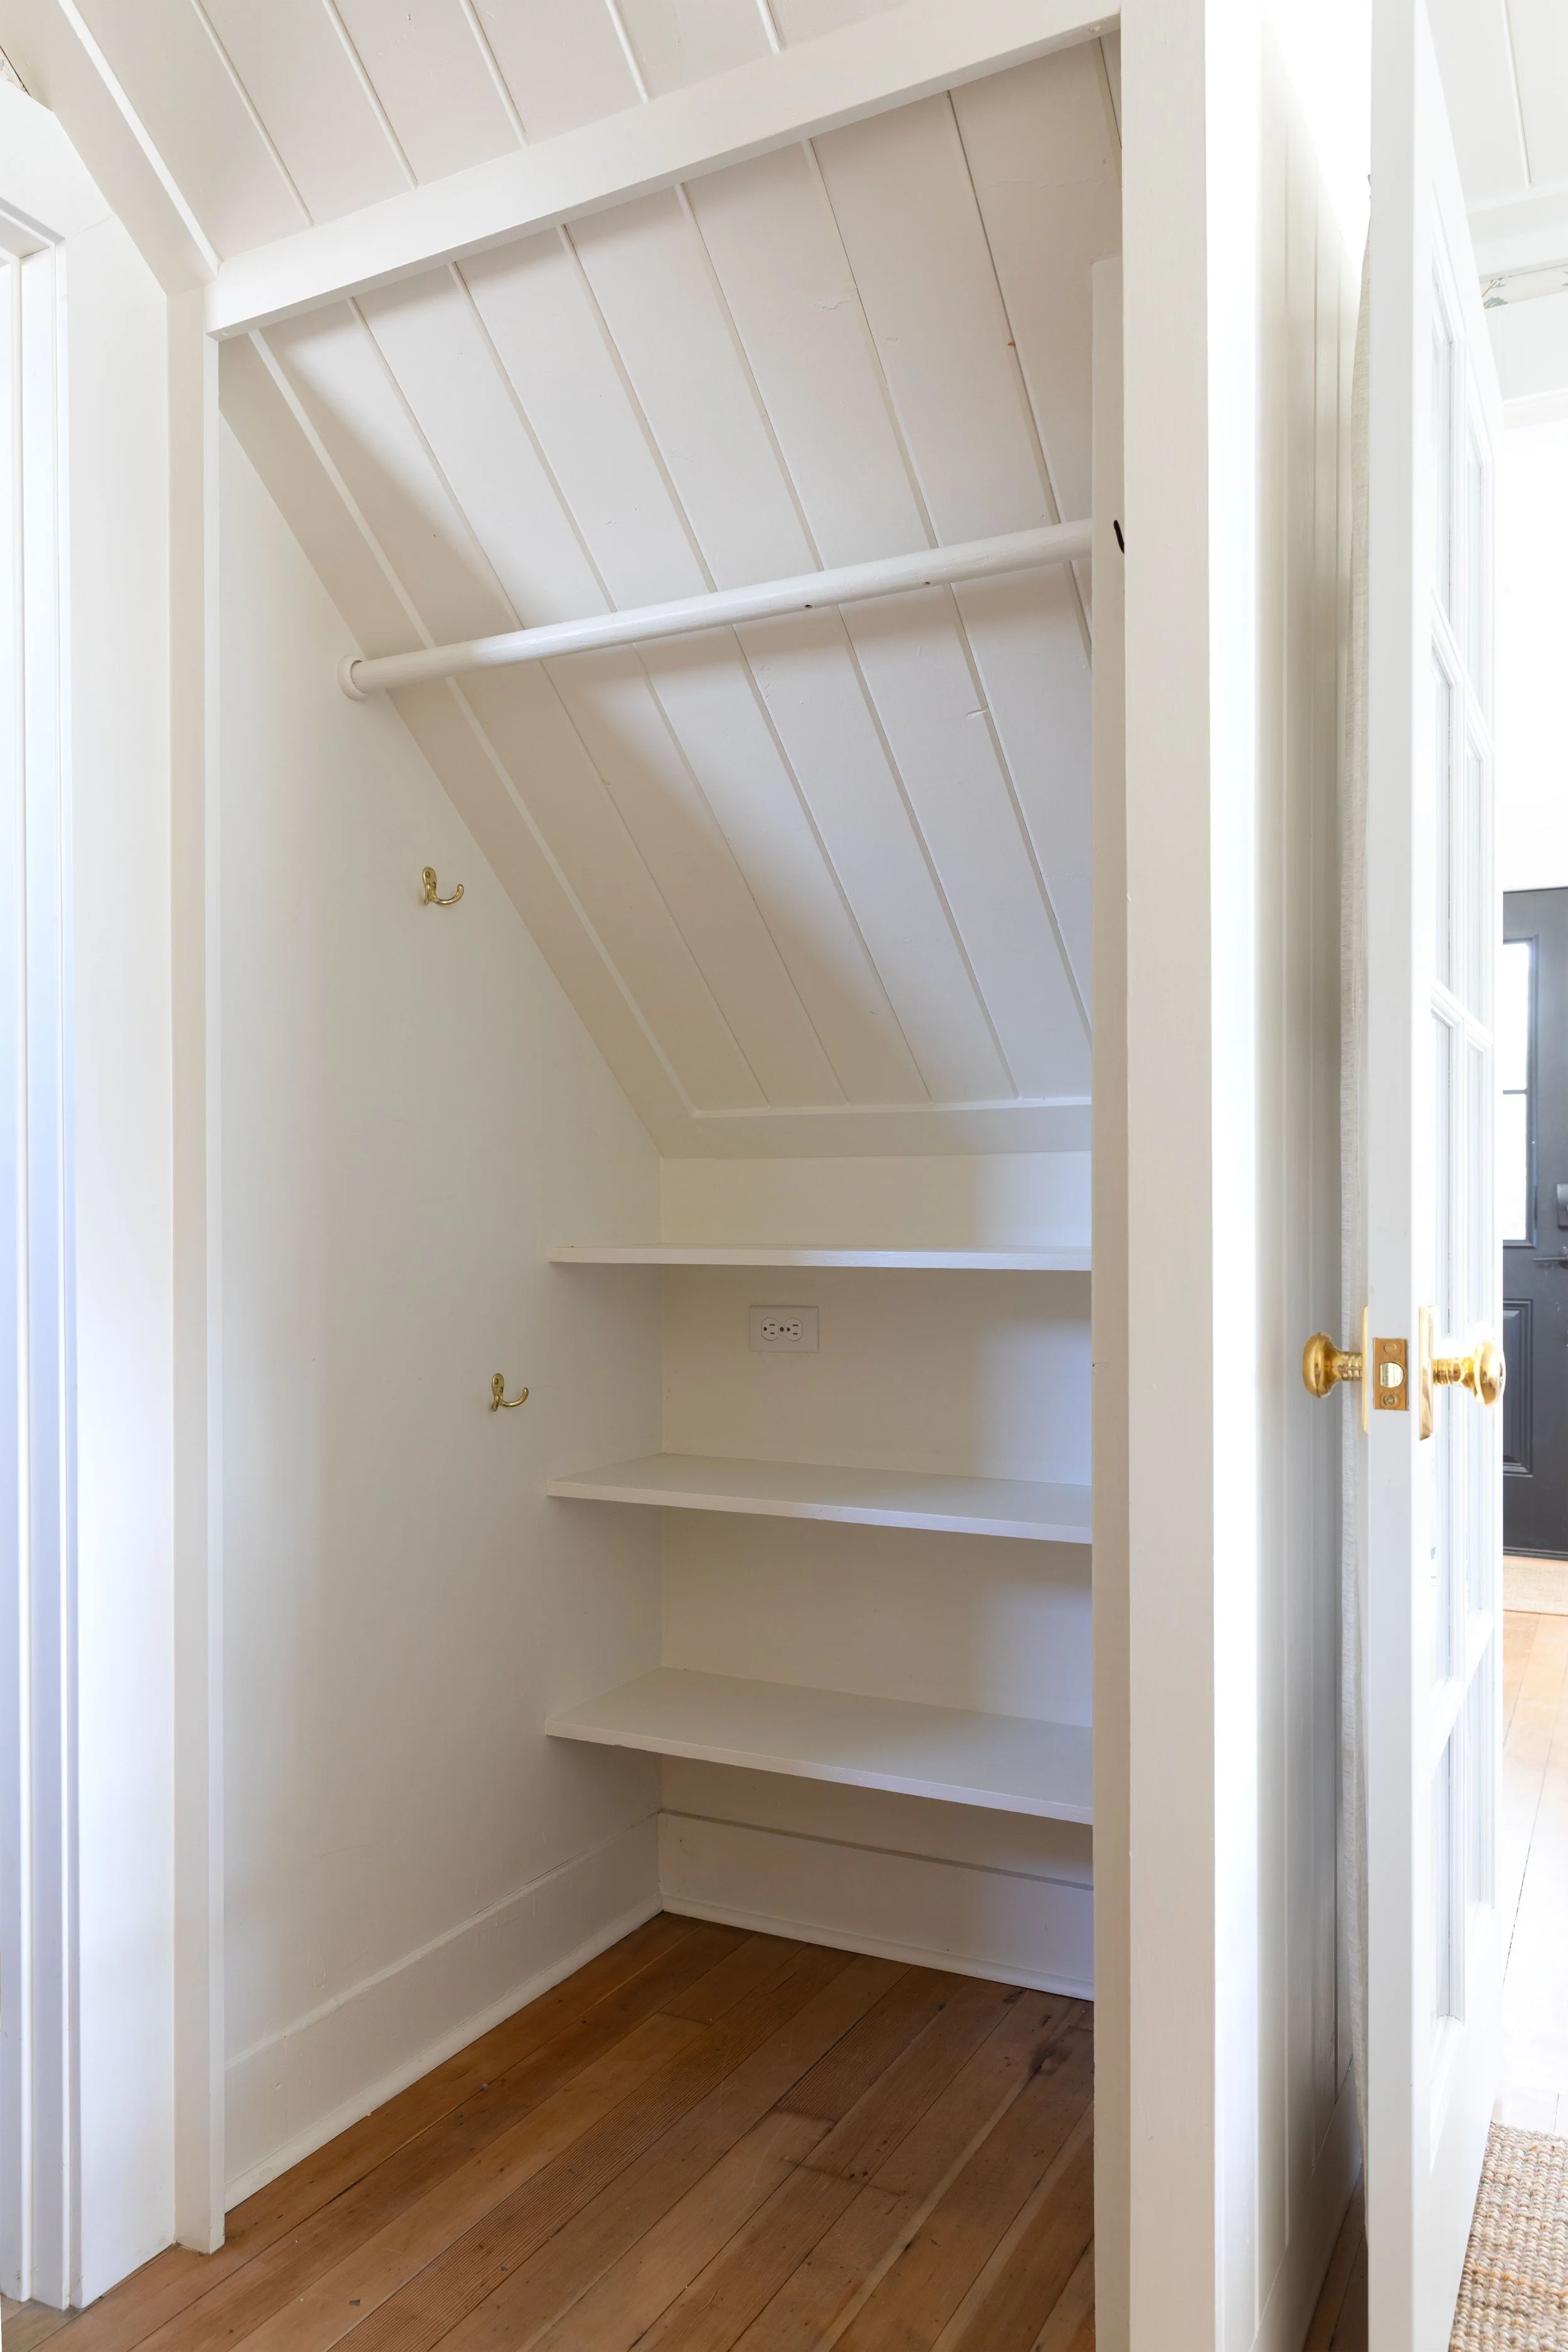
wallpaper, bed frame, rug, door, bamboo shades, nightstands, bedding, drapes
What this room lacks in size, it makes up for in pattern. There's a Morris print wallpaper on the walls, wood nightstands that I assembled and painted Stony Ground, pleated fabric lampshades in a pretty linen pattern, a matching linen curtain for the glass French door (thanks mom!), bamboo shades, linen blackout drapes, my favorite jute rug, and the maple Jenny Lind bed. I haven't bought a lot of new bed frames for our homes (I love vintage!), but this spindle bed is so well built and beautiful that it feels more like a custom piece than an off-the-shelf frame. Highly recommend!
And the before? Acoustic panel ceilings, laminate over the original fir floors, and an awful 70s aluminum window situation.


More on this room: the full bedroom + ensuite reveal, the wallpaper, and the glass door.
The Main Floor Bathroom: From Flip-Flops to Zellige
This bathroom used to be the ONLY bathroom in the house, and it was a wear-flip-flops-into-the-shower kind of bathroom. Ick! Now it's the ensuite off the bedroom, with handmade white zellige tile capped in wood trim, an oak hardwood floor, a cast iron tub with an exposed shower, and a white linen shower curtain.
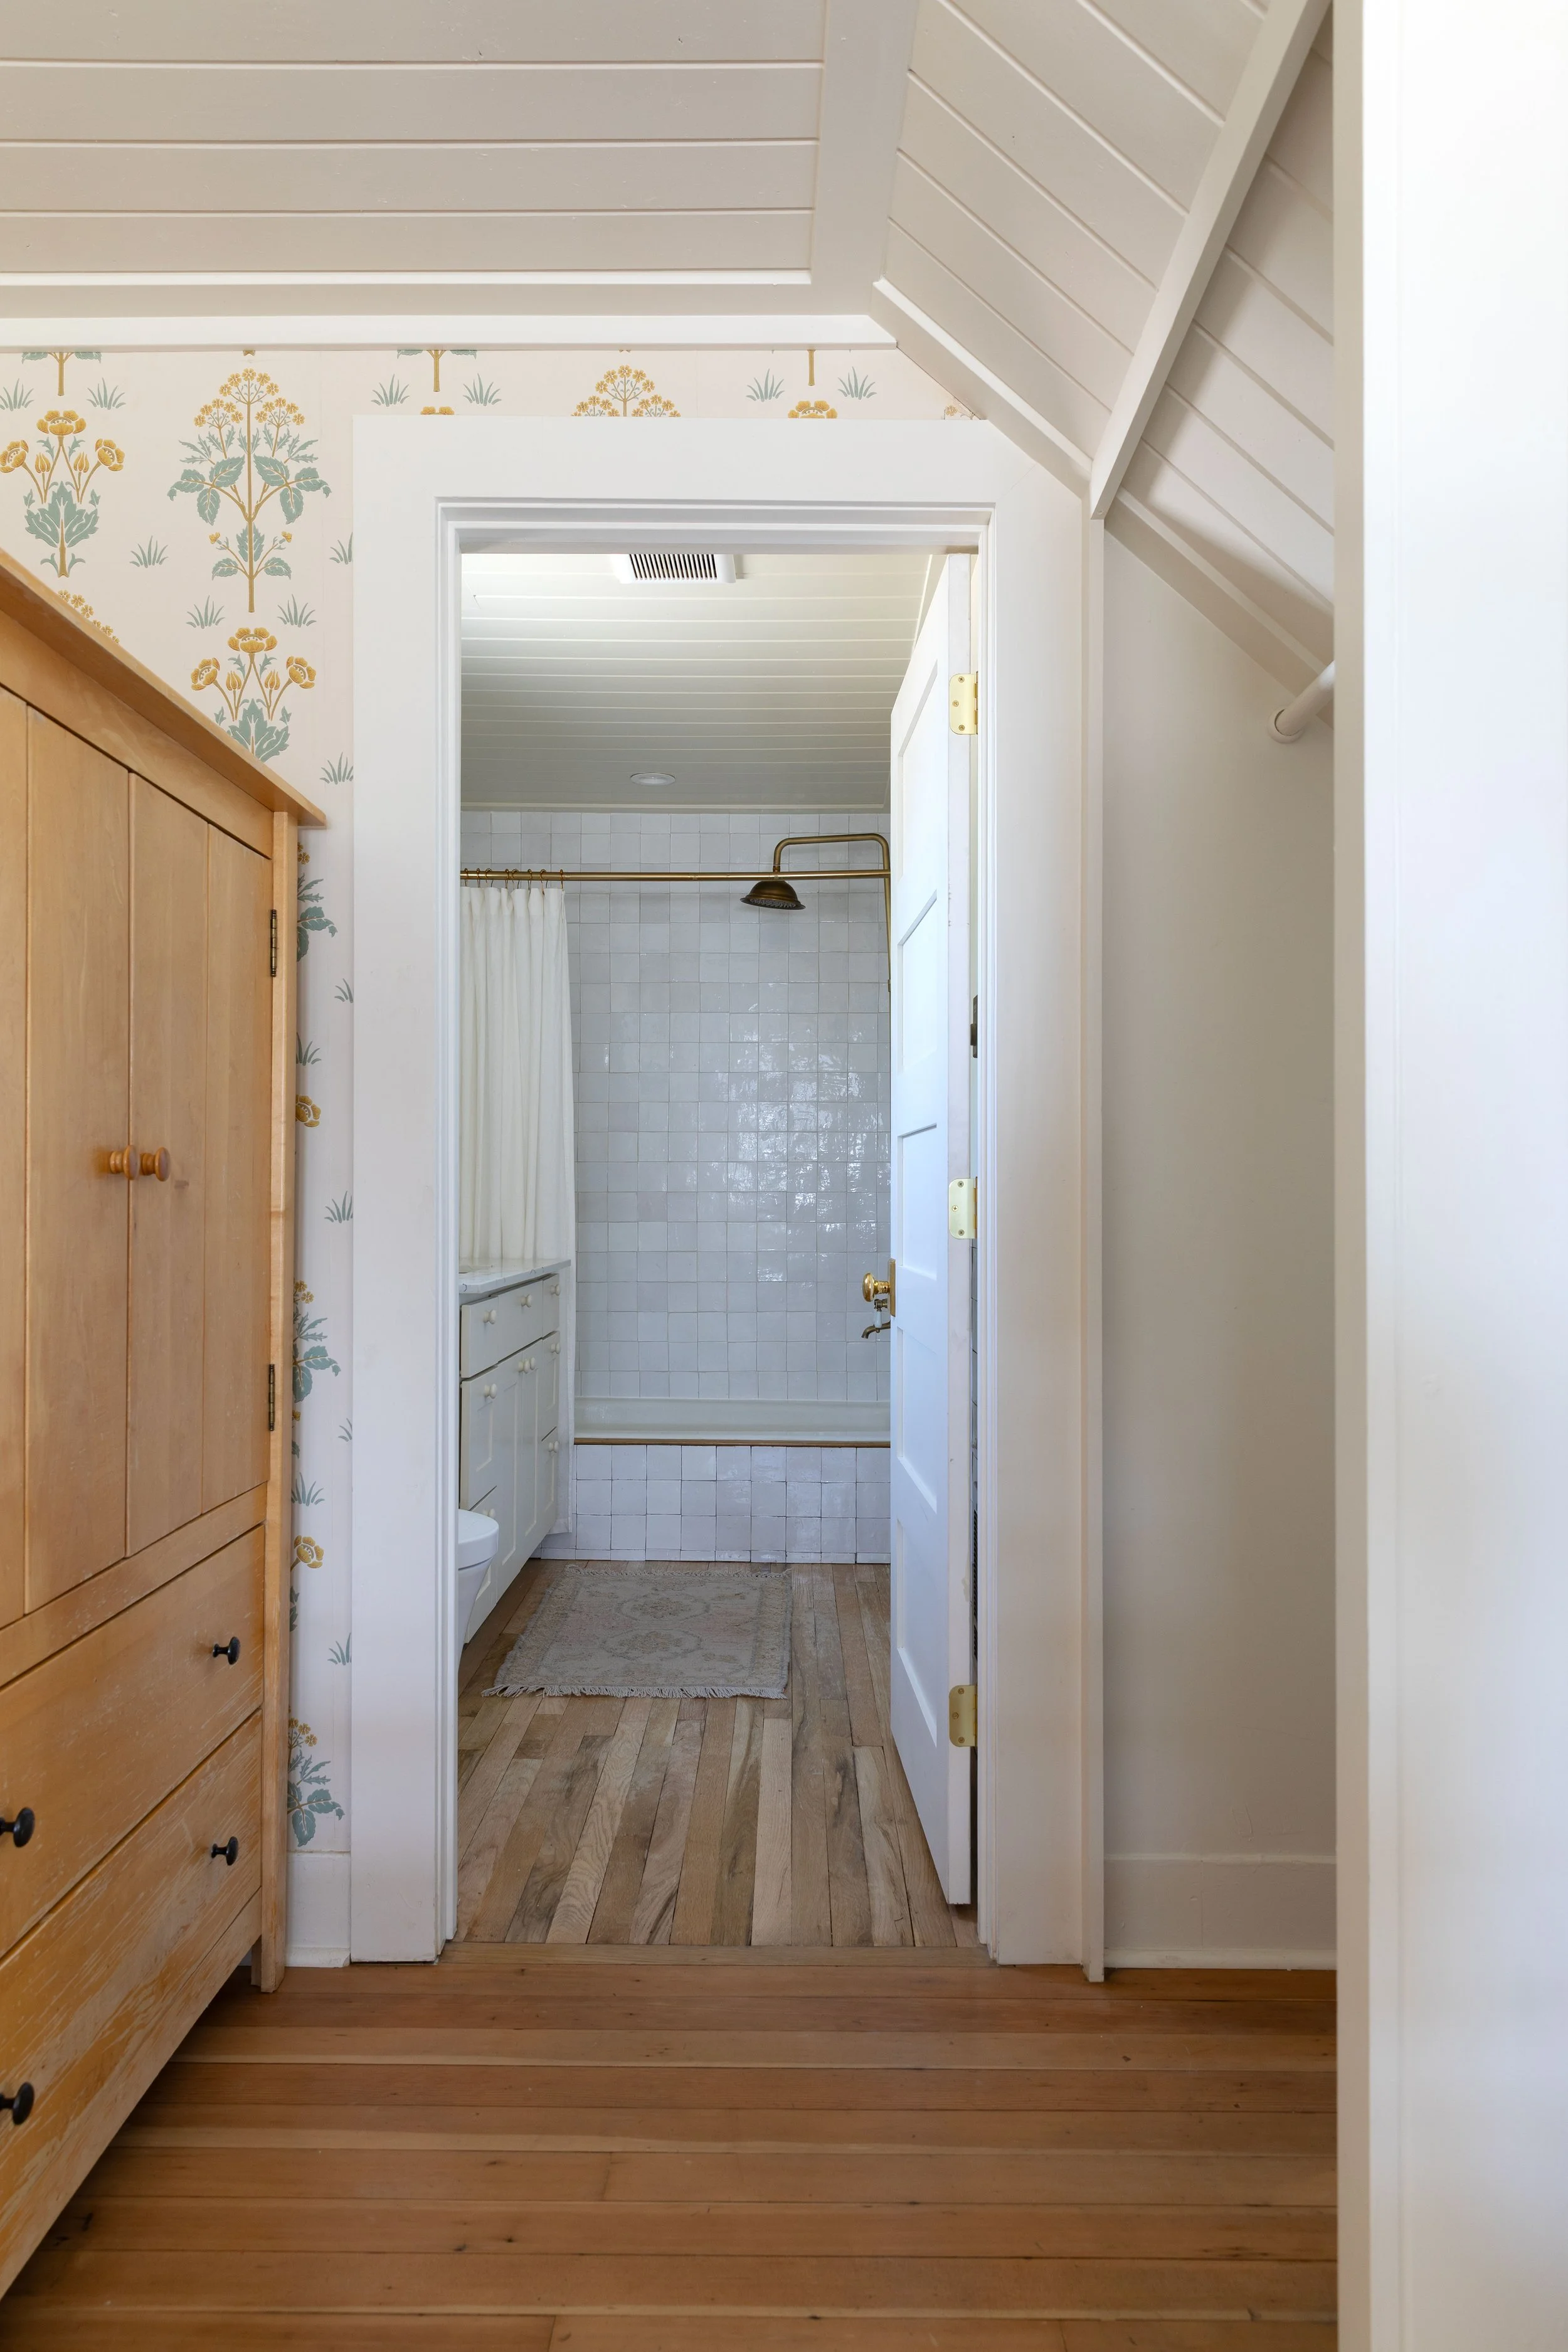
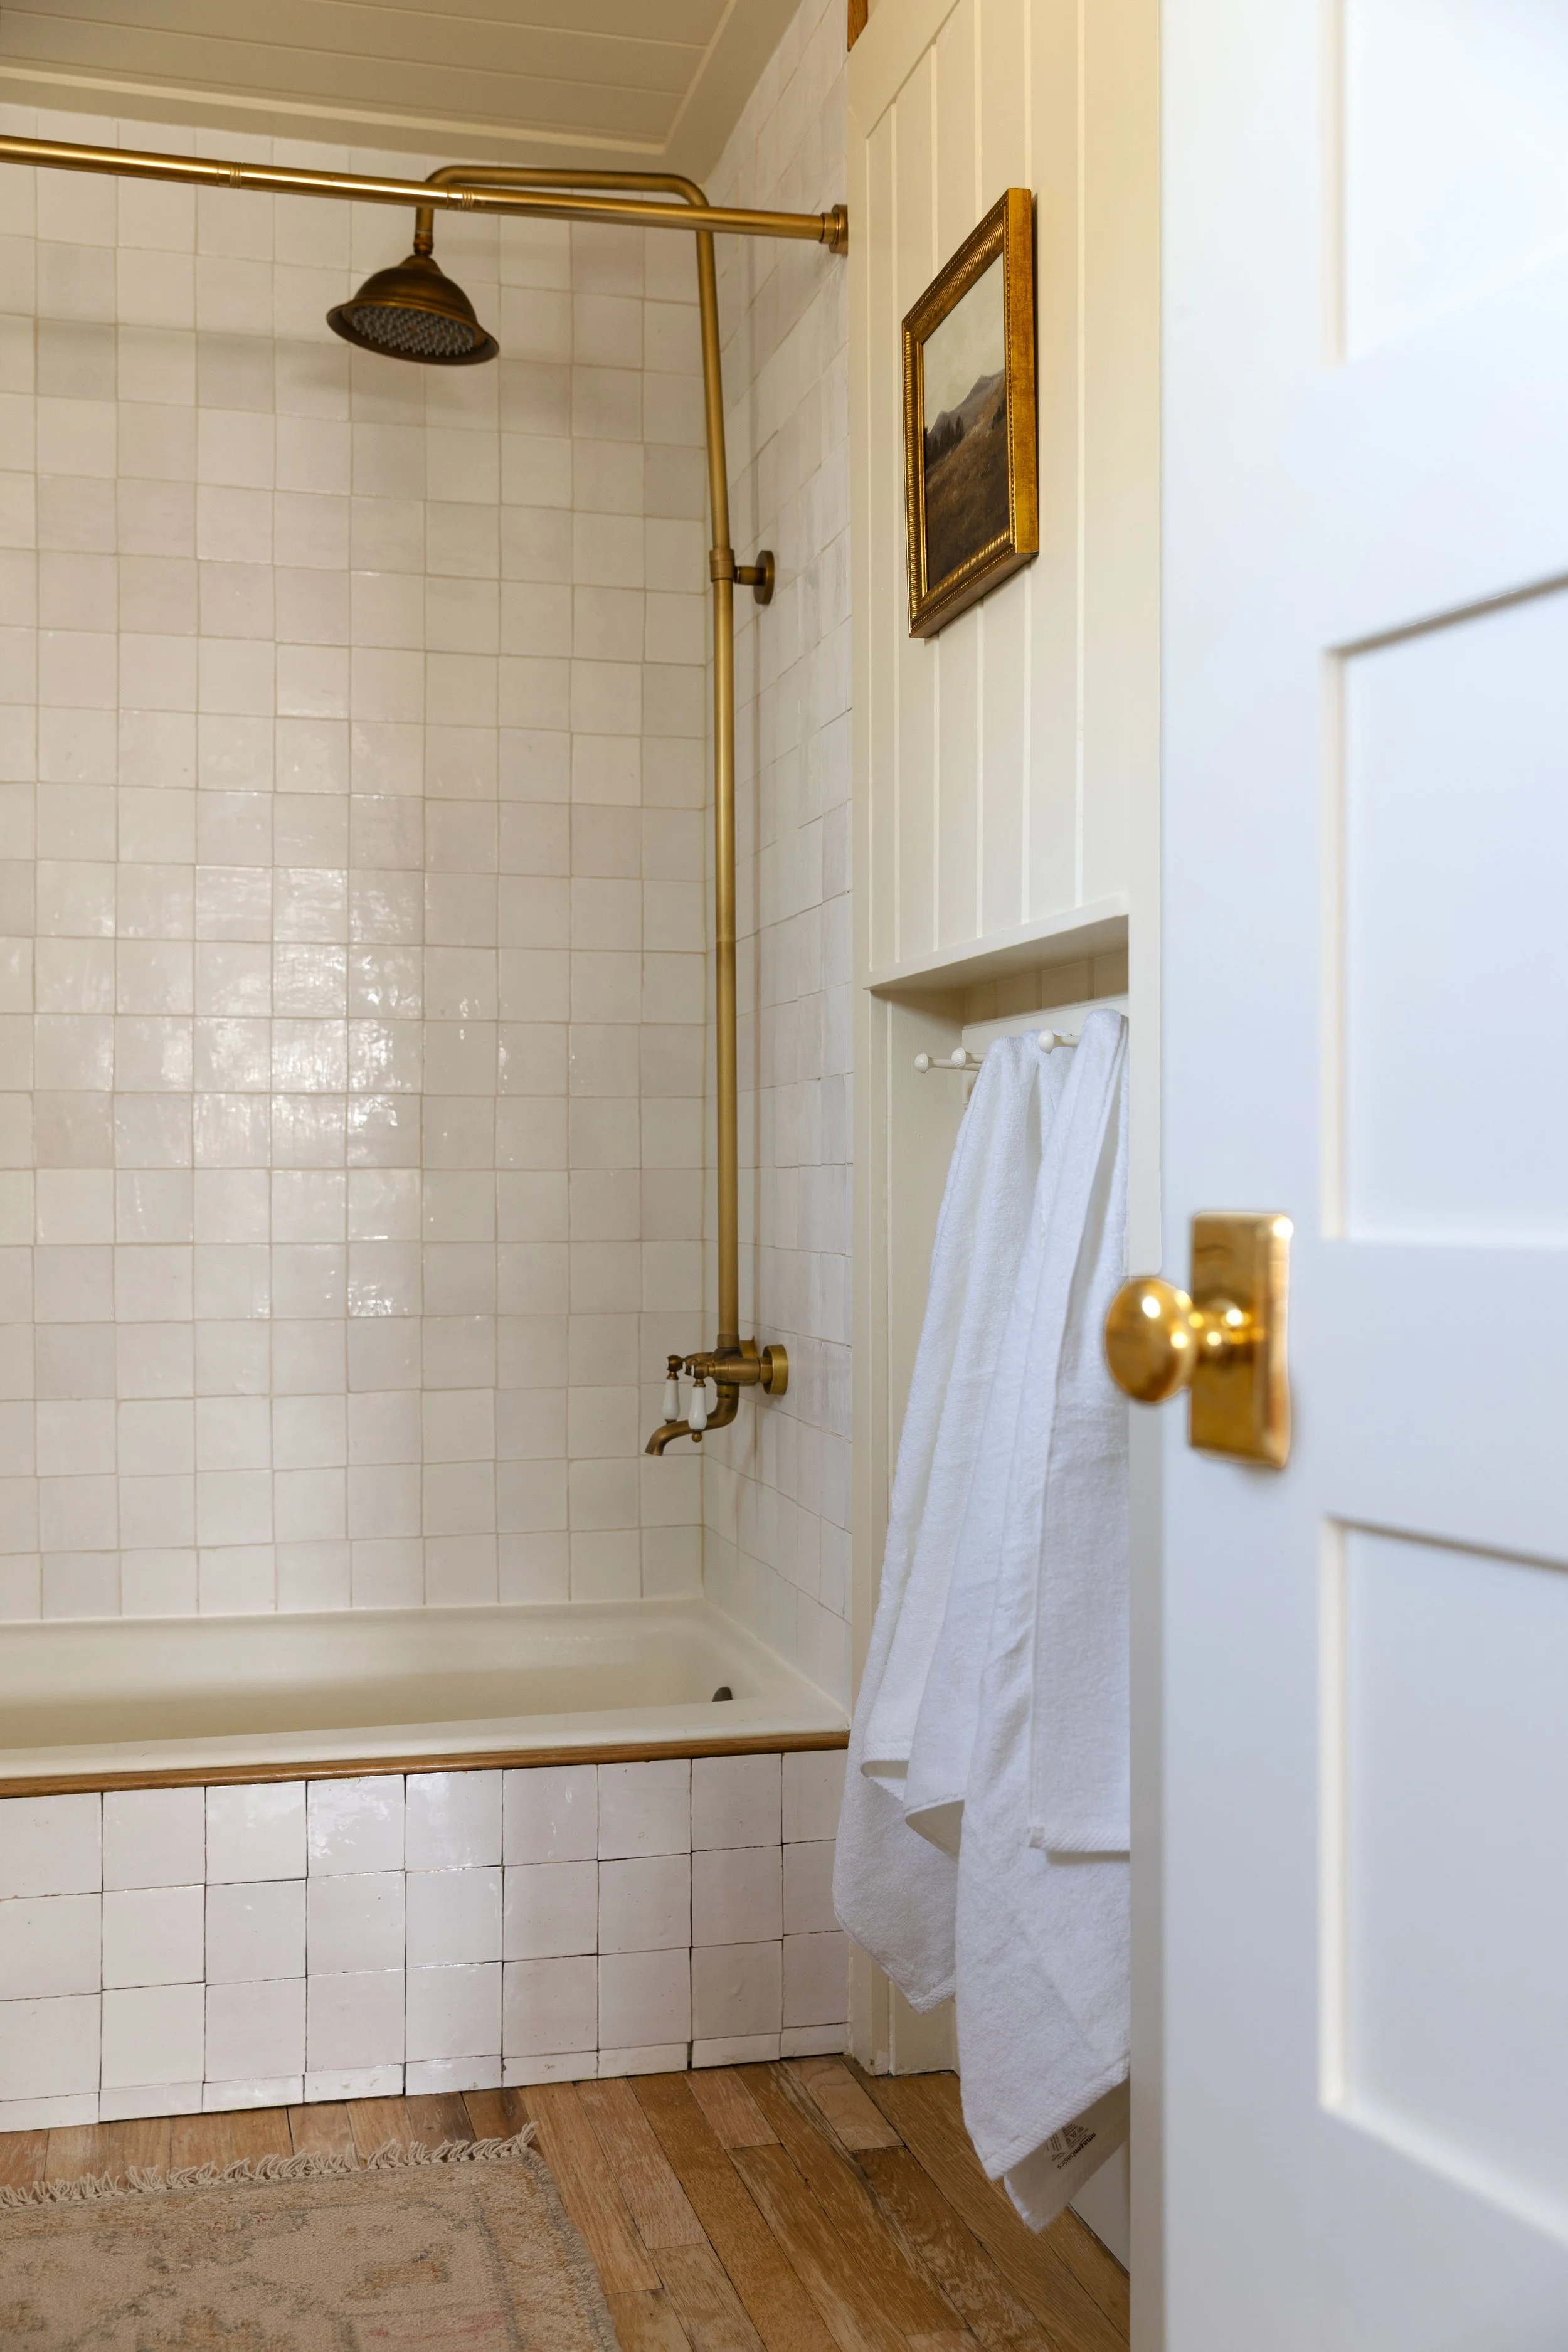
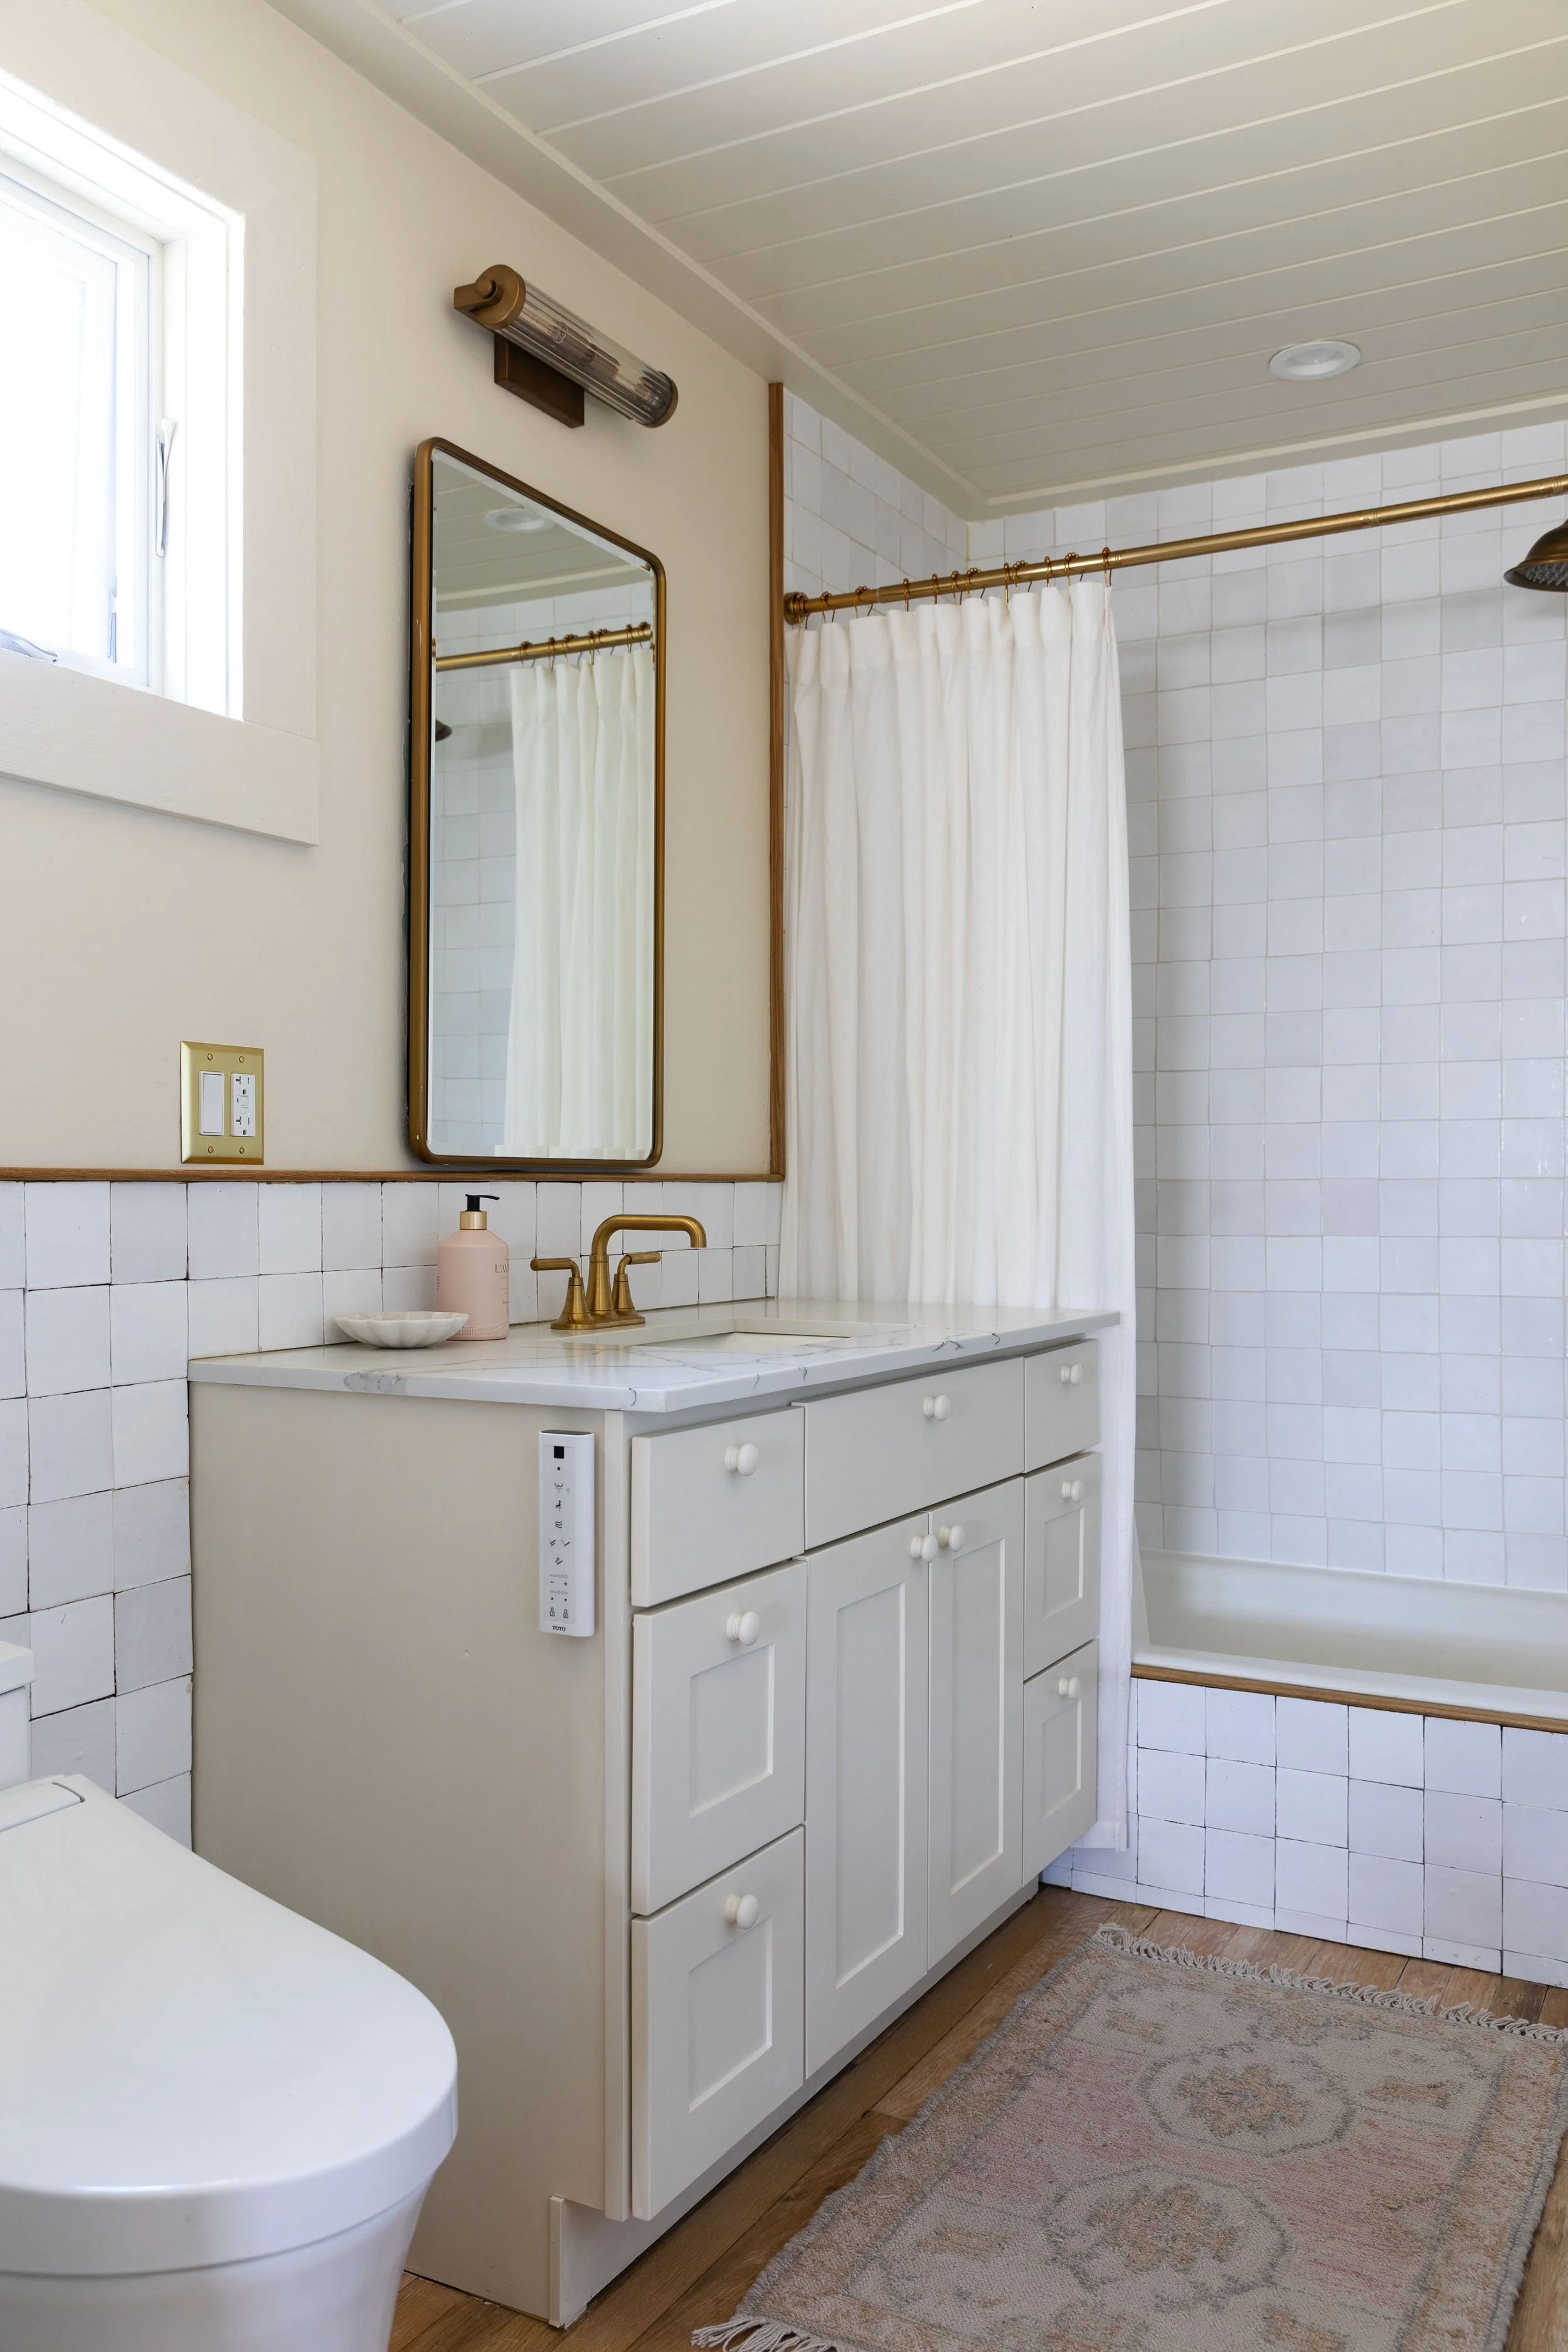
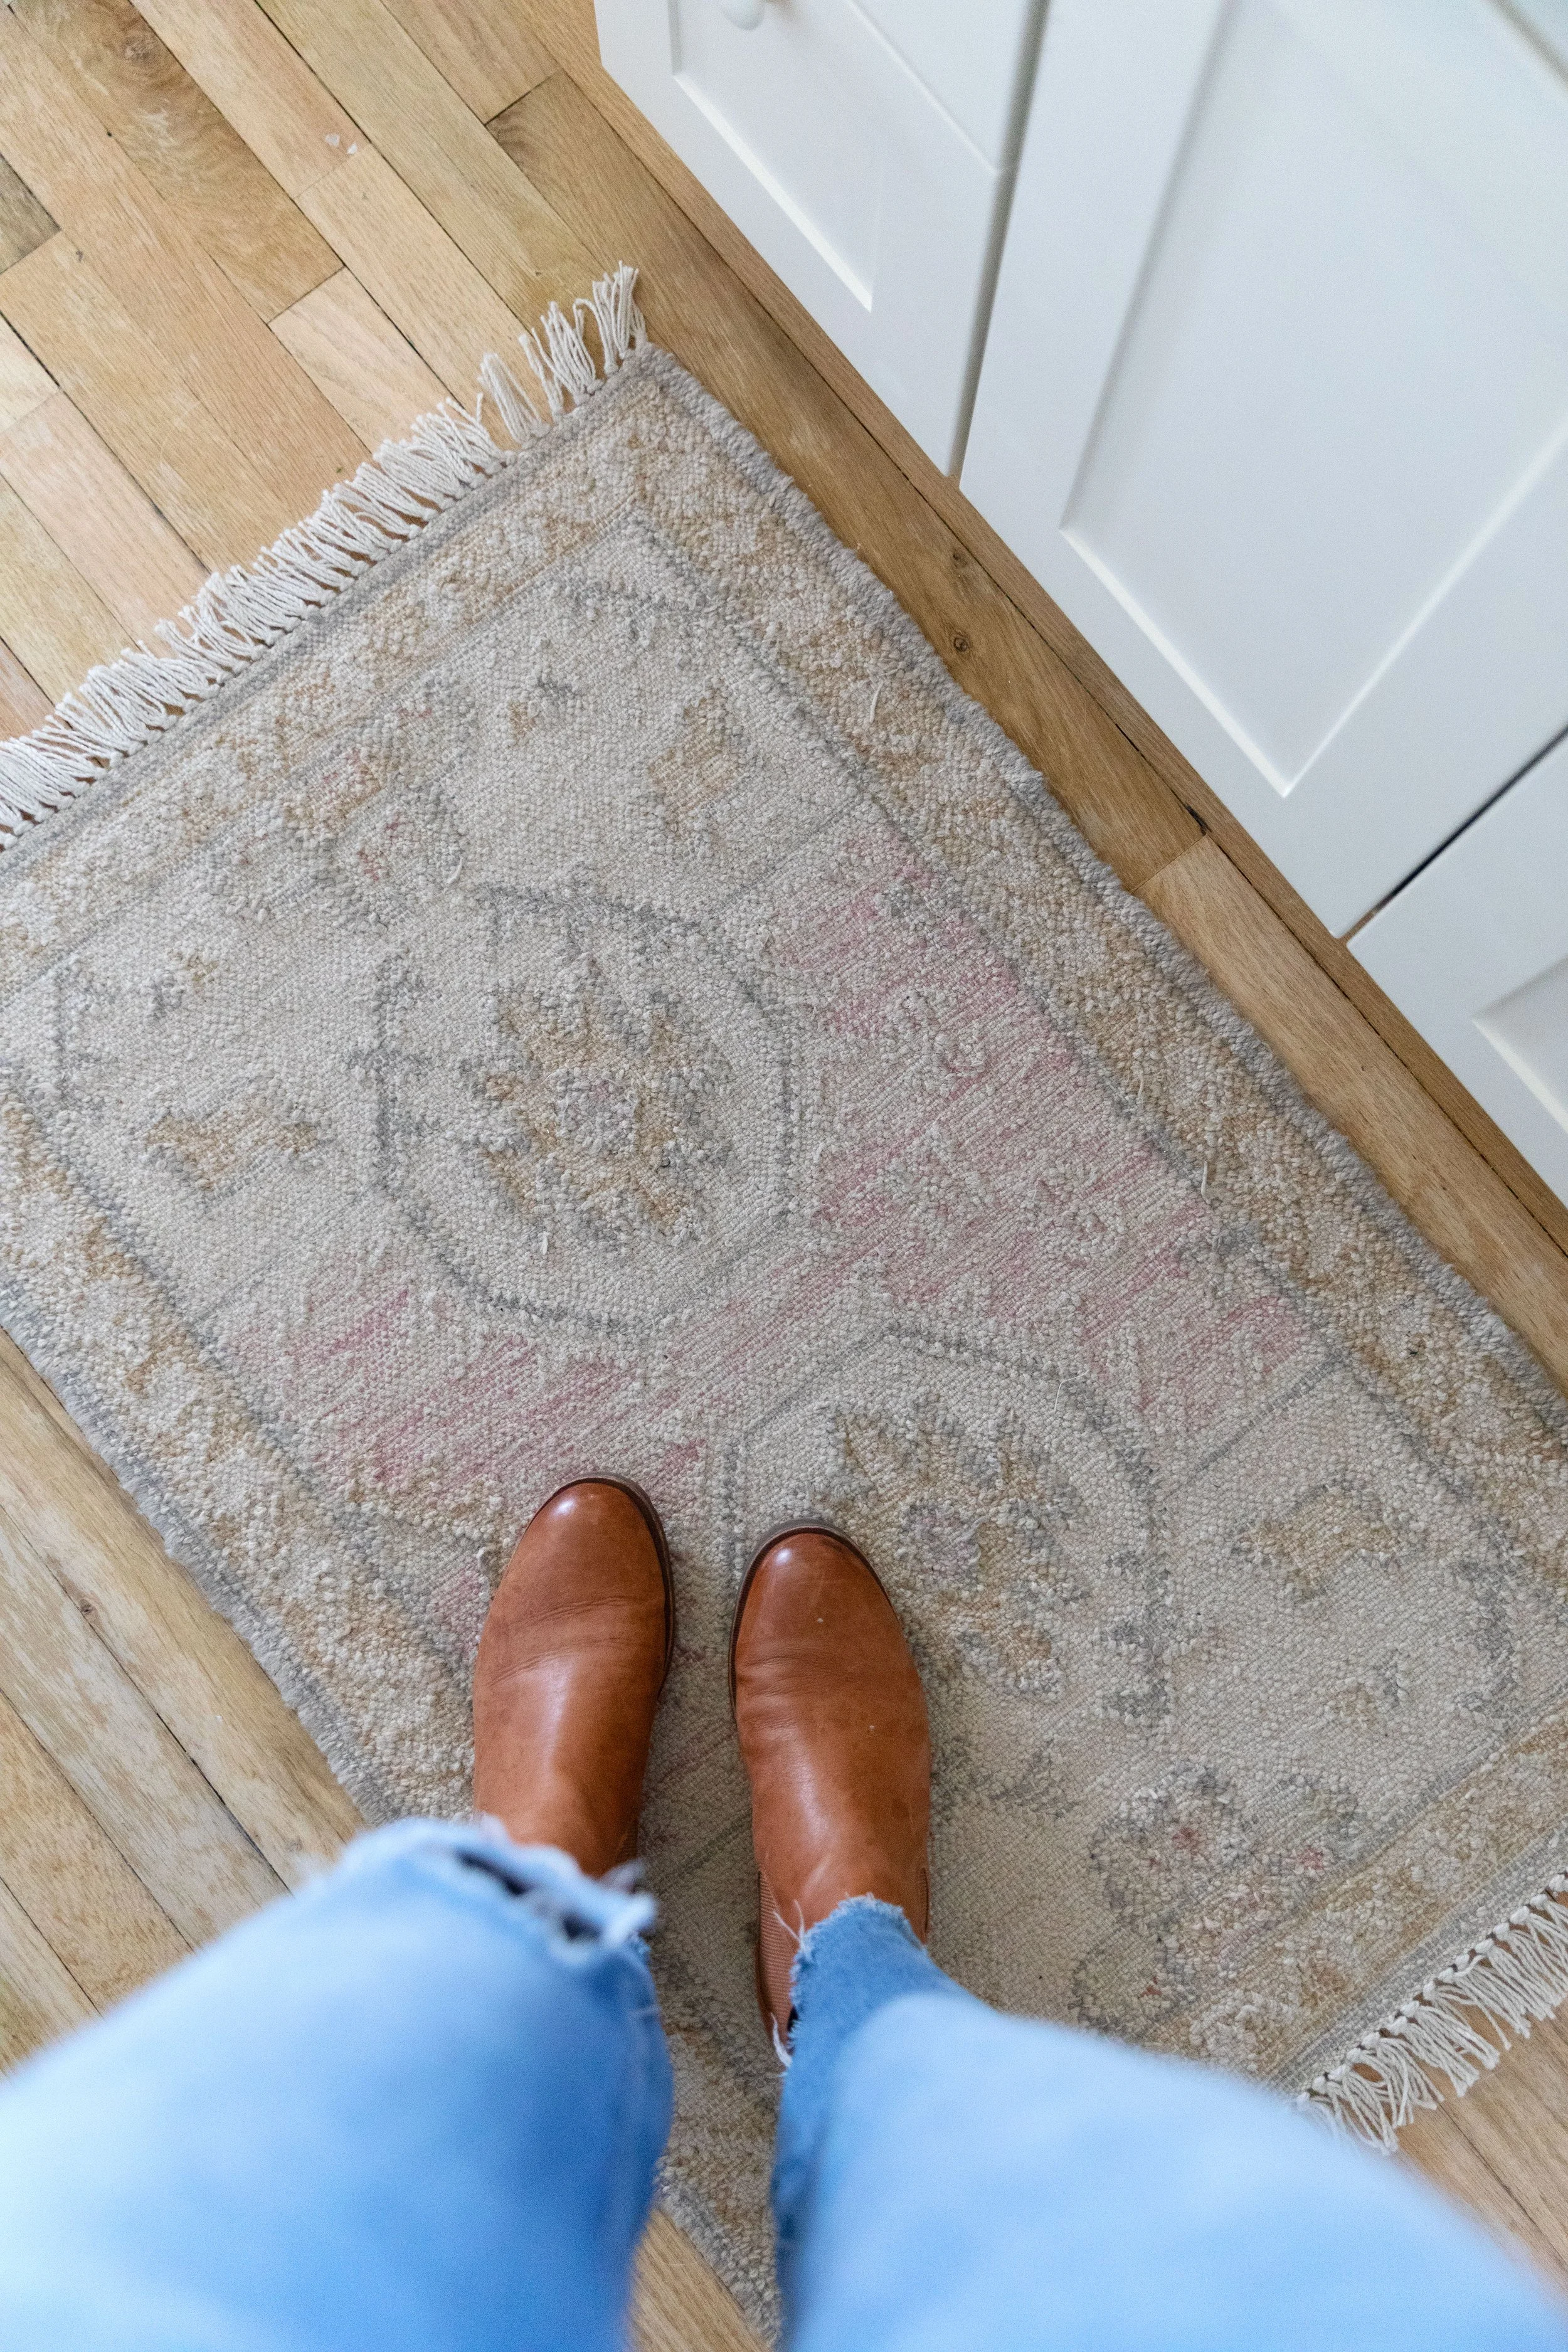
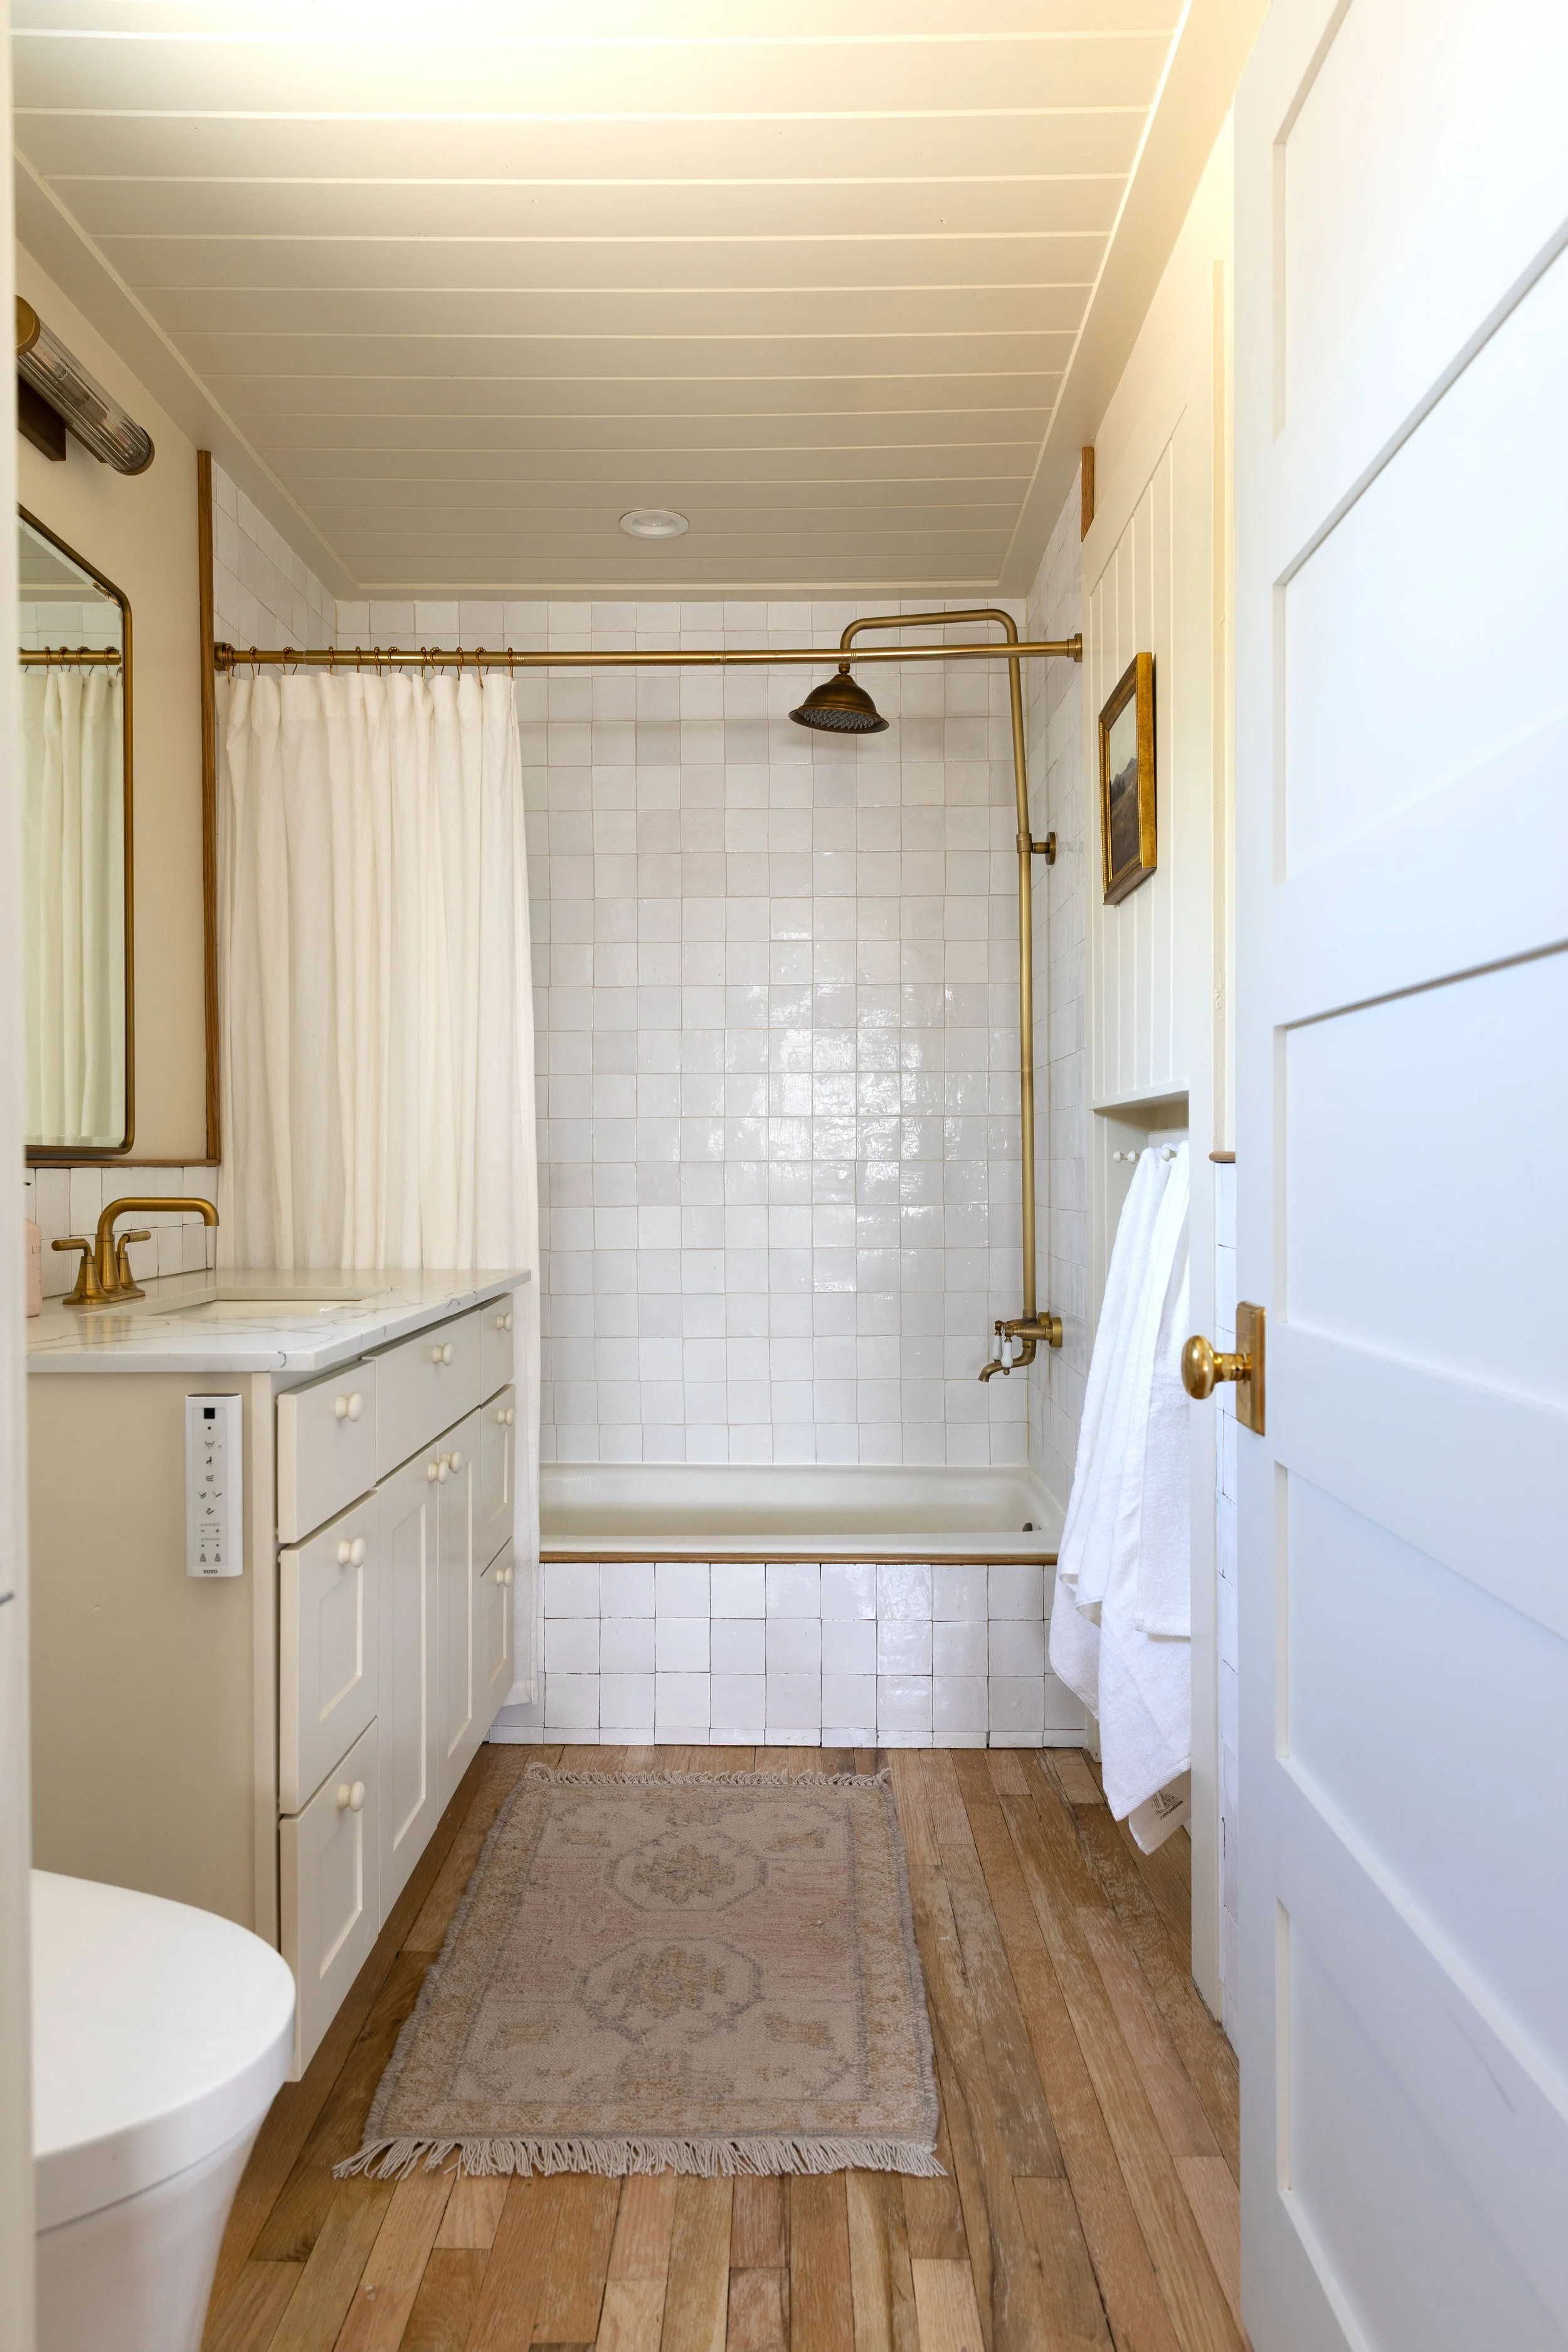
Sconce (similar), medicine cabinet, Faucet in brushed brass, wood knobs, ceilings, wood shaker peg rail, white linen shower curtain, shower curtain rod (here’s our trick for keeping it in place), cast iron bathtub, Zellige tile (white), exposed shower + tub filler (similar), color: FB Lime White
The vanity is the same trick we used in the kitchen: a basic stock vanity from GS Cabinets with a quartz top. The walls are Farrow & Ball Lime White.
Of course hardwood in a bathroom isn't for everyone. We sealed ours with three coats of polyurethane (I'd originally planned a zero-VOC Rubio Monocoat, but this is a rental, so we went with the tougher finish). We had some water issues on these floors during the extended renovation, and I think both Garrett and I would do tile if we could do it over again.
The before was definitely a flip-flops on situation…


More on this room: handcrafted tile in the main floor bathroom.
The Upstairs Living Room: Our Biggest (and Brightest) Room
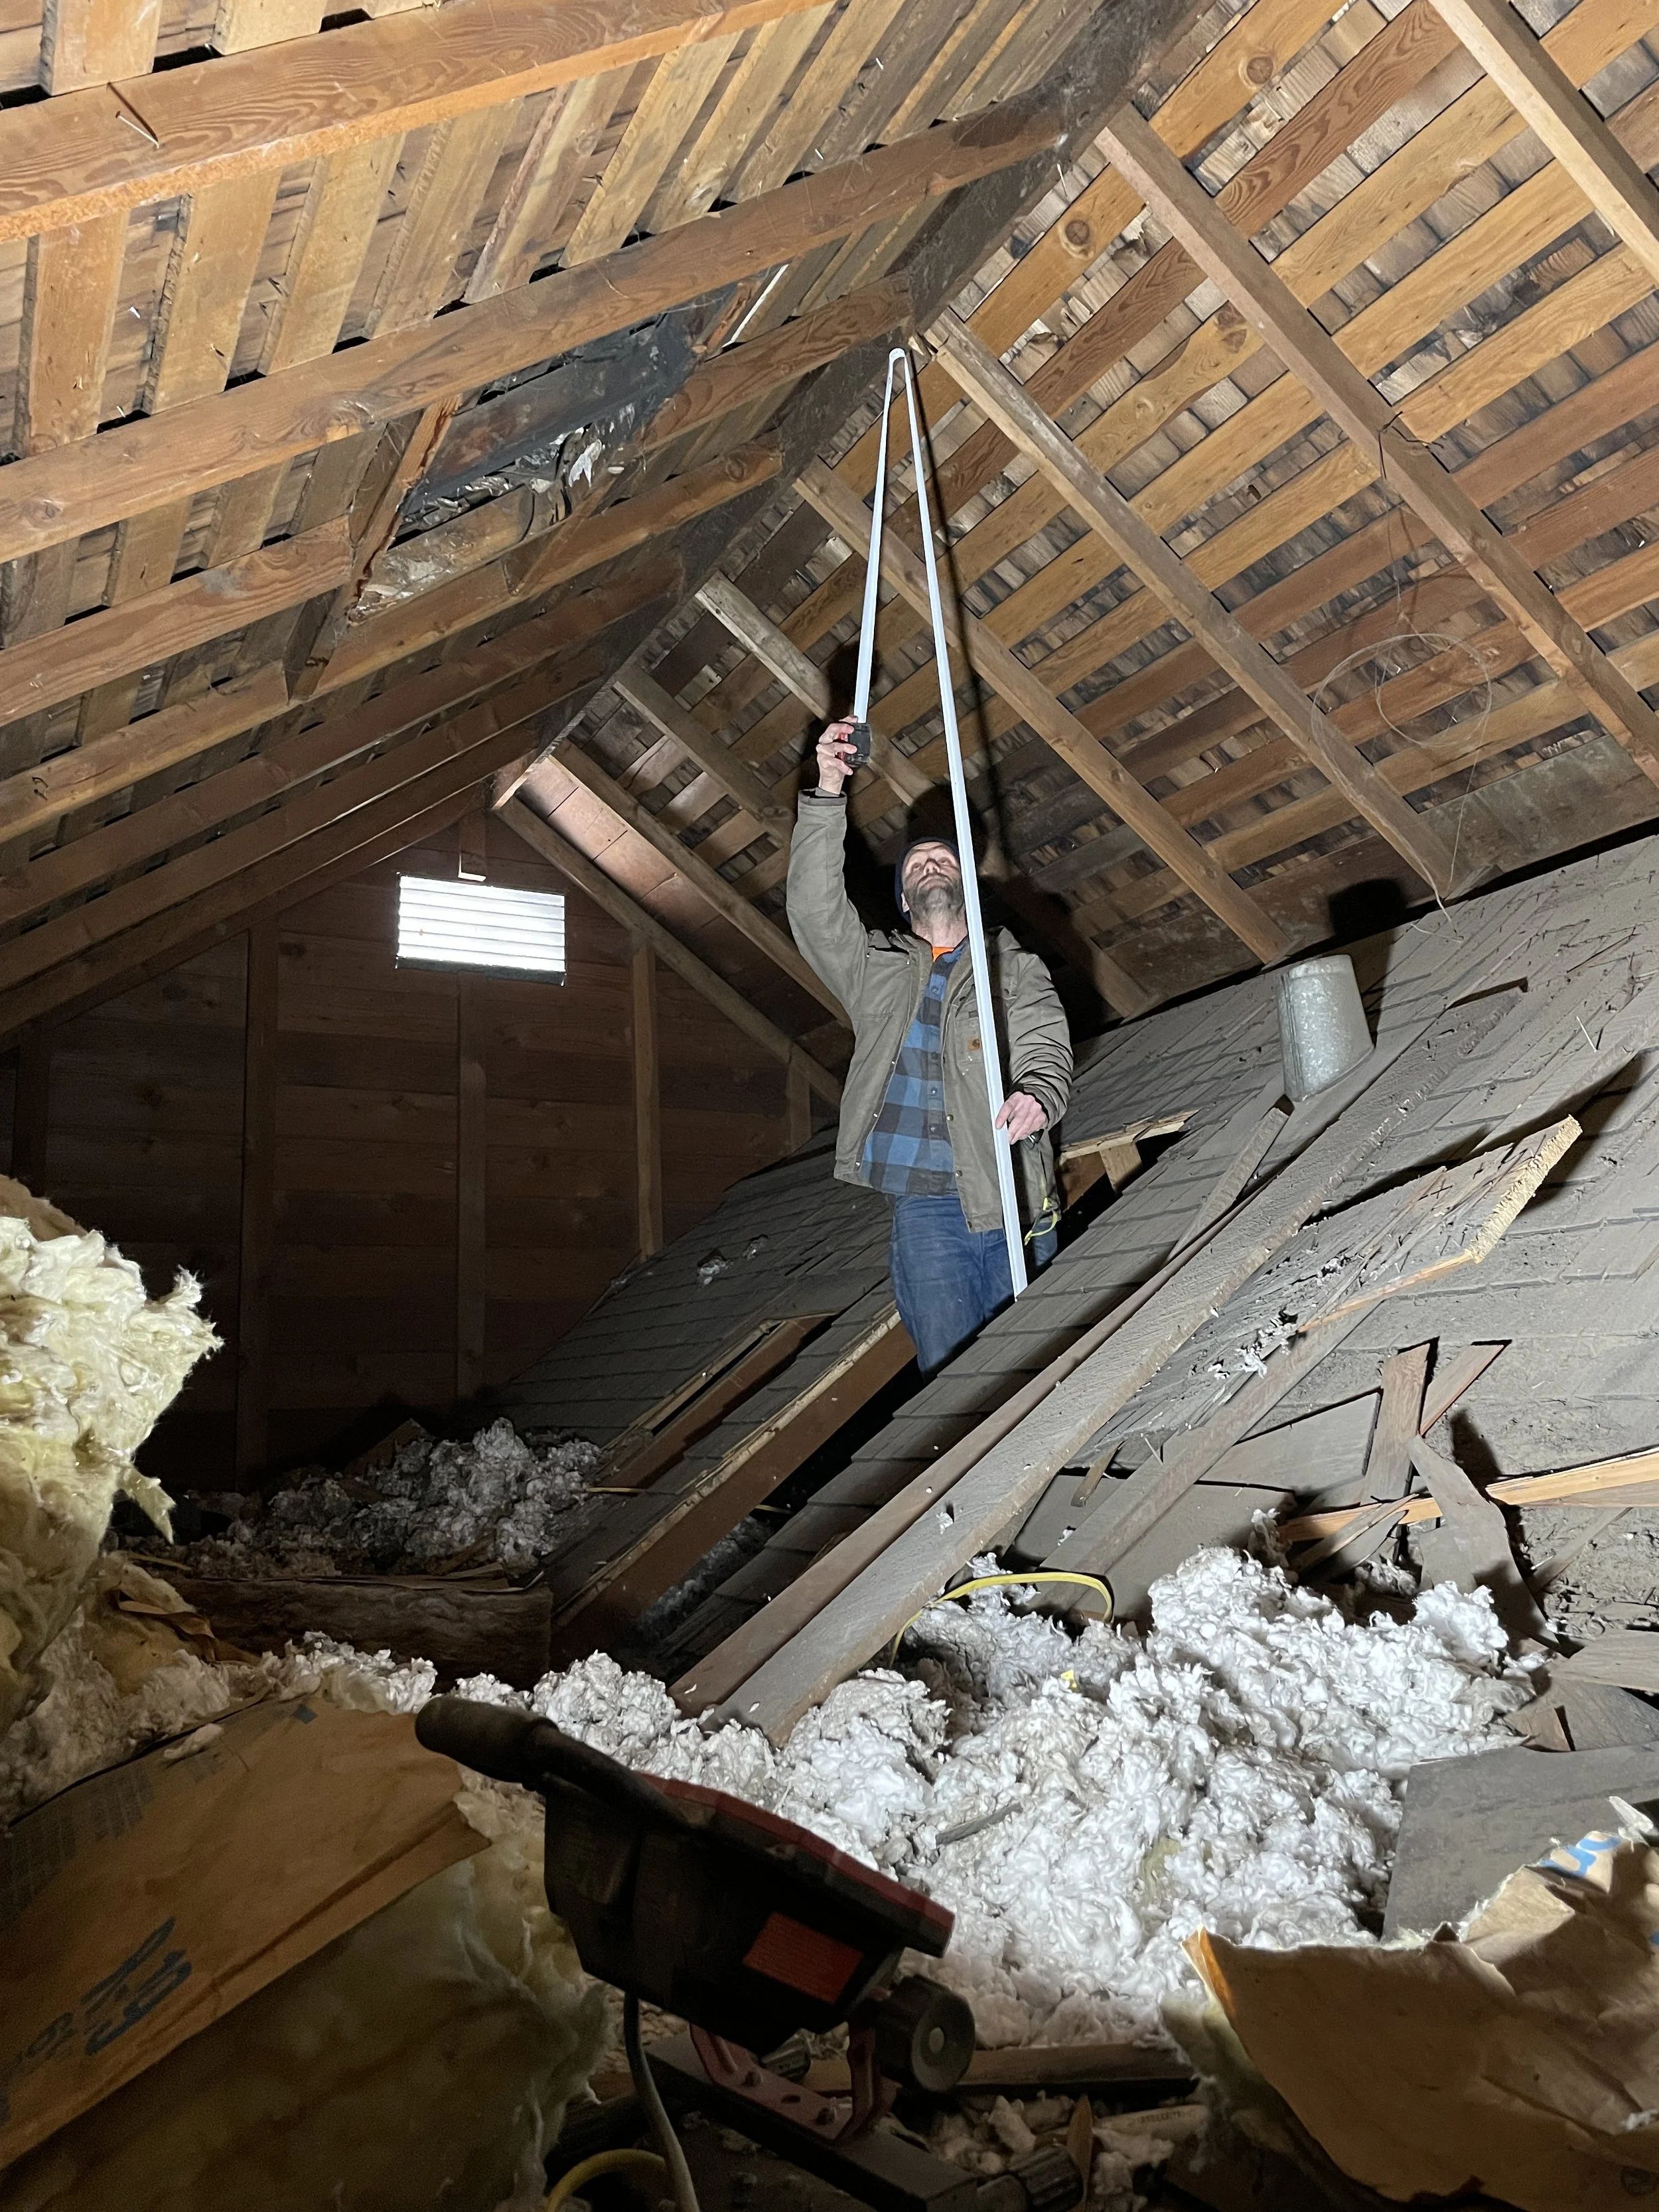
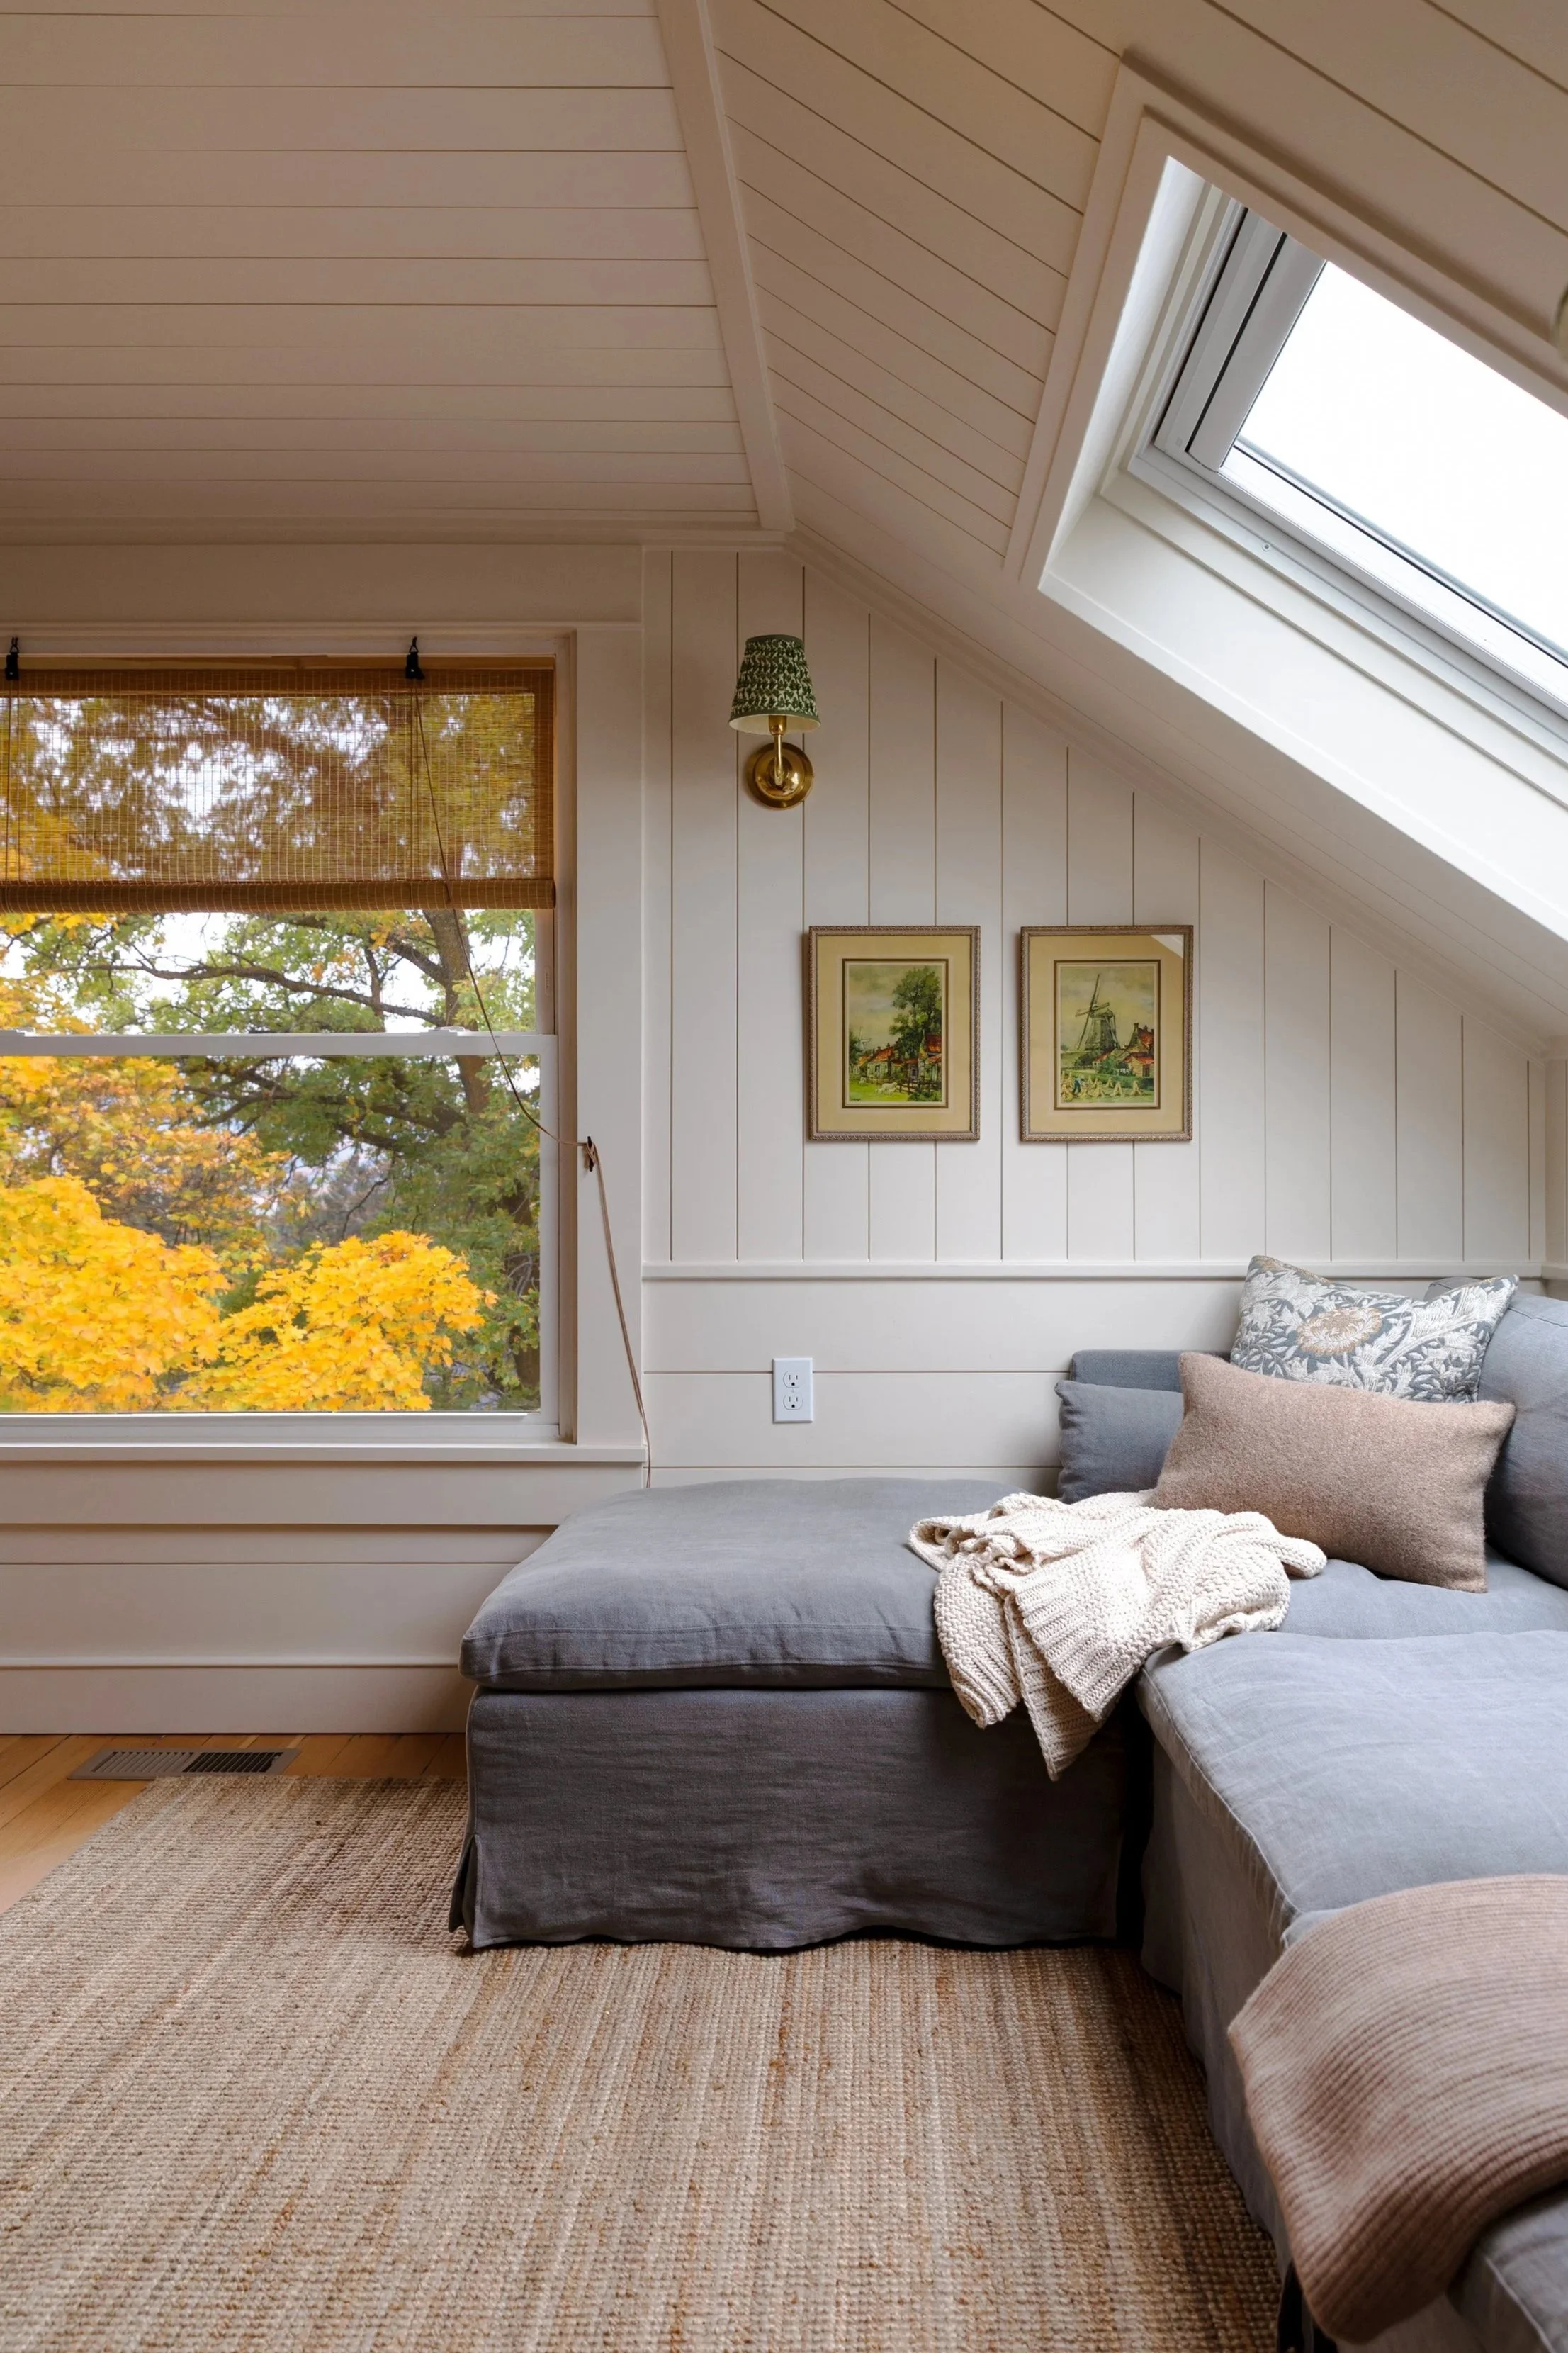
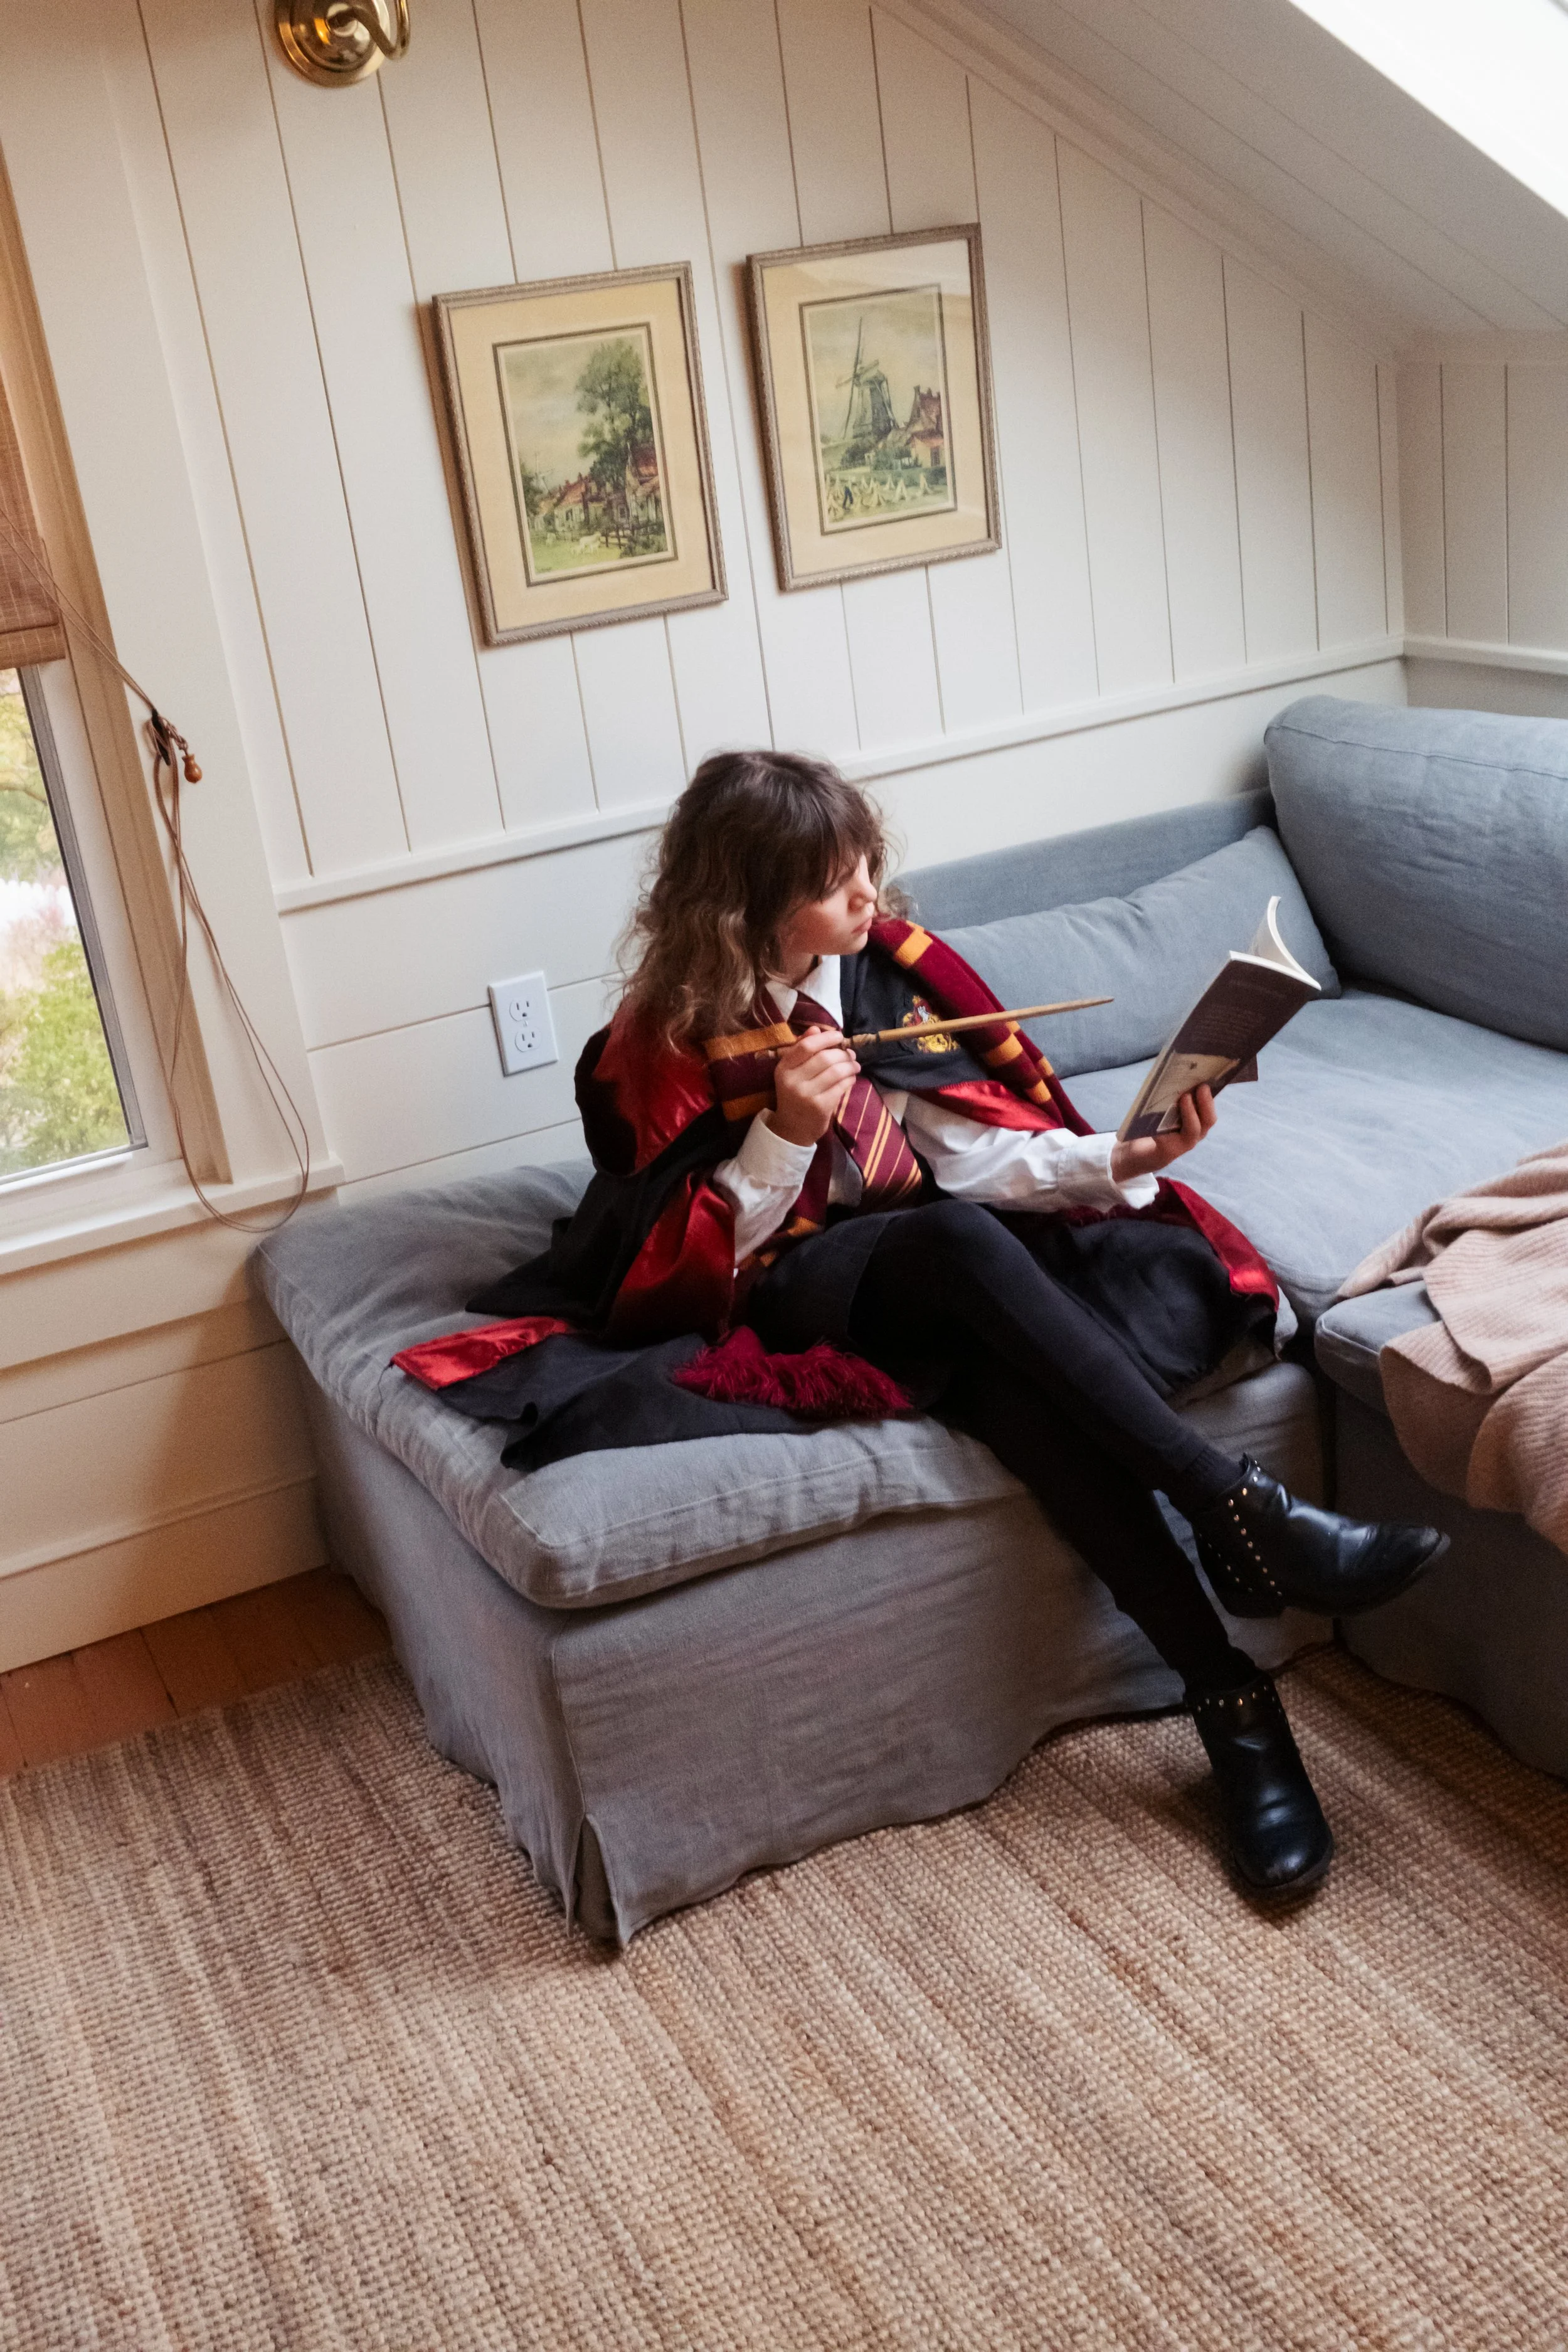
Up the stairs is the biggest room in the house, the new living room. It's a bit untraditional to have the living room upstairs when the dining and kitchen are on the main, but that's just how it worked out. And honestly, it's so light and bright up here that you really do want to live in it. It has windows facing south and west plus skylights, so it's bright all day. When we lived here, this was our catch-all room: exercise, folding laundry, working, hanging out with friends, and Friday movie nights.


The ceilings are planked to match downstairs, and one of the last big projects was a DIY mini-split for heating and cooling (a must in a sunny room like this). That's a long way from the one electric stove that heated the whole house when we bought it! There's no fireplace, so at Christmas we hung our stockings on the stair railing.
The before, from when this space was an unfinished attic…
More on this room: how we installed our own mini-split and our progress on the upstairs.
The Bunk Room: Building Around the Awkward Bits
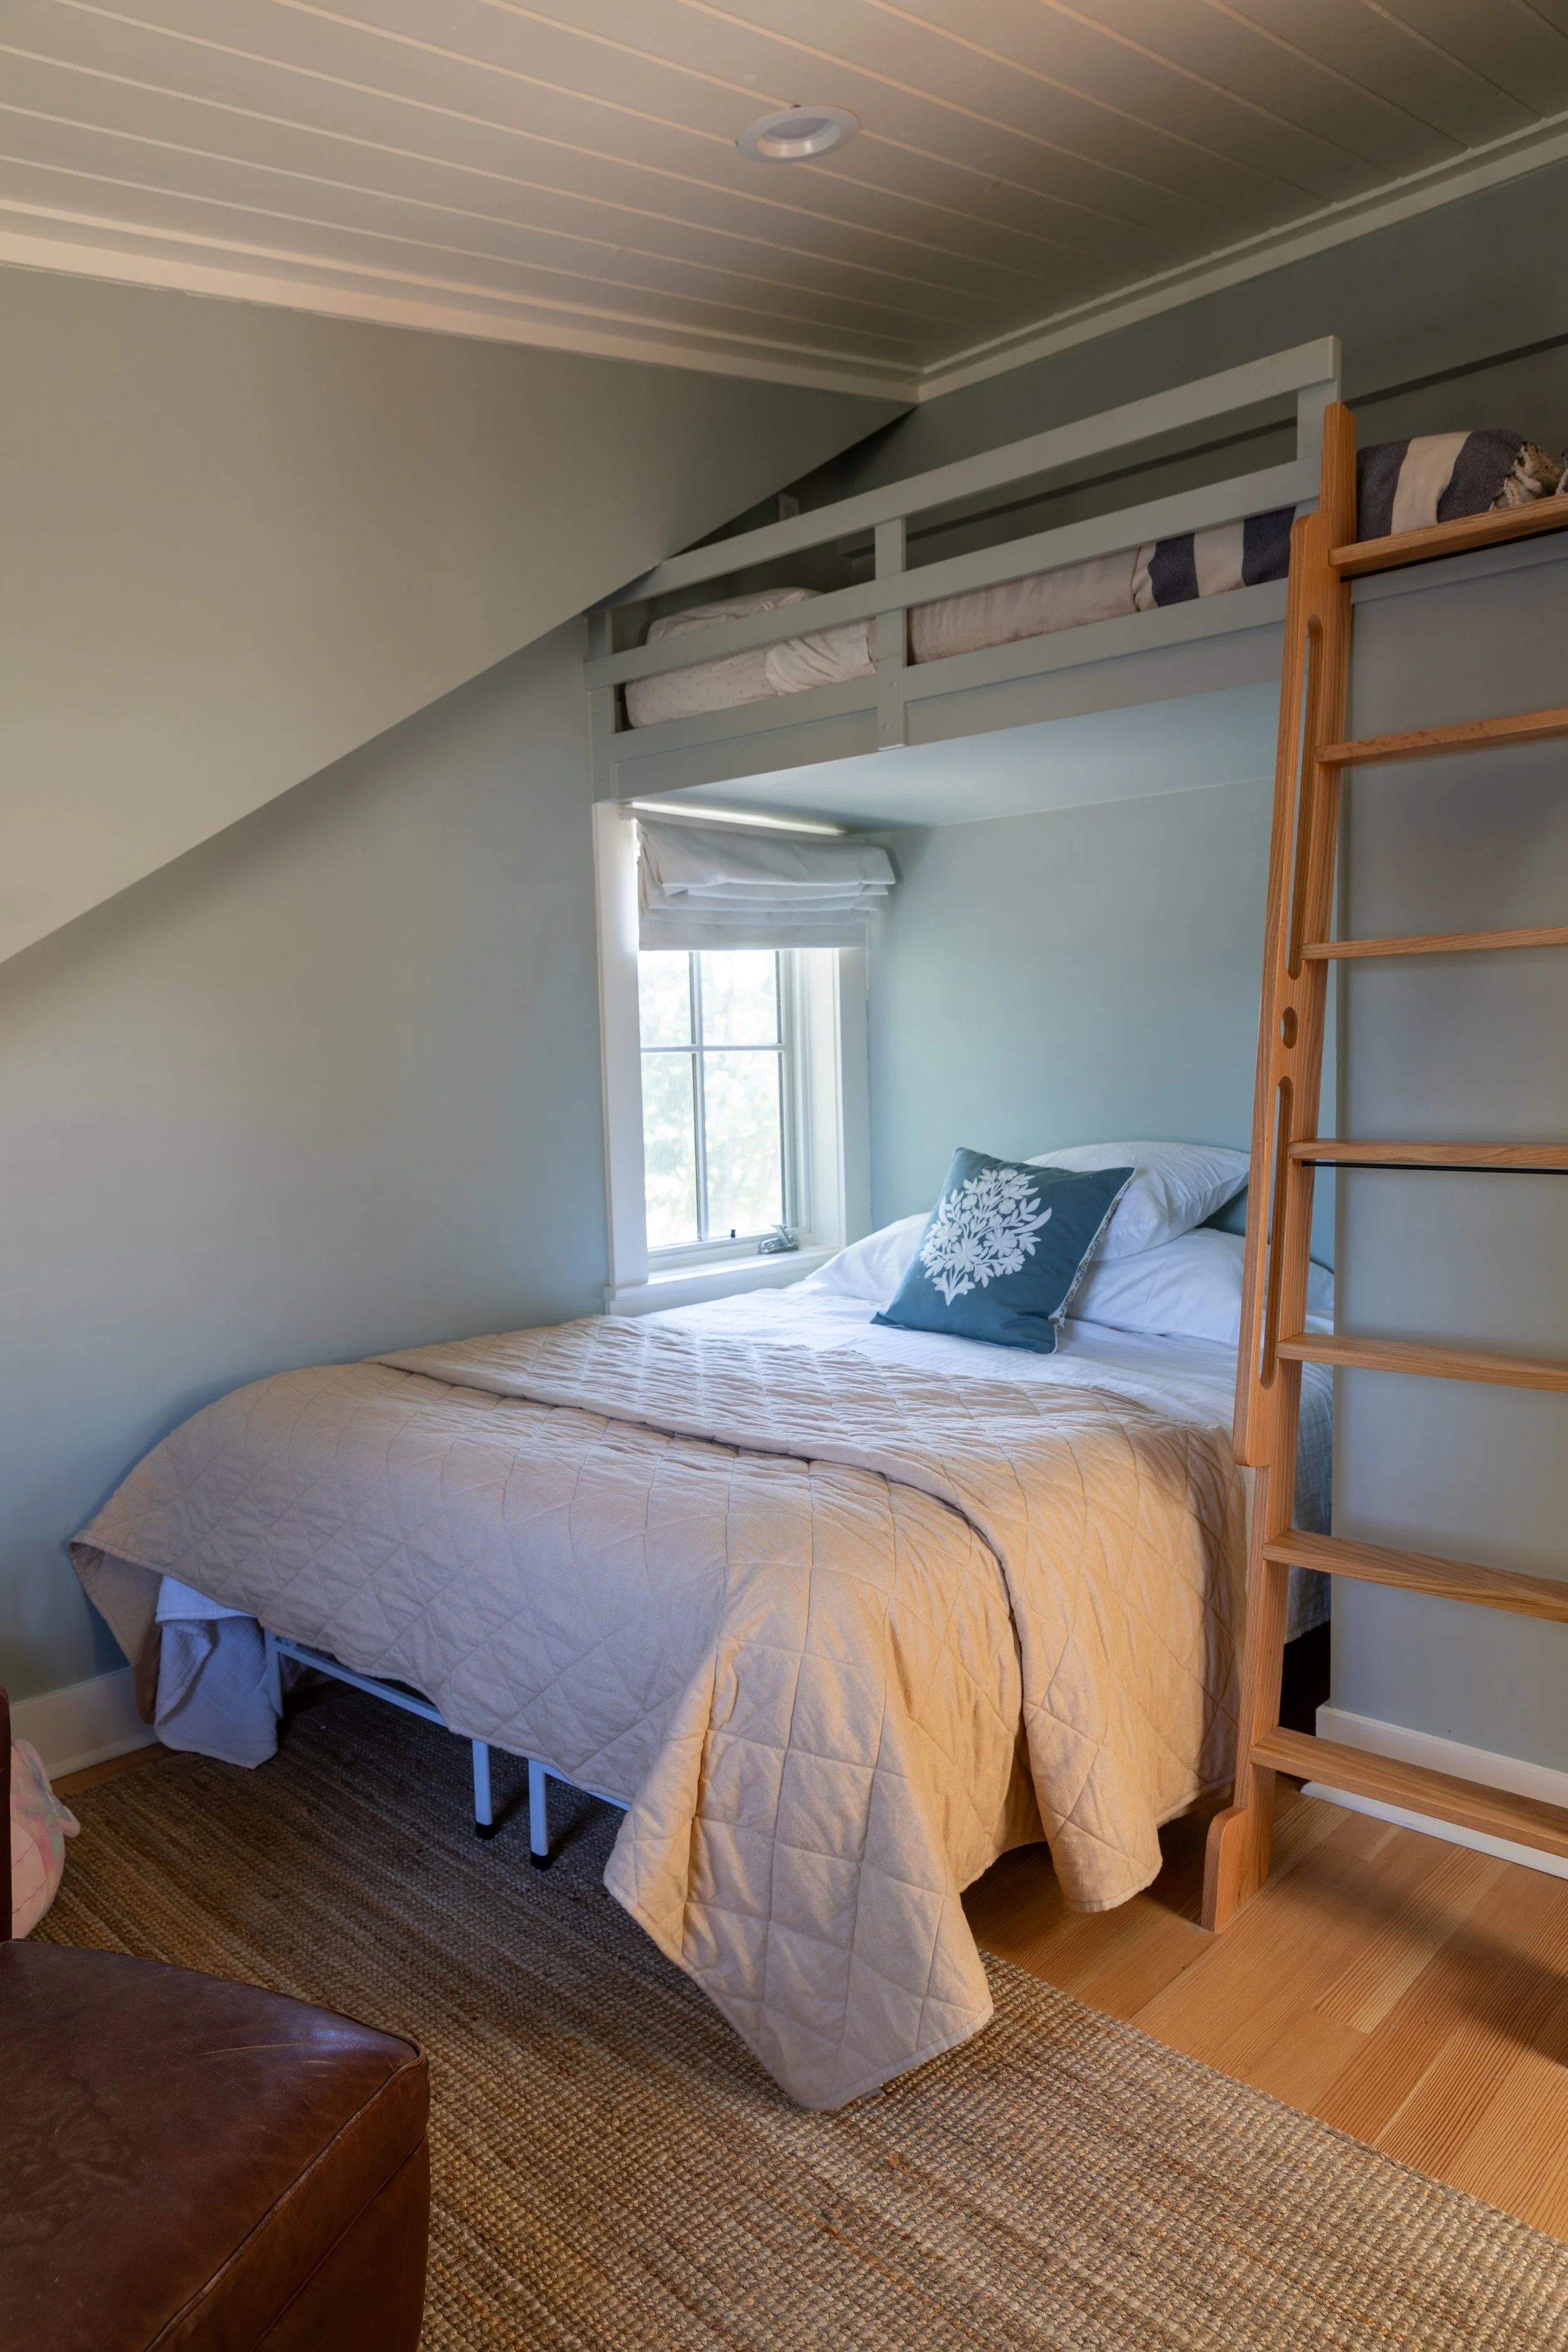
The second bedroom has what I'd call a bit of awkward geometry, which is just what you get when you add a second story onto a little old house. So we built around the awkward bits and turned this into a bunk room. We used the space over the stairs to build in two bunks, and there's room left over in the window nook for another bed.
Our three kids shared this room when we lived here and it worked!



More on this room: where we first planned the bunks.
The Upstairs Bathroom: Tiny and Efficient
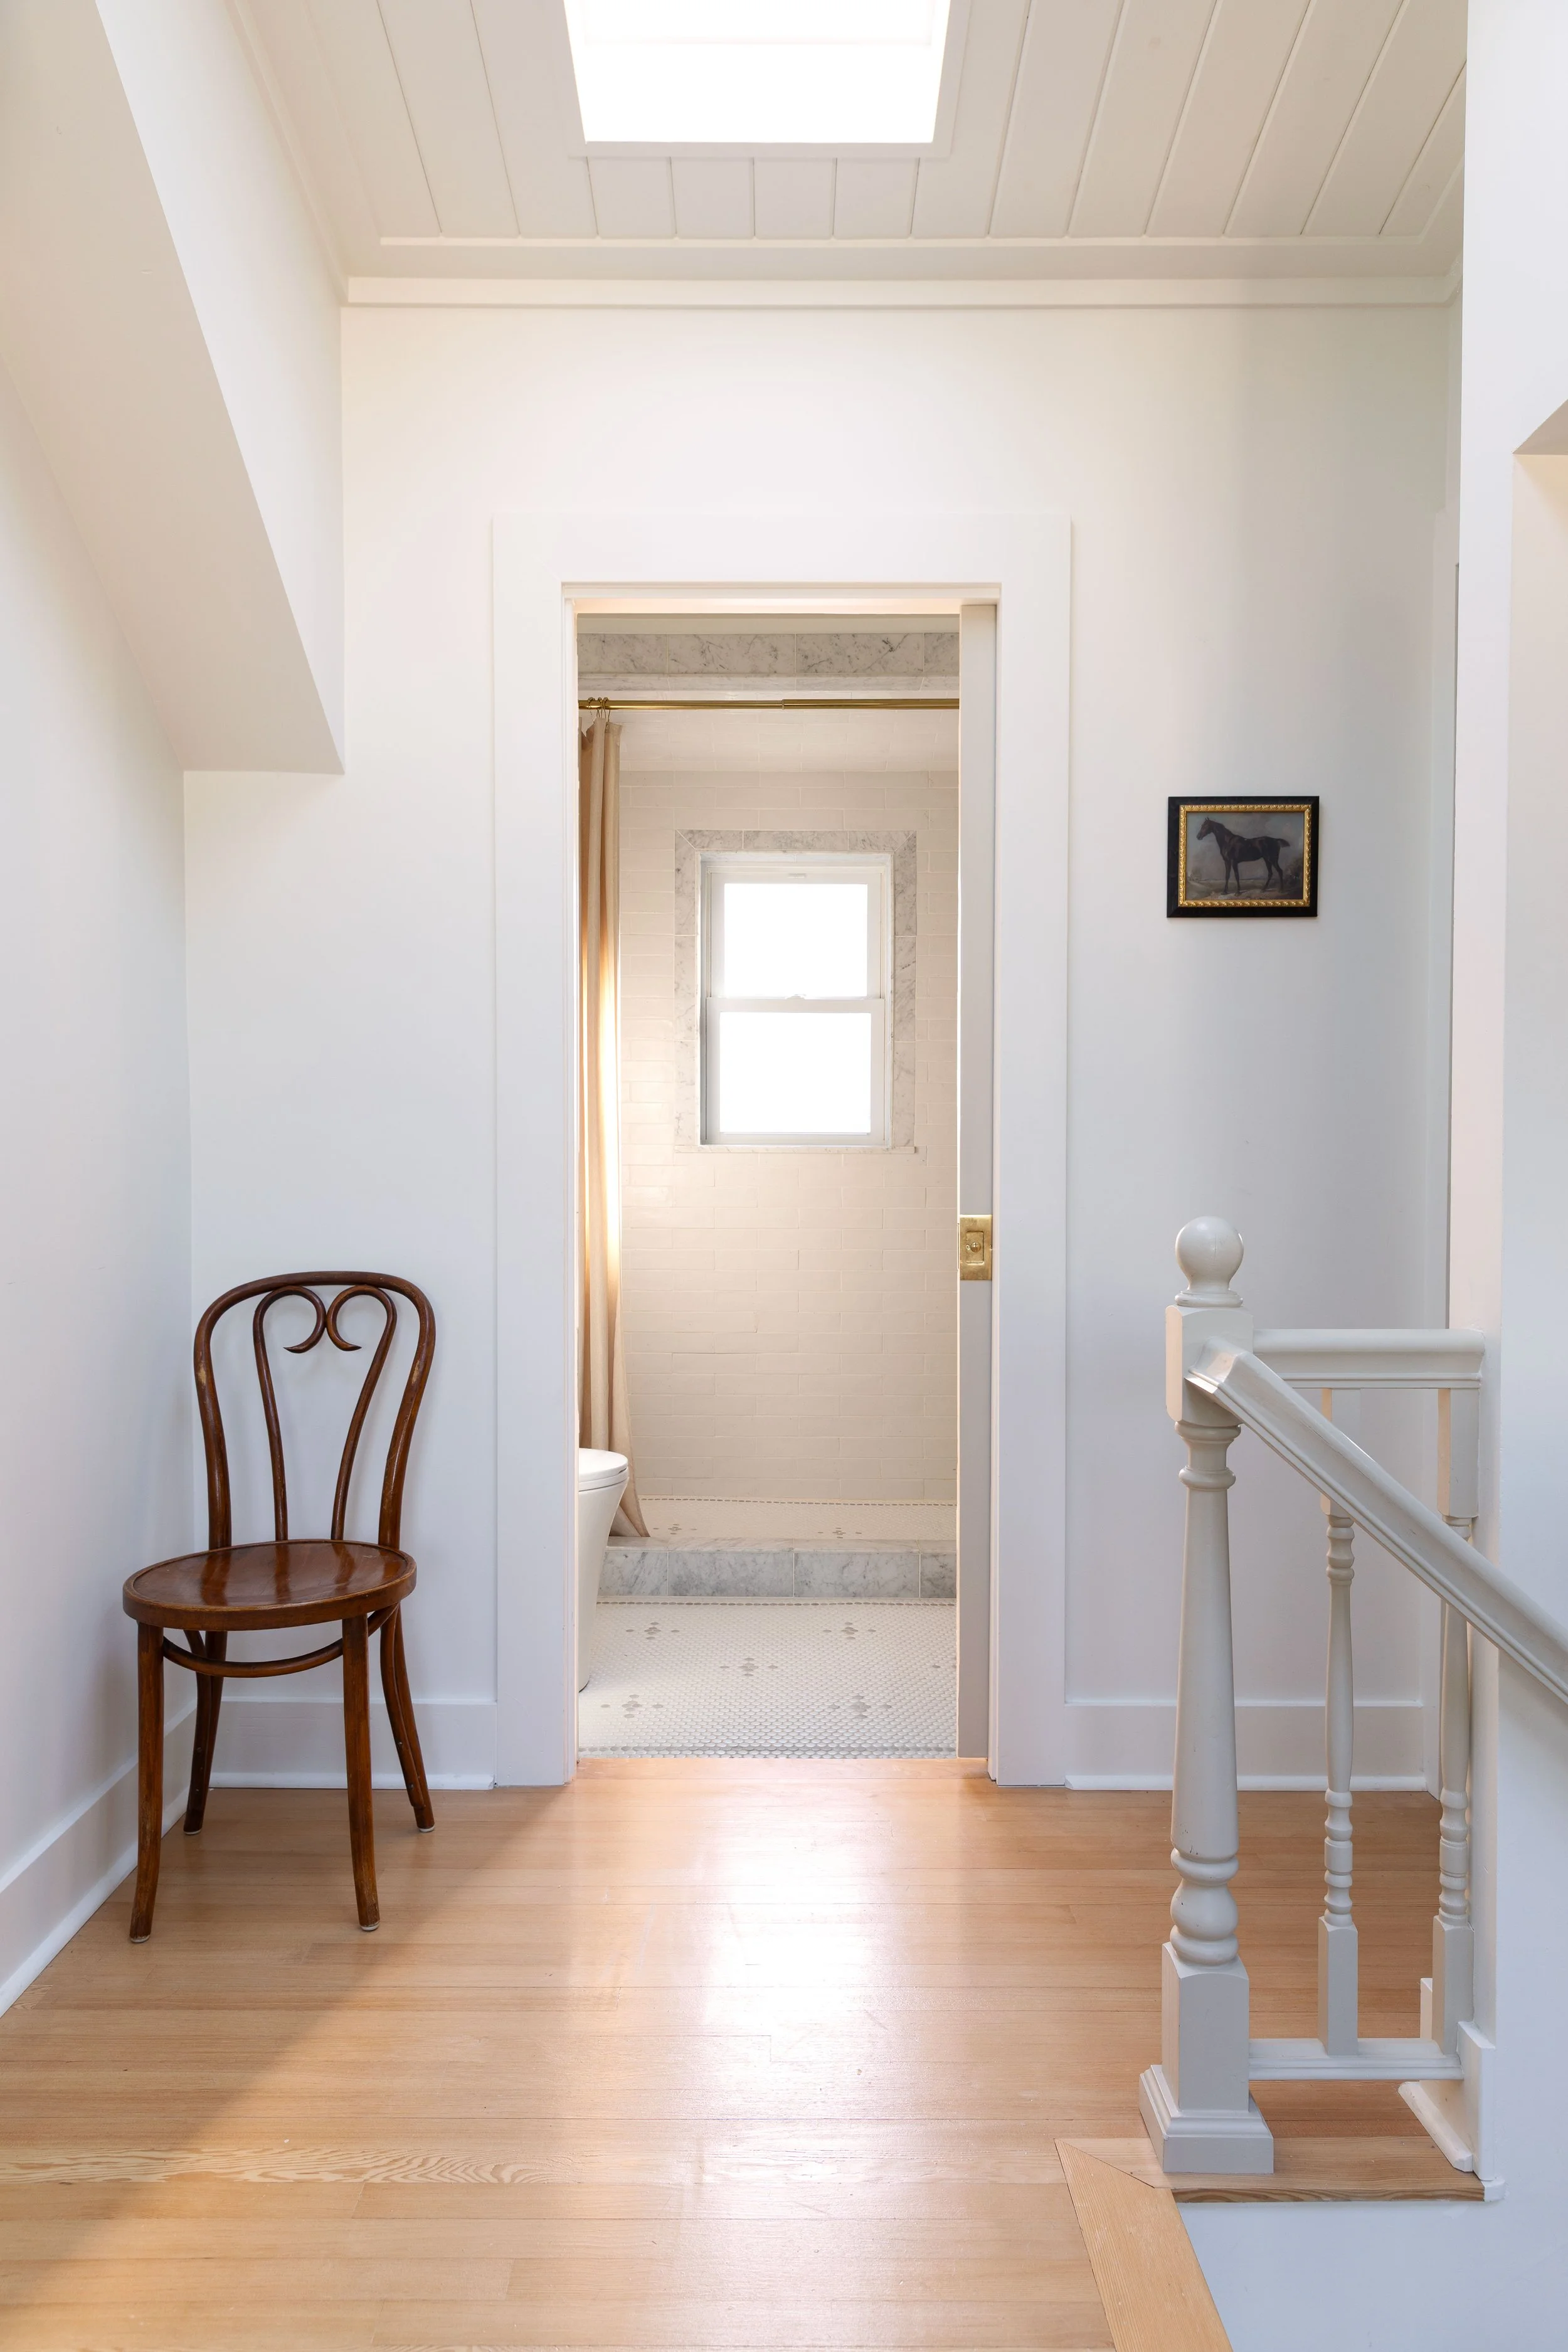
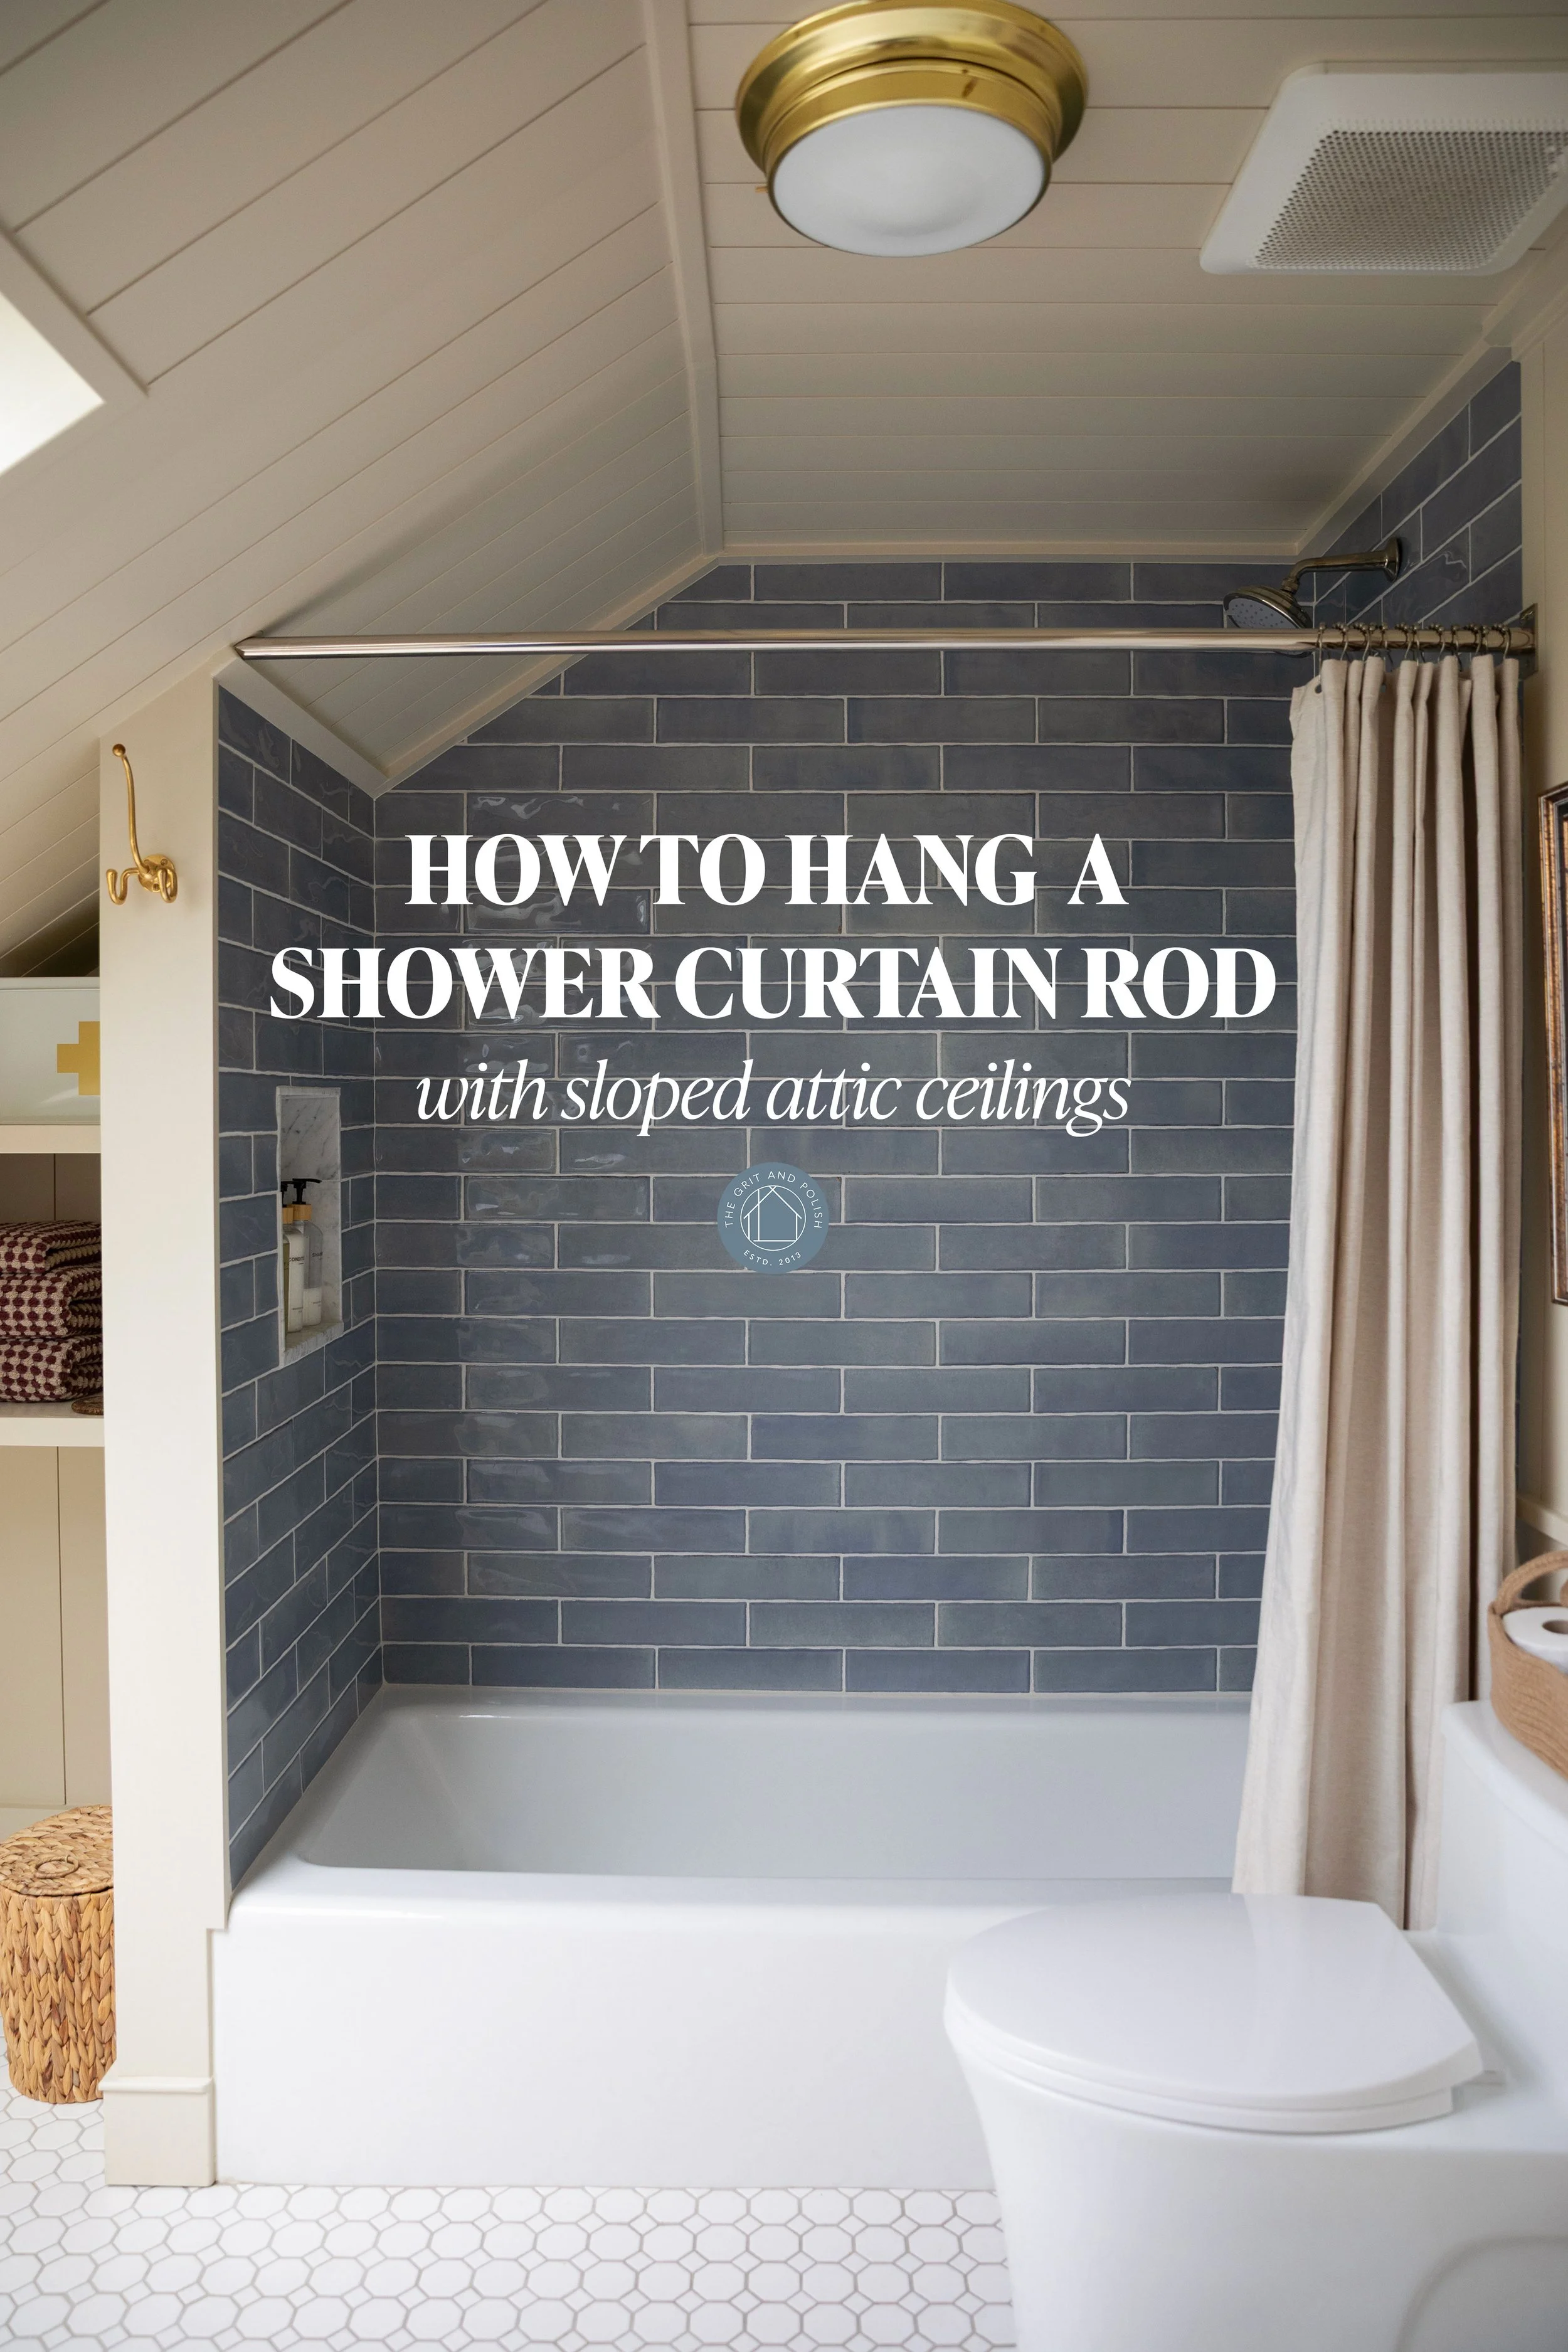
This bathroom is just 6' by 7', so every inch counts. The shower runs the length of the room under the sloped roofline, the toilet is tucked under the slope across from a 36-inch vanity, and a pocket door saves the space a swing door would eat up. It's incredibly efficient for such a small space.
The floor is a penny tile mosaic we did ourselves, and we added subway tiles and marble framing in the shower. We skipped glass and used a linen-look shower curtain again (it's softer, easier to wash, and cheaper to replace than glass). I considered wallpaper, too, but skipped it because this is a rental and we really want it to be as low maintenance as possible.
The heated floor, though? Highly recommend! We wrote more about whether heated bathroom floors are worth it, and we're still an enthusiastic yes.
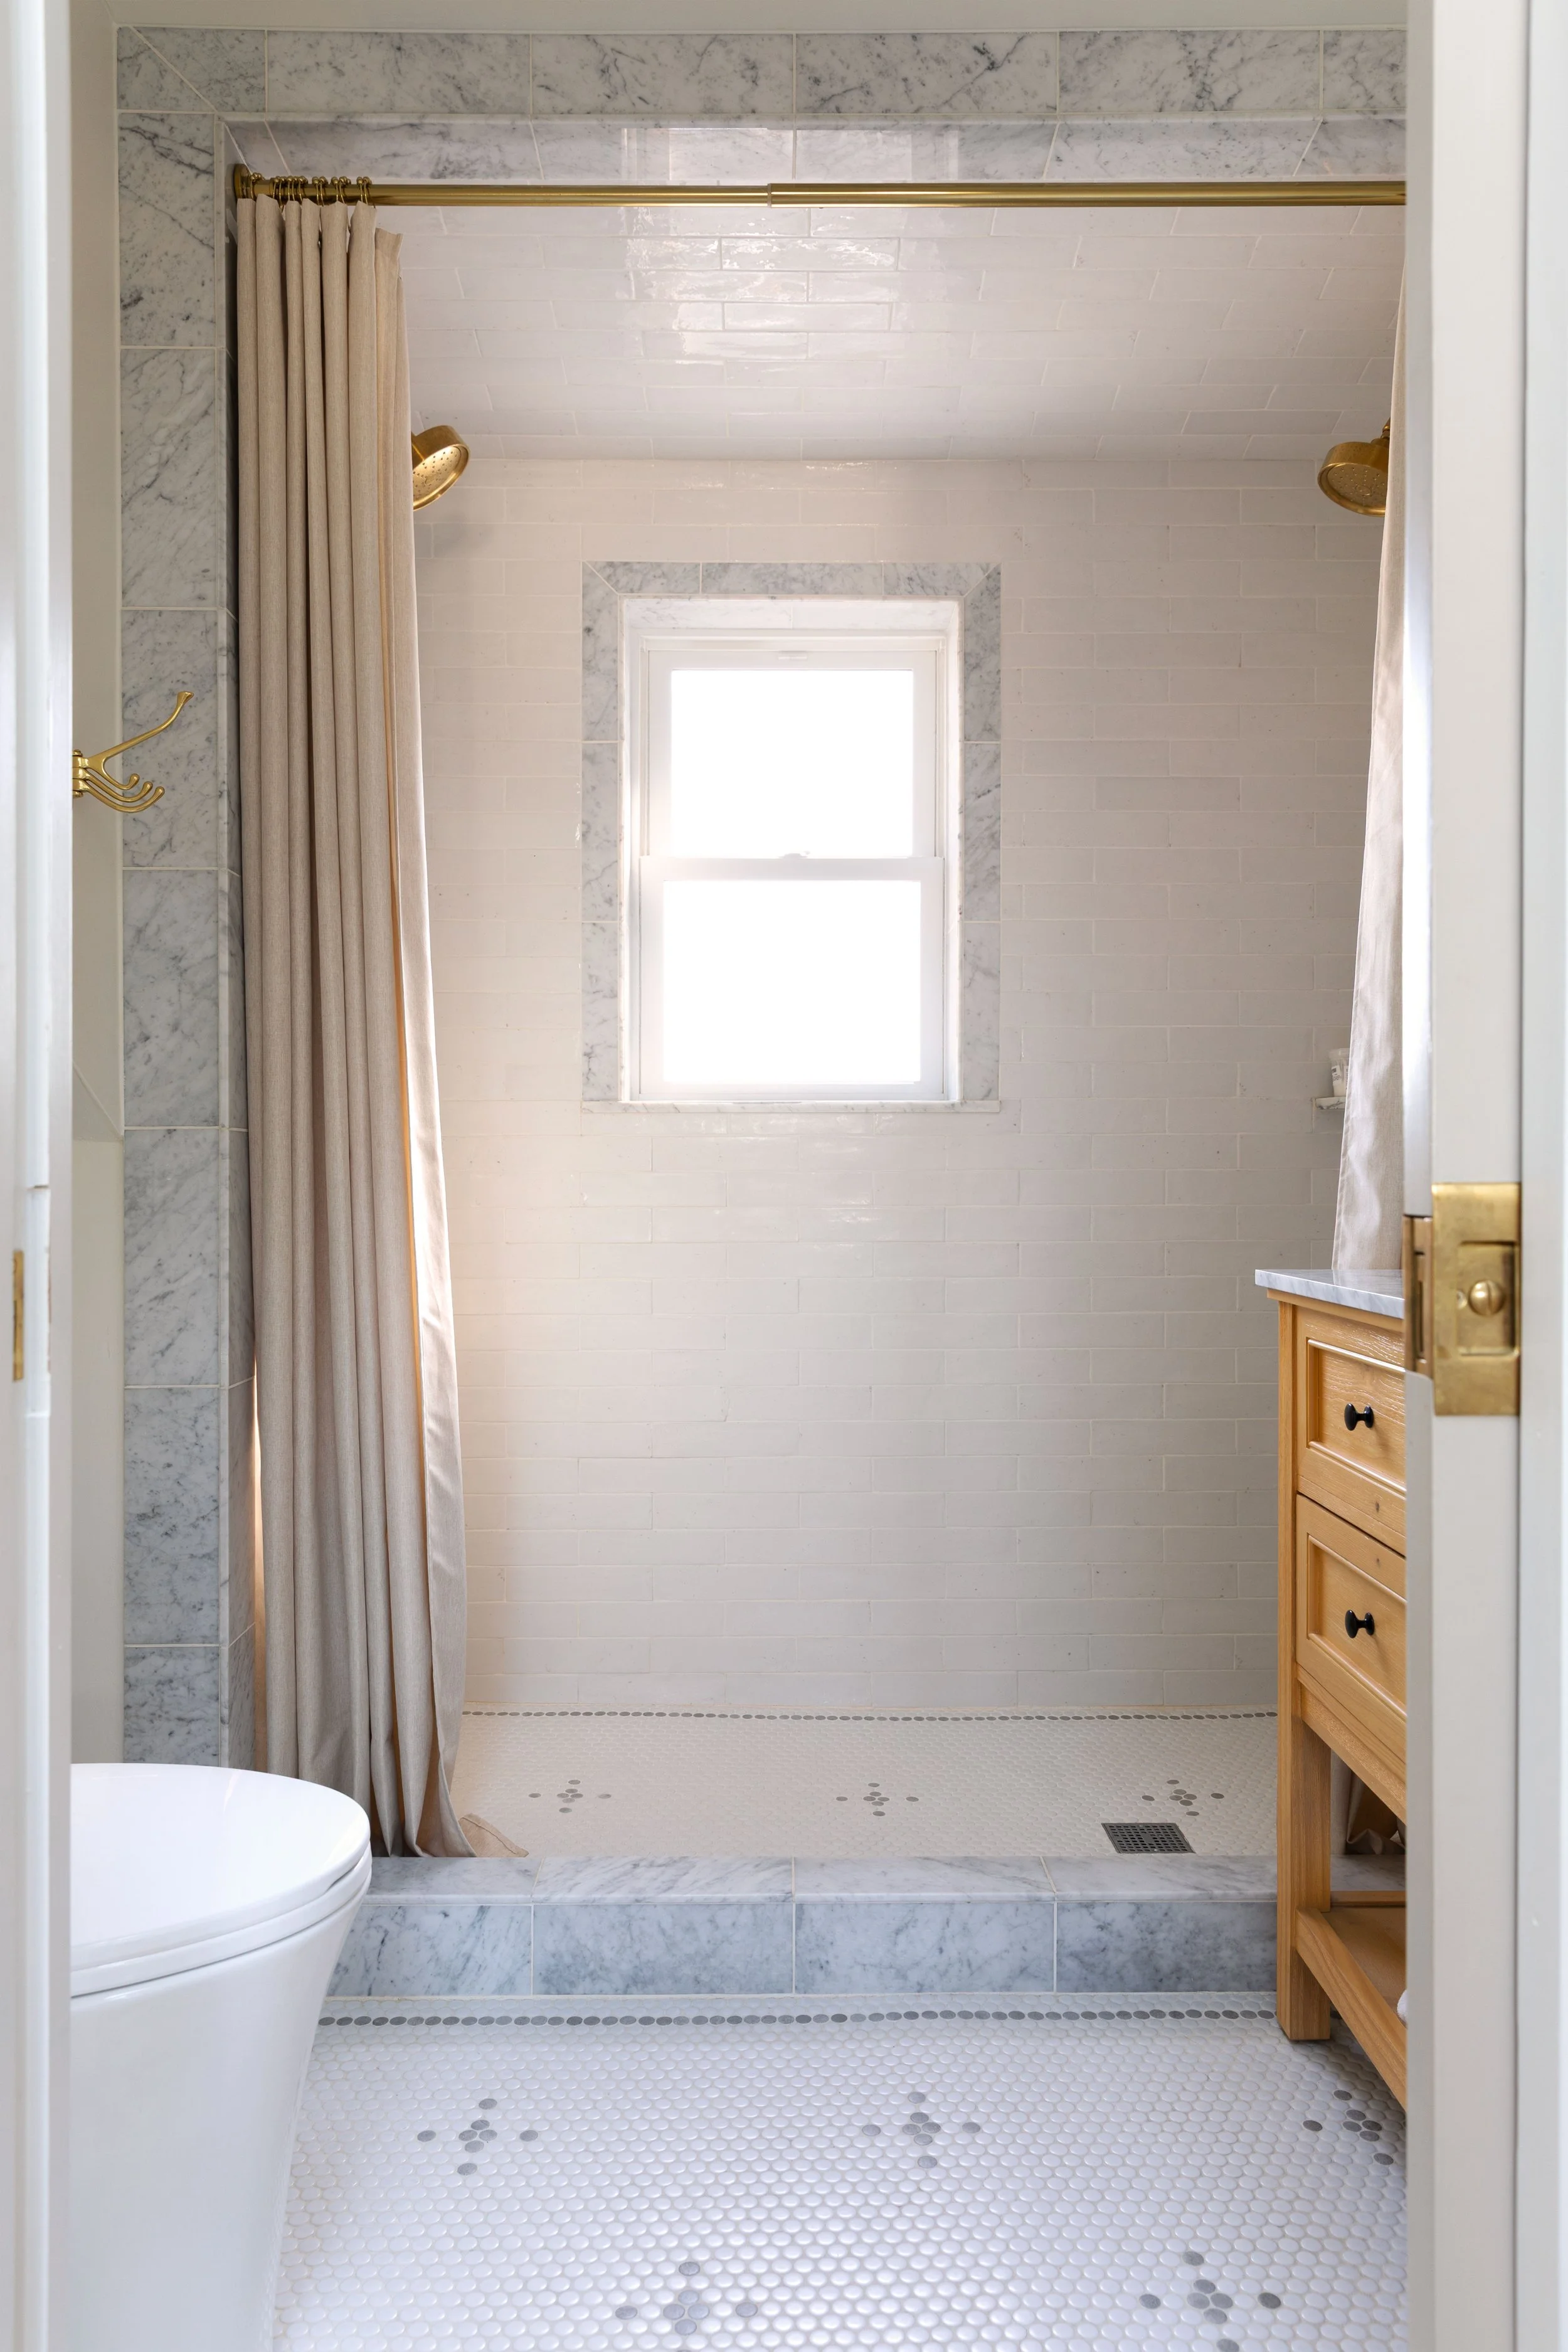
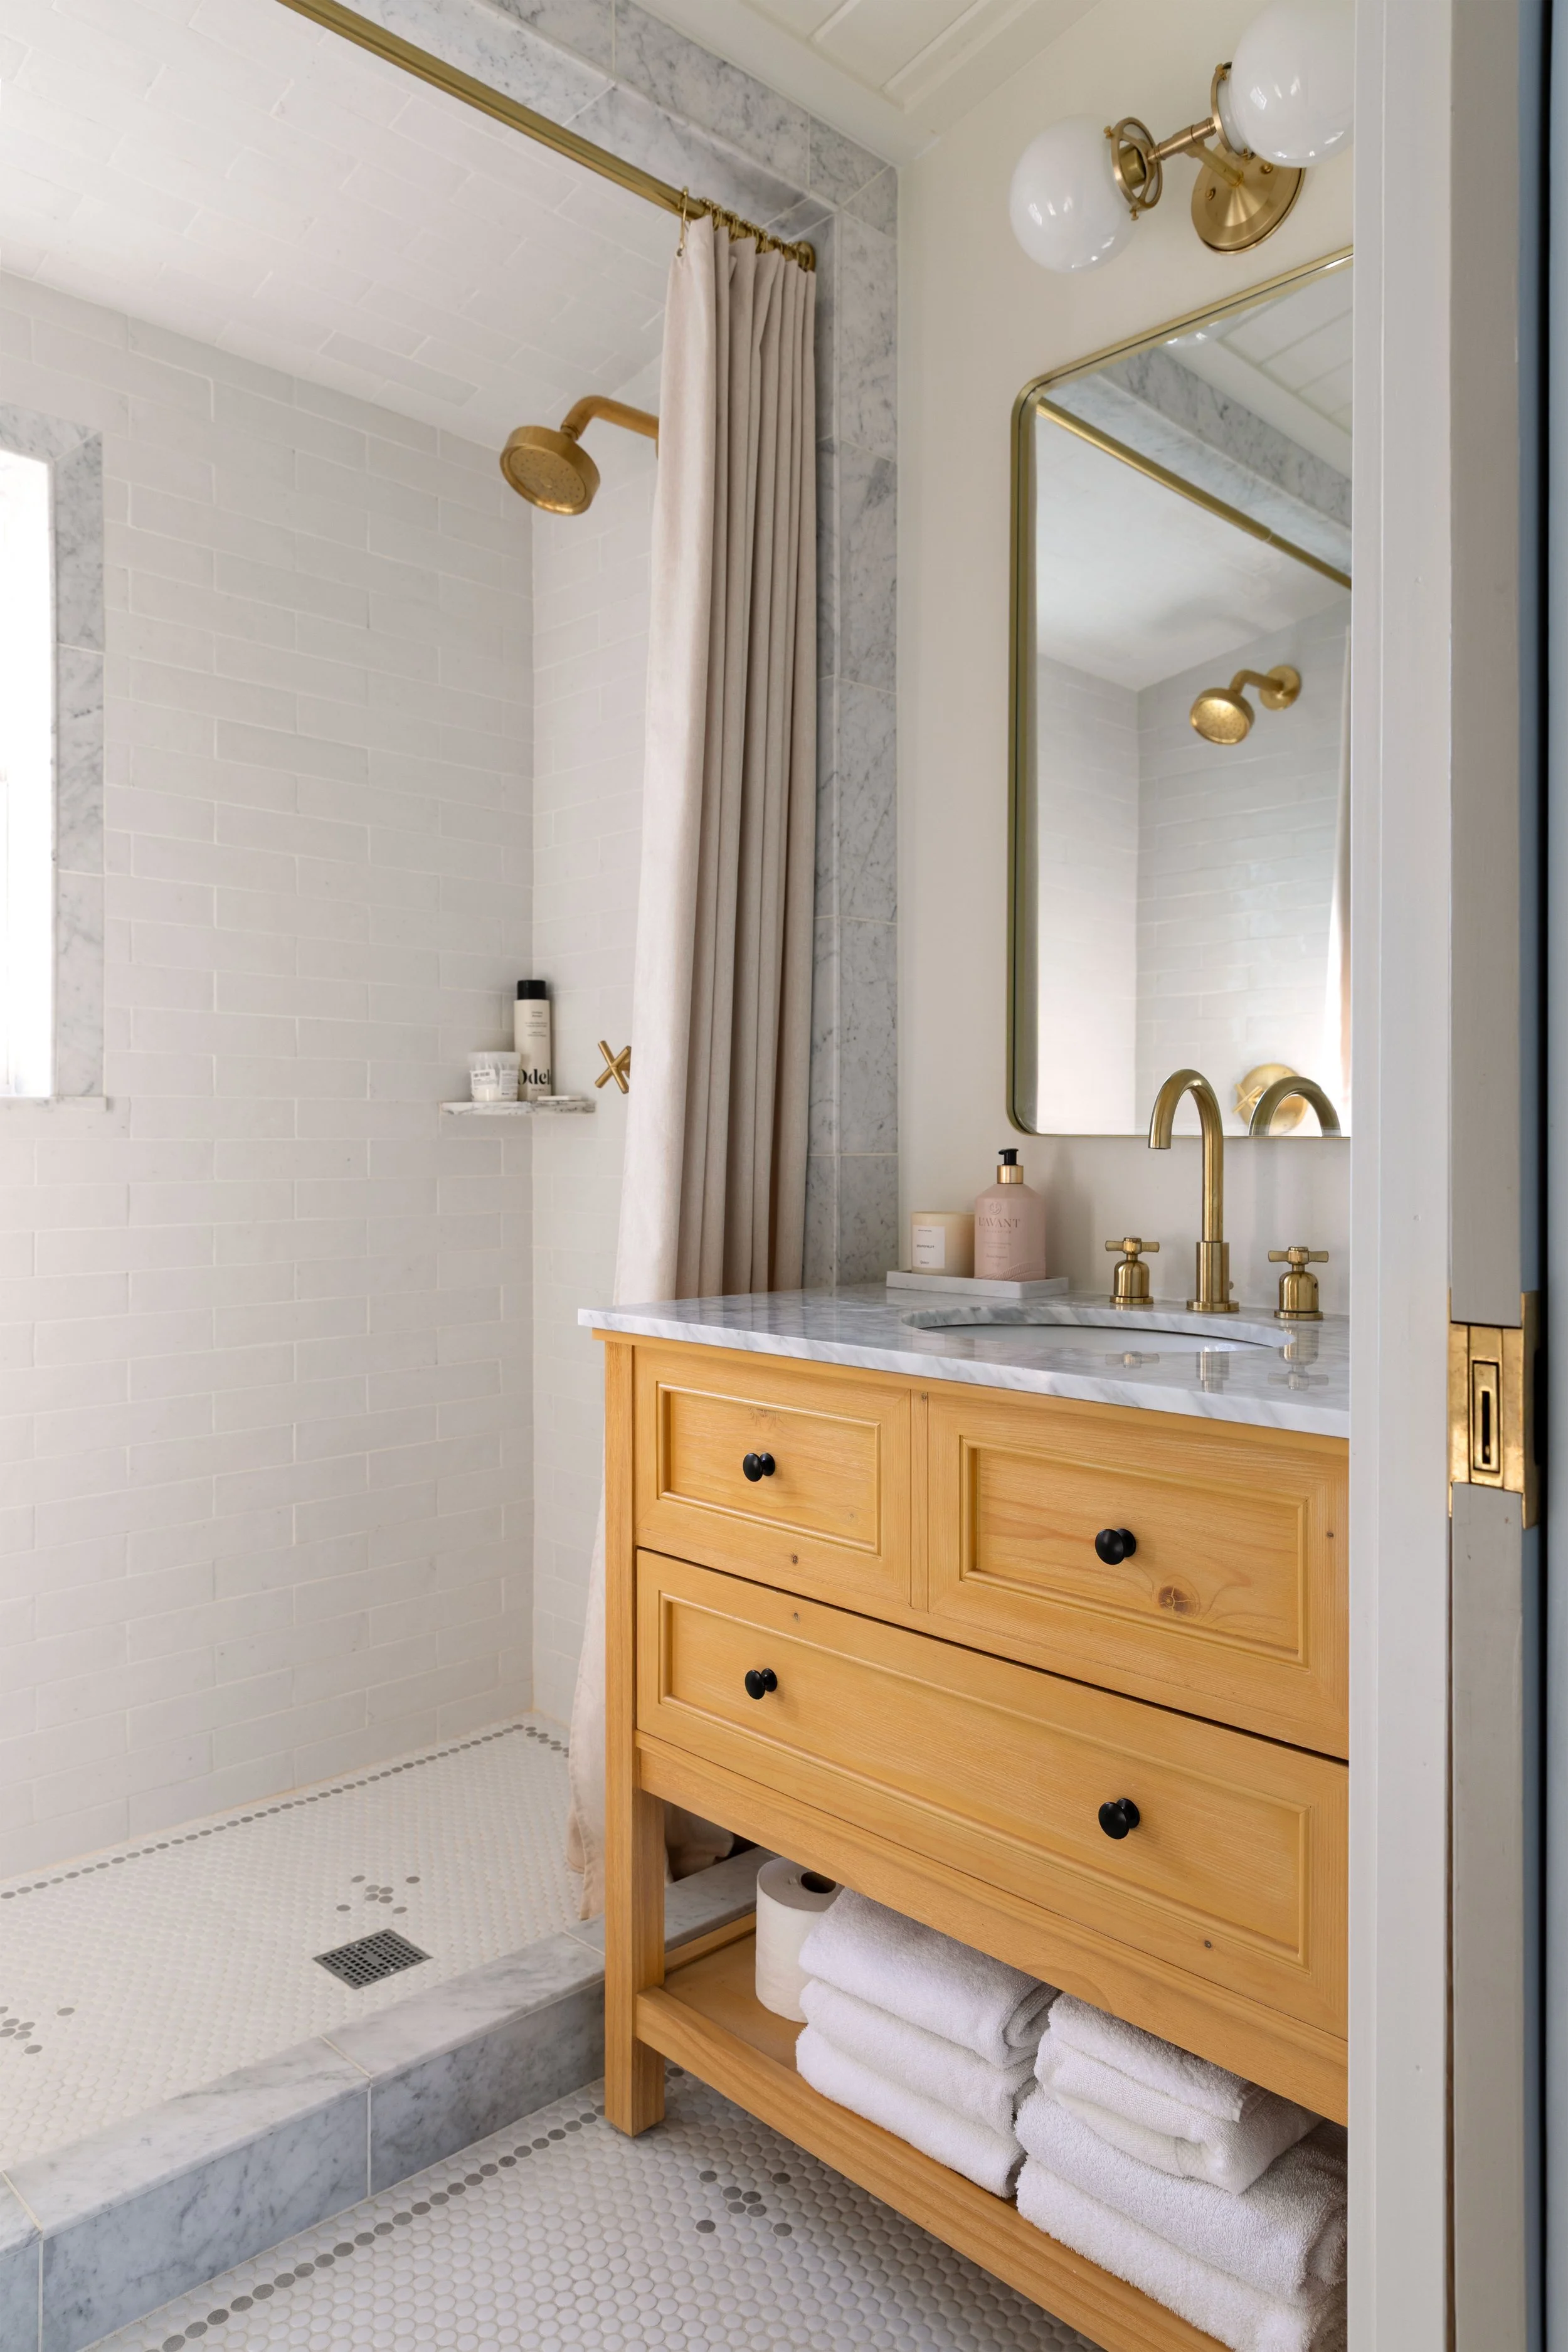
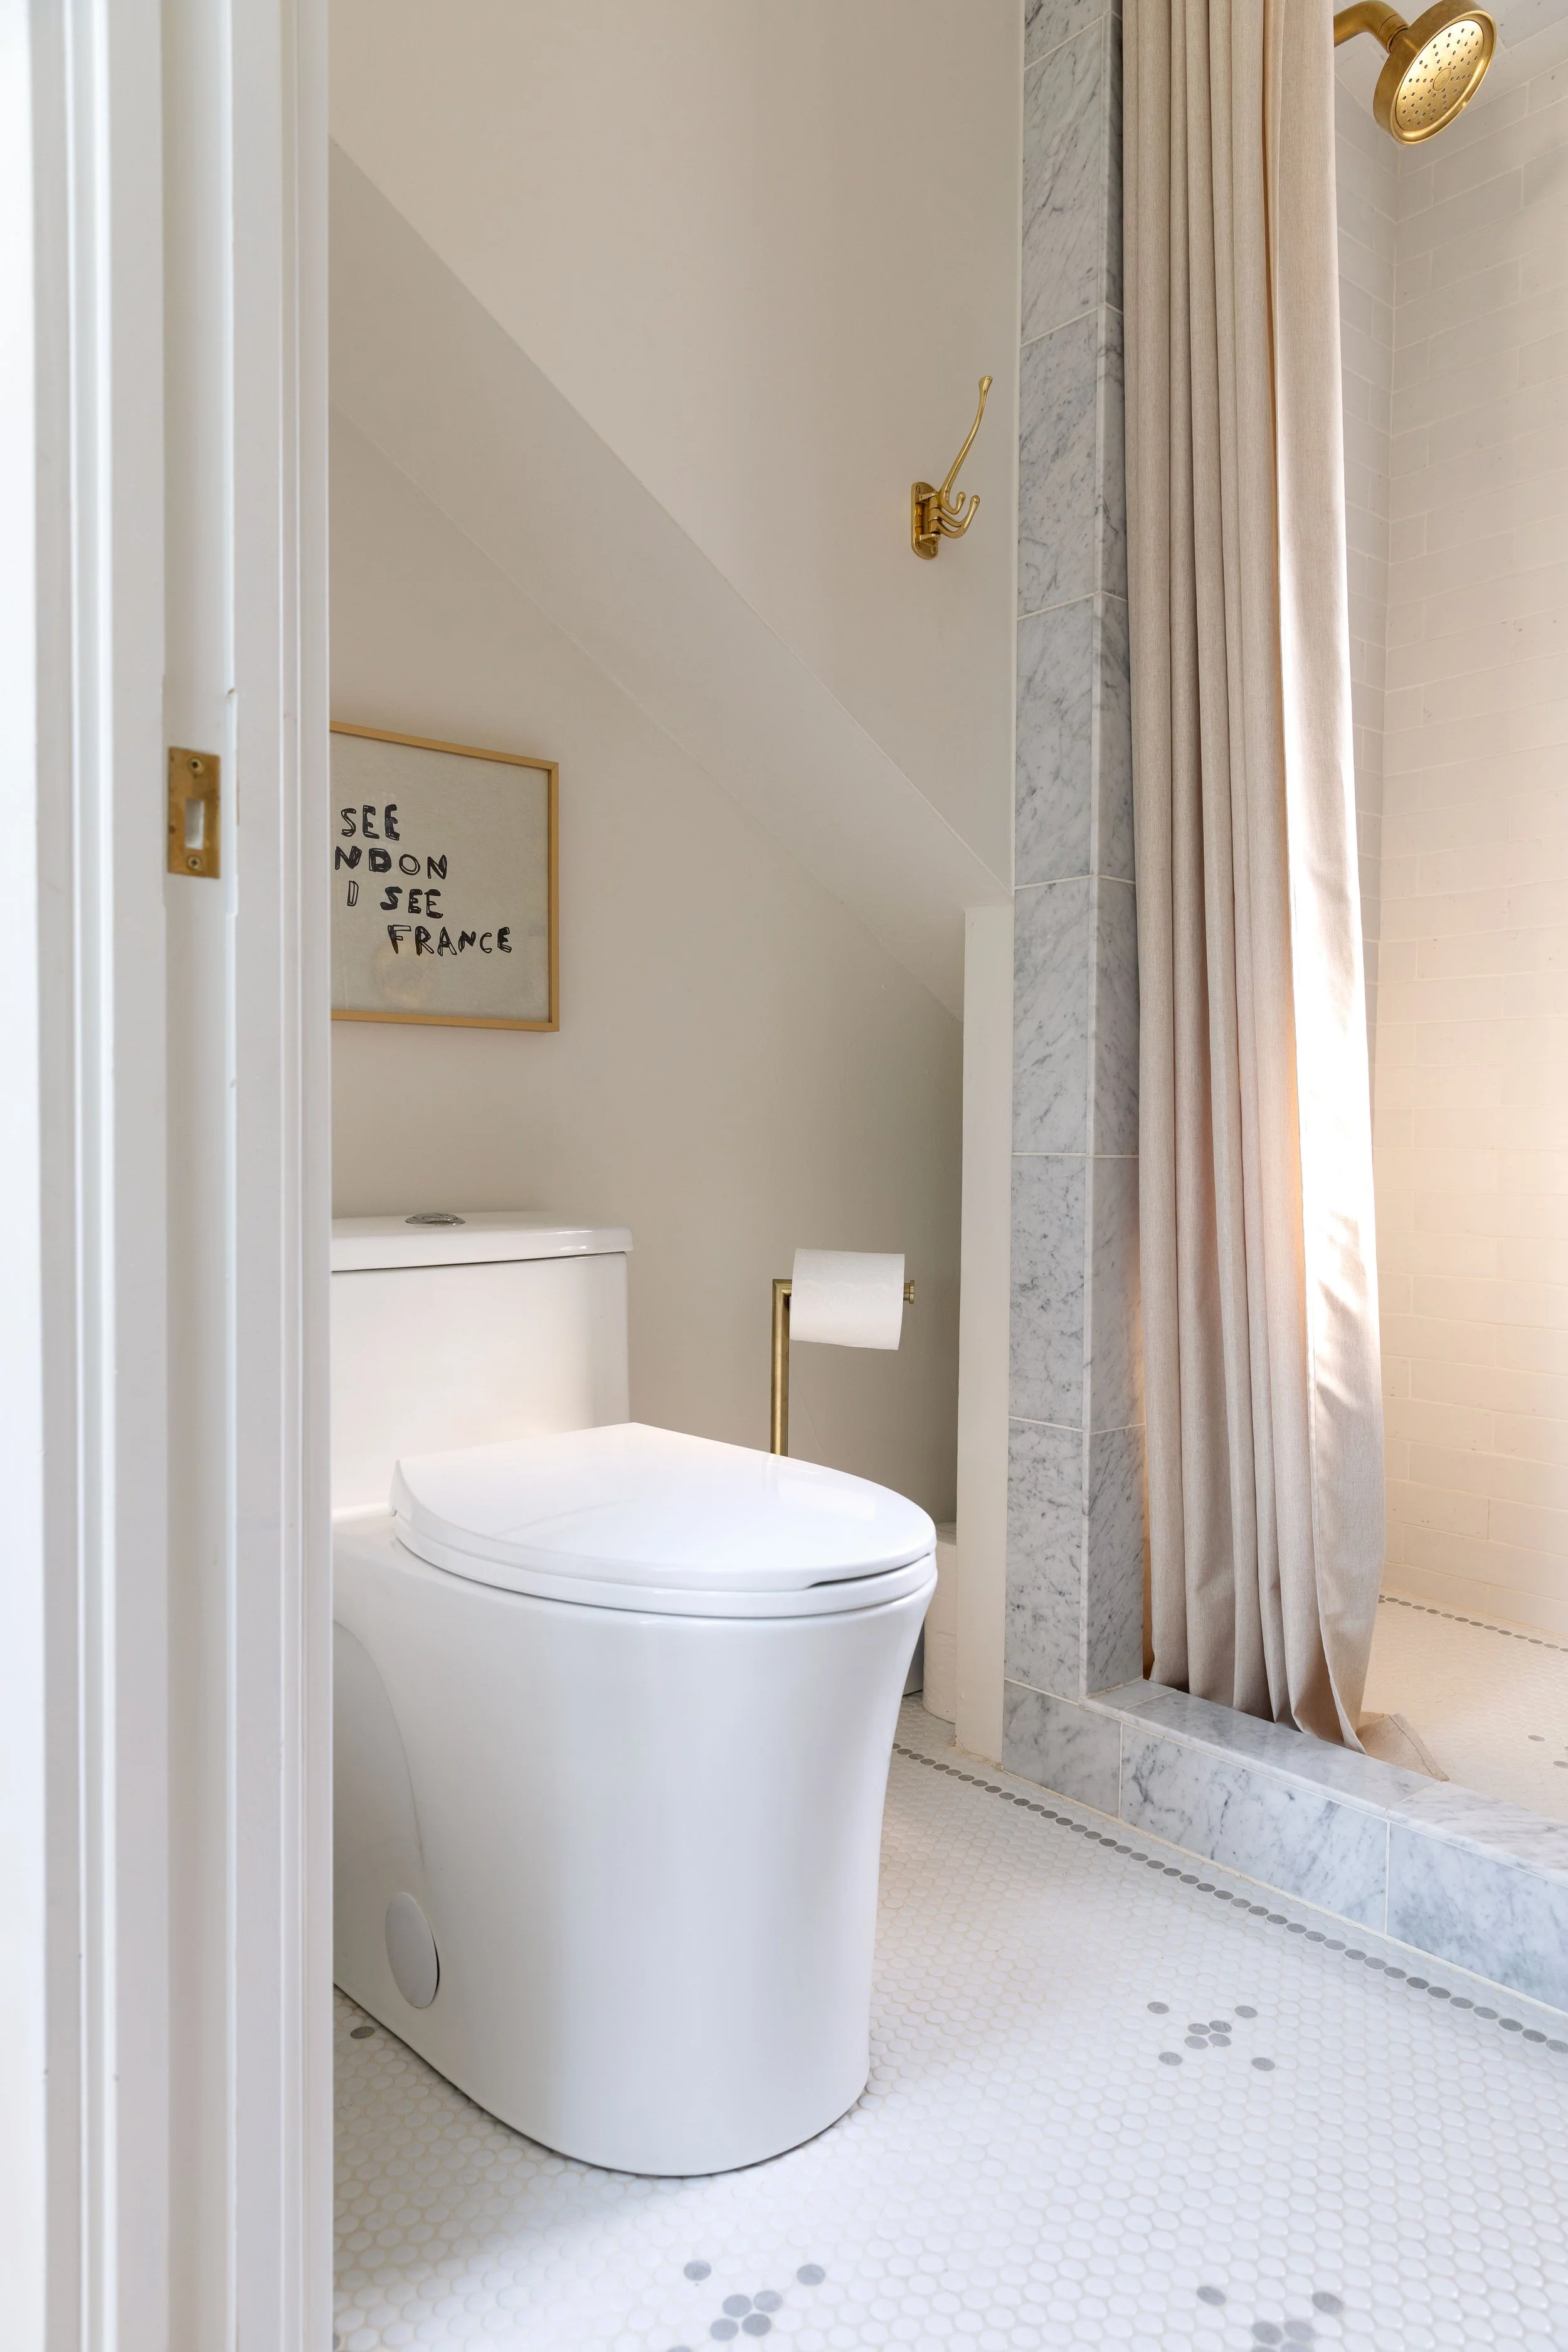
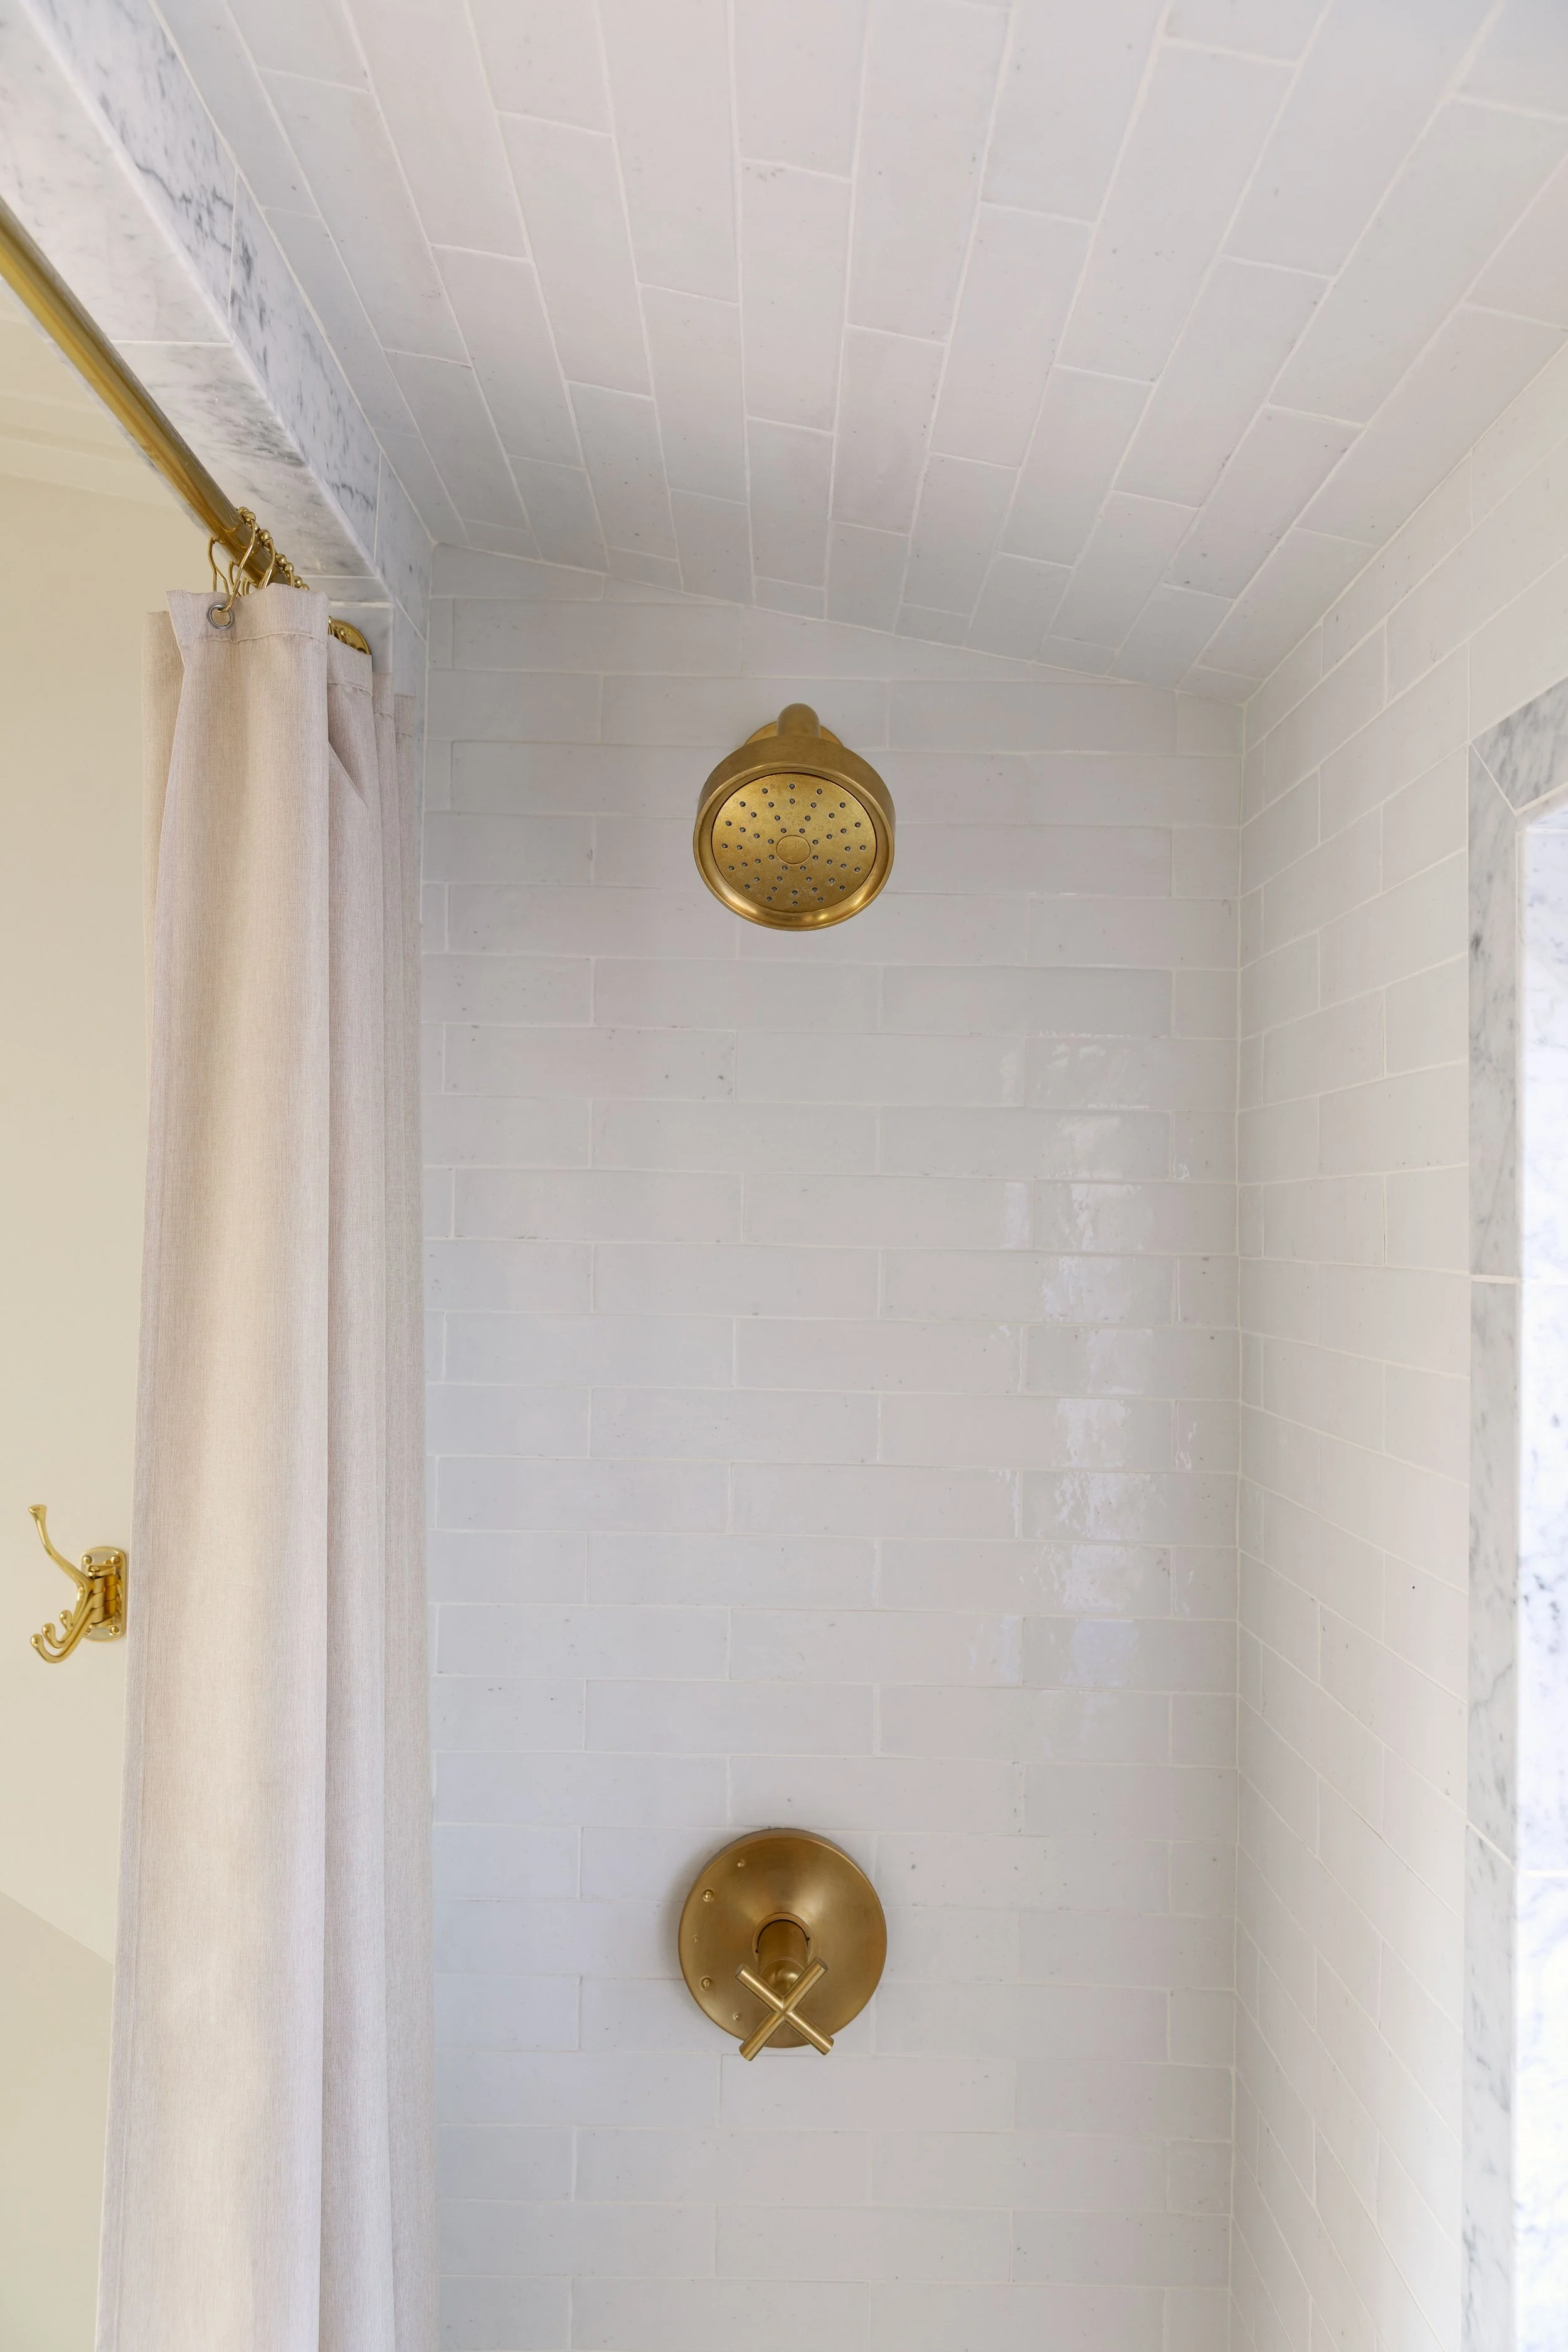
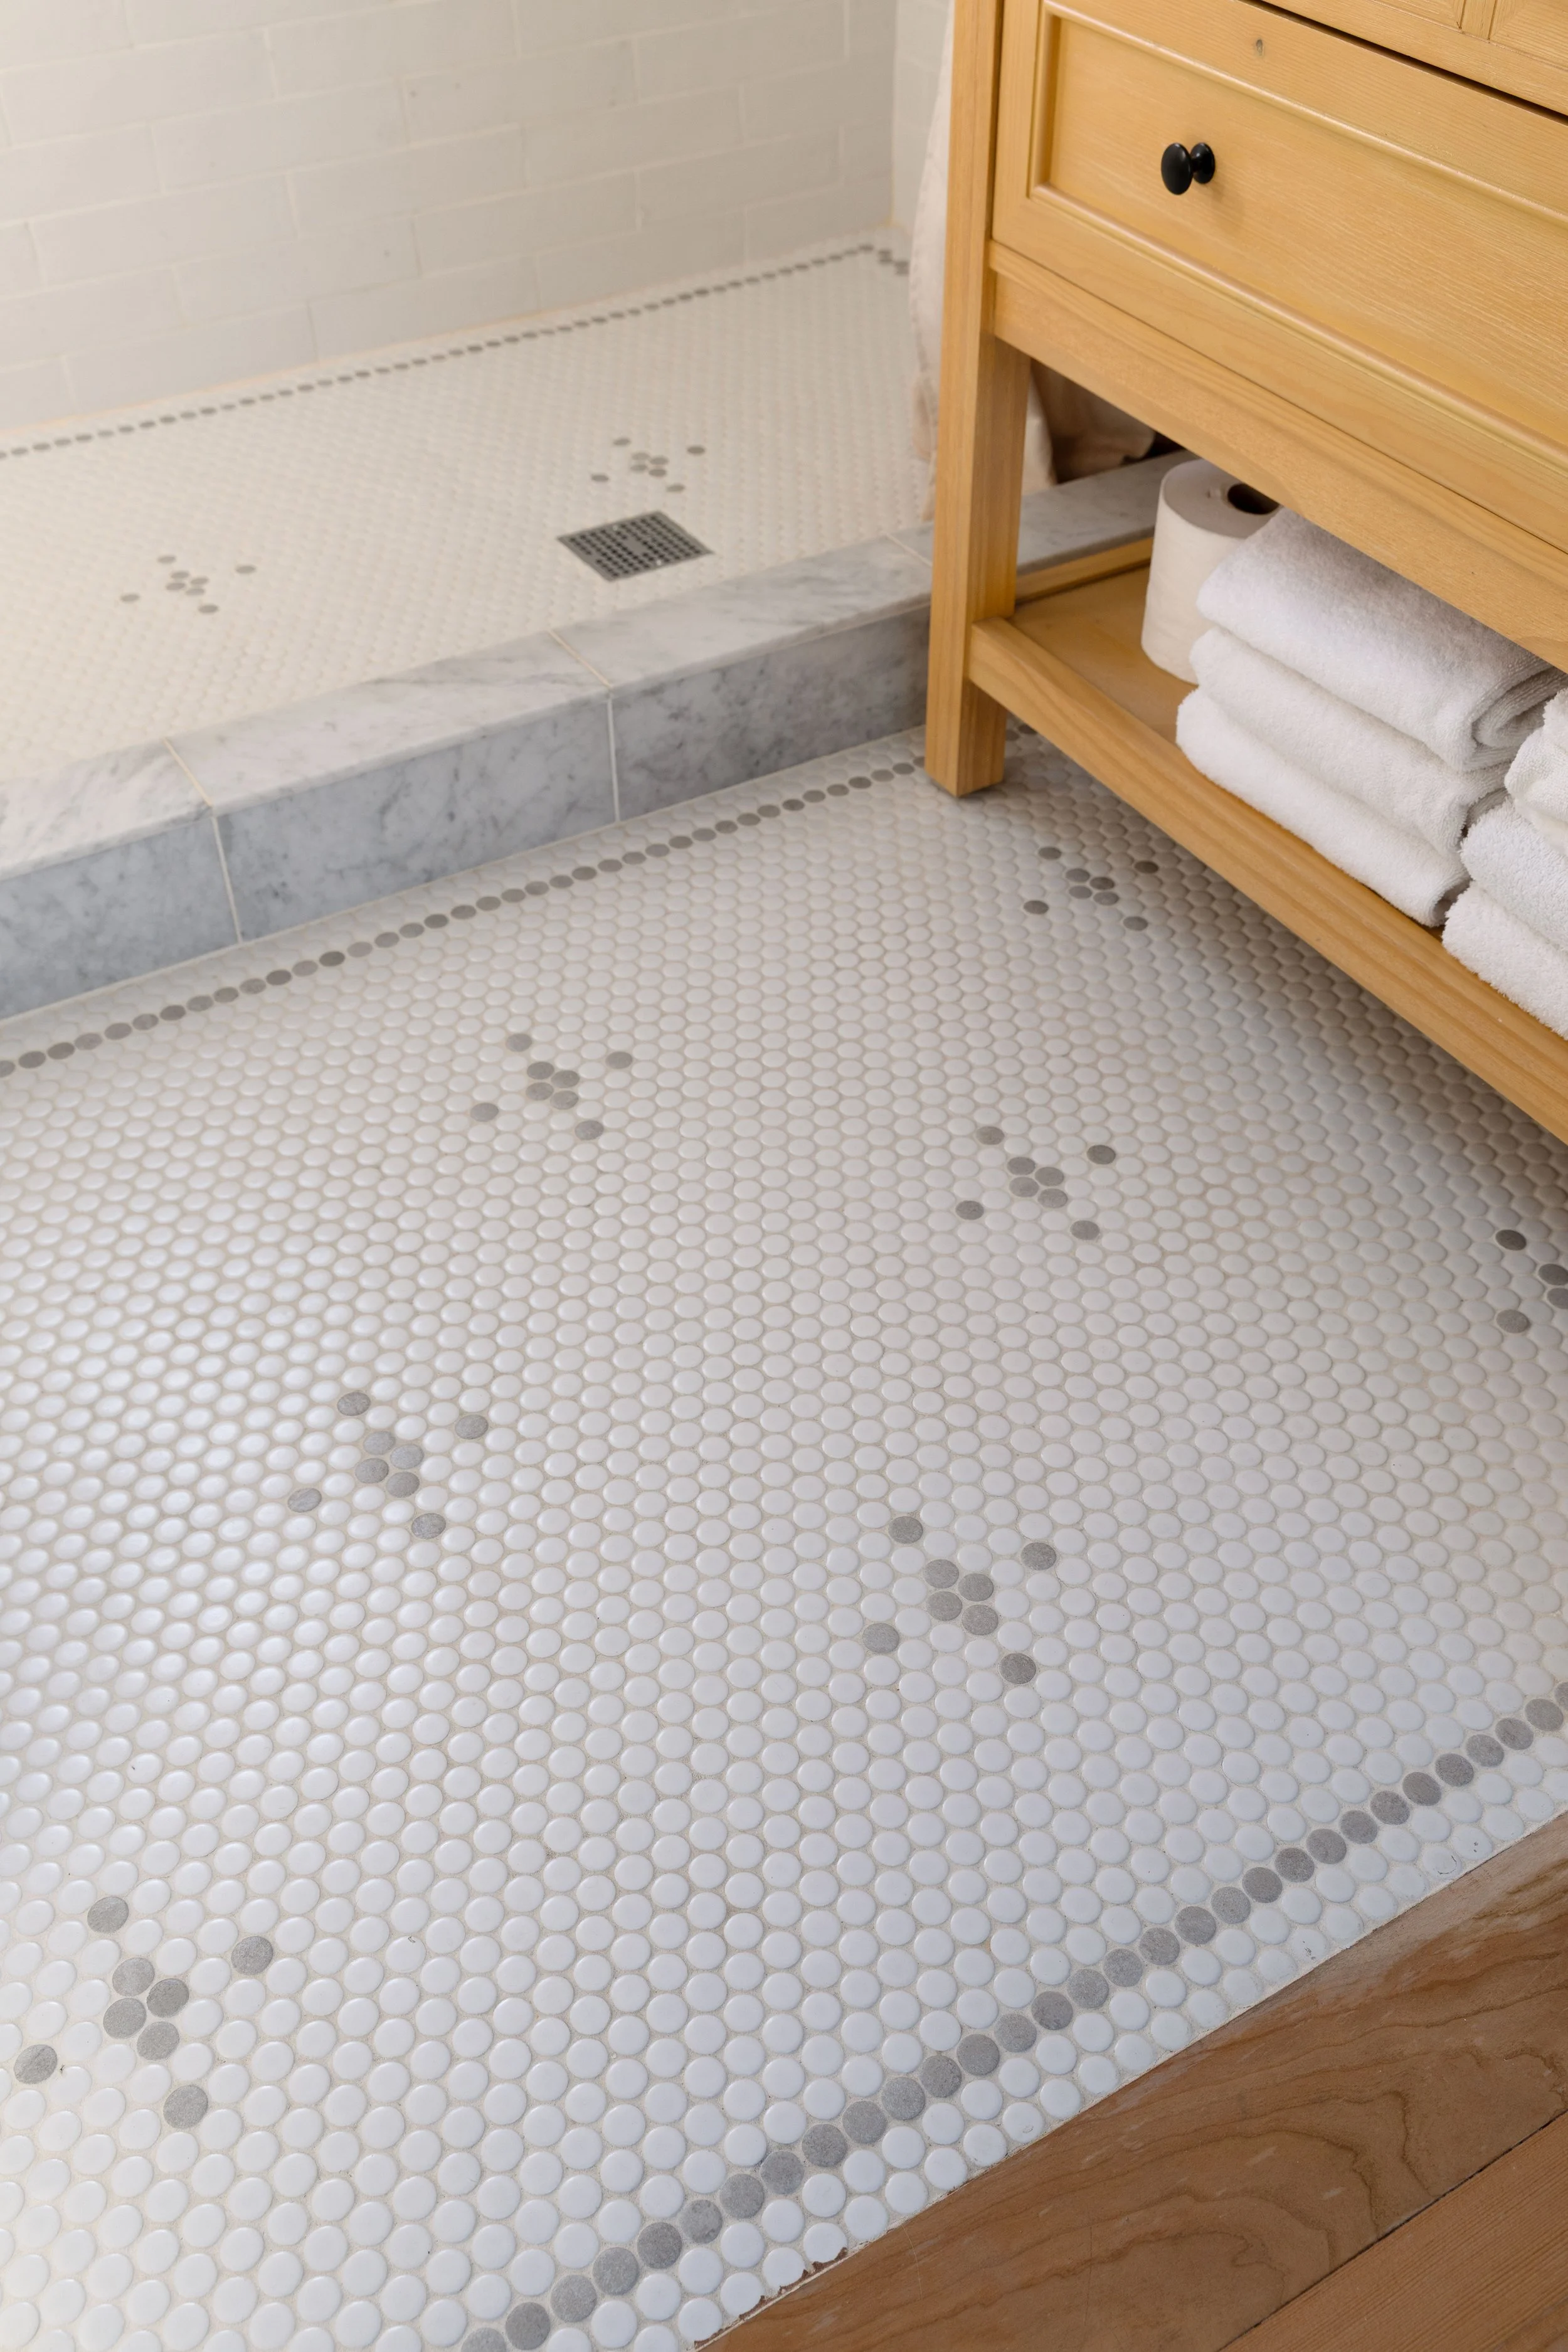
More on this room: the full upstairs bathroom reveal, our DIY penny tile floor, why we chose shower curtains over glass, how to hang a shower curtain rod on a sloped ceiling, and how to frame and hang a pocket door.
What It Was Like to Live in 1,000 Square Feet
Five of us in about 1,000 square feet sounds tight, and it was. But every inch of this house got used every single day. Vacuuming the whole thing took minutes. There was less to clean, heat, cool, and furnish, and we spent more time together as a family because there was nowhere else to go.
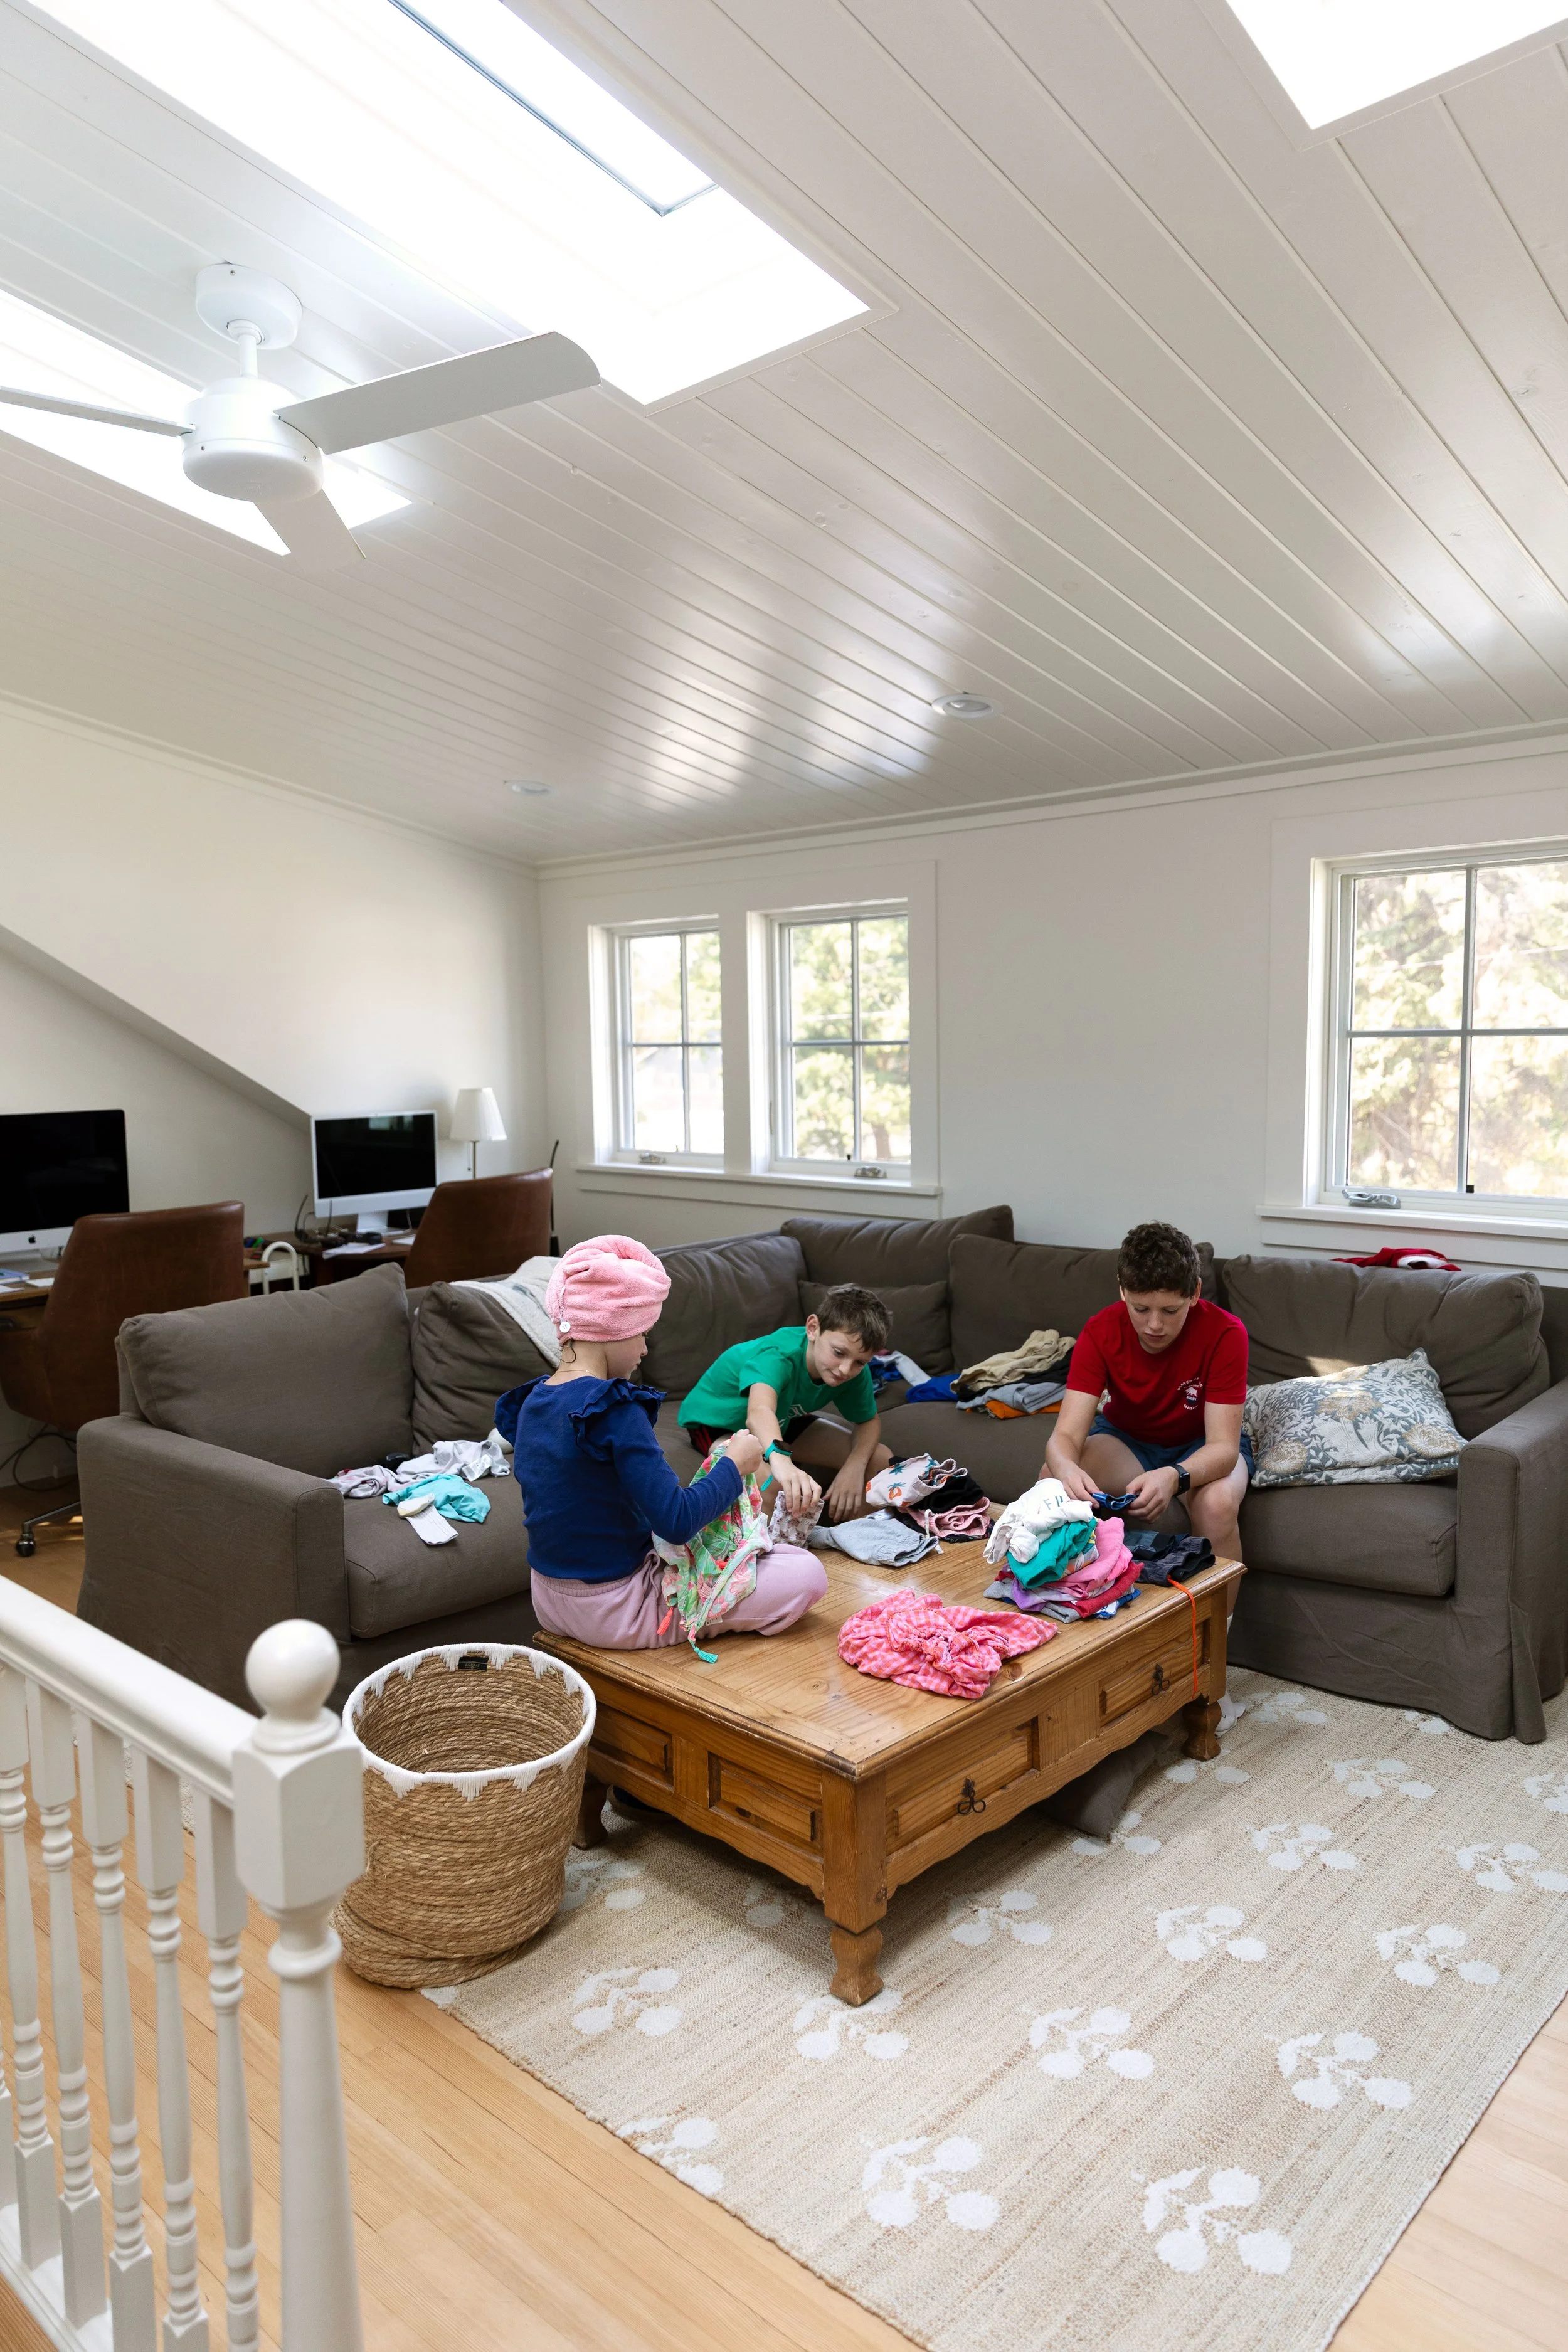
The hardest part was the bedrooms. Sharing was just fine, but there's no escaping each other. Three kids in one room can be a lot when one is a tween boy and one is a baby sister who still plays with Barbies. Ha! But it worked and I think the kids are closer for it.
We also edited our stuff ruthlessly, because clutter creeps FAST in a small house. If you're curious how it felt after six months, I wrote about it in our Six Months of Small Living update. If you've ever wondered whether a smaller house can work for you, I'm an enthusiast. There are so many benefits to living small. More in the post :)
So What's Next for the Cottage?
We originally planned for this house to be a small holiday let (that's English for Airbnb ;) so we'd have it available for family and friends and all of you. Garrett's sister and her family were our first guests, and their stay got extended when his other sister got sick. By then we were in the thick of fall and pretty busy already, so we listed it on Furnished Finder and found a local tenant to take it through the winter and into spring. We may open it up on Airbnb for the summer, but I'll be honest, it depends on how much we can take on. It's a 2 bedroom, 2 bath that sleeps six, in case you're already daydreaming ;)
If you'd like to be the first to know either way, join the newsletter and I'll tell you the minute we decide.
Was It Worth It?
Five years is a long time. There were stretches where it just felt slow and difficult (like the day the roof came off), and this house taught us that some projects are simply hard. There aren't any shortcuts. If you'd told us in 2019 that a "cosmetic" remodel would end with a lifted house, a new foundation, a second story, and five years of our lives, we would have laughed and probably passed on the house. But here we are all these years later with a beautiful, cozy cottage. And we’re proud of the house we built.
So, was it worth it? Yeah, probably. I think so :)
Thank you for following along! You can find every Poplar Cottage post, in order, on our Poplar Cottage page.
xx
ps we may receive a small affiliate commission if you purchase something through our links, at no cost to you. Thank you for supporting The Grit and Polish!


come on in!